Lens Fundamentals
Master lenses like a pro: learn how focal length, aperture, and the right glass transform your photos from snapshots to standout shots.
- Details
- Module
- Quiz
About this course
Lens choice shapes everything about your images, and in this course, Instructor Allison Anderson shows you how to pick and use the right glass for any shoot. She’ll break down the essentials – mounts and sensor size, focal length and field of view, aperture and depth of field – then dive into key lens features like AF/MF switching, focus and zoom rings, aperture rings, Optical SteadyShot and more. You’ll learn when to choose primes vs. zooms, how lens compression works for flattering portraits, and the focal lengths that shine for landscapes, wildlife/action, and travel. Then explore specialty options like macro and fisheye, and get hands-on with filters. Allison closes with real-world kit-building advice and favorite lens picks so you can stay light and versatile no matter where your creativity brings you.
Course highlights
Instructor
Allison Anderson is a travel and lifestyle videographer and photographer with over 30 million YouTube video views. Traveling solo, she documents her adventures around the world through videos, social media, and blog posts, and inspires others to seek out the adventures that call to them.
Allison Anderson
Traveler & Photographer, Alpha Imaging Collective
Featured gear
Skills
Transcripts
- Hi, I am Allison Anderson. I'm a photographer and Sony Alpha Ambassador. I specialize in outdoor wildlife and travel photography, and I document my journeys, camera tips, and life adventures on my YouTube channel. In this course, we're going to be talking about the fundamentals of camera lenses, what they are, what they do, the various features they have, and the different types of lenses you can use depending on what you're trying to shoot.
- So what is a lens? A lens is essentially the eye of your camera. It's attached to the front. And if you have an interchangeable lens system like this, it will detach. So this is the camera body and this is the lens. And the lens you use will have an enormous impact on the overall look you get with a photo. In fact, a lot of times when you see an image and you really love the way it looks, it's probably due to the lens that was used, not the camera itself.
So if you've just bought a camera, gone out and taken some photos and wondered, why don't these look as professional as other photos have seen taken with this camera? It's probably because you don't have the right lens yet. Now, different camera brands use different lens mounts, which are the locking mechanisms the lens fits into. So lenses aren't universally interchangeable with every camera, and you'll want to make sure you're buying one that works with yours. And you'll want to know your camera's sensor size when selecting a lens, too. Some lenses are designed for smaller sensors like APS-C and generally not compatible with larger sensors. Like full frame.
Every lens has something called a focal length measured in millimeters that affects how zoomed in or zoomed out your images are. The length is usually listed on the lens itself, and the smaller the number, the wider the view; the larger the number, the more zoomed in you are. If you were going to take a picture of a wide scenic view, you might opt for a 16mm focal length. And if you wanted to take a picture of an animal really far away, you might use a 400mm focal length.
And you'll find that some lenses can zoom across a focal range like this, 24-70mm that I have in my hands, which makes them more versatile, and we'll talk about that more later on in this course.
Another important aspect of a lens is the aperture. This refers to an adjustable opening inside the lens that controls how much light can pass through it, and it works just like how our pupils do - how when we're in a dark room, our pupils get really big to try and let as much light as possible into our eyes. And when we're in bright daylight, our pupils get really small to keep some of the light out. A wider aperture on a lens allows more light to pass through making capturing images in dark environments easier.
And an alternate term for aperture is F-Stop. You'll hear F-stop and aperture used interchangeably. And a lens's aperture is usually printed on the lens barrel. The smaller the number, the wider the aperture can be. And if you see a range listed here, it means that the widest aperture available varies depending on how zoomed in or out you are.
Aperture also affects something called depth of field, which is how much of the image is sharply focused. When you see a photo of someone, and the background behind them is blurry, that's a shallow depth of field and a wider aperture was used to achieve that. So you can use this creatively to isolate a subject or draw attention to details in a close-up shot, or you can use a smaller aperture to keep more of the scene in focus, which is great for landscapes. Aperture and focal length also work together to create different looks and knowing how they interact gives you more control over the feel of your images. More on that later.
We have a lot more to cover about lenses, so check out the rest of the course and thanks for watching.
- Welcome back to Lens Fundamentals here at Alpha Camera Academy. I'm Allison. Let's talk about some basic lens features you'll want to know about when building out your kit.
If you take a look at most lenses, you'll see there are buttons and rings built into them, and this varies from lens to lens. On a lens that can zoom, like this one, you'll see a large rotating zoom ring that you can turn to get closer to your subject. It's a quick way to reframe your shot without having to move.
Next, there's a rotating focus ring that comes into play when you're in Manual Focus mode. You can often toggle this on and off with a switch that says AF/MF. AF stands for Auto Focus where the camera's going to handle focusing for you. And MF stands for manual focus, so you can take control and adjust focus using the ring.
Some lenses also have a feature called in-lens stabilization, which helps to reduce blur in an image if your hands shake while shooting. So this is especially helpful in low light situations where you might be using a slower shutter speed and need to hold still while you take an image or using a longer focal length, or if you're moving in some way while you're trying to take a picture, like maybe you're on a boat that's rocking and you're trying to hold still. And if your lens does have this feature, there's sometimes a switch directly on the lens to turn this on or off.
You might also hear this feature called OSS on Sony cameras. It stands for Optical Steady Shot, and if your camera has built-in stabilization, the two systems can work together to give you even smoother results. I find that in-lens stabilization is also incredibly helpful for video as well. Some lenses also have a dedicated aperture ring that you can rotate to manually change the aperture directly on the lens. It's a tactile way to make quick adjustments if you like a more hands-on feel with your camera. I like an aperture ring because I can change this so quickly on the go and there's no guessing what number it's at. I can just look down, twist the knob to the number I want it to be, and it's done. I don't have to look in my viewfinder, my screen, I don't have to spin a wheel a bunch of times. I find these to be super handy.
Another common lens feature is a Focus Hold button, which is this little circular button here. If you press and hold it, it will lock your current focus where it is, even if you move your camera. You would use this if you've nailed focus on your subject and you don't want the camera refocusing on something else in the image. And something really handy about the Focus Hold buttons is they're often customizable. So if you don't use the Focus Hold feature, you can usually reassign this button to be something else.
And then almost any lens you buy is going to come with an accessory called a lens hood. This threads onto the end of the lens barrel and works like a little shade for your lens. It blocks additional light and glare that can reduce contrast in your image, and it also works like a mini bumper to protect the front of your lens. Another important lens feature that you don't usually see but is important to consider is weather sealing. Professional lenses often have weather sealing to protect against dust and moisture when shooting outdoors.
So if you're someone who shoots in unpredictable conditions where the skies could open up and it could start raining or you're on a beach with blowing sand, the extra durability could make a big difference in how long your gear lasts. And this is one of those features that you don't think you need until you do.
I didn't really care about weather sealing until the first time I needed weather sealing. When you've hiked a few miles up into the mountains and a storm rolls in and it starts pouring rain and you reach in your camera bag and realize you didn't pack your rain cover for your gear, you're going to be really happy you have weather sealing. It's not exactly a fun feature on a lens, but it's one you're gonna care about when the right time comes. That's it for now.
Thanks for watching. There's a lot more lens knowledge ahead, so be sure to check out the rest of the course.
- Welcome back. I'm Allison here to talk more about some lens fundamentals here at Alpha Camera Academy.
Let's discuss the difference between prime and zoom lenses. A prime lens has just one focal length, like 35mm, which means it doesn't zoom in or out. And if you want to get closer to your subject, you have to move your body. The great thing about prime lenses is they're usually sharper, lighter, and better in low light thanks to wider apertures like f/1.4.
Prime lenses are often used for portraits because they give you that beautiful, smooth, blurry background that really makes people stand out. They're also popular for street photography because they're compact and discreet. Nothing draws attention on a street like a big camera setup. So if you have something a little bit smaller, that's easy to fit in a bag, carry around, that's always a plus.
Prime lenses are also commonly used for anything shot at night or in low light conditions because they tend to have wider apertures, which are better performing in low light. So if you shoot astrophotography, you might want to consider a prime lens. One of the things I personally like about a prime lens is it encourages my creativity a little bit because I can't zoom in or out, so I have to get creative and move around to find different compositions and angles.
Now, compare that to a zoom lens, like a 24-70mm. With a zoom lens, you can change the focal length you're shooting at by twisting the zoom ring, which zooms you in closer to your subject. This means I can stand in one spot and shoot several different compositions without moving. So the upside of a zoom lens is versatility. When capturing images on the go, I don't have to be swapping out lenses and running around to capture a variety of images. I can often get away with carrying one zoom lens, so my bag is lighter and my back is happier.
I also find I can shoot faster with a zoom lens, like it takes two seconds for me to zoom in or out and recompose an image. And it also allows me to capture what I think of as safety shots. Sometimes when you're taking a picture, you're looking at the scene in your viewfinder and you frame your image and you think, this is exactly what I want. And then you pull that image into your computer and you're like, this framing is all wrong. All the time, I'll look at something on my computer and it feels completely different than how I saw it in the camera, and I'll wish that I had a little more breathing room or that I was a little more zoomed in to get more of that detail. So when I'm shooting on a zoom lens, I'll typically frame the shot, how I think I want it, how I think it looks best, but then I'll take two other shots. I'll do one that's a little more zoomed out with a little more breathing room, and I'll get another one that's a little more zoomed in just in case I pull everything into my computer and I'm like, I needed a little extra space here, or, this isn't really getting close like I wanted it to, and I can do that all without moving my feet. It takes two seconds. Zoom out a little, snap, zoom in a little, snap.
If you're traveling or chasing kids around or building your first camera set up and you're looking to start with just one lens, a zoom is going to be most versatile. The trade off is zoom lenses are typically a bit heavier than prime lenses, and you often don't get as wide of aperture with them, so you lose a little bit of that low light performance and the ability to create that blurry background with a shallow depth of field.
That's a wrap for this module, but there's plenty more in the course. So I'll see you in the next one.
- Welcome back. I'm Allison, and we're talking about Lens Fundamentals here at Alpha Camera Academy.
Let's dive into lenses for portraits. Whether you're taking photos of clients, your friends, family, pets, having a portrait lens is super fun, and for me was the first kind of lens that made me feel like my photos looked professional. It gives you that creamy background blur that looks like it's straight out of a magazine.
I remember when I bought my first camera, it came with a lens in a kit, and I thought that because I bought a big camera, like I see professionals using that, my images of people were just going to look like theirs, and I couldn't figure out why they didn't until I used a portrait lens.
For photographing people, a portrait lens is going to be the one that makes you go, oh, that's how they do that. The hallmark of portrait photography is a shallow depth of field that isolates your subject, and a portrait lens is going to help you create that blurry background. Two things that help with this are a wide aperture and a longer focal length.
Because even if two lenses have the same aperture, like f/1.4, the lens with the longer focal length is going to blur the background more. For example, an 85mm lens at f/1.4 is going to give you a softer, more blurred background than a 35mm lens at f/1.4. And that's because of something called lens compression.
Lens compression is a fancy way of saying the longer your lens, the closer and more squished your background is going to look. When you use a longer lens, meaning a larger focal length, the background appears closer and more out of focus. Faces also tend to look more natural and flattering, which is why portrait photographers tend to use them.
Another important thing to know is how distance affects your background blur. If you bring your subject further away from the background, it'll look softer and more out of focus, even if you're not using the widest aperture. So it's not just about lens specs. How you position your subject can also make a big difference.
Some of the most popular portrait focal lengths are 35, 50, 85, and 135mm which are all common prime lenses. A 35mm is great for environmental portraits where you want to see more of the scene, and something like an 85 millimeter is ideal for the classic headshot where you just have from the shoulders up. But there's no single right portrait lens. It's all about your preference and how you like to shoot your subjects. But you don't always have to use a prime lens for portraits. Another great option is a zoom lens with a wider aperture like the Sony 28-70mm f/2 G Master. This will give you that flexibility to zoom while still getting that soft background blur.
We have more lens fundamentals to explore, so keep watching and I'll see you in the next one.
- Welcome back. I'm Allison, and we're diving back into the world of lenses. Let's explore lenses for landscape photography.
Landscape photography is all about capturing the beauty of the outdoors, mountains, oceans, even city skylines. It's taking a picture that shows the vastness of a space. If you've ever stood at a waterfall and wondered, how do I capture all of this in a photo? That's what we're going to be talking about because the right lens makes all the difference.
When photographing landscapes, you're typically trying to show as much of the scene as possible, so you want a lens that's wide - that gives you the full view from the sky above to the trail at your feet. So wide angle lenses are going to be key because they allow you to fit more of the scene into your shot. It's like using the ultra wide camera on your phone, but way better quality.
Some common focal lengths for landscapes are 12, 16, 20, even 24mm. The smaller the number, the wider the view. That being said, I also want to note that while wide angle lenses are thought of as traditional for landscapes, because they capture those grand views, don't overlook medium and telephoto lenses for landscapes as well. Something like a 70-200mm telephoto lens can be great for capturing details of a mountain peak or a ridge line, or the trees in the distance. Details of a landscape that you're not going to really notice with a wide shot.
Using a longer focal length can compress layers in a landscape to create a different, more dramatic look. So actually, my favorite way to shoot landscapes is I get my wide shots in and then I pull out a telephoto and I see what are the details that I don't see in the wide shot, and I snap a few photos with that too. For the wider shots, I love a 16-35mm lens for landscapes and getting outdoors, because the 16mm end is very wide, I can capture that wide open valley, that epic mountain scene, that tall waterfall.
And then the 35mm end allows me to zoom in if I want to focus on a smaller part of the scene. Wide lenses on landscapes can also help exaggerate your perspective by getting close to your foreground subjects like rocks or flowers. It allows you to play with composition and make the viewer feel like they're standing right there with you. Another lens that's great for landscapes is an ultra-wide prime lens, because their lightweight, compact, they're easy to carry around. They don't take up a lot of space or weight in your hiking bag, but because prime lenses also usually have a wider aperture, it can double as a great lens for night sky photography. Because sometimes you might want to capture a landscape under the stars or the northern lights if you're lucky.
Thanks for watching. That's it for landscape lenses. Stick around and I'll see you in the next part.
- Welcome back. I'm Allison here to talk more about lenses. Let's jump into some lenses that are great for wildlife and action photography.
Whenever people ask me what my favorite subject is to photograph, my answer is always wildlife. It's so exciting - you'll never take the same picture twice, but you've got to have the right lens at the right time to get the right shot. Because when you're shooting wildlife or sports, the action happens fast and it usually happens far away.
So a good telephoto lens is a must. Telephoto lenses are like binoculars for your camera. They bring subjects in the distance close to you. And the telephoto zoom is really handy because you can quickly change your focal length without having to switch lenses because when it comes to action, you don't have time to switch lenses. You can't ask that lion on safari to just hold that pose or that athlete to wait a minute before making the game-winning shot. You have to be ready all the time, which is part of what makes it so exciting.
A great place to start is the 70-200mm focal range. This is a classic, it's probably my favorite focal range to shoot in because everything looks good with a 70-200mm lens. Like really, this is the lens that I've taken the most photos with that people have asked me, "What lens was that shot with?" In a larger environment like outdoors at a park, or in an arena, 70mm is wide enough to capture your subject in the context of where they are. And then the 200mm end punches you right into those details. And I love that because it's a zoom, it takes one second for me to switch between the two focal lengths. This range is great for sports, maybe people in the distance or large wildlife that isn't too far away.
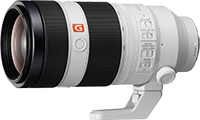
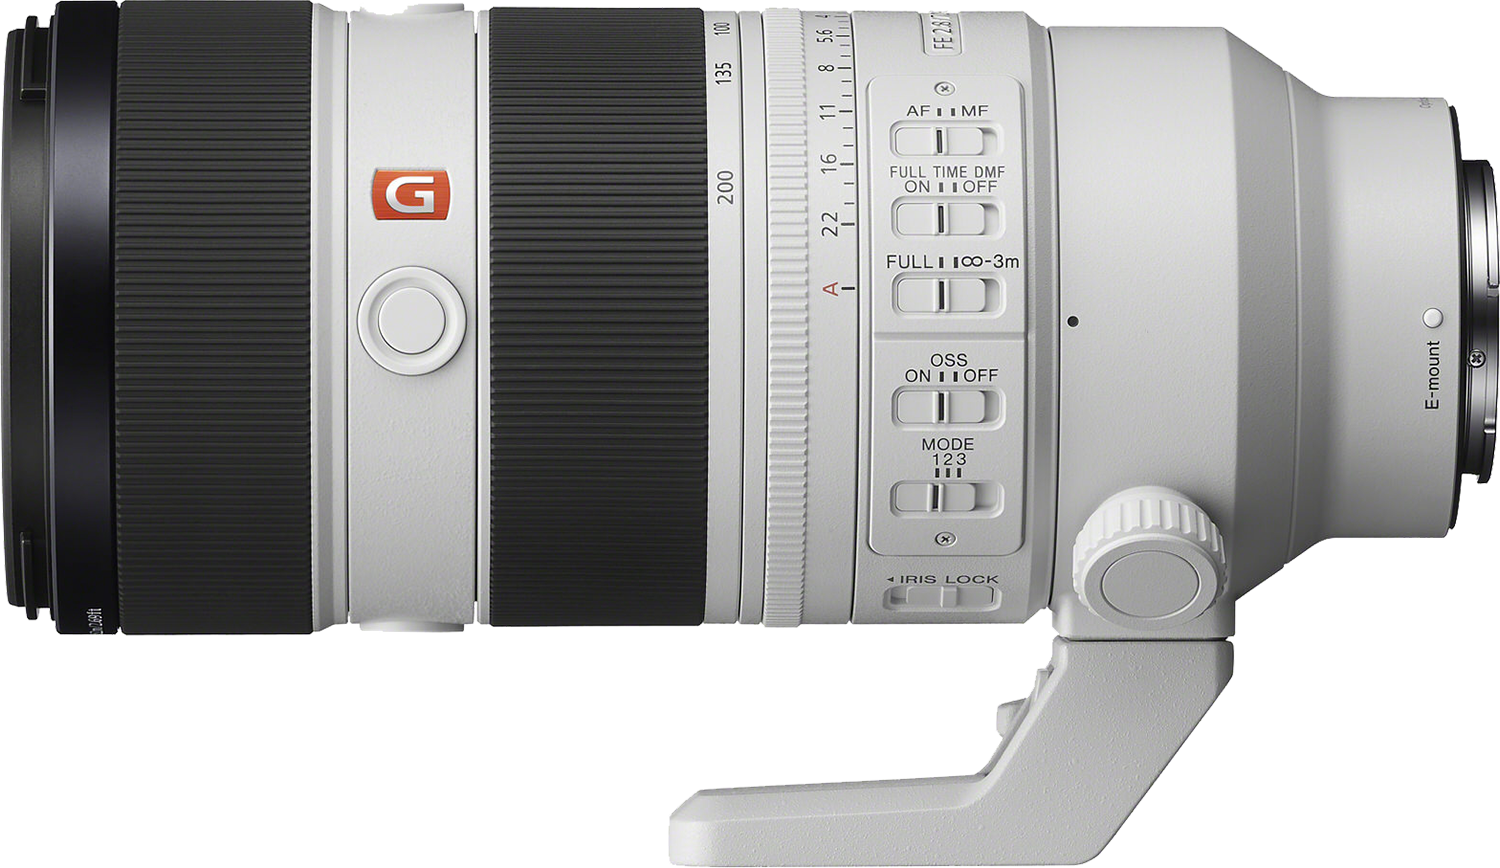
Now, if you're looking for even more reach, a 100-400mm or 200-600mm lens will really get you close to your subject. This is a 100-400mm, and it's my go-to wildlife lens. I have used this all over the world on African safaris, on beaches in Antarctica, shooting penguins. It's such a versatile range for wildlife. If I could only bring one lens for a wildlife focused trip, this would be it. But if you're looking to capture smaller wildlife like birds and trees, a 200-600mm lens is probably the better fit for you. When it comes to wildlife, you'll be surprised at how much reach you'll want in a lens.
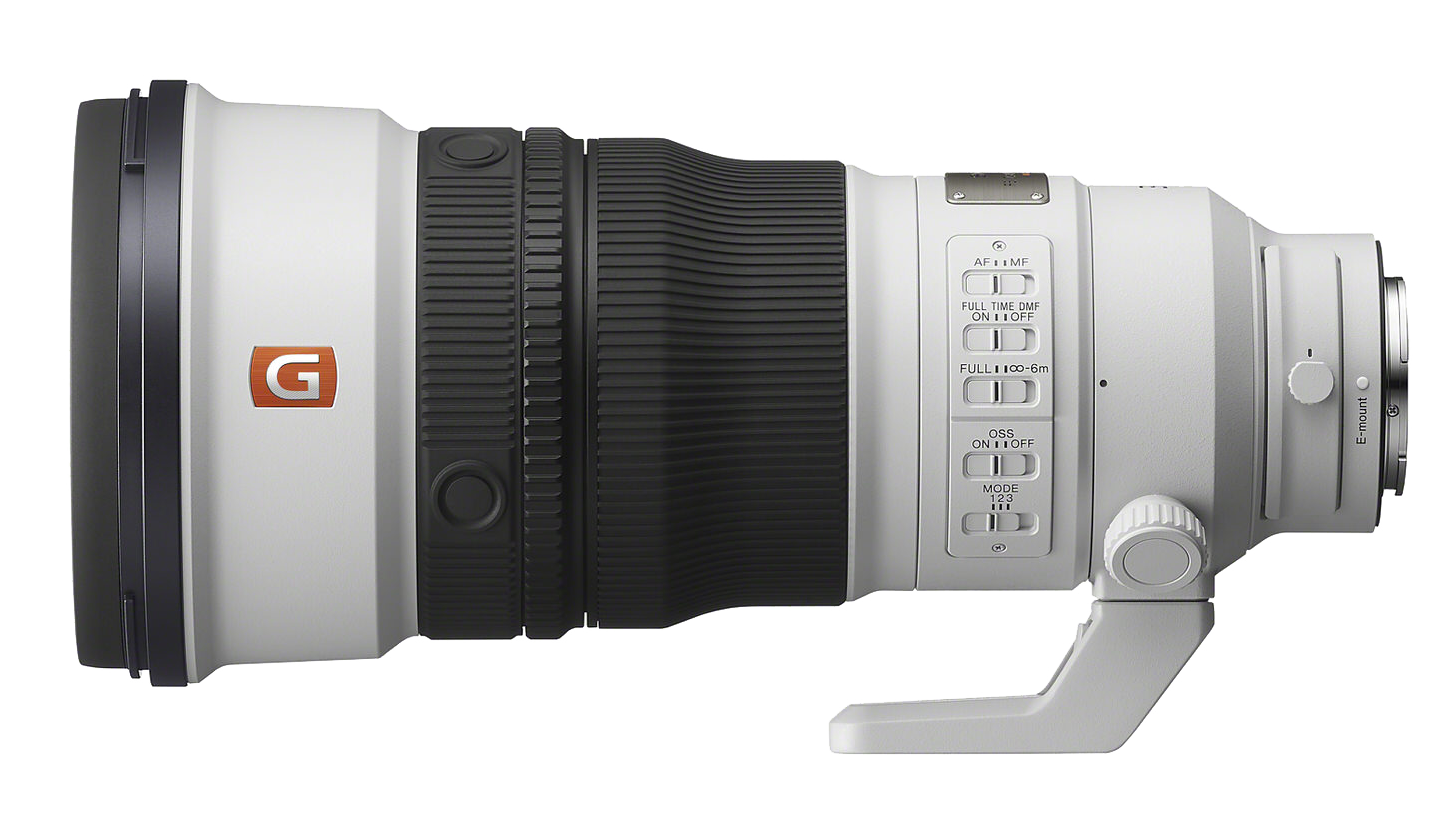
So my tip is, if you're unsure, go with the longer lens. And then if versatility is less important to you and you really want that magazine style, National Geographic, Sports Illustrated, really shallow depth of field, a telephoto prime is going to be peak image quality. When you combine the speed and depth of field of a prime lens with the length of a telephoto, you can get some really incredible images. This is a 300mm f/2.8. I've taken some of my favorite images with this lens from penguins in the Falkland Islands to leopards in Zambia. Every time I shoot with this lens, I capture an image that wows me.
The downside of telephoto primes is pretty obvious. They're big. This is not a light little discreet lens to be packing around, but the image quality makes up for it. So whether you decide to go with a zoom or a prime, a telephoto lens is a great piece of gear to have in your kit.
That's it for now. Thanks for watching. Stick around and I'll see you in the next part.
- Welcome back. I'm Allison, and we're talking about Lens Fundamentals here at Alpha Camera Academy. Let's explore lenses for travel photography, which is one of my favorite subjects because travel is my specialty.
I've traveled around the world and captured everything from big cities to remote wilderness. And there are two aspects of a travel kit that are essential for me: portability and versatility, which makes lightweight zooms my best friend because they give me the most flexibility without weighing me down.
When I first started traveling, I only took prime lenses with me. I would carry around a backpack full of three, four, sometimes five different prime lenses, and I would constantly swap them out because I'd see something I wanted to take a picture of. And then I would try on different lenses to see which one got the composition right.
And one day I found myself kneeling on a busy sidewalk in Tokyo, hunched over my camera bag, swapping a lens for the fifth time that hour to try and get a composition right. And I realized this is not the way to be doing this. I'm enjoying this trip less because this setup is so cumbersome. I don't want to change lenses every five minutes while I'm moving around a city or hiking on a trail. It slows me down. It also makes my bag way heavier, carrying so many lenses around. I don't want to be in a new exciting place and have to cut my day short and head back to the hotel because my back is hurting so bad from lugging so much gear around, which I've done.
So if I have a zoom lens on my camera, I don't have to change lenses all the time. My favorite travel focal length is 24-70mm. The 24mm end is wide. It allows me to capture a lot of a scene, and then 70mm allows me to zoom into those details and start getting lens compression. I've shot entire trips with just this focal range. And if I was going to a surprise destination where I didn't know what I was going to be shooting, this is the range that I would feel most confident taking with me to cover as much as possible. But if you want to travel with more than one lens, it's nice to take a combination of zooms that cumulatively cover a larger focal range.
The combination I travel with most frequently is a 16-35mm, 24-70mm and 70-200mm. This combination is sometimes referred to as the Holy Trinity of lenses in photography, because I get a 16-200mm range that allows me to capture almost any scene I come across. And you'll often see these three focal ranges offered in different apertures. Like you might see a 16-35mm f/2.8, and then also a 16-35mm f/4 The f/2.8 version is going to give you that extra light gathering ability with a wider aperture, but it's also probably going to be a little bigger and heavier.
So if size and weight is your primary concern, you want the smallest, lightest lenses you can get. Look for these focal links at an aperture of f/4, maybe higher, and if low light capability and shallow depth of field are your priority, look for these focal links at an aperture of 2.8. So whether you're hiking through a national park or exploring a new city, lightweight zoom lenses are going to be key to capturing your environment without slowing you down.
Thanks for watching. There's more to learn. So keep going and I'll see you in the next part.
- Welcome back. I'm Allison here to talk more about lenses.
Let's chat about some fun specialty lenses that you might not hear about as much that can really switch up your photography. Specialty camera lenses are lenses designed for specific creative effects or shooting situations that go beyond what your standard, wide, normal and telephoto lenses can do. They change the way your camera sees the scene by altering the perspective, the focus, distortion to make your images unique.
First up, we have macro lenses. These are lenses designed to get super close to tiny details like a bee on a flower, the whiskers of your cat, the texture of a fabric. A macro lens allows you to capture the little things that you wouldn't normally notice with your naked eye or a normal lens. It's like a magnifying glass for your camera, and they're a fun way to try photographing something different.
I feel like as photographers, we're always looking at the big scene, and a macro lens forces you to change the way you're looking at the environment around you and hone in on those details. And you might be surprised if you don't feel a lot of inspiration to photograph the environment around you.
A macro lens can reignite that inspiration in a whole new way. Your home or backyard might seem super boring until you pull out a macro lens. The really great thing about macro lenses is they can be used for normal photos as well.
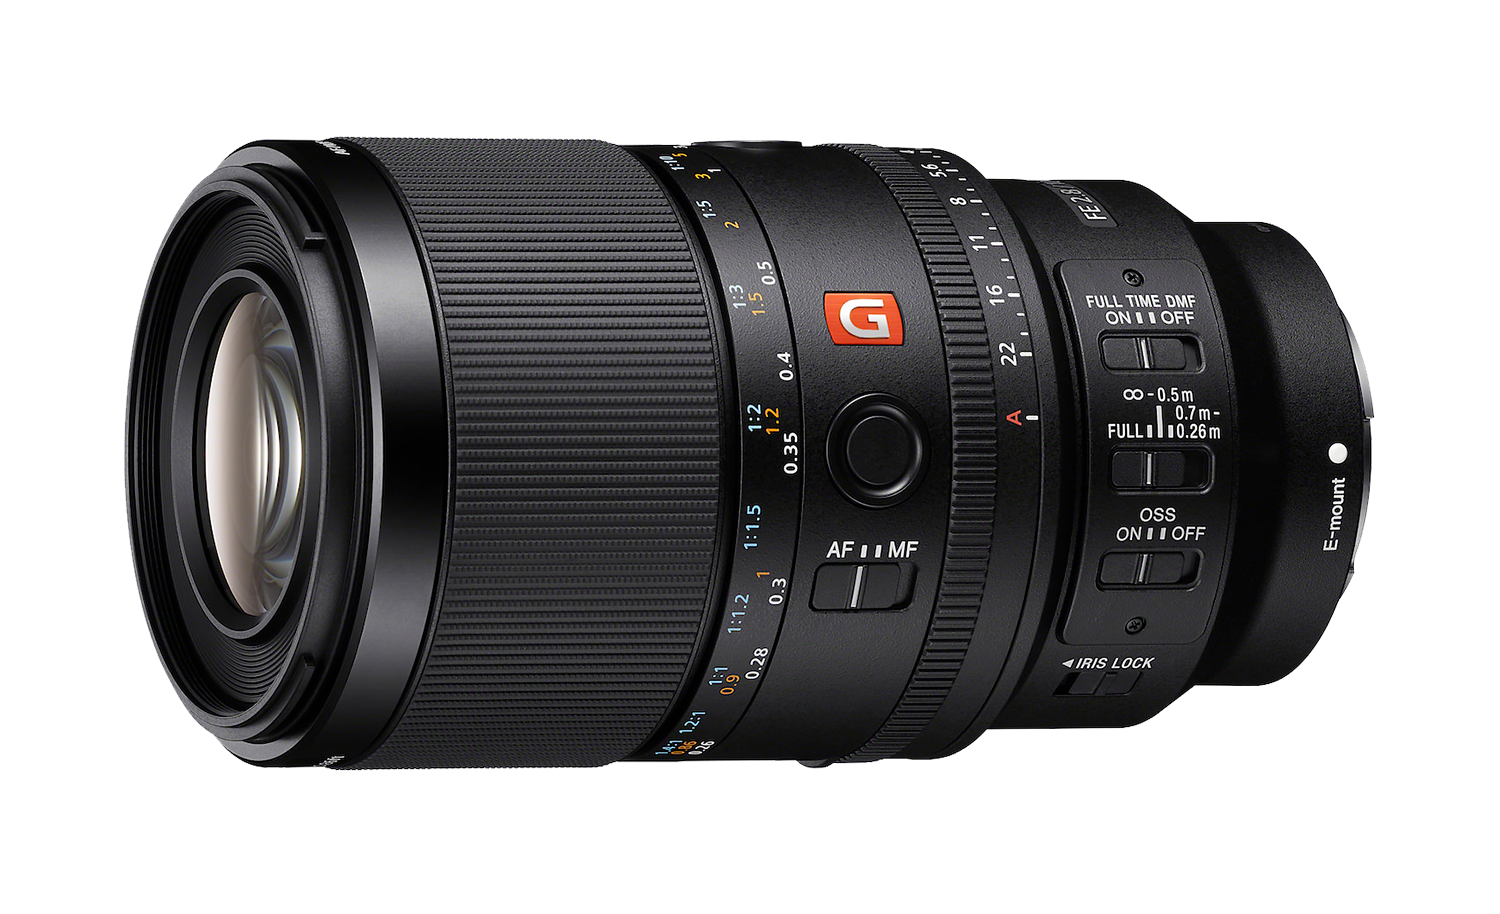
This is a 100mm f/2.8 macro lens, which means it can be used for macro photos, but also for regular 100mm images as well, which makes it great for portrait photography. Because this focal length and aperture is going to give you that subject isolation and creamy blurred background that you want. So for being specialized, macro lenses are surprisingly versatile in your kit, which is nice, especially if you're just starting out building your gear setup, you might not want to invest in a lens that's super niche that you can't use for a lot of things. So with a macro lens that you can also use for normal photos, you're getting more out of it.
Another lens that's fun to use is a fish eye lens. These have a super wide curved view that bends the scene around the edges almost like you're looking through a bubble. It's way wider than what your eyes would normally see. You'll commonly see fish eye lenses used for creative shots like album covers. They're popular for skateboarding, photos and videos. You'll see them in a lot of action cameras. They're great for underwater photography.
Because of the extreme wide angle, fisheye lenses are able to fit more of the scene into a shot. So they're great when you want to get creative and play with perspective, but the distortion means that the edges of your images will bend a lot. So fish eye lenses are better for artistic images rather than realistic ones. And unlike macro lenses, they're not as versatile. You're really just getting one look with a fish eye lens.
Thanks for watching. That's a wrap for this module, but stick around and I'll see you in the next one.
- Welcome back. I'm Allison here talking about some more lens fundamentals.
Let's talk about lens filters. These are an accessory that can really level up your shots, and they sound fancy, but they're incredibly easy to use and can have some really cool effects on your images. A lens filter is like glasses for your camera. Most lenses have a thread at the very end of the barrel that you can screw these circular filters onto, and depending on the type of filter you're using, it'll change the way light passes through the lens and how the image looks.
One of the most popular filters is a circular polarizing filter, sometimes called a CPL. This is your best friend when shooting outdoors. A polarizer helps reduce glare and reflections on water, glass, wet pavement leaves even on a bright sandy beach. It's surprising how much light reflection can be outside. If you've ever been at the lake or the beach and thought, wow, the water is so blue, I want to get a picture of this. And then you've taken a photo and the surface is just like a white reflection and you can't see the color of the water. A polarizer will remove that reflection. So you can see down into the water.
To use a polarizer, thread the filter on your lens, and then look at your screen or viewfinder and slowly rotate the filter until you see the glare disappear in the image. It's really an essential piece in every photographer's kit because this effect isn't something you can achieve in editing later. You can't take that picture of the lake with the white surface and remove the white on the surface. The effect can only be achieved while you're getting the shot. And these filters just make your photos look more clear and vibrant. If you're taking pictures outside, you absolutely want one of these in your kit.
Next, we have neutral density filters, also called ND filters. These are like sunglasses for your lens. They block out light and allow you to use longer exposures in brighter conditions. These are especially useful for capturing a motion blur. If you've ever seen a photo of a waterfall where the water is soft and smooth, that was likely captured using an ND filter. To get that smooth blurred effect on the water, you have to leave your shutter open longer, which also lets in more light. So an ND filter counteracts that extra light, keeping your image exposed properly.
Now you can find ND filters that are a fixed strength that are blocking a specific amount of light that doesn't change. You'll see this listed as like ND 2, ND 4, ND 8, ND 16. If you put a 1 over each of those numbers, that's the fraction of light that the filter is allowing through. So an ND 2 is allowing 1/2 of the amount of light to pass through, and ND 4 is allowing 1/4 of the amount of light to pass through. But there are also variable ND filters, which is what I have here, that allow you to adjust the amount of light blocked by rotating the filter, allowing you to dim the scene to where you want it.
These are especially great for on the go shooting where you don't really know what or where you're going to be shooting and how dark of a filter you're going to need. And it also allows you to use a filter at a custom darkness instead of having to choose ND 2 or ND 4. You can just twist it to what would be ND 2 1/2. Then there are ultraviolet filters, also called UV filters. These are clear and block ultraviolet light, but they're most commonly used as a protective shield for the front of your lens. They're completely clear and don't affect your image much, but if you accidentally bump or scratch your lens, it's a lot cheaper to replace a UV filter than the lens itself. So it's an extra layer of insurance.
That being said, UV filters are something that photographers tend to either love or hate. Some people like that extra layer of protection for their lens, and other people don't like having an extra element of glass at the front of their lens. The two different arguments seem to be, I spent a thousand dollars on this lens. I definitely want to protect it with a UV filter, and I spent a thousand dollars on this lens, why would I throw a cheaper piece of glass on the front of it? So it's one of those things you're probably going to love or hate, and you're just going to have to try to see if it's something you like. So to summarize, filters are a great way to start controlling how your images look straight out of camera, no editing required.
That's it for this one. Keep on watching and I'll see you in the next part.
- Welcome back. I'm Allison here talking about lenses. Today I want to share some of my personal favorite lenses to shoot with, as well as some tips for building out your kit.
I specialize in outdoor and travel photography, so for me, versatility is everything. When I'm on a trip, I don't usually know what I'm going to be shooting until I get there. So when I'm exploring a new place for the first time, I need a kit that can handle anything. I always take a different assortment of lenses with me, depending on where I'm going and what I anticipate I'll be shooting. I don't travel with all of these all the time, but I do typically travel with zoom lenses, so I can cover a larger focal range with fewer lenses.
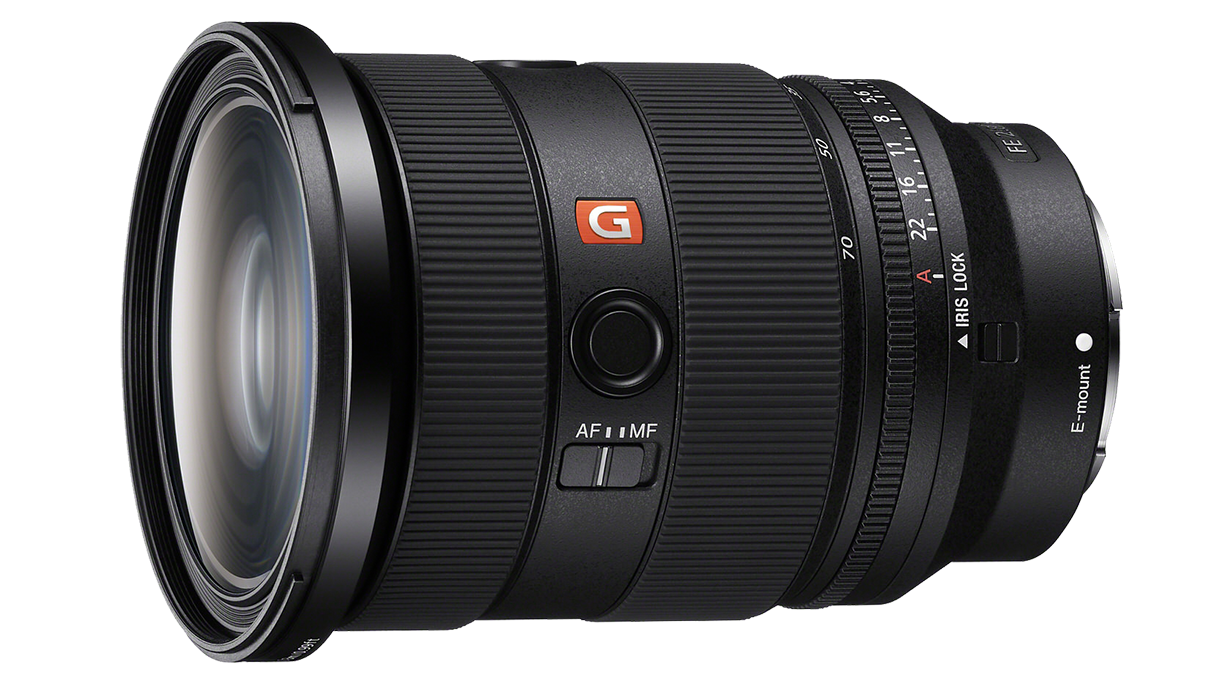
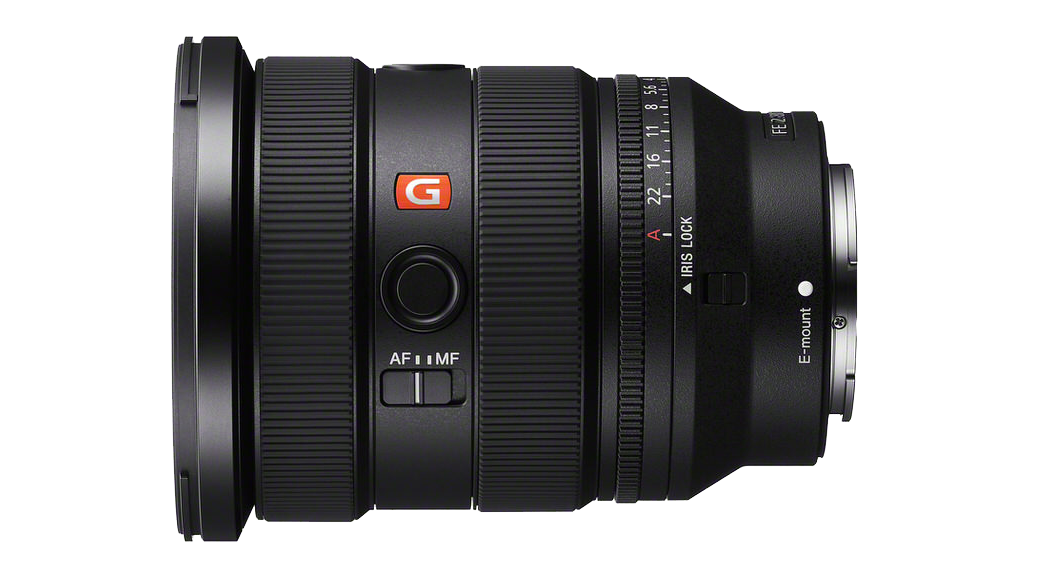
The first lens I pretty much always travel with is the Sony 24-70mm f/2.8 G Master II. I would say this is my most versatile lens. If you said surprise, you're going on a trip somewhere new, we're not going to tell you where you're going and you can only take one lens. This would be it. The 24mm end is going to help me capture the scene, the environment around me, maybe a city street, maybe a landscape. And then if I want to get into some details, the 70mm end is going to punch me in and give me some lens compression.
Another must have for me is the Sony 16-35mm f/2.8 G Master II. This is ultra wide, so it's great for landscapes, for interiors - like if you stay in a cool hotel room you want to get photos of. It's also what I use to film myself on the go talking in my YouTube videos.
And then if I have room in my bag and I'm going somewhere I think I could use it, I love to bring a telephoto. My first pick is usually the Sony 70-200mm f/2.8 G Master II. This gives me a lot of reach to capture things far away without having to move my feet, and it just creates the most beautiful images. If I have space in my bag, I want to bring this lens - unless I'm going to be focusing more on wildlife. In that case, I will opt for my 100-400mm f/4.5-5.6 G Master. This is such a versatile wildlife lens, and the 100mm end is surprisingly wide depending on where you're shooting.
At 100mm, I can usually see an animal's environment around them, like the tree that they're standing next to or the mountains in the background. But then at the 400mm end, I'm getting into those details like the animal's face. And I love that because this is a zoom, I can get both of those shots just seconds apart because sometimes an animal's perched perfectly somewhere and you want both a wide shot and a detailed shot of what they're doing, and you don't have a lot of time to capture that.
And the great thing about both of these is they have Optical Steady Shot, which is in-lens stabilization, which is going to help reduce the blur if your hands are shaking while taking a photo, which when you're holding heavy lenses for a little while, your hands might start to move a bit.
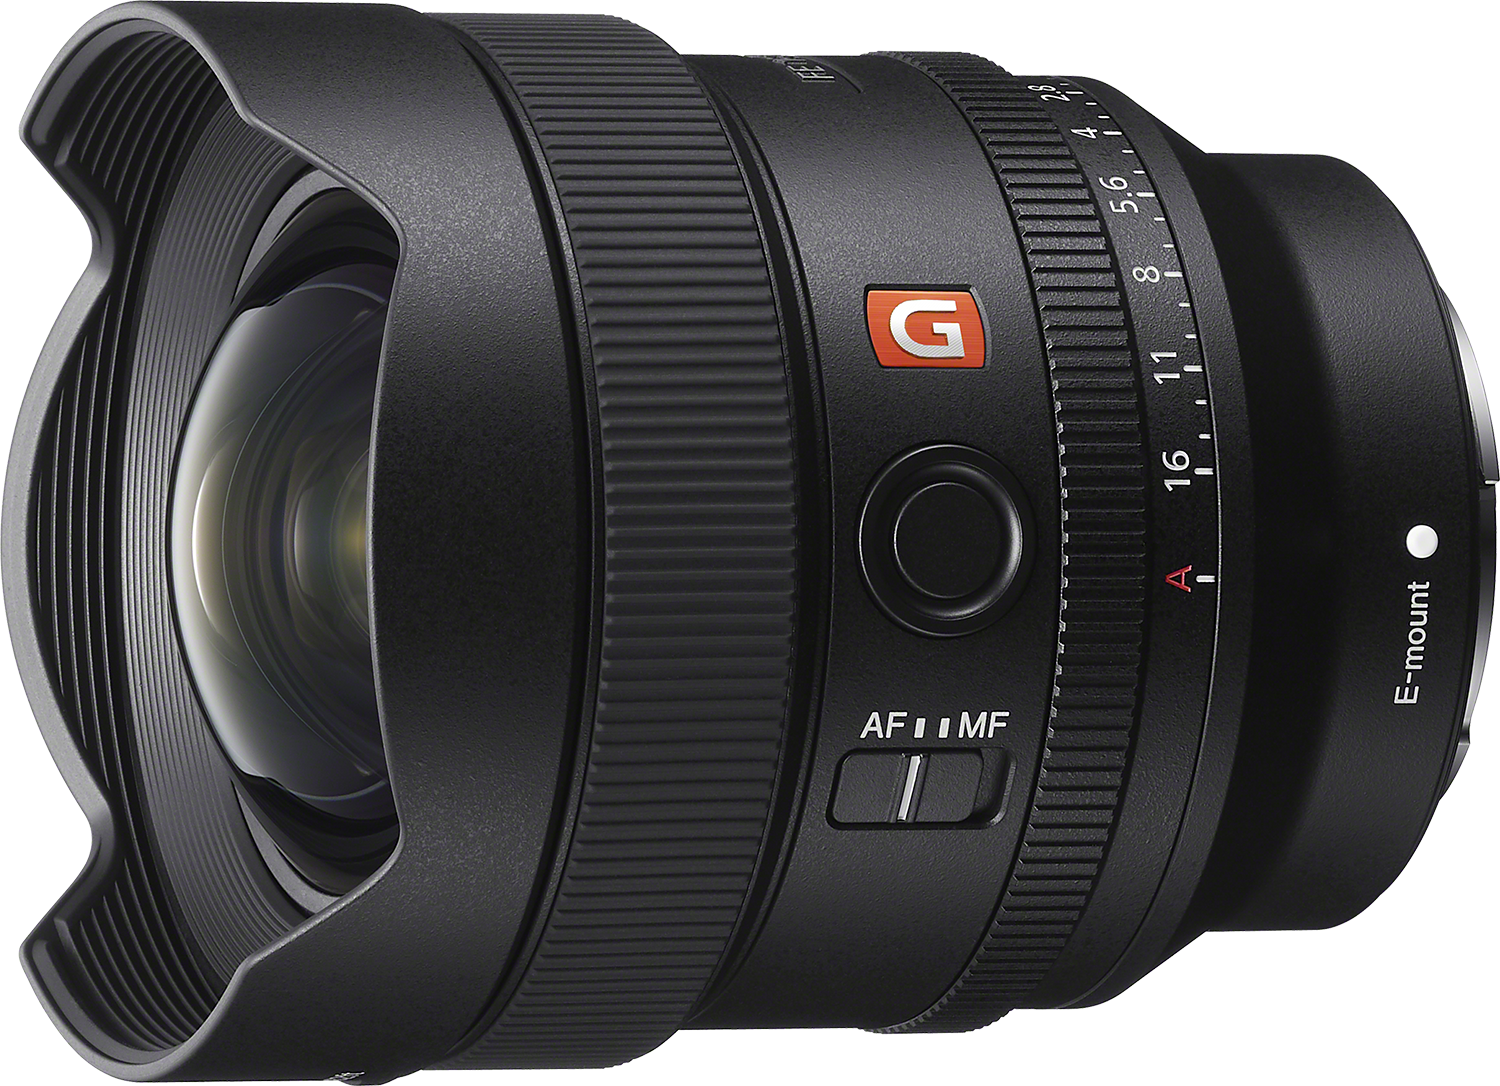
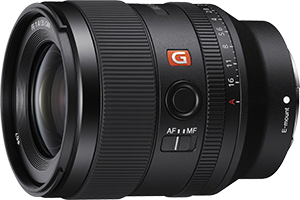
And then if I'm going to pack a prime lens in my kit, the two I reach for the most are the Sony 35mm f/1.4 G Master, and the Sony 14mm f/1.8 G Master. The 35mm is a classic. It's great for the everyday stuff, the pictures of people, casual portraits, street photography. I love the shallow depth of field I get with this, and the wider aperture makes it great in low light, and I like that I don't wonder, is it too dark in here to get a picture? This always does really well.
And then the 14mm is my favorite for astrophotography. The f/1.8 aperture is amazing in low light. That makes it great for capturing the night sky, whether it's the Milky Way or the Northern Lights. So if you're just starting to build out your kit, think about what you want to shoot, what excites you, and if you don't know yet, that's okay too. If that's the case, I would start with something versatile, like a 24-70mm zoom, or a 35 or 50mm prime if you want that blurry background look.
Also, more is not always more. I've seen incredible work shot with minimal kits. A simple well thought out setup is going to allow you to focus more on seeing and shooting and less on juggling gear. If your kit feels cumbersome, it will distract you from being present and enjoying the photography experience, which is the whole point. And if you want to get a better idea of if a lens is right for you, renting it first is a great way to find out.
My advice would be to start simple and as your skills grow and you figure out what you like to shoot and how you like to shoot, you can build your kit accordingly.
That's a wrap on Lens Fundamentals. I hope you enjoyed learning about lenses with me in this course, and thanks for watching.
Rate this course
Your feedback helps us improve our content.
Course rewards
Complete any course and earn a unique badge to celebrate your progress. Collect them all as you level up your skills!