Bird Photography
Everything you need to start photographing birds with confidence.
- Details
- Module
- Quiz
About this course
Bird Photography is a practical, beginner mini course designed for photographers just stepping into the world of wildlife photography. Taught by Matt Kloskowski, it feels less like a technical manual and more like a day in the field with someone who genuinely wants you to succeed. You'll work through gear basics and simplified settings – then the course shifts to the creative side. By the end, you'll have the technical foundation and artistic instincts to shoot with confidence and keep growing as a bird photographer.
Course highlights
Instructor
Matt Kloskowski is a photographer, educator and Sony Artisan. Specializing in bird photography, Matt creates education that simplifies the process of taking great photos, and how to edit them to get the results you’ve always wanted.

Matt Kloskowski
Photographer, Sony Artisan Of Imagery
Featured gear
Skills
Transcripts
- Well, hi everybody. My name is Matt Kloskowski and I want to welcome you to our bird photography for beginners mini course here. The way that I'm going to approach these videos is from the aspect of if you are a friend of mine and we were going out to photograph birds and it was really your first time, OK? What I'm going to do, I'm not going to, I'm not going to go into the intricacies of the camera and I wouldn't go over all the settings with you. I would really just help you set your camera up for success, OK? Go over the main settings that you would need for bird photography to be set up for success and go from there. OK? So that's how we'll approach these videos. Very, very quickly, I like to get right into things.
I do run a website over at mattk.com and if you want to learn more about landscape, wildlife photography, both from a photography aspect or a photo editing aspect, it's a great place to go. And I've also got things for you that if you move past what we cover here, I've also got some both free and paid options for you that I'll make sure I put some information to you on the screen here in case you want to find out some more.
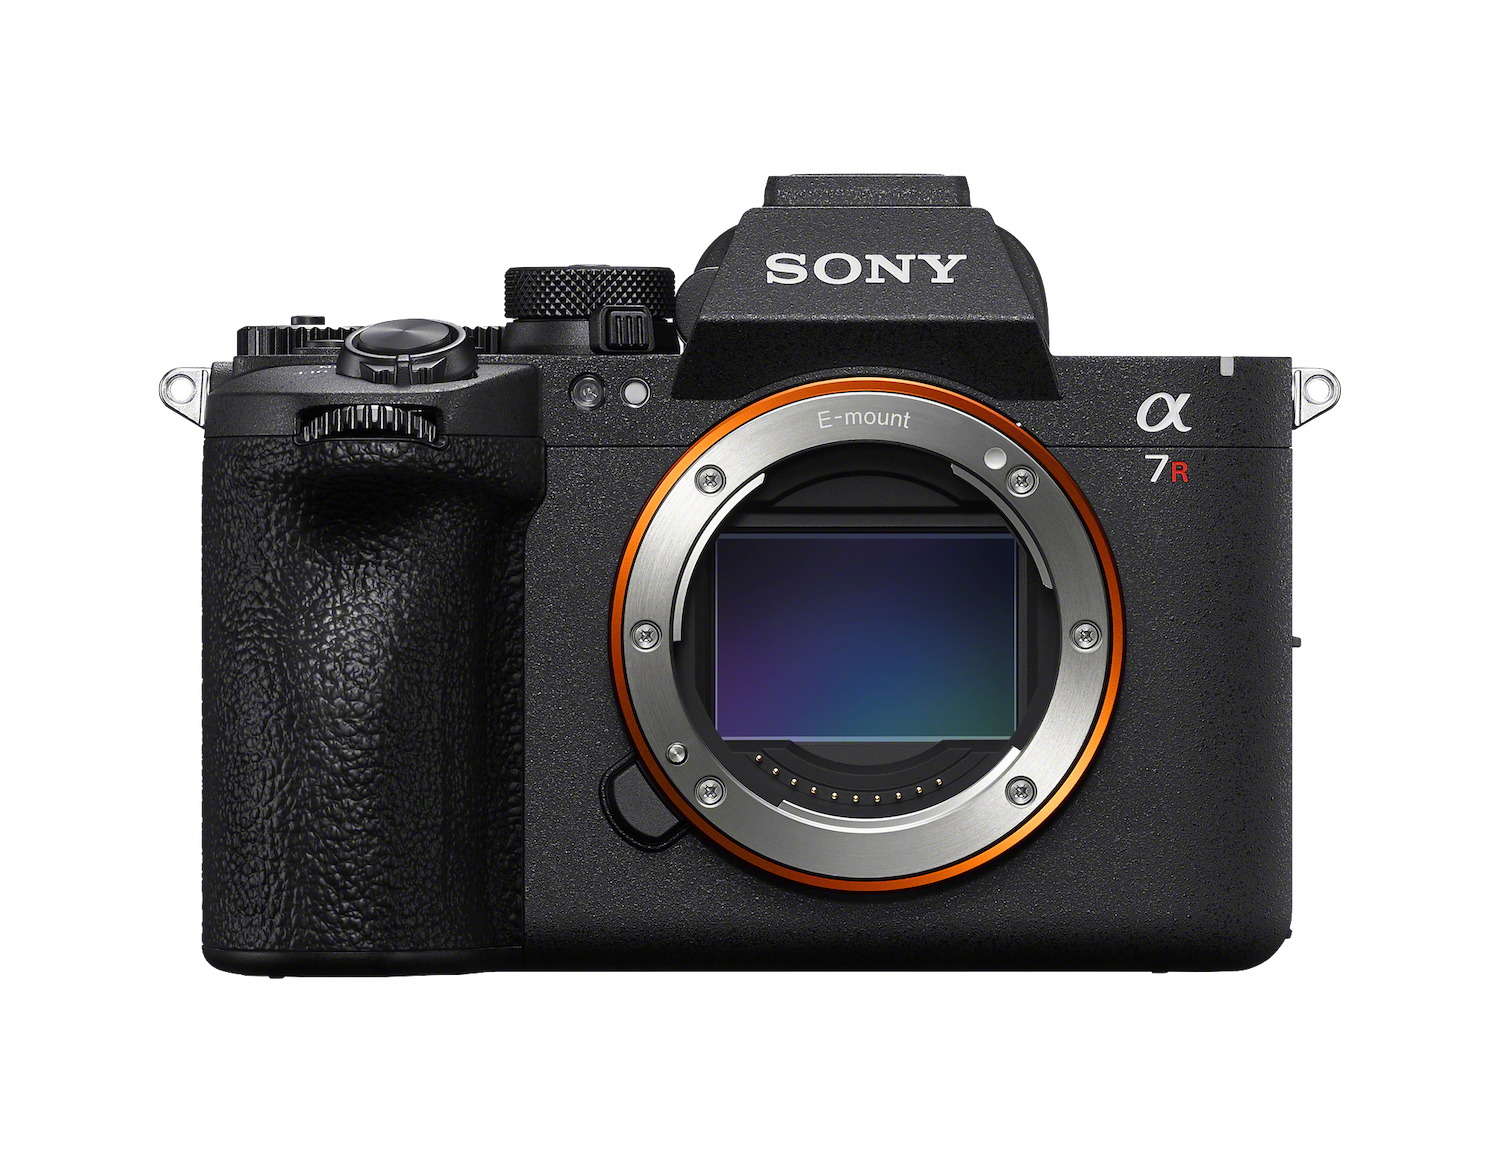
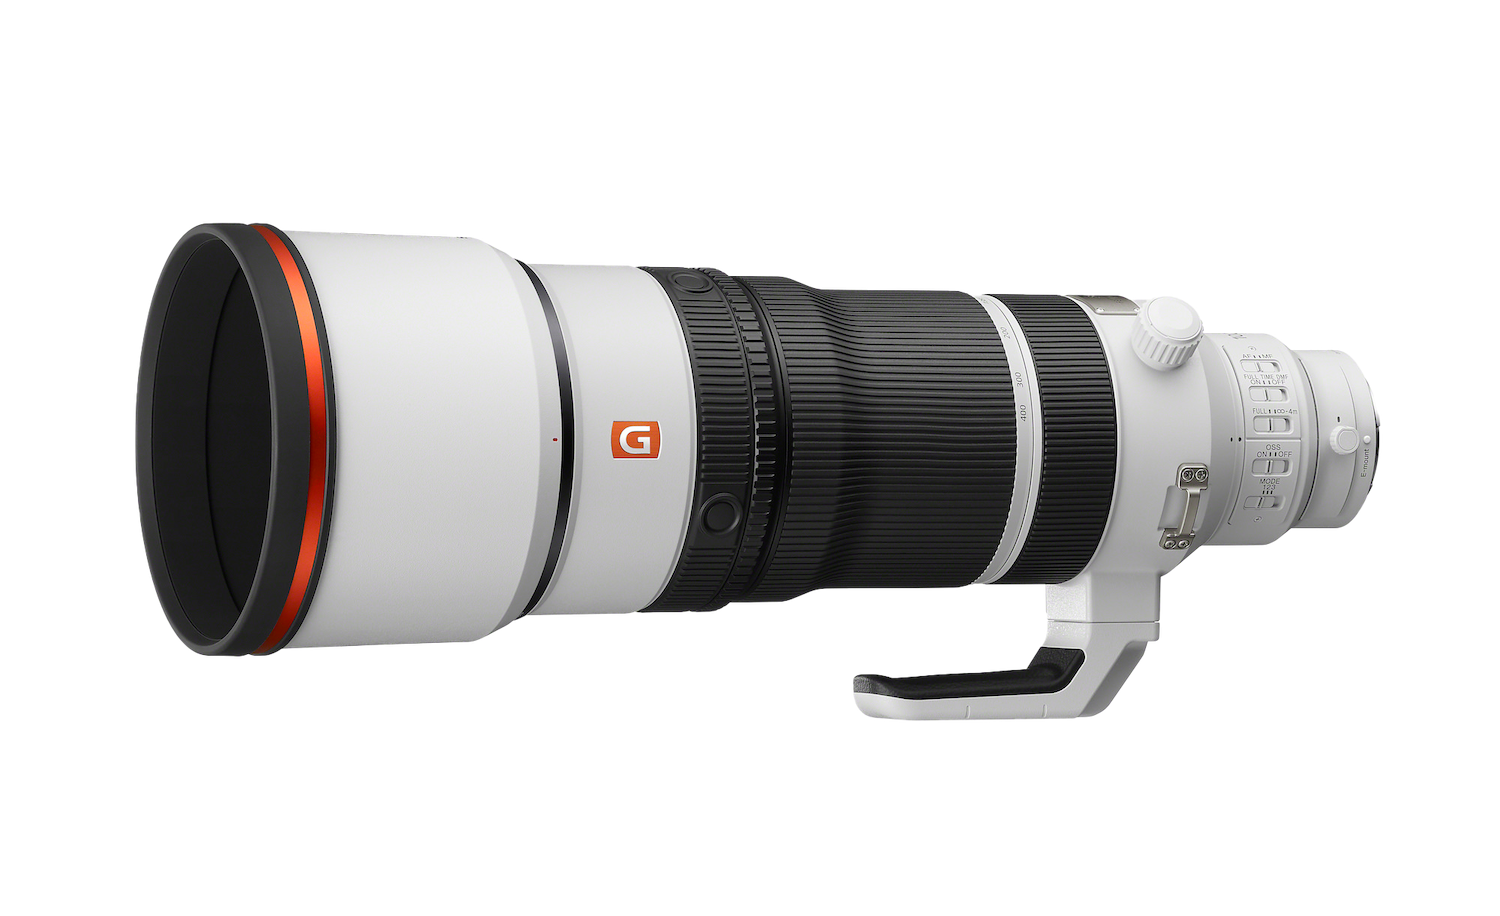
- Let's talk a little bit about the gear. OK. The camera and the lenses. So for these videos, I'll be using a Sony A7R VI, and then I'll be using the Sony 100-400 f4.5 GM lens, OK? Could be one of the best combinations for bird photography and wildlife photography that you could find that's, that's out there.
When it comes to the camera, we've got two different types of cameras. We've got full frame and we've got crop sensor. Your full frame cameras will tend to have a few more features. They'll tend to perform a little bit better, both when it comes to auto focus, the speed of the camera, and also in low light. But they'll also be a little bit bigger and they'll tend to be a little bit more expensive. Your crop sensor cameras will tend to be a little bit smaller, OK? And the lenses that go with them will tend to be a little bit smaller. So if somebody has some mobility problems, it's a great place to go.
Now, does it have all of the autofocus settings and all of the settings and all the performance that the full frame camera has? Not all of them, but you can still take amazing photos with a crop sensor camera. And I always believe first and foremost, and you'll probably hear me say this again, a lot of this depends on the quality of subject that you put in front of you, how close it's going to be, and the light that that subject's in. And if you take care of doing all those things really, really good, it doesn't matter too much what camera lens that you have on - the rest will take care of itself.
Now, speaking of lenses, the focal length that I would consider to be your, your starting point, I wouldn't want to go below this would be somewhere in that 200-300 millimeter range. I get to that ideal point to be in that 400-800 millimeter range, and then 800 and above. And we can put teleconverters on, which will multiply what a lens can can do. Once you get into that, that can be great for getting birds that are way off in the distance. But at the same time, I find that sometimes I miss photos where they're closer to me because I'm zoomed in too far. So a lot of this will depend on what types of birds you like to photograph. OK?
If you like to photograph shorebirds, if you like to walk around your neighborhood and photograph the wildlife that's around there, I think you'll find that those birds tend to be a little bit more, a little bit more tuned to people being around. And we will generally ignore you a lot. OK? So we can usually get a lot closer to them. When we get out to birds that are in the wild, we don't want to you know, really disturb their rhythm. So we want to try to stay back because not only disturbing their rhythm can be detrimental to them, but at the same time it could cause them to fly away. And then you can't get a photo of it. So you have to look at what shooting situations that you're going to be into specifically. But I would say for the larger shore birds, that's great for the smaller birds.
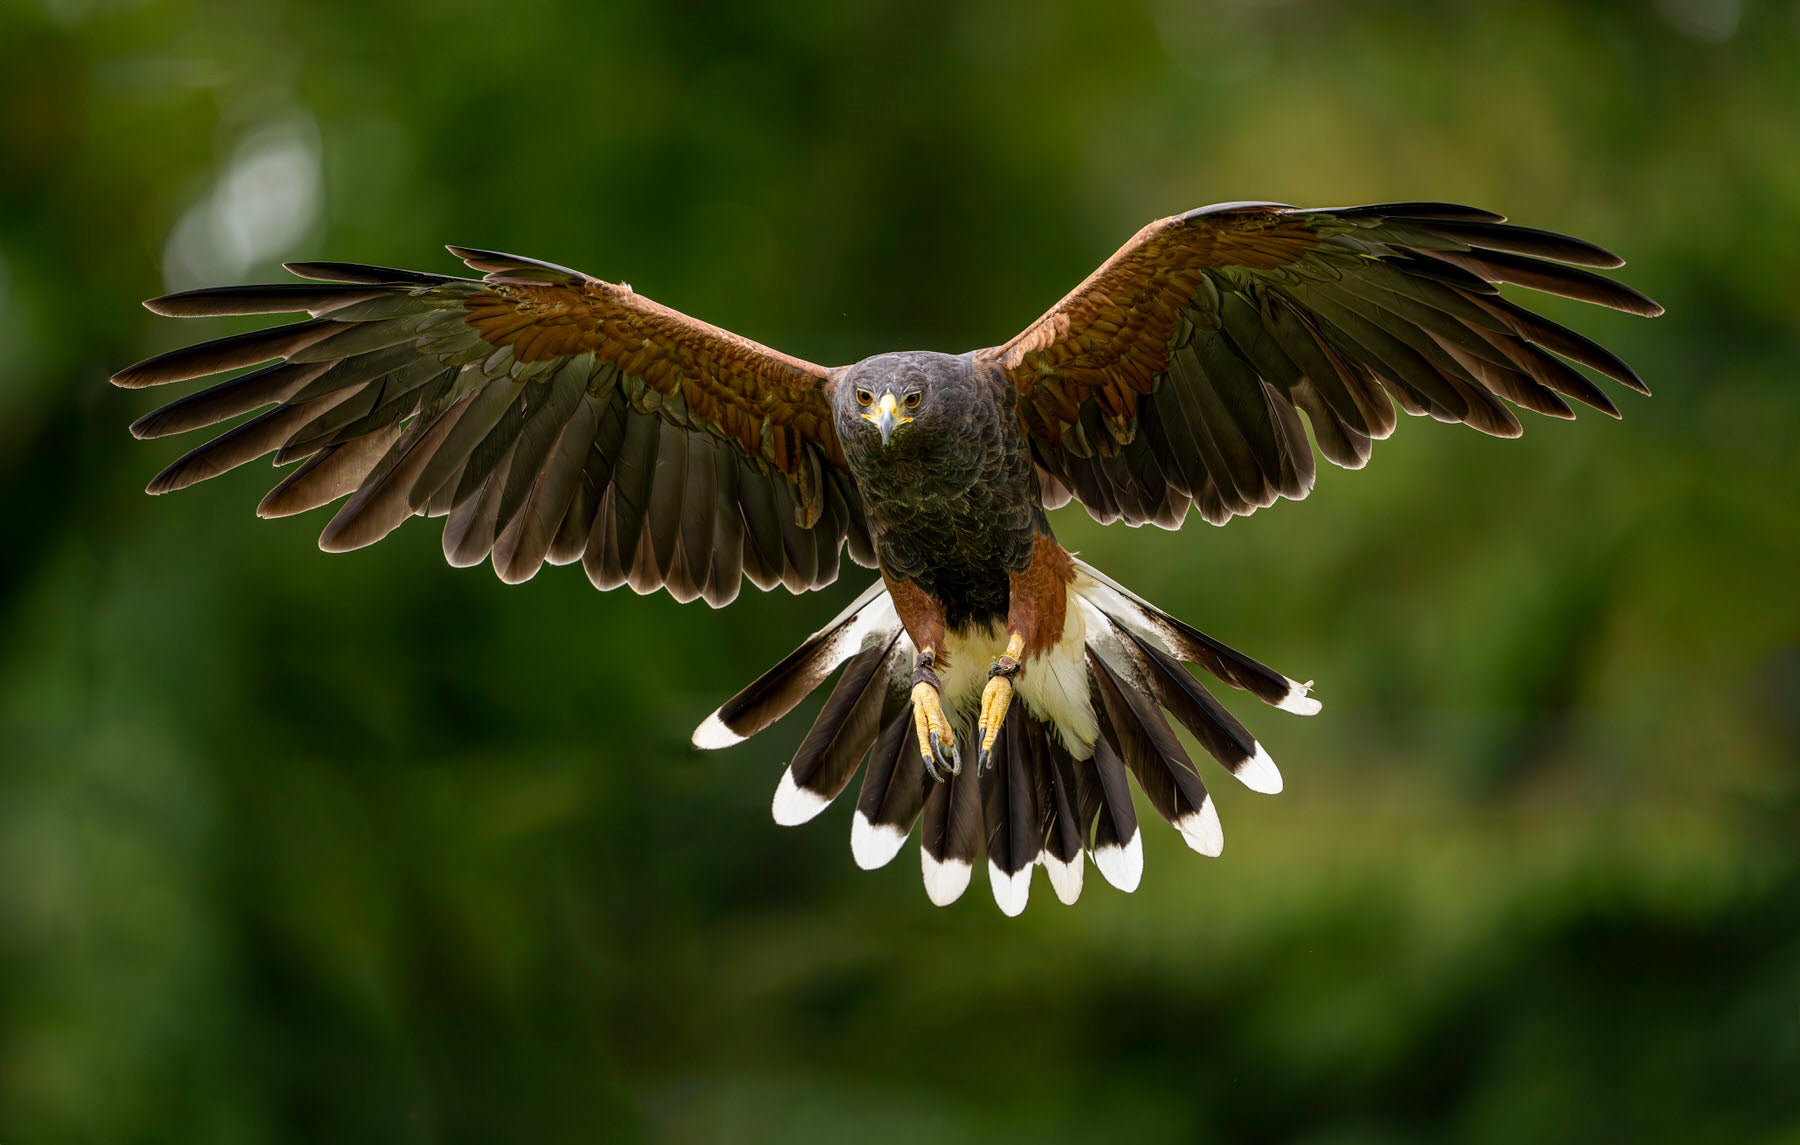
Just remember it's not only the distance that the bird is away, but if you take a small warbler, it is five inches in size about roughly that size. An eagle is about 35 inches in size. So a warbler is seven times smaller than an eagle. So consider that when you're framing up your photo where a larger bird, like an egret or heron or an eagle might look like it's big in the frame. And then you take that same photo of a bird in the same place and it's a warbler and it's going to be a lot smaller, meaning you're going to have to crop in a lot further. So all things to consider with that.
And what I would tell you as we start this off is what I tell everybody, and that is, it sounds a little corny, but the best gear is the gear that you have. OK? I'd rather see you take the gear that you have, use the settings that we're going to talk about because they really worked for just about any Sony camera that's out there. Use the settings that we're going to talk about and get out there and start photographing birds. Start to see what you gravitate toward, and then you'll be in a much better position if you wanted to purchase something or rent something later on, you'll be in a much better situation to figure that out. OK? So now that we covered a little bit about the gear and the next videos, we're going to talk about the settings that make all this happen.
- OK, so next up we want to talk about the exposure settings for bird photography. We want to try to get this as close as possible while we're out there shooting. So we don't want to have to do a lot of editing to the photos. We're going to make this super easy.
Alright, first thing's up, exposure: aperture, shutter speed, ISO. Those are the three things that we can set in the camera to control exposure. And we're going to make this actually a little bit automatic to help us through it. So first thing we want to do is it's almost, if you're just new to photography, it's going to be a little intimidating. We want to use Manual Exposure Mode, OK? Meaning we're going to control all three of those things. But you, you're going to see we're not going to have to do all three of them.
So we want to set to Manual Exposure Mode, not Aperture Priority, not Shutter Priority. Manual exposure, not manual focus, OK? That's the important part. From there, we control all three of those things. So we're going to take the aperture and we've got our little stuffed down animal friend here as a demo. We're going to take the aperture and we're going to put it down to the lowest F stop number that that lens will allow. This is 100-400 millimeter, it will allow me lowest F-stop number is f/4.5. You might have a variable lens, so that number could change for you, but we want to use the lowest and we're going to set it and forget it. Very few reasons we'd ever want to change this for bird photography.
Shutter speed. The next one that we'll want to control here, we're going to set that for a bird that's not moving 1/400 to maybe 1/800. because they're always moving a little bit, so somewhere in between there. For a bird flying, 1/1600 up to 1/4000, you'll generally find me on 1/3200-sec. for most birds in flight. OK? We want sharp before anything, and I promise you, you need a faster shutter speed than you think you do. So from there, we move into ISO. We're not going to use a specific number and set the ISO manually because that would be really hard to do while we're out shooting and the lights changing.
So we're going to set Auto ISO or turn Auto ISO on. And what that does, is the camera will then look at the scene and it'll meter everything and automatically set the ISO so that you get a good exposure. Remember, we've already locked in two other settings. So now the only thing that can change is the light and the camera will figure that out.
Now, I talked about changing the shutter speed because that's all we're going to change. Now you are in an Automatic mode. The moment you turn auto ISO on, your camera will make the right exposure. So it's pretty cool. But we're going to change shutter speed from time to time because the bird might go slower, the bird might be moving faster. That's the only setting we're going to move, and that's the only setting we're going to change. Auto ISO will also figure that out. So if the sun goes behind a cloud, if you move into shade or you change your shutter speed, Auto ISO takes care of getting you the good exposure. And that way the most important part is we can concentrate on the photography in front of us. We're not having to look at a meter, we're not missing the action. We can concentrate on what's going on in front of us, knowing that the camera is taking care of the exposure.
- Now we're getting into the really important stuff. Focus. This is what controls whether our photo is in focus or not. We're going to cover in two parts, Focus Mode and then Focus Area. OK? Focus Area will be the next video. This video will cover Focus Mode, and you essentially have two options. There might be more options in your camera where we're going to, we're going to distill this down to two. There's Single Focus and there's Continuous Focus. Could be called Single-shot AF, AF-S, and then AF-C, or Continuous Autofocus.
But the way to think about this is, you want to set your camera for wildlife photography to Continuous Autofocus. If you have it on Single Autofocus, what can happen is if you have a bird sitting in a tree and it flies towards you, when you press that shutter down and you're taking pictures, no matter how many pictures you're taking a second, this is not related to frame rate, which we will discuss in just a minute. No matter how many pictures you're taking a second it focused, the moment you press that shutter down and it never refocused while it's in AF-S or Single Focus Mode, OK? It just focused that once. So it'll be, the first photos will be in focus, and then everything else after will be blurry with Continuous Auto Focus, which really can't hurt you in most of your other genres either so I would just put it on there and just leave it, with Continuous Auto Focus as long as that shutter is pressed down, it is continuously refocusing on your subject.
Now, where it's focusing, that's what we'll talk about in the next video when we talk about Focus Area. But the amount of times the camera is focusing or trying to find focus, that's going to be called Continuous AF or AF-C, and that's what you want to put your camera on for wildlife photography. Now, the other part of that that we have is called Drive Mode. A lot of people refer to it as frames per second. How many pictures are you taking per second? All your cameras are going to be a little bit different.
I'd say for your wildlife photography, you want to be at that upper end of what that camera can do. If you think about an eagle swooping down and grab a fish from the lake, if you have it on too slow, not enough frames per second, you could have a picture of the eagle above the water, and then the next photo, it's already grabbing the fish and flying away. OK? So you want to be able to capture all those in between moments and have some to pick from, so the only downside of that is you'll fill up your cards faster. You'll have more photos to go through on the computer, but you do get more poses to pick from. So as long as you're good about going through your photos and keeping that in check, I think con, keeping it on Continuous Auto Focus and a higher frame rate is a really good way to start your wildlife photography.
- Now we're going to talk about Focus Areas. Last one was about Focus Mode - we're telling the camera how often to focus. Now we need to tell the camera where to focus, and that's going to be, it's going to be a box that you're going to see when you're looking through the camera and you're going to be able to put your subject into this box.
So think of it this way, the wider you go, the more area you give the camera to focus in, the more, the bigger the Focus Area you give it, the easier it is for you to not have to do work to try to keep your camera on, focus on one thing in the photo - but the more you open the camera up to focusing on something you didn't want it to. The smaller Focus Area you give it, the harder it is for you, but the less variability that you're going to have in the camera to accidentally go focus on something that you didn't want it to go focus on. OK, so there's a little bit of push and pull here, but as we look at our, our fine feathered eagle, stuffed eagle over here, we'll go into the menu here and you'll see that I am on... Let's go into our Focus Areas here, and you'll see I'm on a Wide Focus Area. You can see these brackets on the very outside corners there.
And as I press the shutter halfway down, see these green boxes as I move it around, you can see it does a good job. That's Continuous Auto Focus. By the way, we talked about that last video. Even if I move it off and it loses focus, right as I move it back on, it gains focus back over the eagle there. OK? So that's a very wide area, pretty easy. We have a pretty easy situation here. Now, if I were to go in there and make it a little bit smaller, we have a smaller zone. OK? Now it just means we have to keep it inside that box. That's where the focus has to start. That box is what the camera's going to look in to acquire focus on something. OK? So as we move that around now, we can fall out of there even faster because it was a smaller box.
The next one that I would suggest you become really good at is the Center Point Fix. This is the smaller one in the center. It does require you to be a little bit more deliberate about keeping your subject in there, but it lets the camera, it really restricts the camera, I should say, from going to find something else. So if you're thinking of a bird in the sky - Wide might be pretty good. If you're thinking of a bird sitting on a branch with a lot of other branches moving in the wind, the camera can sometimes go and find something else to focus on that you didn't want it to. But if you have that smaller spot, you're keeping your subject in there, it's just a lot more reliable.
Also, some of your cameras do have tracking enabled in there. So if your camera does have a tracking feature, once you acquire it, if it leaves that Focus Area, the camera will track it. So that's something to look for inside of your camera to see if it has that option inside of there. Now the other thing that we can look to here is we also have Subject Recognition. So that can help out. Again, if you've got that bird sitting in a tree and there's a lot of other things going around, there's a lot of branches moving in the wind, there's a lot of detail and contrast in there. If I turn Subject Recognition on and then I tell it, I want it to focus on the animal, the bird option.
So now what's going to happen is it'll look into that Focus Area, but it'll be more particular about what it's going to find to focus. And if you use that subject recognition now it's going to look strictly for birds or animals inside of that Focus Area. So that's one more level that can help you. But as you're starting out, what I would say is why does a good place to start? You just may notice the camera starts to find things in the photo that you didn't want it to. OK? You may notice the focus leaves your bird and moves something else. If that happens, then I would start to move it down to more of a small center fixed point, and that way you can be more accurate about what you're telling the camera you want it to focus on.
- OK, so let's move on to the creative stuff. We've talked about the camera settings. Get onto the, the creative stuff, which I think is just as important. I said in that first video, get something good in front of your camera, close enough that you can see it, in good light, and the rest takes care of itself. So this, we really need to work on this.
I would say if you made me pick a lighting situation to photograph forever in, I would take a morning or a late afternoon on a partly cloudy day. Big, puffy diffused clouds where you have enough light from the sun, but the clouds are diffusing that light. That's, that's what I would pick by default if I could have it forever. It's not to say we can't photograph in anything else. We can do great in other lighting situations, but that's what I would look for. We want some diffused light. Hard light, hard shadows, it actually takes away from the colors. They look washed out, and then your blacks and your eyes, it, it's just too deep and it becomes too contrasty of a photo to really resonate with. So we want to watch out for hard, hard, light, hard shadows on the bird. OK?
From there, if the sun is out, we want to try to keep the sun at our backs, which means it has to be low enough in the sky that we can keep it at our back, that it's not directly overhead. We want to try to keep it at our back so it's illuminating what we're photographing. What we don't want is to photograph up into the sky with a bird flying and the sun's behind it. OK, that's backlit and it's almost, it's almost unrecoverable.
A good guideline is if you look at the bird and it looks like a big black blob or a little black blob to you, it'll be worse for the camera because your camera can't see as good as your eyes can. OK? So it'll be worse for the camera. So if you see a black blob of a bird, and it's not supposed to be black, that's your indication that you're in. You're in a poor lighting condition, and it's going to be very, very difficult when you get to the computer. You're not even going to be able to recover it over there. So we want to avoid those hard backlit situations.
Now, for every rule, made to be broken - there are times, as long as you don't have the sun in the frame, there are times where you can use backlit to give you some rim light. Feathers can look like they're glowing if you use backlight the right way. And then I also think that we can photograph, you know, before the sunrise or after the sunset, you get those pinks and those blues, or right of the sun's coming up. You can get some of those deep oranges in the photo. And I think that can be really compelling. And then as far as weather goes, I'm just looking, you know, a little bit of wind is great, especially for larger birds. They'll tend to take off into the wind. So if you're trying to get some action shots, you can predict a little bit the direction that they're going to take off and fly.
And it's not, it's not foolproof, but it's a good indicator that a bird is going to at least take off into the wind. So that can help you position where you're going to be at, both from a lighting situation, also from the wind, but I said it earlier, I'll say it again: get something good in front of your camera, in good light, and that's, that's so much a part of the battle. I think the camera settings will start to take care of themself once you can really understand the best conditions to be in.
- Well, as we wrap up here, I think you're going to see that these last two videos will actually become some of the most important. If you follow what we've talked about here, you will get the settings, you will understand them, and you will get sharp photos. It might take some practice, but you will get there. The creative stuff that we're talking about in these last two videos, this will become the hard part and this is what you're going to want to come back to. So keep that in mind as we talk about this.
I'd say first thing is we want some background separation, but what we can't have, are the birds in front of a confusing cluttered background that they're very close to. It's going to, it's going to be hard to connect with the wildlife that's in the photo when the background gets very confusing. So the more space, the more distance we get back behind the subject, the more we're going to get that nice buttery, soft, blurry background. And the subject really pops and really stands off of the background. And you don't have to do a lot of photo editing to it when that happens. OK? So that's the first thing.
Next thing is we want to try to avoid photographing down on a bird if it's on the ground. OK? If it's up in a tree, if it's somewhere you can't get to you, you can't do, can't do it if you, if you can't do it. But if it's down on the ground, we have to get our camera down on the ground and photograph across the, across at the bird. OK? I know some people have mobility problems. I, I have this little tripod camping chair that I sit on. I put my camera down on the ground on, I got this little plastic platform, a Frisbee will do. And then what I'll do is I'll flip out the screen so I'm sitting and I can see it, and then I just hold the top of my camera and I photograph that way. It's a little cumbersome, seems awkward at first, but trust me, you'll get it. With practice, it will become second nature to you. And you're photographing at such high shutter speeds that a little bit of camera shake is not going to affect it.
After that, I would say understand and embrace, embrace the progress. As your abilities change, your taste will change. So in the beginning, you're just going to be happy with a bird on a branch, right? Bird on a feeder, that's going to be just fine. We want to try to move away from that, OK? And we want to try to move to maybe a bird flying and that's, that's going to make you happy for a long time. It's going to be a challenge, but you will get there and that will become, might be hard to believe, it will become very easy for you. Once you get there, then you're going to start looking for action. And action is the kind of thing that can keep you challenged forever, because you never know where it's going to come from. You never know what it's going to be.
But try to put yourself into those places where birds are feeding, where there's a large group of birds and then you're opening yourself up to a lot of different variety of photos. Maybe it's a fish in the air with a bird or another bird and a squabble, but there's so many things that can make for an interesting action photo and that will become the challenge for you. And that's a challenge that can keep you engaged in bird photography for a long time to come. OK, as we wrap up here, I mentioned in the beginning, take a look over on the website there. I've got some free and paid options that take what we learned here even further if you're interested in it. So feel free to stop by there.
And also feel free to stop by and just send me a note with any questions that you might have. But in the meantime, thanks so much for giving me some of your time here. Hope you enjoyed and talk to you again real soon.
Rate this course
Your feedback helps us improve our content.
Course rewards
Complete any course and earn a unique badge to celebrate your progress. Collect them all as you level up your skills!