

Get To Know Your RX10 V
Everything you need to start shooting confidently with the RX10 V – from first setup to action photography and video.
- Details
- Module
- Quiz
About this course
The Sony RX10 V is one of the most versatile all-in-one cameras on the market – and this course is your guide to making the most of it. Taught by photographer and YouTube creator Chelsea Mercado, this course walks you through everything from inserting your battery and choosing the right memory card to navigating the buttons, dials, and menu system with ease. By the end of the course, you'll know how to customize the camera to your shooting style, save your favorite settings to a custom mode dial, and get your photos off the camera and onto your devices – so you can spend less time in menus and more time behind the lens.
Course highlights
Featured gear
Instructor
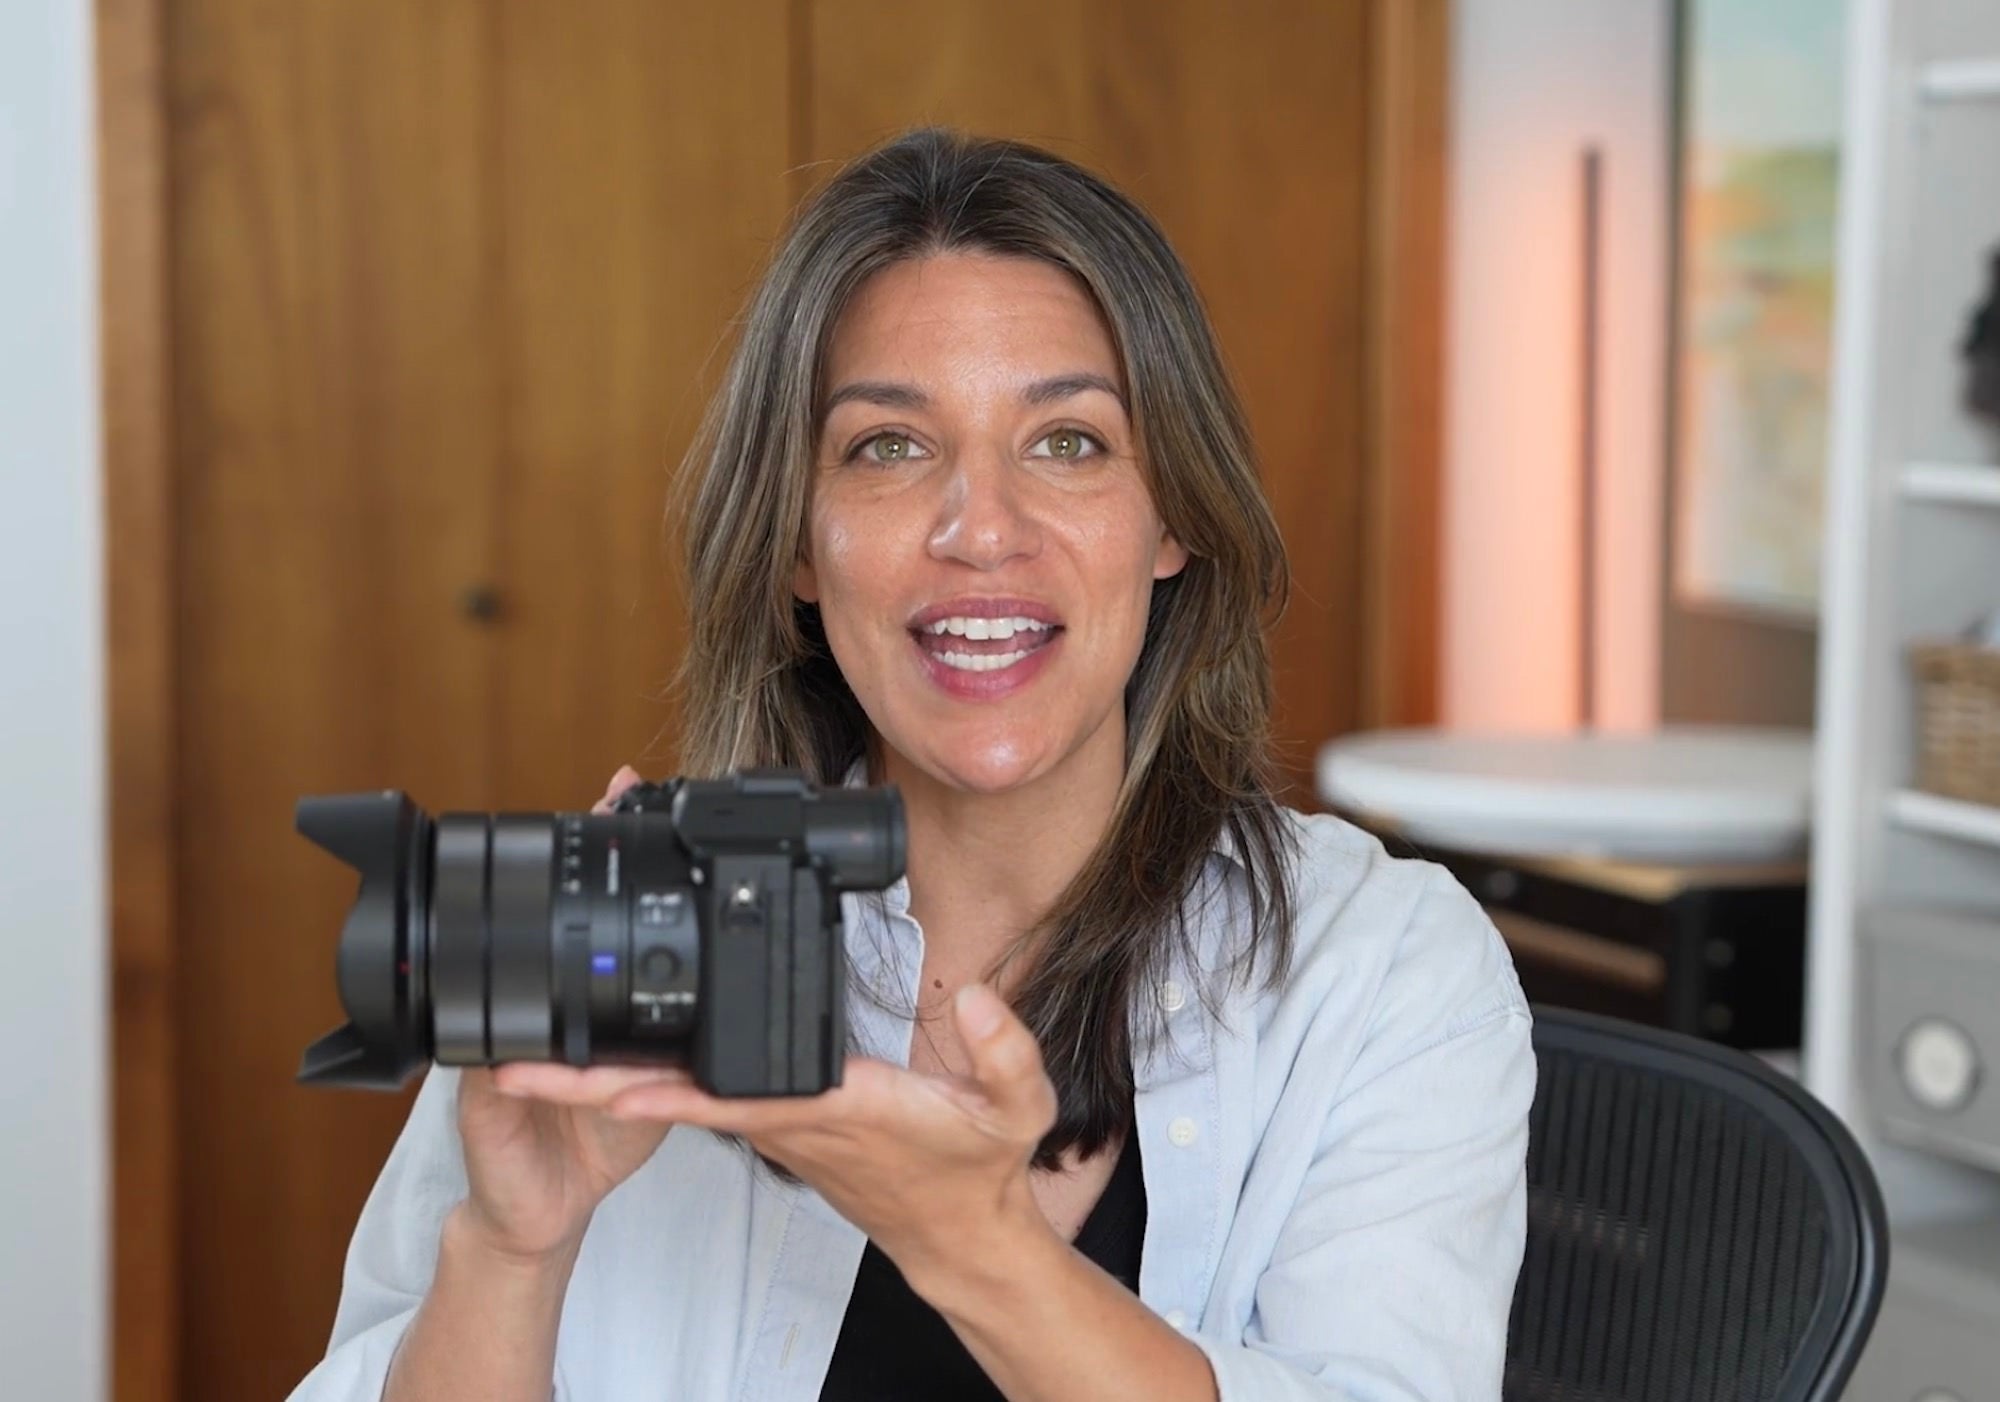
Chelsea Mercado is a professional photographer, YouTuber and publisher. She started her professional photography career as a stock photographer and stock model. Her photos have appeared on book covers, in magazines and on TV. She’s the co-creator of the top how-to photography book, Stunning Digital Photography and Mason Press publishing company. Chelsea teaches photography and reviews photo related gear on YouTube and Instagram.

Chelsea Mercado
Photographer, Educator
Skills
Transcripts
- Hi, I'm Chelsea Mercado and you may know me from my photography tutorials and camera reviews on my YouTube channels and Instagram.
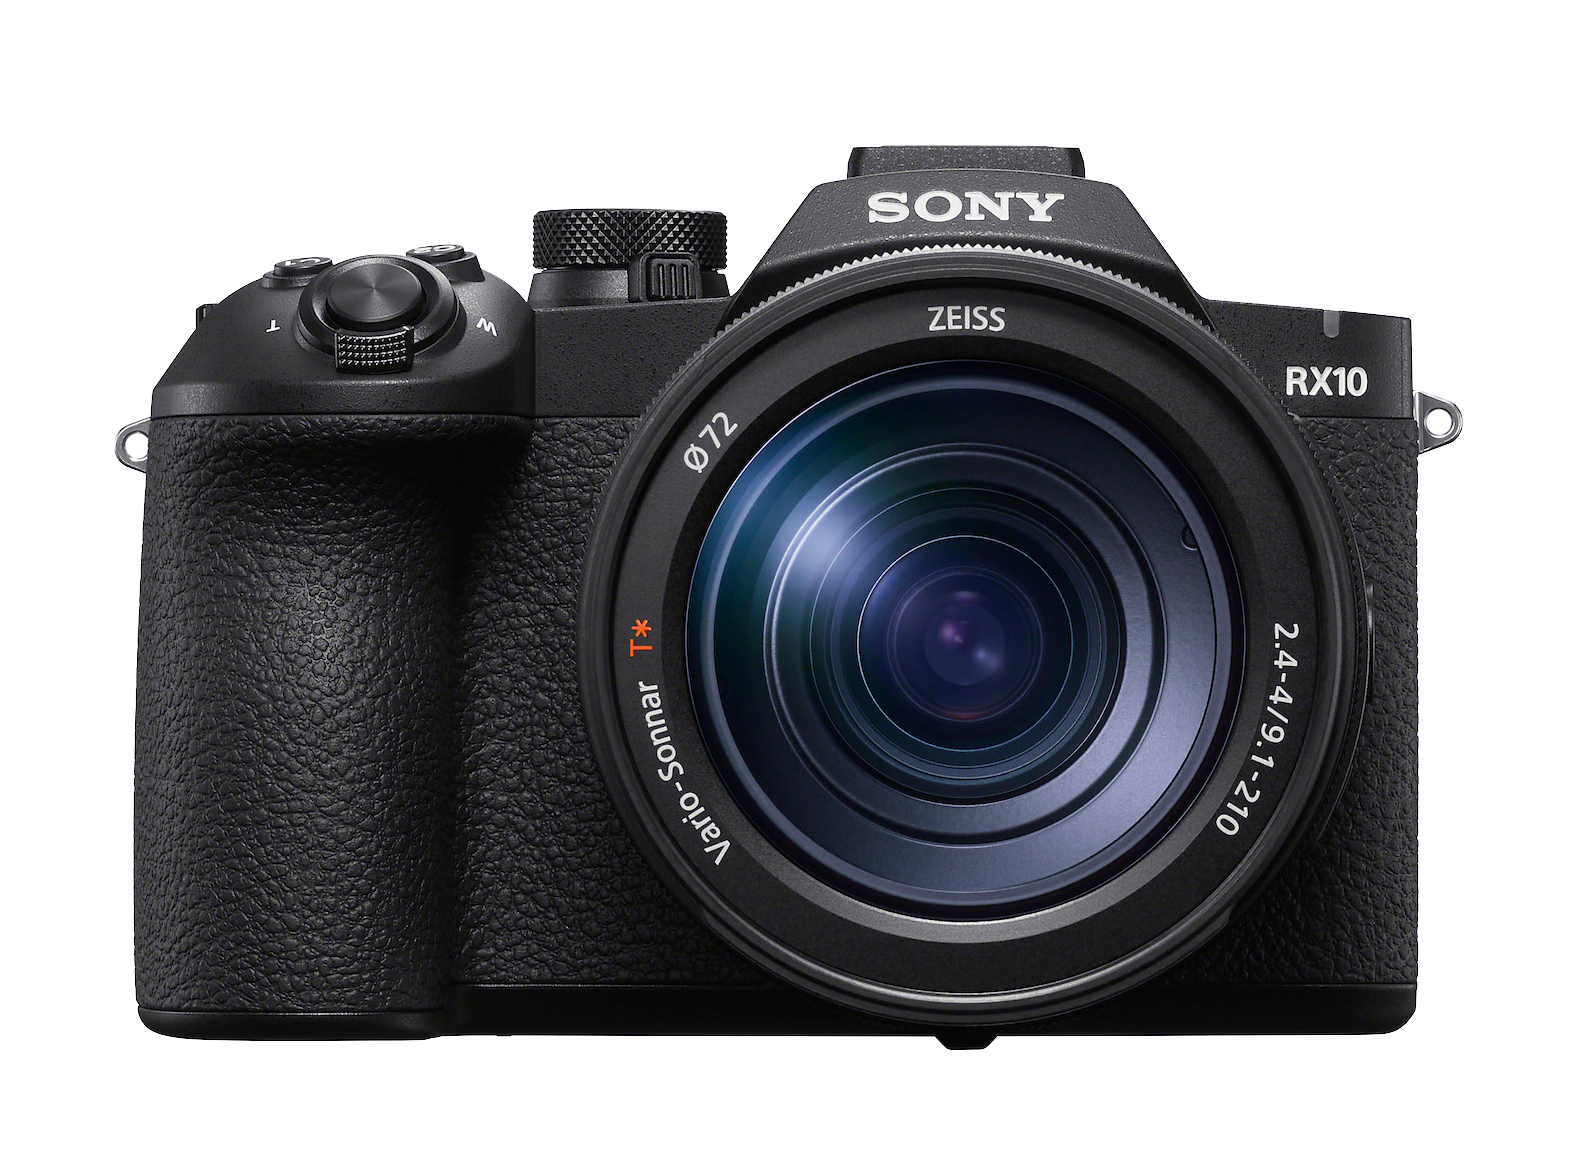
I'm holding Sony's RX10 mark five. It's their all-in-one fixed lens camera that delivers 20.1 megapixels, 30 frames per second blackout free, real-time subject recognition, and a versatile 24 to 600 millimeter lens and a bunch of other features I'll go on and talk about later. Whether you're taking wide landscapes or telephoto wildlife in nature, the RX10 V has you covered. It's truly versatile. Leave with one camera, come home with every photo.
Over the next few lessons, I'll be walking you through the basics of getting to know your RX10 V, how to set it up, a brief overview of the buttons and menus so that you feel comfortable operating your camera and taking photos. I'm going to give you tips on taking your first pictures in a way that's easy. You don't have to understand everything to enjoy your first photos, but also I'm going to tell you an excellent wildlife setup that I use with my settings and how to get the most out of this camera. Let's get started.
- Let's set you up for success by getting your camera set up properly. Attach your camera's lens hood and strap. Charge your battery and put it in your camera. Or put your battery in your camera and you can hook it up to a USB-C charging port and charge it that way. That's the way that I prefer to do it.
Sony's now using the NP-FZ100Z battery in this camera and it's improved from the previous RX10 model. Now you're going to get more photos on a charge. CIPA rated it for 630 shots, but you'll get way more than that. Next, you have one card slot that's compatible with UHS-1 and UHS-2 SD cards. The memory card you choose is important because the camera shoots up to 30 frames per second and the video is 4K 60 and 4K 120.
Video can really eat up a lot of storage, so you want to make sure that your card is large enough and also fast enough. UHS-1 cards are slower than UHS-2 cards, but they're also less expensive and they're plenty fast for this camera. I recommend you go with the more budget option. For storage capacity, consider what you'll be shooting. If you plan on taking mostly photos of still subjects and you're not taking a lot of video, a lower capacity card will be fine. If you plan to shoot a lot of fast action with 30 frames per second, burst modes, lots of video, you'll want a card with higher capacity.
A 64 gig card is sufficient for stills and some action photos. For lots of action and video, a 128 gig card will ensure you have plenty of storage.
Here's a tip. I like to use a card that's larger than I think I'll need and I use it as photo backup. If I'm traveling, I'll keep all of my photos on my card. Also offload them onto my laptop and now I have them in two places to ensure I don't lose my photos. Your card speed is also very important. You want a card fast enough to process taking a bunch of photos and video without buffering or causing issues. When choosing a speed for the UHS-1 card, look for a V30 card that reads and writes at about 200 megabits per second.
To summarize, a UHS-1 SD card with 64 gig capacity, V30 200 megabit readout and write speed is good for this camera. You can get faster cards with more memory, but they're more expensive, so I'll leave that up to you. Another tip is to turn on your camera and make sure that the time and time zone and date are correct. Otherwise, when you upload your photos to your computer, they'll be out of order and that can be very frustrating. I have done that before.
- Before you start taking pictures, you should have some experience and familiarity with the buttons, the dials, and the menus. I'll briefly walk you through them to get you started. The lens has an aperture ring to select the aperture. It also has a button to choose if you want the aperture ring to be clicky or smooth. I like a clicky aperture when I'm taking photos because it feels good, but if I'm doing video, I like it to be smooth so it doesn't make noise.
It also has a focus ring. The side of the lens has an autofocus / manual focus switch, a programmable focus hold button, and a focus limiter switch, which limits your range of distance that your camera will auto-focus when it's searching. On top of your camera, you have an on/off switch, a shutter button that you can half press to focus or full press to take a photo. A zoom lever, two customizable buttons, C1 and C2, a locking exposure compensation dial, I like that, a shutter speed dial, a hot shoe for flash, and your mode dial. Your mode dial has auto mode, which is AI auto, and it controls everything.
It has program mode and then chooses your shutter speed and your aperture. It has aperture priority where you can choose your aperture and the camera does the rest, shutter priority, manual exposure, and custom programmable buttons one and two, and an asterisk for more custom options. The bottom section of your mode dial can be turned to select camera, video and S&Q, which is slow and quick for slow motion and time lapses.
The back of your camera has the play button to review your photos, the garbage can to delete your photos, and a record button for video. An AF button for focusing. The FN is the function button which brings up a shoot mode menu. The dial pad acts not only as a way to scroll, but to also select. And lastly, your menu button accesses the full main menu. The screen pulls out and tips up and down, which is helpful if you're taking photos above your head or down low, but it's also a touchscreen so you can focus by pressing, you can select menus. There's also an option where you can take a photo by pressing the screen.
Let's lightly dive into the menus so I can show you the general structure and give you a few tips. If you have your camera set on the photo mode here under the mode dial, your menu will bring up photo settings, but if it's set to video, it will bring up your video settings. That's important to know. Go to your main menu and I'll show you a few settings you might want to choose. Your file format is important and I like to shoot RAW plus JPEG. If you want the option to edit RAW files, you should do this too. And I want RAW files when I have to recover more shadows or highlights in high contrast situations. I do a lot of wildlife photography so RAW files are a must. If you don't need that, you can shoot JPEG and save yourself some space.
Go to your shooting menu, to media, and you can select format to format your card and delete your pictures. That's if you're done with your pictures. You should know how to do that. Let's get out of the main menu because a lot of useful settings can be selected in a quicker way. To do that, hit the function button to bring up an abbreviated menu where you can select your metering mode, your focus type, your subject recognition target, and more.
- Sometimes having fun and enjoying the process is the best way to get to know your camera. Let's set up your camera in a simple way where you'll be taking great photos without having to memorize all of your settings or your menu system.
Start by selecting your mode dial to auto and letting your camera do most of the work for now. And now that you don't have to worry about your settings, let's experiment a little bit with using your camera. So you can go close up and take macro-like shots, or you can zoom in and shoot telephoto. You can practice by just picking a subject now and following along. You can start with a small close subject like a flower, your food, or any small object, and try zooming out to 24 millimeters and getting up close. Now you can step back and zoom in and take the same photo and see the difference.
If you notice when you step back and zoom in, you actually get more background blur. It's not better, it's not worse. It's an option for you to express your creativity, so play around and have fun. Another way to have fun taking photos are to use the creative looks. Press function, select creative looks, and you can scroll through. And one of my favorite things to do is shoot in black and white.
Let's experiment with changing a few settings that you can change in auto mode, like first your drive mode. And you can change it from single shot, so it takes one photo when you press the shutter, or high speed plus so you can get the full 30 frames per second. You don't need that for your breakfast, but you will need it for a moving subject. It also helps to take a few photos of a still subject to ensure you get it in focus. Now change your subject recognition to whatever you want. It can be animals, people, insects, whatever you're taking photos of. I like this function because it not only helps you focus on your subject, but you can focus and recompose and play with your composition.
So get your subject in focus, move your camera around and see what looks best - when it's in the side of the frame, the top of the frame, dead center in the middle. This is where you get creative. You can review your photos by pressing the play button. Burst from taking high frame rates like 30 frames per second will show up as a folder. And I like that. It makes going through your photos easier.
To access that folder, just click on it and you can go through every picture. Auto mode also has scene selection, so you can choose the type of photos you're taking and the camera will approximate the settings for portraits, sports, action, macro, landscape, sunset, and night scene. The RX10 V has enough intelligent modes that you can get great photos without having to know your settings or memorize every menu option. So go out and have fun and enjoy shooting with the camera. But if you want to customize your photos, you should know some settings. So I'm going to help you learn some of that in the next lesson.
- The RX10 V combines high frame rates, 30 frames per second, a fast processing chip, and intelligent autofocus to make this a very action capable camera. So we've got to use it. There are many different ways to set up your camera for wildlife, sports, and action. That's the fun thing about photography. There's no one right way to get the job done, but this is the way that I like to set up my camera when I'm doing wildlife photography.
First, change your mode from auto to S for shutter priority, and that means you choose your shutter speed and the camera is going to choose your aperture. Next, press the ISO button on the dial pad and go to auto ISO. And now your camera will choose the lowest possible ISO, which is good because a high ISO creates noise, so you want it to be as low as possible. With these three settings selected, I know my photos will be exposed properly for whatever my wildlife subject is doing. So if I go and I take photos of wildlife, I like to set my shutter speed high with that one dial to prepare for action. But if an animal is still, I can put my shutter speed down as low as I can so that my photo is as clean and noise-free as possible. If that animal takes off and starts moving, with one dial I can easily move my shutter speed up and make sure I'm not getting motion blur and I'm capturing action. It's a way that I found to use as few buttons as possible to select the settings I want.
Optical steady shot is great with lower shutter speeds because it helps reduce camera shake and produces sharper pictures. Next, change your subject recognition to your animal of choice. Mine's birds. You can go in auto, you can just go an animal in general. Real-time autofocus doesn't just look for contrast detection. It uses Sony's AI chip to actually detect the subject in the frame, lock onto the subject and keep it in focus even when your subject is moving in the frame. And they don't just have people and animals; they have airplanes, cars and trains, insects, birds, animals, animals in general and humans. You can also put it in auto mode.
Set your drive mode to continuous high plus shooting. You don't always have to do the 30 frames per second. I like to just kind of put my finger on the shutter button and take a few little bursts at a time so I'm not filling up the buffer or getting a thousand pictures of a perched bird, which I have done, but I try not to do that. Your focus area is also important. I like to choose wide for photos where a bird is say flying through the sky. And then if there's a more cluttered scene, I'll choose a focus area with a single point and you can do small, medium, large, extra large. Now the RX10 mark five has 575 phase detect autofocus points that cover about 70% of the frame. That means even if your subject is towards the edge of the frame, your camera can still find it and get it in focus and you can crop it later to compose it.
Let's talk about some tips to improve your technique. At 600 millimeters, you might notice it's more difficult to find your subject in the frame. That's something a lot of people struggle with. So my first tip is to lock onto your subject with both eyes, raise your camera to your eye, and once you see it in the viewfinder, you can close your left eye to just look through there. You can also start by starting at, let's say, 200 millimeters and finding your subject, then 400, then 600, and practicing until you're able to lock your subject on when you look through the viewfinder right away. The camera zoom feature is electric and not manual, so you can't just simply turn and control where you zoom to. It's going to take its own time. So for that reason, I like to zoom all the way out to where I want to be at five or 600 millimeters and just lock it in as quickly as possible.
Another problem I run into with wildlife is that sometimes your camera's metering doesn't quite know how to meter your subject. This happens to me if I have a bright white bird on a background. It will meter for the entire scene and not the bird and the bird will end up overexposed. It also happens with a dark bird on a bright sky. I use this by selecting my exposure compensation. It's a fast way to change the exposure with a constantly moving scene. If I have a bright bird, I'll turn down my exposure compensation about a stop. Now you're set up for action and you can take wildlife photos or sports photos.
To easily access the way this camera is set up now for action, you can set it up to mode one. And then instead of having to reselect every setting, every time you're going to take wildlife or action photos, you simply change your mode dial. So let me tell you how to set that up. To set up your custom mode button, press menu. Go to your shooting tab, select shooting mode. Choose camera, set, memory. Click okay. Name your setting purpose. Mine is wild. Now assign it to a number. That's it. Now you're set up to change your setting with one click of a dial instead of going in and changing everything. It makes it faster. It makes it easier.
- The RX10 V also has video capabilities and I'll show you the very basics to get you started. Switch your camera into video mode on your mode dial. Like taking photos, you can put your video function into auto or P mode to simplify selecting settings. Press menu, scroll down to your shooting menu and select image quality. Then file format.
Here you can choose what you want your video file format to be. It could be 4K or HD and that's the quality of your footage. Select 4K S or HD S for smaller files. Select HS for compressed RAW, or I for uncompressed RAW for maximum quality, but keep in mind the files will be larger. 4K or HD S is fine so you can select either of those. I'm leaving the camera on 4K 60 and for stabilization you can choose standard or active mode.
Active mode will stabilize better, but it will also crop your footage. To select that, go to menu, shooting, image stabilization. Next, press the red record button and you're filming video. You can still press the function button to access a lot of the same features for video, including subject detection and focus mode. The RX10 V doesn't have a screen that turns around to face you, but it does have framing mode. This allows you to move around in the frame if you're filming yourself and subject detection will find you and track you in the scene.
To access this function, go to menu, shooting menu, shooting options, and turn auto framing on. The camera also has a built-in mic but that you could attach an external mic if you'd like to.
- To get your photos off of your camera, you can go into your network setting, go to CreatorsCloud, and connect directly to Sony's app if you have it in your phone. If not, you can download it for free and make your own profile. You also have the option of using a USB-C cord, plugging it into your camera, and connecting it directly to your computer. Once connected, select image transfer. I have Sony's Imaging Edge app open and now it's importing my photos.
You can also take out your SD card, put it into a card reader and load them into your computer that way.
We covered how to set up your camera, a basic overview of the buttons and dials so you can be familiar with your menu, and an easy way to take your first photos. I gave you my recipe for fast action shots, the setting, and also how to program your mode buttons so you don't have to redo them every time. And then of course, the basics of videos were covered.
Remember, the best way to learn is to get out and enjoy taking pictures. So take your camera out, see the world through your viewfinder and enjoy your RX10 mark five. Thanks for watching.
Rate this course
Your feedback helps us improve our content.
Course rewards
Complete any course and earn a unique badge to celebrate your progress. Collect them all as you level up your skills!