

Photo Fundamentals 201
Take your photography further with intentional planning, stronger compositions and practical editing techniques.
- Details
- Module
- Quiz
About this course
Photo Fundamentals 201 is designed to help you move beyond the basics and make more intentional photographs from the moment you begin planning a shoot. Build a creative process that guides your goals, gear choices and on-location decisions – even when the scene is unpredictable.
Explore advanced composition techniques for both tight and wide lenses, use color theory to create images that feel more deliberate, and learn practical ways to isolate your subject. You’ll also develop a respectful, people-first approach to portraiture and finish the course with a hands-on Lightroom Classic workflow for organizing, editing and directing attention within your images.
By the end of the course, you’ll have practical tools to create stronger photographs, adapt with confidence and bring a clearer point of view to every shoot.
Course highlights
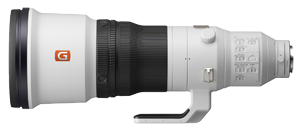
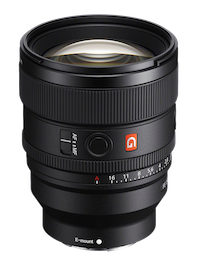
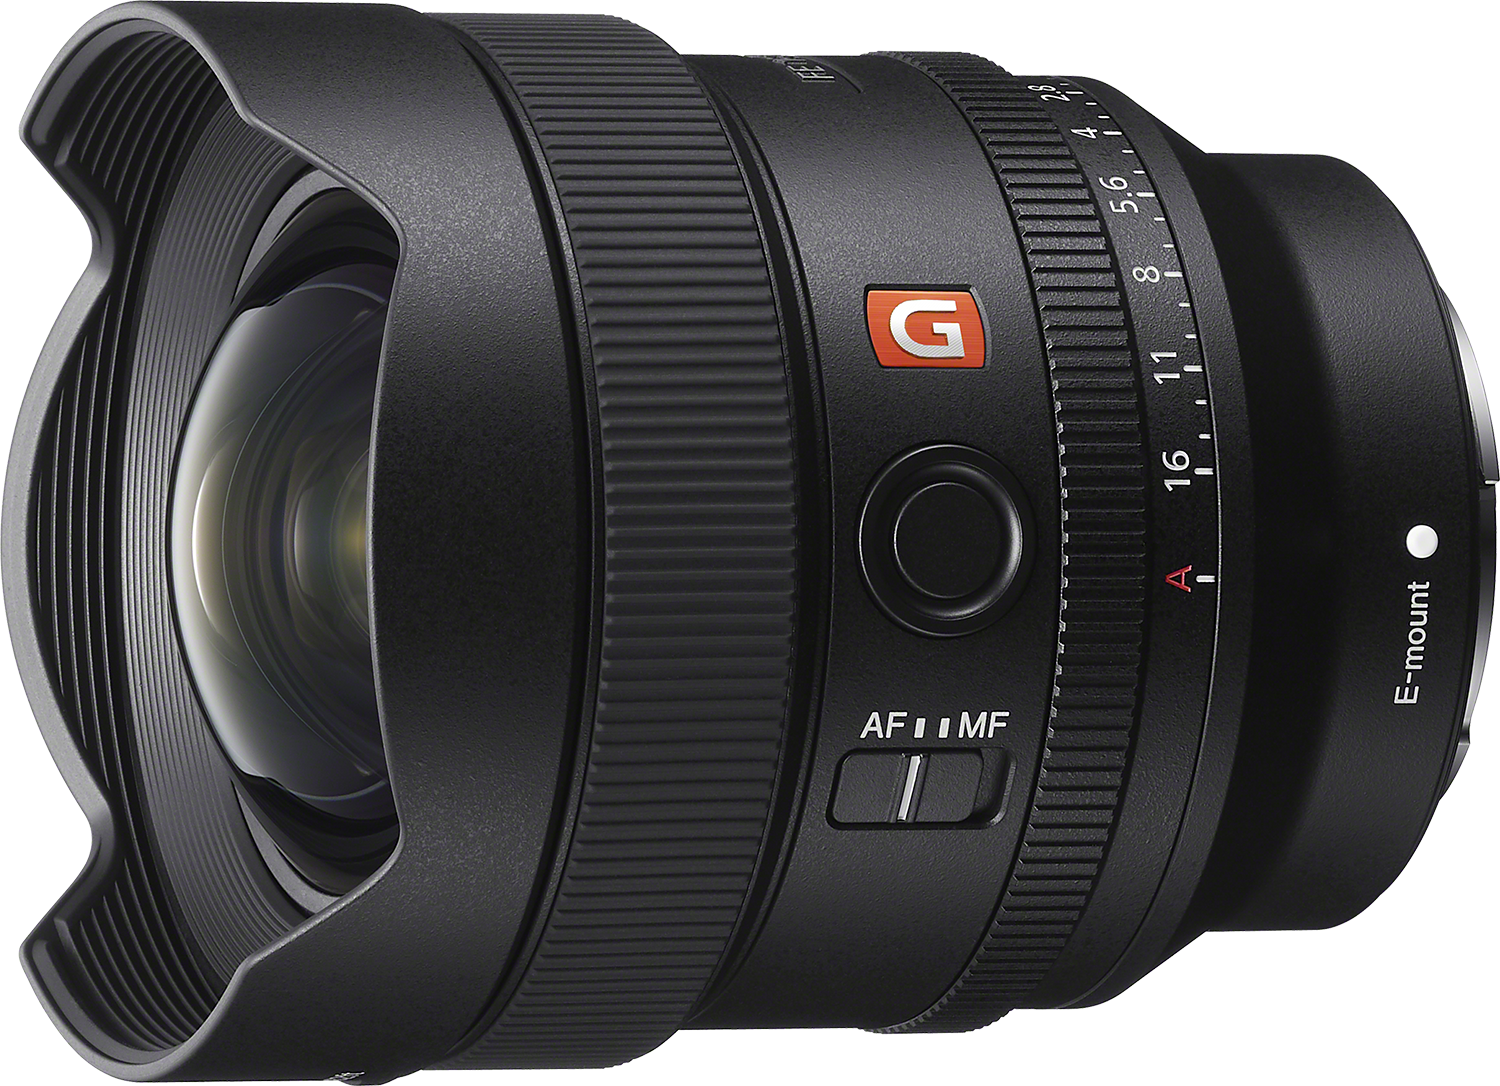
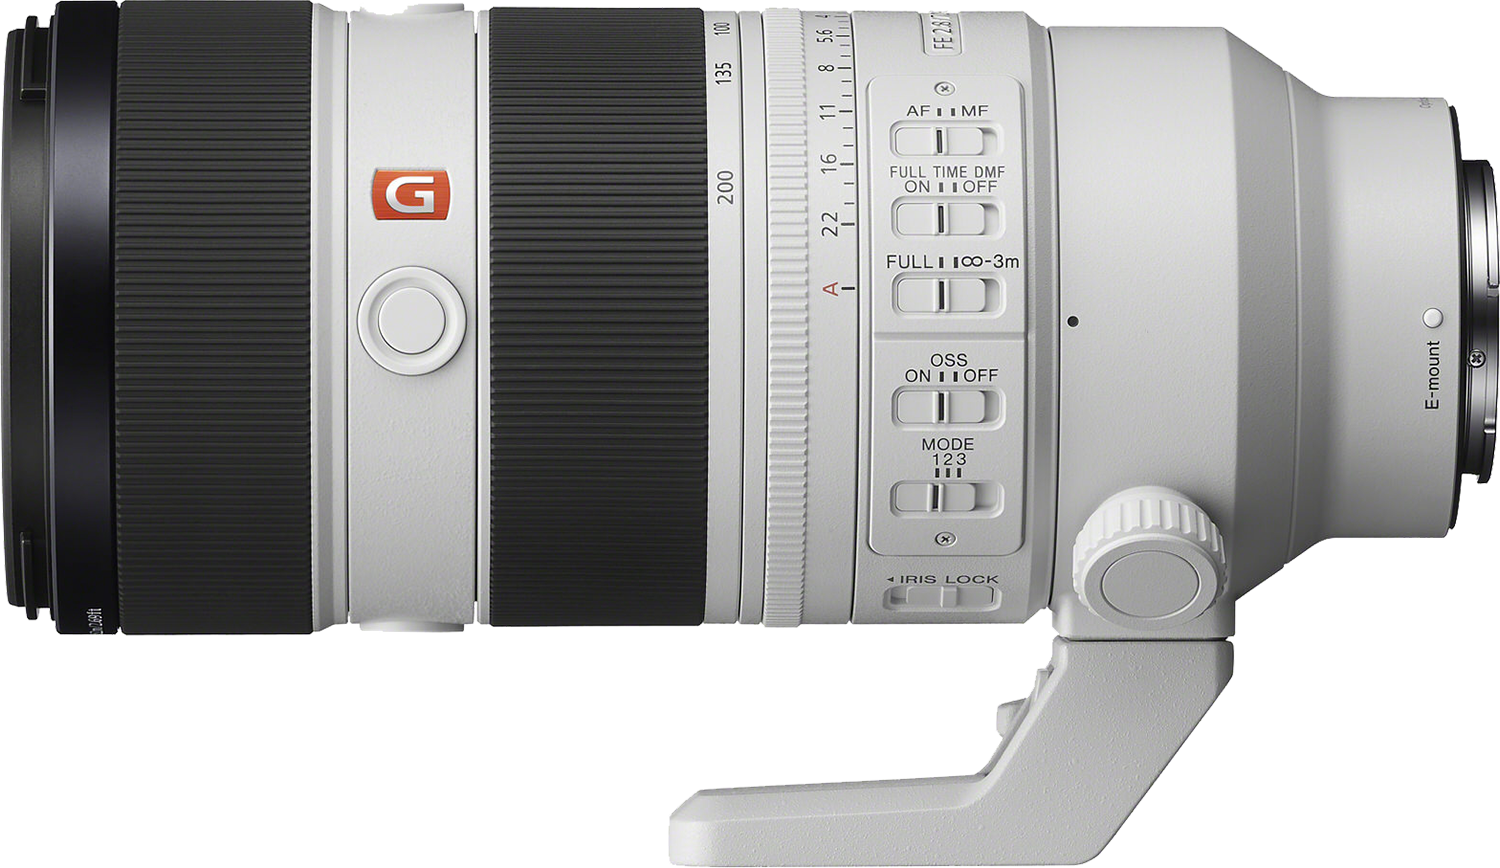
Featured gear

Instructor
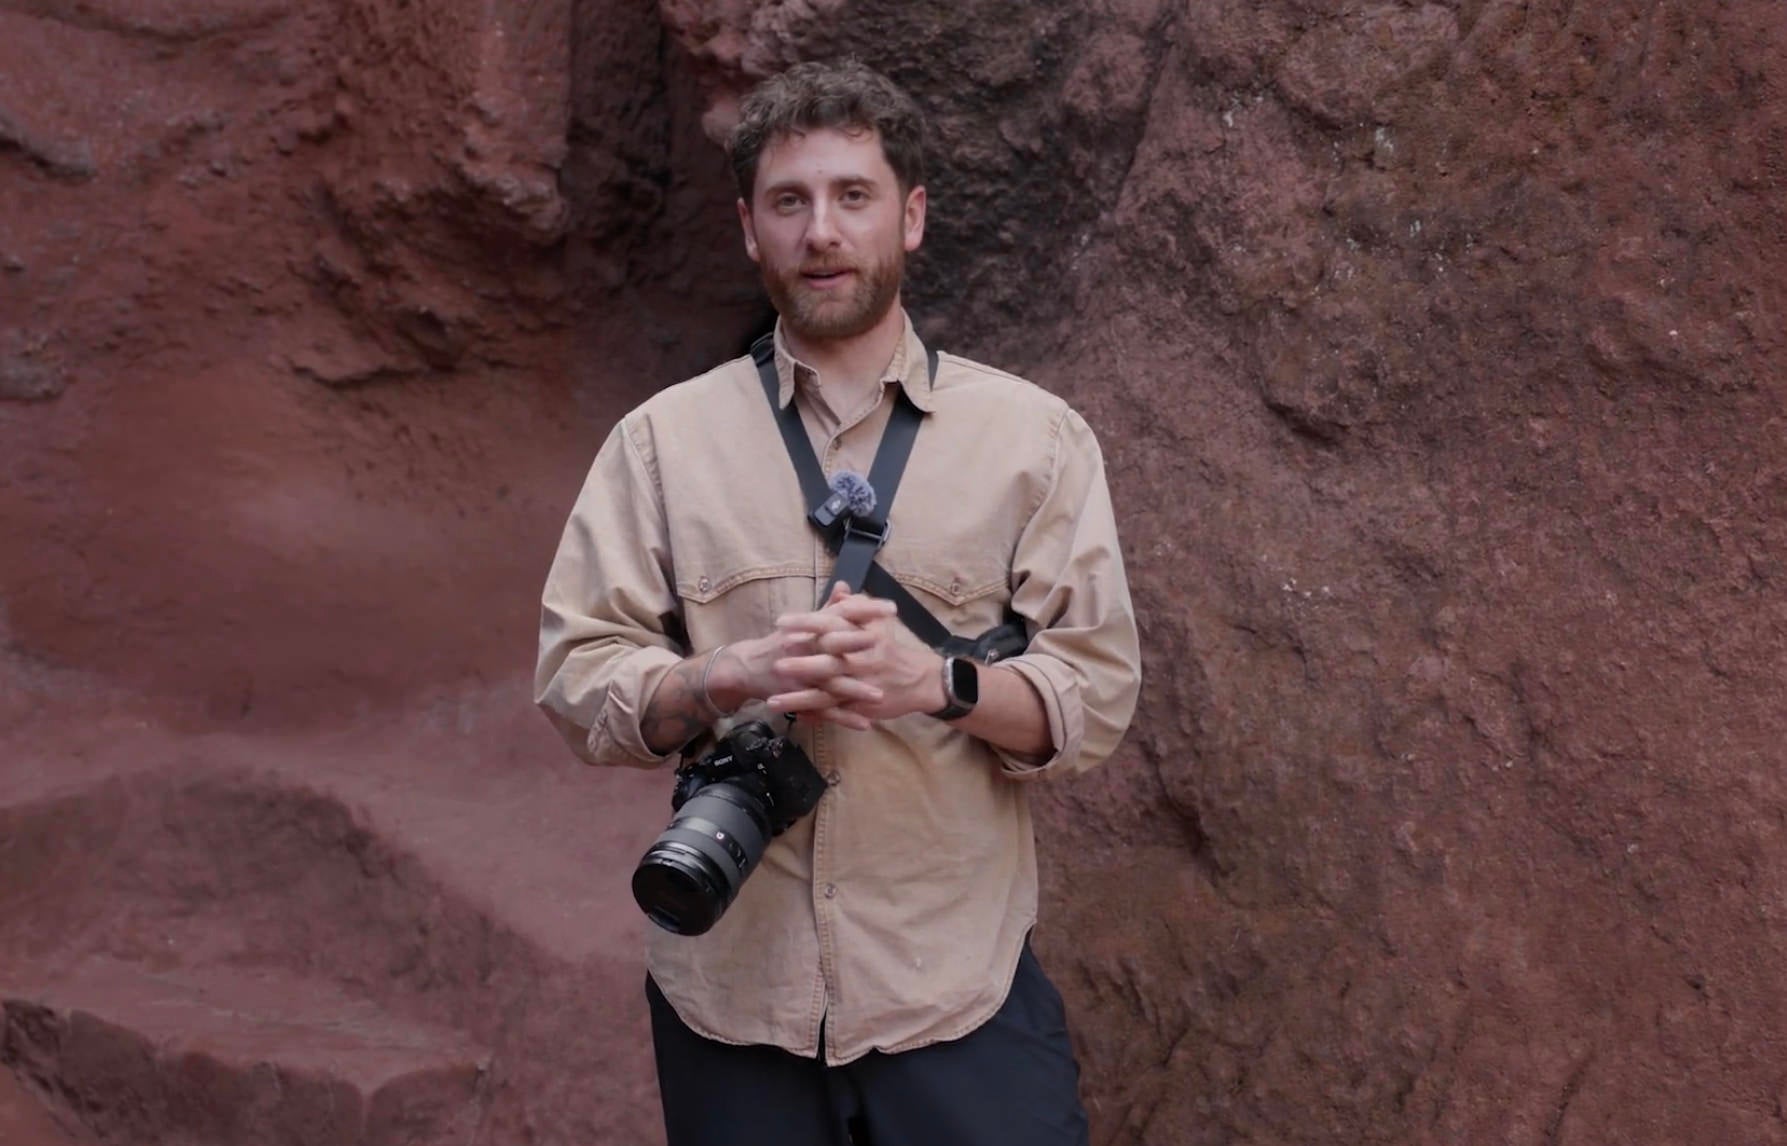
Emmett Sparling is a photographer and director based out of Vancouver Canada. His photography work covers a wide range of subjects from landscapes, wildlife, underwater, portraits, and the travel adventure content he shares every day on Instagram.
Emmett has been traveling full time around the globe since 2016, capturing the beauty of our planet and telling the stories within the landscapes he explores. With an audience of 1.1 million people on social media, Emmett uses his influence for positive impact, storytelling as well as teaching photography.

Emmett Sparling
Photographer, Director
Skills
Transcripts
- Welcome to the second course of Photo Fundamentals. In 101, we mostly talked about composition, lighting and storytelling. In this course, 201, we're going to build off that knowledge. I'm going to teach you my practices for planning successful shoots, even if I don't know exactly what we're going to encounter. We're going to talk about choosing the right gear, setting yourself up for success, my most important rule for portraiture, advanced compositions, and ending it off with some post-processing in Lightroom Classic.
So get something ready to take notes, and for the last module, make sure you have Lightroom Classic downloaded. Let's jump right in.
- Creating a goal or focus for yourself going to a shoot is what I call adding intention. So this intention is what will guide the decisions that you make each step of the way. Your intention should be simple and realistic, but leave room for improvisations. For client shoots, intentions are usually a bit more obvious and they're usually referred to as your deliverables. And for that, you would typically make a shot list, but we're talking about personal creative shoots here. Going into a personal creative shoot with intention is how I dictate my creative direction and ultimately get the most out of a photo shoot.
So some examples of intention could be: I'm going to create a portrait series of locals during my trip to Ethiopia. That was actually the intention of my last shoot. And another intention could be, I'm going to film a vlog of my day, or I'm going to try and find five unique landscape compositions at this location. I'm going to try and focus on in-between moments of my day to tell my story from a different angle. Now, this seems super obvious and easy, but it actually has made a huge difference in my photography.
There are a few important things to keep in mind when you're creating your intention. Number one, it's important to create your intentions before going into the shoot. Number two, make your intention realistic. Trying to bite off more than you can chew is a recipe for frustration and disappointment. And number three, you can always make more than one intention for yourself. Being intentional with your goals for a shoot is so important. I started doing this a few years ago after I was halfway through a multi-day shoot somewhere, I think it was Japan, and I wanted to vlog my experience. If I had sat down at the beginning of my trip and really thought about my intention, my goals, and the content I wanted to get out of the trip and written it down, I would've made my intention to film a vlog. I would've started vlogging on day one and had a complete storyline. But because I didn't do that, my vlog had no beginning. I decided I wanted to start shooting it after the trip was already half over.
Fast forward a few months to India and I made my intentions at the start of the trip. I wanted to film a vlog of the adventure and I wanted to do a portrait series of people in Varanasi. Those are my two intentions for the trip. By going into the experience with those intentions, I suddenly had a clear focus and direction for what I wanted to get out of the shoot. And when the trip was finished, I successfully completed the goals that I had set out to achieve. I still do this for every shoot. I find it so much better than aimlessly wandering with my camera and waiting until something catches my eye. There's a time and a place for that, but the results are always better if I go in with my intention. Because remember, people will only resonate with your images if you care about what you're photographing.
And lastly, I want you to leave room for improvisation. Don't be afraid to change direction if you see something super cool. This method is more of a backbone so you don't fall into a creative slump. Okay, I just got back from the Sony event in New York and I was talking with Chris Burkard, who's another Sony photographer. If you don't know who he is, you should go look him up. And Chris said a few things that I wrote down because they relate perfectly to this module about intention. The first, comparison is the thief of joy. This is perfect because I find with intentions, a lot of the times when I was starting out, I was comparing myself to other photographers that had visited these places or shot similar things to me, and I wasn't that excited if I wasn't able to reproduce something that looked like their photos. By comparing yourself to others that leaves room for frustration, especially if you're just starting out and you're comparing yourself to some of the best photographers in the world, it's going to be tough to recreate their results because they have years and years more experience than you do.
That being said, copying other people's photos to practice is a really good way to learn, kind of like tracing a drawing before you learn how to draw. It gives you that foundational practice to kind of take and then start improvising on your own.
So the next quote that I wrote down is, "Create space for exploration." So this kind of relates to what we're talking about with intention where you want to leave room for spontaneity. Creating room for exploration is kind of the idea that you want to give yourself the freedom to explore, try new things and fail at them because you want to be experimenting as much as you can with your camera because that's how you learn the best.
The last one that I wrote down from Chris is how you react if things don't go right is a measure of who you are as an artist. This kind of blends perfectly into what I was just saying, because there's so much trial and error with photography and it's kind of the only way you learn. There's sometimes where you'll spend all day hiking a mountain and completely mess up all your shots, or you accidentally shoot your entire thing in JPEG. These are all learning experiences and how you react in those situations, obviously it's going to be frustrating, but by moving forward and taking those as learning experiences makes you a better artist.
So with your intentions, I want you to be going into these situations with your intention, knowing that there's always a chance it's not going to go as planned. No matter how hard you try, you might not get what you want. But how we react in those situations is a measure of who we are as an artist, because we want to take them as learning experiences. They're going to be frustrating, but we build on those. We don't let them defeat us because it's so easy to feel defeated in photography, especially when you're teaching yourself. So thank you guys for watching this one. I'll see you in the next video.
- In the last module, we talked about the importance of creating an intention before embarking on a personal creative photo shoot. There's another benefit to this method that I want to talk about, and that is gear decisions. I essentially want to create the intention for my shoot, then work backwards and ask myself what gear I need to make that intention a reality.
Ideally, you work within the constraints of the gear that you own, but sometimes you need to turn to other methods such as renting gear or buying new equipment. We always love buying new equipment. Basically, allow your intention to direct the gear decisions you need to make for this shoot. This helps to answer the questions of "what lenses should I bring?"
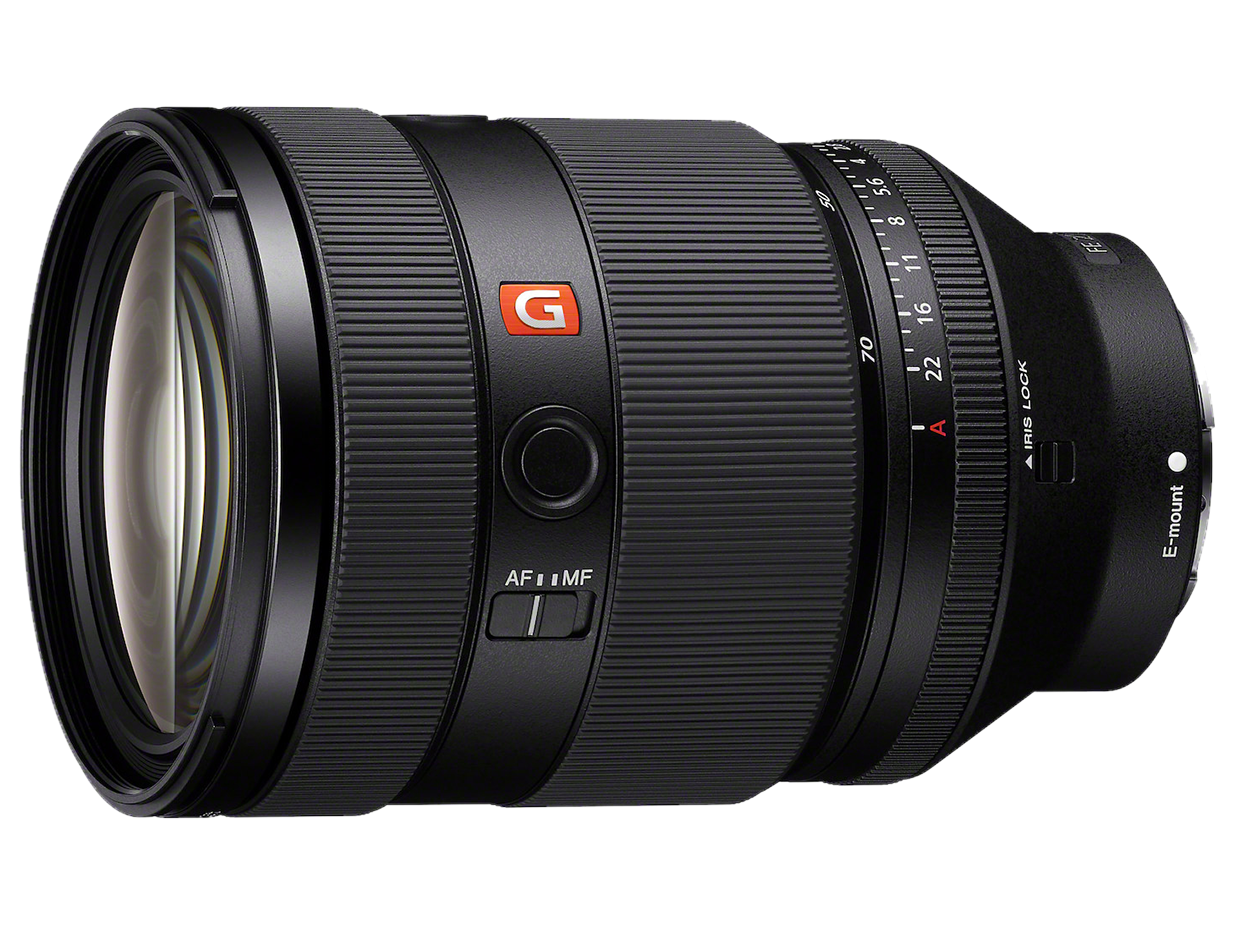
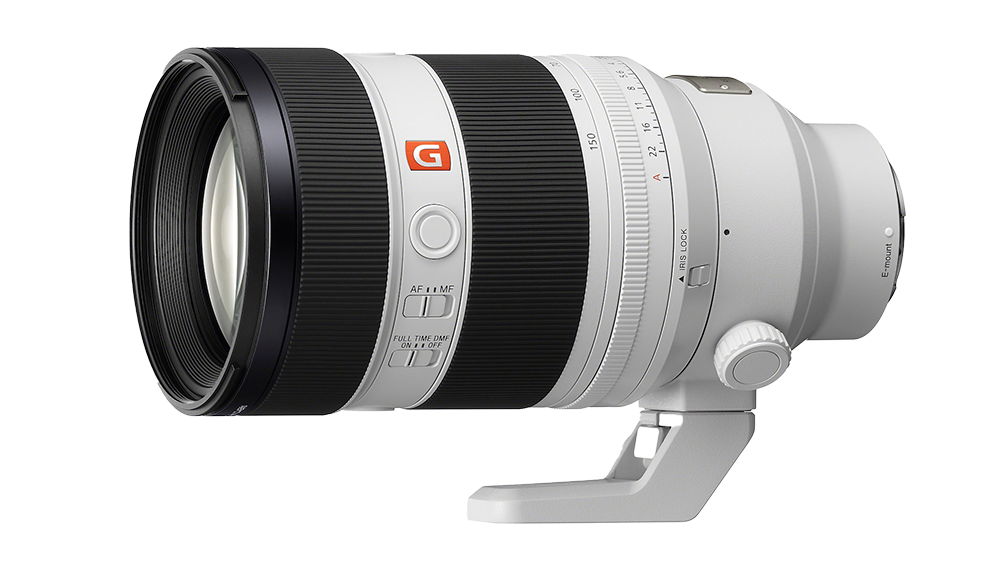
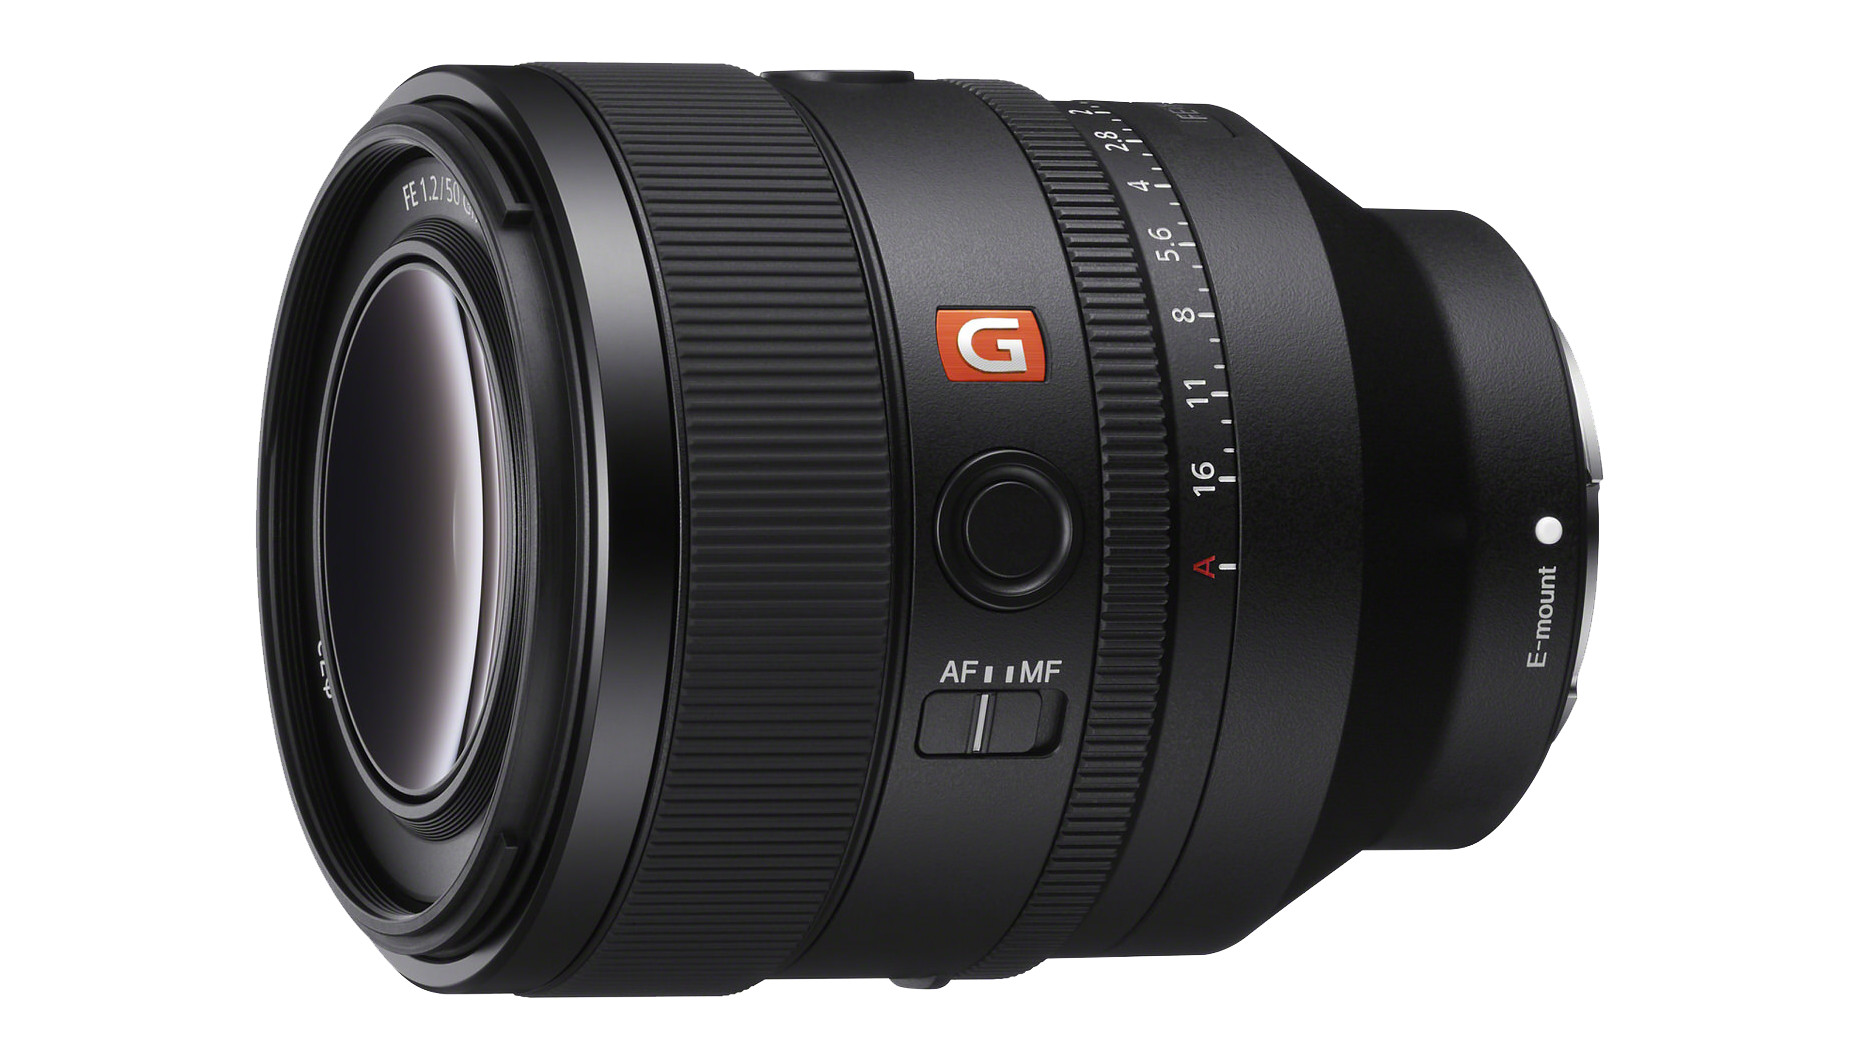
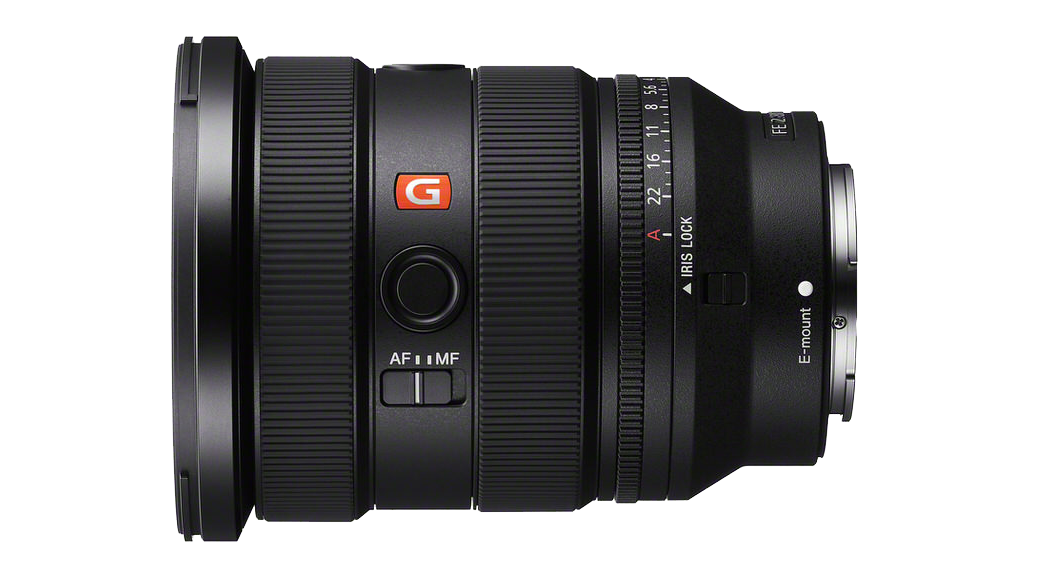
For example, in Ethiopia, my intention was to do a portrait series, so the gear I brought reflected that. I took a 28-70mm f/2, a 50mm f/1.2 and a 50-150mm f/2, and my trusty 16 to 35 f/2.8. All of which are fantastic lenses for the portraits I wanted to shoot, but they're also versatile enough that I could use them for other things if needed.
Now, we can take this one step further. I want you to create an overarching intention or goal for all of your photography, not just one shoot, but your entire body of work as a whole. Now, take that goal and ask yourself what gear you need to make it a reality. If you're starting out, this is a great first step in slowly building your camera kit. So for portrait photography, I would probably lean more towards prime lenses or low aperture lenses, like the ones I took to Ethiopia. That is a very expensive option, but prime lenses are usually going to give you better portraits, usually slightly tighter focal lengths as well. For weddings, I would probably get like an 85mm f/1.4 and a 70-200 or 50-150, something like that, and a 24-70. For landscape, I would probably get wider angle lenses. So a 16-35mm is perfect, maybe even a 14mm f/1.8. And then I'd probably throw in a zoom lens as well just to be safe, like a 70-200mm or the 50-150mm. For wildlife, that's kind of the most expensive zone, you're going to want more zoom lenses, so I use a 600mm f/4. There's obviously cheaper options out there, like the new 100-400mm f/4.5 or even a 70-200mm, 50-150mm, but you'll probably want tighter focal lengths for wildlife.
So for travel, I'm trying to make my kit as light as possible and as versatile as possible because I'm in so many different situations when I'm traveling. So a 16-35mm, 24-70mm and a camera body, and then probably a 70-200mm or 50-150mm, that's kind of the holy trifecta of lenses, but that's still on the heavy side. So I would try and look for some of the other options that maybe aren't G Master lenses, like a 28-70mm f/2.8, for example, is a really small lens, and it's a great alternative to a 24-70mm f/2.8, which is quite a lot bigger.
So things to keep in mind, look at the different types of photography that you want to do and kind of build your kit around that. Oftentimes when I'm shooting these videos, I film the whole thing, edit the whole thing, and then realize there's more than I want to teach you. So in this case, I want to give a bit more perspective to the gear that I've been talking about. My camera kit, I've taken 10 years to accumulate. It's such a long process and you can't really rush it because it's so expensive. But more importantly, the more you learn your gear, you're going to be more comfortable with it and you'll get better results.
Now, what I mean by that is I'm not going out to buy all the fanciest cameras and lenses straight out of the gate because I won't know how to use any of that, and it's going to be so much more complicated than what I know how to use as a photographer. So I want to grow with my gear. I want to start off with something more basic because that's going to teach me what I need to know about my photography ability at that time. And then once I know my camera inside and out, I know that thing like the back of my hand, then I'm going to upgrade to the next piece of equipment. It's going to grow with me and I'm going to become a better photographer with my gear. I only tend to upgrade things when I feel like it's the equipment that's holding me back, not my knowledge of photography.
And something else that's really important is you're going to have way better photos if you have really good knowledge of the non-technical side of things. So your composition, your lighting, that's going to make a way bigger difference in your photography versus how good your camera is on paper and how good your lenses are on paper. Those are important factors eventually, but starting out, you want good foundational knowledge. Something to keep in mind, just a little bit of perspective because it's so easy to get lost in the game of "I want a better camera," "I want better lenses," yada, yada, yada. Learn what you have because you'd be surprised at how good of results you can get out of those entry level cameras.
So thank you guys for watching this one. I'll see you in the next video.
- I'm someone who almost never shoots photos in a studio. This means I don't usually have control over my environment. So I've developed a checklist that I mentally go through whenever I arrive on the scene. Let's dive in.
All right. We're going to the Cara Tribe this morning for sunrise, and it's somewhere I've never been. So I don't really know what to expect. So there's this kind of checklist that I go through in my head when I arrive at a new scene. OK, the first thing I want to do is keep my goal at the front of mind. What am I trying to shoot here? Is it portraits, landscapes, video? For this particular shoot, I'm doing a portrait series through Ethiopia, so I'm going to be searching for people with just lots of character in their face and people whose faces tell a story. Then I want to ask myself what story I'm trying to tell. In a perfect world, I have this part sorted out before I even get to the location, but unfortunately, I don't always do that.
There are a few more concrete checks that I try to do right away as well. What is the lighting situation? It's a pretty clear morning, so it's going to be some pretty harsh sunlight. What direction is the light source coming from? How intense is it? Because that's pretty important, and that's going to dictate the look of your images. I brought a reflector with me as well, so we can kind of play around with the lighting and change the direction a little bit if we need to with that reflector. I then try to position myself to shoot into the light. If possible, I want the light source behind my subject. This is personal preference, but remember how good it looked in the last course when we were using the reflectors and we sandwiched our subject in between the light source and our camera.
The next thing to look at is what's happening around me? What are the high traffic areas or areas of focus? Is there an obvious subject? What or who catches my eye? I usually try to position myself in the most busy areas because that's usually where the most unique moments happen. Remember the puzzle pieces we talked about last time? That's what I want you to focus on next. So those puzzle pieces will tell you what to look for. So that's your establishing shot, your medium shot, character shot, and detail shot. These puzzle pieces combined with your intention are a great structure to follow once you've gotten the lay of the land.
And the last thing that is so, so important is patience. So oftentimes I'll arrive on a scene, I find a composition I really like. I'm in the perfect spot for lighting, composition, high traffic area. Now I just need to wait because I used to be the kind of photographer that would just blast through a scene. I'd just kind of shoot everything as it was happening. Over the years, I've trained myself to slow down and have patience and wait for those compositions, wait for everything to line up, and the photos have gotten so much better.
So have patience, slow down, find your composition and wait there because the results speak for themselves.
Okay, that was a lot of info all at once, so let's recap this checklist. Remember your intention. What are you trying to shoot? Portraits, landscapes, video? What story are you trying to tell? What is the lighting situation? What direction is the light coming from? And how intense is it? Try to position yourself so you're shooting into the light. What's happening around me? Where are the high traffic areas or areas of focus? Is there an obvious subject? Refer back to your puzzle pieces and begin searching for each one. I know this sounds like a lot to go through when you arrive at a new scene, but you'd be surprised at how you're probably already doing a lot of these things subconsciously. By giving it a bit of structure, you can think about each step a little more intentionally, which will ultimately lead to better results. We'll see you in the next module.
- I want to talk to you about one of my favorite aspects of photography: color, and more specifically, color theory. This is going to be a rough overview of the concept because I could make an entire series just on this topic, but I want to get you to start thinking about it on your own.
Color theory is the study of how different colors interact, why certain color combos look way better together than others, and what color combinations create the most striking images. If you begin incorporating color theory into your work, your photos will begin to look more intentional.
Let's start off with the most important part of color theory. This is the color wheel. We're going to use this to create all of our different color combinations. I want to break down this color wheel just slightly to make things a bit more clear. In the middle, we have our primary colors. In painting, the primary colors are used to create other colors. You can't create them through mixing other colors.
Then we have our secondary colors. These are colors that we have as a result of mixing two primary colors together. So for example, green is made from yellow and blue. Then on the outside ring, there are tertiary colors. These are the colors that we get as a result of mixing a primary color with a secondary color.
Now, how can we implement this into our photography? Well, certain color combinations have different names that help guide our decision. Let's start with complementary colors. You probably already know a bunch of them, blue and yellow, red and green, etc. The color wheel helps us visualize that. You just have to take colors from opposite sides of the outermost color wheel to figure out which ones are complementary. So top and bottom, red and green, side to side, blue, yellow, whatever it is, you're going to find your complementary colors super easily using the color wheel.
So when we implement this into photography, you get these images with striking subjects and pops of color that draw your viewers straight into the photo. For me personally, I like to use triadic colors, which is when you draw a triangle on your color wheel and take the colors from each corner. You'll notice this style of color theory a lot in my work. There are also analogous colors, which is when you take three colors next to each other on the color wheel. This creates harmony.
There are all sorts of other elements in color theory such as monochromatic, value, hue, harmony, warm versus cool, saturation, etc. But let's stick to these for now.
A lot of times with my photography, I don't always have control over my environment, so it becomes harder to implement some of these color theories. But when I do, I'm almost always trying to have my subject complement their environment using color. For example, this market in Ethiopia, I don't have control over the shooting situation, but I try to focus on the people that are already complementing their environment. This woman in yellow against a blue door is a perfect example of that. Or this woman wearing bright red earrings and a purple cloth. Or this woman carrying corn or the bright red and yellow necklaces.
Once you learn these elements of color theory, you can start to look for them in the world around you. You also become better at directing shoots because you know what color of clothing or backdrops will look best. So day to day, I want you to train your eye to notice these pops of color because they are all around you. Ultimately, it's going to make your photos look a lot more intentional and thought-out, and it's going to make them pop quite a bit more because you've been intentional with the colors that are going to be in the image.
We'll see you in the next module.
- I spend a lot of time traveling and photographing people all over the world. A huge majority of the time, I'm taking photos of people from a new culture, sometimes with only a few minutes of interaction, which is never going to be enough time to learn everything about them or their culture.
It all comes down to this: preserving someone's dignity with your photography. Make them look strong and powerful. Focus on the happy, clean, beautiful and thoughtful. They may not always see the image afterwards, but it's important that they would be proud of the image if they did see it. By following this rule, you end up capturing a culture through a respectful lens.
On these kind of shoots, I always try to pay each person that I photograph for their time. It makes the interaction mutually beneficial, and depending on how much you pay someone, you can actually have a bit more time to pose them and set up your shot. People are usually a bit more receptive to photos as well if you're paying them.
Another thing that humanizes someone is their name. I try to write down the names of each person alongside of their photo so I can refer to it afterwards. This is as simple as taking a photo on your phone, putting it in your notes app, and just writing their name below it.
I find a really easy way to highlight someone's dignity in a photo is to bring them into nature. So we're already outside, but he was sitting in front of his house and there's a bit busier of a background, people walking around, that kind of thing. So we brought him over to these flowers and that really just highlighted the ornamentation in his hair, his traditional body paint, and that kind of thing. And then the flowers just look beautiful as well because the nature just really helps to complement the dignity side of the image.
Certain camera angles and settings can make someone look more powerful, stronger or beautiful. Shooting low and having your subject look past you into the distance gives a much stronger and powerful composition. So getting low down with the wide angle lens and just making them seem taller makes them look a bit more powerful and a bit more of a dramatic image.
Shooting with a shallow depth of field on a portrait lens gives a really flattering look. I try to always make sure the lighting is even on their face. This usually means shooting in the shade or into the light with what we learned in our last module with the reflector. People are usually proudest when they're representing their culture. So I try to focus on people in their traditional clothing. I find they're usually a lot more excited to pose in that kind of outfit rather than something they might wear day to day.
Another thing I've started doing more recently is bringing a few cloth backdrops with me. So on this trip in Ethiopia, I brought a couple different colors and set them up in each village, usually just draped on the side of our Land Cruiser. With the portraits, my goal is to capture someone's incredible face, clothing, and jewelry. Using color theory, the backdrops, you can make those elements pop and bring emphasis to them. Another more technical reason for the backdrops is because it's often midday when I'm trying to photograph. So the cloth backdrop really helps with the harsh lighting situations by providing an evenly lit background and more controlled environment.
And lastly, and I think most importantly, by setting up the cloth backdrop in a village, it becomes a focal point. In Ethiopia, at each village, the whole tribe would excitedly line up to have their picture taken and it creates a creative safe space between us. It also makes it their choice to have the photo taken, which makes both of us more comfortable and the photos look much more candid, happy, relaxed, and in my opinion, beautiful. It creates this middle ground where I'm not just taking a photo of someone in their home as they're trying to have their morning coffee or whatever, because that is always going to be uncomfortable. This creates a safe kind of middle ground where they can come to me and have their photo taken.
Obviously, you have to ask for permission to set up the backdrop if you're going to someone's village, which we were doing because we had local guides. But I was also setting it up on the side of our car, so it was just kind of outside of their space and it was something they could come to and it was this creative safe space between us. Obviously, you can't always have things perfectly set up though, but it's something to think about.
One last thing, if someone doesn't want their photo taken, respect their wishes. I can bet you the photo won't keep their dignity if they don't feel comfortable with it being taken in the first place. So these are all great things to think about. Go in with respect, kindness, and just this desire to capture them in the best light possible. Thanks for watching.
- In the last course, we talked about composition and some of the most commonly used composition techniques, such as rule of thirds, leading lines and framing. In this module, I want to take things one step further. By changing our lens, we open the door to new composition techniques.
So let's start by talking about compositions with tighter focal lengths. Now, I would consider a tighter focal length to be anything above 50mm. Using a tighter lens allows us to take advantage of something called lens compression. Lens compression is an effect you notice when using higher focal length lenses. It's where the distance between the foreground and the background elements appear more compressed or closer together, making background objects look larger and closer to the subject. This allows us to compress various elements of our environment to create layers in our image.
For example, in the mountains, all the various peaks are super far apart, but with a zoom lens, they're compressed into these super visually appealing layers in my shot. Using these tighter focal lengths also helps us add depth to our images through visual obstacles. I'm not always trying to get a clear shot of my subject. I often try to shoot through things to create a more interesting foreground. This adds what we call visual complexity to our images.
When I started taking photos, I was so focused on getting a blurry background that it took me a long time to realize how effective foreground blur can be to create depth in the image. This brings us back to our method of composition called framing. You don't always need to find an obvious frame in your environment. Try framing your subject with foreground blur instead to create a similar, if not more interesting effect. A lot of times I'm looking for small gaps that I can shoot through because that creates really interesting foreground blur and ultimately ideally frames my subject.
Another cool thing to look for is mirrors, because you can get really interesting reflection shots. And with a mirror, your camera's actually focusing a lot farther than the mirror itself. So the mirror and the wall that the mirror's on usually become out of focus, and it just creates a really interesting effect. Such as this photo I have of this guy in Nepal looking at me through this little mirror on his wall and I'm standing in the street. It creates a really cool visual complexity that your eye doesn't immediately notice, but it's still really captivating.
Another thing that zoom lenses allow you to take advantage of more easily is depth of field. So depth of field becomes more apparent with tighter focal lengths. For example, f/8 on a 16-35mm will have everything in focus, whereas f/8 on a 600mm lens will have a completely blurry background. By using these tighter lenses, we can use depth of field to our advantage, helping to isolate our subject and create a much cleaner frame. I like to use tighter lenses in a lot of chaotic environments because it means I can use that shallower depth field to make a completely blurry and less distracting background. The shallower depth of field also makes the foreground more blurry, which just adds to the overall effect.
In the next module, we're going to talk about advanced compositions with wide lenses, which is kind of the opposite of everything I just taught you here. However, it's important to get good at both techniques because every situation requires something different. Learning both methods allows you to experiment with different types of photography styles.
- In the last module, we talked about how by changing our lens, we open the door to new composition techniques. In this module, we're going to focus on wide-angle lenses.
With wide-angle lenses, you need to pay more attention to the environment around your subject. Positioning, negative space, rule of thirds, leading lines, and framing become more important and noticeable. We can no longer rely on as shallow of a depth field to get a really clean image. Subject positioning becomes really important. I'm always trying to pay attention to the background of my image to see if there are any distracting lines intersecting with my subject. It's not usually something we notice when we look at a scene with our eyes because it's in 3D, but when we flatten the scene onto a 2D photo, suddenly the distracting background elements become super obvious.
One of the most common things I see is when someone cuts off their subject's head with the horizon line. My general rule of thumb is to try and keep the horizon line either above the head or below the shoulders. Again, this is only when there's a super obvious horizon line, but it's something to keep in mind. Vertical lines are another common background distraction. So I try to position myself so that my subject is clear from any lines in the background that are intersecting with their head, body, whatever, and try to keep horizontal below the shoulders or above the head.
OK, super quick. This is what I would consider a vertical line. So you see how the doorframe is kind of sticking out the top of my head like that? That's what we're trying to avoid. So you just frame your subject like this so their head is in free space. Back to Emmett in the studio.
This is a good rule of thumb for tight lenses too, but it's usually more obvious with wide angle lenses. Negative space is another fantastic tool to create more interesting compositions with wide-angle lenses. The easiest way to find negative space is to get more sky in your image. Have your subject positioned so they're looking into the frame. This creates a more visually balanced image rather than looking out of the frame because that sometimes feels like the crop is off.
Some of my favorite kinds of images are environmental portraits. I usually use a wide angle lens like my 16-35mm, and I look for a landscape composition, usually a leading line such as a river or a shoreline or a road. From there, I then position my subject looking in the direction of that leading line, taking advantage of the rule of thirds or negative space with the sky.
I usually shoot these images around f/8 because it offers a bit of a sharper image with more in focus. Wide angle lenses also give you really interesting images when you get really close to your subject. As the viewer, this makes you feel like you're getting shoved right into the scene.
For those close-up wide angle shots, I love shooting around f/8-f/10 to see everything in that scene. This does take some practice though because it's hard to find compositions that are naturally appealing because we can't hide the distractions using depth of field. But the payoff is usually worth the extra amount of time it takes to find those really clean compositions.
I was using this technique in Ethiopia because I wanted the images to not only bring you, the viewer, straight into the scene, but I find they also tell a deeper story. Because almost everything is in focus, it gives the viewer more to look at. And if done correctly, their eye wanders through the frame looking at every detail in the scene. And those f/8-f/10 wide angle photos are probably my favorite photos from that entire trip.
Thanks for watching this one. I'll see you in the next module.
- One of the things I struggled with when I started taking photos was making my subjects stand out from the background. They would often get lost in the environment and ultimately make my composition weaker.
Isolating your subject from the background isn't as simple as it looks. However, there are a handful of things that we can keep in mind to make our subjects stand out and our composition stronger, and it incorporates a good chunk of what we've learned in this course.
So number one is pay attention to the background elements. I try to position my subject in the negative space of the image: either with the sky or the water behind them. This is because of two reasons. Those are usually the cleanest areas of the image, and they're also the lightest parts of the image, which makes my subject stand out a lot more.
So I'm isolating him in the river in the background, because otherwise if he's in here, he kind of gets lost. So I want to try and frame him in the part of the image that is lightest like that.
Next is going back to our lesson on color theory. If I'm able to, I try to get my subject to wear a color that pops against the background. I usually use red or yellow because that stands out the most in nature and urban settings. Sometimes, however, depending on the photo, I want my subject to be a silhouette. This usually works best when they're wearing black form-fitting clothes because you can get the cleanest silhouette. And if you're photographing someone with long hair, get them to put it up, otherwise their head can look like a big blob connected to their body.
Lighting is going to play a key role in subject isolation. So I almost always try to shoot into the light like we learned in the last module. This is called backlighting your subject. This can create a nice rim light around your subject, which also helps define them against the background.
Atmosphere is your next best friend for subject isolation. Atmosphere refers to haze, mist, or smoke in our scenes. With just a little atmosphere behind our subject, suddenly they become removed from the background and stand out to the viewer. This effect is even more noticeable and it looks really, really good when paired with back lighting.
And lastly, focus. This seems obvious, but getting your subject in focus is the easiest and best thing you can do for subject isolation. There are a few ways to make focus more obvious. One way is through shallow depth of field. If your subject is in focus and the background isn't, that will help to isolate them. Another is through motion. If there's a bunch of motion blur in your image and your subject is in focus, that will also completely isolate them from the background.
As with anything in photography, this takes practice. The bottom line, however, is that we want our viewer to see our subject immediately, clearly, and without distraction. In the next module, I'm going to go through some editing techniques that I use to help further isolate our subjects from the background and bring the viewer's focus to the right places in our image.
- OK, I'm going to give you a quick breakdown of my workflow with editing photos in Lightroom Classic. So first thing you're going to need is an SSD. This is a Lexar 4TB Armor 700 SSD, and I use these things all the time. They're great.
Now, the next thing you're going to need is a card reader. This is my Sony CFexpress Type A card reader, and then we're going to plug both of these into our computer. Now, I also use CFexpress Type A camera cards. This is a 2TB CFexpress Type A, definitely overkill for most things.
So the first thing I want to do is make a new Lightroom catalog. I do this differently than a lot of people, but it keeps things fast. I create a new Lightroom catalog for every single shoot that I do. I usually base it on location. So if I'm in Morocco and then Ethiopia and in Kenya, I'll have a different catalog for each country that year. But if it's a job, for example, I'll create a brand new catalog for each job.
I'm creating all these new catalogs because that means if one of them gets deleted, I don't lose my entire Lightroom catalog. So it just makes things a bit safer that way. And then also, if you have too many photos in your catalog, your catalog is going to get really, really slow. So this keeps things fast and also keeps things easier to back up. So I can come home from a trip and just back up my various catalogs from the different trips that I've done. I don't have to back up one gigantic catalog or have one catalog on my laptop that has a chance of getting deleted.
I've got my hard drive on the left here. I'm going to open up Lightroom Classic. Lightroom Classic is a bit different than Lightroom CC. There's more features and it's a bit more of a professional Lightroom. Lightroom CC is a bit more like the mobile version of Lightroom. So we're going to go up to the top and go "New Catalog." And then we're going to scroll down on the left. This is for Mac. I'm sorry, I don't know how to do this on PC. We're going to find our hard drive on the left, and then we're going to create a new folder, and that's going to be called Sony Alpha Academy Editing Tutorial.
It's really important to name everything properly. Because 10 years down the line, you're going to want to know where certain things are because it's really easy to get disorganized, especially as an artist.
So we're going to hit "Create," and this is going to restart Lightroom with our new catalog that we just created. And now this catalog is going to live on our hard drive. That means you won't be able to access this catalog without plugging your hard drive in first. It's really important to remember.
Now, we're in here and we want to import our photos. When you plug in your camera card, it's going to automatically open up the import window in Lightroom. And you're going to see on the left is the source. So that's going to be where you find your camera card. And on the right-hand side, we have the destination where your files are going to move to.
So I'm going to go on the left and then click on our camera card, and I'll see the three photos that I've set aside for this tutorial. And then these are going to be the photos that I want to import. I usually keep this up at the top as copy. That means it's just getting copied over from the camera card. It's not getting moved or deleted from the card or anything. I'm just going to have that set to copy.
And then down here, I want to find the folder that I want these images to live in. So I navigate and find that same folder that we made earlier with the catalog. So go find your hard drive. And then this is Sony Alpha Academy Editing Tutorial. And then I'm just going to click on that. And then Lightroom is automatically going to date your photos. So it's going to be all organized for you. And that's going to go straight into that folder.
I'm going to click "Import." And then it's going to import our three photos. Normally I edit all my photos with my presets that I sell through my Instagram page. And you can see them all here and they basically give me the starting base for my images. For this, I'm not going to go into that because you don't have my presets probably. But this knowledge translates to everything.
So the first thing I always do is balance the exposure. So this image is a little bit underexposed. I'm just going to bring up the exposure. The viewer's eye is always going to be drawn to the lightest part of the image. And so I'm going to make her face the lightest part of the image. Now on the little circle icon here, we have all our masks. I use the radial gradient mask probably the most out of any of the masks. So we're just going to make a radial gradient on her face here. See if we click on our mask, we can then hit the subtract button and that's going to subtract from the mask.
And then we're going to go, we're going to select the background. So we're going to subtract the background from the radial mask. And see what that's done is just cut out her face. So I'm no longer selecting any of the foliage and it's just on her face and none of this background either. So now I can just bring up the exposure a little bit on her face and that just lightens it perfectly.
Now we're going to do the opposite. We're going to make another radial gradient like this, and then we're going to click "Invert." And now that's going to give us our vignette. And we're just going to bring down the exposure, maybe the highlights a little bit. I don't want to go too crazy because it can look fake really quickly. So just by doing that, the viewer's eye is immediately drawn more to her face than without the masks. And it's such a simple thing, but it makes such a big difference.
Now I would probably go one step farther and use linear gradients to just have a bit more control over this. And then we're going to subtract her face like that. Now that's just going a little more intense with the vignette. And then I'm going to do a linear gradient on the bottom like this. Now I'm probably going to go back to the first mask and just lighten things up a bit again. So what that's done is drawing your eyes straight into our subject here, like I said.
Now we can play around with the colors a little bit, probably saturate it. Maybe play around to the tone of the green, the hue of the green. And there we go. So one more thing I might do is just lighten her eyes just a little bit, just with a brush. Just make it big with a big feather and then boost the whites. Oops. My auto mask is turned on, so I wasn't selecting it properly. Just going to boost the whites and maybe bring up the shadows a little bit. There we go. So there's our "before" with the exposure correction. And then just with a couple masks and a little bit of playing around with our saturation, we have a much more captivating image.
Now, let's talk about isolating our subjects using Lightroom. So we have this photo. These guys are pretty back-lit, and I'm using a pretty high F-stop, f/7.1. So we can't really rely on depth of field as easily to separate these guys from the background. Something that you can do that really helps is adding haze to the image. So I'm going to create a radial gradient just like that. And then I'm going to click on the radial gradient I just made up at the top here. And then I'm going to hit the "Subtract" button and then we're going to "Subtract Subject" and see how it just cut them out from our radio gradient? So now my mask is only affecting the red area of the image here.
So what I'm going to do is scroll down to "Dehaze." And instead of adding dehaze, we're going to actually put haze back in just a little bit. So we're going to go down to like -25 or something. And then I'll probably make the background just a little bit lighter as well. So essentially, like we talked about in the last episode, we're adding atmosphere in the background. So we're adding a little bit of haze and that just makes them pop from the background quite a bit more. And we barely did anything.
So next steps, I'd probably add a bit of saturation. And then I want to bring back a little bit of brightness on them. So I'm going to click 'Select Subject" and it cuts them out perfectly. It's going to look a little weird if they're just perfectly cut out. So I'm going to subtract from our subject selection with a linear gradient and then just maybe make the selection get eased in a little bit more so it's not quite as jarring. And then I'm just going to boost the whites on our subjects. Maybe the exposure a little bit. Shadows. Add a little bit of clarity. Contrast. I don't want it to look unnatural. So I'm just doing it piece by piece.
All right. So there's our before and our after. I'm going to show you one more time the power of adding haze in the background. And I do this with a lot of the portraits that I take. So first of all, this image looks great in black and white. I love the texture of the bokeh in the background. I'm just going to balance it by bringing up the exposure a little bit, maybe bring down the highlights, and then maybe adding a bit of contrast. Now, this photo doesn't really need it, but it still looks good a lot of the time.
I'm going to create a radial gradient and then deselect my subject. So cuts the subject out. And then we're going to scroll down to "Dehaze" and we're just going to add a little bit of haze into the background. And you can just see the difference that that makes. Just kind of separates our subject from the background a little bit more.
Just to recap, these techniques are techniques I use on 90% of my photos. So creating a vignette to draw the viewer's eye into a lighter part of the image. So essentially changing the lighting to make it so our subject's face is lighter and the background is darker. The other thing I do all the time is separating our subject from the background by adding a bit of haze behind them. This really, really helps because it creates a bit more artificial atmosphere behind our subject. And then lastly, just doing that again, but more on a portrait shot. Adding a bit of haze in the background looks really, really good and makes that subject pop.
All right, that concludes the second course of Photo Fundamentals. Thank you all for watching, and I hope you can walk into your next shoot with more confidence. It's been a lot of fun to teach and I'll see you next time.
Rate this course
Your feedback helps us improve our content.
Course rewards
Complete any course and earn a unique badge to celebrate your progress. Collect them all as you level up your skills!