

Video 201
Move beyond technical settings and start telling visual stories with intention.
- Details
- Module
- Quiz
About this course
Video 201 is designed for creators who are ready to move beyond simply capturing clean footage. With Jeven Dovey as your guide, you’ll learn how each creative choice – from the camera and lens you select to the way you light, frame, focus, and move through a scene – can shape what an audience sees and feels.
Through practical filmmaking approaches and Sony-specific tools, you’ll build the confidence to create intentional, cinematic work for client projects, YouTube, documentaries, and beyond. By the end of the course, you’ll be able to bring every technical skill together in service of one goal: telling a more meaningful visual story.
Course highlights
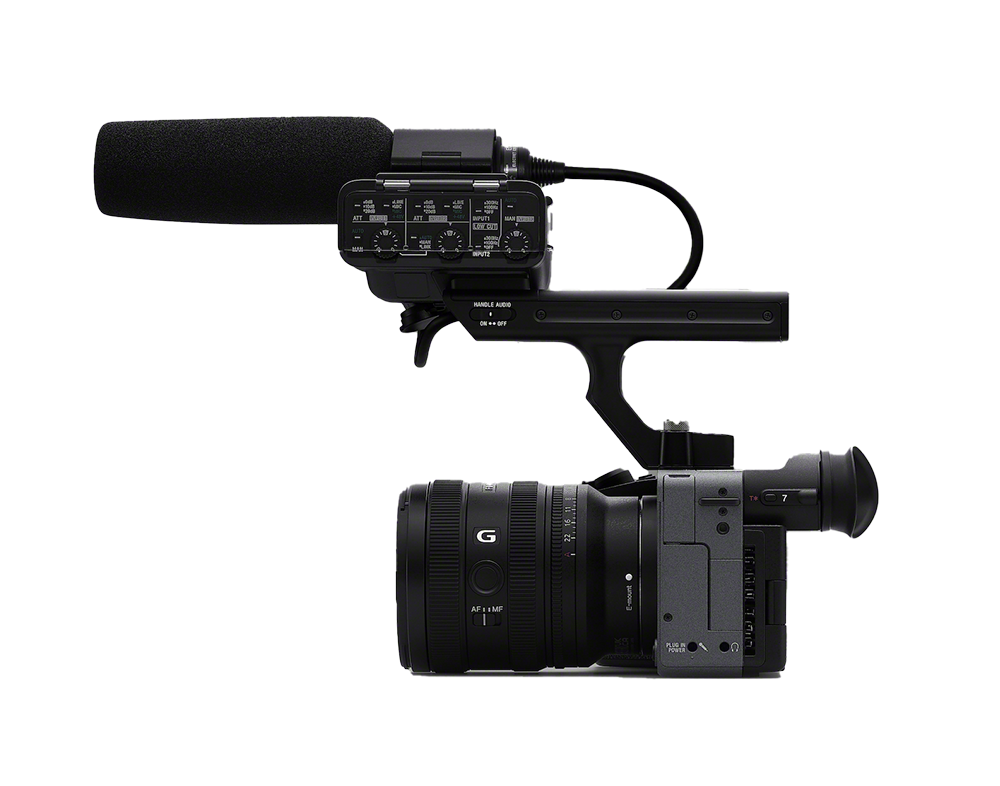
Featured gear
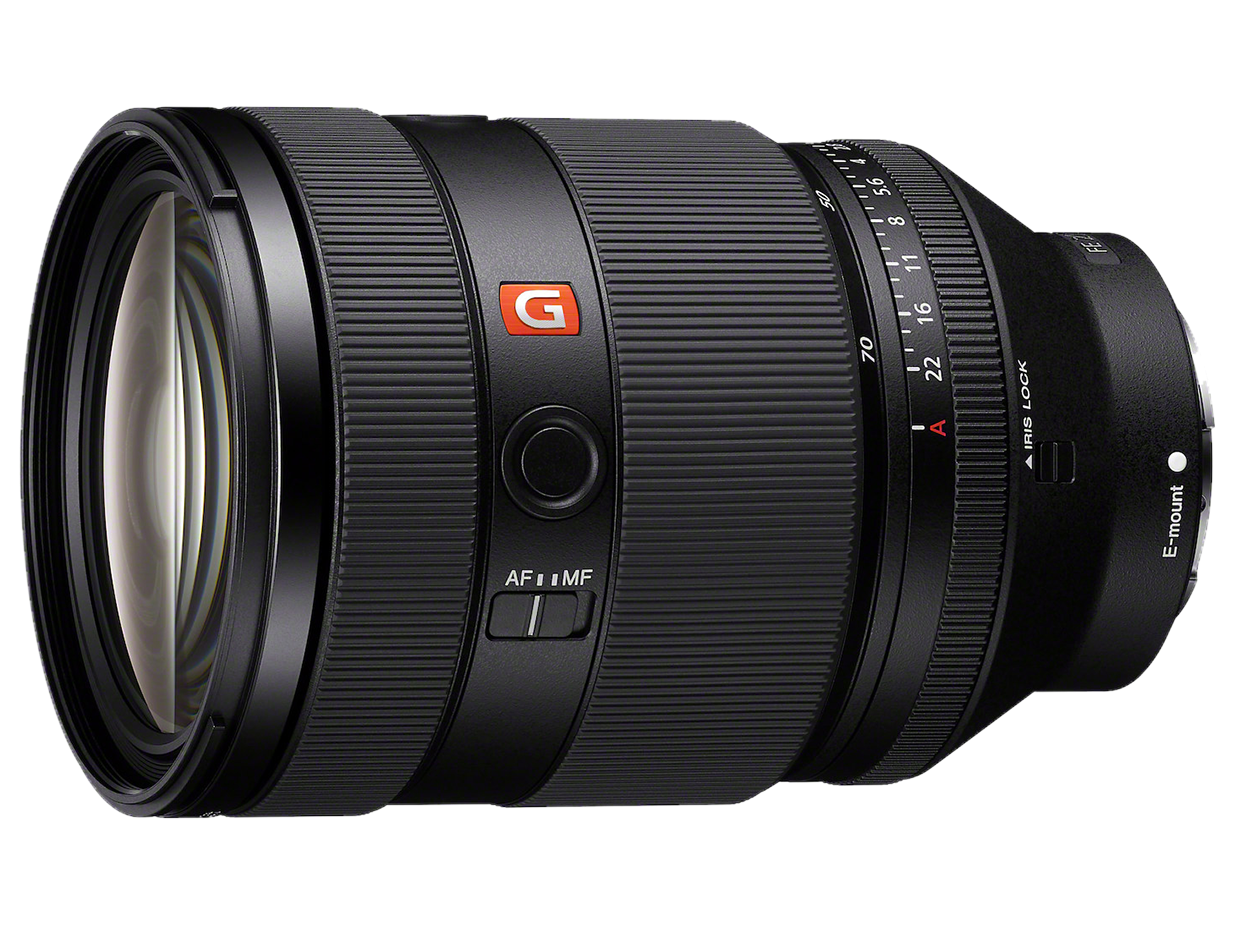
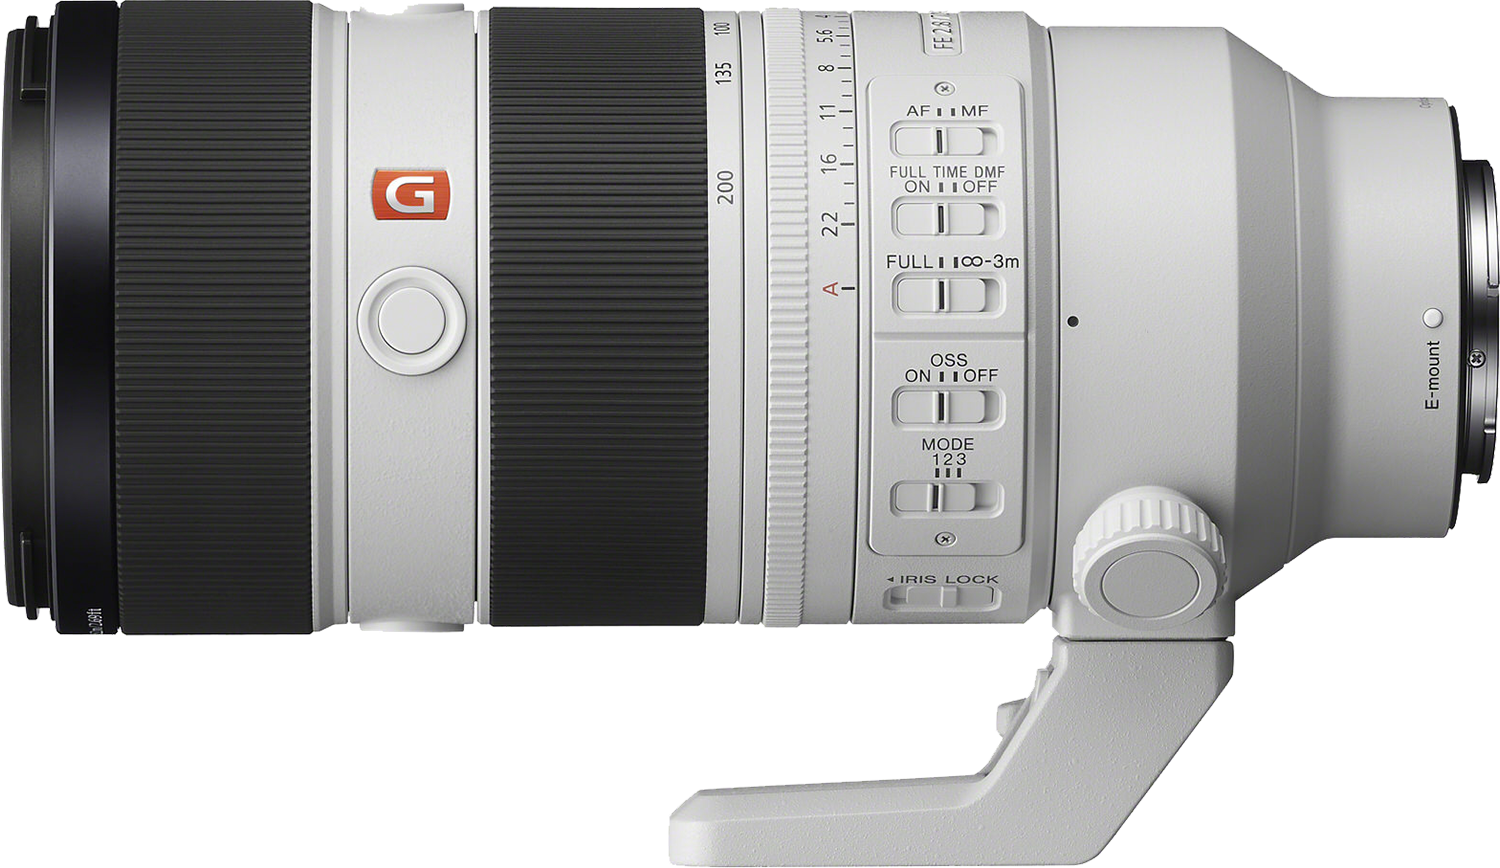
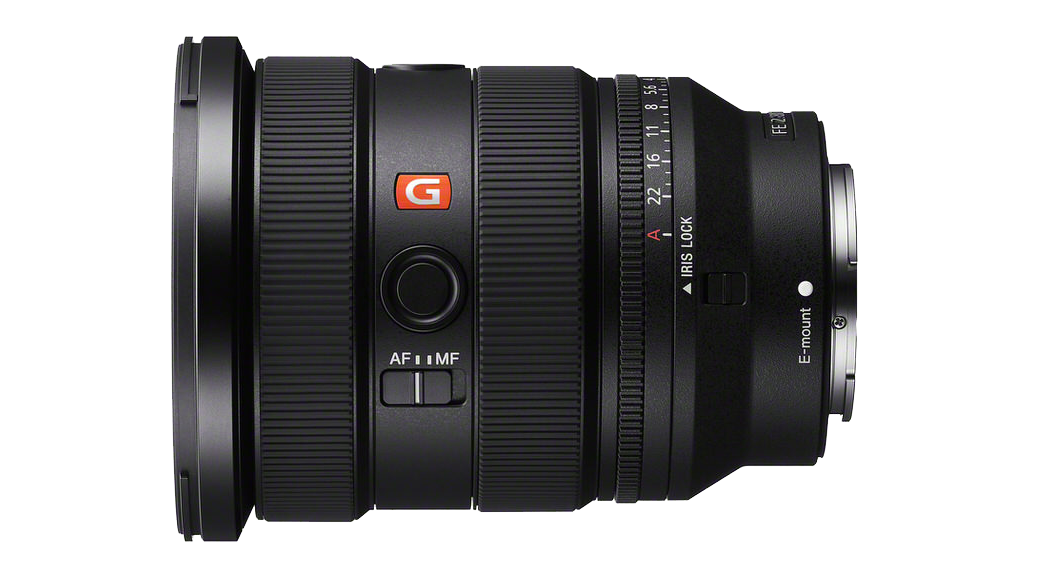
Instructor
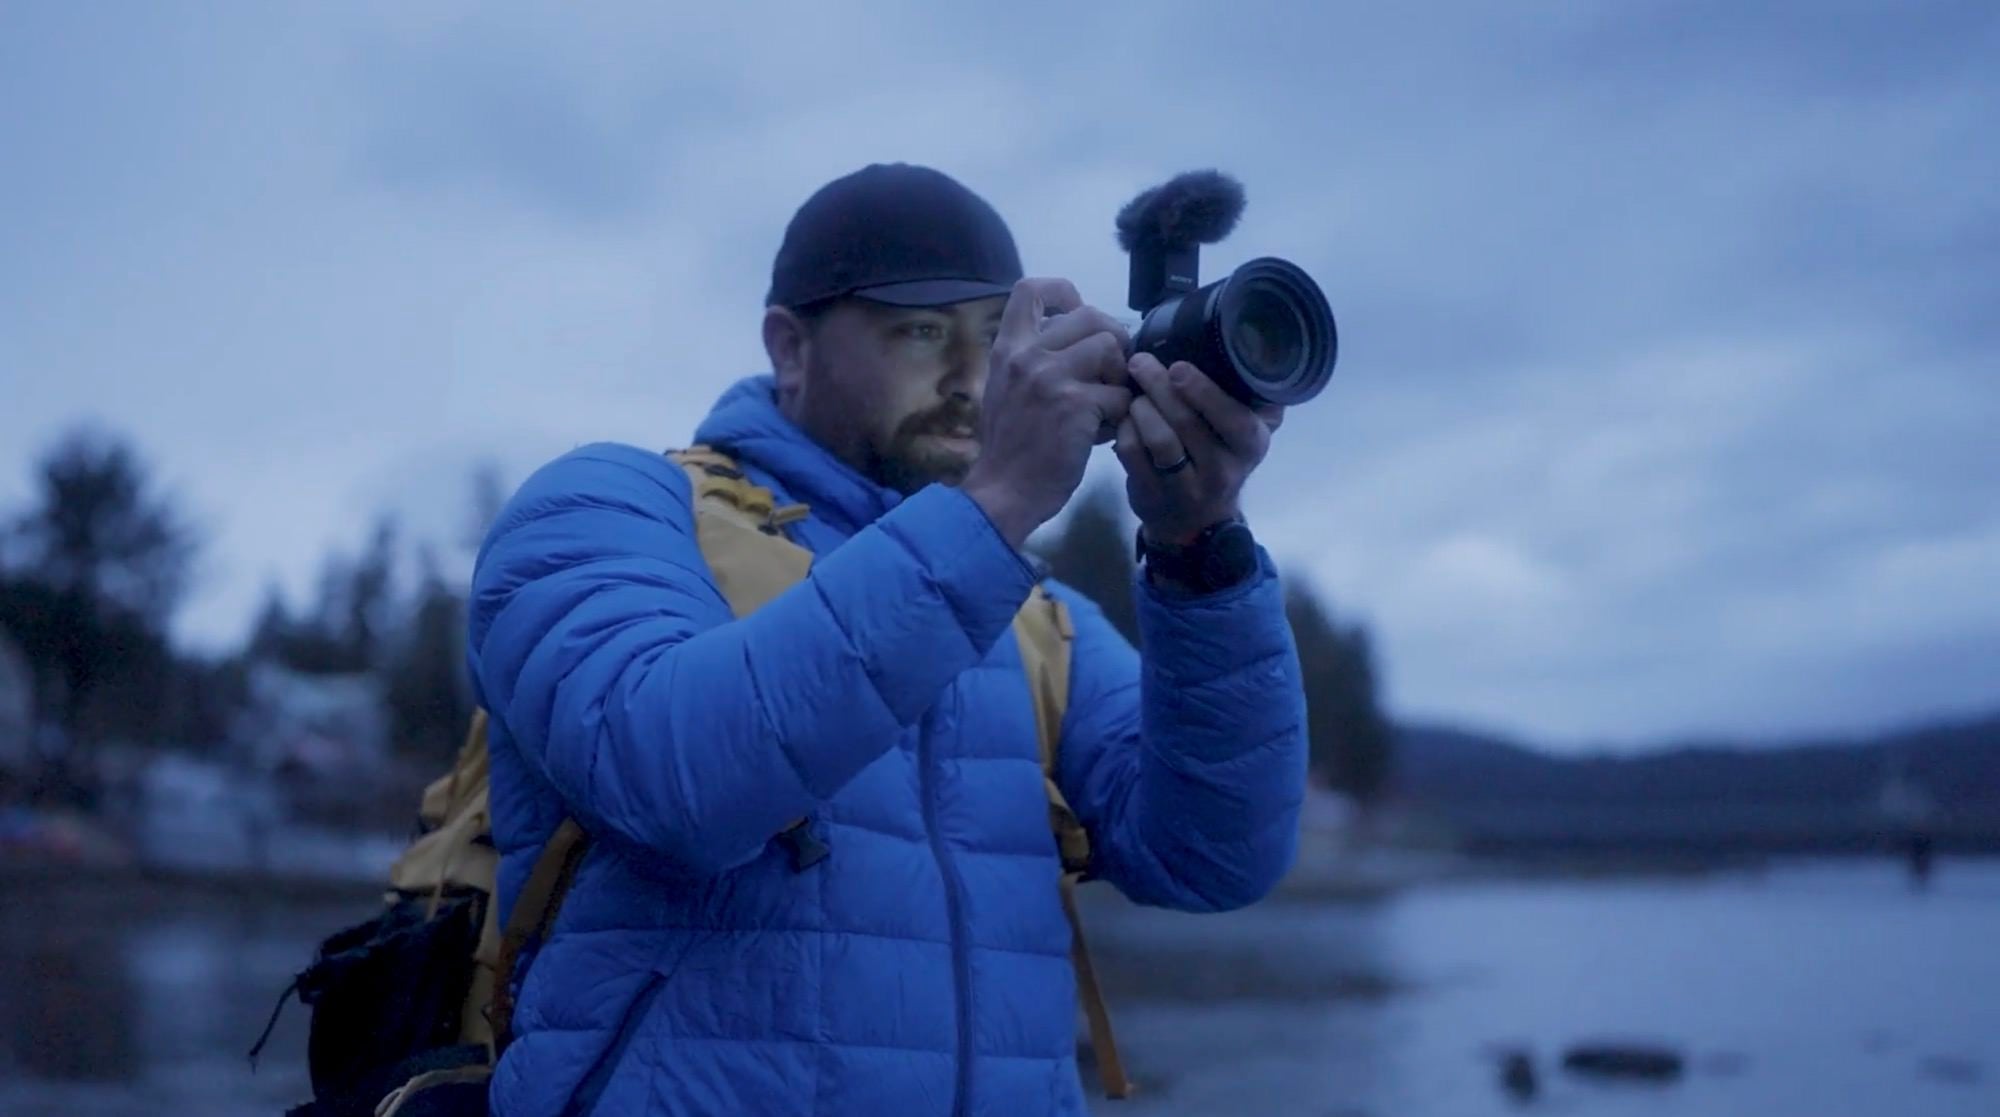
Jeven Dovey is a filmmaker, educator and content creator based in Southern California who specializes in adventure storytelling. Through his YouTube channel, he teaches creators how to craft meaningful visual stories and develop their creative voice. He is also the co-founder of Sown, a nonprofit that produces high-impact documentary films for social good – helping raise awareness and inspire action around the world.

Jeven Dovey
Storyteller
Skills
Transcripts
- Welcome to Video 201. I'm Jeven Dovey, and this is Becoming a Visual Storyteller with Sony Cameras. If you've taken Video 101 or you've been shooting on Sony for a while and you've got the basics down, this is your next step.
Now, we're not going to spend time here going over what every button does or how to point the camera at your subject. You already know that part. What we're going to do is shift how you think about the camera entirely. The job stops being capture clean video and starts being how to tell a visual story.
Every choice you make is a creative decision, not necessarily a technical one. This means that the camera body you pick up, the lens you put on, where you place the light, how you frame the shot, and ultimately how you cut it all together are intentional choices that you're going to use to craft your vision.
Now, before we get started, let me introduce myself. I started in traditional film, TV, and documentary after I finished film school. And from there, I ended up building my own production company. Eventually, I found my way onto YouTube, where I now run multiple channels with over a million subscribers. And I do this while still filming documentaries and client jobs. So I've been on both sides of the spectrum, the high-end commercial work while also being a solo creator making videos on YouTube.
Now, what I want to do in this course is take everything I've learned from both directions and help you on your journey. So this is for the creator who's ready to make more intentional choices with your work. Maybe you're shooting client jobs, maybe you're building a YouTube channel. Either way, you've outgrown auto mode and you're ready to start thinking like a filmmaker.
Now, throughout all of these lessons, we're going to cover the gear that gives you more creative control, how to expose and focus with intention, how to build a frame and cover a scene, how to light with purpose, and then how to bring it all together into a video that feels cinematic. So if you're ready, let's get into it.
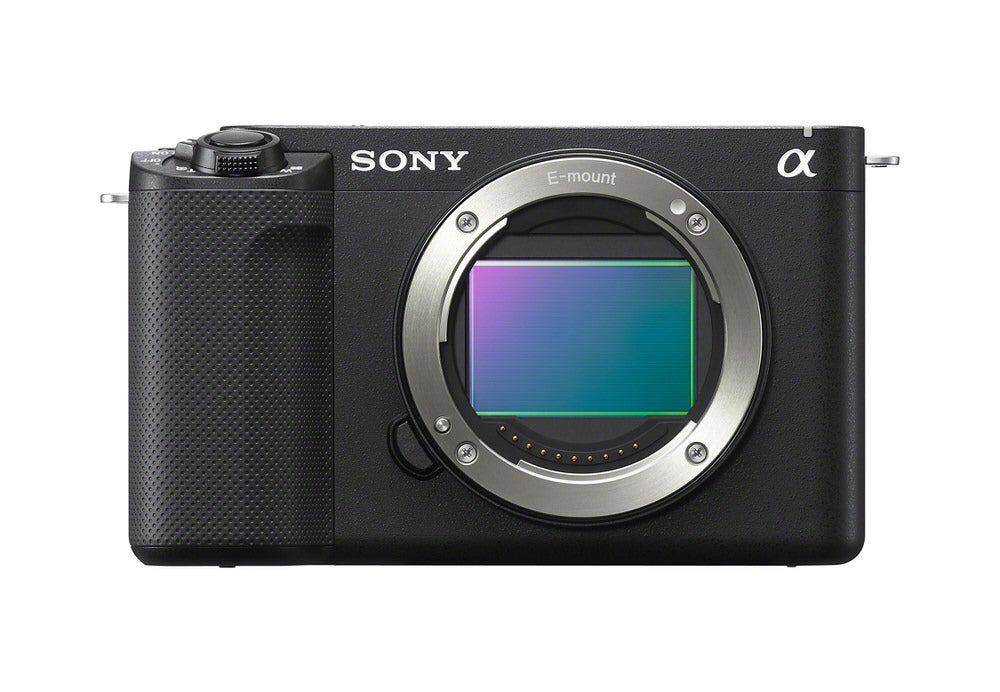
- In this section, I want to go through how you choose which Sony camera to use so that you can have more creative control. Now, the ZV lineup of cameras are excellent choice for content creation. They're compact, they're small, they're easy to use, and they're great at what they do. I personally have been using the ZV-E1 for a long time, and it's perfect for a content creator.
But once you're ready to make more intentional creative choices, you start running into some limits. This module is all about what to look for when you're ready to upgrade your camera or you're ready to have a camera that has more power under the hood. Now, this isn't necessarily a buyer's guide. I'm not going to tell you exactly which camera to buy, but what I want to do is help you understand the features that actually matter because there are so many camera options out there. So let's start at the basics.
Now, for me, it's full frame because it gives you better low light performance, it gives you shallower depth of field, high resolution, and strong dynamic range for flexibility in the edit. Now, a big thing for me is slow motion without a big sensor crop. I want to have fast and intelligent auto focus for those times I'm using it, built-in stabilization, and the ability to build the camera out so I can add accessories, a grip, have these different mounting points that actually give me more control over my camera.
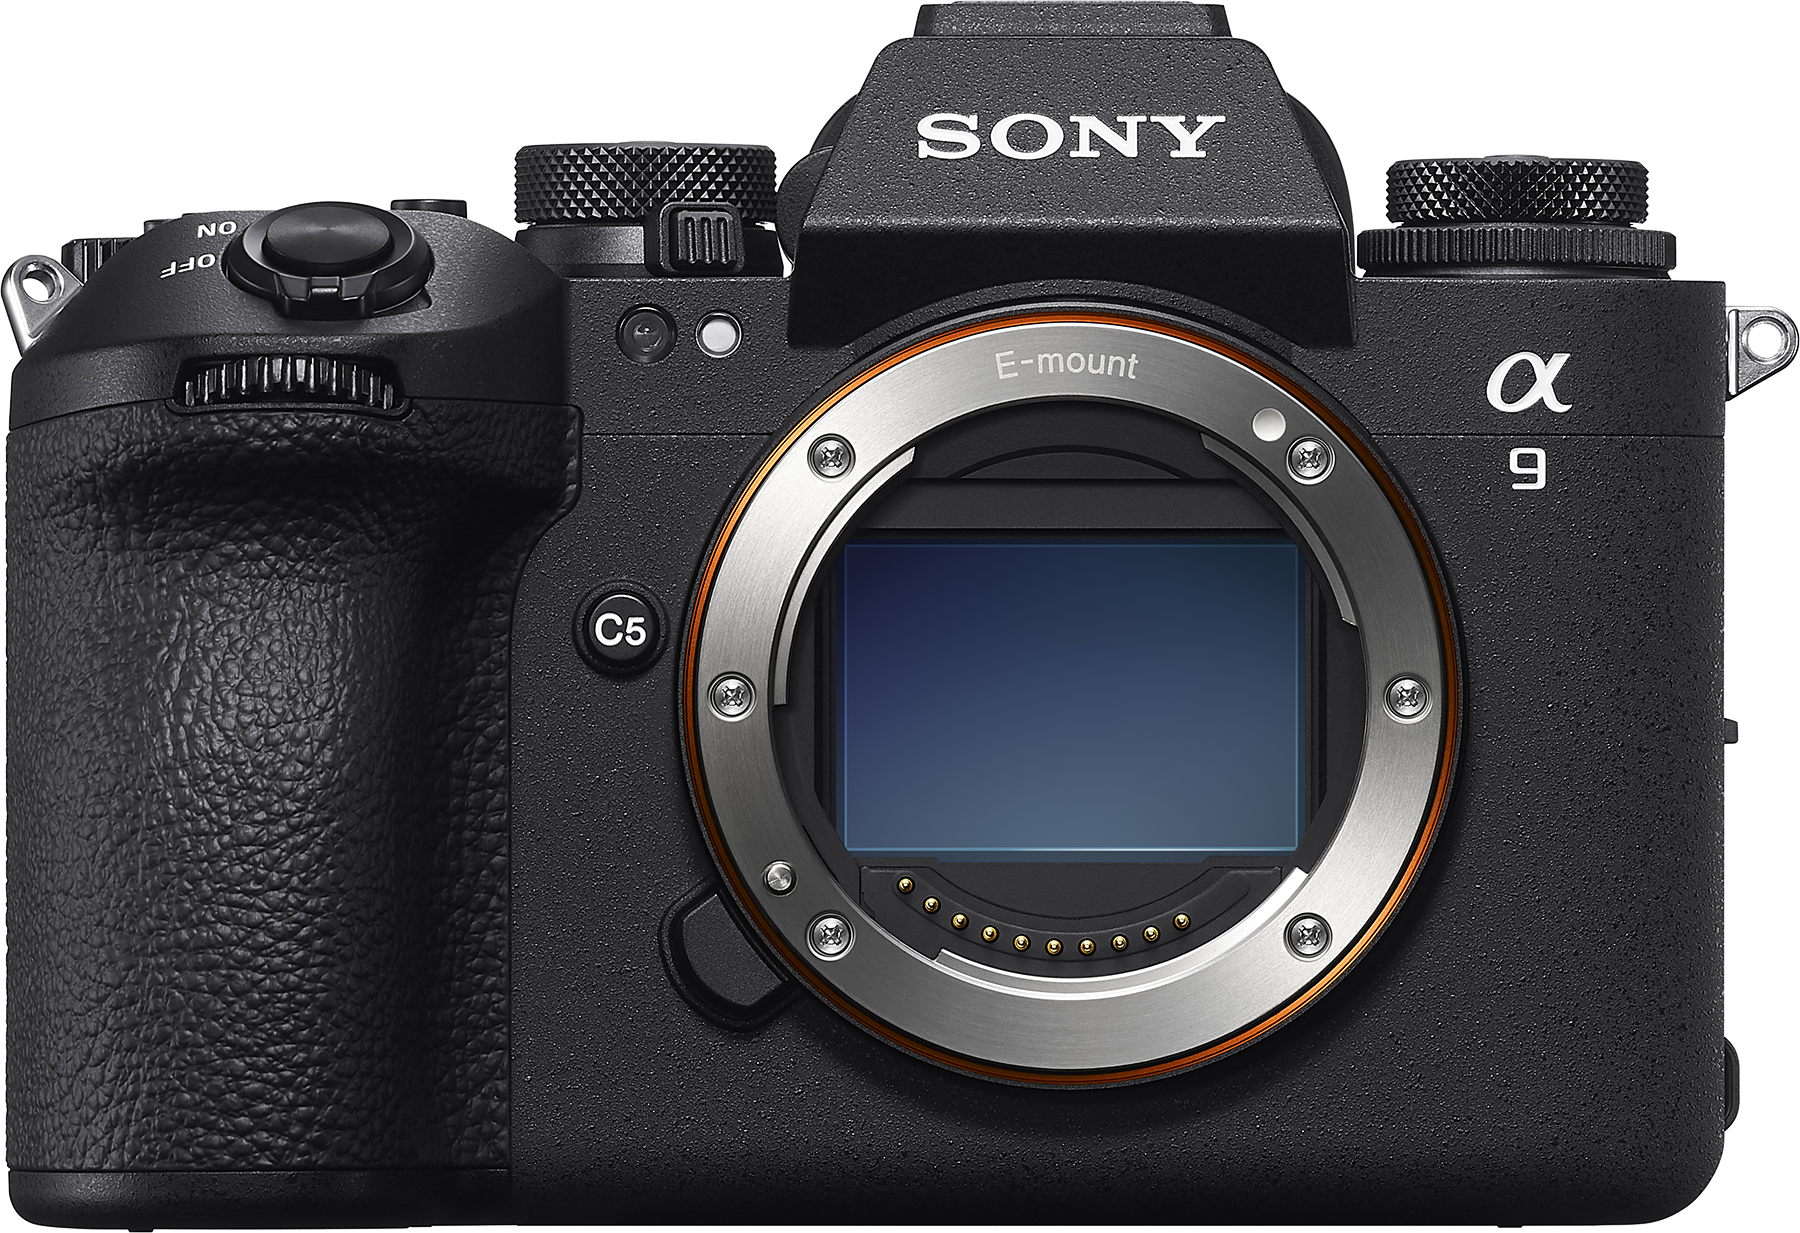
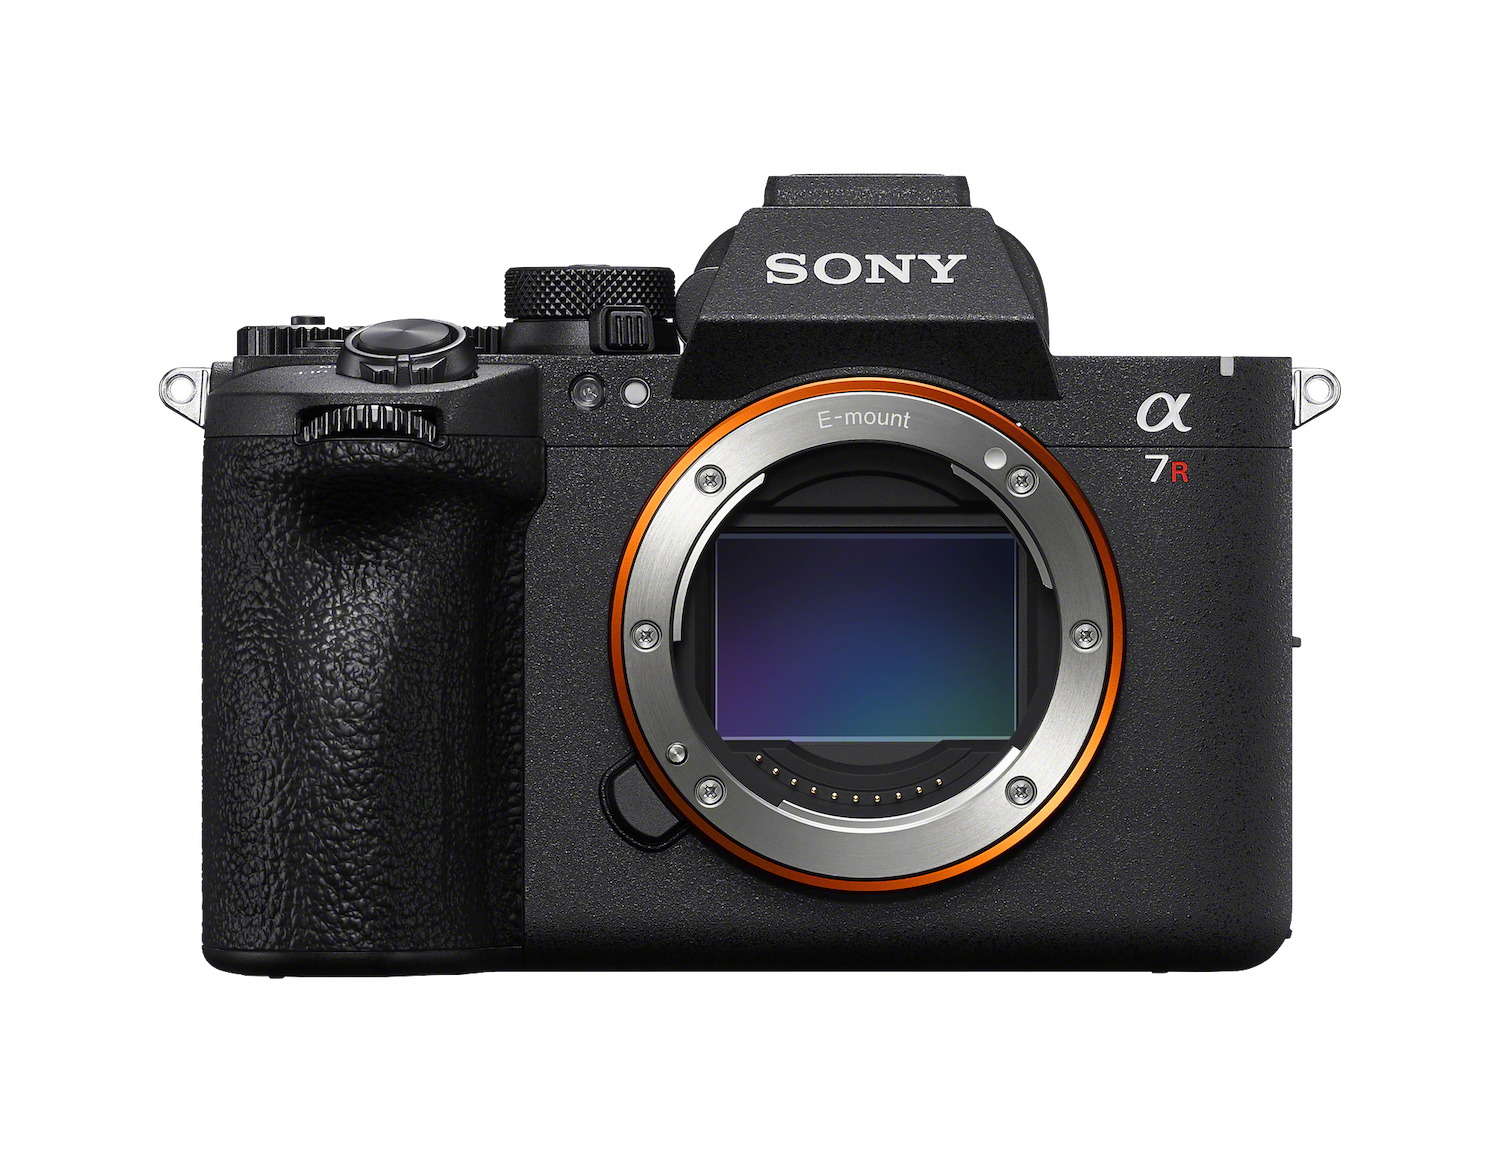
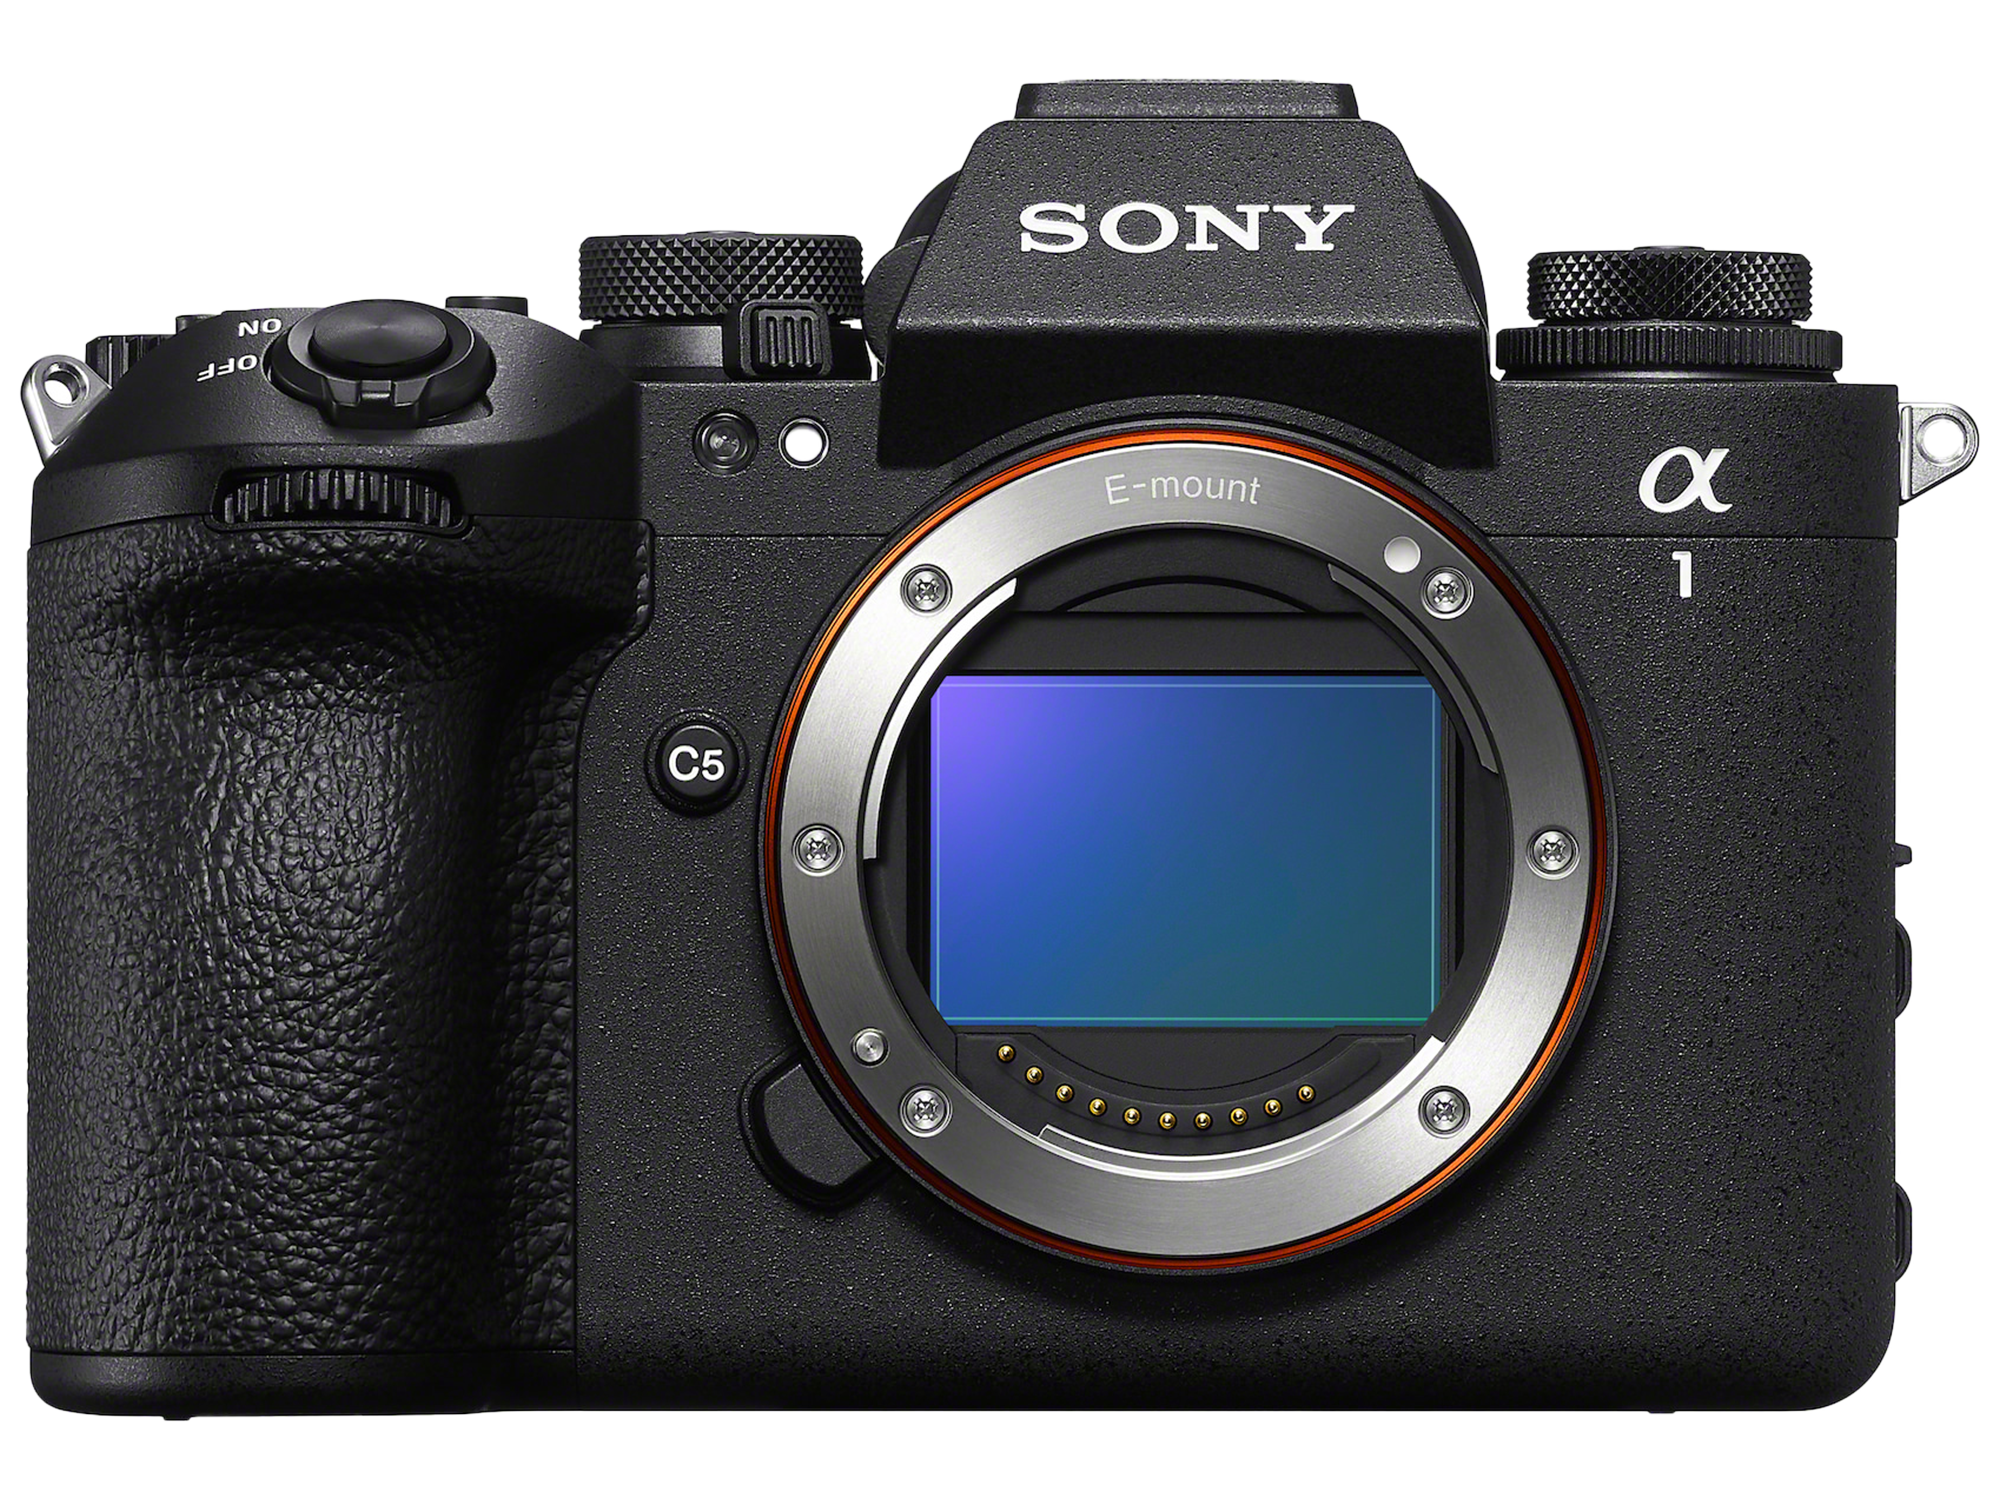
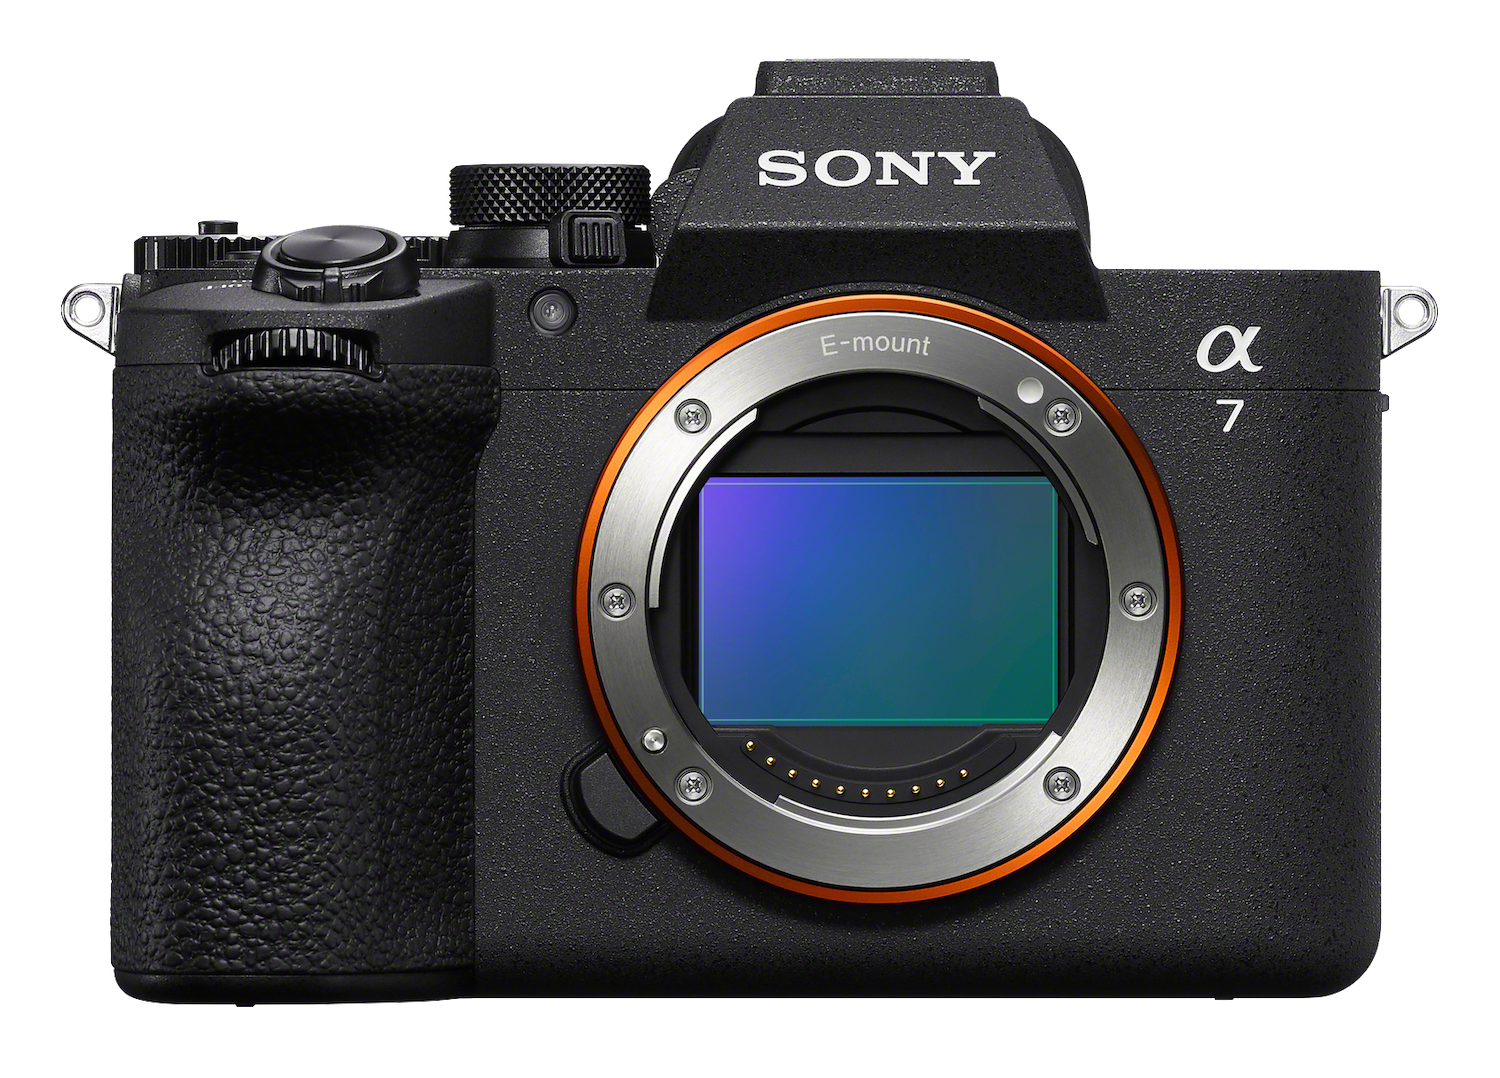
So when we start looking at Sony's higher end cameras, it breaks down into two different groups. There's the hybrid alpha bodies and there's also the FX Cinema lineup. Now in the hybrid lineup, this is where there's some pretty interesting choices. You have the A9 III, you have the A1 II, the A7R VI, and the A7 V. These all give you full frame sensors, fast autofocus, slow motion without a big crop, and importantly, a good viewfinder. And for me, I love a good viewfinder for my solo shooting, my running gun work, basically anything where I'm out in the field. Cameras like the A1 Mark II and A7R VI have a high resolution sensor. If you do need that high resolution, you need to go all the way up to 8K.
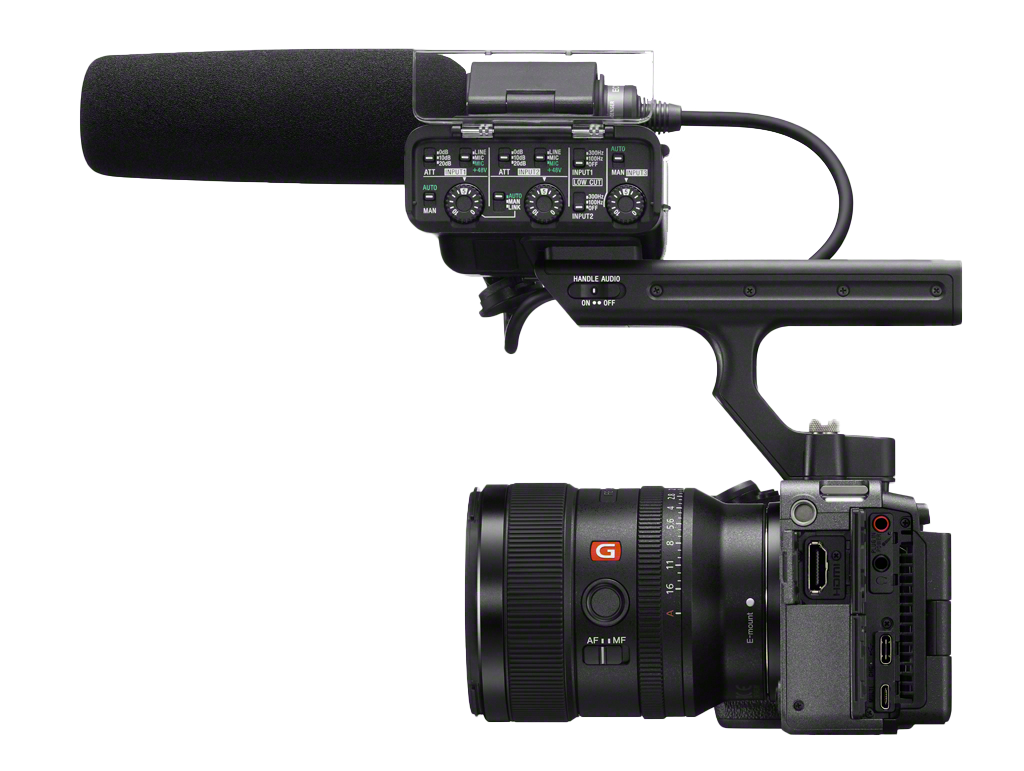
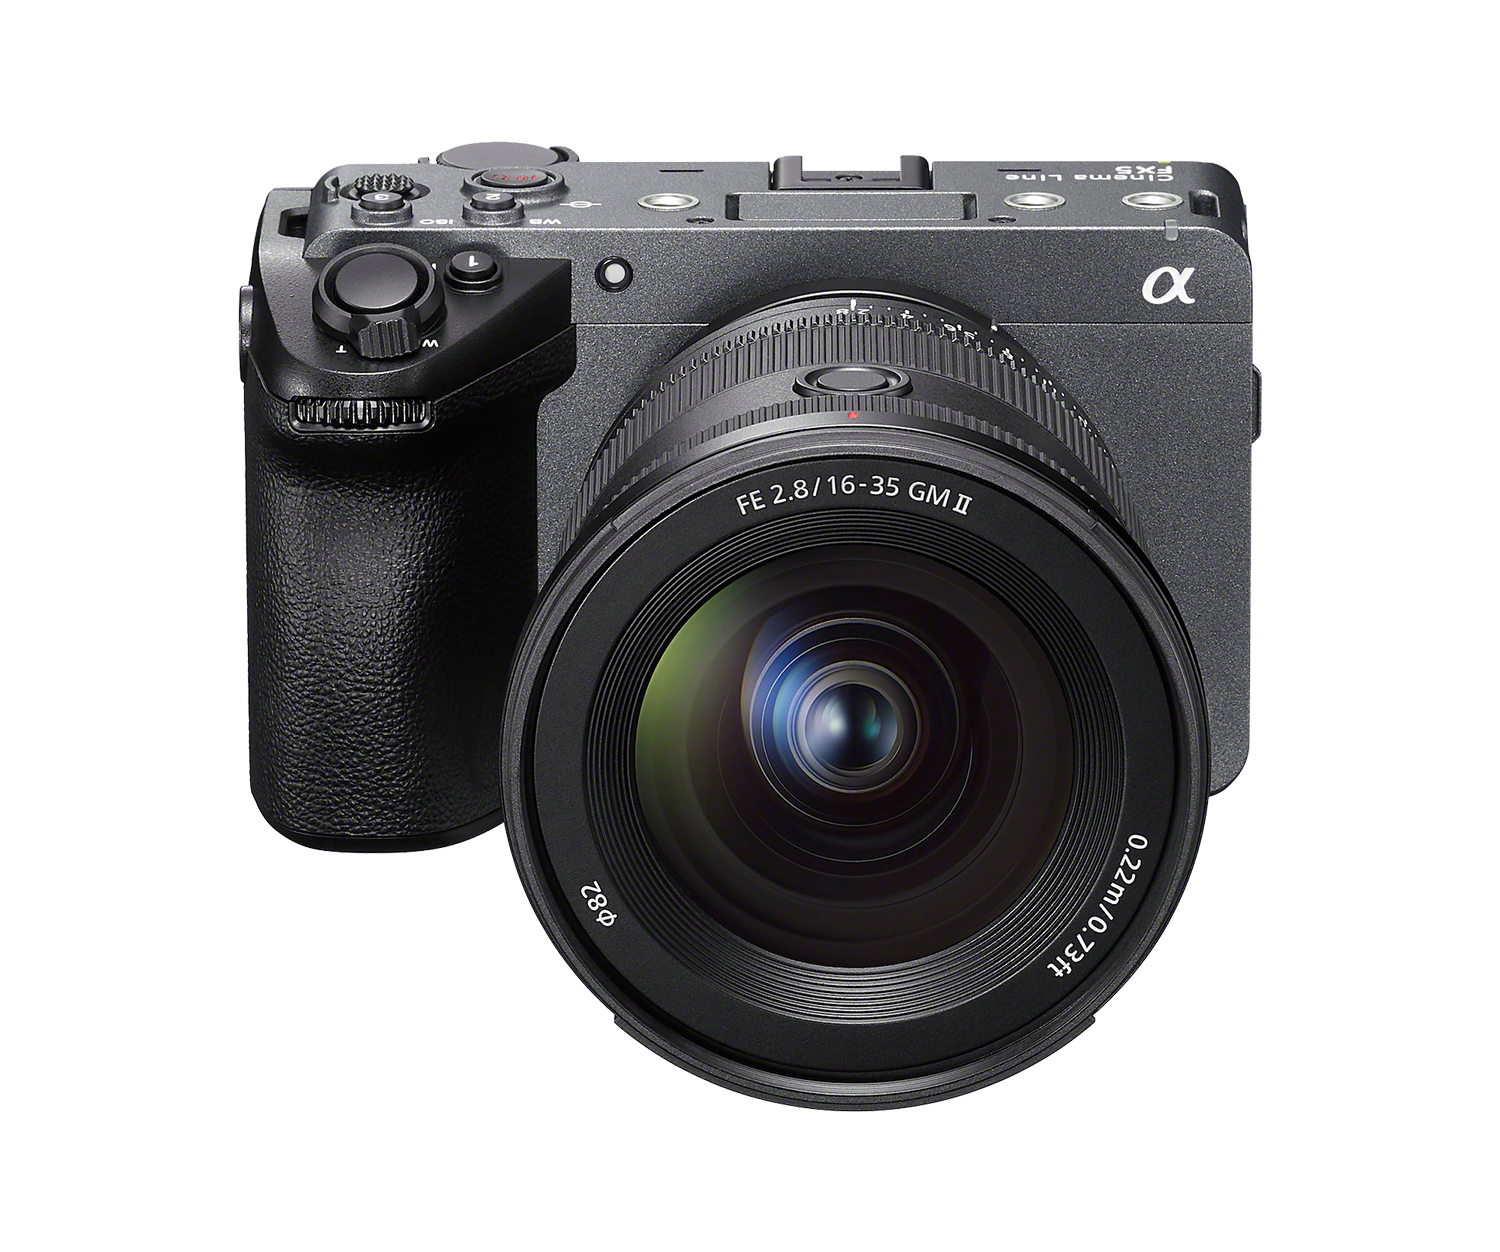
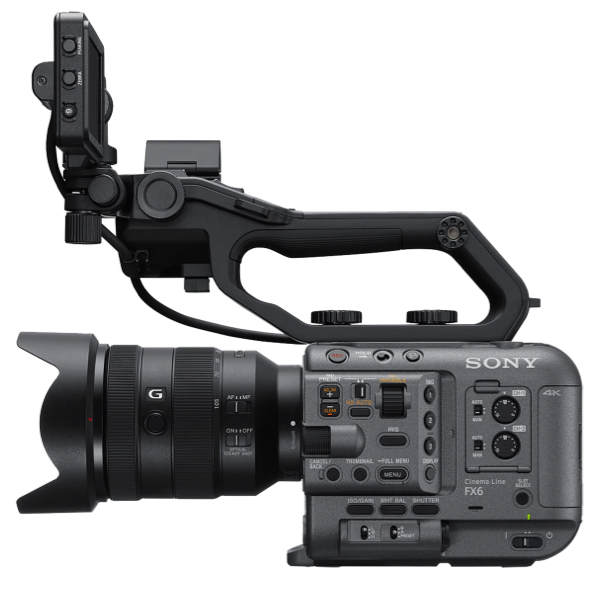
However, the A9 III is my personal favorite because it has a global shutter. Now, this is unique. It means that there's no rolling shutter in your footage, no skew when you whip the camera back or forth, especially when you're in a fast moving environment. And this has a very filmic quality to it because usually global shutters are only reserved for high-end cinema cameras. Now I put the A7 V on this list because it is a more affordable hybrid and it still holds up against all of these other cameras. And then we move over to the cinema line. There's the FX2, FX3, FX6, and we also have the FX5. And then for the higher end cinema work, there's the Burano and the Venice. And these are all built specifically for filmmaking from the ground up. There's more mounting points on them so that you can rig this out with pro features. You can add a handle, you could add different arms if you want to add on a monitor or even an extra light, you could really build these out to become a compact cinema camera.
Now the FX3, it's small and it's a beast in low light. Now the FX6 has the same sensor. It's bigger and brings real production features. It's got internal ND, it's got XLR inputs, time code, and a side grip built into it with a Zoom rocker for that kind of run and gun documentary work. And then you have the FX5, which includes RAW recording internally, 5K Open Gate at 60 frames per second, a triple base ISO, a removable viewfinder, and it's a full cinema camera that's packed into a smaller body style. So how would you actually decide when you look at all of these cameras? I just mentioned a few, but there's obviously a ton of cameras to choose from. Now for me personally, whenever I'm working with a team, I go for the FX6.
However, when I'm a solo shooter, if I'm on a client job, I'm going to reach for that FX3, FX5, or the A9 III, depending on what I need. There are times where I will take the A9 III over the FX6 just because of that global shutter. And for my YouTube channel, usually I grab the A7 V because it's a solid camera for making online content. However, I also grab the A9 III because I just love the fact that it has a global shutter. However, the right camera is the one that gives you the features that you need for the kind of work that you're doing. And ideally, you really want to think through what are the creative choices that you want to make on set and which camera has all the features that you need.
- Now, your lens is not an accessory. It's one of the biggest decisions that you'll make about how a shot is going to look and feel. Two cameras can sit right next to each other with the same subjects, same light, same settings, but you put a different lens on each one and you'll have two completely different stories. And the reason for this is perspective. The focal length that you choose changes how the world looks. There are three main ranges to know.
You have wide, that's anywhere from like a 16 to 24. You could go even wider than that. These help pull in the environment around your subject. The shot feels super immersive and big, really feels like you're there, you're seeing everything. And then there's the normal range, and this is from like 35 to about 50. This is close to how the human eye actually sees, so it feels natural. It feels intimate, conversational. This is where a lot of great interviews live, and this is where a lot of films are shot. And this is also personally where I like to spend a lot of my time shooting.
And then you have the telephoto range, 70 millimeters and longer. Telephoto really compresses the scene. It pulls the background closer to your subject and isolates your subject from the background. This look has very observational quality to it, a little bit distant, and also the perspective changes when you compress everything together.
Now, once you've chosen your focal length, your aperture is the next creative choice. Wide aperture like an f/1.4 or 1.8 gives you that beautiful blurry background that isolates your subject. And this tells the viewer where to look. This is why a shallow depth of field looks so good. It really focuses in on that subject and gives you that razor sharp focus in one little spot, whereas everything else goes out of focus. Now with a narrow aperture like 5.6 or f/8, it keeps more of that background in focus. And this is what you want for a landscape or anytime that the environment becomes a part of the story and you want to be able to see more and you don't want it to be blurry.
Now, the other choice that we have to make is prime vs. zoom. Primes are a single focal length and they tend to open up wider so you can get more of that blurry background and also just more light if you're in a darker scene. So a lens like a 35mm f/1.4 or a 50mm f/1.4 will give you that super shallow depth of field and gives you that low light performance that makes it super useful, especially when you're in darker scenes. Now, oftentimes when I'm shooting client jobs or documentary work, I often have the 35mm or the 50mm on my camera just because I love the look that these lenses provide. And so if I'm going for the most cinematic look, these are typically what I reach for.
However, the trade-off is that you commit to one focal length. And so if you want different framing on your subject, you physically have to move the camera and change your position. And so that's where zooms give you flexibility. There's the 24-70mm f/28, which is a workhorse for most video creators. There's the 16-35mm, which is great for wide work and vlogging. The 70-200mm, which is your classic telephoto for compression. And the key with these is that you can carry fewer lenses, you swap less, and you can adapt on the fly. For a lot of jobs and a lot of things that you're filming, that's exactly what you need.
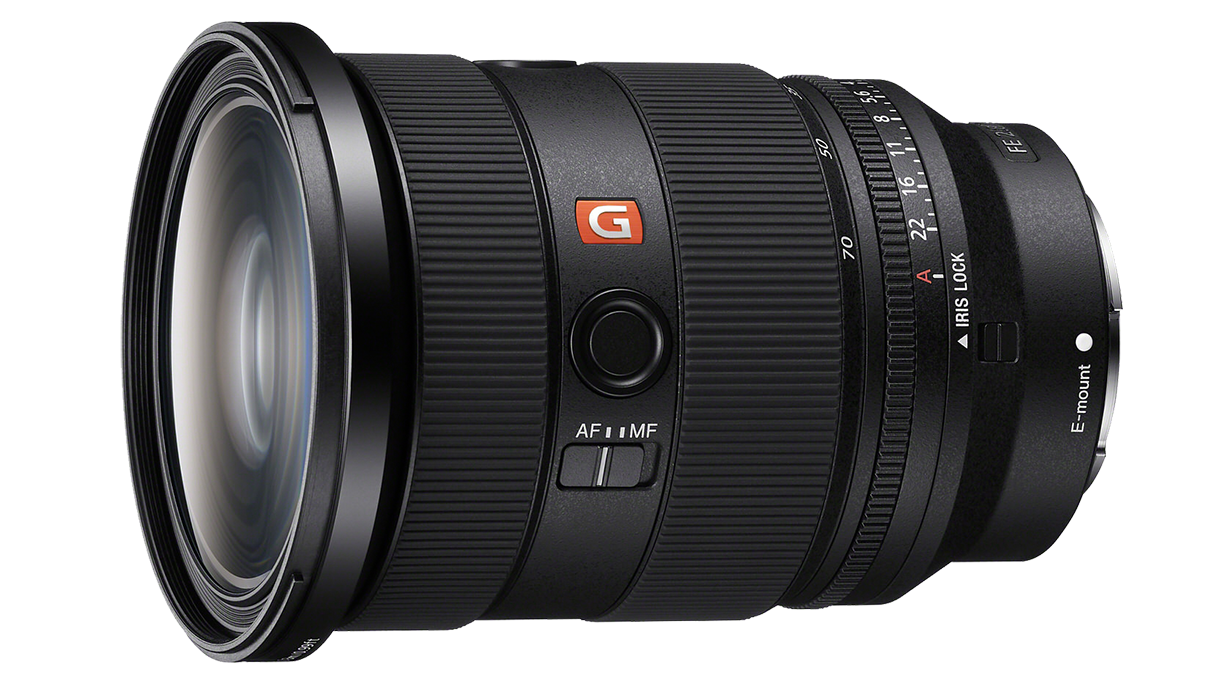
Now, I just want to say a quick thing about Sony's lens lineup. Now, the G lenses give you excellent performance. They're more compact, they're lighter, they're in a more affordable package, whereas the G Master are the flagship tier, maximum sharpness, the widest aperture, and some of the best bokeh. You're going to get a beautiful image from any Sony glass, but if you want the best, that's where you grab the G Masters. Now, here's how I actually choose. For a lot of my work, a solid pair of zooms usually covers me.
I personally like the 28-70mm f/2 G Master because it gives me that shallow look, but it's also in a zoom. And then I'll also keep on me the 16-35mm so I can have some wider focal lengths. However, if I'm going for that super cinematic look, that super shallow depth of field, a lot of separation, then I'm going to pull out my 35 and 50mm f/1.4, and those two lenses will live on my camera. Lenses shape how a viewer feels. And when you start actually thinking about what focal lengths you want and what it's actually going to do to your image and the subject in front of your camera, that's where your work will start changing and will start looking and feeling more like a film.
- Now here in Video 201, we're not using auto settings. The filmmaker dials their exposure to exactly what they want. I rarely use Auto on anything unless I'm in a fast-changing environment. And in those cases, I actually do use Auto ISO. And that's going to be in situations where I'm not going to be able to control the light and things are changing fast. And this is often when I'm in like a documentary setting. For everything else, I take complete control of all the settings in my camera. So that's what we're going to talk about.
The exposure triangle in Video 101 was all about getting the correct exposure. In 201, it's actually making creative choices. And so let's walk through each setting and what we're actually going to choose.
First is shutter speed. For video, we want to lock our shutter speed to double that of our frame rate. If you're shooting 24 frames per second, your shutter speed is 148 or 150 if your camera doesn't do 148. Now, if you're shooting 30, your shutter speed is 1/60-sec. The cinema cameras, you're going to set it to 180 degrees shutter angle. Now this gives you what to our eyes looks like natural motion blur, and you only deviate from this if you want a specific look. A fast shutter gives you crisp, snappy feeling. It's great for action, great for things like fitness, and a slower shutter feels dreamy and surreal. But 95% of the time, you're going to be locked onto double that at your frame rate or a shutter angle of 180.
Now, a quick note on frame rate, 24 frames per second is the cinematic standard of Hollywood. It's been the look of movies for almost a hundred years, but you don't actually have to only use 24. For most of my online work, including a lot of my client jobs that live on the web, I shoot 30 frames per second. For all my YouTube, it's 30. However, I default to 24 when I'm doing something that needs to look more like a film. This could be documentaries, narrative work, or clients who specifically want that cinematic look. And for 60 and 120, I shoot that when I want slow motion in the edit.
Now next is aperture. Aperture lets the light in, but I rarely think about it in that way. I think more about the look that it gives me because if I want to isolate a subject, blur out everything behind them, I open up to a low F-stop, something like f/1.4 or f/2.8 Now, if I want more of the scene in focus like a landscape or I want to actually see some objects, I don't want to have it so blurry, then I stop down. I go to an f/8, f/11, maybe an f/5.6. So you want to pick the aperture based on the look that you want. However, if you're in a super low light situation, you probably will open up so you can let more light in. However, that does affect the choice that you make on the look of the image.
Now then there's ISO. Video 101 recommended that you just use Auto ISO. And that's a great way to learn shutter and aperture. But in 201, we want full creative control. So we want to lock down our ISO to a base. Now all cameras have a base ISO and it's the native sensitivity of your sensor. And this is going to be where your image is going to be the cleanest. It's also going to be where you're going to have the most dynamic range and the least amount of digital noise. Some cameras like the FX3, FX6, they'll have two base ISOs that you could switch between. So you could go from 800 to 12,800, which is pretty wild for those cameras. Now, other cameras just have one. Like the A9 III, its base ISO is 2000. So find your base ISO for the camera that you're working with, set it, and forget it.
But here's the question that comes up after you walk outside. What happens when the sun is super bright and my image is way overexposed? Well, that's where ND filters come in. Now ND stands for Neutral Density and you think of ND filters like sunglasses for your camera. It blocks light from hitting the sensor without changing the color of your image. That means that you could keep all your settings exactly where you want them instead of forcing yourself to stop down your aperture or bump up your shutter speed so you lose those creative choices that you want to have that specific film look. Now, if you're shooting outdoors, ND filters are essential. They're not a nice to have. They're something you need to have. And they're how you're going to be able to keep that film look working in the real world with the bright sun overhead. Now, manual exposure is the filmmaker's default. It gives you consistency, it gives you intention, and it gives you an image that you actually want.
- Now let's dig into color. Color is one of the most underrated creative choices in filmmaking. It's not just a technical setting, it's how a scene feels. In this module, we're going to cover the Picture Profiles that Sony gives you, how to expose for them, and how white balance fits into this whole picture. Now, Sony has a bunch of different looks in their cameras, but there's two main Picture Profiles that you should know about. There's S-Cinetone and S-Log3.
Now, S-Cinetone is what I reach for when I want a polished image straight out of camera. I don't want to do any heavy color grading. It gives you a cinematic look with beautiful skin tones, nice contrast, and rich color, and you don't have to do anything in post. If you're shooting fast turnaround content, social media videos, vlogs, or anything where you don't want to spend time color grading, then S-Cinetone is a great choice.
Now, S-Log3 is the opposite of that. S-Log3 is a flat, low contrast, low saturation picture profile that captures the maximum dynamic range that your sensor can record. The trade-off is that the image looks washed out and it's ugly straight out of camera. You would never use S-Log3 in your final edit. It's a workflow choice. You shoot S-Log3 to give yourself the most flexibility to color grade later. If you're doing client work, narrative pieces or any project where you want more creative control, S-Log3 is what you want to use.
Now, before we get into the technical side of S-Log3, a quick word on white balance. Most people think of white balance as a technical setting where the goal is to get the colors looking just neutral. However, if we treat white balance as a creative tool, we can push that white balance warmer or cooler depending on what we're going for, which will give you a golden nostalgic feel. It'll have just more of this warm quality to it. Whereas you could push it cooler, make everything more blue, and it's going to feel clean, clinical, or even cold. And sometimes when you're working with your white balance, you're just nudging it a little bit one way or the other just so you could have a little bit more of this warm quality or this cooler quality based on what you're doing.
Now let's go back to S-Log3. Now the thing is when you're shooting in this profile, you have to overexpose your footage. Sony engineered S-Log3 to live a little bit brighter than you think would look just right. So the rule that I follow when I'm exposing my footage is that I want to overexpose by 1.3 to 1.7 stops. So you could use your little meter in camera and actually see that 1.3 to 1.7 on the meter. Now you do this by adjusting your lighting or your ND filter, not by raising your ISO.
If you do want to change one of your camera settings, one of the other parts of the triangle, play with the aperture. Now you will change that separation. However, it's not going to adjust your image in a negative way. Whereas if you bump up your ISO, you're going to introduce more noise into your image and it's just not going to look as good. You want to make sure you have proper motion blur and you want to make sure that you have a clean image so you can adjust your aperture, your ND filter and your lighting to get your exposure just right. Now in Sony cameras, there are some tools that will help you nail your S-Log3 exposure.
The first is Display LUT. When you turn this on, it shows an image with color and saturation so you don't have to look at S-Log3. Sony gives us a standard LUT that you can use or you can add your own LUTs if you have a specific look that you want for your footage. Now the second tool that you might want to use is Zebras. You turn on Zebras and set your lower limit to 94 and above, and this marks where your highlights are going to start clipping. So you can expose until the Zebras are just starting to show on your brightest areas and you could see where exactly things are overexposing.
Now third that you might want to play with in camera is your Histogram. Now with S-Log3, you want it leaning a little bit to the right because on the Histogram on the left, it's the darkest parts of your image, on the right it's the brightest parts. And so you want to lean to that overexposing by pushing everything to the right, but you also want to make sure that you're not seeing the entire exposure piling up against the right edge of that histogram. Now, if you're using an external monitor, you get even more tools. And one of the big ones I like to use personally is false colors. False color shows you a solid color that represents different brightness levels. Pink or gray are typically for skin tones and red is for clipping your highlights. Dark blue and purple are for crushed shadows. That's the darkest parts of your image.
And so once you train your eye to read a false color, exposing S-Log3 becomes incredibly fast. You turn it on and I could see exactly where I need to bring exposure up or down based on people's skin tones or what's overexposing in the back. Now from this whole section, the takeaway is this. S-Cinetone gives you a polished look fast. S-Log3 gives you maximum control if you're willing to do the work in post. So pick the workflow that matches your project and use color the way that you would use lighting or something like composition: intentionally.
- Most beginners think about focus as a yes or no question. Is the shot in focus? Yes. Great. Move on. In 201, we want to use focus as something more than that. Focus is one of the most powerful tools you have to direct a viewer's attention. Where your focus lands tells a viewer what to look at. When your focus shifts, you're moving the story.
So there are two modes that you'll choose between, Manual and Autofocus, and each one does have their time and place. Manual Focus is when you want to lock onto a specific point and you don't want to have the camera necessarily make that decision for you. Now, I'll use Manual Focus when I don't want the focus to bounce between different things in the shot. So if I have someone walking into frame, I'll put it into Manual, lock onto a certain spot, and then as they move, they can walk into where it's in focus. Whereas when you're using Autofocus in a situation like that, it's just going to try to follow whatever it sees, and that's not always necessarily what you want.
Now, there are tools that make focus easier on Sony cameras. The first is Focus Magnification. So when you turn this on, your screen will punch into the area that you want to focus on. So when you are manually focusing, you can dial it in with precision. The second is Focus Peaking, and this puts a colored outline on whatever is sharp and you can change which color and you can change the intensity. And with Peaking turned on, you could see if your focus is locked in as you turn the ring. Now the third is Focus Map. This is actually a pretty cool Sony feature and it visualizes your depth on screen and the areas that are sharp have no overlay, but anything in front of your focal plane, so that's closer to you, shows up orange or red. Anything behind it shows up cool blues.
So this gives you a real-time view of exactly where your focus falls off, which is powerful when you're working with a shallow aperture and you want to make sure you know exactly what's in focus. Now I use magnification to really lock in my focus to what I want. Sometimes I'll use the focus map and other times I'll use peaking. Both are good tools when I'm actually trying to see what's in focus at any moment. Now, Autofocus on Sony cameras is awesome. The AI Subject Recognition can track humans, animals, birds, vehicles, and Eye-Autofocus is some of the best in the industry. Most of the time you can just trust it. If you just want to have your subject in focus, you turn on Auto and it locks on. But that doesn't mean you just set it to Auto and walk away. Sony gives you a lot of control on how the Autofocus actually behaves and dialing in those settings is what makes you become a better video creator.
Now, the first thing to think about is the Focus Area. Now wide area lets the camera decide what to focus on across basically the entire frame. However, you could set this to Spot or Tracking and this is where you're telling the camera exactly where to look. You could take your little box, that spot and move it around the frame. Now with tracking, you could just tap on the screen, you could tap a subject and it's going to track that subject no matter how you move the camera. And with that spot, you can change it. So it could be a bar in the middle, it could be a bar off to the side, you could really customize this so you can have the Autofocus only set to specific parts of your frame where you need it.
Now the next setting is Autofocus Transition Speed, and this controls how quickly the focus snaps from one subject to another. The fast setting is good for sports or run and gun or where you just want to make sure your focus is snappy. A slower setting gives you that smooth kind of filmic focus pull, and this is where the focus drifts from one point to another. If you want that focus to be less noticeable, less distracting by jumping around, then you'd put it on a slower transition speed because it feels like the camera operator is actually pulling the focus by hand and doing a smooth transition. Now there's also Autofocus Subject Shift Sensitivity. This controls how easily the camera lets go of one subject to find another. So if you set it to sticky, the camera holds onto the subject even when something else crosses the frame. Now if you set it to responsive, it'll jump quickly to the new subject.
Now one more feature that's worth calling out on higher end Sony bodies is the Focus Breathing Compensation. Focus breathing is when the image slightly zooms in or out as you change focus, and this can become distracting if you are doing these big focus pulls. Sony's newer cameras can correct for it in camera, which basically makes the focus pull look cleaner, makes it look like a high-end cinema camera. And so if your camera has it, it's a good idea just to leave the setting on. Now finally, let's talk about focus as a creative effect.
A rack focus is when you shift from one focus subject to another in the shot. So think of something close and then something far, a shot from a hand in the foreground to a face in the background. It's a deliberate move that tells the viewer where to look and when, and it's a great tool to use, especially when you want to shift your viewer's focus to different things within the frame when you are using that shallow depth of field. Now, another way that you could use your focus is intentionally keeping things out of focus. So using Manual Focus, putting it out there in the distance and whatever's crossing in the foreground stays completely out of focus. Focus is not just about being sharp, it's about telling the viewer what matters and what to look at in the frame.
- Composition is where the camera stops being a recorder and starts becoming more of a storyteller. This is how you make one shot feel like a movie. This is the shift in this course. Anyone can point a camera at a subject and get them in the frame. A filmmaker designs the frame around a story. Every element in the shot is intentional and nothing is there by accident.
The single biggest thing that can separate a cinematic shot from a flat one is depth. A flat shot has the subject sitting in front of a wall. A cinematic shot has a foreground, a midground, a background. There's depth to it. Foreground is anything between the camera and your subject. So think of like a blurry coffee cup or a doorway or a plant that's out of focus. It pulls the viewer into the scene and creates more of a sense of being in the space.
Now, the midground is typically where your subject lives and everything else that's kind of in the middle of the shot. Now, the background is what's behind them and that's what gives you that sense of depth. Is there a wall directly behind them or is there a room? And what are some of the objects in the room and what are the lights that you see in the room? All of these are intentional choices. Now, when you start building shots with these three layers in mind, your video instantly looks more dimensional and feels more intentional.
Now, lens choice is definitely a part of composition, and we talked about this in module two, but it's worth bringing up here again. Wide lenses let you build big environmental shots with lots of foreground, background, and it just shows you everything that's going on. Now a telephoto lens compresses those into layers and also creates more of a window of what you're looking into the scene. Now, just for an idea, right now I'm shooting on a 25mm so that you could see the background, you could see some things that are going on on my wall or some things that are going over there in the room. If I was to move this camera back and put it on say like a 70, you would lose everything on the sides and you would be just focused on a little bit of the background.
So all of these choices are important and you also have to think how much separation that you want to see the things that are behind your subject or in front of your subject. Now, the next idea that I want to bring to your attention is Motivated Framing. Every framing decision should have a reason. Is your subject on the left or the right side of the frame? Why? I'm in the center of the frame because I'm delivering a talking head educational piece. And so you don't necessarily want to have me off to one side, but when you're shooting something that has more of a story, you're going to be shifting your subject around to different parts of the frame and you're going to do it with intention. And you also want to know, are they small in frame? Are they isolated or are they large and do they feel more powerful? Now, I'm not saying that you have to explain everything like a film professor. You just have to ask yourself, what do you want to make the viewer feel when they're watching your video and how does your framing support that?
And part of that is your eyeline, so where your subject is looking and where is the camera in relation to them. A camera below a subject makes them feel more powerful. They're more on top, that's bigger. A camera above a subject makes them feel small. It belittles them. A camera at eye level feels honest, direct, it feels kind of natural and normal. And there's also the space that your subject looks into. If they're on one third of the frame, left or right, where are they looking? If they're looking towards the open side of the frame, that's going to feel more natural. Whereas if they're facing away towards that really close edge of the frame, it's going to feel unnatural.
This is something that you want to start paying attention more when you're actually watching films and you're watching videos and you have people not just looking directly at camera. You want to see where their eye line's going, how they match up between one person and another if there's a scene where two people are talking, or you want to see where direction is or how much space is around a person so that a shot feels balanced or if it does feel intentionally unbalanced. And so this brings up negative space, and this is an interesting tool to play around with. Negative space is the empty area around your subject. You don't always want to necessarily fill every inch of your frame. It doesn't necessarily make it more interesting. It will just make it busy at times.
Letting your subject sit in more space and having more room between them and different objects gives the room the ability to breathe and it often creates much more of an emotional and intentional shot when you do play around with your negative space.
Now there's two more principles that I want to discuss in this section around composition. The first is leading lines, and this is where you use the geometry of the environment to draw your viewer's eye towards something in the frame. And so it could be something like a road or a hallway or a fence or the edge of a building. And if you see a line in your scene, you can start using them and the eye will be directed along that line. And in clean backgrounds, always check what's behind your subject, a bright window, a distracting object, a plant growing out of someone's head.
This is a big mistake that you'll make, especially doing something like an interview. If you have a plant, it's going to look really bad when it's right behind a person's head. So you want to move the camera, move the subject, change your angle, and play around with the background. Sometimes a simple background change is the difference between something that looks amateur and something that looks very professional. Composition is what separates you from just pointing your camera at the subject and just making sure you got a shot, so start designing what is actually in that frame.
- Shot one, shot two, shot three, four, five, six, seven, eight, nine. But here's the truth. One great shot isn't enough. We're not just photographers here. We're telling stories with video, with multiple frames over a long period of time. So the reason that a lot of creators' videos feel flat isn't that the individual shots are bad, but there aren't enough of them to help tell the story. You'll grab a wide shot, a medium shot, a closeup shot, and then you're like, "Done. I got everything covered."
But then when you get into the edit, you realize that you actually can't build your full scene. You don't have enough footage to cut. And that's why some of the best creators that you see on YouTube actually feel more like a movie because they're thinking through the sequencing of shots. So I actually came up with a system that works for me on basically any kind of project that I shoot, and I call this my 9-shot rule.
So here's what it is. Every scene, every sequence, I try to make sure that I have at least nine shots. I have two extreme wides, two wides, two mediums, two close-ups, and then I have one interesting, unique shot. And that's it. Nine shots per scene, and you'll always have enough coverage that you need in the edit. And so let me just kind of walk you through what this does. The two extreme wides establish the world. These are your biggest widest shots. You could use these to show your location, the whole environment, the place that the story is happening. You could always use this to just have the scene play out in a super wide shot so you're seeing everything that's going on around your subject.
And so sometimes your subject will be in the shot, sometimes they might not be in it at all. Extreme wides help you set the stage and just give you that super wide perspective and show where you're at. Now next is two wide shots. So we're moving in, we're not as extreme, not as seeing everything, but we're still wide. And we're going to be using more of our subject in the environment. You can see them in the space. You can see how they relate to it.
Wides show the context. The subject is doing something in the location. The viewer understands both. They can kind of see everything. A lot of times you'll use these kind of wide shots to just establish where you're at to really show everything that's going on before you get in closer. And so then we move into two medium shots and these show action and body language. And now we're closer. We could see what the subject is doing with their hands, how they move, what they're working on.
Medium is all about behavior. You can actually see what's going on with your subject. This is also where most interviews and dialogue tend to live. This is that world that just feels very comfortable on camera. Then we go into close-ups and this is where we reveal detail. We could see emotion, we see a face close up or hands or a specific object that's related to the scene. And this is something that as a viewer, you would lean in and you would want to see what's going on if your subject is talking about something specific.
Close-ups create intimacy and they create focus and they tell the viewer, "This is what matters in the scene." And then there's the ninth shot, and this is what I call the unique shot. It's the one that breaks the pattern, a weird angle, a reflection, a shot through something, a high angle, a low angle, a point of view perspective, anything that feels different from the rest of your coverage. This is the shot that gives that sequence personality. It makes it feel like something a little bit different.
Now, why two of each? And there's a few reasons. The first is variety. Having two gives you different angles or different moments of the same scene. That gives you choice in the edit. The second is redundancies. Sometimes a shot just doesn't work and you can't use it and it's good just to always have a backup. Now here's the real power of this. Once you start shooting in nines, you stop wondering if you have enough. You walk away from every sequence knowing that you could build a scene, whether it's a YouTube video, a client piece, a travel film, a documentary, a product reveal, the same framework works.
Nine shots gives you coverage and you could always do more than nine shots, but this is the bare minimum that gives you enough to work with when you get into your edit. Now I want to leave you with this. The 9-shot rule isn't necessarily a rigid formula. Once you internalize it, you'll find yourself naturally grabbing these shots without really thinking about it. You'll grab those extreme wides, you'll grab the point of view of where you're at. You'll grab some wides, some medium, some close-ups, and your edits will get dramatically easier because you'll always have something to cut to.
- Now, in this next section, I want to go through lighting with intent. And we're not going to do this by teaching complicated setups, but I want to change how you actually think about light entirely. Most beginners, when they're learning filmmaking, will learn a three-point lighting formula. Use a key, a fill, and a hair light. And this works and it looks good.
But if all you ever do is follow this formula, your lighting will always look the same. This is why I want to shift from thinking about just a formula and start thinking about lighting as a setup and start thinking about it as a question. Where does the light come from? Where's the motivation? And what is the light doing in your space? And these questions will change everything. It's going to change where the source of your light's coming from and where it sits in the world of your shot, and it determines almost everything about how the scene feels.
Light from the side gives you shape and shadow. Light from the front basically flattens the image. Light from behind creates separation and a silhouette. Now, there's not a right or wrong way to use light. Now, for a lot of my fitness clients, I just light from the front and give you that flat look because you want to be able to see everything. It's instructional. Whereas if I want something more dramatic, I'll light from the side and create hard contrast, like an interview for a documentary. I'll create a lot of shape on the face so one side's dark and one side's bright.
Now, the other thing we need to think about is hard vs. soft light. Hard light is dramatic and contrasty, hard lines, sharp shadows, whereas soft light is gentle and forgiving and you have more roll-off between the brighter and darker parts of your image. Warm light feels more intimate, maybe more nostalgic, whereas cool light feels more clinical, more moody. So before you start setting up lights where you're at, you want to ask yourself, what do you want the scene to feel like? And is there any light motivation in the scene? And then your decisions on what lights to use and where you place them will follow from that.
Now, three-point lighting still has its place and it's still a formula that you should master, key, fill, and back light. The fill softens the shadow side so you don't have so much contrast and the hair light separates your subject from the background. But each one of these is doing a job that comes from a source question. And so for something like an interview, you might see a simple three-point lighting setup, but that actually looks professional and clean, and so you'll use that.
But also, you don't have to use all three. You don't have to use any of them depending on what your scene needs. The three-point lighting is not a requirement. And so once you understand sources, where light is coming in, the next creative decision is one of the most important ones that you'll make. Are you lighting for lots of light or are you lighting for lots of drama? Lots of light is when the scene is fully visible, friendly, accessible, easy to watch. It's very bright. You want to see everything that's going on.
A lot of YouTube and content creators work and live here. Drama is where you let scenes fall into deep shadows. You have contrast, mystery, moody. This is where cinematic work tends to live. Now, neither is better. It's a creative choice based on what the project needs. Sometimes I'll be working with clients that want a really brightly lit space. They want to be able to see everything and want to look good and professional, but sometimes they want it moody, they want it dark and contrasty because they're going for a very specific look. You're lighting based on a mood and based on what the scene actually calls for.
Now, here's the biggest shift that I want to give you in this module. Stop thinking about lighting a person and start thinking about lighting a scene. The mistake that most beginners make is they light their subject and then they just are done. The shot ends up with a bright face floating with a background that doesn't necessarily match what you're trying to shoot. The fix is to treat your foreground and background as separate lighting problems. The background needs its own light, makes its own choices, and you need its own treatment. It might be a soft wash, maybe a single pool of light on a plant, maybe a window in the distant that you're exposing for. Maybe there's some lamps in your scene to give you motivation. And so for this shot here, that would be everything that's going on back here. There's a lot of lights that I've put in this space to give you this look.
And so let me turn off all of the lights that are focused on me and let's just look at the background real quick. And so this is how I typically light. I'll do the background first. So I'll set up how I want that background to look. This is how I'll do for my sets when I'm working with talent. I'll work on the background and get that dialed in first. And then I'll use my tools like my zebras or false colors to dial in my exposure properly. And when I'm happy, then I start lighting my subject to match, to work in the space. And so I like to work from the backward forward.
And this is what cinematographers will often call pools of light, different areas of the frame that have different lighting, but they all work together. The eye moves through the scene because it has somewhere to go, a pool of light on a subject, a pool of light on a corner in the background, a shadow in between. This creates separation and makes the scene feel three-dimensional and more filmic. The same thinking works with natural light. The sun is the source. It's just one you can't really move. You choose your time of day, your location, and the direction of that light the same way that you would a big fixture. Foreground and background still need to be considered separately.
Natural light isn't necessarily easier or harder working with lighting fixtures, it's just different. You'll play around with shadows or you'll play around being in the shade and you'll work with that to find different pools of light to put your subject and to put what's going on behind that subject. And so the takeaway is simple. Stop following just basic lighting formulas. Ask, where's the light coming from? What is it doing? And, how does it shape the scene? Light the foreground and background as two separate problems and that are working together. And once you start lighting in this way, once you start thinking in these pools of light, everything will feel more intentional.
- Camera movement is one of the most powerful tools that you have. It can pull a viewer into the scene, build tension, reveal information, create energy. It can also ruin your shot. The single biggest mistake I see beginners make is moving the camera when they should have just left it still.
So let's start with the rule that matters most. Move the camera when the movement adds meaning, energy or information. Don't move it just because you can't. Locked off is still a powerful choice. A still shot focuses the viewer on the subject and lets the moment breathe. A lot of the most cinematic work you'll ever see has locked off tripod shots. If movement doesn't serve the story, you don't necessarily need to use it. When movement is right, there are three approaches that you could choose from. The first is handheld.
Handheld gives you that documentary raw in the moment feel. It works for things like vlogging or reporting something. Handheld shots are also great when you just want to add more energy into the shot and you just don't want it to feel so smooth and stable. Now with Sony cameras, there's different levels of in-body stabilization. You can have the standard, which just basically gives you more stability so you don't see all these like micro jitters and a lot of the bad shake that you see in a shot, especially when you're working with the smaller bodies. Now there's Active and there's Dynamic Active, which are different levels of stabilization so that you still have some bumps, you still have some movement, but it does feel a lot more stable. Using that Dynamic Active with steady hands will actually give you gimbal-like results, so it will feel more like a very stabilized shot. So the second type of movement that you'll use is fully stabilized movement.
Now, a lot of times as creators, we're going to be using gimbals. Gimbals give you smooth floating cinematic motion. The camera glides through space, and this is where you could create big push-ins or orbit shots or reveals. Anything where you want the movement to feel more elegant, more controlled, more stable. Solo shooters and creators can do incredible gimbal work because these bodies are so small and lightweight.
Now the third type of shot is no movement at all, as we talked about earlier. It's the tripod and sometimes it's the right answer. So once you've chosen your approach, the next question is what movement do you actually want and what does it communicate to your viewer? You could do things like a push in when the camera moves towards your subject, builds intensity, focus, intimacy. It draws a viewer into whatever's going on in that subject. Now the pullback is the opposite. The camera moves away from the subject, creates distance, it reveals more of the environment, it lets a scene breathe. Now a reveal is where the camera goes from say behind an object and then it shows something the viewer that wasn't there before. So it dollies across or it pans across to reveal something that wasn't in the frame when you started the shot. Now you could follow a subject and that's where your camera is tracking alongside or behind or in front of whatever's moving your subject. This locks onto the viewer and you're part of that subject's experience as they move through space.
Now with a tripod, you could do some movement using pans and tilts. A pan is a left to right or right to left movement. A tilt is an up to down or a down to up, and both work best when they're motivated, when there's a reason why you're tilting up into a scene or following something left to right. Now an orbit is another interesting shot and this is where you circle around a subject and using something like a gimbal or even doing this handheld could look really good. And it's personally one of my favorite movements because it creates parallax. And parallax is where the foreground and background elements move at different speeds. And you'll also get parallax from any lateral movements through a scene.
And a big thing that's going to make the parallax feel more intense or less intense is by the lens that you choose. This is one of those powerful ways to make a video feel dimensional. Now here's the thing to take away because we can't talk about every camera movement in this section. Each one of these movements should answer a question. What is it telling the viewer? How are you moving that camera? What is motivating that move? Is there a reason that's stable or is there a reason that it's handheld? What is the feeling that you're trying to convey and how can movement help that feeling? And just remember, you don't always have to move the camera. You could hold the shot. So camera movement should add meaning, energy, information, and never movement just for movement's sake.
- OK, let's put this all together. Let's come full circle. We've covered a lot. The camera, the lens, exposure, color, focus, composition, coverage, lighting, and camera movement. Each one of those gets its own lesson because each one is a tool that you need to know how to use.
But here's what I really want you to take from this course. None of those are separate skills. They're all layers of one decision. What is the story you're telling and what do you want the viewer to feel when they're watching your video? Composition isn't just about framing a subject. It's about choosing where the eye goes. Lighting isn't about making a scene visible. It's about creating mood. Focus isn't about being sharp, it's about telling the viewer what matters most. Camera movement isn't about adding motion, it's about adding meaning.
Every choice that we've covered exists to serve one question. What is the story and what do you want the viewer to feel when they're watching your video? So here's the thing that took me a long time to learn. Technical perfection is not necessarily the goal. A perfectly exposed, perfectly composed, perfectly stabilized shot doesn't matter if the viewer doesn't really feel anything from the shot and they don't really know why they're seeing what you're creating for them. I've watched beautifully shot videos that just don't really give me anything. There's no real reason to why I'm watching this. Whereas I've watched rough, handheld, imperfect footage that really moved me.
And the difference was never necessarily the tools, it was the intention. The best filmmakers I know prioritize emotion, attention, and purpose over getting everything technically right. They use the technical because they have to. They live in the creative because that's where the work lives. So here's what I want you to walk away with. Whether you're doing client jobs, whether you're making narratives, documentary, or you're doing YouTube videos making online content, don't chase the perfect image. Chase the meaningful one. Ask what you're trying to make someone feel and then use every tool in your toolkit to serve that. Composition for where the eye goes, lighting for the mood, focus for attention, coverage so that you could build a scene and movement to add some visual motion to the scene. All of it points at the same target, telling a visual story.
And so once you've started working this way, the technical stops being something that you have to think about. It becomes second nature. The question you'll actually be asking on every shoot is the one that matters. What is the purpose of the scene that I'm filming and what do I want the audience, the viewer to actually feel from this? What do I want them to get out of this experience? So I know that was a lot to cover and I just want to say thanks for taking this course with me. If you want to see some of my work, you want to see some of the things I'm doing, you can find me on YouTube @JevenDovey. And if you're ready, now is the time to go make something. I'll see you on the next one.
Rate this course
Your feedback helps us improve our content.
Course rewards
Complete any course and earn a unique badge to celebrate your progress. Collect them all as you level up your skills!