

Travel Photography 201
Go beyond the postcard with practical techniques for memorable travel photography.
- Details
- Module
- Quiz
About this course
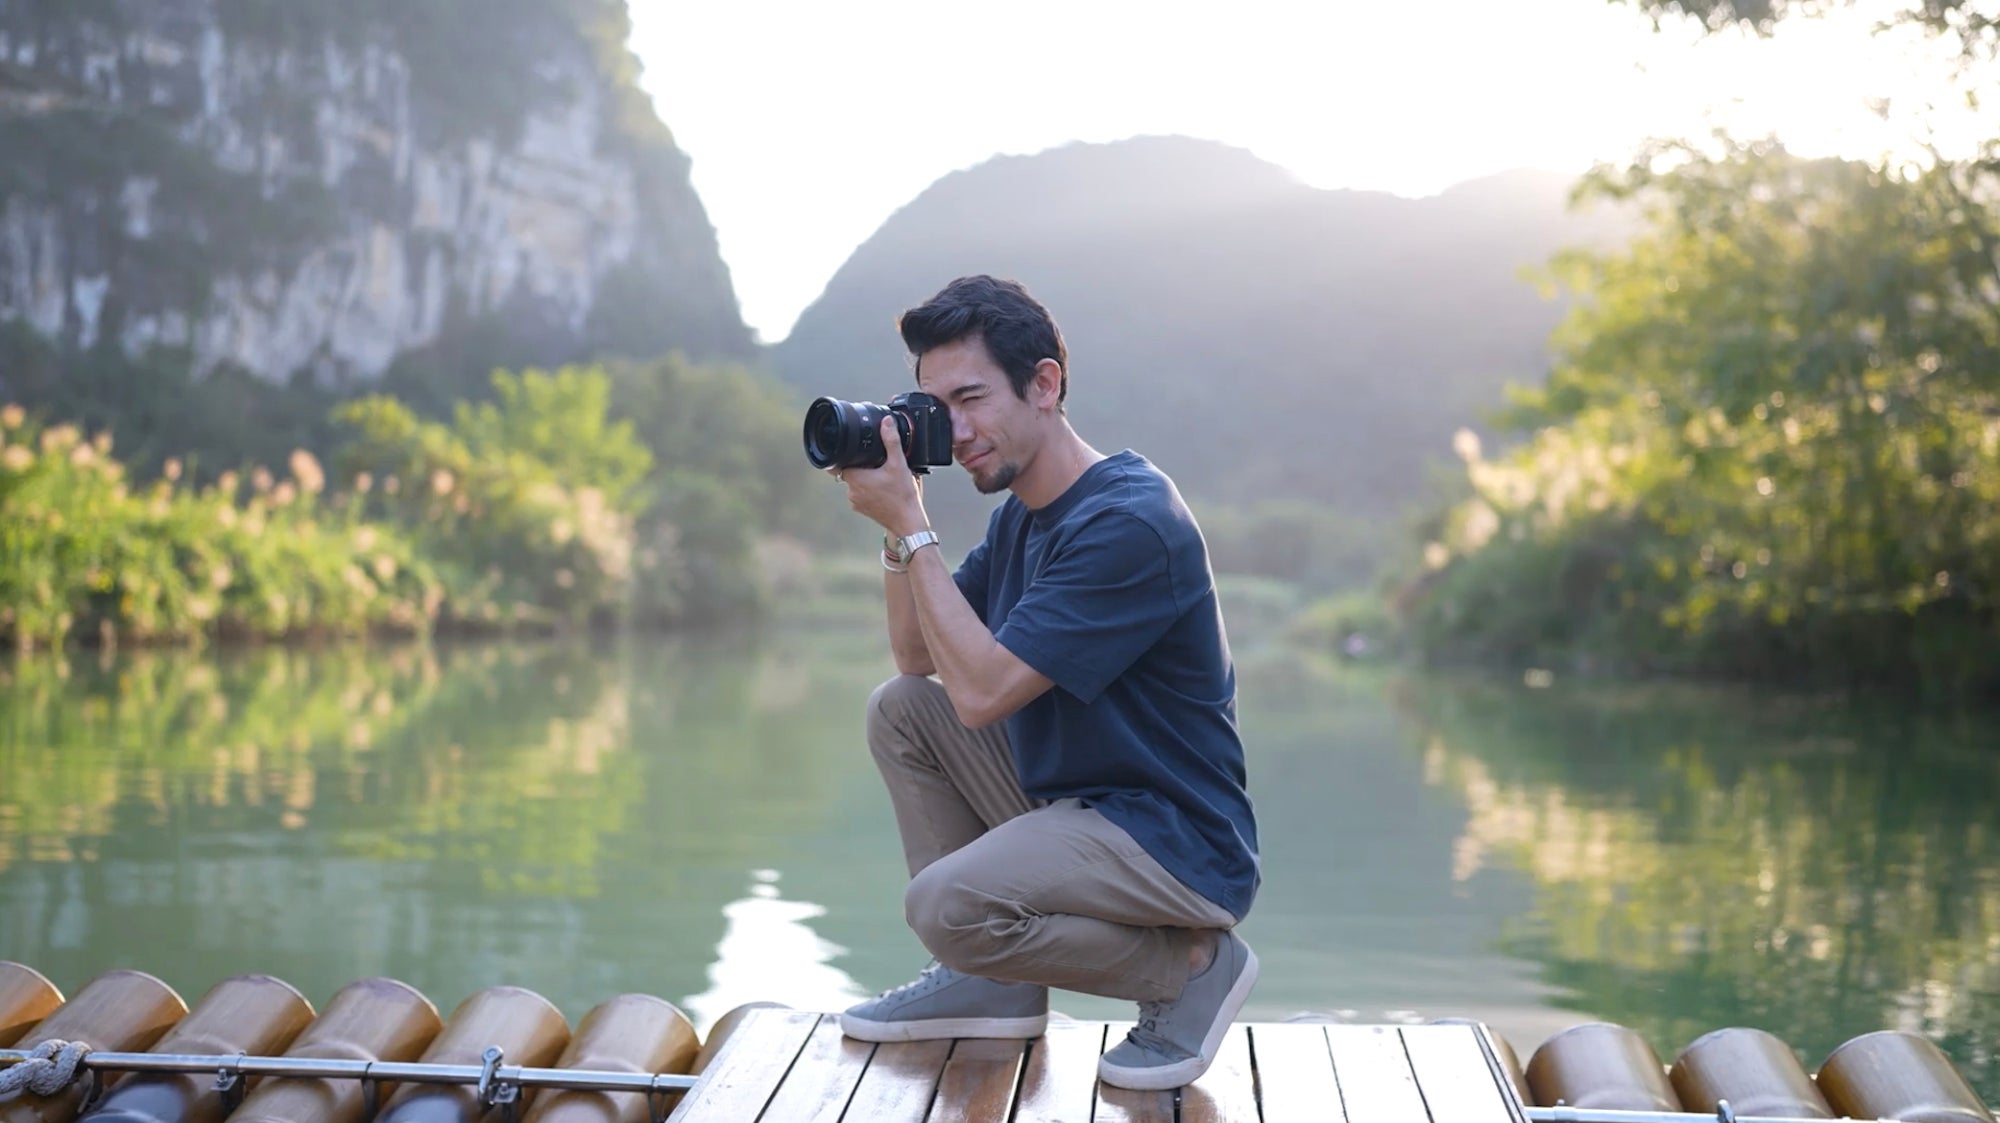
Travel Photography 201 is a practical guide to creating images that do more than document where you went – they convey what it felt like to be there. Photographer Jérôme Poirier shares his approach to finding stories in new places, building a capable and lightweight kit, and using lenses, settings and light intentionally in the field.
Course highlights
Featured gear
Instructor
Jerome is a half French half Japanese travel photographer who currently calls NYC home. His passion takes him to the four corners of the globe, where he captures the essence of each destination and tell its story through his own lens, quite literally. He particularly enjoys the challenge of exploring off-the-beaten-path destinations that most travelers overlook, offering his own unique perspective.

Jérôme Poirier
Photographer, Alpha Imaging Collective
Skills
Transcripts
- Hello and welcome. Thank you for joining me on this course about travel photography. My name is Jérôme Poirier. I am a half French, half Japanese photographer based in New York City, but I travel full-time. I've been to the four corners of the world to all seven continents multiple times.
And today in this course, I'm going to teach you about how to approach travel photography - how you can best prepare for it so that you are ready for your upcoming travels. All right, let's get started.
- So before I talk about gear, lenses or settings, I want to talk about what makes a good travel photo. A good travel photograph should give you a sense of place, right? It should tell you something about where you are, how it felt like to be there, or who was there at that moment. And sometimes that information could come from the landscape, from the light, from a person's facial expression, or even a tiny detail that only lasts a few seconds.
When I'm traveling, I'm usually looking for five things, story, people, location, light, or emotion. And usually the best photographs have at least one of those, but the strongest among them all have at least two or more. So throughout this course, I don't want you to look at travel photography as just getting the shot, but rather learning how to notice. And the more you notice, the more your photos are going to start to have character in them. Gear, of course, does matter to an extent, but the gear is only here to help you capture the shots. It's your job to try to look for the right details when you're traveling.
- My overall philosophy when it comes to travel gear is pretty simple. It has to be lightweight and versatile. When you travel, you're constantly moving around, running through airports, getting in and out of cars, chasing sunrise, sunset. There's always something happening and I'm going to have to carry my gear around in my camera bag the whole entire day. So I prioritize lightweight, efficiency, versatility, and the gear that I know I'm going to use depending on the environment and the situation that's going to help me get that shot that I want.
Every piece of gear in my backpack is additional weight and it has to earn its place. You have to think about realistically where you're going to be going, what you're going to be taking photos of, and if you can realistically carry all of that gear in your backpack the whole day. You have to build a kit around your destination, your own style, and what you intend to shoot.
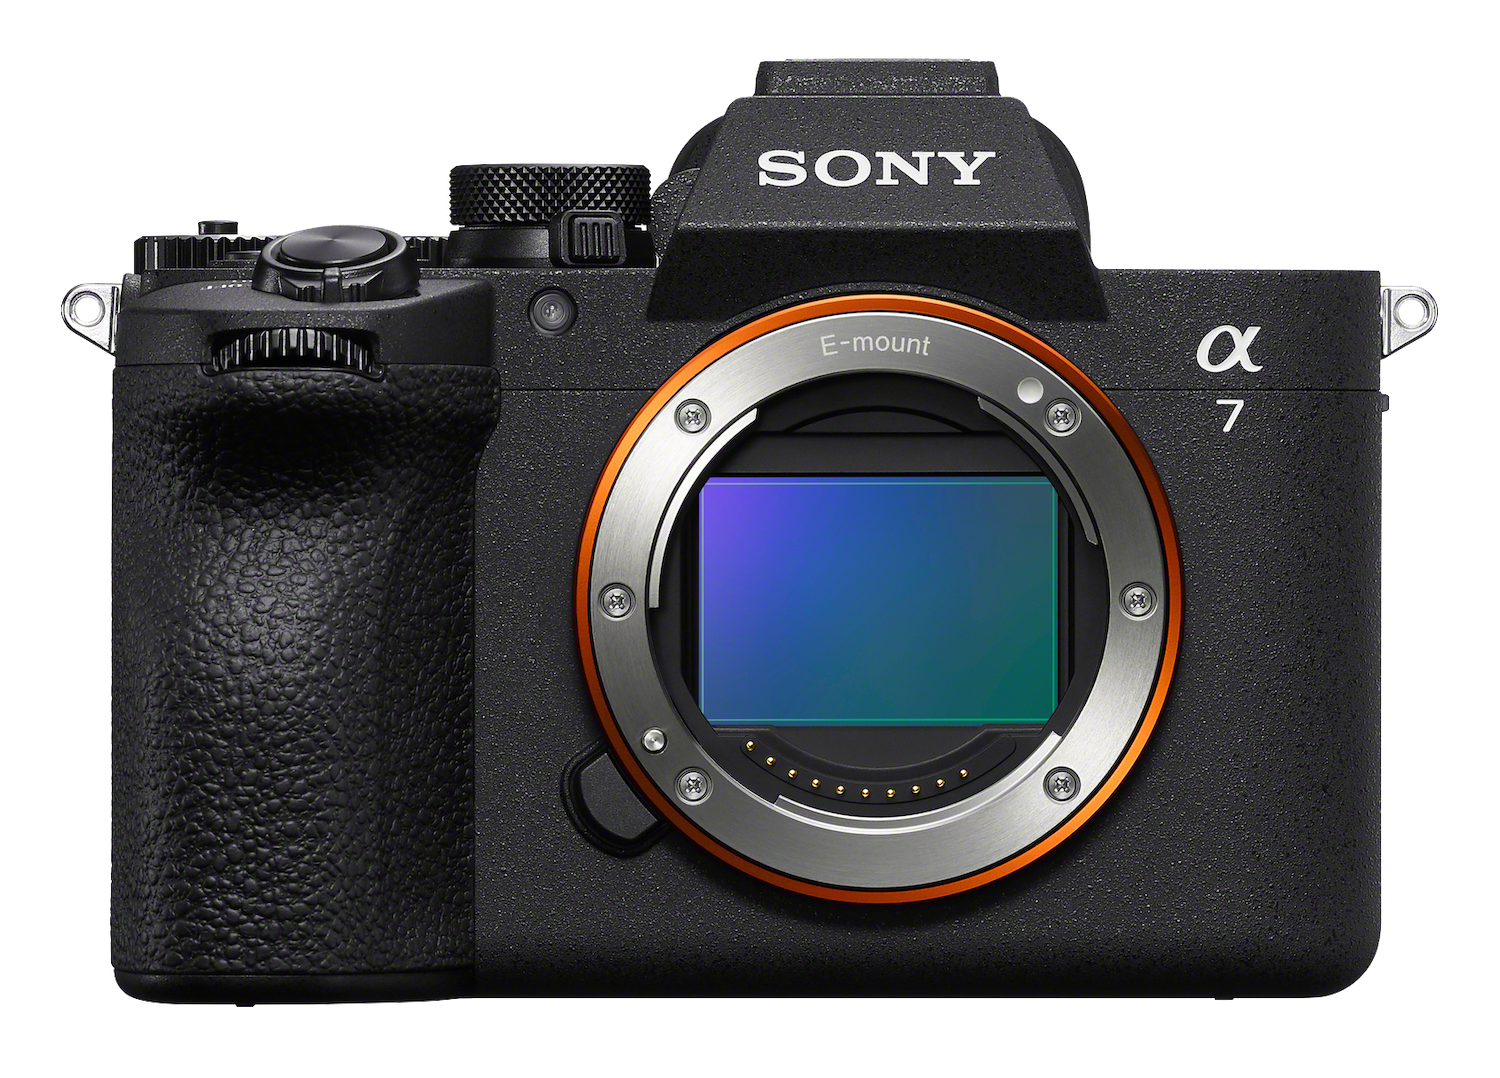
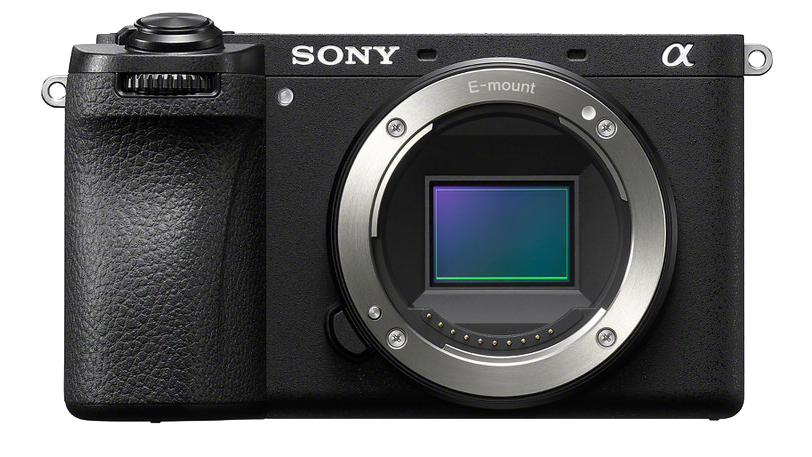
For my own work, I use mainly the Sony Alpha 7 V, also known as the Sony A7 V. It is the best camera for my personal needs when it comes to both photos and videos. For photos, it has an incredible dynamic range. It has great reliability and low light, and it has an autofocus that I can fully trust. Now, dynamic range when you travel is very important because obviously the weather is not always going to incorporate. Yo might have to shoot midday when the light is a little bit harsh, or you might shoot at sunrise or sunset when the light contrast is also very strong. So dynamic range will allow me to pull the shadows and maintain the information that is in the highlights to be able to balance out for the post-processing and optimize my photos.
Low light performance is also very important for me because I'm often shooting at night or during blue hour, for example, in night markets or in big city environments where you have a lot of lights in the buildings, in the architecture. And to be able to retain all that information and pull them out during the editing process is also going to be very important.
And then lastly, the autofocus is very reliable. You have multiple modes to be able to choose your autofocus setting. And when you're traveling, there's a lot of moving pieces. You could have a car drive by, some birds flying around, someone turn their head for a split second, and often in travel photography, you don't get a second chance. So you need the autofocus to be accurate and to be reliable so that you don't miss the moment when that split second happens in front of you.
I have been using the Sony A7 Series ever since I started photography. I started on the A7 III. I then moved to the A7 IV and I now use the A7 V. And this camera is built like a tank. It is weather sealed. I've shot with this in snow country Japan, in the freezing cold in Antarctica, but also in the desert in Saudi Arabia. And I have never shown a sign of fatigue. I have always trusted it. It has never let me down and I bring it in many different conditions. Of course, you have to still take care of your equipment and your gear, but this is just how much I trust my equipment when I shoot all my travels.
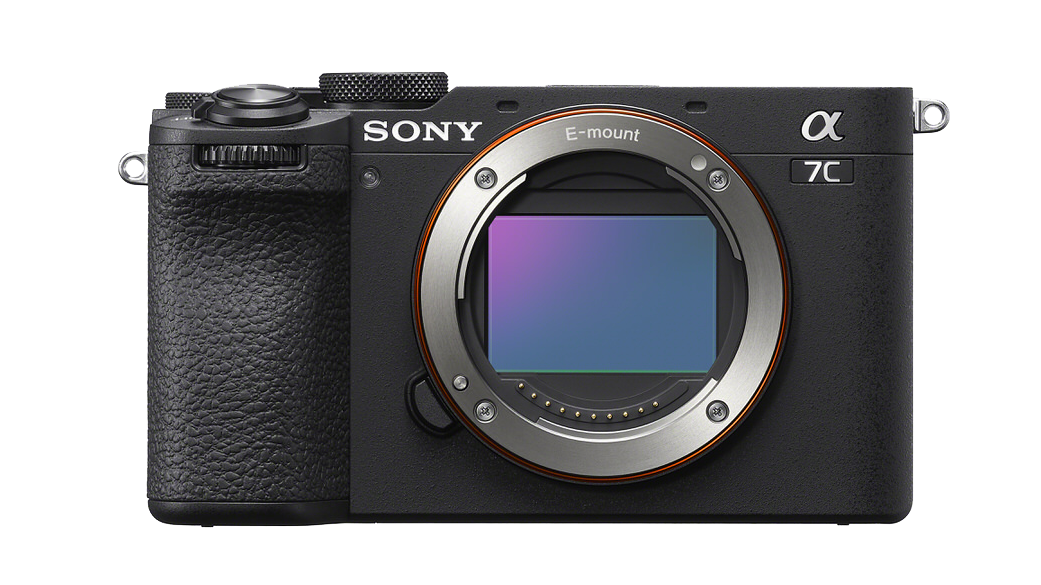
Now, of course, I also want to mention that everything that we've talked about in this course such as lighting, working with a subject, choosing the right focal length, understanding your camera setting are all elements of photography that can be applied with gear for every budget. Sony really has a broad ecosystem, so there's an option for every level. If you're just getting started, you can look into cameras from the Sony A6000 series such as the A6700 or something from the A7C line if you want a more compact full frame setup. I actually really like the compactness of the A7C II when I want to prioritize the lightweight setup on my travels.
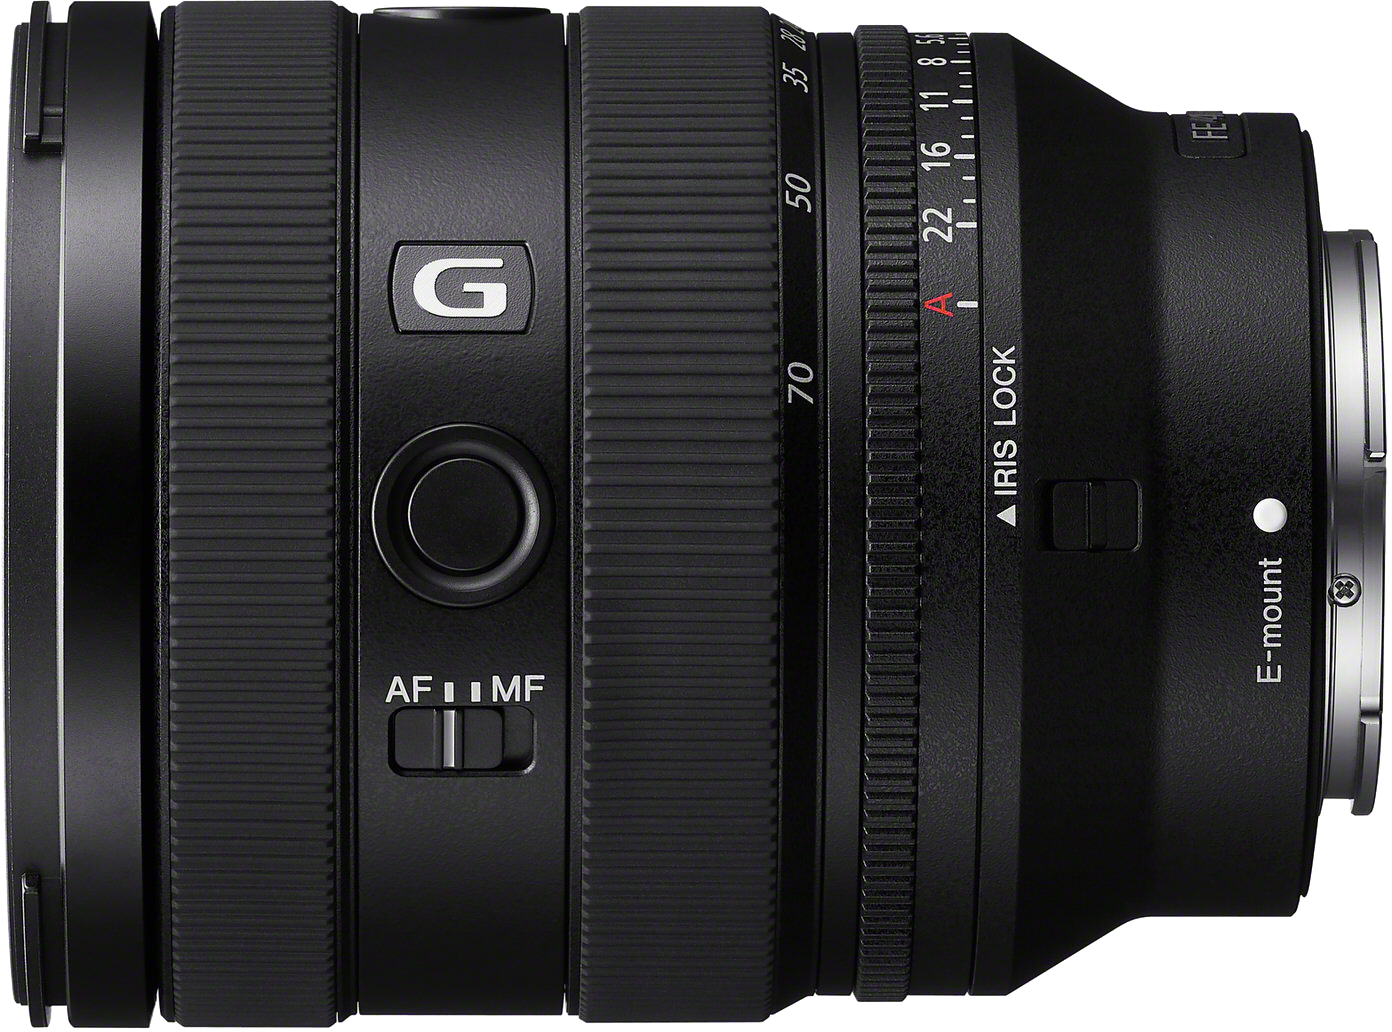
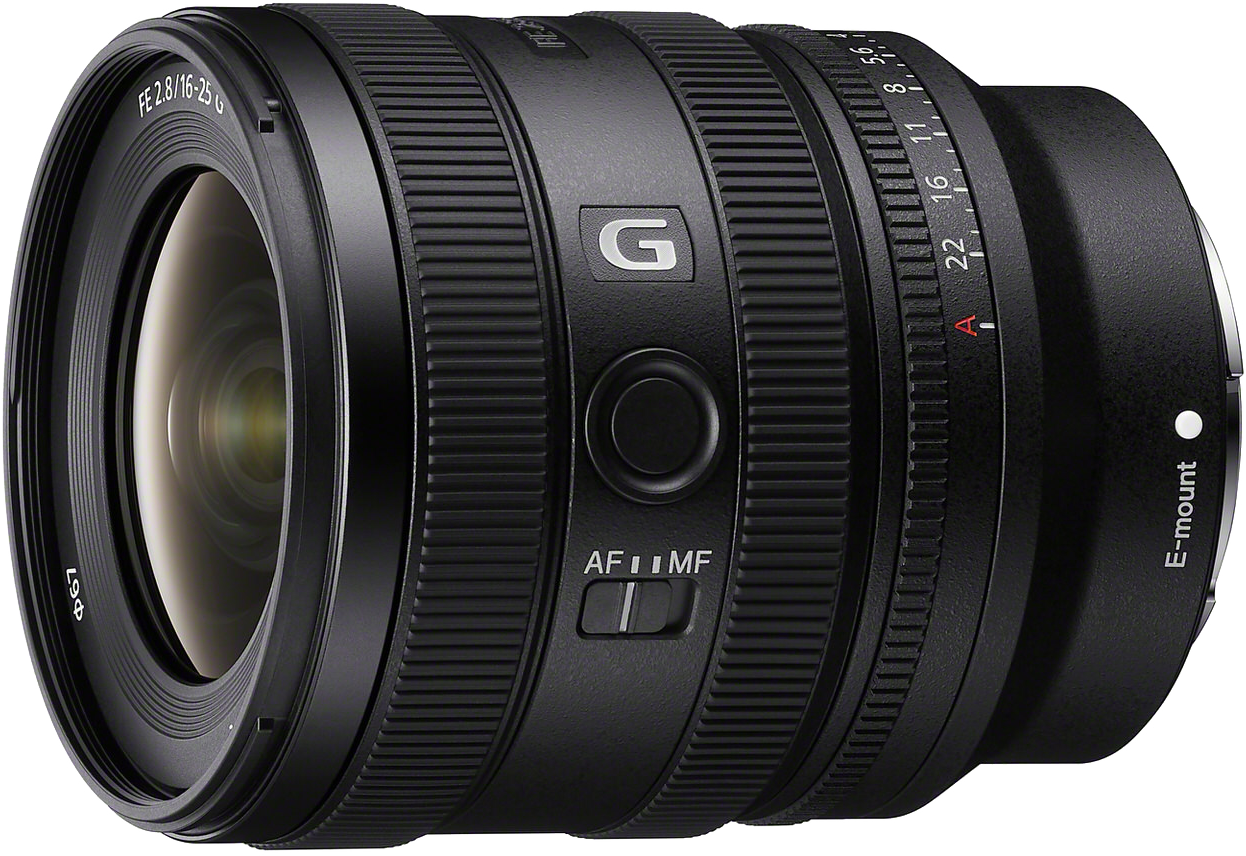
And when it comes to lenses, you don't necessarily need a G Master lens to get incredible results. Sony has a wide range of more affordable lenses, including both full frame and APS-C options that can produce absolutely fantastic images. So my favorite include the 16-25 f/2.8 G lens for a wide zoom lens, the 20-70 f/4 G lens, which is actually an extremely versatile lens. And if you're on the APS=C body, the 11mm f/1.8 is also a great option for ultra wide shots, also perfect for vlogging. Of course, the higher end cameras and lenses will give you additional features, performance, speed, auto focus capabilities, low light performance and so on. And those things can become really valuable as you progress and your needs evolve.
But the most important thing is that gear shouldn't stop you from creating. Whether you're shooting with flagship A1, a more compact A7C, a A6000 series camera, a G Master lens or a more affordable alternative, the fundamentals of photography remain the same. There's an option for every budget and Sony has you covered as you grow.
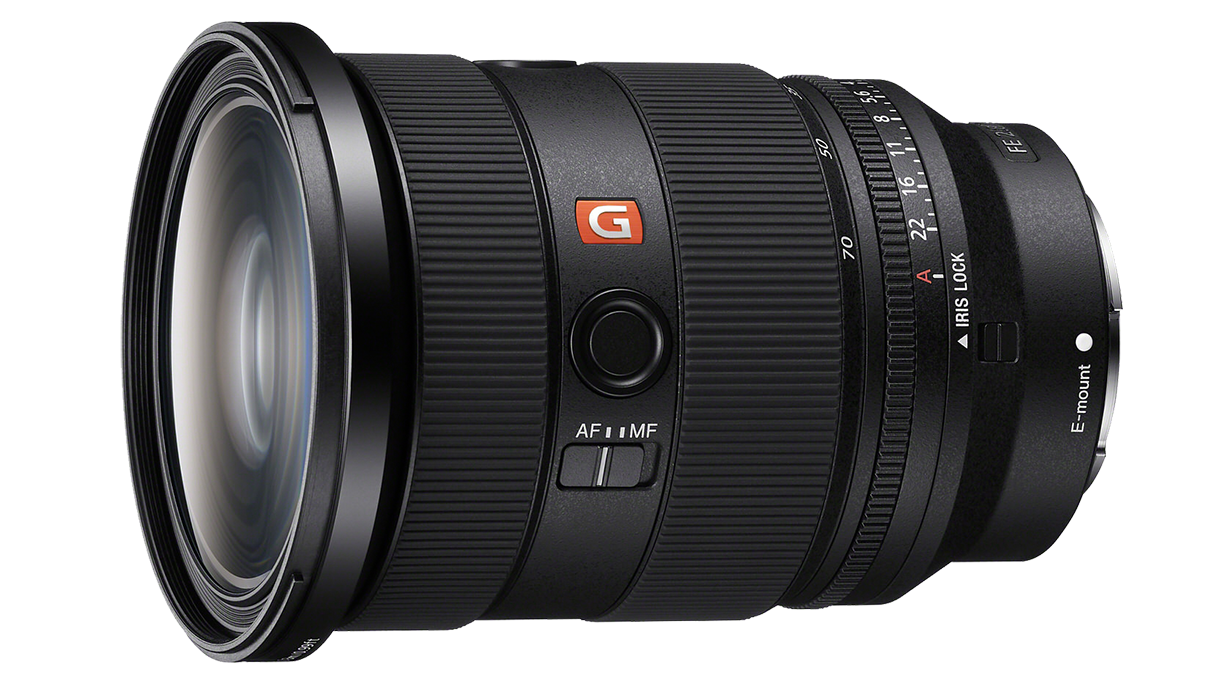
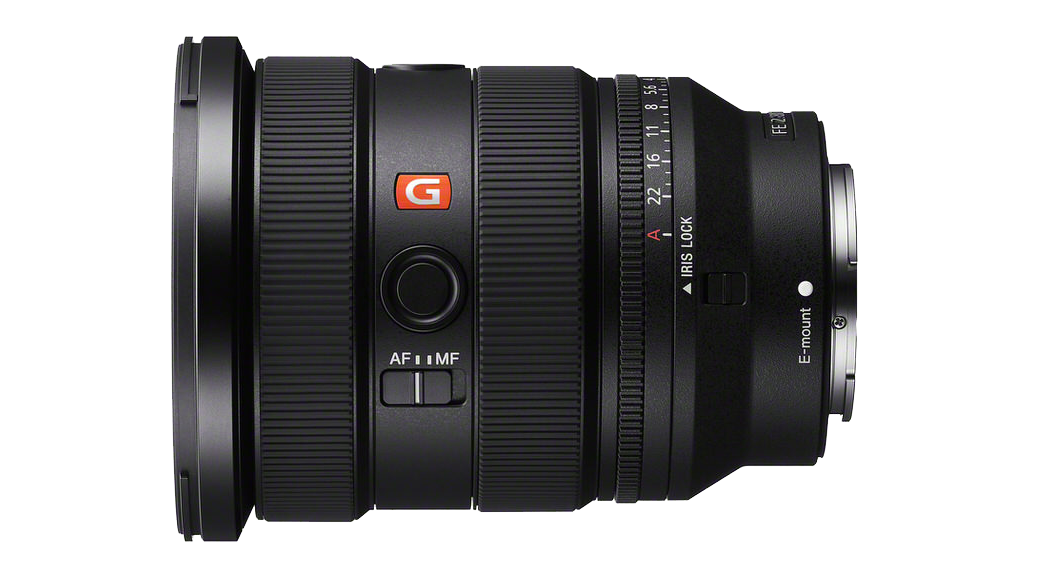
- All right, so now let's talk about lenses. The two lenses that I use the most are the 16-35 f/.8 G Master II, which is a great ultra wide angle lens for when I'm in a tight space. For example, if I'm in a city, there's a lot of buildings around me, architecture, or if I'm shooting in a hotel, which is a line of business that I shoot a lot with, I often use the 16-35 because it allows me to capture every detail, get ultra wide angle shots that allows me to show the space.
But also if I need to, I can punch into 35 to get a little bit more close up into details. The second lens that I use the most is the 24-70 f/2.8 G Master II, which is also an extremely versatile lens. You can do anything from street photography to commercial photography to even portraits. These two lenses are great for video as well. You have the whole spectrum from 16 all the way to 70 with these two lenses, which covers pretty much everything that you would need on your travel photography.
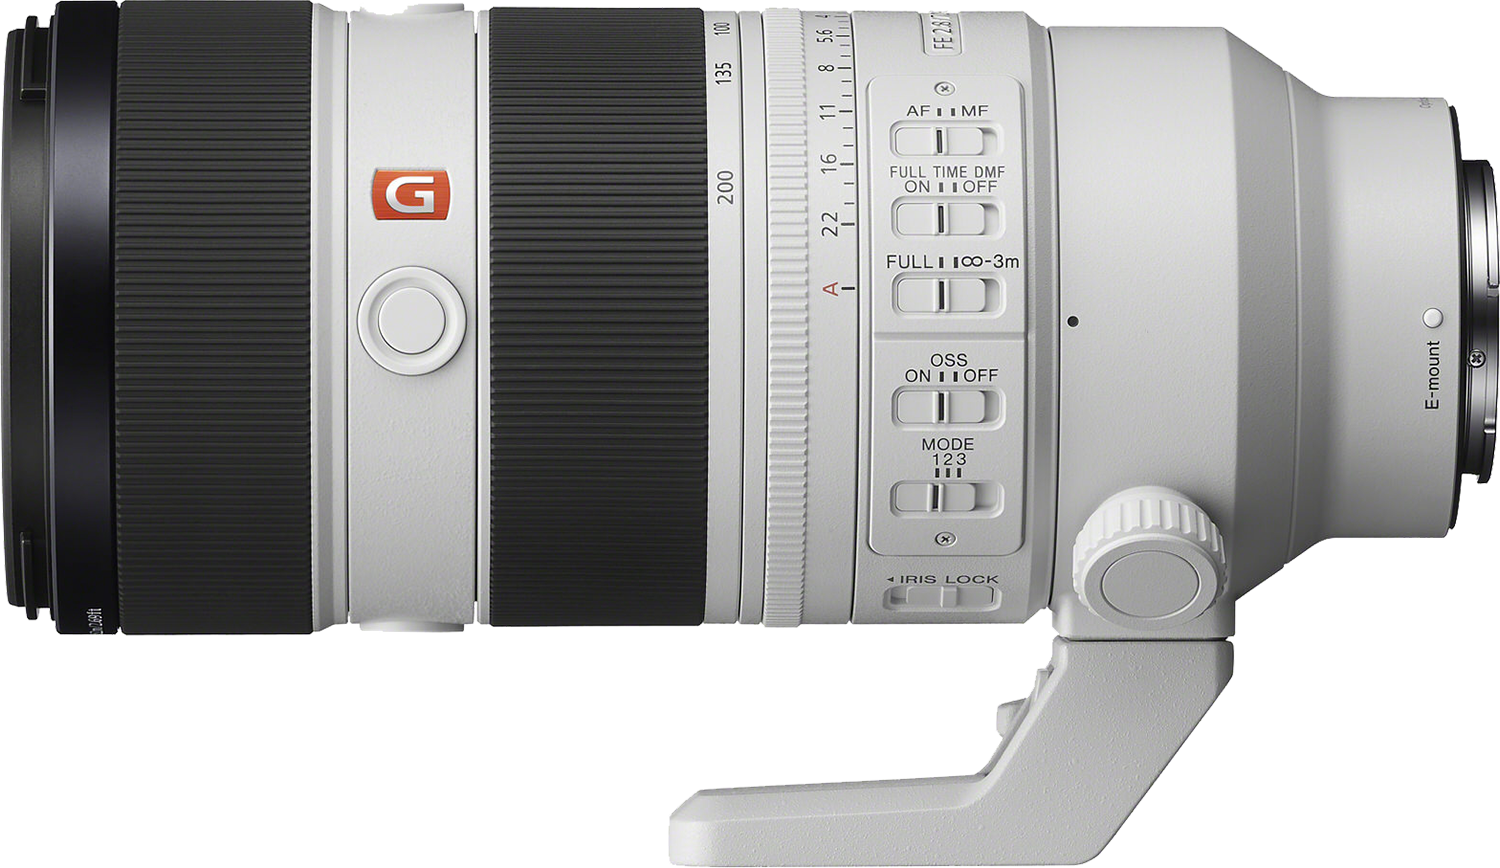
Another lens that I always take on my travels is the 70-200 f/2.8 G Master II as well. This telephoto lens allows me to punch in if I need to get a lot more compression. Think of if I'm in a city environment, the buildings will look more compressed or if I'm in a nature landscape environment and I want to get a little bit closer to the mountains with a subject in the middle that I want to isolate, this is the perfect lens that will allow me to get a little bit more reach than the 16-35 or the 24-70.
With this lens, I will also always carry a 2X teleconverter with me, because this is so light and this is essentially a second lens that I can attach to this that would double the focal length of this lens. So it would make this lens a 140 to 400 millimeter lens. So if I really, really need a tight shot, which doesn't often happen, but since this is very light, I can always toss this inside my camera bag. It barely adds any weight and it's almost like an extra lens. I would use this setup in a situation where I need extreme compression, for example, if I'm shooting the moon at night or if I'm shooting wildlife or something that's a little bit too far for me to be able to reach.
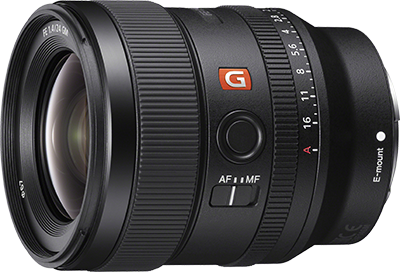
Now, lastly, one thing that I love to do on my travel is to take portraits of people. I think that people are an integral part of the story of the country. And to photograph people, I would typically opt for a prime lens. Now, I've got a few options when it comes to prime lenses, and depending on where I go and what other lenses I'll take, I'll take either one of these three lenses. So I've got the 24mm f/1.2 G Master. This lens is a little bit wider and it will allow me to catch the environment as well for a nice environmental portrait if that's part of the story. The 35mm f/1.4 G Master lens is a little bit tighter, so you can still get a lot of the environment for part of the storytelling, but this will be a little bit more punched in to isolate the subject a bit more.
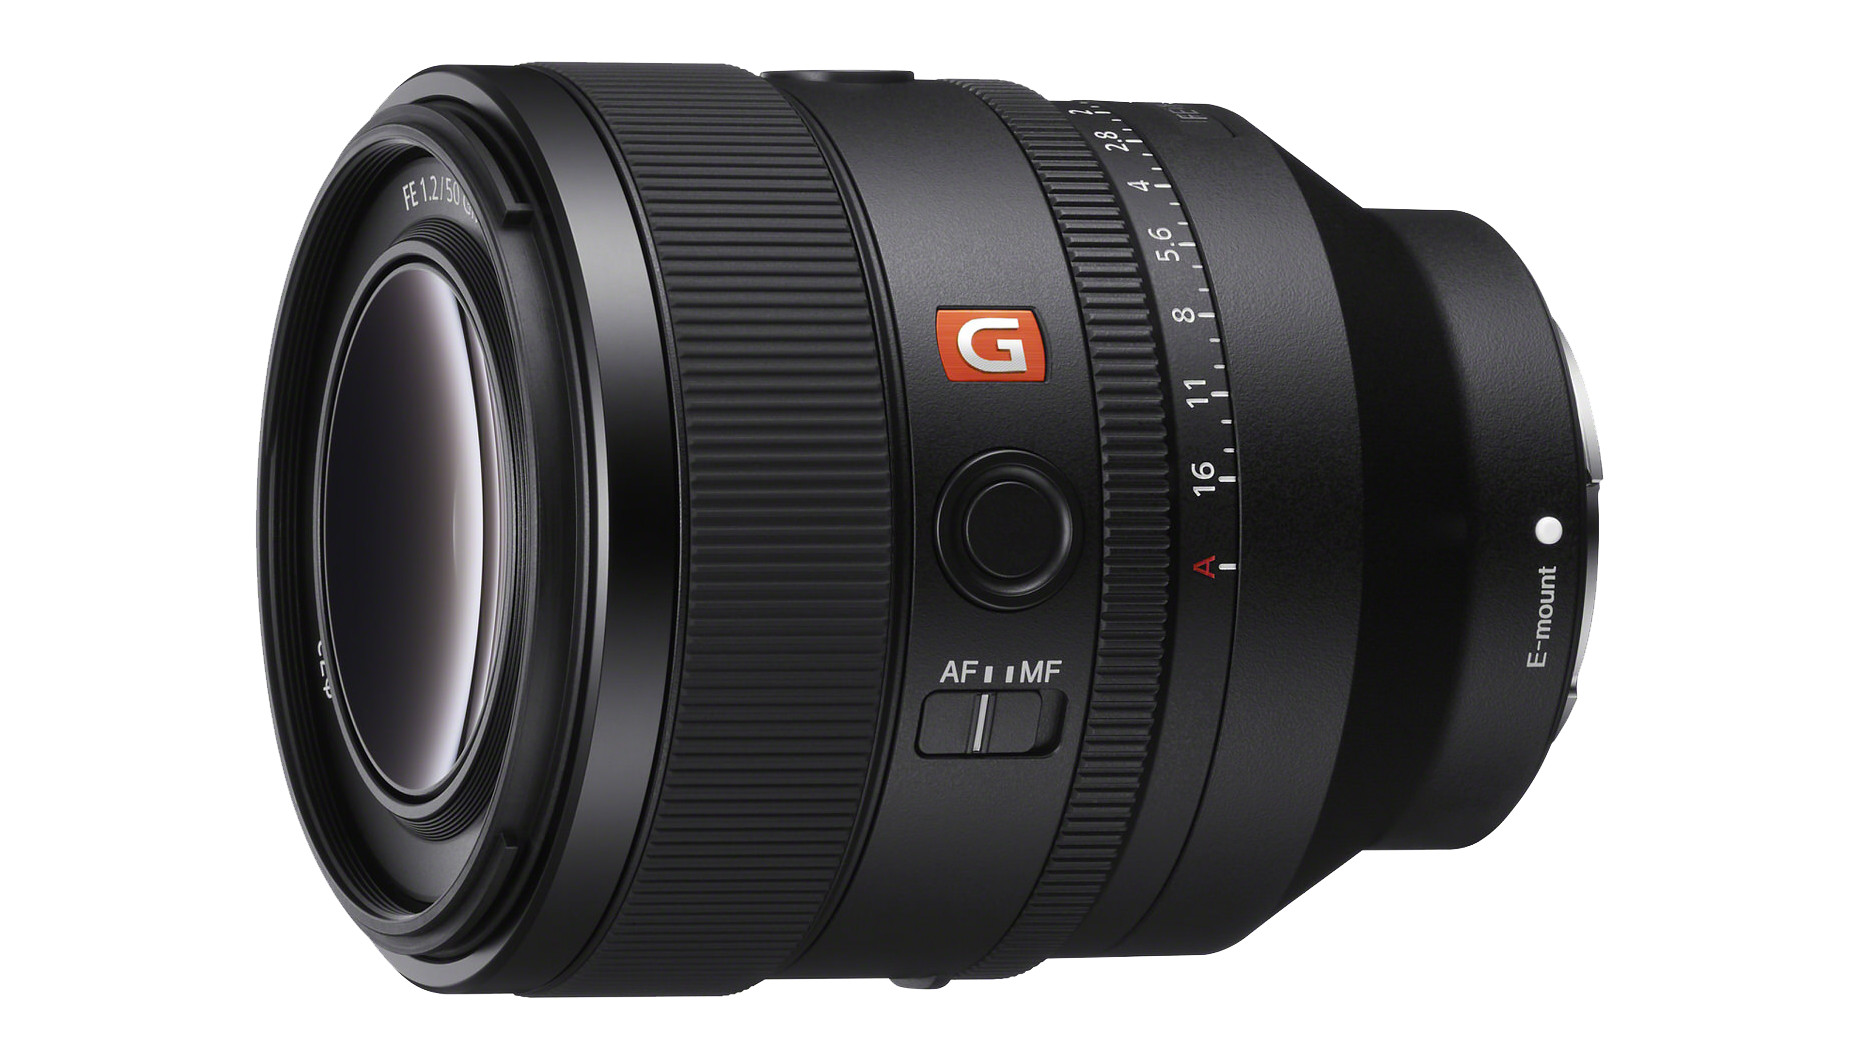
And then finally, I've got the 50mm f/1.2 G Master. This one allows you to isolate the subject even more. If you want to really focus on their facial expression or some of the details in their face, for example, the sharpness of their eyes or some lines on their face or perhaps something that they're holding in their hands, this would allow you to have some very creamy bokeh. It drops down to f/1.2, so it's amazing for low light as well. And this performs amazing, just like the two other prime lenses in low light for video.
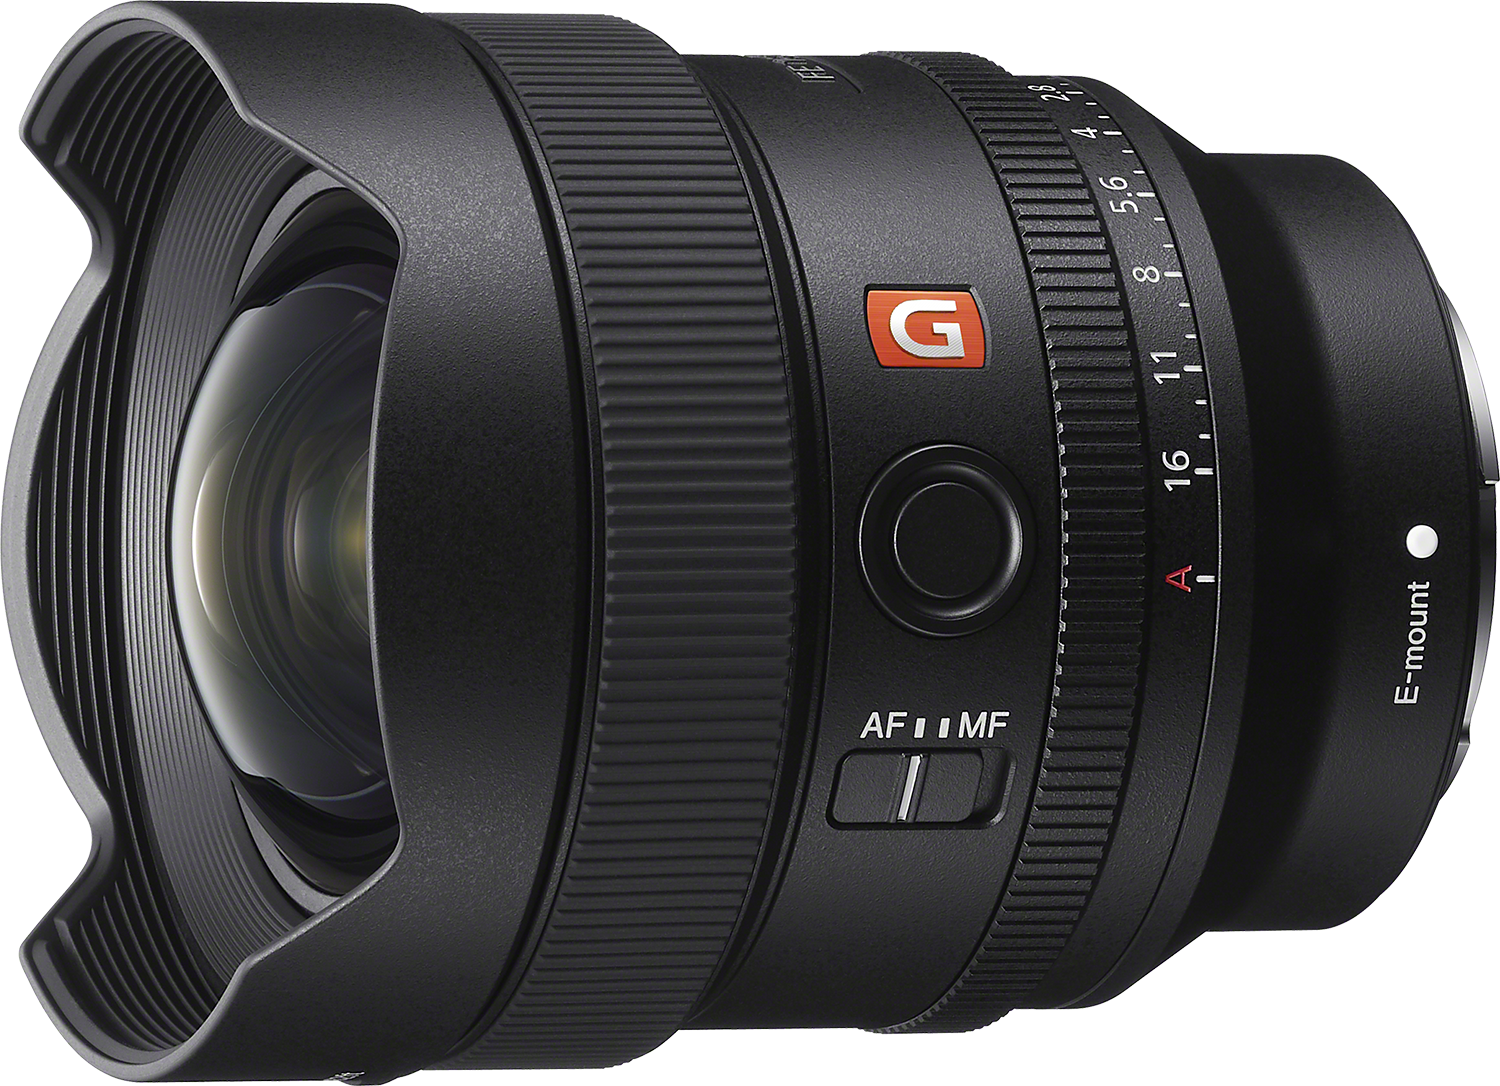
And lastly, this is a bit more of a niche lens. I'll touch on this a little bit later, but I've got the 14mm f/1.8 G Master. This is primarily my main astrophotography lens. I would only take this if I'm going out somewhere far from light pollution in order to shoot the Milky Way. So these are some of the lenses that I would consider taking on my travels.
I do not take all of them obviously, but the question that I would ask myself is not necessarily what is the best lens or what is the most expensive lens? It's what problem does this lens solve? So if I'm looking for something versatile, you could go for the 24-70. If you're looking for more like indoor commercial photography for hotels or for tight spaces/environments, then I would probably opt in for the 16-35. If I'm shooting at all portraits, I'll take a prime lens. If I'm shooting a safari, I would take a telephoto lens. So think more about what's the purpose of the trip and what you're going to use each of these gear for.
Now, the gear that I take, I will usually put it in my Nomatic backpack. This is a 25 Liter one. It is perfect for my travel needs. It's not too big. It's not too heavy. It is exactly what I want to carry, so this fits my needs perfectly.
I would also always take my tripod that is an essential part of my photography and videography. If you need something stable for astrophotography or if you're shooting yourself or if I'm with my wife and we need something to hold the camera, the tripod would be absolutely essential. I would also use my tripod in the daylights together with a variable MD filter so that I can slow down the shutter speed and get a little bit more movement.
For example, if I want to isolate a subject and have a car or a subject pass in front to create a little bit of motion blur. For videos especially, the variable ND filters are absolutely necessary to be able to keep the shutter speed at double the frame rate so that you can get the creamiest and most naturally looking footage. It also allows you to keep the aperture on the lower end of the spectrum to be able to get some smoother bokeh in the background of your subject.
Other filters that I would consider are also CPL filters to remove the reflection if needed or mist filter if I want to bloom the highlights a little bit more. And finally, if my travel involves a little bit more of a commercial shoot, a gimbal would always be something that I take with me in my luggage. This allows me to get a little bit more smoother footage, although the dynamic active stabilization on the A7 V is already very, very stable and smooth and reliable. But if I need to run around a little bit more and get some smooth footage with dynamic movements, this is what I would take with me as well.
- So before we get into the creative side, there are certain fundamentals and basics of photography that you need to understand in order to optimize your settings depending on your situation. So I'm going to go one by one and explain what aperture, shutter speed and ISO are and how to use them depending on your situation. So let's start with aperture.
Aperture, also known as the F-stop, is essentially how wide your lens opens. So this is going to affect two factors. First, of course, it's going to affect how much light comes into your lens and into your sensor. So the wider your aperture, the lower the F-stop number, the more light it's going to hit your sensor and the brighter your image is going to be.
It is also going to affect the depth of field. So the lower your aperture, again, the wider your opening, the more depth of field and separation you can have between a subject and its background. So typically if you're shooting portraits and you really want to isolate your subject and have a creamy bokeh in the background, you would put it on a lower aperture. So if your lens goes down to f/2.8 or even lower 1.8, 1.4 or 1.2, you're going to get a very cinematic look to your image.
Now, conversely, if you're shooting something that requires a little bit more of all the elements being in focus, for example, you're shooting buildings, cityscapes, or you're out in nature/landscape, and you want your foreground, your midground and your background to be in focus, you're going to bring your aperture all the way up to say, for example, f/7.1 or f/8. This is going to allow you to capture every single element in focus if that is a better storyline for the image that you're trying to capture.
Now, the second parameter that you're going to control is your shutter speed. Your shutter speed essentially is how fast the shutter in front of your sensor opens and closes. So when you think about shutter speed, you have to think about the motion in your image. Is there a lot of moving elements in your frame? If you're shooting something that moves very fast like wildlife or sports, you're going to bring your shutter speed all the way up to 1/2000-sec. or more.
This is again going to affect two parameters. First, the faster your shutter speed, the more it's going to freeze the movement. So again, if you want to capture a bird or an animal or someone running very sharp, you would keep it to above one over 1/2000-sec., maybe 1/5000, 8000. But what a fast shutter speed is also going to do is not let in as much light as you want. So if you're already in a bright environment, no problem at all, but if you're starting to get into a slightly darker environment and there's not as much light hitting your sensor, then you're going to dial in your setting to bring your shutter speed a little bit more down.
If you're shooting handheld, I would typically not recommend going under 1/30-sec., although I've been a lot lower than that. Nowadays the in-body stabilization on Sony cameras is incredible. So if you really want, you could drop to 1/10-sec. or perhaps even lower if you really lock in, but any lower than that, you would need a tripod. Remember, if your shutter speed is very slow, you're not going to be able to capture your subject very sharp. In fact, it's going to be a little bit blurred if your subject moves, but if you're in an environment where there isn't as much motion in the frame, like you're in nature, you're capturing stars, then if you put it on a nice tripod that's steady, then it will allow you to capture stuff that you can't even see with your own eyes, like the Milky Way, for example.
And finally, the last parameter that you're going to control is ISO. ISO is sensitivity to light, and again here it's going to affect two parameters. Typically, I would keep my ISO to 100, which is usually the lowest number, and I would only go up if I need a brighter image. So one, the higher your ISO number, it's going to affect the brightness of your image, but the higher your ISO number, the more it's going to introduce noise inside your image. So you only really touch the ISO if you're in a situation where you cannot go lower on your shutter speed and you cannot go wider on your aperture, then you would start to use the ISO and bump it up a little bit more if you're in that kind of environment.
Again, I typically keep my ISO to 100 and I will only go up if I really need to. Nowadays with editing software, you can de-noise your images, which is amazing, but if you are trying to capture your image very sharp and you don't want to use any de-noise, keep your ISO to 100 and only go up to 200, 400, 800 if you need to.
If you're a beginner photographer, you can start by using the Aperture Priority that helps you understand a little bit more the different parameters. You just need to set your aperture and the camera is going to control the rest automatically. But as you get used to it, you would have a better understanding of how to adjust your aperture, shutter speed and ISO depending on the situation, depending on the lighting, depending on how much movement there is in your frame so that you can better adjust and optimize your knowledge so that you can be better prepared whenever you travel to have your settings dialed in correctly no matter what happens in front of you.
- When it comes to taking portraits and photography and strangers on your travels, my rule number one is respect first, photo second. It's never worth making someone feel uncomfortable, so you always have to analyze the situation. In different countries, people are going to have a different response to having their photos taken. Some countries are going to be a little bit more open to it, and other countries are going to be a little bit more conservative and reserved. So you always have to approach in a respectful manner.
My approach when I travel, especially in a country that I don't speak the language, is first to learn a few words. Hello, how are you? Approach with a smile because that always eases the conversation. And I always learn how to say, can I take a photo of you in the most polite way as possible in the local language? When I approach someone, I would first try to have some sort of conversation, even just eye contact, a smile. I can compliment them on something that they're wearing or one of their facial traits and features, and then start from there.
If you approach a stranger on your travels and you ask them whether you can take a photo, but they feel a little bit uncomfortable or they give you a no, then just smile, say thank you, and then move on. There's going to be another opportunity around the corner.
If they do say yes, only then I would take their portraits. The lenses that I would typically use on portraits when I travel are prime lenses. So the 24mm f/1.4, 35mm f/1.4, or 50mm f/1.2. I would use either one of the wider lenses, 24 or 35, if I want to capture the environment, right?
So even when you take a portrait, the surrounding elements could also tell a story. If you want to take a portrait of someone sitting on a chair by a table, playing dominoes or eating something, then that is part of the environmental portraits. So you could use a 24 or a 35. Or if you want to isolate your subject in order to capture only the face and the shoulders, maybe some features of their facial expression or something that they might be wearing, I would typically opt for a 50mm f/1.2. That would give me a little bit more separation and depth of field if that is the story that I want to tell and the hero of the picture would be the person themself.
And one last step you can never leave without doing this is to show the person the photo that you've just taken and to say thank you before leaving.
- Light is the single most important element in photography. You can have the best camera in the world, the best lenses, but if the weather and the light is not working in your favor, then the photo is not going to convey the same message or the feeling that you want it to convey, which is why I try to plan around light as much as possible on my travels.
I first do a little bit of research on the different locations and spots that I want to hit on social media, Instagram, Pinterest are my go-to, but also on other applications such as Google Earth, Google Maps, to try to plan logistics and when to get there.
I would also use photography apps such as PhotoPills to specifically plan around sunrise time, blue hour, sunset, and blue hour after sunset as well. If you use PhotoPills, it will show you the exact trajectory of the sun, the moon, or the Milky Way using augmented reality. So you can just point your phone towards the sky and see exactly where the sun is going to rise above the horizon or above the mountains if there's any obstructions in the way.
Another app that you can use is Shadow Map. It will show you a 3D map of many major cities around the world to show you exactly at what time the sun rises and what shadows it would create depending on the landscapes, the landmarks, or some obstacles that might be in the way so that you can better plan and optimize at what time to get to your location. Of course, you can use a lot of information that you find online to get some inspiration, but the biggest inspiration comes from getting to the place nice and early so that you have time to scout, to look around you, to see how the light is hitting the subject, and then come up with a creative angle so that you can create your own image.
Typically, my favorite time of the day to shoot would be sunrise because of the nice, soft and warm light that you get, but also a lot of the touristy spot are emptier when you go nice and early during sunrise, and also sunset and blue hour. I really love blue hour when I go in city environments because the lights of the building start to light up. And so you have a nice contrast between the slightly darker environment, but the lights coming up in the building, which creates very cinematic look to your image during blue hour.
Something that I learned during travel photography is that weather is not always going to corporate. You're not always going to have the best sunrise, the best sunset, the best blue hour. Sometimes the weather might be a little bit gloomy or it might be rainy. It is important that you have two options here, either pivot to try to optimize the weather condition. For example, if it's a little bit gloomy outside, then that's actually not too bad for portrait because the light would fall evenly on the face of your subject. So it actually comes out pretty nice compared to harsh light.
If you are in a city environment and it is raining, for example, that could make for some really creative, moody images of street photography. So it is important to be able to pivot, but through my experience, I also learned that if the weather is not cooperating, it's all right to not force yourself to find a solution. I can always wait until the light is a little bit better depending on the environment that I'm in. One location or a landmark could look completely different depending on the time of the day or the weather that you have. So don't hesitate to come back multiple times to the same location if you're not satisfied with the first photo that you got. Sometimes the best lighting or the best composition is not quite obvious at first, but upon a second time coming to the same location, you might find a different angle.
- Cityscape photography is my favorite type of photography. When I picked up my camera and first started learning about photography, I started by shooting buildings in New York because architecture doesn't move, your subject is still. And so it allowed me for more time to set up my shot and dial in my settings.
And that actually taught me a lot about photography in general. It taught me the fundamentals of photography, composition, leading lines, rule of thirds, etc. It taught me about lights, about lines, about framing, and it also taught me about being patient with my photography. Sometimes the scenery is already set, but you're just missing one element, a bird, a human, a car to pass by so that you can snap your photo.
What's important in cityscape photography is to be patient, but also to anticipate for the moment to arrive so that you're ready to snap the photo when the moment arrives in front of you. There's a lot of elements taken into account when it comes to cityscape photography. There's of course architecture, which for me personally, it tends to be the hero of my composition, but there's also additional elements such as people, cars, birds, traffic, you name it. There's a lot of movements happening.
What's important for me is to try to find a unique perspective and be intentional with my shot. So for example, I could find different angles by flipping the screen on my camera and getting down low so that I can get puddles and I can get other elements from the lower perspective, but I can also use my tripod, set up a timer mode and take photos from a little bit above, especially in cities where drones are prohibited.
Remember in cityscape photography, there's a lot of elements all around you. It's pretty much 360. You have to look above, you have to look under, you have to look in front, you have to look in all different types of direction because you're going to find interesting elements that could be part of your composition in all directions. The choice of lens is very important when it comes to cityscape photography. If you want a little bit more compression and you want to stack and layer some of the buildings or crowds, you could use a 70-200.
I find myself often shooting from above the crowds in order to get that compression. You can also use something a little bit more versatile like a 24-70 so that you can get a mid-range distance on street photography and you still have the flexibility of zooming in and out as compared to prime lens, for example. Prime lenses would also be good for blue hour or low light photography, especially in cities like Hong Kong, Tokyo, New York with a lot of like neon lights and elements that need a little bit of a wider aperture so that you can capture the lights.
And finally, I am personally a big fan of shapes and lines in my architecture photography, so I would use a ultra wide angle such as a 16mm in order to get that dramatic look. If I'm surrounded by buildings, I would look up, for example, to get that dramatic look. Remember, sometimes the most amazing composition that you're going to find is not the most obvious one. So instead of just looking straight in front of you, sometimes remember to look down, look up, look on the sides, look at different angles that you would probably not think of. Make use of the flip screen if you have one on your camera in order to go that low, but also flip it the other way and put it up on a pole so that you can see your composition and what you're taking.
A couple of additional pointers that I have mentioned in the previous module is the use of a VND. If I'm shooting during daytime and I want to add a little bit more of like motion blur in front of my camera, I would typically use a VND like this one. This one also has a mist on it, so it blooms a little bit of the highlight. So I've taken a few photos in Hong Kong, for example, where I had my subject in the background, I had some neon lights and I had a taxi passing in front. And because I was using a VND, it's almost like sunglasses, I was able to put down the shutter speed to 1/20 approximately to be able to get some nice motion blurs. So that is another element that you can add in your image and you would use tools like a VND to be able to achieve that look.
And if I'm shooting at night and I want a little bit more light in my sensor and I need my camera to be stable, I would use a tripod in order to stabilize that. I could also get some light trails and adjust the exposure so that I can get certain elements that I would not be able to get if I was shooting handheld. So in a nutshell, when it comes to cityscape photography, you have to be patient, you have to look at different angles, try to be creative and don't hesitate to come back to the same location multiple times at different times of the day.
- Astrophotography is a little bit more specialized compared to traditional travel photography, so I'm not going to spend too much time on this, but this is a quick beginner's guide on how to do astrophotography.
Now, first and foremost, you need to be in a very remote location out in the desert, in the mountain, in locations that are far away from light pollution. So if you're close to any big cities, most likely the light pollution is going to affect your visibility of the stars and the Milky Way, and you won't be able to get some nice star photos.
Second, what's very important is to plan around the darkest night sky. So you can check the moon phase using different apps to try to plan your travels around the darkest night sky. Planning is very important when it comes to composition and astrophotography. Make sure you get to your location early enough during daytime so that you can find an ideal composition. Use apps such as PhotoPills to see what time of the night the Milky Way is going to rise above the horizon and what time it's going to be perfectly framed in your composition relative to the subject.
Now, you made it to your location and you framed your composition perfectly. Let's take a look at the settings. I typically use the 14mm f/1.8 G Master lens because this is the ultra wide angle with the lowest aperture that you can find that will be able to one, frame your subject in middle and capture the whole entire Milky Way above you, but also keep the aperture low enough to try to put as much light as possible inside your sensor. Of course, you're going to have to set up your camera on a tripod because your shorter speed is going to be long.
Typically, how I set up my shot is I would put the aperture to the lowest on f/1.8. I would switch my lens to Manual Focus and manually focus on the brightest star that I can see in the sky. Then once my composition is set, I'm going to put the aperture all the way down. You're going to set your shorter speed to about 8-15 seconds. You don't want to go a little bit lower than that because otherwise you're going to start getting some light trails unless that's your intention. ISO, I typically set it around 1600.
Of course, all of these settings are a main guidance, but depending on the amount of light that you have, you're going to actually have to adjust your different parameters. Once you have frame your composition and you're ready to take the photo, there is one last step is to set the self timer on your photo to two seconds, five seconds, or 10 seconds. As long as you don't have your hand on the camera and your finger on the shutter button, you don't want your hand generated some shake in the camera body that might result in blurry photos. But once everything is set, you're ready to take your photo and this is what you can get.
Thank you so much for following this course. I'd love to hear your thoughts and if you have any comments, questions, or feedback, I'd love to hear that. You can drop me a message and I hope to be able to cover some other topics in the next course. Happy shooting and remember to enjoy. Ciao.
Rate this course
Your feedback helps us improve our content.
Course rewards
Complete any course and earn a unique badge to celebrate your progress. Collect them all as you level up your skills!