Couples Photography
Create natural, meaningful couples portraits with a practical approach to planning, light, camera settings, lens choice and relaxed direction.
We could not load your course progress. Please refresh the page to try again.
- Details
- Module
- Quiz
About this course
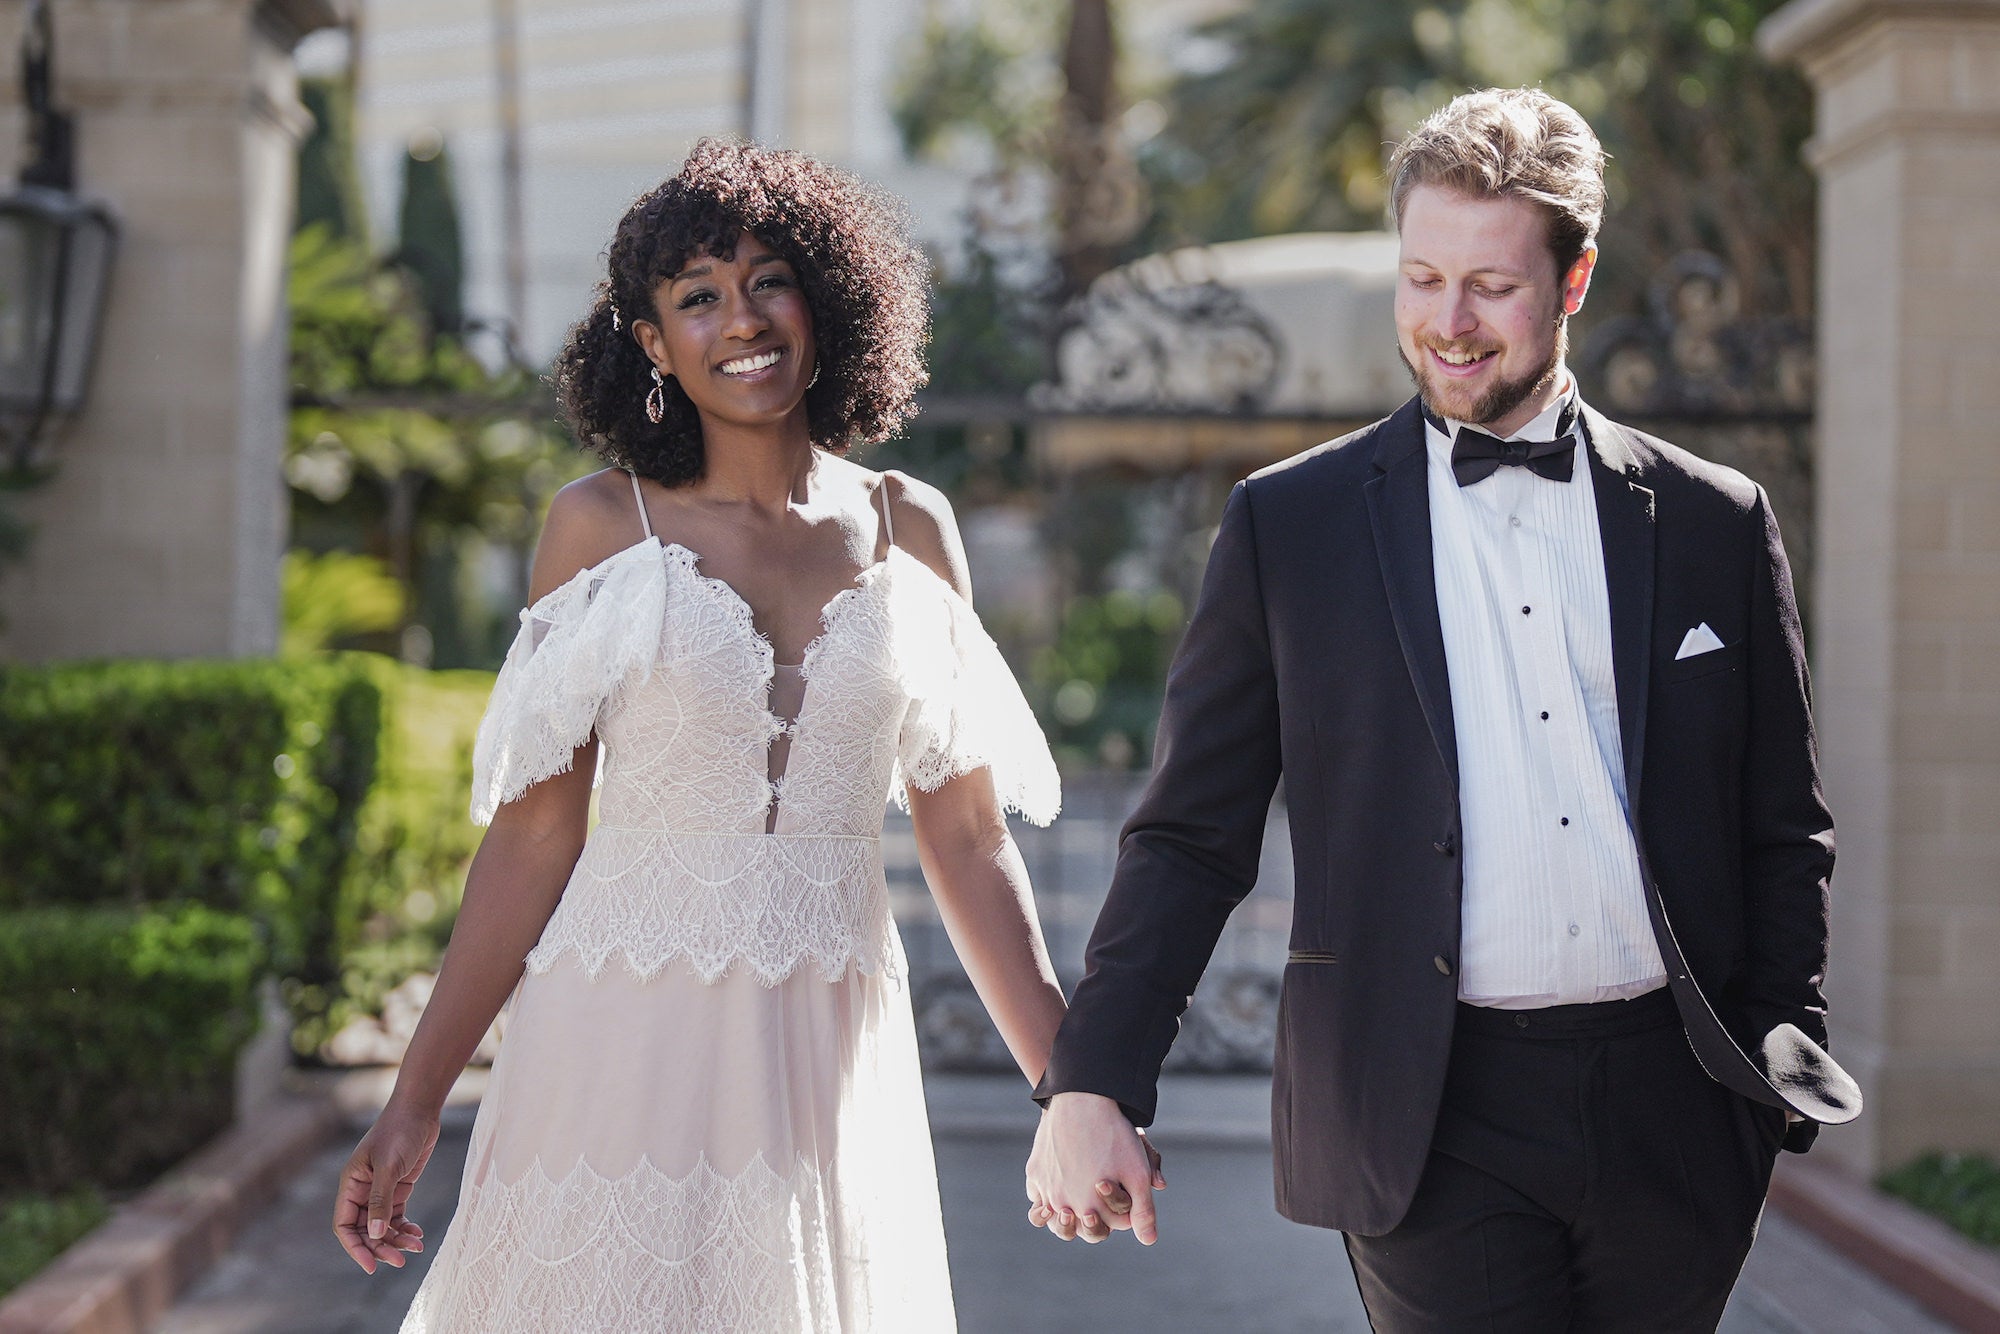
Couples photography is about more than finding a beautiful backdrop or asking someone to smile for the camera. In this course, international wedding and portrait photographer Kesha Lambert shares her thoughtful, approachable process for creating portraits that feel natural, connected, and true to the people in front of the lens.
From planning the session and choosing a location to dialing in camera settings, selecting lenses, and working with available light, you’ll build a reliable framework for photographing couples with confidence. You’ll also learn simple prompts and posing adjustments that help clients relax, move naturally, and connect without feeling over-directed. Along the way, Kesha covers practical solutions for common session challenges, so you can adapt to changing conditions and create a complete, personal portrait story.
Course highlights
Featured gear
Instructor
Kesha Lambert is a Sony Artisan, international wedding and portrait photographer and speaker based in New York. Fordham Law School graduate and Lawyer admitted to practice in New York, Kesha’s fascination with visual storytelling and love inspired a career change and a focus in weddings. Her work, a reflection of her affinity for taking chances and pushing limits, has appeared on the pages and covers of leading publications including Inside Weddings, Brides Magazine, Munaluchi Bride, The New York Times, People Magazine and The Knot. Genuinely curious about life and the people she encounters, Kesha has had the honor of personally documenting hundreds of weddings to date for couples from all over the globe.

Kesha Lambert
Wedding & Portrait Photographer, Sony Artisan of Imagery
Skills
Transcripts
- I'm Kesha Lambert. I'm an international wedding and portrait photographer, and I've had the opportunity to photograph hundreds of couples all over the world. Photographing couples does not have to be complicated. You don't need to create an elaborate setup or have a couple that already knows how to model in front of the camera. What you do need is a thoughtful approach to creating a comfortable experience, offering simple direction, and the ability to pay attention to the connection and chemistry that's happening in front of you.
In this class, I'm going to walk you through my approach to photographing couples, from planning the session and choosing your location, to camera setup, directing, working with light, and moving through a complete portrait session from start to finish. We'll look at practical ways to help couples feel at ease, create a variety of images, and make portraits that feel natural and personal. My goal is to give you a structure that you can rely on while still leaving room for your own creativity to shine through. So let's get started.
- Planning the couple's portrait session is where you help the couple feel prepared and work through the logistics - from choosing location and time of day to making recommendations that support a comfortable and enjoyable experience.
Before I ever pick up the camera, I like to spend some time thinking about the experience I want to create for the couple. I'm meeting up with an amazing couple today. We are working on location. We chose a cute neighborhood in Pennsylvania. I arrived a little early and did a little pre-scouting, and we're just going to walk around and look for backdrops and alleyways and little nooks that we can work with that help us to tell a complete portrait story.
Kiana, you can move that hand around while you're talking. I don't want you to... Yep. Perfect.
A successful couple's portrait session begins well before the first photograph is captured. It begins with understanding who you're working with, what matters to them, and how you can make thoughtful decisions that support the session. One of the most important things that you can do is ask questions and then really listen to the answers. I want to understand what the couple enjoys, what kind of environment feels natural to them, what inspires them and what they envision for their portraits. Are they drawn to something more editorial and fashion influenced? Do they prefer relaxed candid experience? Is there a particular location that is meaningful to them? Those answers help me to make recommendations that feel intentional rather than generic.
For example, if we're choosing location, I might recommend a place based on the colors, architecture, natural surroundings, or the kind of movement that the location allows. I also like to think about preparation. If we're photographing in a location where we'll be walking quite a bit, I'll recommend that the couple bring shoes that are comfortable to walk in. These little recommendations make a big difference in how relaxed and enjoyable the session feels for the couple.
When I'm looking at a location, I'm thinking about more than whether it's a beautiful location. I'm considering how the environment can contribute to the portraits. What colors are present? What textures and architectural elements can we use? Is there room for the couple to move around naturally? Are there areas where we can create more intimate portraits? I also love locations that give couples something to do. An activity can take the pressure off of feeling like you have to perform for the camera. Walking, exploring, sitting together, or interacting with the environment can create opportunities for authentic connection. And sometimes the most meaningful location is one that's sentimental to the couple, a place where they met, a favorite neighborhood, or somewhere that holds a special memory.
You also want to make sure that you understand whether the location you're working with requires a photography permit. Take care of these details ahead of time so that you can focus on the couple when the session begins.
- I want to keep this practical because the goal isn't to spend the entire session thinking about settings. Your camera should support the way that you want to photograph the couple and the creative decisions that you're making. I'll walk you through the starting point that I use and explain how to adjust depending on the situation.
Aperture is especially important when you're photographing two people. A wide aperture such as f/1.4 or f/2 can create beautiful background separation, but you also need to pay attention to the position of the couple's faces. If one person is closer to the camera than the other, both faces may not fall within the usable depth of field when shooting at a very wide aperture. That means you may need to stop down a little, perhaps to f/2.8 or f/4, depending on the situation and the distance between the subjects. The goal isn't simply to use the widest aperture available. The goal is to choose an aperture that gives you the look you want while keeping the important parts of the portrait sharp.
I also want to make sure my shutter speed supports the movement that I'm photographing. When a couple is standing still, I may be able to use a slower shutter speed depending on the focal length and my ability to hold the camera steady. But when the couple is walking, laughing, dancing, or moving towards each other, I want a shutter speed that's fast enough to help freeze that movement.
I generally prefer to err on the side of a faster shutter speed when I'm photographing movement. A sharp image of a genuine moment is much more useful than an image where the expression is beautiful, but the movement is blurred.
The next thing I'm paying attention to is exposure. The more you practice observing light, the easier it becomes to work in different lighting conditions.
The light is kind of flat here, but it's soft, but because we're in kind of a darker corner and the sun has moved into the clouds, I'm bumping my ISO up to about 400. And so that's kind of the decision making you make in the moment. We had hard light with shadows earlier and now that the light is flat, we make the adjustments. There we go. I love that. That is exactly what we needed.
You may not always get the weather or lighting that you planned for, but you can still create beautiful portraits by making thoughtful decisions with what's available. For couple sessions, I typically use AF-C or Continuous AutoFocus because a couple may be moving toward me, away from me, or changing their position relative to the camera. I'll set Subject Recognition to Human so that the camera can prioritize the subjects I'm photographing. On supported Sony cameras, Face Memory or Registered Face Priority can also be helpful in busier environments. This allows you to register a face and gives the camera additional information about which person to prioritize.
Face Registration is available across current Sony cameras and many Sony cameras from the past several years, although the exact feature availability depends on the model. For Focus Area, I choose based on the situation. Wide can be useful when I want the camera to identify and track a subject across much of the frame. Zone allows me to narrow the area where I want the camera to look and spot can be useful when I want to be more precise about where I begin focusing.
When the couple is walking, I may use Real-Time Tracking to help maintain focus on the moving subject. And finally, I use Continuous shooting to photograph through movement and expressions. I don't want to capture just one frame of the couple laughing or leaning towards each other. I want to give myself the best opportunity to capture the exact moment when the expression, gesture, and connection come together beautifully.
These settings are starting points, not rules. The more familiar you become with your camera, the more easily you can adjust them without losing your connection to the couple.
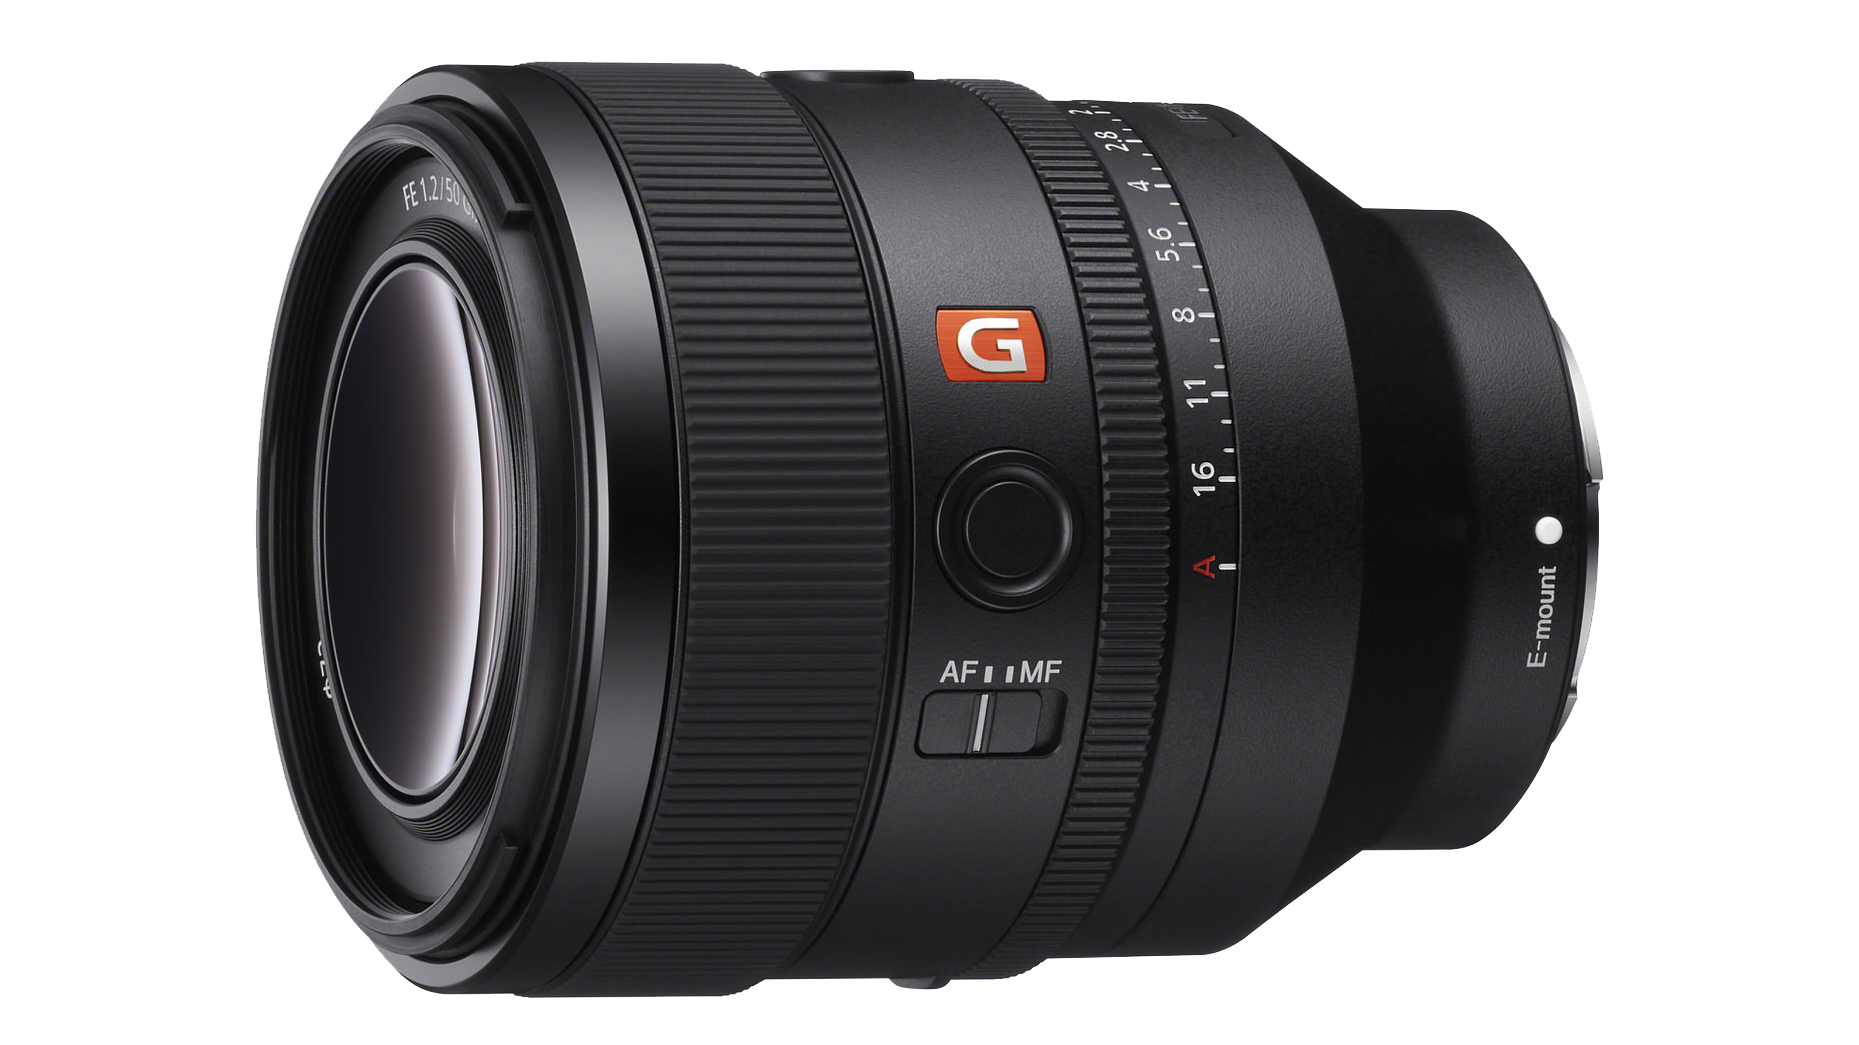
- The lens you choose influences how the couple appears in the frame and how the environment contributes to the portrait. A 50mm lens is a great starting point for couple's photography. It offers a natural looking perspective and works well for a variety of portrait scenarios.
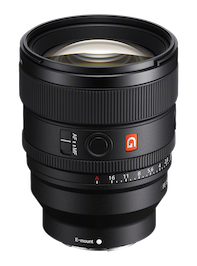
A medium telephoto lens such as an 85mm is another favorite for portraits. It allows me to create a more intimate perspective, separate the couple from the background, and compress the visual relationship between the subjects and their environment.
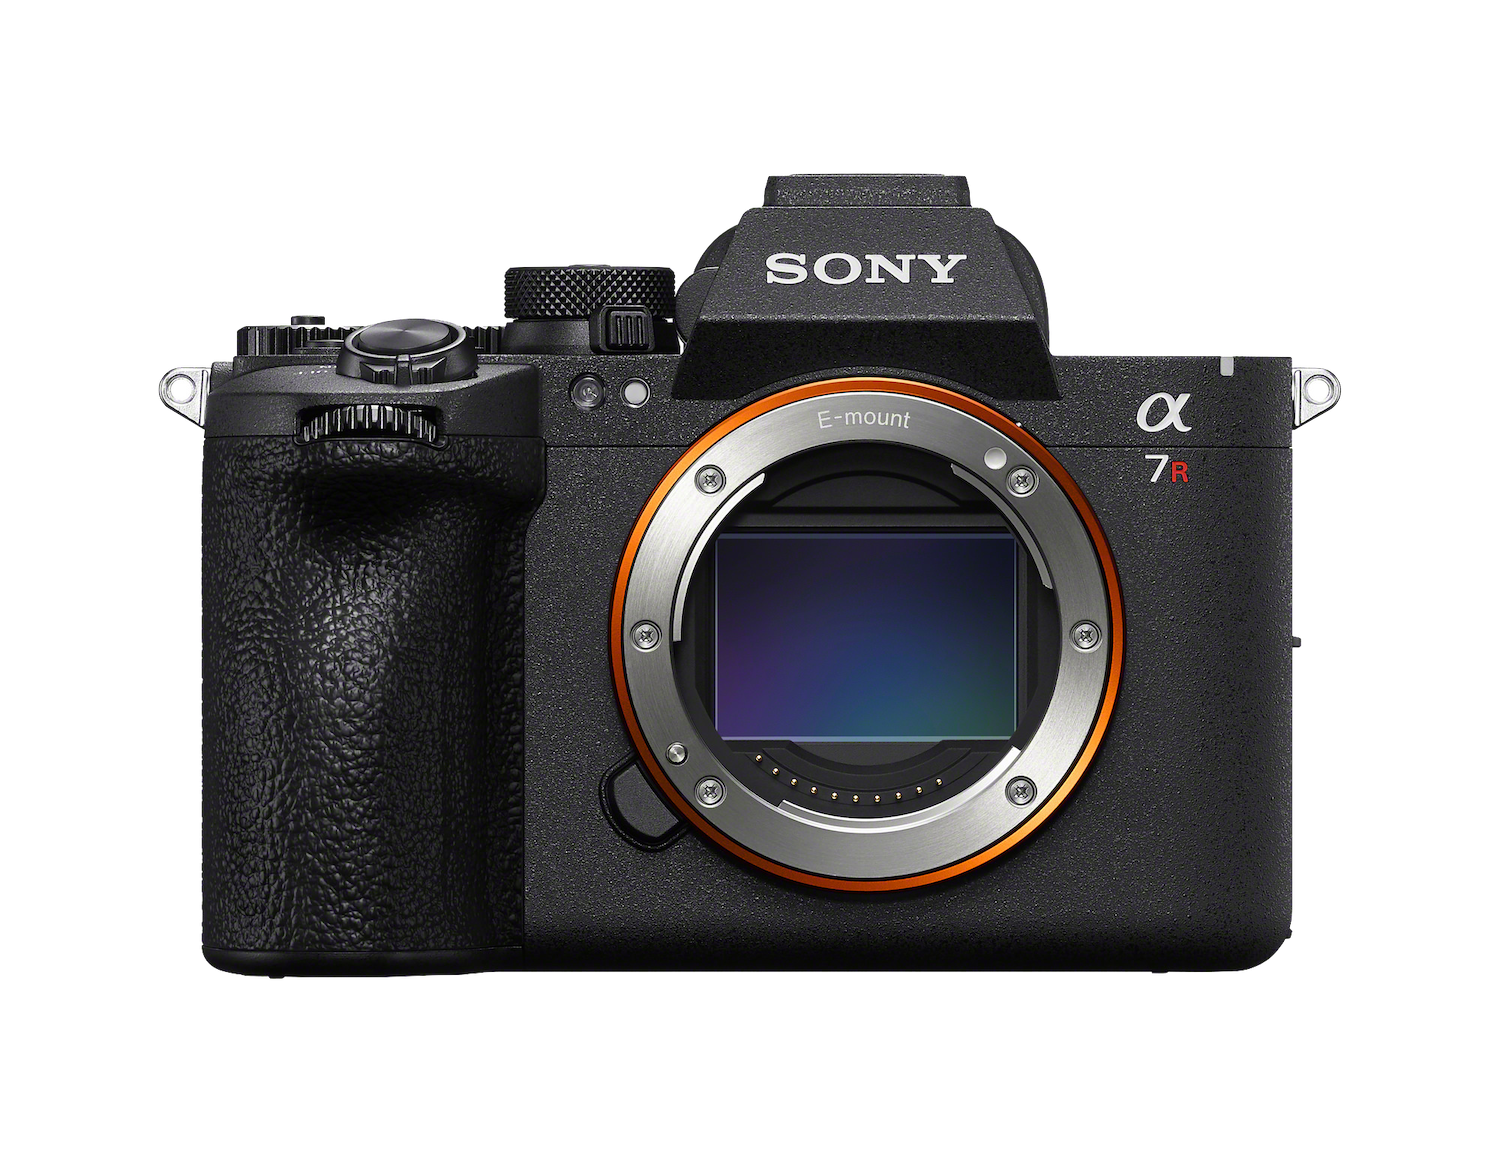
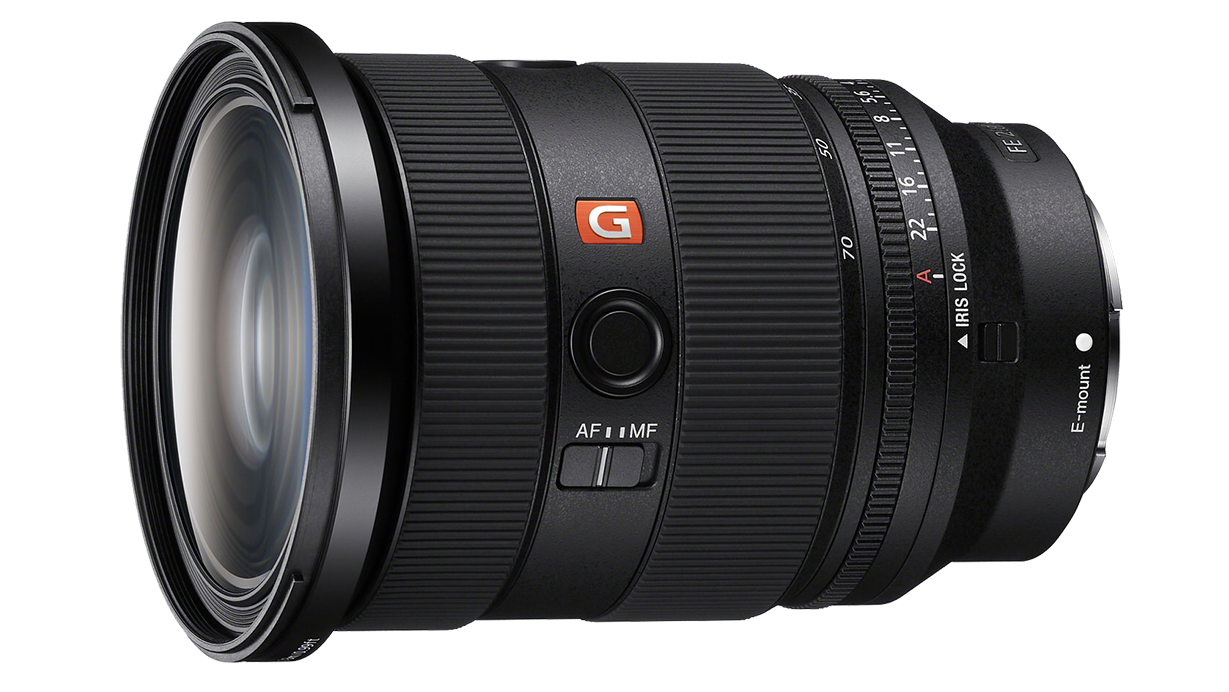
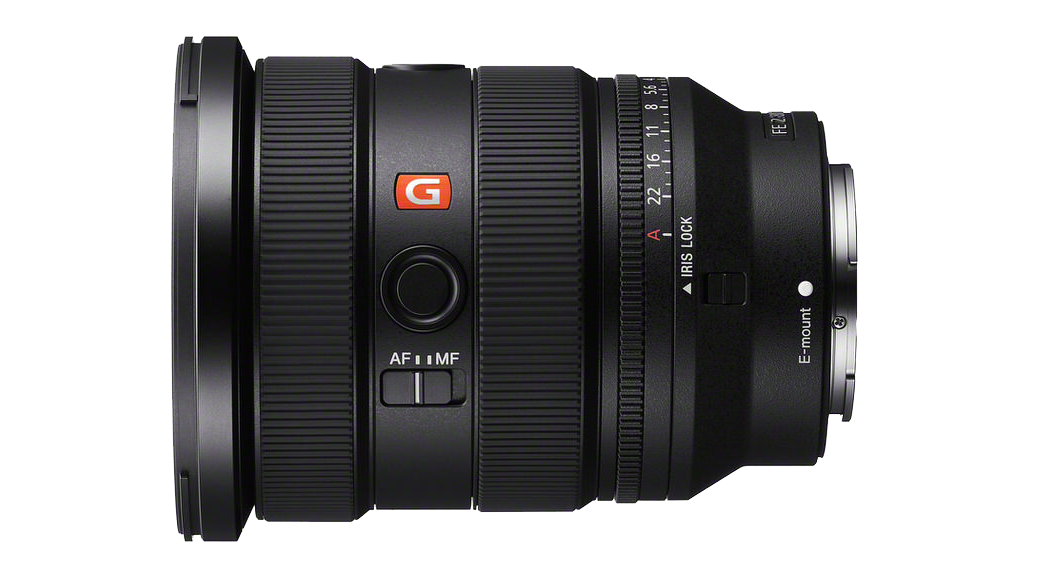
I also appreciate the versatility of a 24-70mm zoom lens. It allows me to move from wider environmental portraits to tighter compositions without having to change lenses. And a wide lens such as a 16-35mm can be useful when the environment is an important part of the story. And I'm going to pull back. Close your eyes. So I switched out my lens. I now have the 24-70mm f/2.8 GM II mounted to my Alpha 7R VI. And I switched this lens because this will give me the versatility to move between those tighter medium telephoto compositions to wider environmental compositions. Catty corner yourself like it, there we go.
And just kind of, yep, that's it. I like your hand on the column.
If I could only recommend one lens for a photographer starting out building a couple's portrait kit, I'd consider the 24-70mm because of its versatility. But if your creative style leans towards more intimate portraits, a fast 85mm is a beautiful option. The important thing is to understand what each focal length allows you to do, how it impacts the look of your portrait, and choose based on the story that you're trying to tell.
- Now let's talk about one of the parts of couples photography that can feel the most intimidating when you're starting out - directing and posing. We'll look at how to help couples feel comfortable, use simple prompts and movement to create connection and offer direction that results in natural, flattering poses without over-posing the couple.
My approach is to give couples enough direction that they feel supported without making them feel like they're being asked to perform every movement. I want them to feel comfortable enough to interact with each other because that's where a lot of the magic happens.
I usually begin with a low pressure warm-up. I want the first photograph to feel like a no pressure test shot. I want the couple to have an opportunity to get settled so that they feel at ease in front of the camera.
I don't want to over direct you, but I'll observe and if I want you to stop and do something, you'll hear me yell it out. All right?
I might start with a simple standing portrait or ask them to walk back and forth just to get them moving. All right. And I'm taking a lower angle and action. Sometimes I'll use a quick game or a movement based prompt to help them relax.
- Perfect. Keep moving, hold it, look at each other, touch his chin.
- It could be something playful like asking them to jump around or I'll give them a simple task to do that encourages them to interact naturally. I also encourage real conversation. I may ask specific questions about their hobbies, something they're looking forward to, or ask them to tell me about how they met. The goal here is to create an atmosphere where the couple doesn't feel like every second has to produce a perfect photograph.
One of the easiest ways to make a portrait feel more natural is to give the couple something to do. Instead of asking them to stand still and smile at the camera for an extended period of time, I might ask them to walk together, dance, or interact with something in the environment. Movement helps the couple focus on each other rather than on the fact that they're being photographed. And as they're moving, I'm watching for moments that feel genuine, an expression, a glance, a touch, or a laugh.
I love using prompts that encourage the couple to interact without prescribing every single detail. For example, I might ask one person to lean in towards the other, whisper something in their ear, or move in for an almost kiss. I call this the almost pose. The almost kiss, the almost touch, or almost embrace creates a little bit of anticipation. It gives the couple an opportunity to connect while allowing me to photograph the space between the action and the final moment. I don't need to force a particular expression. I can give the couple a prompt and then observe what naturally happens.
Natural posing doesn't mean that we never give direction. Sometimes a small adjustment can make a significant difference in the final portrait. I might ask someone to shift their weight, relax their shoulders, turn slightly towards their partner, or bring their faces a little closer to each other. I pay attention to hands and posture and the way the couple is positioned in relationship to each other.
The key is to make corrections that feel simple and manageable. I don't want to overwhelm the couple with too many instructions at once. I'll make one adjustment, let them settle into it, and then photograph them. Remember, posing is a tool. The goal is not to create a pose that looks perfect in isolation. The goal is to help the couple feel connected and then create a portrait that captures that connection.
- Let's talk about light and backgrounds. In this section, we'll explore how to find interesting backgrounds, recognize the light that's available, and use your environment to create a variety of portraits without needing additional lighting equipment.
A lot of the time, the environment already gives you plenty of opportunities and so much to work with. The key is learning to recognize what the light and backgrounds are offering and making intentional choices. When I arrive at a location, I start looking for backgrounds that can support the story of the portraits. I consider color, texture, architecture, natural elements in the environment, and the amount of visual distraction in the frame. I want to find backgrounds that complement the couple rather than compete with them. Sometimes a simple background is the right choice.
Other times, I want the environment to become a more prominent part of the image. I also like to create a series of portraits that feel connected, but not repetitive. That might mean using one area for a more intimate portrait, moving to a different background for a wider environmental image, and then finding another angle or perspective that offers a distinct look. One location can give you multiple visual possibilities simply by changing your position, the couple's position, or the background behind them.
Before I take the photograph, I look around the edges of the frame. Are there distracting objects, bright spots? Are there elements that draw attention away from the couple? Sometimes moving just a few feet or changing my angle can simplify the composition. The next thing I'm paying attention to is the light.
Where's the sun doing? It's right there from above. Oh, it's going to, it's going to be in that cloud for... Wait, maybe it might peek through.
We are outside on location. I intentionally did not bring any outside or extra lighting or anything to shape the light like reflectors. We're going to hunt for light and work with the opportunities that present in the moment. Even if I don't get that speckled lighting again, I can still take this shot. Okay.
On an overcast day, the clouds can act like a large natural diffuser, creating soft light across the couple. On a sunny day, the light can be more directional in high contrast. That can be beautiful, but it requires more attention to positioning. I'm looking for where the light is coming from, how it falls on the couple, and whether I can use the environment to create more flattering conditions. The time of day affects both the quality of light and the overall experience.
Depending on the location, early morning or later afternoon may offer softer light and a more relaxed atmosphere. Midday light can be more challenging, but it also can be used creatively when you understand how to position your subjects. Open shade can be a useful option on a bright, sunny day. I might look for shade near a building, under trees, or in another area where the light is more even.
But I also want to emphasize that shadows are not necessarily a bad thing. Shadows can add dimension and mood and texture to a portrait. Rather than trying to avoid them or eliminate them, think about how you can use them intentionally. When I photograph couples in direct sunlight, I pay attention to the direction of the light and how it affects their faces. I may position a couple so that the light falls more evenly across them, or I might use the direction of the sun to create a more dramatic image.
I also consider the background and exposure. Bright areas behind the couple can compete with the subject, so I look for angles that help me to maintain a clear visual priority. I don't believe in bad light or that you need perfect lighting conditions to create beautiful portraits. I do believe that understanding the conditions you'll be working in allows you to make better decisions. The more preparation you do beforehand, the more freedom you'll have to be present and responsive during the session.
- Even with thoughtful planning, every couple's session will present its own challenges. Let's look at a few common challenges you may encounter during a couple's portrait session and some practical ways to work through them while staying focused on creating beautiful images.
Starting with height differences - when couples have a significant difference in height, I pay attention to how their bodies relate to each other in the frame. I might adjust their positioning, ask one person to sit or lean slightly, or change my camera angle. The goal is to create a balanced composition that feels comfortable and natural. I don't want to force every couple into the same poses. I want to use their differences as a part of the composition and find an arrangement that works for them.
A hesitant partner. Sometimes one partner is more comfortable in front of the camera than the other. In that situation, I don't immediately ask for an intimate pose or put them in a situation that feels uncomfortable. Instead, I start with movement or a simple activity. I might ask them to walk together, talk, or interact with something in the environment. Giving them something to do helps shift the focus away from the camera and towards each other. As they become more comfortable, I can gradually introduce more intentional direction, keeping both faces within the usable depth of feel.
This is another area where camera set up and posing work together. If two faces are positioned at different distances from the camera, shooting at a very wide aperture may result in one face being sharp while the other falls outside of the usable depth of field. I can address this by adjusting their positioning, bringing their faces closer to the same plane, or stopping down my aperture. The best solution depends on the composition I'm trying to create. I want to make sure that my creative intention and my technical choices are working together.
Troubleshooting the environment. Sometimes I show up to a location and the background is busier than I expected it to be. When this happens, I might change my angle, move the couple, or use a longer focal length to simplify the background. If the light changes during the session, I reassess where the light is coming from and make adjustments. And when the weather changes, I try to remain flexible. I might look for covered areas like doorways, arches, and awnings, or embrace the weather conditions and use the weather as a part of the portrait series. The takeaway, don't let unexpected changes stop you from creating. Look at what's available, make a decision and keep moving forward.
We're being silly. Do an awkward pose. Yep, I like that.
As we wrap up, I want to leave you with a few key takeaways that you can carry with you into your next couple's portrait session. First, plan for the light, but learn to work with what you have. Thoughtful planning helps you to make better decisions, but you won't always have perfect conditions. Learn to recognize the opportunities in the environment and adapt.
Second, understand how the different camera settings affect your images. The more comfortable you are with your camera, the more freedom you'll have to focus on creating with the couple.
Third, connection comes before perfection. Give couples simple direction, create opportunities for interaction, and allow them room to be themselves. A portrait doesn't have to look perfectly posed to feel beautiful and meaningful. And finally, move through a variety of images. Think about the final portrait gallery as a complete story, include stationary portraits, movement, wider environmental portraits, tighter intimate portraits, and detail shots. When you have a structure to work from, you can approach each session with more confidence while still responding to the couple in front of you.
Ultimately, the goal is to create a series of portraits that feel personal to the couple and display beautifully in print. I hope this class gives you a practical roadmap that makes photographing couples feel more approachable, more enjoyable, and more creative. Thank you for joining me.
Rate this course
Your feedback helps us improve our content.
Course rewards
Complete any course and earn a unique badge to celebrate your progress. Collect them all as you level up your skills!