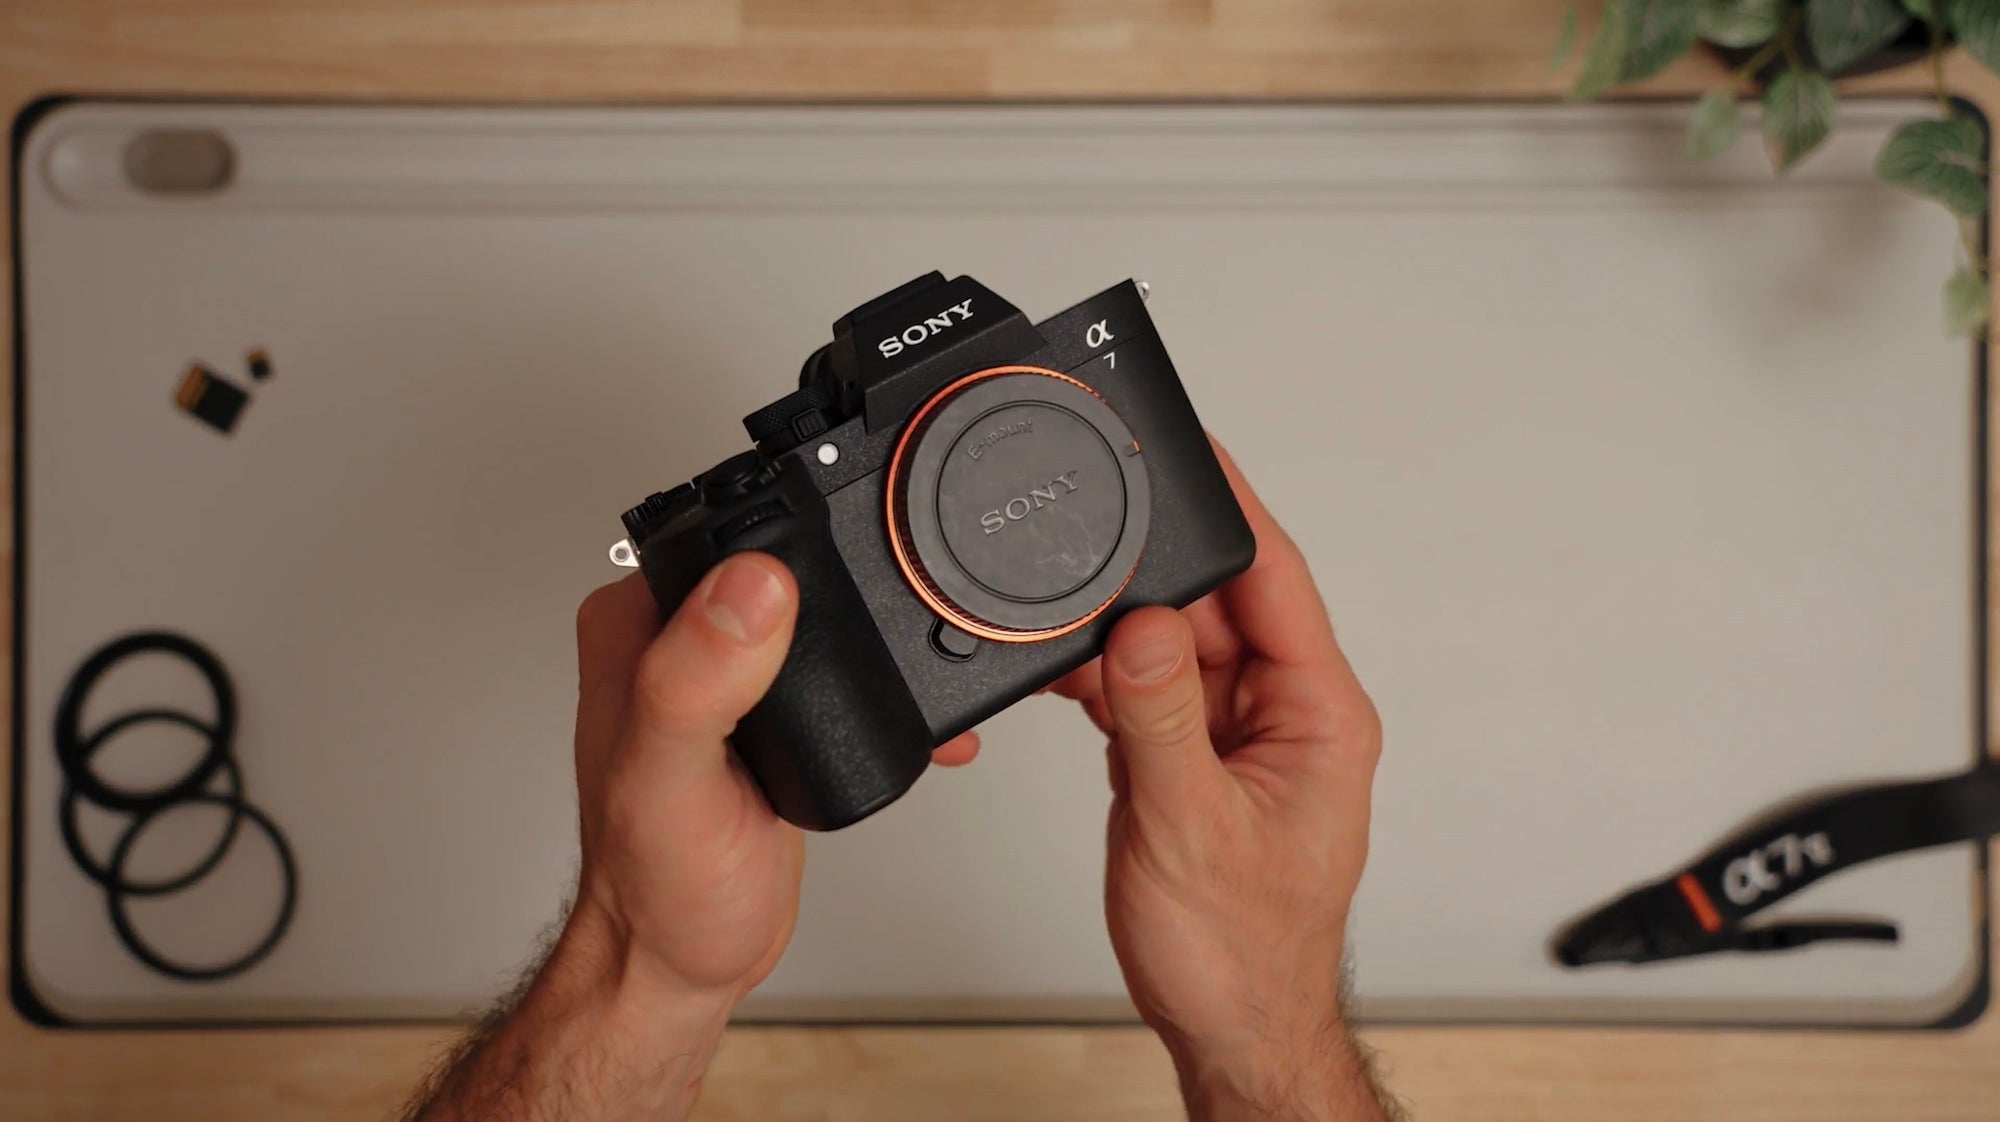
Get To Know Your Alpha 7 V
Master your new Alpha 7 V fast – go from unboxing to creating pro‑quality photos and videos with confidence.
- Details
- Module
- Quiz
About this course
Designed for Alpha 7 V owners, this course guided by Instructor Nick Di Giugno will help you get comfortable with your new camera fast so you can move from first-time setup to confident shooting. He’ll cover the essentials you actually need – charging and formatting, core controls, and a quick, practical tour of the body and screen – then shift into real-world photo and video use.
Course highlights
Instructor
Nick Di Giugno is a photographer and videographer based in New York. Through his @ToldByNick platforms across YouTube, Instagram and TikTok, he dives into the latest gear made for and used by creators. His informative videos are a great resource for creators who want to know which gear is best for what they do, and how they can make the most out of it.

Nick Di Giugno
Photographer, Videographer
Featured gear
Skills
Transcripts
- Hello and welcome to Alpha Camera Academy.
My name is Nick Di Giugno. You may know me as @ToldByNick, and I'm a photo/video creator based in New York.
I want to be the first to congratulate you on your brand new Sony a7 V.
I know how exciting it is getting a new camera, and I'm sure you want to dive right into using it.
I want to take some time walking you through the basics of this incredibly powerful camera.
In this course, we're going to review the buttons, dials, ports, and features of the a7 V - go over some basic setup instructions, recap some photo and video fundamentals, and hopefully give you a boost in the right direction.
- Before we do anything, we need to of course install the battery.
I recommend charging it to 100% before we dive in. And to do that, you can plug the USB-C cable into either of the two USB-C ports found on this camera. A little later, we'll go over what the differences are between those ports.
Next, we'll turn the camera on and begin the setup process, which will have you agree to terms and conditions, set the date and time, and also prompt you to set up Sony's Creators' app. This app is great for wirelessly grabbing photo and video clips from your a7 V to quickly share on social media or using your phone to remotely control your camera. But if you want to skip that for now and set it up later, just press the trash icon. You may also get prompted to set your auto power off temp to high. I definitely recommend this setting if you plan on using your camera in hot environments or recording long 4K clips.
Once we get past the setup screen, it's time to install the memory card. On the a7 V, you get two slots. One can handle either an SD card or a CFexpress Type A, and the other is meant for SD cards only. I recommend starting with a UHS II V60 card since they're relatively inexpensive and will unlock most of the a7 V's features. That said, you can step up to a V90 SD card or a CFexpress Type A to access larger storage options, faster read and write speeds, and all of the video recording formats. If you choose to install just one card, just make sure you place it into slot one.
Finally, we will head into the Menu > Shooting > Option Number 2 > Format > and choose the card you'd like to format. Obviously, make sure you're okay with removing any files on that card. And if you are, go ahead and execute the format. Now, your a7 V is ready to get to work. But before that, we'll take a closer look at the camera to better understand the buttons and dials coming up in the next module.
- Now let's go over some of the button dial and port functionality of your new a7 V.
Obviously, there are quite a few buttons and dials here, so rather than bore you by going over every single one, I'm going to cover some of the key points and features.
Starting at the very top, this is a multi-interface hot shoe, which allows you to attach and even power some accessories like Sony's ECM microphones.
Around the left side, we have a series of ports starting with a microphone jack at the top, the headphone jack underneath that, and an HDMI port to the left - great for using an external monitor. Underneath that, we have something new to the a7 line: two USB-C ports. While they can technically both be used for charging and data transfer, port one is USB 3.2 II and optimized for fast data transfer, while port two is USB 2.0 and has power delivery support - great for keeping your battery charged on longer shoots.
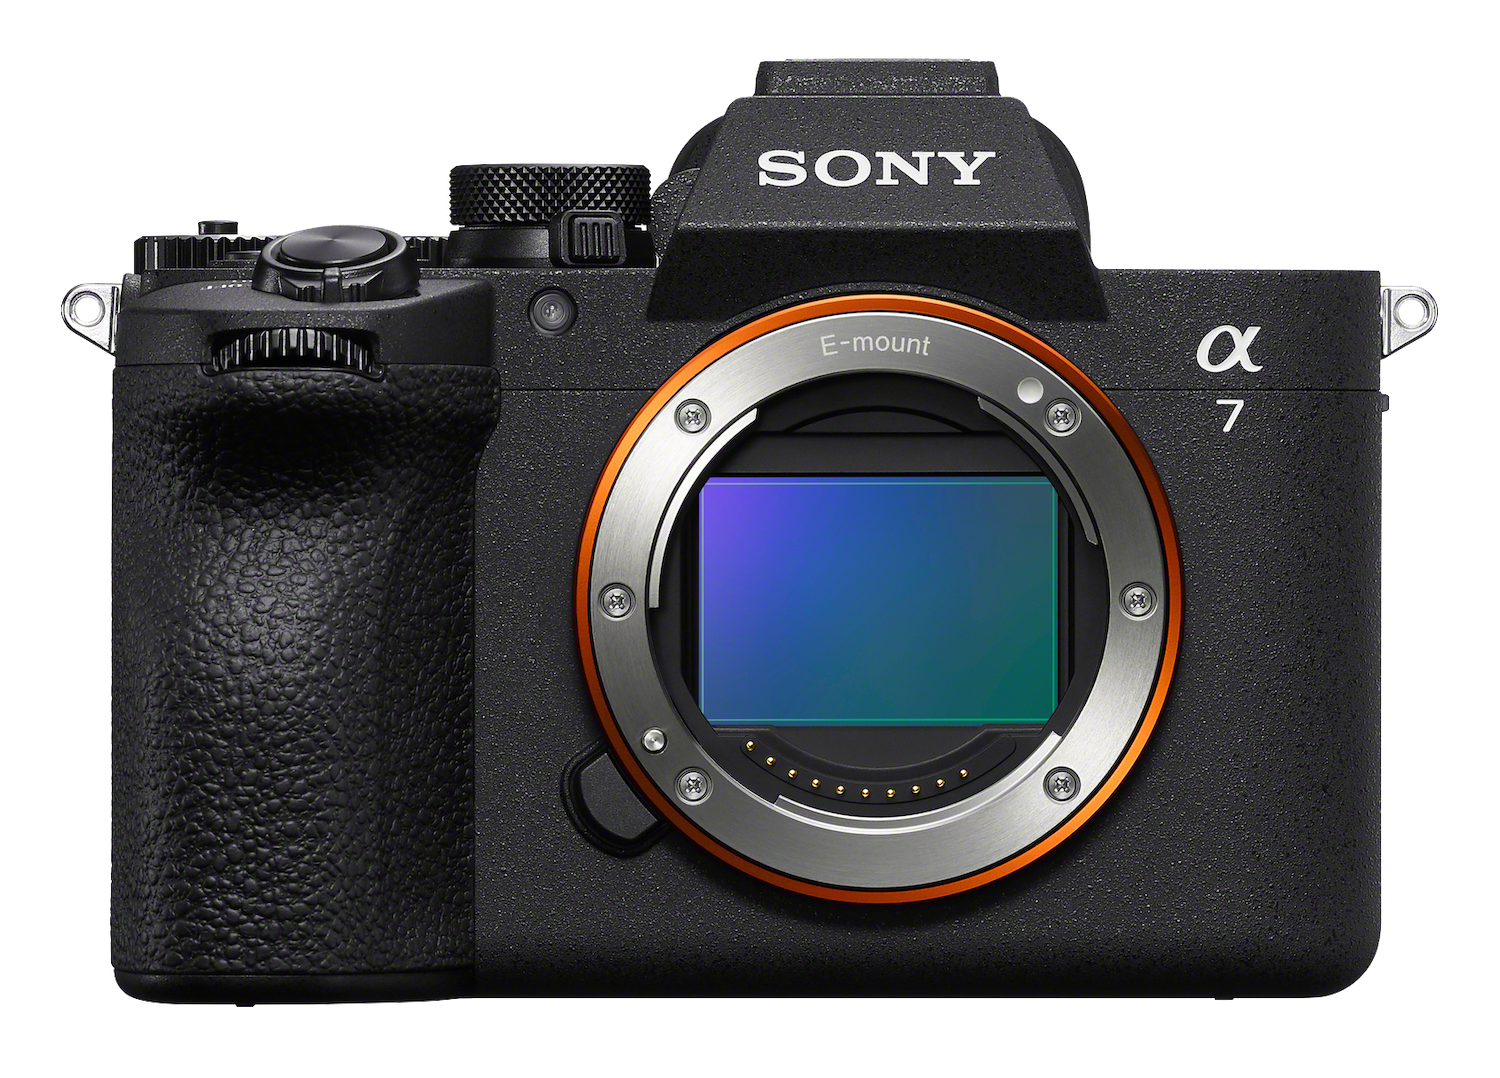
On the front of the camera is the lens mount, which supports Sony E-mount lenses and uses this release button to safely detach lenses from the body.
At the top, we can find the shutter button, which one held down halfway focuses on your subject in photo mode. Behind that, you'll find a custom button, which can be mapped to a setting of your choice, a dedicated video record button, and a lockable exposure compensation dial, which we'll talk a little bit more about later on.
Last but not least, for the top of the camera, we find the mode dial, which allows us to select our shooting mode and quickly toggle between Photo, Video and S&Q mode. At the rear of the camera, you'll find a variety of buttons, many of which are labeled, but I'd urge you to spend some time diving deeper into understanding each of them. For now, I want to move on to the display, which is attached to Sony's wonderful four-axis hinge system. It's up to you to figure out which position works best, but one thing I really like is the screen will actually rotate its UI based on the camera's orientation. This display is also touch responsive, and if you swipe in from the left or the right, you can gain access to quick and useful settings. You can also swipe up from the bottom to bring up your function menu, also accessed by the dedicated function button. Above the display is the Electronic Viewfinder or EVF, which will automatically turn on when you look into it. The EVF displays everything the rear screen does, but in a viewfinder style, which is especially useful when shooting and reviewing images in bright environments. If you find the image to be fuzzy or out of focus, try adjusting the diopter using the dial found on the right side of the EVF. I recommend heading into the menu and adjusting until the text appears as sharp as possible. Now that we have a general feel for the a7 V's layout, let's move on to taking our first photo using the amazing 33-megapixel sensor.
- Finally, we're ready to dive into Photo Mode. Let's first start by attaching a lens. If applicable, switch your lens to AF for Autofocus, and turn your aperture ring to A for Auto.
To attach your lens properly, remove the rear lens cap and camera body cap. Do your best to align the white dots and when both surfaces are flush, rotate the lens clockwise until you hear the lock click into place. Remove the front lens cap.
Place your camera into Photo Mode and turn your mode dial to Auto. This mode will intelligently adjust your camera settings depending on your scene, and I think it's a great place to learn what setting combinations are best for a given situation.
That said, you do still have control over your drive mode, where you can access a self-timer and choose from a variety of continuous shooting speeds. If you want to unlock the full speed of your sensor, select Continuous Shooting Hi+ and switch into Electronic Shutter. Now your a7 V can capture blackout-free, 30 frames per second continuous shooting while maintaining auto exposure and full autofocus tracking. This is made possible thanks to the partially stacked sensor, which is a rarity in this hybrid category of cameras and offers both capture and readout speed advantages.
Speaking of auto focus, the Sony a7 V has one of the best focusing systems in the world. By default, your camera should have Subject Recognition turned On and the Recognition Target set to Human. The focus will grab onto the closest eye and even recognize the back of somebody's head, their body, and anticipate that person's position using AI-driven pose estimation. This is all great if you're subject as a person, but the a7 V is capable of locking onto animals, birds, insects, cars, trains and planes. So if you can't decide or you're just out capturing some street photos, you can place the camera into Auto Recognition and pretty much just set it and forget it. As you get more comfortable taking photos on your a7 V, you may want to enter other modes, like Program, Aperture Priority, Shutter Priority and full Manual.
For now though, let's jump into my personal favorite shooting mode: Aperture Priority. This mode allows you to select and prioritize your lens' aperture. The camera then adjusts all the other settings around it. I see three main advantages with this mode. One, you get the benefits of Auto Exposure, meaning more time focused on composition. Two, you get to control your depth of field - selecting low aperture values for portrait photos, and maybe high aperture values for landscapes. And three, this mode opens up access to the Exposure Compensation Dial, which allows you to select how much you'd like the camera to over or underexpose an image. Super handy for tough lighting situations and being able to quickly take creative control. And here's a pro tip when using Aperture Priority: head into the Settings menu > Exposure/Color > Exposure > and select ISO Auto Min. SS. This setting allows you to define the lowest shutter speed your camera will use when exposing a photo. This is critical when capturing moving subjects as shutter speed can be the difference between a blurry and a sharp image. If the light drops too significantly, the camera may override this rule, but in most cases, it stands true.
The a7 V is one of the most capable photo cameras on the market, and there are a bunch more things to learn if you want to master this tool. But for now, you should have enough knowledge to get out there and start making some photos.
- If you're like me, you choose the Alpha 7 line of cameras for their incredible hybrid capabilities. Being able to quickly switch between Photo and Video Mode, while maintaining access to Sony's insane autofocus system and stunning image quality is honestly so confidence-inspiring and frankly super convenient when traveling light.
So, let's get started capturing some high-quality video on the a7 V. Feel free to start in Auto, but if you were with me through the last module, I recommend jumping straight into Shutter Priority. Select "S" on the mode dial. Just like Aperture Priority, this mode will prioritize your selected shutter speed, which for video is important when trying to achieve a natural motion blur between frames.
Just like in Photo Mode, you can select your Autofocus Recognition target, and I recommend having SteadyShot set to at least Standard. This will help remove any micro jitters from your footage. And if you'd like, even more stability, the a7 V has Active SteadyShot and even more stable than that is Dynamic Active SteadyShot. But just know that with each step up in digital stabilization, a crop is added to the final image.
For example, when vlogging Active SteadyShot can be a great middle ground, providing stable footage, while still allowing for a large field of view. If you want to adjust your resolution, frame rate and more, head into the Settings menu > Main > Main 1 > and select from there. It's important to note that in video, your frame rate actually infers what your shutter speed should be.
The standard rule known as the 180-degree shutter rule is that your shutter speed should be 1/Double your frame rate. In other words, if your frame rate is set to 24p, your shutter speed should be set to 1/48. At this point, you're ready to record some video, and as you get better at understanding what settings are right for you, you may eventually want to switch into full Manual.
Now that might sound a bit scary, but Manual Mode or "M" is actually super customizable to how you want to shoot. For example, M Mode will now unlock Aperture Control, meaning you are defining both the shutter speed and the aperture. And if you want, you can just stop there. Feel free to leave your camera in Autofocus, Auto White Balance, and even Auto ISO. As you continue to hone your skills and gain more knowledge on how to achieve the look you're after, you can slowly switch more and more settings out of Auto and into Manual. Maybe next is ISO, and after that is White Balance.
As a bonus, here are three settings that can help inspire confidence when shooting. First, turn on your Level by clicking the display button. This will help keep your horizon in check. Next, turn on the Rule of Thirds Gridline to help guide your compositions. Finally, turn on Emphasized REC Display. This setting turns your screen into a tally indicator to make it extra clear whenever you're recording.
At the end of the day though, it's not about how you shoot, it's about what you make with your camera and the journey, it will take you on. I hope you found this course helpful, and if you want to learn more about photography and videography, there are so many fantastic courses here on Alpha Camera Academy. You can also continue learning from me directly at @ToldByNick on Instagram, YouTube and TikTok. Happy shooting and enjoy your new a7 V.
- Let's talk a bit more about memory cards and how they impact your A75's performance.
SD cards like the Sony M Series V 60 card will do a great job capturing single shot photos and most 4K video options. That said, you will notice the buffer filling up rather quickly when capturing burst photos. Once the buffer does fill up, you're gonna have to give it some time to clear before you can capture additional photos. Not really the situation you wanna find yourself in, if you're capturing a one-time moment, like a wedding or a sporting event.
To speed up buffer recovery time and unlock higher video bit rates, you can step up to something like this G series Tough V 90 SD card by Sony. With a V 90 SD card 4K video codecs like XAVC SI will become available. This is a high bit rate video codec, meaning it captures more detail in each frame. While not always necessary, scenes with lots of motion and small details, like tree leaves blowing in the wind, will benefit from an All-Intra codec like XAVC SI.
Finally, we have the fastest storage media available for the A75. This is a G series Tough CF Express type A card by Sony, and it unlocks the full potential of your A75. Thanks to its super fast read and write speeds, this CF Express type A card will allow you to clear that buffer much faster than an SD card to get you right back to capturing the moment. And of course, with each step up in speed, the price scales accordingly.
That said, I want to tell you about one more place where a faster memory card will actually save you time in your workflow, and that's when it comes to backing up your files. When dealing with just a few photos and short video clips, you might not notice the benefits. However, when transferring hundreds to thousands of photos and many minutes of 4K video footage, the time savings can be huge, especially across multiple shoot days. When I know I'm gonna be capturing a ton of video or I'm gonna have a really quick turnover time, I opt for CF Express Type A cards.
One benefit to Sony memory cards is that they come with free access to data recovery software and tools like media scan utility. Further, Sony's Tough series of memory cards offers advanced data protection built right into their physical design. They're better protected against drops and are even waterproof giving you added peace of mind when you're out shooting in the elements.
Hopefully now you have a better understanding of the A75's memory card options, so you can choose the right one for the job.
Rate this course
Your feedback helps us improve our content.
Course rewards
Complete any course and earn a unique badge to celebrate your progress. Collect them all as you level up your skills!