Camera Fundamentals 201
Master your Alpha camera's essential settings – displays, exposure, white balance, picture profiles, stabilization, autofocus, audio and more.
- Details
- Module
- Quiz
About this course
In Camera Fundamentals 201, veteran Sony shooter and YouTube educator Gerald Undone guides you through the tools and settings that separate confident creators from casual shooters. Across 10 focused modules, you'll learn how to customize your displays for better image evaluation, use histograms and zebra warnings to nail exposure every time, and dial in white balance for accurate, consistent color. You'll explore Picture Profiles and Log shooting to maximize dynamic range, understand shutter types for every shooting scenario, and make the most of dual card slots. Gerald also covers extended zoom options, stabilization modes, audio recording best practices, and a collection of must-know miscellaneous settings – including USB streaming, Dual Gain Shooting, and back button focus. Whether you're shooting stills or video, this course gives you the knowledge to get more out of every shot.
Course highlights
Instructor
Gerald Undone is known for his exhaustive technical reviews and precise analysis of cameras, lenses, and production gear. As an educator in the video production space, he specializes in breaking down complex concepts into practical, honest insights. After a decade of rigorously testing equipment, his objective evaluations and integrity have made him a crucial resource for creators making purchase decisions.

Gerald Undone
Tech Creator, Educator
Featured gear
Skills
Transcripts
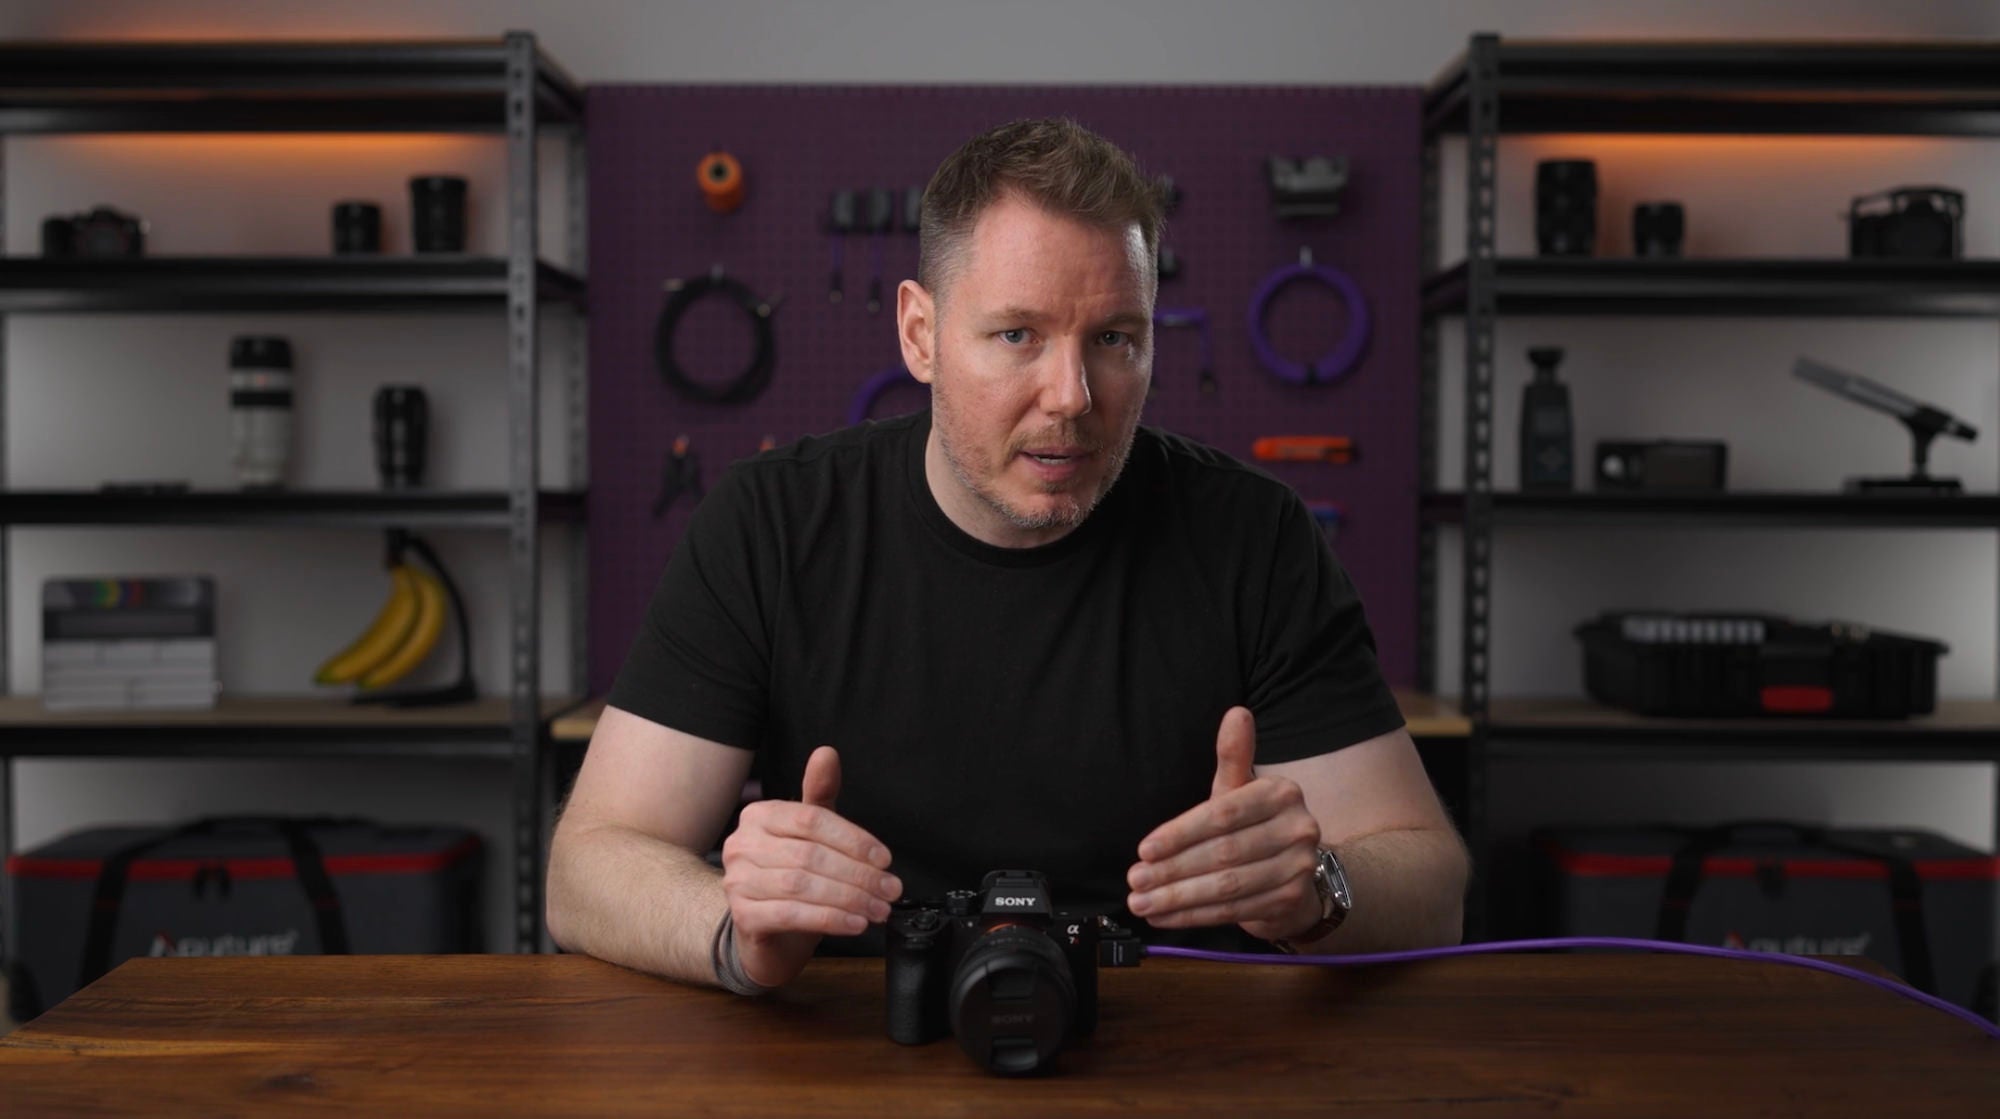
- Hey, I'm Gerald Undone, a YouTuber and camera educator who's been using Sony cameras for nearly 10 years. In this course, I'm going to show you some powerful tools and settings on your camera to help you feel more confident and give you more creative control over your images. Let's get started.
- In this module, I'm going to show you how to set up and customize your displays to make it easier to evaluate and compose your image.
So when I say displays, I'm referring to the LCD screen on the back of your camera as well as the viewfinder. And the first thing we want to set up is when it switches between them. So if you go down to the yellow toolbox menu, and then number 7, Finder/Monitor, and then over to Select Finder/Monitor, you'll have four options. You'll have Auto: 1 and Auto: 2. These are for switching so that there's a little sensor below the viewfinder. And if you trip that sensor by either using the touch screen or by bringing it up to your eye, it will switch to the viewfinder. Now that's what you want to do probably if you're coming back and forth with a camera.
But if you don't want that to happen and maybe you only want to use the LCD screen and you don't want it to trigger the EVF, then you can go down to Monitor . And that'll make it where only the LCD screen works. And it doesn't matter if your finger gets in the way, it won't switch over to the viewfinder.
Just below this, we have Monitor Brightness. Now this is a very important setting because if you go out in the sun and direct sunlight is shining on your LCD screen, it'll be very difficult to evaluate your image properly. So choose this and then choose Brightness Setup and go down and choose Sunny Weather. And your LCD screen will get much brighter and you'll have a much better chance of competing with direct sunlight.
Now if you are using the viewfinder, there's a couple other options to look out for. If your camera has the option for a Viewfinder Magnification, which not all cameras do, but this one, the Alpha 7R VI does, you can set it from Standard to Zoom Out if you prefer to have the image when looking in the viewfinder, appear a little bit further away to make it easier for your eyes.
And also, don't forget about the diopter adjustment, this little wheel on the side of the viewfinder that when you're looking through it, you can adjust with your thumb to make the image appear sharp to your eyes. It adjusts based on how you focus with your eyes and is a very important step to getting clean, sharp images when looking through the viewfinder.
Also, while talking about the viewfinder, this camera, the Alpha 7R VI has a new Viewfinder HDR Display option that you can choose between Auto and Off, which will allow the viewfinder to actually display HDR content when shooting in something like HLG, which is pretty cool. And when it comes to that HLG and other high dynamic range content, if you go down to number 8, Display Option and look over here for Gamma Display Assist. As you can see under the Type, we have two different flavors of HLG and then also S-Log3.
Now we'll talk more about Log in another module, but basically what the Gamma Display Assist does is that when you're shooting in High Dynamic Range content, the back of your LCD screen might look a little washed out and the colors might look funny, but if you enable Gamma Display Assist, it will correct that for you and make the image look like what the finished result would and make it easier for you to monitor while composing your image.
I also want to draw your attention to number 3, Operation Customize, where you can go in and customize how your displays will look for both photo and video and on both the monitor and the viewfinder. And you have several options. So Display All Info on the screen. Display No Info on the screen. If you want a clean image display your Histogram display, your level Histogram&Level. And the check boxes allow you to enable or disable that option from appearing when you cycle through it by repeatedly pressing the display button. And with this combination of settings, you now have better control over your displays. See you in the next module.
- In this module, we're going to discuss the tools you have available to help you get the exposure you intended. Now, in the display module, I showed you how to enable the histogram, but what is a histogram?
Well, on the screen here, you can see the histogram is in the bottom right hand corner. It's that graph. The histogram shows you the volume of information that you have across those different light and dark areas, where dark is on the far left and light is on the far right. And so as we increase the exposure of our image, you can see that the histogram starts to move to the right because the image is getting brighter. And more information is approaching pure white, which is as far right as you can go. This is where the expression exposing to the right comes from.
And you can see that now our black is more in the middle because it's more gray and not really black. And if we stop down and darken our image, you can see that the histogram moves to the left, letting us know that everything is dark and black in the frame. And this is a useful way for you to evaluate your whole image at a glance to let you know that yes, your information is spread evenly throughout and it's not crammed to one side or potentially overexposed.
Now, another tool that can be used for overexposure is Zebra Display, which is found in Exposure. Number 6, Zebra Display. And then the first option just allows you to turn them on. And then the second option allows you to customize when they'll activate. So you can see there's different numbers here. This is sort of the exposure level.
So at a 100, that's if you were at a 100% brightness, but you could set it down to 70 if you wanted to be warned when you were approaching 70% brightness. So if we set it to 100 and then we overexposed our image to where the histogram moves all the way to the right and gets way too bright, you can see that now the sound blanket on the left is just bleached right out. It's just completely white. On the back of your LCD screen, you will see they call them zebras because there'll be diagonal black stripes across that white area. And whenever you see those diagonal black stripes, it lets you know that that part of the image exceeds the exposure threshold that you set, which in our case is 100, which would mean completely clipped and unrecoverable.
Another tool you have your disposal are highlight warnings. So let's say you were going to take this photo and let's say that it was overexposed, which we can see on the histogram. We're moving all the information to the right, and you can see that the sound blanket is just way too white.
Let's take this photo. Now, when you go to review that image by pressing the playback button, if you press the display button, which will cycle through your display modes, you can see that the white part is now blinking. That lets you know that that white is clipped. It is beyond the exposure that you can utilize and that information is gone. And you also get more information from the histogram rather than just your typical luminance histogram. With Y, you also have red, green, and blue histograms, which can tell you if your colors are skewed one way or another, which is an important component of white balance, which we'll talk about in another module.
And with these tools, you're now fully in charge of your exposure. See you in the next module.
- In this module we're discussing White Balance, one of the most important controls you have over how your final image will turn out. So White Balance is a camera setting that adjusts the color temperature of an image to ensure that neutral colors, like white or gray, appear accurate regardless of the light source around you.
Now, when you first get your camera, it's likely set to a WB, which is Auto White Balance. And Auto White Balance is a pretty good job these days, especially with cameras like the Alpha 7R VI, which use deep learning to do a more enhanced and impressive version of Auto White Balance. But it's still something you're going to want to know how to control.
So if we quickly go over the settings, there's presets here when you go into white balance, like Daylight, Shade, Cloudy, and you can see as I cycle through them that it changes the way that the white sound blanket looks. For example, when we set it to incandescent, it's expecting really warm light so it blues up the image to fight against that. But if the light that it's receiving is not incandescent, then the image turns out too blue.
And then you have presets for Fluorescent Lights, Underwater Auto White Balance, and then Manual control over your temperature by adjusting Kelvin. Basically it's a scale that allows you to set the temperature, and around 55 or 5,600 kelvin is considered daylight. If you buy light bulbs, you'll know that they also have this scale on the light bulb to let you know how warm the light coming off the light bulb is. And you could use this to match the light bulb if you wanted.
So if you had a tungsten light bulb that was giving 3,200 Kelvin, well then you could set your camera to 3,200 Kelvin and it would balance the light. Or again, if you were shooting in daylight, you could set it up to 5,600, which is what we have here in the studio. Most of the lights are set to around 5,600 Kelvin, which is why the white looks very neutral when I set the color temperature to 5,600 Kelvin.
But there's one more level of manual control, which are these custom preset ones, which what they do is if you move forward and choose set, it creates a target box. And you can position the target box on a neutral object, like something that's neutrally gray or maybe neutrally white. And then if you press capture, it will read that surface and give you a measurement. And here you can see it measured 5,800 Kelvin.
So now I can set that, and I know that this white balance is now customized to my specific light, even more accurate than sending it to 5,600 Kelvin. It turns out I needed 5,800 Kelvin. It is important though, that you target a neutral object. With that, you can see that if instead I target the table and set it, it got all confused and measured 4,000 and also said we needed a 2 Green adjustment. But if that happens, you can always go back in and choose your neutral object again, and then just reset it. And you can see we're back to 5,800 Kelvin measurement.
And so by thinking more about white balance in this way, moving forward, your images will have a much better starting place. See you in the next module.
- In this module, we're talking all about Picture Profiles and how you can use them to further refine the look of your shots. Picture Profile is found in the Exposure/Color menu in number 5, Color Tone. And then over in Picture Profile, choosing this will open up another menu in which there are various presets numbered PP1, PP2, and so on.
Now, on some cameras like this one, there is no 7, 8, 9, and that's because those were normally log profiles. But the log profiles on the modern Sony cameras have been moved to different location. But on your older Sony cameras, you will see 7, 8, 9 in here, which are presets that are set up already to shoot an S-log.
Now, it's important to note that choosing Picture Profile off at the top still has a picture profile enabled, but it's just the default one and you can't customize it. But interestingly, if you are in Video mode, Picture Profile Off is the equivalent of Picture Profile 1, which is with Gamma and Color Mode of movie. But if you are in photo mode, Stills mode, Picture Profile 2 is the equivalent to Picture Profile Off, which is a Gamma and Color Mode of Still.
The difference is that in the Picture Profiles, you can customize them. You could change the Gamma or you could change the Color Mode to better suit your needs. Gamma controls how the camera maps light to dark, it determines the contrast curve, the dynamic range, and how the sensor handles midtones. Color Mode controls, which colors the camera sees, also known as the gamut and how vibrant or natural those colors look.
Now this can obviously be a bit of a rabbit hole because there are many different Gammas and Color Modes to choose from, which is why it's convenient that there are picture profiles that are already preloaded and configured for you, like Picture Profile 11, for example, which is set to S-Cinetone for Gamma and Color Mode, which offers a really nice balance between a slightly flatter image, which gives you a bit more latitude with dynamic range and post-production. But that also is pleasing rated of camera because it's based on the more advanced color signs of the big cinema cameras like the Sony Venice.
Now, if you did wanna shoot an S-log, like I said, on some of the other cameras, you would choose Picture Profiles. I believe 8 and 9 are the S-log3 ones. But on a newer camera, like the Alpha 7R VI, instead, you'll find it in the Shooting menu under number 1, Image Quality, and then down to Log Shooting Setting. And in here you can enable Log Shooting, which you can see, similar to the Picture Profile, chooses your Gamma as S-log3, and your Color Mode, or Gamut as S-Gamut3.Cine.
Now, log shooting is a topic all on its own, but the reason why you might want to enable this is to give the flattest image and capture the most dynamic range possible when shooting video on your Sony camera.
So as you can see, Picture Profiles are incredibly powerful when it comes to tweaking the look of your photos and videos. See you in the next module.
- In this module, I'm going to show you how to adjust the settings of your shutter and the reasons why you'd want to. So you'll find your shutter settings under Shooting. And then number 7, Shutter/Silent, and then Shutter Type. And in here you can see we have Mechanical Shutter or Electronic Shutter.
A Mechanical Shutter uses physical curtains that move across the sensor to expose the image. It's better for freezing fast movement. And when syncing with a flash, though it is limited by shutter speed and has moving parts that can eventually wear out. The Electronic Shutter digitally turns the sensor on and off without any moving parts. It's silent and allows ultra fast burst shooting, but can cause rolling shutter distortion where fast moving objects look slanted or wobbly and can cause flickering issues under certain artificial lights.
And some cameras have an e-Front Curtain Shutter, which is an electronic first curtain. It's a hybrid that starts the exposure electronically and then ends with a single physical mechanical curtain. In many ways, it's the best of both worlds, but be aware that using it at very high shutter speeds with wide apertures can occasionally cause uneven exposure or cut off the edges of your out-of-focus background highlights, creating semicircles in your bokeh.
Now, if you are using the Electronic Shutter and you want to customize your burst speeds, you go over to number 5 in the Shooting menu, which is Drive Mode. And at the top where you see Single Shooting, you can choose the Continuous Shooting option. And then here you have several presets to choose from - Lo, Mid, Hi, and Hi+. Plus, these presets can be configured under the Continuous Shooting Speed menu, which allows you to customize how many frames per second each one of those presets is going to utilize.
So for instance, Low here is 5 images per second, but we could change that to 10. And then those presets over here in Drive Mode will be updated to reflect those changes. And that's why knowing the differences between the shutter types and when to use them, we'll take your photography to the next level. See you in the next module.
- Having two card slots gives you a lot of flexibility in how you'll store your images. And in this module I'm gonna show you how to take full advantage of them.
So if you go into the Shooting menu, number 2, Media, and then Rec. Media Settings, in here you'll have control over several things. First of all, which slot the different media types will go to. So if I wanted my photos to go to Slot 1, but my videos to go to card Slot 2, I can just set it up like that. And below that is the option for Auto Switch Media Card.
And what this does is allow the camera to continue writing to the second card when the first one is full. For photos, this means any photos after card one is full, will go on card two. But for video it's really special because you can continue recording without interruption, even when the first card fills up. It'll just continue the video on card two. And then when you go to edit the video together, you just have to put the two clips together and the recording is pretty much seamless.
So Auto Switch Media is great if you want to relay record between cards. But if you didn't want to do the relay recording, and instead you wanted to do a redundant backup recording, you can set both photo and video to Simultaneous Record. And this will just give you peace of mind in case you're recording or taking photos of something that you might never see again. Or maybe it's the kiss at a wedding and you don't want to lose those photos. You know that they're saved to both cards. So even if you have a card failure, you know you've got that backup.
And now you'll be able to take full advantage of your second card slot, giving you confidence about how your images are being stored. See you in the next module.
- Your camera has several tools that will let you zoom further into the frame beyond what your lens will allow. And in this module, we're going to discuss them.
So the first one you'll find in the Shooting menu, number 1, Image Quality, and then APS-C Super 35 Shooting. This is normally set to Auto by default, but you can force it On. Now normally what this would be used for is if you were putting an APS-C lens on your full frame camera. APS-C lenses create a smaller image circle, which would cause vignetting on a full frame camera. But when you enable APS-C Mode, the camera punches in about 1.5 times, so you only see the part of the image circle of that smaller lens.
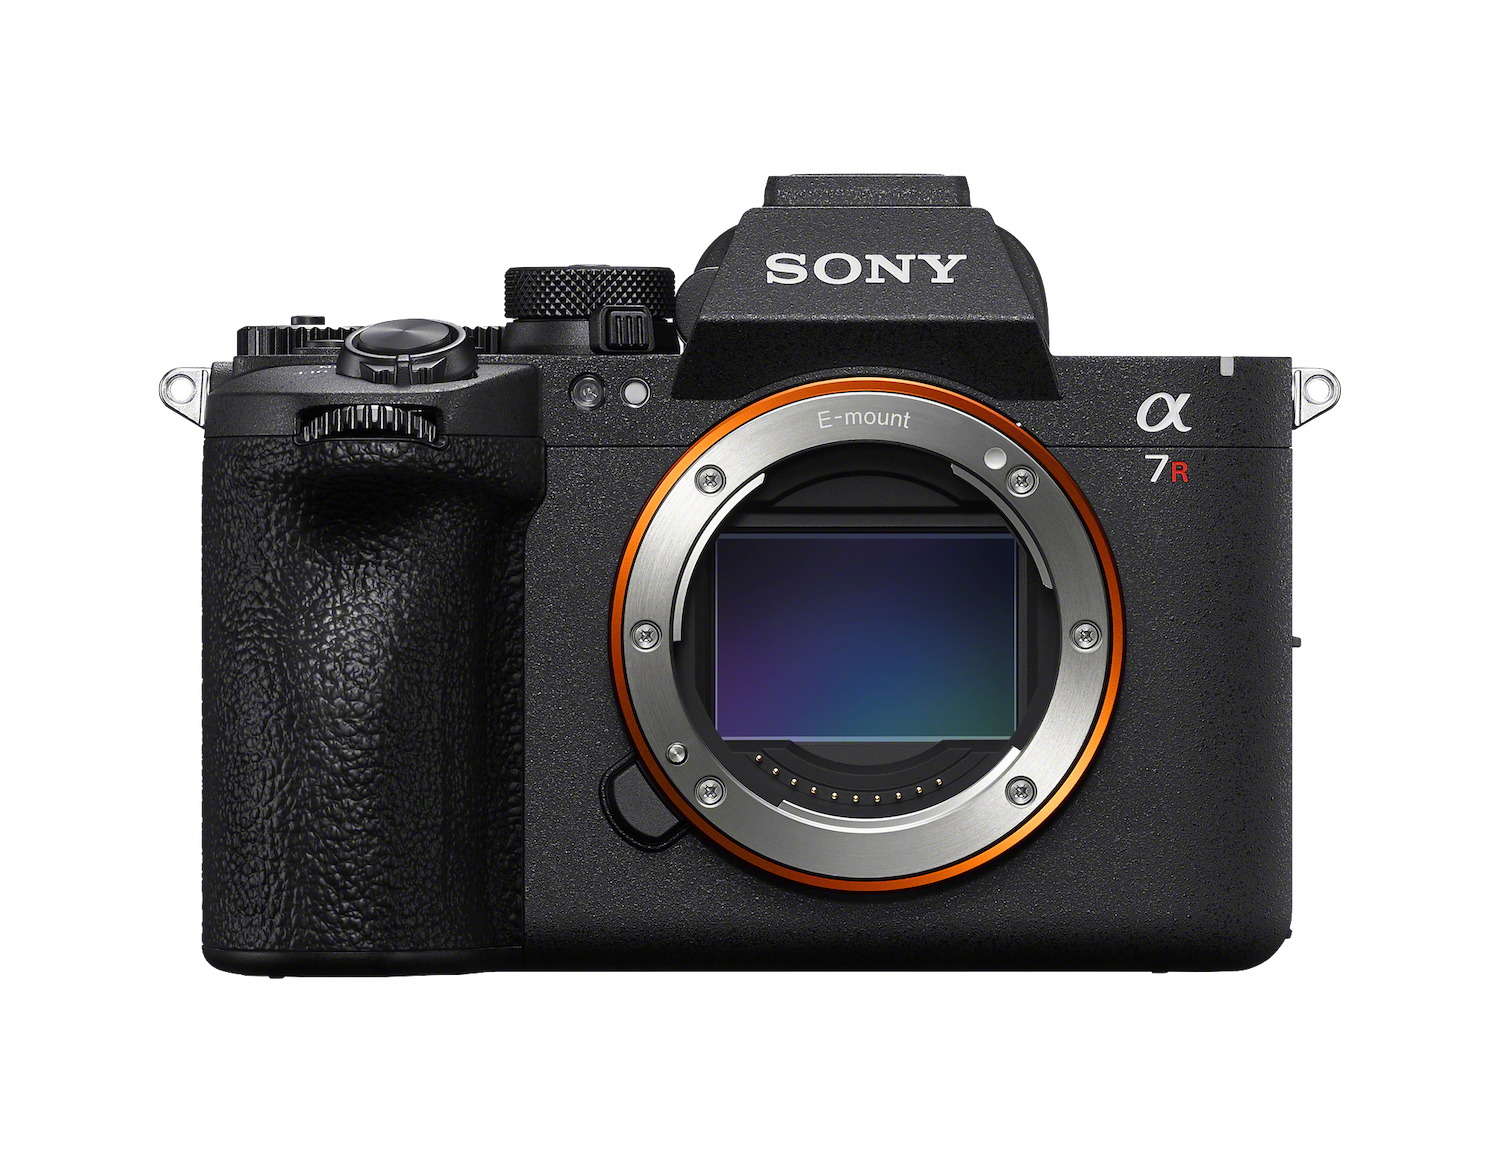
However, even if you're using a full frame lens, you could still enable APS-C Super 35 mode in order to punch in further to your full frame lens as well, effectively giving you more reach. Now, of course, this does have a resolution trade-off, but on cameras like the Alpha 7R VI that already have 66 megapixels, you can punch in APS-C and still have a 28-megapixel image, but now 50% further reach.
And then something I like to do to make this even more useful is, I'll go into the yellow Setup menu and I will go to Operation Customize and then custom key for either photo or video. And preferably, I'll do this on the lens button, but you can make it any button you want, and I'll replace whatever's there already with this APS-C/Full Frame toggle. And now anytime I press the button on my lens, it'll punch in 1.5 times, press it again, it'll punch back out. It is very useful for making your lens reach further, especially if you have a zoom lens, you can zoom to the limit and then you can even press with your thumb to zoom in even further if you need it. Very useful tool.
Another option for this, you'll find in the Shooting menu. Number 9, Zoom, and then Zoom Range. If you change this from Optical zoom only to Clear image zoom, then you can go up to the Zoom menu, or you can map this to a custom button as well. And then this will allow you to zoom in an extra 1.5 times with seemingly very little image quality reduction.
The last one I want to tell you about is located right below the APS-C Shooting under Lens Compensation. Down here, breathing compensation, which you can turn on or off depending on the lens you have connected. And what this does, is that some lenses as they focus, will breathe a little bit, which makes your frame look like it's moving almost like you're zooming a little bit. And sometimes it's an unwanted effect. When you're shooting video and you're pulling focus, you don't want the frame to look like it's moving. So if you enable Breathing Compensation, then the frame will no longer move as you focus from a close position to a far position or vice versa, giving you a much better look when you're doing your focus pulls.
And using these tools in conjunction will let you get more out of your lens and your compositions. See you in the next module.
- In this module, I'm going to show you the different stabilization options in your camera and when to use them. So stabilization is found in the Shooting menu in number 8, Image Stabilization, and then over to SteadyShot. I believe it's set to standard by default. And in Photo mode, you're only really going to have Standard or Off.
But in Video mode you'll also have Active and sometimes Dynamic Active, depending on the camera. And each one of these does increase the intensity and effectiveness of the stabilization. But the trade-off is your field of view. When you go to Active, your angle of view will narrow a little bit, you'll, it'll seem like you're cropping in. And with Dynamic Active, it'll narrow even further. It'll seem like a bigger crop.
But the benefit of trading off a little bit of angle of view is often worth it because Dynamic Active can actually really smooth out your shots. If you are doing a running follow shot or heavy footsteps while walking, Dynamic, Active will make a huge difference and it's worth cropping in on the frame a little bit. And if you're using a lens that doesn't communicate electronically as well with the body, you can still activate the stabilization by going to Manual and then giving the focal length to the camera so it can better tune the stabilization to work in that mode.
And then below that we have the Framing Stabilizer, which lets the camera automatically correct the composition, so the subject being tracked is kept in the same position in the frame while you move throughout. Which is really cool because it's combining the stabilization of making the image stable, but also keeping the subject position in the frame stable as well. Very cool feature. And that's how you set up the stabilization on your camera. See you in the next module.
- Now I am gonna show you some useful autofocus settings that I think you should be aware of. Most of these are found in the AF/MF part of the menu. And if we go down to number two, Focus Area, over here, you will see AF Area Registration. This allows you to save frequently used autofocus areas.
If you go down to Subject Recognition, you'll find Face Memory, which is a similar idea, but for registering faces. Here you can save and select faces that you want your camera to give priority to when there are multiple faces in the shot. Also in Focus Area, you'll find Focus Area Color that allows in both photo and video for you to set the color of the frame that will appear around your focus area. Right above that, we have the switch for vertical and horizontal AF area. This allows you to have two independent focus areas for when you're holding your camera in landscape or portrait orientation, which is very handy if you rotate your camera often.
These next few options control how the camera tracks and are different depending on which camera model and whether you're in photo or video. But a couple examples here would be AF level for crossing. That's when a subject crosses in front of the subject that you're currently tracking. And you can choose between responsive, which will react more quickly if a subject crosses in front of the frame, or locked on, which will try harder to hold on to the previous subject despite being crossed in front of.
And then we have AF tracking for speed change, which is similar, but it's based more on your subject changing speed or direction rapidly. And again, you can set it to responsive or stable or keep it on standard. In video mode, you'll find AF Transition Speed and AF Subject Shift Sensitivity. These control how quickly the camera will rack focus and how likely it is. The camera will switch subjects when one enters or exits the frame.
Some Sony camera models won't have AF transition speed and will instead have AF drive speed, which has a similar function, but will list them as slow, normal, and fast. But on the cameras with AF transition speed, you'll have a numerical scale that goes from one at the slowest up to seven for the fastest focus racks.
See you in the next module.
- Getting good sound is a crucial component of any video. In this module, we're going to discuss the various settings that control your camera's audio.
So most of the settings you're going to need are in the Shooting menu. Number 6, Audio Recording. And here you're going to have Audio Recording On and Off, which basically disables audio on your camera entirely. And then Audio Record Level. Now I believe by default, the Audio Record Level is always set to 26.
And you can see on the VU meters at the top that while I'm talking here, we're getting very close to 0dB, which would be clipped audio. It's kind of like audio that's overexposed. Once it gets past 0dB, it's not going to sound very good. It's going to be distorted. So you're going to want to turn this down until you get your, those green bars to land - I would say probably somewhere around -12 is a good, good position for recording audio. But this is with me using the built-in microphone on the camera right now.
If you use a microphone that's connected to the 3.5mm microphone input port on your camera, then you might find that even 21 is way too hot. And then you're going to want to turn it down and turn it down. And then further to this, if your microphone has its own volume or gain knob on it, then you might want to turn the camera down even further and allow the microphone to do the majority of the lifting when it comes to applying gain. This is something called gain staging and is a complicated topic in the audio world. But basically you want your best device, your best audio device to do the bulk of the volume increases.
Now if you want to monitor with headphones, that setting is a little bit hidden. It's not in with the audio options, it is in the Setup menu, number 10, Sound Option, and then Playback/Monitor Volume. In here, you can adjust the volume of any headphones you have connected to the 3.5mm headphone port on the side of your camera. But one quick tip about monitoring with headphones, make sure you go back into the Audio Recording menu and that you set the Audio Out Timing to Live, because otherwise it'll have a slight delay and it might trip you up to hear the thing you're monitoring in real life, but then hear it in your headphones being slightly delayed. If you set it to live, it should sync up perfectly well and you'll have a much easier time monitoring.
And with that, you're well on your way to recording good audio. See you in the next module.
- In this module, I want to show you a few extra miscellaneous settings that you shouldn't ignore when it comes to maximizing your camera's potential.
So the first one is in the Yellow setup menu. Number 9, Power Setting Option, and then Auto Power Off Temp. Setting this to High is very useful for long take video recordings because it allows the camera's internal temperature to rise beyond the normal standard threshold before shutting down due to overheating, basically increasing the headroom you have before your camera would overheat, allowing you to record for longer when you need it.
The next setting is the Soft Skin Effect, which is found in the Exposure/Color menu. Number 5, Color Tone, and then Soft Skin Effect. My advice generally is to turn this Off unless you know for sure you want it On. Turning it on sort of puts a slight beautification filter on your face. And if you weren't expecting it, when you look at your video afterwards, you might think, why does my face look look like that? And it's probably because you had the Soft Skin Effect On. It does a little bit of a blurriness, kind of smooths out your pores and stuff like that. But if it's not the effect you're looking for or you find some strange anomaly in your skin, check and make sure Soft Skin Effect is turned Off.
Another one that's very useful that I believe is on by default now but didn't used to be is if you go into the Autofocus menu, the number 3, Subject Recognition, and then look for something that says Frame Display. On newer cameras like the Alpha 7R VI it'll say Subject Recognition Frame Display and an older cameras, I believe it says Face/Eye Frame Display. Turning this on will allow you to see a box over the eye or over the face when it's tracking a subject on the LCD screen, letting you know which subject is being tracked and whether it's performing how you would expect it to. It's a very useful feature to turn on.
A setting I always like to disable when I configure my Sony camera is I go into the shooting menu number 7, for Shutter, and then I look for Release Without Card, and I disable this. What this does when it's enabled is still allow you to seem like you took a picture even if there was no card in your camera. It'll still activate the shutter and give you the feedback, which might make you think, ah, I got that photo. But then afterwards you realize there was no card in my camera. If you disable release without card, the camera will not fire if there's no memory card in. So this is one I always like to disable to make sure I'm not out there taking pictures without a card in my camera.
Now if you're somebody who likes to use back button focus as in you use that AF-ON button on the back of your camera to autofocus and you don't use it on the shutter too much, then you might want to go into the AF menu number 1, AF/MF and then look for AF w/ Shutter and turn that Off. What this will do is make it that the shutter button no longer auto focuses. All it does is take the picture, so that way you can autofocus with the back button and then your just for capturing the image.
And then another really useful feature is under Network, number 3, Streaming, USB Streaming. And you can see that on some cameras you can go all the way up to 4K 30 frames per second and you can even enable Movie Recording During Streaming. This means that if you connect your camera to your computer using just a USB-C cable in the USB-C port, your camera fundamentally acts like a webcam. Your, your computer will now detect it as a camera and allow you to do your zoom calls or live stream or whatever you want without any additional hardware other than that one USB-C cable. And that cable will also keep your camera somewhat juiced up by providing power over that port as well. This is an extremely useful feature when it comes to getting more utility out of your existing camera.
A new feature on the Alpha 7R VI, but one that I still think is worth pointing out is in Exposure. Number 1, Exposure, Dual Gain Shooting. Now when this is Off, the camera performs, normally. It reads as quickly as it normally would and the dynamic range is normal, but when you set it On, the camera actually reads the sensor twice, which increases the read time, so it's not as good for rolling shutter artifacts, but it increases dynamic range and cleans up the noise and the shadows. So it gives you the choice between if you're shooting a scene without much fast movement, maybe you want to turn it on and improve your noise and dynamic range. But if you are shooting fast movement, you have the option to turn it off and capture it with less rolling shutter artifact.
So as you can see, these extra tools and settings really do let you get the most out of your camera. Thanks for taking this course from Alpha Camera Academy. I hope it was a helpful stop on your journey to capturing great images.
Rate this course
Your feedback helps us improve our content.
Course rewards
Complete any course and earn a unique badge to celebrate your progress. Collect them all as you level up your skills!