Camera
Alpha 9 III
My favorite camera for portraits – the global shutter is a gamechanger with flash.


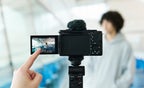



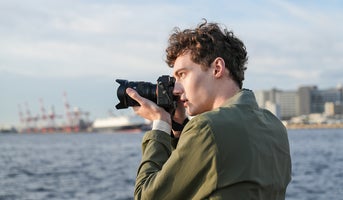


Build the confidence to create striking portraits in any setting.
We could not load your course progress. Please refresh the page to try again.
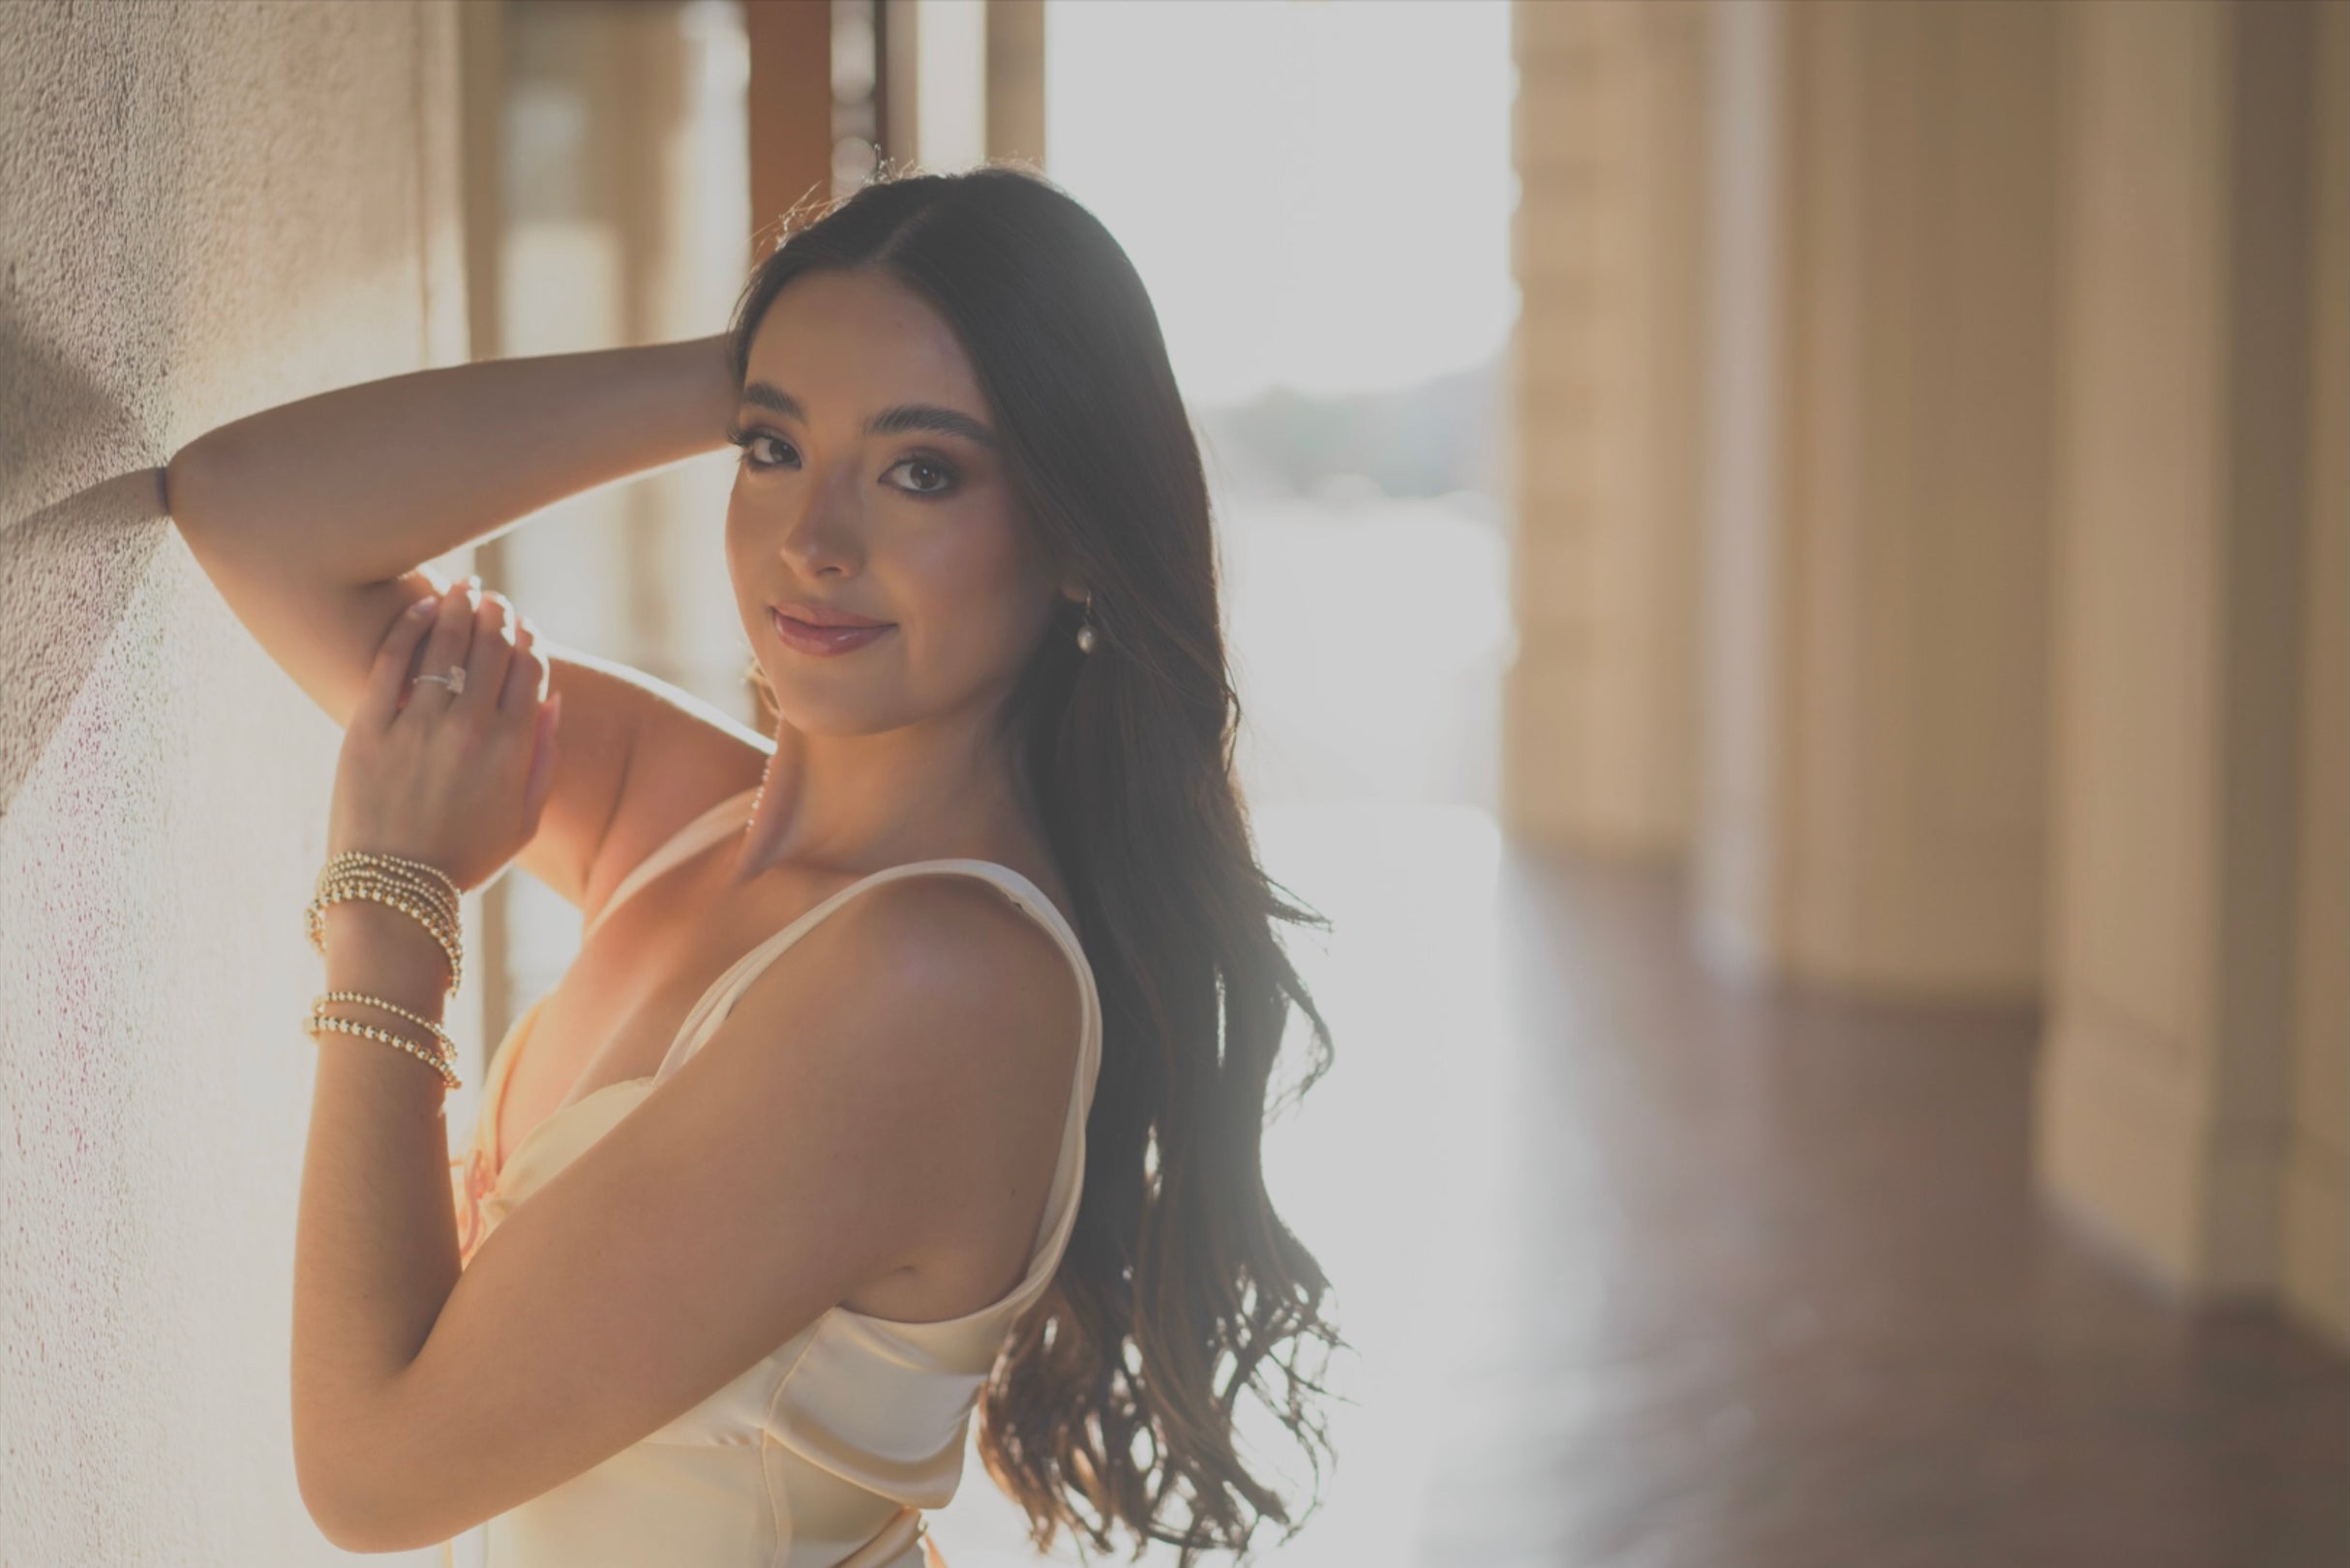
Portrait Photography 101 is a practical introduction to creating impactful portraits with confidence. Join environmental portrait photographer Scott Robert Lim as he breaks down the essential tools and techniques behind professional-looking images –from selecting a camera and lens to mastering aperture, shutter speed and ISO.
You’ll learn how to create soft backgrounds, keep subjects sharp, use composition to tell stronger visual stories, and find flattering light in open shade, direct sun, doorways and everyday surroundings. With approachable guidance and real-location demonstrations, this course gives you a reliable system you can apply immediately – whether you’re just getting started or ready to strengthen your portrait photography skills.
When I want to pack light and create portraits any where in the world this is my go to kit. I usually bring two to three lenses, not all of them – one wide zoom and another portrait lens like the 55mm f/1.8 or 50-150mm f/2 G Master.
Scott Robert Lim is a globally recognized environmental portrait and wedding photographer with a career spanning more than 25 years. His work has been featured in books and magazines worldwide, earning him a reputation for creativity, artistry, and excellence.
Today, Scott is a sought-after international speaker who shares his passion for photography with audiences around the globe. He is dedicated to coaching, mentoring, and inspiring photographers at every level of their journey.
Known for his enthusiastic teaching style, Scott has a unique ability to break down complex techniques into simple, practical methods that empower photographers to succeed.
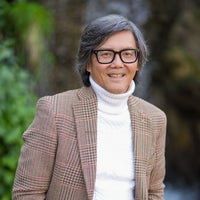
Photographer, Sony Artisan Of Imagery
- Welcome to Portrait Photography 101. My name is Scott Robert Lim, and I specialize in environmental portrait photography, capturing powerful professional quality portraits in real world settings across the globe.
In this class, you will learn how to find the magic light that transforms an ordinary scene into a breathtaking portrait, composed with purpose to create dynamic images that tell unforgettable stories. Choose the best gear for your budget without compromising quality. We'll also head out on locations so you can see these techniques in action, real environments, real challenges, real results.
Whether you're just starting or looking to level up your skills, this course is designed to give you a solid foundation and proven tools you can use immediately.
- Let's talk about the gear you need to take amazing portraits. I would recommend, number one, is to get a camera that has interchangeable lenses because you can put different lenses on it for different effects, and that's great.
Now, there's two different types of interchangeable lens cameras. One is a APS-C or crop sensor, and another is full frame. The full frame has a larger sensor, and the difference is on a full frame, you can get better quality in low light, and also it's easier to blur the background on a full frame lens.
Now, lens choice, what do I recommend? Well, there's millions of options out there actually, but I'm going to recommend a 50mm f/1.8 lens. In fact, I'm going to use that lens for all of our live sessions, and every image that you see me shoot will be with a 50mm f/1.8. And so, that's the pairing that I would recommend, is a 50mm f/1.8. And also, if you can afford it, a full frame sensor. One, it's going to be easier to blur the background, and two, it's going to be a better quality, especially when shooting in low light.
But I wouldn't get too tied up on the type of gear to use, because honestly, it's not really the gear that makes the photo, it's the photography skill. And as they say, the best camera is the one on you.
- Managing exposure. The goal is to make your subject the brightest and sharpest part of the image. Using a low f-stop will help you achieve this by blurring out the background. This is the look and style of professional portraits. Let's dive in on how to find the best exposure for portraits.
What is exposure? Exposure really is just the brightness or darkness of an image, and it's controlled by three elements in your camera. One is the shutter speed, two is the aperture or F-stop, and three is the ISO. And they refer this to the exposure triangle. So let's look at this next image. And so you can see the exposure triangle, and at the top I have shutter speed, f-stop, and ISO.
Now, what does the shutter do? Shutter controls the sharpness of motion. Whether you want it tack sharp, or sometimes you want it blurry too. F-stop is the focus and depth of field. Meaning if you want that blurred background, then you're probably going to want a low F-stop. ISO is the light sensitivity of image quality. So the lower the ISO, the higher quality the image, and then the higher ISO, which is more sensitive to light, well, it may have more grain to it and so the quality is not as good.
So let's talk about shutter speed. By slowing the shutter speed, you're increasing light into the sensor, making it brighter. Faster shutter speed freezes action, but it decreases light into your camera. Sharp images require the correct shutter speed, and let's go through the different types of motion that you might want to stop. For still portraits, you want 1/100-sec. or greater. For motion portraits, which I call, is maybe somebody like walking or moving slowly, you need 1/250-sec. or greater. And if you want to stop fast action, you want 1/500-sec. or greater.
Now, there's another determining factor of what your shutter speed should be and it relates to the type of lens that you put on your camera. And a general rule is you take the lens length. Let's say you're using a 50mm lens you double that. So 50 times two is 100. So you want to be at least at 1/100-sec. or greater. So you have to pay attention to what lens you have on. So let's say you're using a 200mm lens, you want to make sure that you're at 1/400-sec. or greater. Now let's talk about F-stop and that's actually controlling the depth of field.
So in this next chart, you can see what the different F-stops are. And so the higher numbers, so if you look at f/16, you can see it lets a small amount of light through. When you do that, your images are a lot sharper because you have more depth of field in your frame. Now, if you go to f/8, you can see that it lets a larger amount of light in, but also you will get that blurry background or that bokeh effect. So if you choose a low F-stop like 1.8, you're creating a larger hole, letting a lot of light in. Or if you close it down, you could put it at f/16, which allows less light in, but greater depth of field. 99% of the time I choose the lowest F-stop on my lens. And so usually it's at f/2.0 or f/2.8 and I usually always use that low F-stop.
Here's some examples of what exactly a 50mm f/1.8 lens looks like and how it blurs the background out. You can see this first image here. You can see the smoke is all blurred out. The second image, I'm in Italy on a gondola and you can see I'm fairly close to this subject, but you can see how the depth is blurred. Then I do even group shots. And so when I'm 20 feet away and shooting full length, I still get the necessary sharpness on every single person, but you can see it blurs the background out and I love using this technique for shooting groups of people. And now I get really close and you can see that I've got sharpness right on the eye and pretty much everything else is blurred out.
Here's a boxer and you can see the blurred out image behind him. And now I'm using a little bit longer lens. I'm using 60mm at f/2 and you can see the cities blurred out. This next shot I'm shooting at 85mm at f/1.8 and because I'm getting a full length shot, I have to move further back, which allows the subjects to be razor sharp and the background to be blurry, even at 1.8. Now I'm at even greater at 110mm at f/2 and you can see the subject's razor sharp, but you could see a blurry foreground and a blurry background.
- Let's talk about ISO, which is light sensitivity and image quality. Now, I'm going to tell you or give you a guideline of how to set your ISO. And once you set your ISO correctly, everything falls into place and it's really easy to get your perfect exposure.
So set your ISO to 100 if you are in a bright light situation, you see sharp shadows on the ground, beautiful blue sky, set it to 100. If you're in the shade, set it to 400. And if you're indoors or in extremely low light, set it to 800 to 1600.
Now, I'm going to give you the magic camera settings. One, turn your camera and put it in Manual Mode. Two, set your F-stop to 1.8 or 2.0 and this way you're going to get that beautiful blurred background. Three, set your ISO according to the light situation, which I just explained. And then four, all you got to do is adjust your shutter settings to dial in that right exposure. Because you are setting the correct ISO to the situation, you will always have a sharp image because that shutter speed is going to be over 1/100-sec. and many times even 1/500-sec. to keep everything sharp.
So here are your portrait camera settings guide. One, set your F-stop to 1.8 or f/2 and your ISO accordingly. 100 if you're in bright light situation, 200 to 400 if you're in the shade or overcast and indoors or low light you want to be at 400 to 1600. So if you're in bright light, your settings are going to be ISO 100. If you're at f/2, you're going to be around 1/6400-sec. And so you can just fine tune your shutter to get you the right exposure.
Now, some cameras don't go up to 1/8000-sec. If that's the case, just raise your F-stop to 2.8 and then in super bright light you should be around 3,000 and you can fine tune your exposure. Now, if you're in the shade or overcast, I like to set my ISO to 400. And if I'm at f/2, my shutter speed will be around 1/800-sec. and I can fine tune the shutter speed to get me the right exposure. When I'm in low light, I'll either set it to 400 or 1600 and I just have to make sure that my shutter speed is above 1/200-sec.
Now, one thing to consider is if you're doing fast action, you got to move your shutter speed up to 500, so you may need to bring up your ISO a little bit higher. Now I have a free portrait guide. You can just scan this QR code and I list all the different situations and what your shutter and aperture should be and it'll give you a great guideline to what your shutter speed should be.
So let's summarize again. For the perfect portrait exposure, one, set your F-stop to 1.8, set your ISO according to the light setting, make sure your shutter speed is over 100. Or if you have fast action, make sure your shutter speed is over 500. And then all you do is simply dial in your shutter to give you the right exposure. That's the system that I use. I hope these lessons on camera settings and exposure have helped you and I know these are going to help you to take great portraits.
- Now, this is the modern pose, which is used a lot today, and it's very simple. So what you got to do is put your weight all on one leg, and I like having the shoulders at a slight angle to the camera, because if her shoulders were facing me, I don't see the shape as well as if she's turned her shoulders this way. Now I can see some shape and it brings out that feminine form. So all you got to do is pop the hip and then just bring that knee out a little bit like that, and that works every single time.
And in this case, the nose is to the light any direction she chooses. And so I can do full length and I could do waist up and it still looks great. And I can have one of the hands up and one of them down great. So that's the modern pose. Shift the weight on one leg and just poke that knee out just a little bit like that, and you're going to get perfect results. I'm going to show you how to do a freestanding pose, and the key to this is actually shifting the weight.
I like the shoulders at a slight angle, and so you start with the feet first. If you can position your feet this way, and then with this heel, kind of bring it in. And I want all your weight on this leg there, good, and turn your shoulders a bit this way, put your hands in your pockets. I like to have space in between the arms and the waist. What makes this pose look masculine is if his head is tilted to the lower shoulder. And because his shoulders are facing this way, his lower shoulder is this shoulder because it's further away from the camera.
Now, if I have him just slightly tilt his head towards that lower shoulder, he's going to look more relaxed and it's going to give him a more confident look. So look right at the camera here. That's looking good. I'm going to choose a higher angle here. That's perfect. So the key to a freestanding pose is to make sure you have that weight shifted to one leg and for a masculine look, have the head tilted to the lower shoulder.
Here's another thing you can do while your subject is freestanding, is that you can have your subject kind of rock and get into a pose because sometimes subjects can to be a little bit stiff and they need help shifting that weight. And so this is one technique I call the rocking technique that works a lot.
So Roy, what I'm going to have you do is kind of just take a step forward and just rock back and forth and just be free with it like you're walking that way and you're looking back at the camera. I need a little bit more motion. There you go. Yeah, there you go. Swing your arms back and forth. This really helps the subject learning how to shift that weight makes them practice, but it always looks so natural when you take a picture of it and just keep rocking back and forth. Keep going. Look back at me with your eyes there. There you go. Give me a smile. Perfect. The rocking pose is great and it helps the subject practice shifting that weight and it looks very natural, going to have a lot of success with it.
All right, those are some great tips on posing. I've been using those for decades and I know you're going to have a lot of success with them, so get out there and start shooting.
- I'm going to show you my magic lighting tricks where you're going to find nuggets of good lighting almost anywhere you shoot. Are you ready? Let's go.
All right. I found some great light and we have a beautiful archway here with some open shade, meaning my subject is in the shade, but my subject can see open sky that has brighter light that is in the shade. And so that's going to give him a beautiful catch light in his eye. He has to have a contrast of lighting. He's in a darker area where he's looking and that gives you a beautiful catch light. So here I'm going to go shoot here. I'm going to turn my ISO to 400. I'm in the shade and that gives me plenty of shutter speed. I have my F-stop at 1.8 and I've got a symmetrical shot right here. I'm going to take a lower angle to give him kind of a hero look.
And Roy, if you could just look straight out into that light right there. And then let's try one with your hands like right there center. Yeah, good. I'm shooting waist up and I'm doing a very symmetrical shot. Looks great. Okay, that looks amazing.
Let's put Roy over here. And so now my light is coming in this way and now I've got some shadow and some highlight. And my number one rule is nose to the light. And so if he turns his nose this way, I've got a beautiful highlight and shadow, which is perfect lighting. And now I've got my shutter speed at around 2,000.
How about if you put your hand in your pocket there? Okay, can you look right at the camera? Right there. I love that. Right there.
So I still get highlight and shadow on his face to create dimension. That's just some beautiful lighting right there. How about you cross your arms right there? Nice. Now I've got some beautiful split lighting, which is very strong for a male subject. So half his face is in shadow, half is in light. That's very strong.
I found some great light coming through this door. I have some open sky here filtering through and this is acting like my soft box lighting my subject. And you know it's great light because why? You can see amazing catch lights in Roy's eyes. On that ISO 400 again at 1.8 at 1/320-sec. He looks great. Got the beautiful catch lights. I'm going to do some portraits. I'm going to shoot waist up. Give me a little smile, Roy. There you go. Perfect.
Now that's how you find amazing light simply through a door. This is another lighting technique I call matching exposure. So my background exposure and the exposure on her is the same. So everything works out perfectly. You're still going to get an amazing catch light in her eyes because the sky above her is shining right into her eyes. And I'm going to take another shot right here. Perfect. Look right here at the camera. Awesome.
So that is the matching exposure technique. All you got to do is make sure that this exposure on your subject is equal to the exposure in your background and you got a perfect shot every single time.
- I'm going to show you how to shoot in direct sunlight. This is a great technique when you want to really show the bright colors of the sky and colors really pop. So the key is putting your subject in the sun, and if the background is in the same exposure, you set the one exposure with your subject, and it's a good idea too, sometimes if your subject's wearing sunglasses because that sun can be very bright. But using the direct sun can be an advantage if you really want to have those colors pop and have a beautiful blue sky in the background. It looks perfect every single time.
Another great technique I like using is using a simple reflector. Adrian, come on in. So what you have to do is have the sunlight behind the subject and you use the reflector to reflect the light back on the subject, which looks great. What I try to do in my background, I try to find something that is lit by the sun too, to give it kind of some pop in the background. So let's try that.
Go ahead, Adrian. Let's turn your body towards there and then I am going to shoot down into those great flowers behind her. Looks great. Right there. Awesome.
Let me just show you without the reflector and with the reflector. So this is without the reflector. Turn your body a little bit this way. You got some... And then right there, that looks awesome right there. Now, Adrian, come on in and add the reflector and so you can see that light right on her face. Looks beautiful. And that's how you use your reflector to create great fill-in light, which is an awesome way to add light when you need it.
Another lighting technique I like to use is finding a natural reflector in my environment. I saw that the sun was shining on this light colored wall and I said, "You know what? That's the perfect reflector that I can use." And it's huge, so it's going to give some really soft light on my subject. So I'm going to shoot this way because the sun is shining on this wall, lighting her, giving her beautiful catch light, and I got some awesome rim light around her at the same time. Gorgeous. Turn your nose towards that wall and look back at me with your gorgeous eyes. There you go. Perfect.
And so that's it. That's how you can use a natural reflector in your environment to create a beautiful shot for you. With these lessons on lighting, I hope you feel confident going into almost any situation and finding great light. I've been using these methods for decades and I'm sure you're going to have a lot of success with them.
Rate this course
Your feedback helps us improve our content.
Complete any course and earn a unique badge to celebrate your progress. Collect them all as you level up your skills!