Self-Portraiture
Learn how to pose, light and frame yourself like a pro – starting with simple, repeatable setups.
- Details
- Module
- Quiz
About this course
Learn self-portrait photography end-to-end: understand why intent sets self-portraits apart, see how pioneers shaped the form, and get hands-on with Sony-focused workflows including autofocus setup, flip screens, remotes/phone apps, and the in‑camera intervalometer. Practice framing (start wide, then tighten), mix stationary and active poses, and adapt for studio or outdoor shoots with safety, permits, light, and manual focus stand-ins. Finally, build compelling characters with simple costumes, veils, and props – so you can experiment confidently, save on test shoots, and create images with purpose.
Course highlights
Instructor
Sony Artisan Brooke Shaden is a fine art conceptual self-portrait artist, motivational speaker + educator. Her work spans from novel writing to fine art photography to mixed media to motivational speaking. In every form, her message is the same: let’s create a grief-positive movement that allows more bravery in the face of what we fear.
Brooke Shaden
Fine Art Photographer & Author, Sony Artisan Of Imagery
Featured gear
Skills
Transcripts
- Welcome to Alpha Camera Academy's class on self-portraiture. I'm Brooke Shaden, and I'm a self-portrait artist, and by the end of this class, you'll know how to take your own self-portraits.
- What is self-portraiture? It's different from taking a selfie, and the difference is that there's often intent behind the creation. So when you make a self-portrait, you often have a camera set up that is other than your phone. Although you're welcome to use your phone, that's totally fine, but you usually have a camera set up. Possibly you might have a remote in your hand that you're triggering your camera with, and at the end of the day, you're putting care into it.
Now, self-portraiture can be any genre of photography, so you could be a landscape artist and put somebody really tiny in the frame way back in the distance, in a landscape, and that's still a self-portrait if it's you in the picture. We're going to talk about how to create self-portraits, of course. But first, let's talk about some of the history of self-portraiture. It actually goes back pretty far, and when you start to go back in history, you'll see that there was a self-portrait made in the year 1906, in the year 1896, and even before that in 1839. So all the way back in 1839, we have Robert Cornelius creating the very first self- portrait, which is, I can't even imagine what a feat that was. I have all of this modern technology and it's still hard some days.
But here we have Robert Cornelius' self portrait, the very first one that we know about. We have Frances B. Johnston in 1896, creating the subversive take on what a woman's role is in society. Another subversive take here with Anne Brigman in 1906, creating a nude self-portrait outside. Vivian Meyer, who you may know of, because of this beautiful documentary that was made about her life and work. This self portrait was 1955. Here we even have Ansel Adams in 1958 creating a self- portrait, and everyone knows Ansel Adams is known for landscape photography, and yet even he was experimenting with the self as the subject. Cindy Sherman, 1976, very well known for creating characters out of herself, which we will be talking about today.
Francesca Woodman, my personal favorite self-portrait artist. This was from 1976, and she has this really dark, haunting sort of ghostly imagery that she creates with herself. Andy Warhol, which is a really great example of how creating self-portraits as an artist can help contextualize the work that you're creating. You suddenly find yourself the subject and suddenly it brings attention to what was happening maybe politically or socially at that time when you're creating the work that you make. And this is a modern example, my friend Alana Airitam, who created this self-portrait in 2019, showcasing how self-portraiture can be a great way to speak to the politics and the times that we're living in.
Now, self-portraiture is so much fun, of course, but it can also be really challenging. So we're going to talk about how to create self-portraits and how to make it simple, because self-portraiture is not just for those people who want to be super creative with their work, although that's really fun. It can also be a really great skill to learn if you are interested in taking test shots before you spend the money on an actual photo shoot. So whether you're a fashion photographer or a portrait photographer, if you can have yourself stand in before hiring the model and the team, it's a great way to save money too.
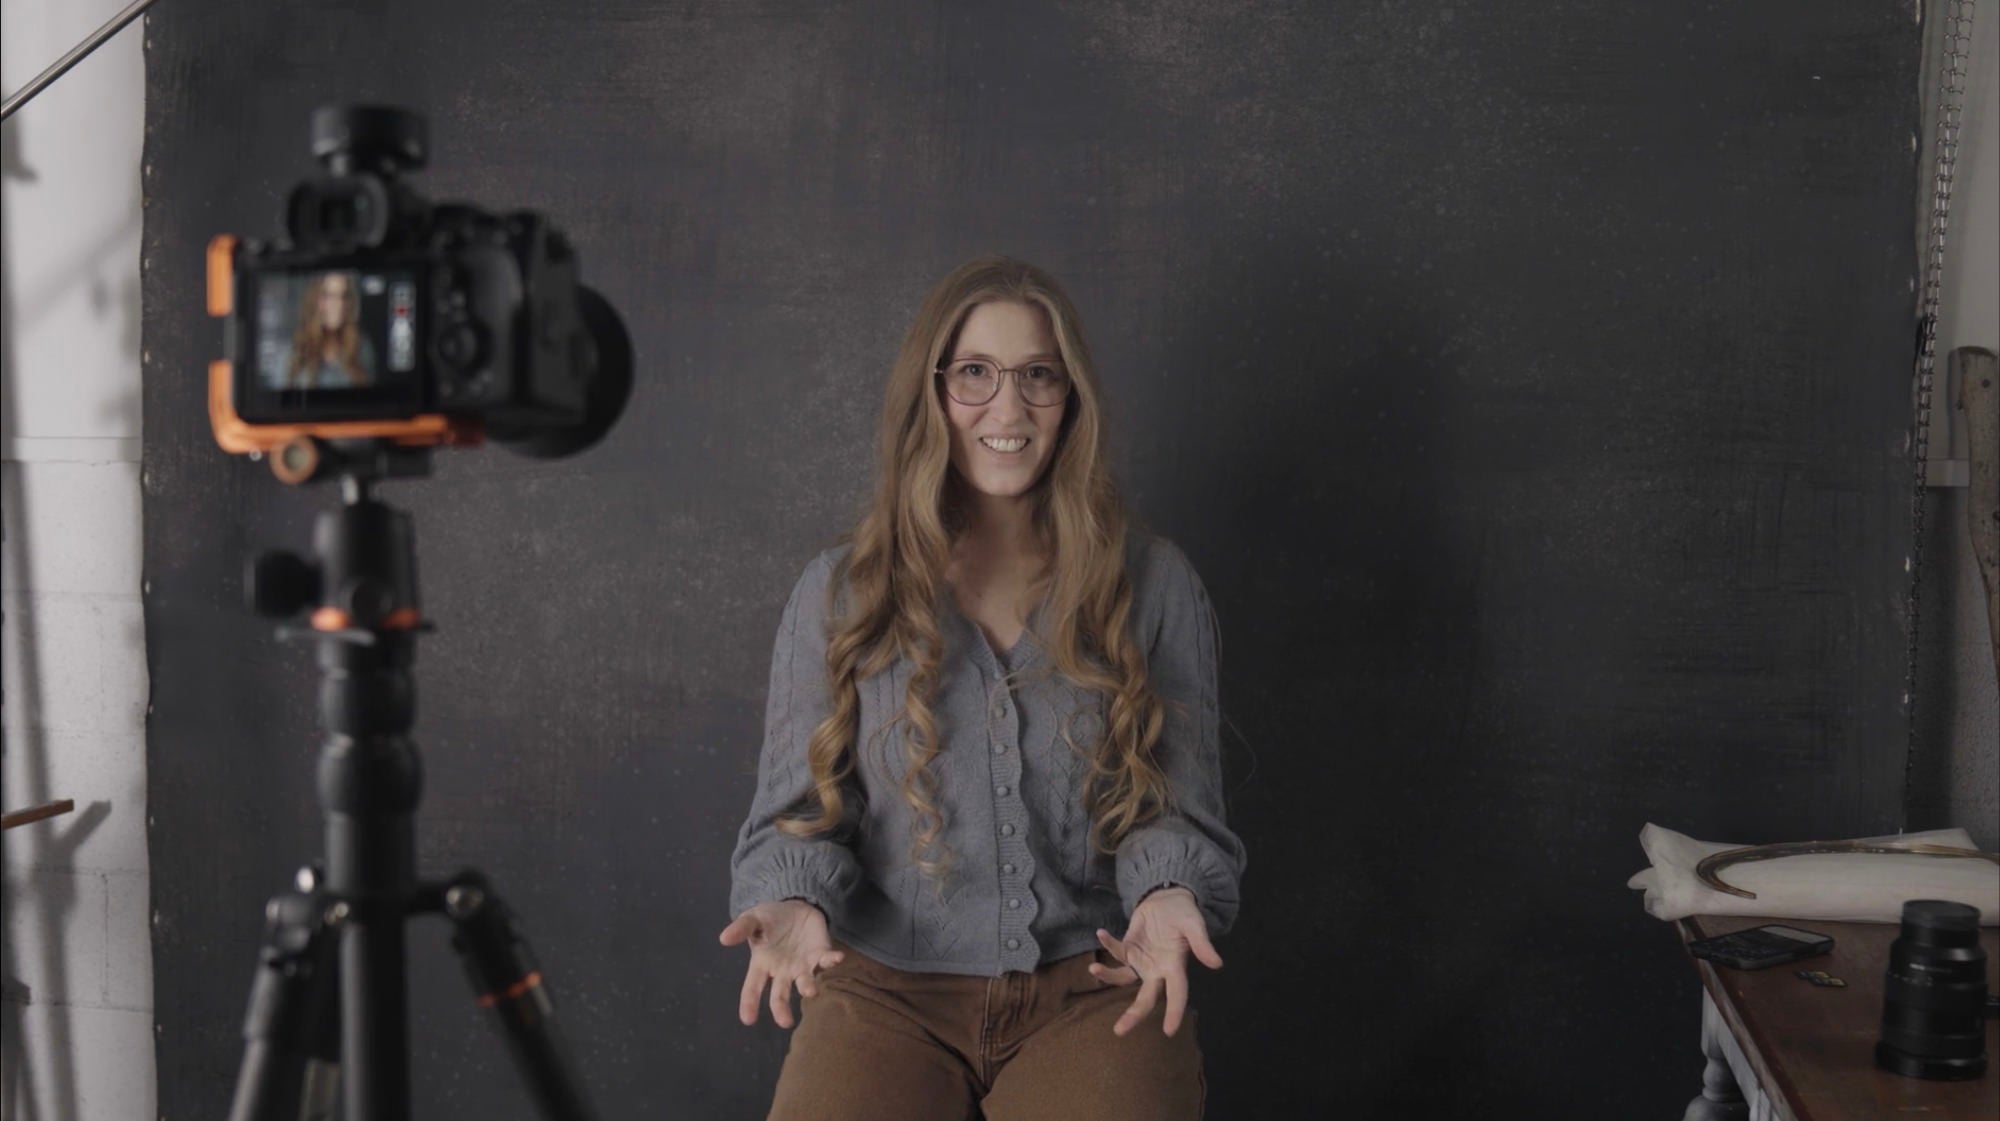
- These are some of my self-portraits, and I create a lot both in nature and in my studio. My studio is actually just my garage, so I'm usually tucked into the corner of my garage, possibly with a backdrop behind me like I am right now. And my car is often parked in the garage. So you can imagine I don't have a ton of space, but you don't have to have a ton of space to create a self-portrait. Here are some of the things that I think about when I make self-portraits.
One is safety, and if we're honest, I don't think about it as much as I should. But the thing is, when you're doing a self-portrait, your camera is far away from you at times. You're not standing there monitoring your equipment, and so you have to make sure that your equipment is safe. Is it sturdily set up? Is there anybody around who might be a threat to your equipment? And are you safe in that situation? It's very easy to become entrenched in what you're doing so that you're not thinking at all about the people around you and your surroundings, and you become hyper-focused on getting the right shot. So are you safe? Is your equipment safe?
The next thing is message. What are you trying to say with your self portrait? And this is where it starts to differ from a selfie. Because with a selfie, the whole point is to capture a fun moment in time, often. With a self portrait, you're trying to think about the message and what do you want your work to say and why are you the one to be in the frame? Do you have the right equipment? This is something that I think about a lot when I'm shooting because in the older days when I was shooting with equipment that wasn't quite as up to speed as it is now, I didn't have a way of auto- focusing my self-portraits, for example, which is a really big deal and adds a lot of time and error to the process.
So do you have the right equipment? And we're going to talk about what that looks like in just a minute.
- Let's talk about gear for self-portraits. This is really important, and I'll share a little story about why.
When I first started creating self-portraits, which which was in 2009, I was using a camera that didn't have an autofocus capability. So I would go through this very tedious process of manually focusing on an object in the frame and then moving that object out and trying to stand exactly where it was. This might be a stool or a tripod that I wasn't using. For example, if you go to thrift stores, you can often find very inexpensive tripods that are broken, but they make really good stand-ins.
So if you do have to use this method of manually focusing your self-portrait, it's always a good idea to have something that you can put in the frame to manually focus on. But now with modern gear, what I'm looking for is good autofocus, because if you have good autofocus, then your self-portrait experience will be so much easier than it was before.
So I'm looking for good autofocus, enough megapixels to be able to crop in if I don't quite get my frame right, because remember, you're not behind the camera. You are in front of the camera, and it can be really tricky to line yourself up exactly how you want for a self-portrait. So being able to crop in with a lot of megapixels is great, and something as simple as having a flip screen on your camera can make all the difference. Now, you can also use your phone to tether or your laptop so that you are able to see what your camera sees through one of your devices. But I like a good old flip screen for my shooting.
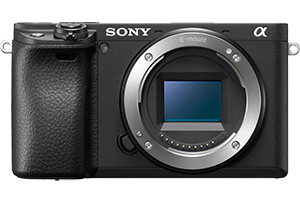
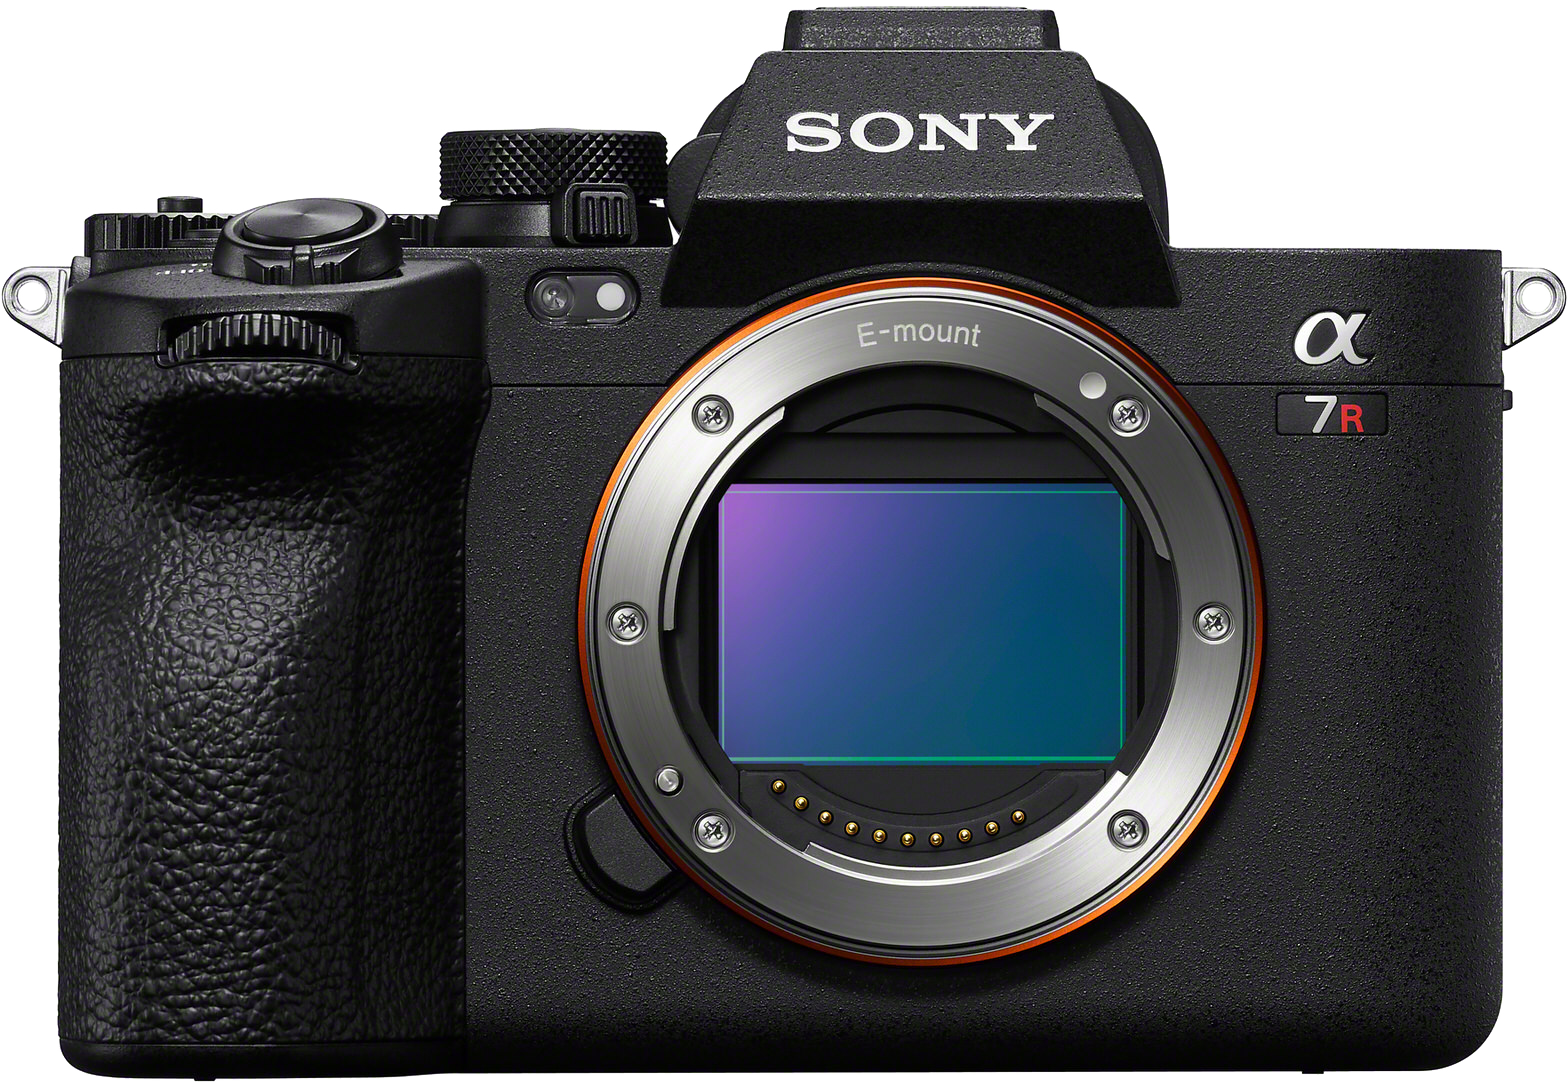
Now I shoot with the Alpha 7R V, and that's this camera right here. So here we have the Alpha 7R V, and this particular camera has 61 megapixels, which is really, really lovely for being able to crop in if you need to. It has real-time autofocus tracking, which is fabulous for when I'm moving around in the frame and I'm not quite standing in the same spot, and it has a flip screen so I can see myself when I'm in front of the camera, and that makes all the difference. Now, if you're in the market for a more entry-level camera, I would suggest the Alpha 6400, which also has a flip screen and 24.2 megapixels. But like I said, you can use your phone as a remote.
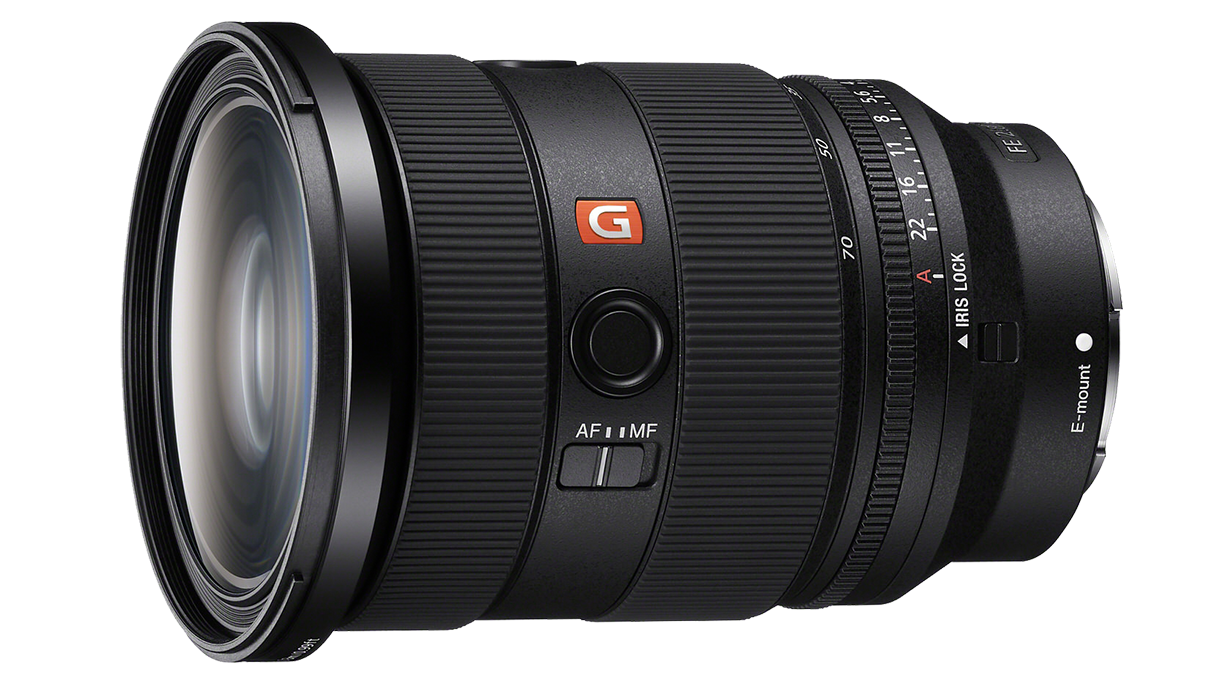
You can also get an external remote that you can use to trigger your camera so that you're not doing what I call the 10-second dance, which is where you run to your camera, click your your shutter, and then run back into the frame and try to pose within 10 seconds. It can be really challenging. Right now I have the 24-70mm f/2.8 G Master II lens on my camera. This is my go-to lens. It is so versatile. It's going to allow me to either zoom in or zoom out super easily. So I like to keep this on my camera because no matter what I'm doing, it's almost always appropriate.
- Here's how you can use the gear that you have. Here with my camera, my Alpha 7RV, I'm going to mount it on my tripod, and I'm always making sure that my camera is securely mounted on my tripod so that we have that there. It's not going anywhere. My legs are spread wide enough here and everything is secure. So once I have that there, I can start to think about how I'm going to set my settings. And I'm going to do that in a number of different ways.
One is to think about the timer. Now there is a timer in the camera. So if I'm going to set my timer in the camera, then I am going to look for the little timer icon. It's just that little timer with the little line through it. You'll know it when you see it. And when I set that, I can either do a two-second timer, a five-second timer, or a 10-second timer. Now if you are using the method of running back and forth with your camera, the 10-second timer is probably appropriate.
Instead of using the timers in your camera, two seconds, five seconds, or 10 seconds clicking and running, you can use a remote. And these are really handy because they're so tiny that you can click, drop the remote, and then do whatever you need to do in your pose. And it makes it much simpler than running back and forth. But if you want to use your phone to trigger your camera, you can certainly do that. And this is going to be through Imaging Edge or Creators' App, depending on the version of the camera that you have.
So I'm using Creators' App, and the way that you can do this is just like you're working the back of your camera. So what I'm seeing right now on my phone is essentially what I'm seeing on the camera. I can change my aperture, I can change my shutter speed, my ISO, I can change how it's focusing and so many other options here. But I can also just click to take a picture and I have it set to the two-second timer right now. So with two seconds to go, I can click, set it down, and pose and be ready for the image to be taken. If that's not enough time for you, you can always do five seconds, 10 seconds, and then make sure that you have enough time to get in position.
After you figured out how you want to shoot, whether it's with a remote or your phone or through the timer in your camera, you can then think about how do you want to focus this image. You can do it manually, like I mentioned, where you have something set up. But I like to simply use my autofocus, which we'll show you in just a minute in depth how to get the most out of your autofocus for a self-portrait. There's also a built-in intervalometer in your camera and or at least in a lot of cameras.
And if there isn't, you can always use one that's separate that you can plug into your camera. But I like to use the one in camera. And an intervalometer is this beautiful device that allows you to choose how often your camera is going off without you triggering it. So you can say that you want your camera to take one picture every second for 30 seconds. And that way you're not worried about picking up your phone or your remote or clicking your camera all of those times. Your camera will simply click, click, click every second for 30 seconds or however long you choose at whatever interval you choose. And that can be really helpful, especially if you're not near your camera when you're shooting and you're kind of far off, you just know that it's going. And there's that real sort of sense of security in knowing that your camera's shooting without you having to do anything.
If you want to access the intervalometer in your camera, you'll simply go to Menu and then you'll look for that little camera icon. And from there you can go to drive mode. And once you're in Drive Mode, you will see this Interval Shoot Function option. And once you click in there, you can check Interval Shooting to make sure that it is on. And then here's where you can get specific with how you want to set this up.
So Shooting Start Time: Now you can choose if you want your camera to begin shooting the first picture after just seconds or minutes. So depending on how far you have to get from your camera and how long it's going to take you to get in place, you can choose whatever you want for that. And I like to do three seconds, because I'm not usually that far away from my camera. And then you choose your Shooting Interval. And with your Shooting Interval, you're going to choose how many images are being taken with how many seconds in between. So right now mine is set to number of shots, 30. So that means it's going to shoot for 29 seconds with one second in between. But I can take that up as much as I want. So if I think I want 10 seconds in between, I can happily set that and then I know that it's going to take that long to reset the camera and I have that much time to choose a new pose or whatever it is that I'm doing in the shot.
- Focusing a self-portrait is what everybody's worried about when they create a self-portrait. So let's make it easy by doing our settings in the Alpha 7R V. In the Menu settings, you're going to go over to the block that says AF/MF. And in there you're going to see Focus Mode. Now for Focus Mode, you can either choose Single-shot Autofocus, Automatic Autofocus, Continuous Autofocus, and all of these will be really good for what you're trying to do with yourself in front of the frame. So experiment with that and see what works best for you.
But I would try either Continuous Autofocus or Single-shot Autofocus. Now from there, you can then choose your Focus Zone, and the Focus Area here is going to allow you to choose from a Wide Focus Area. And that can be good if you're not really sure where you're going to be in the frame. I personally like Zone, and it's going to give you a pretty big box that you can move around on your camera to set where exactly you want the Focus Zone to be. From there, we have Center Fix. So if you know you're going to be right in the center of the frame, that's a really good option. And then you can choose a Spot. So you can choose anywhere from the tiniest little spot to an extra large spot. And that can also be really good if you know where you're going to be in the frame.
Now one more focus thing that I think is kind of cool is that you can set in your Focus settings, Subject Recognition. And so if I go back to Subject Recognition here, well then you want to turn that On so you can toggle that On and Off. You want to set your Recognition Target as Human, because when I go in there, you'll see that there's Human Animal, Bird, Insect, Car, Train, Airplane. All of these different options - we're Humans. So you want to set that.
And then another fun thing that you can do is that you can set a Face Memory. And so I've actually set my camera to know my face. That way it's trying to find my face in the frame. It's looking for my eye because I have my Eye Autofocus on. And these are all really good ways to ensure that your autofocus is going to be picture perfect so that you're not struggling with focus in a self-portrait.
- When you're thinking about framing your self-portrait, I recommend using a slightly wider lens than you might for a standard portrait session. So I'm using the 24-70mm f/2.8 G Master II lens, and with this lens, I'm zoomed out to 24mm. And that just gives me enough room to move around the frame and just really play with where I want myself, especially if I'm not sure yet.
So shooting a little bit wider can be great, but let's do a little comparison of shooting tight and shooting wide. So we'll start with our wide shot here. And if I'm shooting wide, then I'm probably getting a little bit more of myself in the frame. And I have my phone app here so I can see what my camera is seeing exactly right now. This is really good for me. So I can look at this, look at my camera set up right here. And I can see that my camera needs to tilt down a little bit, so I'm going to make that happen just by going over here and tilting down slightly. OK, so now I'll take a look again. Aha. Oh yeah, that's looking really nice.
Now I have my camera already set on the two-second timer and I set that in my camera. You can also set it here through your phone app if that's what you're doing. So here I'm going to just get in my position. OK. I am taking a picture, sort of like three quarters of my body, and I'm going to click, and even before I click, I can see through the phone app that my camera is tracking my face. right now. Everywhere I go, it is tracking my face. So I'm going to get in my position, click, two seconds and pose. OK. And I have my wide shot self-portrait.
Now if I want to do something a little bit tighter, then I will pick up my phone again. Just keep that as a reference and simply zoom in quite a bit. Here, I'll sit down on my stool. OK, I can see that that's looking pretty nice. I kind of have to slouch a little bit in a funny way because I don't want to move my my camera again, but that looks really nice. OK, so with that in mind, I'm a lot closer now. I can see it. OK. I'm going to click and set it down. Great. So now we have a portrait and a wide shot.
When you're choosing your frame, I think it's always best to start wide and then zoom in, and you can do that with a really great zoom lens, or you can simply pick your camera up and move it back and forth. Either way is great.
- Posing is one of the most difficult things to do as a self-portrait artist. And the more you do it, the more you learn what you're good at and maybe what you don't love about yourself when you pose. And so I have my things that are my go-to poses that I really like when my particular body does them. But you'll start to learn on your own as well.
Now, something to keep in mind is that there are largely two types of poses. There are stationary poses like I'm doing right now, sitting on this stool. And there are active poses where you're either in motion or doing something that is implied motion. If you're new to self-portraiture, it can be easier to do a stationary pose. Everything is set, you know exactly where you're sitting. You can try different things, different angles. But I would also highly recommend trying an active pose because the more you can sort of move around and play, the more fun you're going to have. And it, this is supposed to be fun.
So we're going to do two of those poses. We're going to do a stationary pose and an active pose. Now of course, you have to think about when you really start to shoot, what is your light source. Right now I have beautiful soft lighting coming from my right wrapping around. That's going to create some nice shadow on my left side. And lighting is something you should strongly consider in conjunction with posing because the way that light wraps around your body or doesn't wrap around your body can drastically change how you see yourself in photos. So be mindful of your lighting and then consider, is your pose stationary or is it active?
So first we'll take a stationary pose. This is what we've already done. Super, super simple. Maybe I'll just try putting my leg up a little bit like that. I'm looking on my phone right now at what my camera is seeing. OK. And maybe I'll just, maybe I'll turn. OK. And we'll do it like that. We'll just do like something slouchy. I have no idea what I'm doing. It's stationary though. OK. Click. OK. Simple. It's what we've been doing. But now let's do something with motion. So here I am going to look at my camera settings. And right now my camera settings are, I'm at 1/80-second. And maybe that's good. I'm not sure if that's good yet. So I think what we should do is just play with 1/80-sec. and some motion blur. And let's see about that. Because if you can create some motion blur in your image and just have some fun, then you're not focused on yourself as much as everything else.
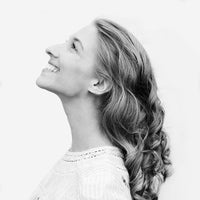
So let's try a little hair flip here. And there go my glasses. Always take your glasses off. I'll do one more without my glasses flying through the air. OK. Ready? Set. I can even hold my phone down possibly. Well, we'll do it the right way. Cool. And so you can always play with motion. You can possibly also stand up. And sometimes an active pose is not just someone in motion doing a whole bunch of stuff, but it's just the act of looking like it. And so I might even just click and just pretend like I'm in motion even though I'm not. And that's implied motion. And that works pretty well as well for becoming the character and having fun with your pose in your frame and creating one of your first self-portraits.
- So when you're out shooting in the elements in nature, things can go wrong pretty easily, and it can be much harder to fix than when you're in a controlled environment. One of the things that you should know how to do is to manually focus your self-portrait. And this is where, as we discussed, you'll want to take an object, whatever you have with you, even a rock from outside or something like that, a branch that you could put in the ground and focus on that so that you roughly know where to stand.
After you've manually focused on that object, you'll want to go swap places with the object. So you'll move it aside, stand where it was, and from there you can shoot as normal either through your phone as a remote or through a separate third party or branded remote. Or you can use your 10- second timer on your camera. When you're shooting outside, you'll want to look at backdrops ahead of time to figure out where you want to be, and maybe even practice before you get into your costume. It can be very uncomfortable shooting outdoors in a costume; I would know, I've done it every which way.
So before you commit to the shot, I always suggest wearing your normal clothes, just like you went out in and testing a couple of different backdrops. Backdrops can be really tricky when you're outside because there are elements that you may not have suspected, particularly when you're not behind your camera. It's completely different. When your eye is to your camera and you're looking at somebody else in front of your lens, you know immediately if there is a tree sticking out of the back of their head in the background. But for yourself, it might not be so clear even when you have your phone or other device showing you exactly what your camera's seeing. It's still very hard to orient yourself in the frame and pay attention to all of the elements that you need to pay attention to.
Another thing you should consider when you're out shooting, and this is especially important for self-portrait artists, is that you have to be aware of laws if you're somewhere that needs a permit. This can be especially tricky if you are shooting by yourself because you're going to be faced with a law enforcement officer who may or may not understand what you're doing and may insist that you are doing the wrong thing by not having a permit. So be aware, because I've been in that situation a number of times.
Sometimes when you're outdoors, noticing light is a lot more difficult when you're alone and you're not in that controlled environment and you're trying to photograph yourself, perhaps clouds are coming and going, and the lighting is changing on you. It is extra difficult to pay attention to this when you're trying to photograph yourself. You're already paying attention to your own body and pose and your costume, and where you're standing.
So when the light starts to shift, it can be really difficult to notice. I always suggest walking around outside, holding your hand up and noticing how the light hits your hand, whether it's coming from behind, above in front, etc. If you end up outside shooting a self-portrait and for some reason your connectivity on your phone just isn't working, and this happens to me a lot, being that I live in a small mountain town where there isn't good cell service or internet, it can be very challenging to maintain a connection from my phone to my camera. If you're having that problem, then absolutely shoot with a different remote. You won't be able to see what your camera's seeing, but you will be able to shoot more reliably when you're outside, and especially if you're not near somewhere grounded like your home.
So use a remote to shoot and it can be super handy and quite honestly, a lot faster than using your phone because you're not waiting for anything to connect, you're not trying to look at yourself in the phone, which actually can be a little bit of a barrier to self-portraits. So when you're shooting outside, consider all of these things when it comes to how you're going to shoot, how you're going to shoot safely, and how to produce the best image possible.
- Let's take a look at some of my self-portraits and how they were created. In this case, I shot in a studio and I don't do that very often. Here we have a background light, and that is so important when it comes to shaping the body and creating depth and dimension. So we'll speak a little bit about that later.
But here in the studio, I am posing on a table. I have my set design already, and this was done mostly in camera, whereas a lot of my work is created in compositing with all of my images gathered together in Photoshop. So here's the before and after there. Now, this image is pretty indicative of my process when I'm shooting indoors. Here's another example of an image that I am creating in my bedroom on a white wall. So you can create anywhere. It does not have to be a studio. And then here is the after image of how I composited that together.
This one, again, against a white wall, little bit closer up, and again, composited in a number of ways with all these little props of flowers that I had to create this before and after. This one was shot in my garage, basically where I'm standing right now, except you can see that my car was in the background here, and I photographed myself in position knowing what the final product would be. Now, when you create self-portraits, you might not know what the final product is going to be, and that's OK. Always have fun experimenting. This one was taken with the backdrop that I'm standing in front of right now with all the props that I needed except for the glass, which I had to photograph separately, of course, because I'm not putting that in my skin and hurting myself there. This one was shot again in the garage that I'm standing in with my camera tilted down to look at the floor. And so I was just sitting on the floor getting that interesting angle.
And whenever you feel stuck in your self-portraiture, try changing the angle. It can make a huge difference in your inspiration. Here's that. Before and after, no, I did not sew through my skin. I sewed through a piece of fabric and then overlaid it to look like it was in my skin. This one was shot on my dining room table. So here I am laying on my dining room table inside of my house pouring water on me. There is my husband's arms, and then we have the fabric that I photographed separately, but everything in the same space with the same lighting. Here we have it starting to be composited, my frame being expanded. And then finally the finished image.
This one was shot in the forest right by my house. So if I were to walk right out here and go across the street, this is the scene that I would see. And this is the before image, and this is the after. And this is a great example of how costuming and props can be so much of a help when you're creating self-portraiture to try to create a character. This one was shot just around the corner from that other one up on these rocks. I brought out some pieces of paper that I cut out in the shape of a moon, a sun, and a star, and created this before and after image here.
This is the final one that I'll show you. This was in my backyard. I hung up a backdrop that was just a canvas painting tarp. I hung it up behind me. I photographed all the weeds in my yard with myself in them. And there's that before and after.
- One of the biggest questions that I get when making self-portraits is, aren't you worried about what your face and body looks like when you're shooting? And I worry about it sometimes like anybody would, but there's something really lovely that I like to think about when you are contemplating self-portraiture, which is that if you're capturing your authentic self, then you will inspire somebody else to do the same thing. And this is how we create a more empowered community.
So I like to think about self-portraiture in two ways. Am I trying to capture myself or am I trying to capture a character? And this can be really helpful if you're beginning self-portraiture and you're not sure that you love the way that you look and you're not totally comfortable being on camera - think about yourself as a character. And if you can, I just try to ask myself a couple of questions. One is, what do I want to say with this image?
And the second question is, how do I want to make people feel? And if you can answer both of those questions, then you can much more easily find your purpose behind why you're creating your self-portrait. When it comes to creating characters, I love to think about who can I be that other people couldn't become as easily? And this started when I very first picked up a camera. I remember getting these comments online of people saying, you don't look like a model, why don't you just hire somebody to do it? And I thought, you know what? I don't look like a model, but I have some other assets that normal models don't have. And one of those was that I'm very tiny, I'm like a compact person. And so I thought I can squeeze myself into places that giant tall models cannot do.
And so I started doing this really fun series that I called Small Deaths, and I just stuck myself in a cupboard, in a freezer, in a trash can, in an oven, in all of these different places. And it ended up being a beautiful exploration of who I am as an artist and things that I can do in front of the camera that maybe other people cannot. So find what that is for you.
One way to create a great character is with costuming and props, which is always really fun. So when you think about getting costumes, you might think about getting something that is a sort of one size fits all costume to start that way, no matter what size you are, you can use it no matter how your body changes and something neutral. So I like to go for nightgowns and simple dresses, maybe even cloaks and things like that.
I have a few examples here. I have first this beautiful nightgown that I just absolutely love. It has really good shiny texture to it. It can flow in the wind. I love it. So this is one that I use quite a lot or some version of this. And then we have an example with color. So here I have this dress. This is actually the back of the dress, but I love the the detailing here. So I always wear this in the front. And this is a really, really lovely way to just bring a little bit of color and maybe even distract from your body if that's what you're looking to do.
Finally, I have a cloak here. And this cloak my husband actually gave me before I became a photographer. because I've always been a little bit strange. And a cloak is a really great way to cover your body if that's what you feel that you need to do. It also creates really great motion. And so you can have a lot of options here depending on the costume that you choose for the character that you want to become.
- Let's create a variety of self-portraits together. The first one that I want to start with is something that might be a really good entry-level self-portrait to attempt, which is a closeup of a body part instead of featuring your face or your whole body.
I like to take pictures of hands. I don't know if anybody else agrees. I just think they're so expressive and so beautiful. So the first one that I want to do is just a picture of my hand holding a rose. And that can be something really simple, but also a little bit challenging since you're going to zoom in on your camera a little bit more, make it more of a closeup shot.
So let's see what we can do here with my little rose that I have here. My very dead rose. And I'm going to go ahead and zoom in on my camera first. I'm looking at the app on my phone, and I'm going to go ahead and just zoom it all the way in here. That looks pretty good. OK.
I am positioning myself. I'm in the frame. I can see what's happening. Great. I'm going to just pull my shirt and then hold onto this rose and try to get just my hand in position. I'm going to go way down here. Just don't mind me. I'm just going to be out here. OK, Lovely. So we've got a closeup on just my hand and the rose, and that looks really beautiful.
There's a lot that we can do with that, but now let's try something even more creative, where we're going to zoom out and see what we can make here. If you're still not comfortable photographing yourself, that's completely okay. And some things that you can do there are to use props or even cloth to cover up what you don't want shown. Here I have this beautiful fabric, and this is something that you might use as a veil, for example, to create a self-portrait through. Maybe you only want some part of your face showing. So that's one option. I'm to put my cloak on here. And by putting this cloak on, it's going to allow myself to just get out of my normal clothes. Do something a little bit different here, and I'm trying to get my hair out.
Okay, we're doing it. There we go. And I'm going to clasp this up here. Just that single one. And it's also going to darken the image considerably. So now we have this really dark look here, which I think is kind of interesting. I'm going to let my hair come forward. Great.
Now if I want to put that cloth over my head and take a portrait, it's going to be a lot more atmospheric. So I'm going to grab my phone so I can see. Oh yeah, that already just looks so interesting. I'm going to get my fabric, which I will put over my head. OK. Oh, it's so mysterious. Oh, but my glasses are not mysterious. So let's, let's take those off here. And now I'm going to move the fabric around until it's just covering a little bit. OK. Now maybe just my mouth will show through. Oh yeah. I like that.
OK, let's shoot it. So now we have this shot with just my hair coming through my skin. You can see just my mouth through the image here, and the veil is covering everything else up. For my final shot, I'm going to use a prop because I love using props in my work. And I'm going to use this gorgeous moon mask situation here, which I just love, which I'm going to zoom out a little bit. OK, good. All right. And so now when I take this picture, I'm going to actually leave my hand in the shot, and I'm going to just maybe try this.
Yeah, I think that looks really good. I can see exactly what the reflection is doing. because I'm looking through my phone so I can see that it's kind of nicer when I'm leaned forward a little bit and tilted toward the light. So it's all bright here. And let's see how this looks. I'm going to go ahead and get my cloak in place. Hmm. OK. I'm going to do my other arm through the cloak. OK, good. OK. Ready, set, posed. Oh, that looks so fun. OK. Beautiful. I'm going to try one more where I get the glare right. Oh, right there. Just like that. Beautiful. I love it. OK.
So we've created something really creative with props and a costume. We have something really simple, stationary, posing and active posing. But no matter what you want to create, it is possible with self-portraiture, and I highly encourage you to try it out. Thank you for watching this class on Alpha Camera Academy. I can't wait to see what self-portraits you create.
Rate this course
Your feedback helps us improve our content.
Course rewards
Complete any course and earn a unique badge to celebrate your progress. Collect them all as you level up your skills!