Travel Photography
Turn every trip into a visual story with purpose-packed gear, people-first tips and pro-level edits.
- Details
- Module
- Quiz
About this course
Travel photography is more than great locations – it’s how you prepare, see and connect. Join Instructor Katrin Eismann as she distills the lessons she's learned from traveling to all seven continents into a clear, inspiring approach. She’ll focus on packing with intent, planning with curiosity, and engaging people and places with respect. In the field, you’ll learn to build stories, embrace “bad” weather, and chase light from blue hour to night. Then you’ll learn how to streamline your culling and edits so the best images rise fast. Come ready to travel lighter, see deeper, and return with photographs that feel as alive as the moment.
Course highlights
Instructor
Sony Artisan Katrin Eismann is an internationally respected artist, teacher and author specializing in digital photography, imaging software and the impact of emerging technologies upon professional photographers, artists, and educators. Currently she works for Adobe Systems as Product Manager of Engagement specializing in leading-edge education and community development. Katrin speaks German and English and has taught and presented throughout Europe, Asia, South America, Africa and North America.

Katrin Eismann
Photographer, Sony Artisan of Imagery
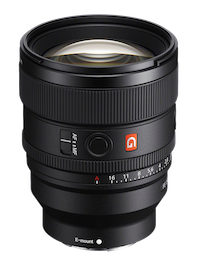
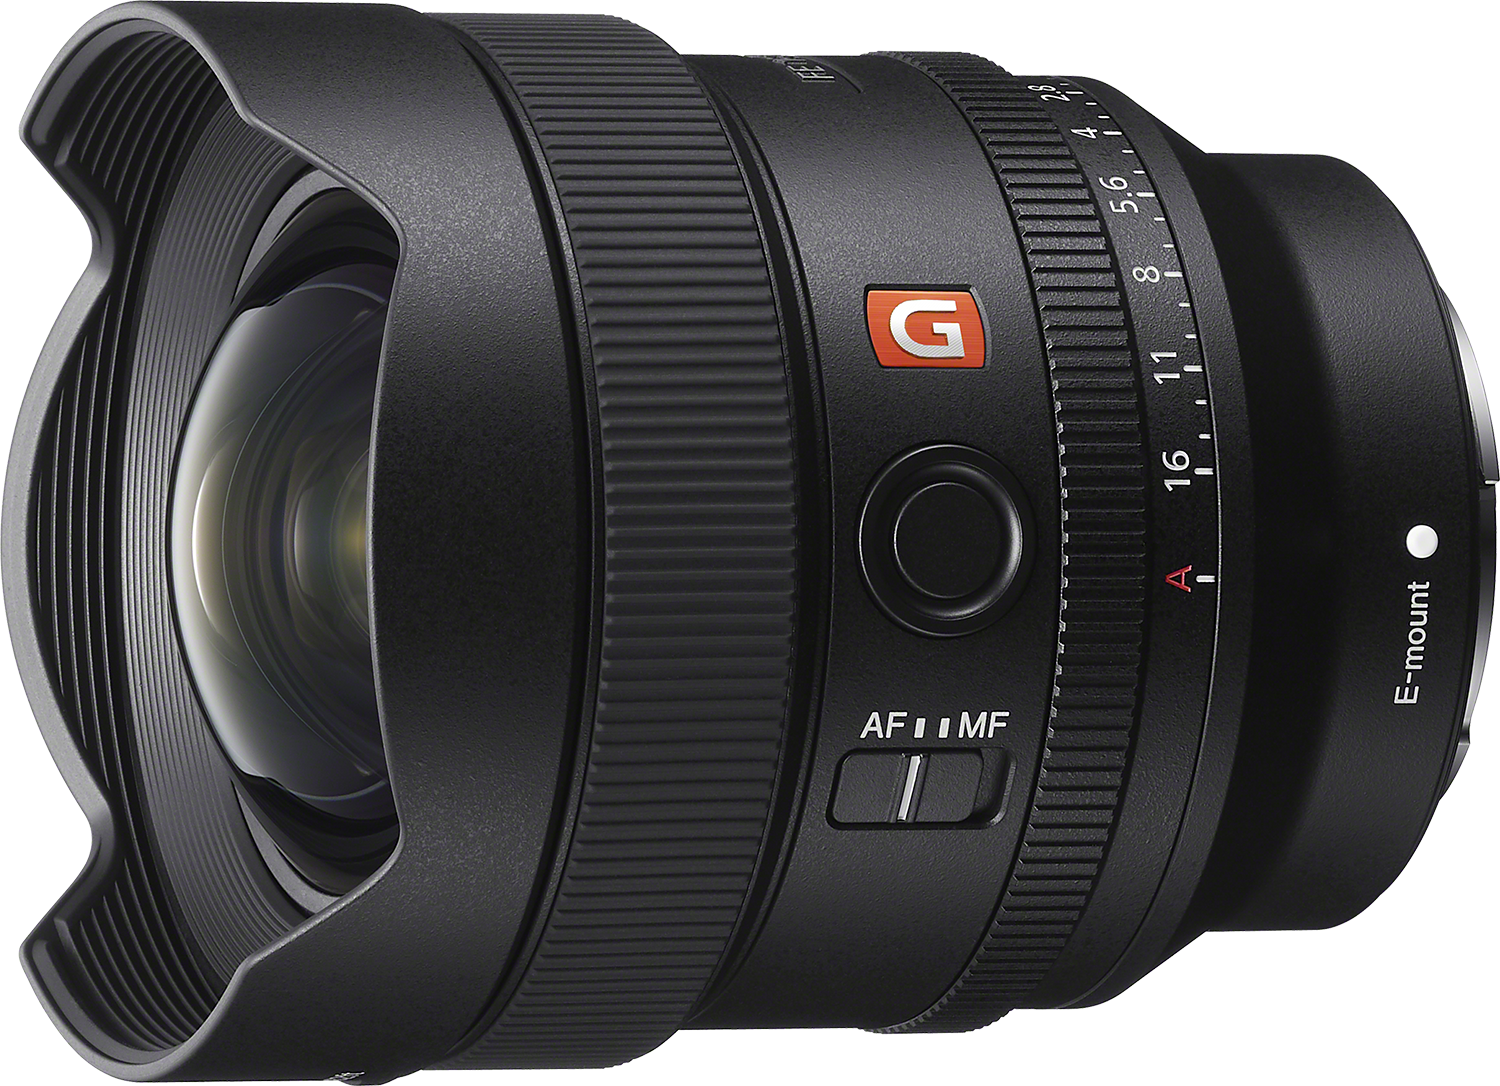
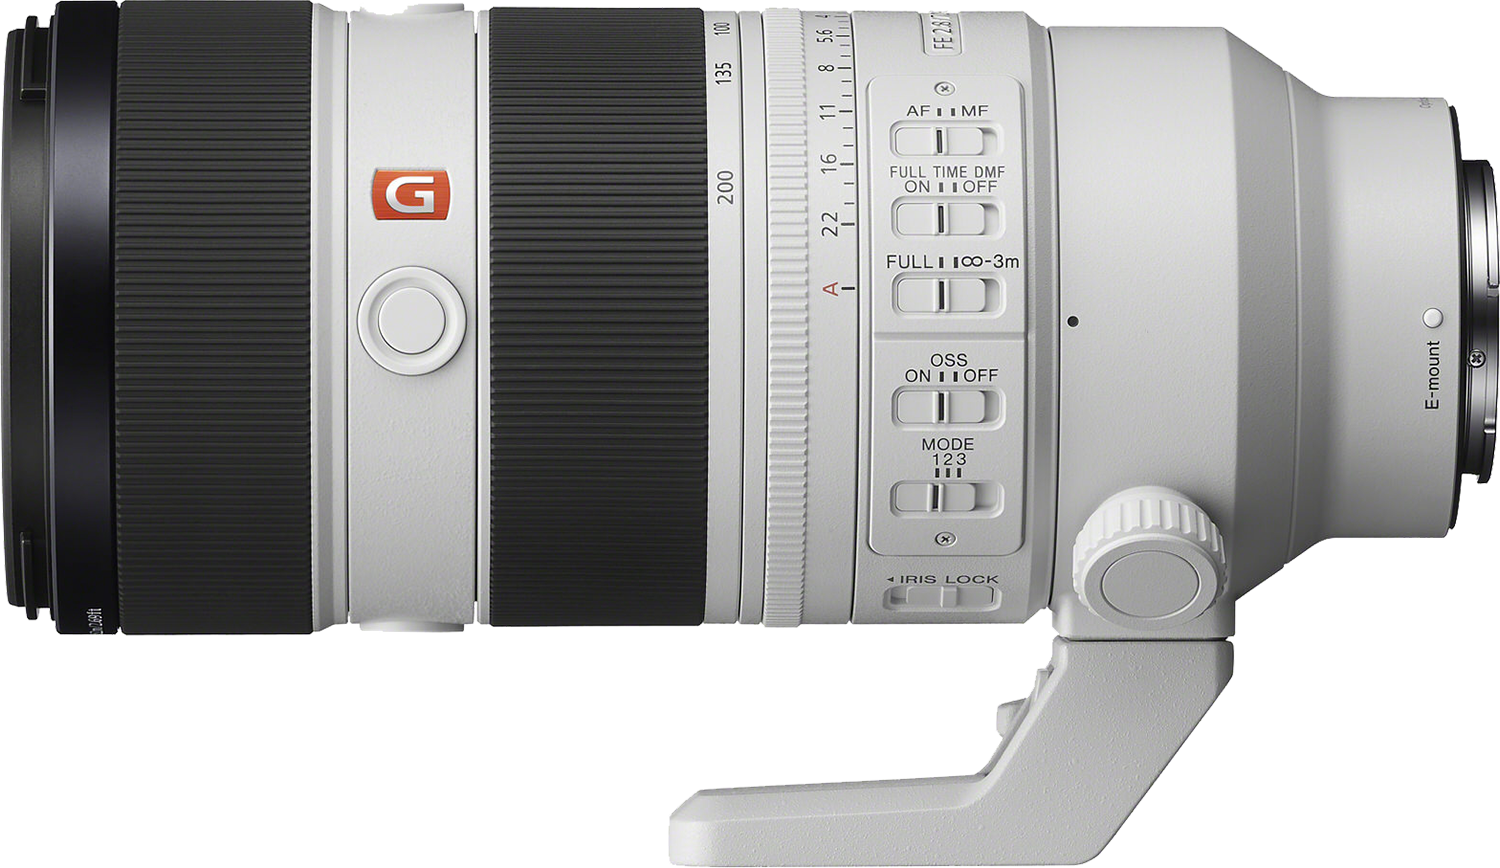
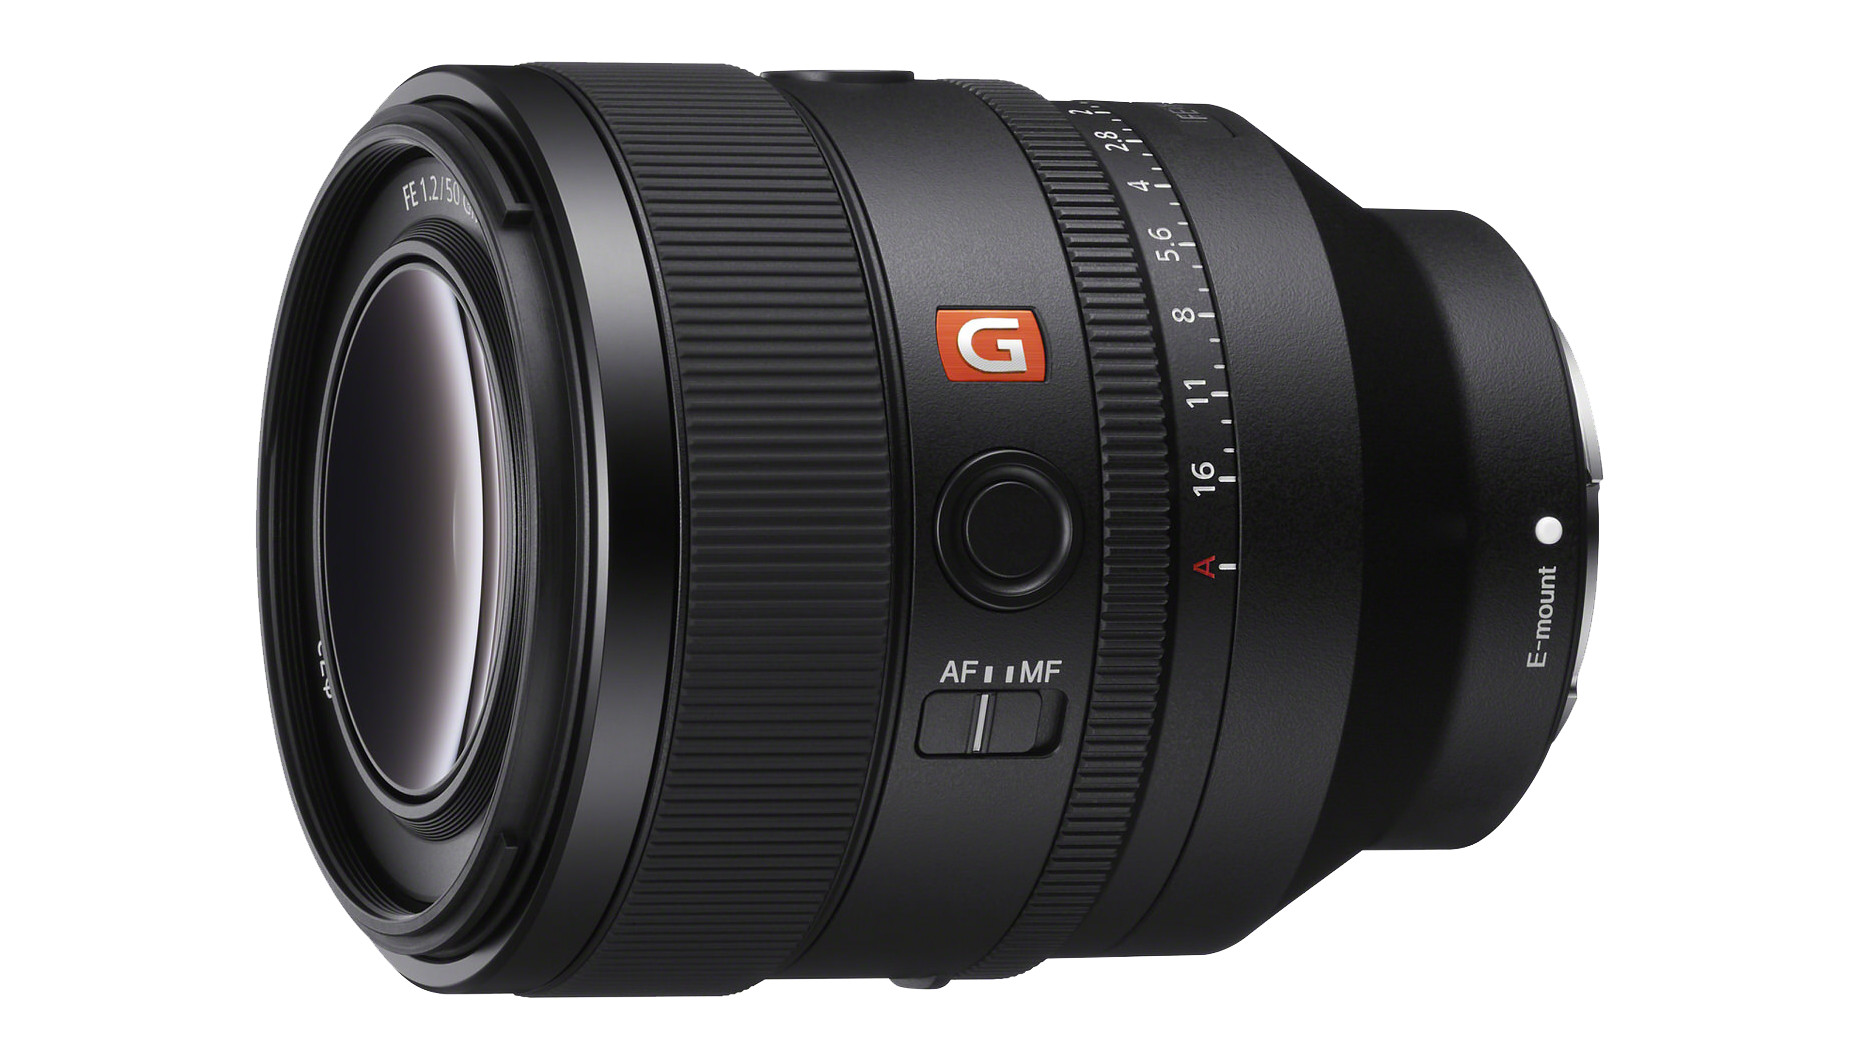
Featured gear

Skills
Transcripts
- Hello, my name is Katrin Eismann. Thank you for joining me today. I'm a photographer and educator and a proud member of the Sony Alpha community. I have traveled to and photographed on all seven continents. In this video series, I want to share with you some of my experiences, approaches, and ideas on travel photography. Of course, we're going to address equipment approaches, what to do when the weather doesn't cooperate at to manage your files, how to edit your files, everything so that you can become a more successful travel photographer.
- What is travel photography? Well, it's going somewhere and it's taking pictures. It's a lot more than that. For me. It's about discovery, connection, creativity, and appreciating cultures and history from around the world.
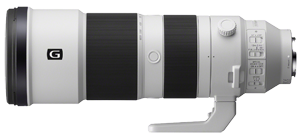
So let's start by talking about equipment. But before we talk about equipment, please, please, please do not pack every single piece of equipment that you have, because I've learned the more equipment I carry, the heavier the bag is, the shorter my photo walks are. What you really want to do is you want to think about what kind of photos will you be taking, and that will determine the equipment. For example, if you're going on a safari, you will of course want to carry long lenses. If you're going to more urban environments, a shorter zoom, such as a 24-70 or prime lenses are the way to go.
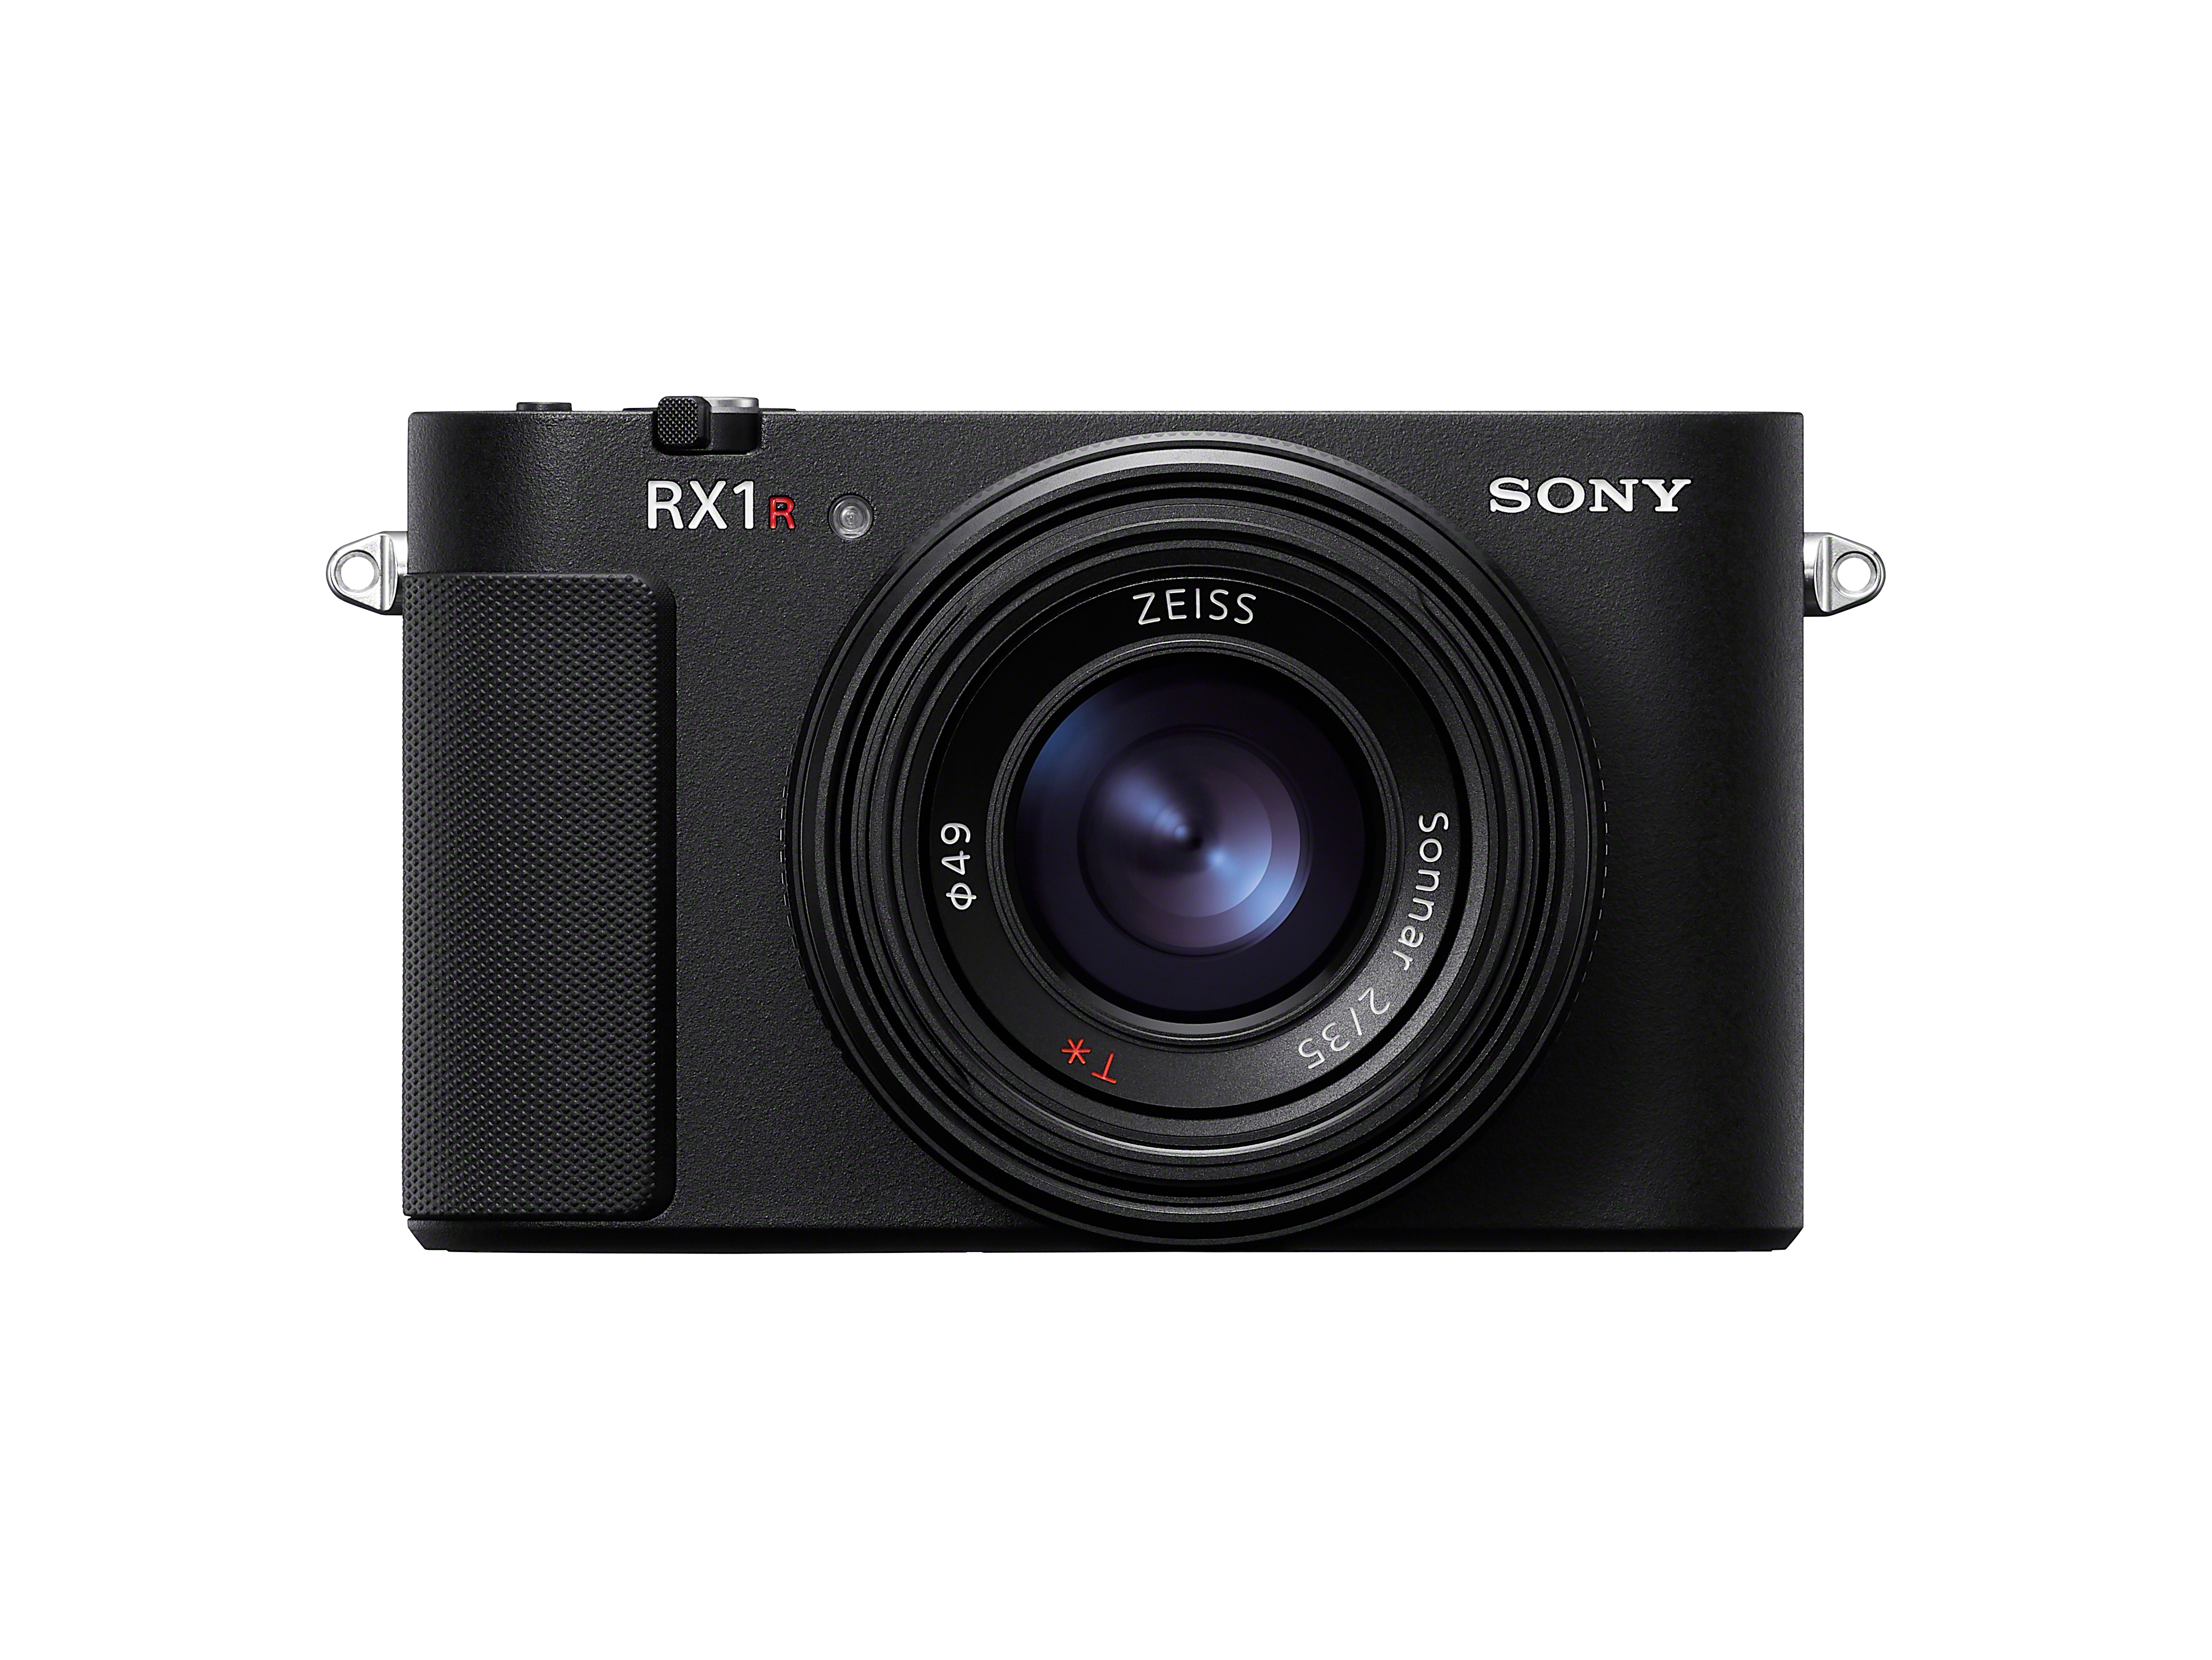
So let's take a look at the gear that I take when I'm traveling, starting with, I have this all-in-one camera. It's got a fixed 35mm lens. A 61-megapixel sensor, delivers great quality. You know what I love about it? It's so small and light. I can carry this camera all day long. I can slip it into a small bag. And what's great about it is when I approach somebody, let's say to do a portrait, this is not intimidating. I can really connect with the person with this small camera, and that's why I really love carrying it.
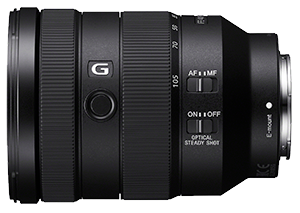
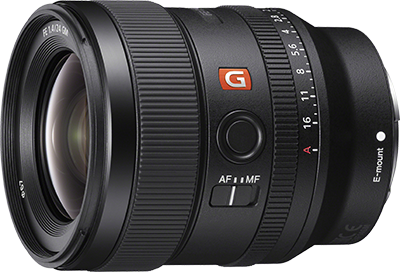
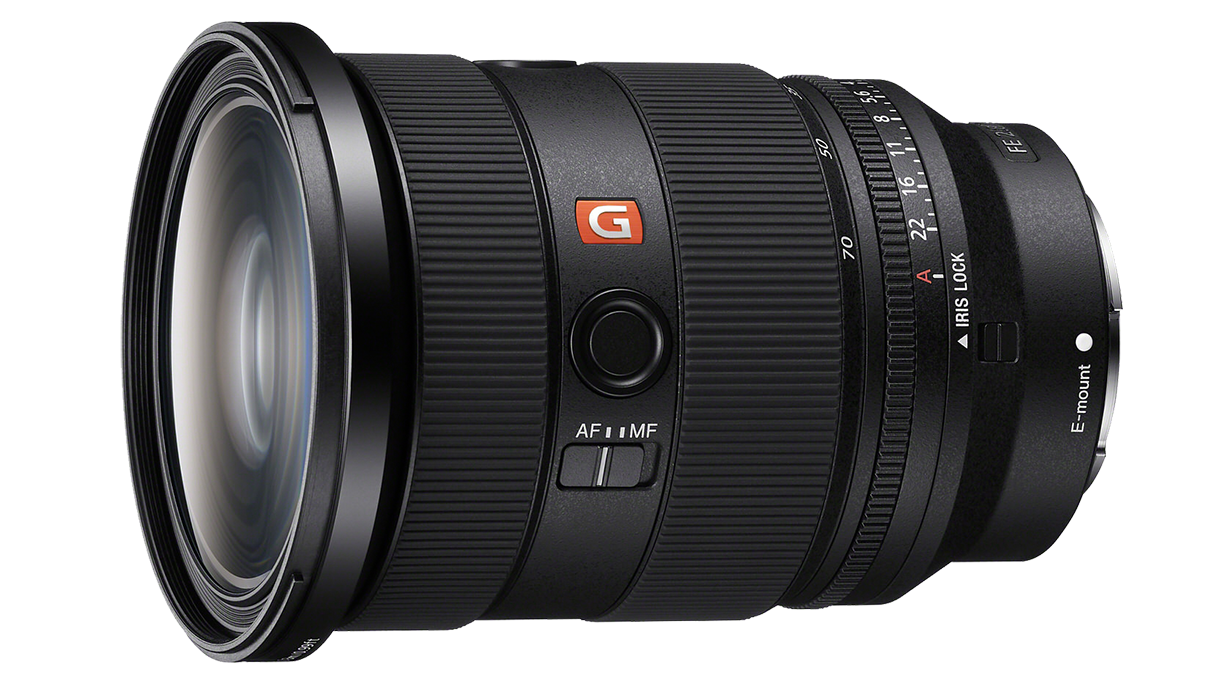
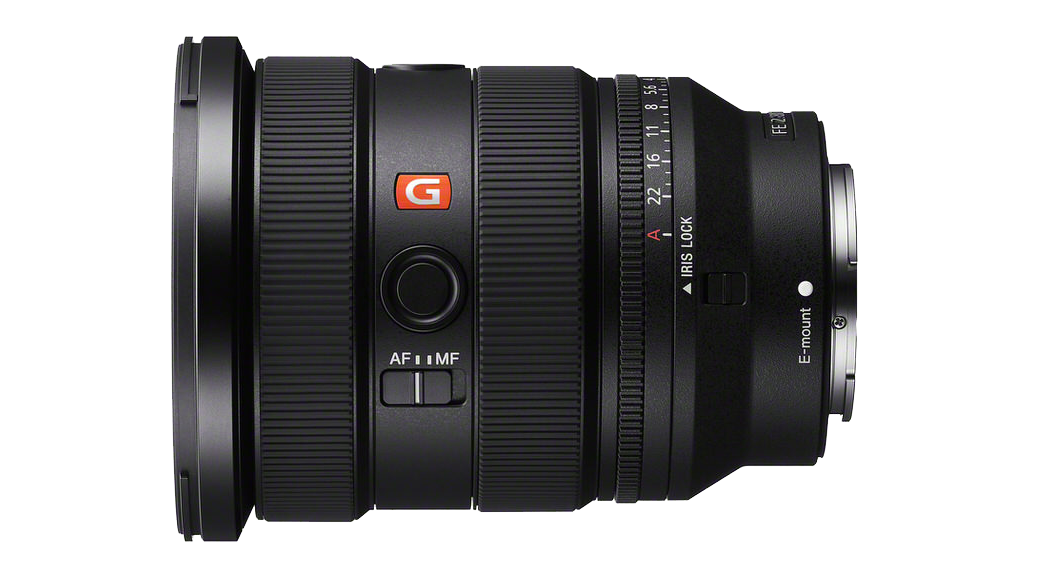
Now, the workhorse travel photography is the full frame camera that is ideal for high quality stills and video. Of course, you're going to have to decide on which lenses to take. Once again, that depends on the pictures that you want to take. If I'm traveling to a more urban environment, I'm going to carry 24-70 zoom. This allows me to photograph interior and exterior architecture. Wider scenes. Also do portraits, get details such as food.
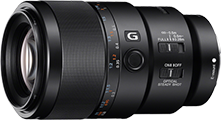
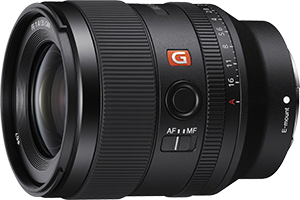
And I also always carry one prime lens with me. And it's usually either a 50mm or an 85mm. because these prime lenses perform very well in low light and are ideal for portraits. So that's my kit, but of course, I have to carry some accessories. The first accessory that you want to consider are your camera cards. Think about approximately how many pictures you're going to take a day, 200, 300, 500. Multiply times the days that you'll be shooting. And add a little bit more for your number of cards. And never, ever reformat a card while you're traveling because it's your first copy.
Speaking of cards, you're going to need the ability to download those cards. That would be to a tablet, to a laptop, or perhaps the cloud if you have a fast internet connection. That means electronics. Your laptop needs a cable. You might need a power adapter. Your cameras all need batteries. I always name and number mine. You might consider carrying a charger or charge the batteries in the camera with a USB-C cable. My favorite accessory that I use all the time is a very simple kit with a few lens cleaning cloths and a blower. I use these cloths to clean the lens, to dry off the camera, remove dust and blow off the sensor in case any dust landed on it when I was changing the lenses.
Also, my bag is a teeny tiny tripod that I use when I'm doing timelapse videos outside of my hotel window. Or I can place this somewhere and do timelapses. And it's very unobtrusive. Of course, if you're doing more specialized trips, for example, you're going to be doing astrophotography or underwater or video. You want to carry a really solid tripod. Well, you don't need a tripod for underwater photography, but always consider what you'll be doing. And the third accessory that photographers love talking about - camera bags. I always travel with one large camera backpack or a small roller, and everything is in that bag. Cameras, lenses, cables, the laptop.
And in that bag is a small bag that I use for my daily shoots, and I can put one lens in it, a couple batteries cards, and I'm free to go. In fact, sometimes I don't even carry a bag with me and just walk around with a camera, because I find it's very important not to flaunt equipment and to, you know, be weighed down with equipment. And so remember, travel photography is all about exploration and discovery. So choose the equipment that you need and go and enjoy discovering the world.
- Great travel photography starts before you leave home. Researching where you're going is going to give you ideas and inspiration, and there's a wide variety of resources you can take advantage of. From family and friends to, of course, the internet, to resources on location. Let's start with family and friends.
Here's an example. My friend Kristof Göttling sent me when he saw that I was in Istanbul, and he recommended I go to this square for sunrise to photograph this beautiful mosque. He was so right - and notice I also photographed other things while I was there so I could tell a fuller story about that morning. Now, the internet, that's quite a resource. Well, often I'll start in Instagram and literally type in where I'm going and when I'm going. For example, I was going to the Black Forest in the wintertime. I typed that in and I found beautiful images. Now, I'm not going to go and copy these images, but they gave me some ideas in terms of composition and time of day to take pictures. You can use Google images.
Here are some images from Istanbul, and of course it is the internet. So one page is going to lead you to another page, to another page. But the more you research, the deeper understanding you're going to have where you're going. You can even try ChatGPT to build an entire photo itinerary for your travels. Now, I understand you don't want to just follow some internet list and photograph those locations that everybody else has photographed, but if you're going to Venice, you're probably going to want to photograph the gondolas. Or if you go to Cuba, the classic cars are a great subject. The challenge is how can you do that in an original manner?
And what I do, I follow Paul Nicklen's, fellow Sony Artisan's, advice: 20/60/20. When you get somewhere, the first 20% of the images are like the obvious picture. The hero shot, almost a recording. Got it. The next 60% are where the fun really comes in. That's where you're finding your own point of view, getting details, experimenting with focal lengths, maybe shutter speed, really trying to see that area in your unique style. And the last 20% are go crazy. Try creative things that you would never have tried before because they will teach you for your next photo shoot.
Another thing that you want to research are local festivals, parades, customs, etc. These are great places to photograph, so you want to know when they're going to take place, where they're going to be. Is photography allowed? Another tip... when I get home, my research continues, and to help me do that, I always take a picture of the sign of what I've been photographing because believe me, I won't remember and the sign helps me. And when I get home, when I'm processing the images, I'll look up more information. So take the time, do the research, set a foundation, and this will make your travel photography much more successful.
- Appreciating local customs and traditions is one of the most important parts about travel photography. A smile, a friendly face, and a few words in a local language will open doors. So whenever I go to a country, I learn a few words. and you'd be surprised how a few words really help.
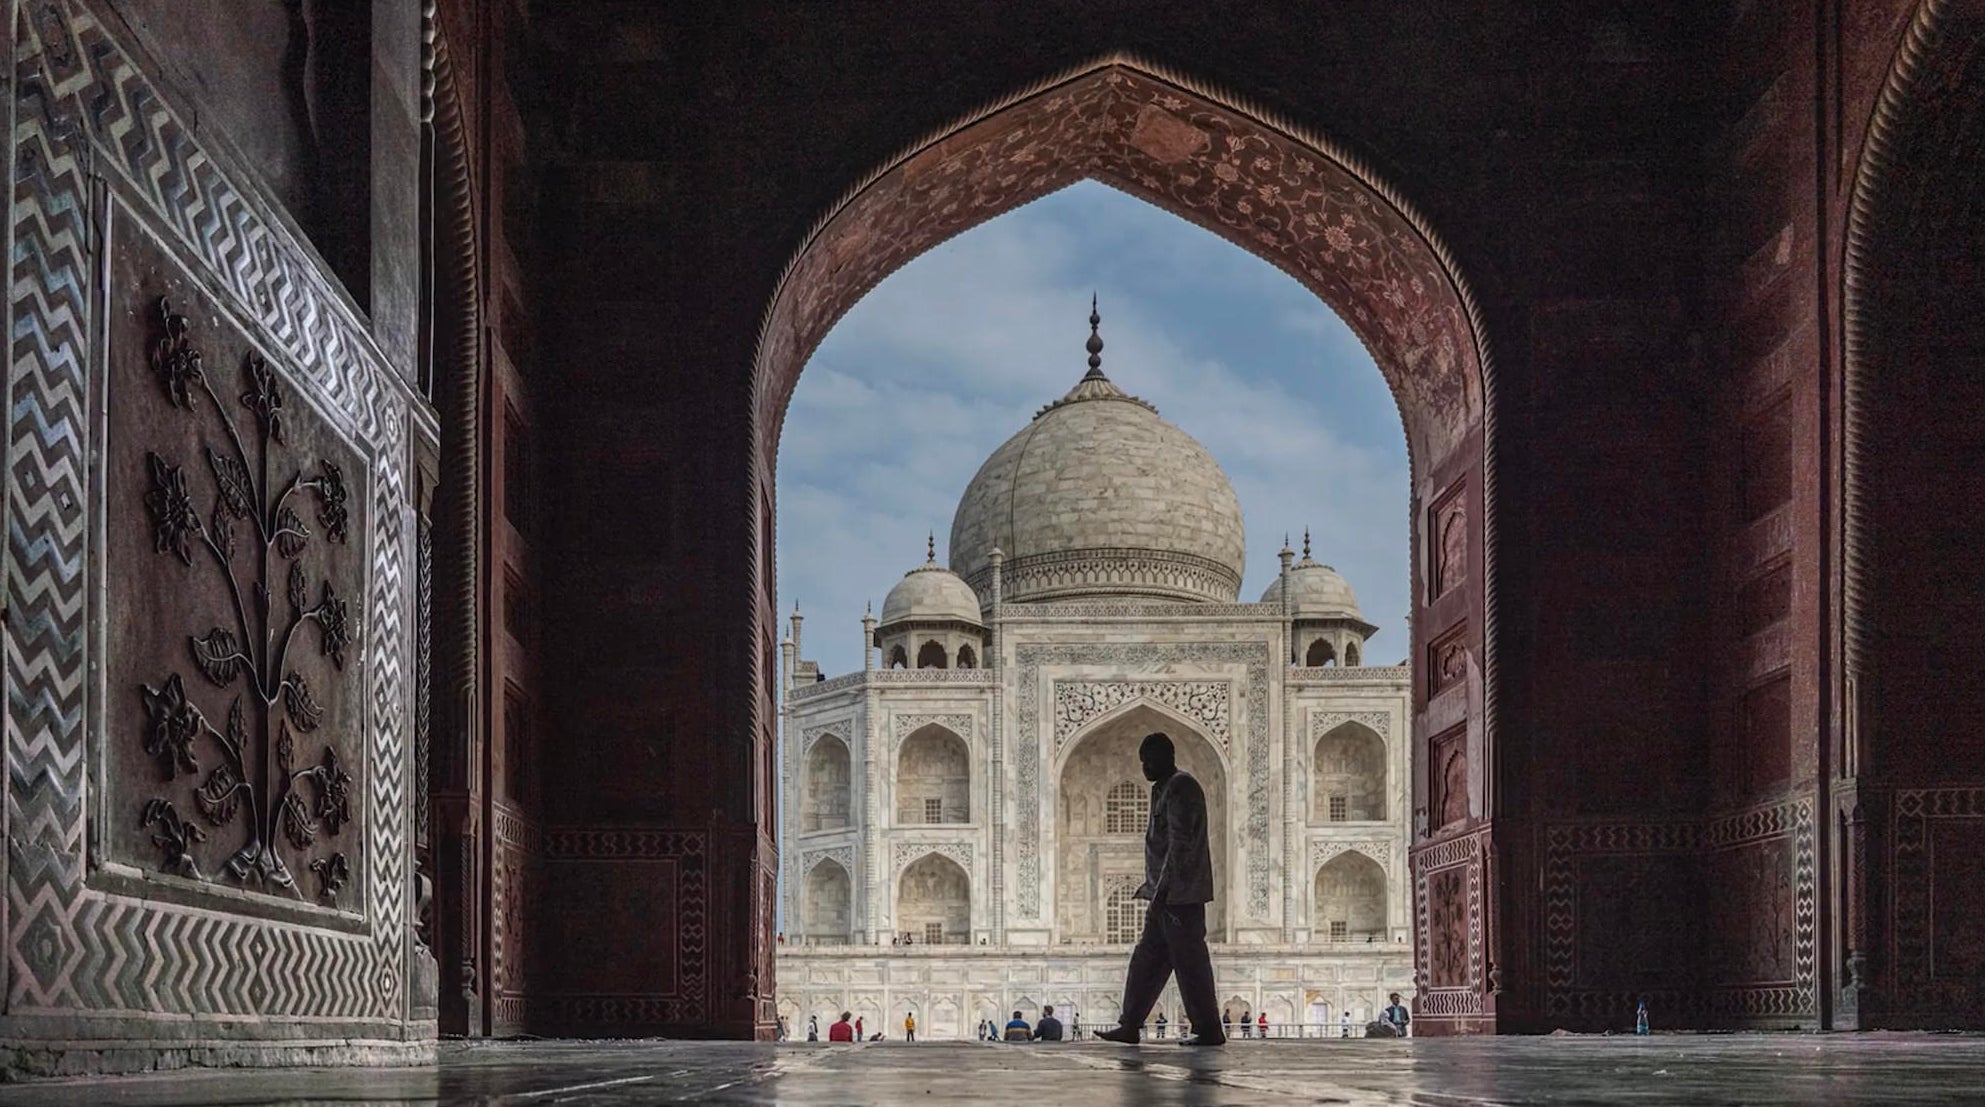
Now, in larger cities, you'll find people that can speak English, but do try to say hello, goodbye and thank you in the local language. Everyone appreciates it. Now, if you're interested in photographing people first, you want to observe the situation. You know, if they're working, if they're busy, now is not the time to stop and ask them to be photographed. If someone is okay having their photograph taken, for example, in India, people seem to love it, go right ahead. In other countries you'll get the no gesture. That's fine. No is a fine answer. You need to respect that.
Now, when I want to photograph somebody, let's say I see someone interesting. What I do really quickly is I get my camera and I look down and I get all the settings the way I want them so that I can just boop, be ready to take pictures. I don't want to be messing around with camera settings. I also don't steal the portraits. I'm not using a long lens. I'm using, you know, a 24-70 zoom or a 50mm prime. I am right there.
And so when I'm doing that, as you can see in the following video, in Turkey, it's a few words. It's about 10 pictures, and then it's saying thank you. Another great way to connect with a culture is to visit the houses of worship. First of all, you need to be respectful of the traditions in that country. In some countries, you're required to take off your shoes or you're required to dress modestly. That means long sleeves and pants and women may have to wear a headscarf. Please respect those traditions. We are the guests and it's very important to respect that.
Here's a small video of me in this beautiful chapel in the Black Forest. Take a look. Visiting houses of worship while you're traveling can be very insightful and very inspiring. But I also feel it's very important to be respectful of the houses of worship. And for example, personally, I don't photograph during services. And when I do photograph, I try to do it quickly and very quietly. Festivals and celebrations and parades are also great photo opportunities. So when you go to them, take the pictures of the performance, record that, but also look around, photograph the audience.
And I highly recommend that you don't rush away at the end. Because as the crowds break up, there's usually something else interesting to photograph. So visit these countries, understand the traditions, feel comfortable approaching people to photograph them. And be open. Have a smile and you two will get great travel photos.
- We all love taking photographs, but great travel photography is more than collecting random snapshots. Great travel photography tells a story. When you arrive on a scene, think like a cinematographer. Use a wider shot to set the scene, capture the atmosphere. Take a few minutes to find the characters or the action in the scene. Now you're getting closer.
And then always capture the details. If you think in these three: set the scene, character, details - your images will have a story to tell. For example, I love walking through local markets and I'm always photographing the people and the produce. And in many countries, I'm learning about new foods. That excites me a lot. When motion is an important part of the scene, consider working with slow shutter, to drag the shutter and blur the motion or also capture video. So you can see this portrait is not very dimensional, but I changed to video and now we can see how the woman is making the pastries. And I think the video is much more successful.
Walking and observing inspires creativity. Each street is a new story and patience will be rewarded. Sometimes you just want to stop and just wait. After few minutes you'll disappear and people will just walk right by you and then you're ready to get that perfect picture of the person walking into the frame or walking into a spotlight of light. As we photograph, we are freezing a moment in time. We are actually historians, as I explain in this video, in Turkey. And you never know, in a week, a month, or a year, this facade might actually not even be here. So take the picture because we are all historians.
So another tip: Be aware of local customs and local events. I highly recommend that you stay concentrated. Don't wear headphones, you don't need a playlist. Don't walk around with a cup of coffee. You need to concentrate on photography. You also want to keep your orientation like, where is the hotel? Where is the busy street? Where is like, let's say a subway stop. If you at any time feel uncomfortable, walk away from the situation, get back to a busy street, go into a cafe, find a hotel lobby until you can get your bearings. So as you do travel photography, think story, think the fuller picture, and you will come back with great projects.
- Bad weather doesn't have to ruin your photography plans. In fact, bad weather is a great opportunity to create unique images with tremendous atmosphere. Let's start with rain. Rain adds color saturation, puddles turn into mirrors and the city to simply glistens. What I also like to do is after the rain, when the sun comes out, I love going out and photographing detailed shots of the rain drops on every type of surface. Fog abstracts an image into mystery and softness. I recommend when you're photographing fog to include a recognizable graphical element in the scene so that the viewer has some orientation. Winter and snow are great times to photograph. The snow softens the landscape. The snow can be a subject all its own.
Now, sometimes when you're photographing snow, you might notice the snow seems a little gray. That's because cameras and our eyes see tonality differently. To make sure that snow is nice and white and bright, open up your exposure by maybe half a stop, three quarters of a stop at most. You'll also see that sometimes the shadows are actually blue. That's the sky reflecting into the snow and it's visible in the shadows. You can embrace that blue, or you can remove the blue from the shadows in post-processing.
Now, when you're photographing in rain or snow or also dusty environments, you want to make sure to take care of your equipment. When you're not photographing, make sure the cameras in your jacket or perhaps carry an umbrella or for more tips, let's take a look at a video that I shot in the Black Forest while it was snowing. There's a saying in photography that bad weather makes for good photographs, and that's absolutely true.
But when you're photographing in rain or snow or damp conditions, you want to take care of your equipment. So, many times I'll slip the camera into a jacket or a small bag, or when you're traveling, grab the shower cap from the hotel and that'll help you quickly protect your camera. Also, in bad weather, I opt not to use a zoom lens 'cause I don't want to rack it open and close and maybe get moisture into it. I'll use a prime lens and you'll see there is no sun in this scene right now, but I have the lens shade on because it's going to help protect the front element of the camera. Another thing I do when it's cold, you know the, the batteries can drain more quickly from the cold. So I always have an extra battery in my pocket to keep it warm, and that'll ensure that it'll have more power so that I can keep photographing.
After photographing out in the cold, you want to avoid quickly taking your camera into a warm environment. You want to give the camera a chance to have a transition in terms of the temperature to avoid condensation. So what I'll do many times is I'll wrap the camera in my jacket or in a towel and let it come up to temperature about 30 or 45 minutes before I take it out, look at the card or change the battery. Just a little thing to help reduce the possibility of moisture. So the next time the weather is bad, get your camera out, make sure it's protected. Get out there with your creativity and see what kind of magical images you can create in rain, fog, or snow.
- The best time to photograph is all the time. All light is good light. And in travel photography, the quality of the light is influenced by where you are. The altitude, the time of day, the time of year, and the weather. All of these elements impact how much light there is, the direction of the light and the color of the light.
Additionally, your position can also determine the light. For example, look at this image - the boat, the man and the dog caught my eye and I took a picture. Whew, that looks like a snapshot. And so what I did is I shifted my position about 12 feet to the right, so the sun was in the background and I reduced the exposure to create a silhouette. Now the scene is about the light and the person in the boat, and it's much more memorable. Learning to see the light and react to it is essential. What you never want to do is say, oh, I'll come back later and take the picture. That never works.
ere's an example. We went to visit the Acropolis in Athens in the early morning, and when we arrived, I did this first photograph and you could see how beautiful gold and dimensional the light is. When we left, about two hours later, I photograph the exact same subject, and now it's drab and boring. So when the light is good, make sure to get out there and take the picture. When visiting major attractions, make sure you get there early in the morning. This will give you some time to enjoy the experience and get good photographs.
Once again, here on the Acropolis, about an hour and a half after we arrived, it was packed with people, and so we decided to go down the mountain and see what else we could discover in Athens. Two very popular times to photograph are early morning and late afternoon. Both of them can have what's called the golden hour and blue hour. Golden hour is right at sunrise and at sunset when the light and the sky are gold. And this is a great time to photograph portraits, architecture, and landscape. Also, the light is coming in at a low angle, which will rake across the surface really bringing out textures.
Blue hour happens before sunrise and after sunset, and it creates a fabulous, moody atmosphere that is very calm and mysterious. Now, of course, the sun comes up and it goes down every day, but that doesn't mean that you're going to have golden and blue hour every day because it depends on the weather and the atmosphere. When I know I'm going to go on an early morning sunrise photo shoot, I try to scout the location the afternoon before. I want to know how to get there. I want to know my position. I want to imagine the images I'm going to take and what equipment I need, and this gives me the confidence that I'm going to show up the next morning, ready to take the pictures that I had in mind.
Now, many people think that photographing the middle of the day is not a good idea. The sun is too harsh, the shadows are too dark. I beg to differ, especially in the wintertime. Then midday sun creates strong shadows and contrast that you can explore shapes with. So don't say there's no good light. There's always light.
And finally, photographing at night - in the landscape, you can explore with astrophotography, and in the city, you can create cinematic images by taking advantage of the artificial light in urban environments. I recommend when you go out and photographing the cities at night, take care of your camera equipment, go with a friend, and be aware of your environment. Also, when you're photographing at night, feel free to raise the ISO on your camera because contemporary software can take that noise right out and have some fun playing with some slow shutter effects, some motion trails, some passing cars. It's always very inspiring for me to see how a camera can see differently than I do.
To learn more about light study the classical paintings by Rembrandt, Vermeer, Caravaggio, and Monet. Also watch movies with an eye for the light. A few of my favorites include "A River Runs Through It," "Blade Runner," "Barry Lyndon", and the, "Talented Mr. Ripley." So in photography, every hour brings opportunities to create magical images. As long as you follow the light.
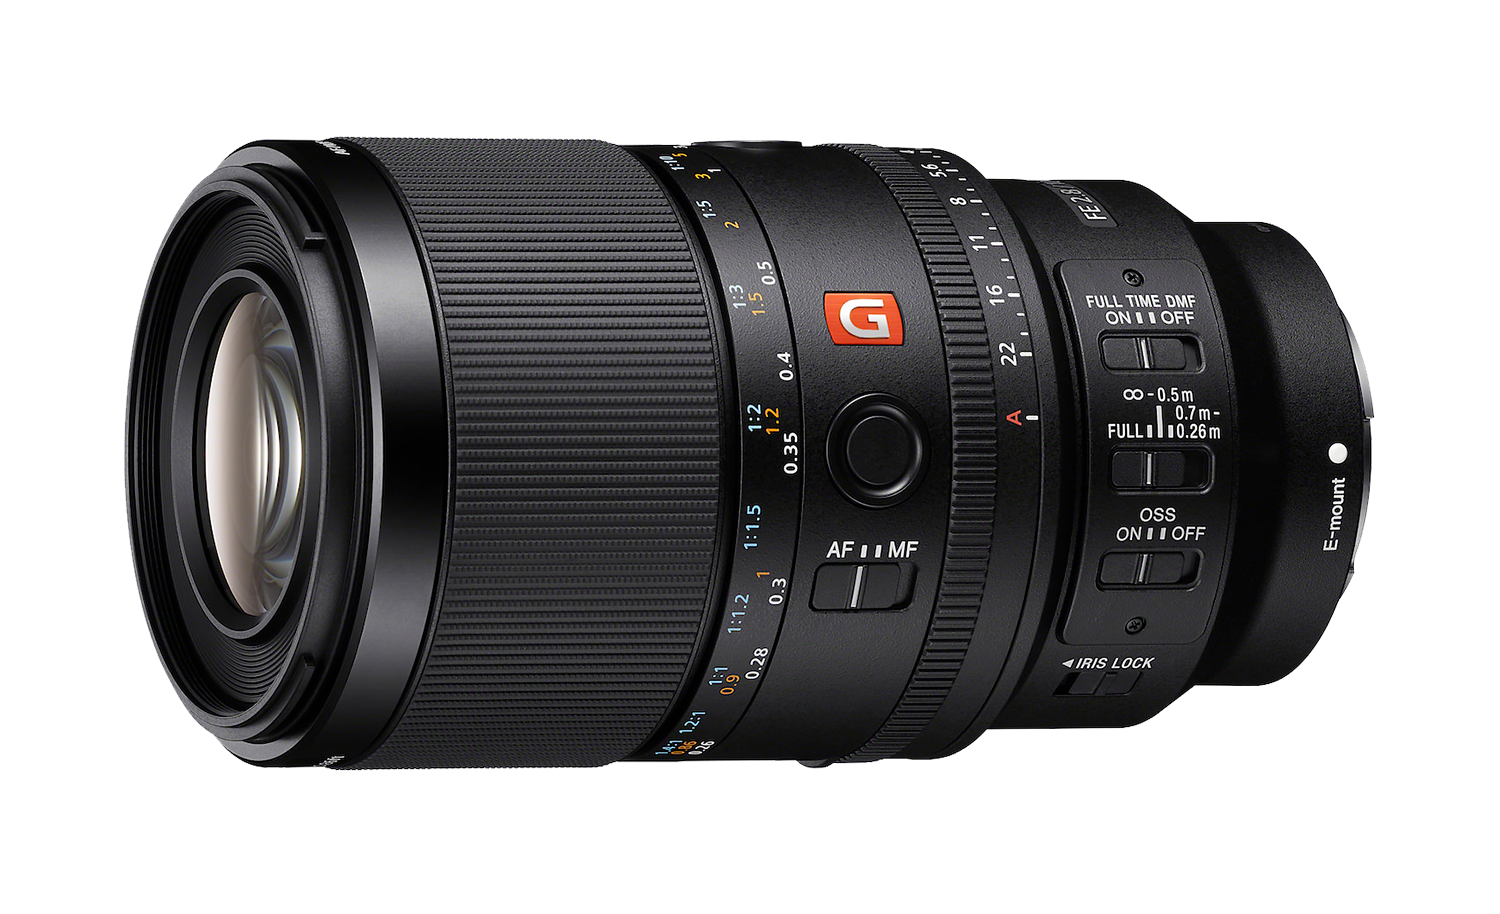
- Well, you have a camera body and now your camera body needs a partner, and that partner is going to be a lens. The first consideration before making a purchase of a lens is to recognize what do you like to photograph? Because there's lenses that are better suited for certain subjects. For example, if you love tiny details and getting in really close, you'd want to consider a macro lens. If you photograph sports or wildlife, well then a longer lens would make a lot of sense.
Let's talk about things to consider and to know about lenses before making a purchasing decision. The first thing is focal length. Focal length can range from very wide to narrow. With the wide being the wide angle lenses, for example, 14, 24, 35, they let you capture the vast landscape, set the scene with the longer lenses, the telephoto lenses, letting you magnify what's in the frame, and also does offer a narrower field of view. Longer lenses also allow you to blur the background more easily to create those beautiful bokeh effects versus wide angle lenses. So focal length, angle of view and background to foreground relationships.
Another thing to consider is speed. When we talk about the speed of the lens, we're talking about the widest aperture that it supports, and you might see lenses, they say 1.4, 2.8, 5.6. The lower the number, the more light that lens can let in. And there's a number of advantages to that. First of all, the more light that gets let in, the longer you can photograph into the evening, even into the night. Another advantage of fast lenses with wide apertures is it is easier to blur the background with a wide aperture. Big thing to consider as a travel photographer is the weight of the lenses. Now, you might think, oh, few ounces here, a couple of grams there. That doesn't add up. Yeah, it does. If you have like heavy lenses in your bag, that bag's going to start feeling like it's loaded with bricks, and what's going to happen is you're not going to walk as far, or you might leave a lens in the hotel room. So weight is a consideration for travel photographers.
And then of course there's cost. If you've shopped for lenses, you know that there's low budget to more expensive lenses. And many times the price reflects the quality of the lenses. And in all honesty, I would rather travel with one or two high-quality lenses than come home with thousands of images that are soft, have color fringing, vignetting, and that just aren't sharp. That just isn't worth it. Additionally, any lens that you purchase now can be used into the future on future camera bodies. The next question is prime or zoom? Zoom lenses offer flexibility. One zoom lens - let's say the 24-105 can actually replace three prime lenses, which will make your bag lighter.
Another advantage of the zoom lenses is you don't need to change your lenses so often, and that helps reduce dust or moisture getting into your camera body or landing on your sensor. Many photographers rely on what they call the triumvirate of zoom lenses, a 16-35, a 24-70, or 24-105, and then a 70-200. That breadth of focal length from 16 all the way to 200 allows you to capture landscapes, architecture, portraiture, and distant subjects. We have to take into account that often a zoom lens is going to be heavier than a prime lens.
Now, I love using prime lenses for a number of reasons. They're usually faster, so I can work later into the evening or even do astrophotography. They also, very interestingly, when I'm using a prime lens, I've noticed I start seeing in that focal length, I start composing in that focal length. And it's a tremendous discipline to experience. So rather than thinking, oh, should this be a 24, 105, etc. No, I am working with an 85 and it helps me concentrate.
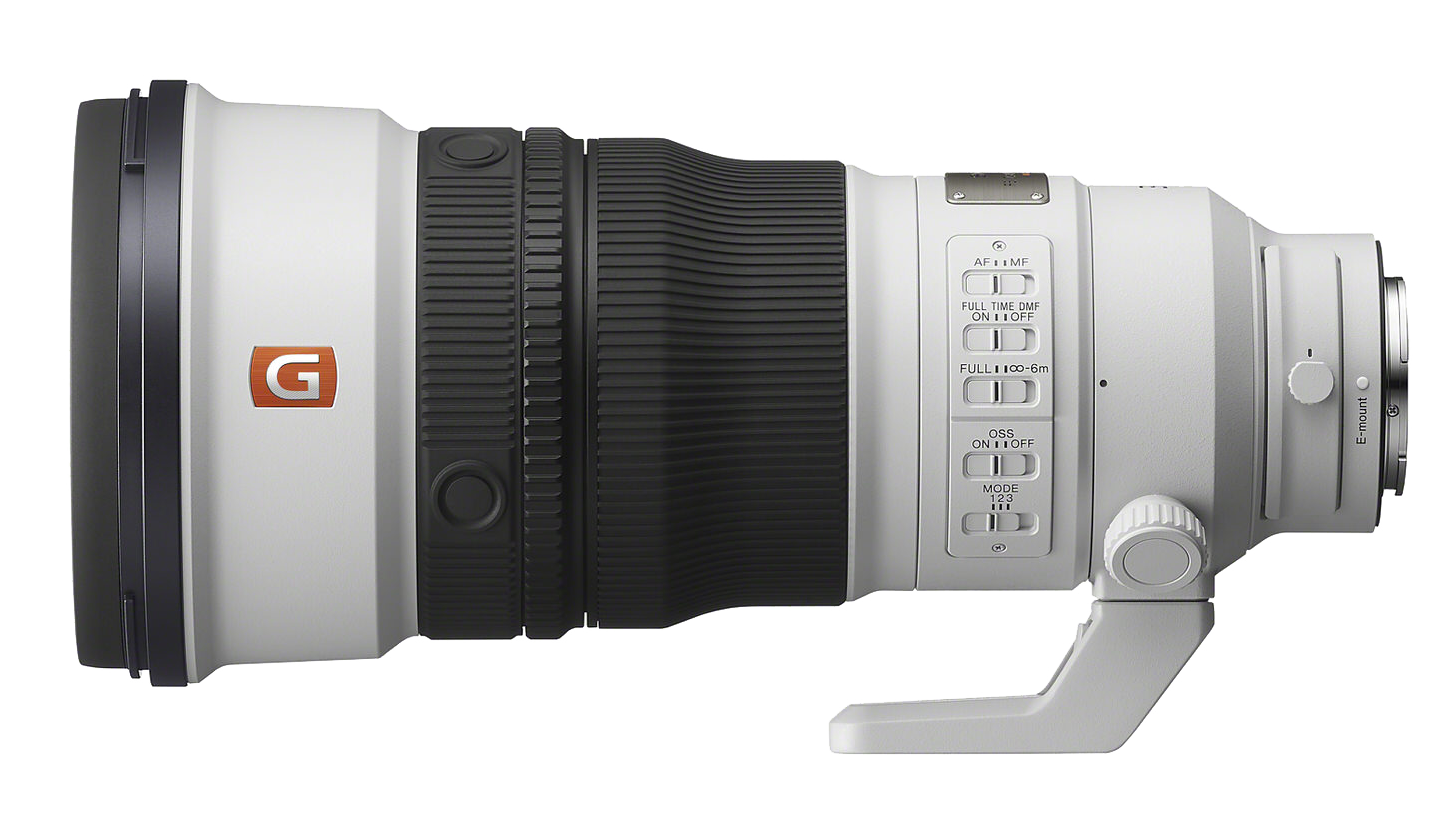
For me, another advantage of a prime lens is many times they are smaller than the zoom lenses, and this allows me to be less obtrusive. I can put on a prime lens walk about, not even carry a camera bag, and I disappear into the scene. Now, there's a third type of lens, the lens that you should consider renting. For example, let's say you're going to go on that dream trip to Antarctica or an African safari. Well, you're going to want a long lens, and the idea of renting it is you can use it, get those pictures that you love, and then return the lens when you get home. For example, I took the 300mm to Antarctica and loved using it, and wildlife photographers really enjoy the 200-600 zoom lens. So the most important consideration when deciding on which lens to buy and to use is which lens is going to help you tell the story?
- Over the years, I've traveled to many countries and I've taken a lot of photographs - and I've learned some tips and techniques that I want to share with you now so that your travel photography will be more successful. Before you leave, I recommend you write down all the equipment that you're going to be taking - camera bodies, lenses, computers, phone and serial numbers, and that you can reference in case you lose a piece of equipment or in case of theft so you can file a report. Believe me, I hope you don't have to use that list, but it's a good thing to have with you.
Also, check on power adapters. So you want to make sure you have the right power adapter for the countries that you're going to be visiting. Upon arrival, the first thing I do is my shooting bag is in my larger roller or backpack. I get it out and I want to get ready to be able to shoot as quickly as possible, so I'll make sure which camera body I have, a lens, I have an extra battery that's charged. I'll even take a few quick pictures, even outside of the hotel window to make sure that everything is working, the camera cards are in the camera, etc.
Another thing I do when I get to a hotel room or where I'm going to be staying, I create a small charging area where the laptop's going to go, the chargers, the cables are ready. I have everything ready to go, and what that does is encourages me to charge the batteries as soon as I get back into the hotel room. You want to be aware that the quality of the electricity can vary country to country, which means the speed of how quickly you can charge your batteries might also be impacted. As you're walking about, you want to make sure that your equipment is secure, starting from breakfast. You want to keep your camera bag on your shoulder and within eyesight at all times. Never hang that bag off of a back of a chair. Always keep it with you. If your hotel has a safe in it, use it. Put the equipment in there that you're not going to be carrying that day. That could be your computer, tablet, and perhaps a lens or two that you're not going to be using.
OK, now you're ready to go out and take pictures. Make sure not to just take the obvious pictures. Try different compositions. Rotate the camera orientation. Photograph really low by using the LCD screen where you can get nice and low, creating unique points of view. Photograph high, using the LCD screen allows you to photograph over barriers and over crowds of people. If you're photographing buildings and landscapes, I find it very helpful to include a person in the scene for scale, because the smaller the person is, the bigger everything else will look.
When I'm photographing, I'm already thinking about editing. I am visualizing the final image in my mind. And what that does, it helps me get the picture just right. For example, if I'm photographing architecture, when I frame it, I always take a few steps back. because I know in software I'm going to be correcting the perspective and I want to have that room. Use your cell phone to take notes. You might be walking down the street and see an interesting subject, but the light's not good, or the weather isn't that great. Take a snapshot with your phone because that will include the GPS information, and then maybe the next day you can go back at a different time of day and you'll find the exact location again. And embrace photographing with friends. I'm always inspired by what other people see, and it's just a lot of fun to go out and photograph with like-minded people. You might consider booking a hotel room with a fabulous view, or perhaps going to a cafe with a great view and setting up a timelapse. You go early in the morning or in the evening, you set up the timelapse and you enjoy a beverage.
And I love doing timelapses to see how the light changes over the course of the time period. Make sure that you take care of yourself, also. You might want to have a small bottle of water in your camera bag, a small snack, so that you don't get distracted by hunger or thirst and you can keep shooting. And also think of those few items that are important to you to be comfortable. For example, lip balm and tissues are essential for me.
Wearing the right clothing is very important. That could be with cultural sensitivity, but of course also with temperature. You have to stay warm or cool, or you'll be too uncomfortable to actually concentrate on photography. Now, at the end of the day, you're going to get back to your hotel room, and the first thing you're going to do is charge the batteries and then download the camera files to your laptop or tablet. Or if you have high speed internet, to the cloud.
Now you can download the files, but you're never going to reformat the camera cards until those files are backed up at home. And ,you can check the files. You know - you want to see if there's any technical issues or perhaps if there's a piece of dust on the sensor that you want to blow off for the next day. Now when you're going through the files, don't hit the delete key too aggressively. Oh, that's a little too dark, or that file's too noisy, because software is always being improved. And it's amazing how new software can make older files come back to life.
Finally, at the end of the day, clean your camera, clean the lenses, and make sure to get a good night's sleep. So you're going to be ready for the next morning.
- You've come back from the trip with hundreds, maybe even thousands of images. And the first thing you want to do is back up your files and make sure you've copied all of the images off of your camera cards before reformatting the cards in the camera.
After downloading the images, the next step for me is to review and select the best images, because I only want to put in time and effort into editing the strongest images. So what I like to do is I like to look at the images in full screen mode and I'm going to flag the ones I want to keep. So my right hand is on the right arrow key and I can cycle through rather quickly and see which images I'm going to want to edit. If I see an image that I want to edit in Lightroom Desktop, I tap the Z key (Lightroom Classic, it would be the P key for pick.) And so I can go through and decide which images I think are the best.
Now making selects like this is a very intuitive process. So, oh, there's the woman two places. I like the one where she's more on the left, and here comes another woman. Let's choose the one where she's furthest. And so, oh, now I'm in this church, in this beautiful pulpit. I'm a little concerned about the reflections, but later on let's take a look to see if the Lightroom reflection removal will clean them up. And I'm going pretty quickly. This one I'm going to reject. The focus is off. Now you can see there's the little church basin, back outside - and I'll go pretty quickly. Oh, I'm liking the architecture. See? So I might have a little series with the, this graphical architecture in the sunlight. So if I go back into grid view, notice I have 116 images I can filter by select flag, and now I have 21 images that I want to take another look at. I could refine my selects with stars, for example.
Let's look at the pictures of the yellow houses where I can go through and see which ones I like more. And you can see I like this one, can add a star. because I think that's a stronger image. And so you can actually flip back and forth or compare in compare view to see to elevate an image. And then I have now flags and stars and I can filter. And those are all the one star and flagged images. Something that you want to decide how to do. I recommend making the selects. And then you can use stars. I like one, two, or three. Good, better, best. And often I'll apply the stars after I've done some initial editing.
So next step is let's dive into the edit. After identifying your best images, the fun really begins. Now we're going to dive into image editing. I'm going to start with this snowy scene here, and I like to apply a crop and geometric corrections if they're needed. I'm going to tap on the crop tool. I know I'm going to be posting this on Instagram, so I'm going to choose 4x5, and I can tighten up this image a little bit there. That looks good. OK. And now, of course the image a little flat, the sky is gray - so I'm going to increase the contrast a bit, maybe brighten up the highlights. And many times if the images are flat, I like to reduce the black slider to add a little bit of a tonal foundation to the image. You can press the forward slash key to see the before and after, and that's already got a little more oomph.
Now the next step would be to improve the color. As Shot is what the camera saw, Auto is how Lightroom would correct it. You could see as shot, it's a blue scene. In my opinion, this is now too yellow. And so you could try the other white balances. Oh, I like daylight. And you can go through. Many times, you could also use the white balance eyedropper to click on a neutral highlight to set the white balance. That's already looking better.
Now, to give the image a little, to give the image a little visual structure. I like using the effects panel, for example. I'm going to increase the clarity. Let's zoom in a little bit so we could see it. By increase the clarity, we're adding midtone contrast and increasing texture is going to tighten up fine, fine details. Going to zoom out. Many times I'll add a subtle vignette to keep the viewer's eye in the scene. Now I like seeing the before and after. I can do that by pressing the slash key. There's before, there's, after. You can see the image already has much more presence. Great. Now, I have a similar image that I photographed of the same tree. And I want to apply the same changes to the next image. I'm going to come to the three-dot menu, copy the edit settings or, Command or Control C, tap on the next image and choose paste. Or I can do Command or Control V. And now all of those settings have been applied.
Notice I have not copied the crop. I like doing that manually based on the image. So once again, 4x5, we can tighten up that scene a little bit. And all the settings are done. We can look at the two images side by side by selecting them in the film strip and choosing Compare Mode. And now you can see how similar they look. And that would make a beautiful pair of images. Let's take a look at another edit. Now, in this image, I love the arch and the women, but the first thing I want to do is use the crop tool to remove the distractions, especially of that sign on the right. Tap on the crop tool. Make sure the crop is unlocked.
And now by pressing Option Alt, I can crop both sides of the image at the same time and get that arch in the middle. There, that's much better. Got rid of all the distractions. And now for the tonality, often I will see what Auto does. You can see how it's brightened the image up. I could continue to open the image up. That looks pretty good. Same idea with the color balance. We can see in this instance, Auto is doing a good job. I'm going to choose Auto. But now I really want to bring the subjects up. And that's the women.
And so we're going to use masking to select just the women. Tap on the mask icon and taking advantage of the subject masking, I tap on it and Lightroom automatically identifies that the women are the subject. They're highlighted in red. I could give them a little bit more of an exposure boost. And if I make things a little brighter, your eye goes to that subject. And we can see what the mask has done. Very subtle, just a little bit. I come back to the edit, tap the F key and use the forward slash key. You can see before and after how a very subtle edit can make an image really come alive.
Working on my images when they get back from a trip, it's very important to me. First, it lets me re-experience the trip, which I love. But it teaches me a lot about my photography. Of course, I want to only look at the best pictures, but I learned just as much from the ones that didn't work out. So I can review them, think about what would I have done differently. And the next time I go on a trip, I'll be a better photographer. So while you edit and review, learn from all your images and make sure to plan for your next trip.
Rate this course
Your feedback helps us improve our content.
Course rewards
Complete any course and earn a unique badge to celebrate your progress. Collect them all as you level up your skills!