I recently spent two weeks exploring Hawaii’s Big Island and the garden island of Kauai. Needless to say, this meant I photographed a lot of water; whether it was waterfalls, rivers, small waves fanning out on a sandy beach or giant rogue waves exploding onto rocks or cliffs. One thing I’ve always obsessed over in these situations is finding that perfect shutter speed to give the water the perfect look.
So what is the perfect shutter speed? Well, unfortunately, there isn’t one. But stay with me, and I’ll explain.
Water is always moving at different speeds, so there just can’t be one shutter speed to conquer every situation. There are 3 basic situations that call for very different shutter speed starting points so let’s go over each so you can be prepared for your next outing.
Just a Bit of Movement
This is the most common situation I find myself in. I want to create just a bit of movement to give the water that smooth, silky look that shows the movement and path of the water. My starting point for this type of shot is usually about a half second. If that doesn’t look quite right, I’ll make subtle adjustments up or down until I get it just right. If you go too long, the water will begin to look ghosted and you will lose the structure of it. Too quick and you will lose the movement and it will look too frozen in time.
NOTE: Shooting at slow shutter speeds like these means that you must have your camera on a tripod.
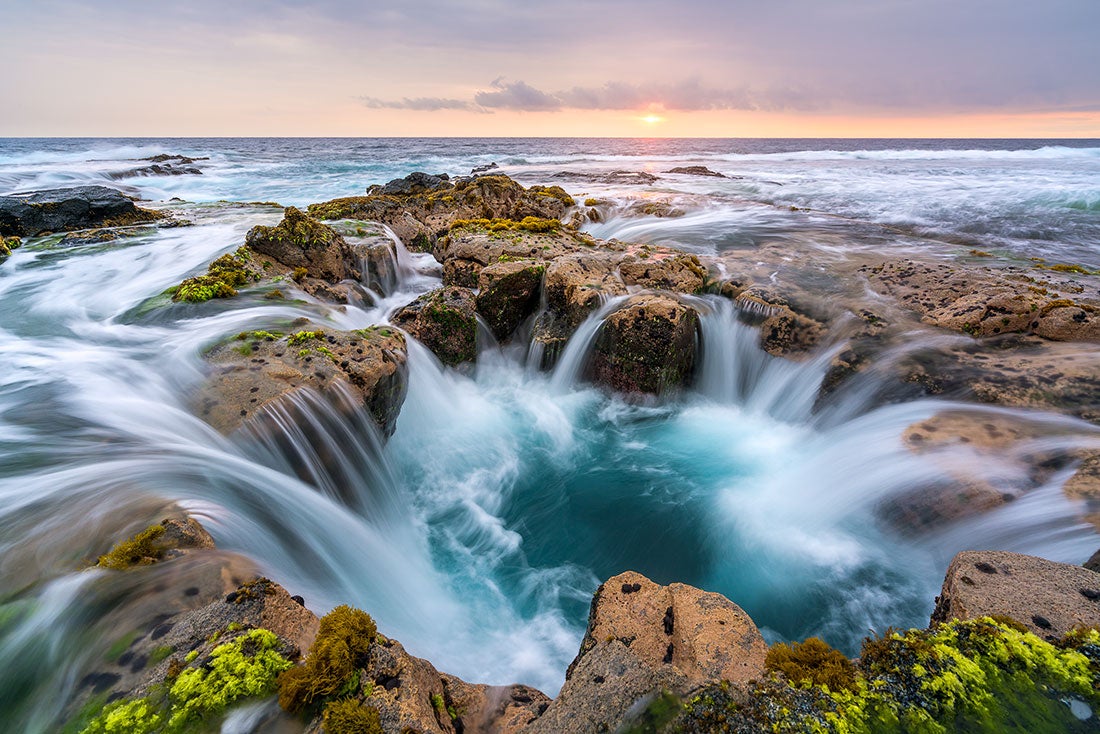
Sony α7R II and Sony Vario-Tessar T* FE 16-35mm f/4 ZA OSS lens. 1/2-sec., f/9, ISO 80
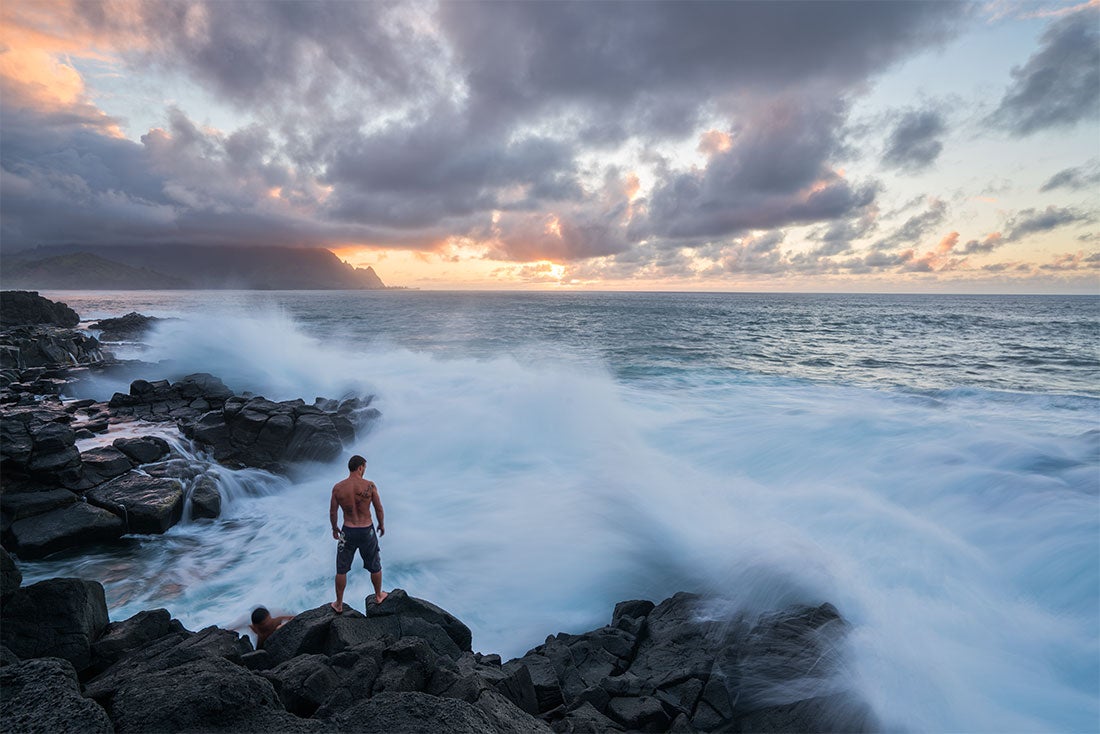
Sony α7R II and Sony Vario-Tessar T* FE 16-35mm f/4 ZA OSS lens. 0.4-sec., f/13, ISO 64
Notice the difference in the water between the two shots above. In the first shot, water is draining into a lava tube on a beach in Kona on the Big Island. The water is moving quick, but only as quick as gravity will allow. In the next shot, virtually the same shutter speed was used, but the waves were exploding over the rocks toward the person standing in the frame.
Long Exposure, Ethereal Look
The next situation is when you want to smooth out the water completely and remove all signs of structure or movement. The two main times you’d want to do this is when the water in the scene is far away and has no depth, or when you want to create reflections in the water (or see through it). These situations will often require a neutral density filter if there is a good amount of daylight still present. The starting point for this type of shot is 30 seconds but sometimes you will need 1-2 minutes.
NOTE: To go over 30 seconds, you will need to switch to BULB mode. You’ll also need a remote to trigger the shutter speed, otherwise you’ll have to hold the shutter speed down the entire time which will inevitably ruin your shot because of vibration.
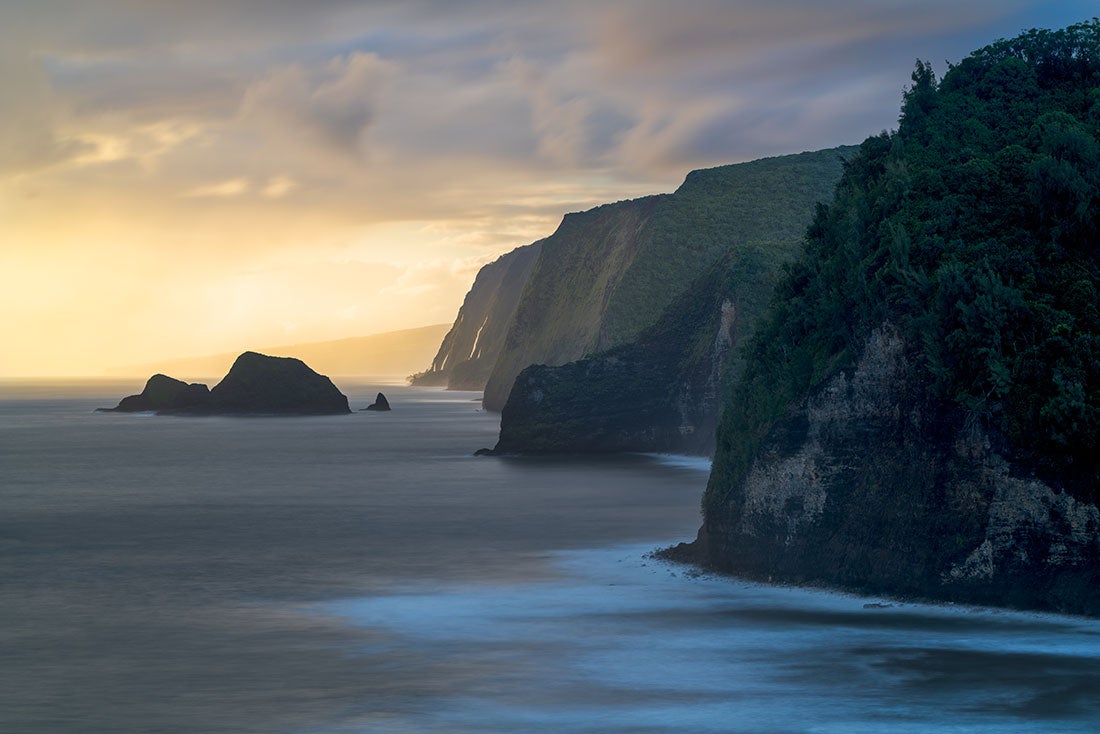
Sony α7R II and Sony FE 70-200mm f/4.0 G OSS lens. 30-sec., f/9, ISO 64
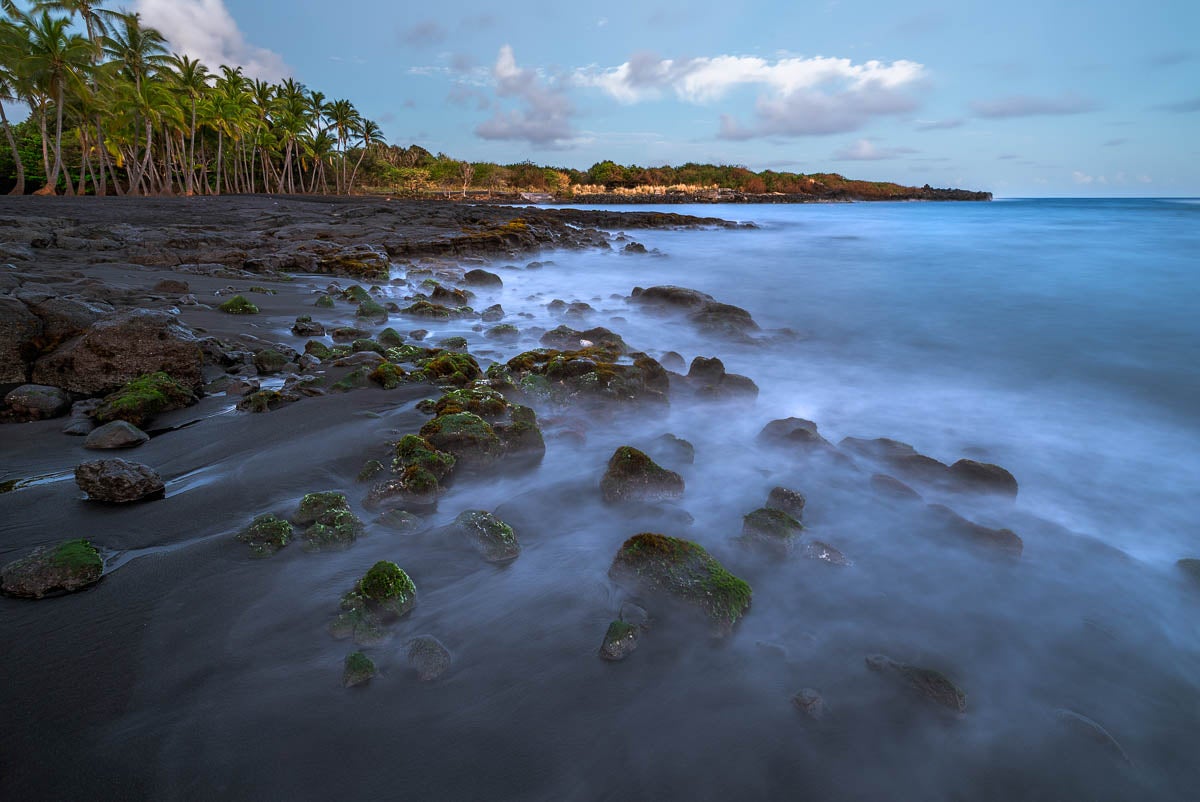
Sony α7S and Sony Vario-Tessar T* FE 16-35mm f/4 ZA OSS lens. 30-sec., f/14, ISO 50
Freezing Water In Place
Sometimes, you just want to freeze the water in place and capture every little detail you can. For this to work, the best starting point is around 1/500th of a second. That said, this type of situation has the widest range of shutter speeds that will still get the job done. Going up to 1/8000th of a second will stop even the fastest moving water right in its track, but you can also get away with around 1/50th in certain situations (like the one below). Shooting that low won’t totally freeze the water (there will be some movement) but it still freezes the water without adding too much motion.
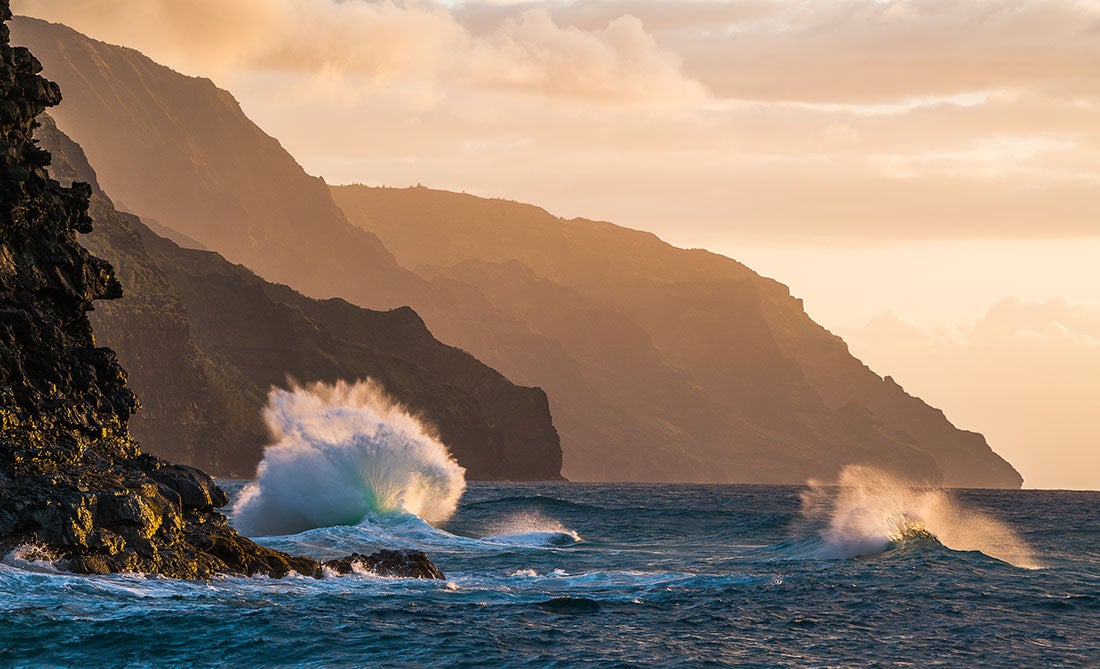
Sony α7R II and Sony FE 70-200mm f/4.0 G OSS lens. 1/50-sec., f/13, ISO 250
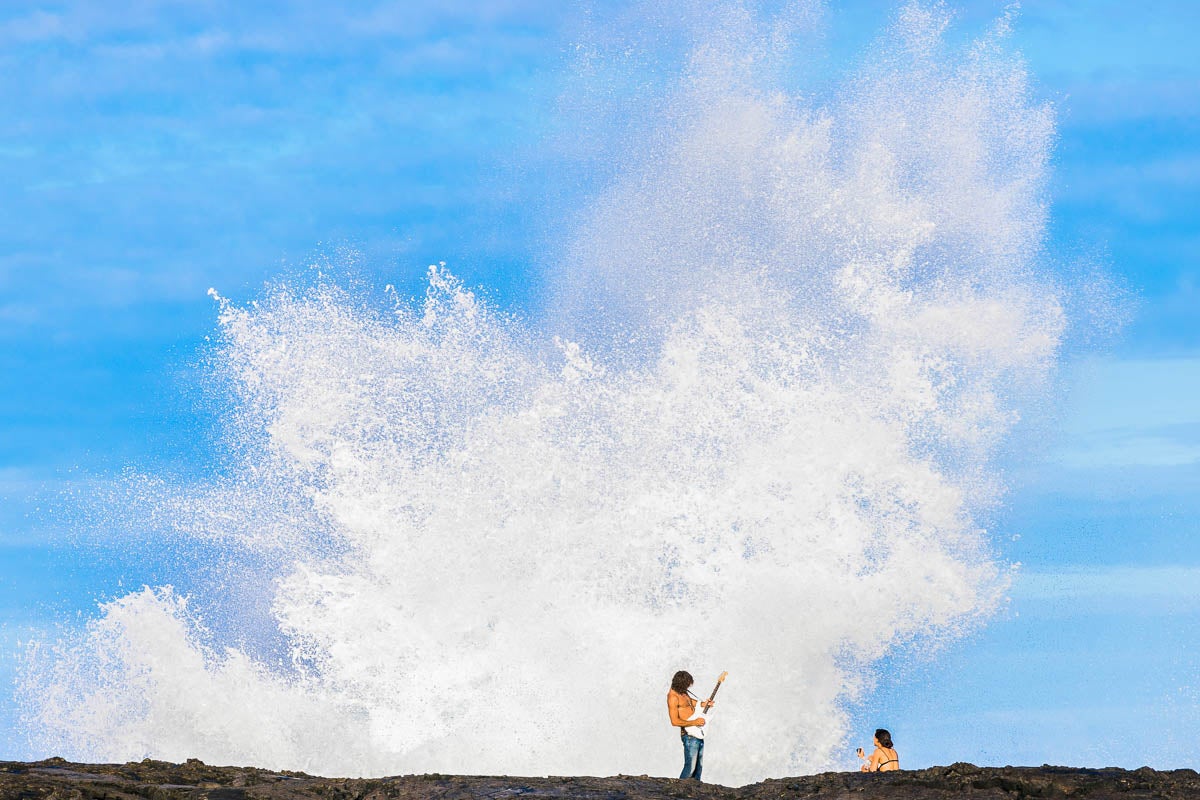
Sony α7S and Sony FE 70-200mm f/4.0 G OSS lens. 1/640-sec., f/5, ISO 125


