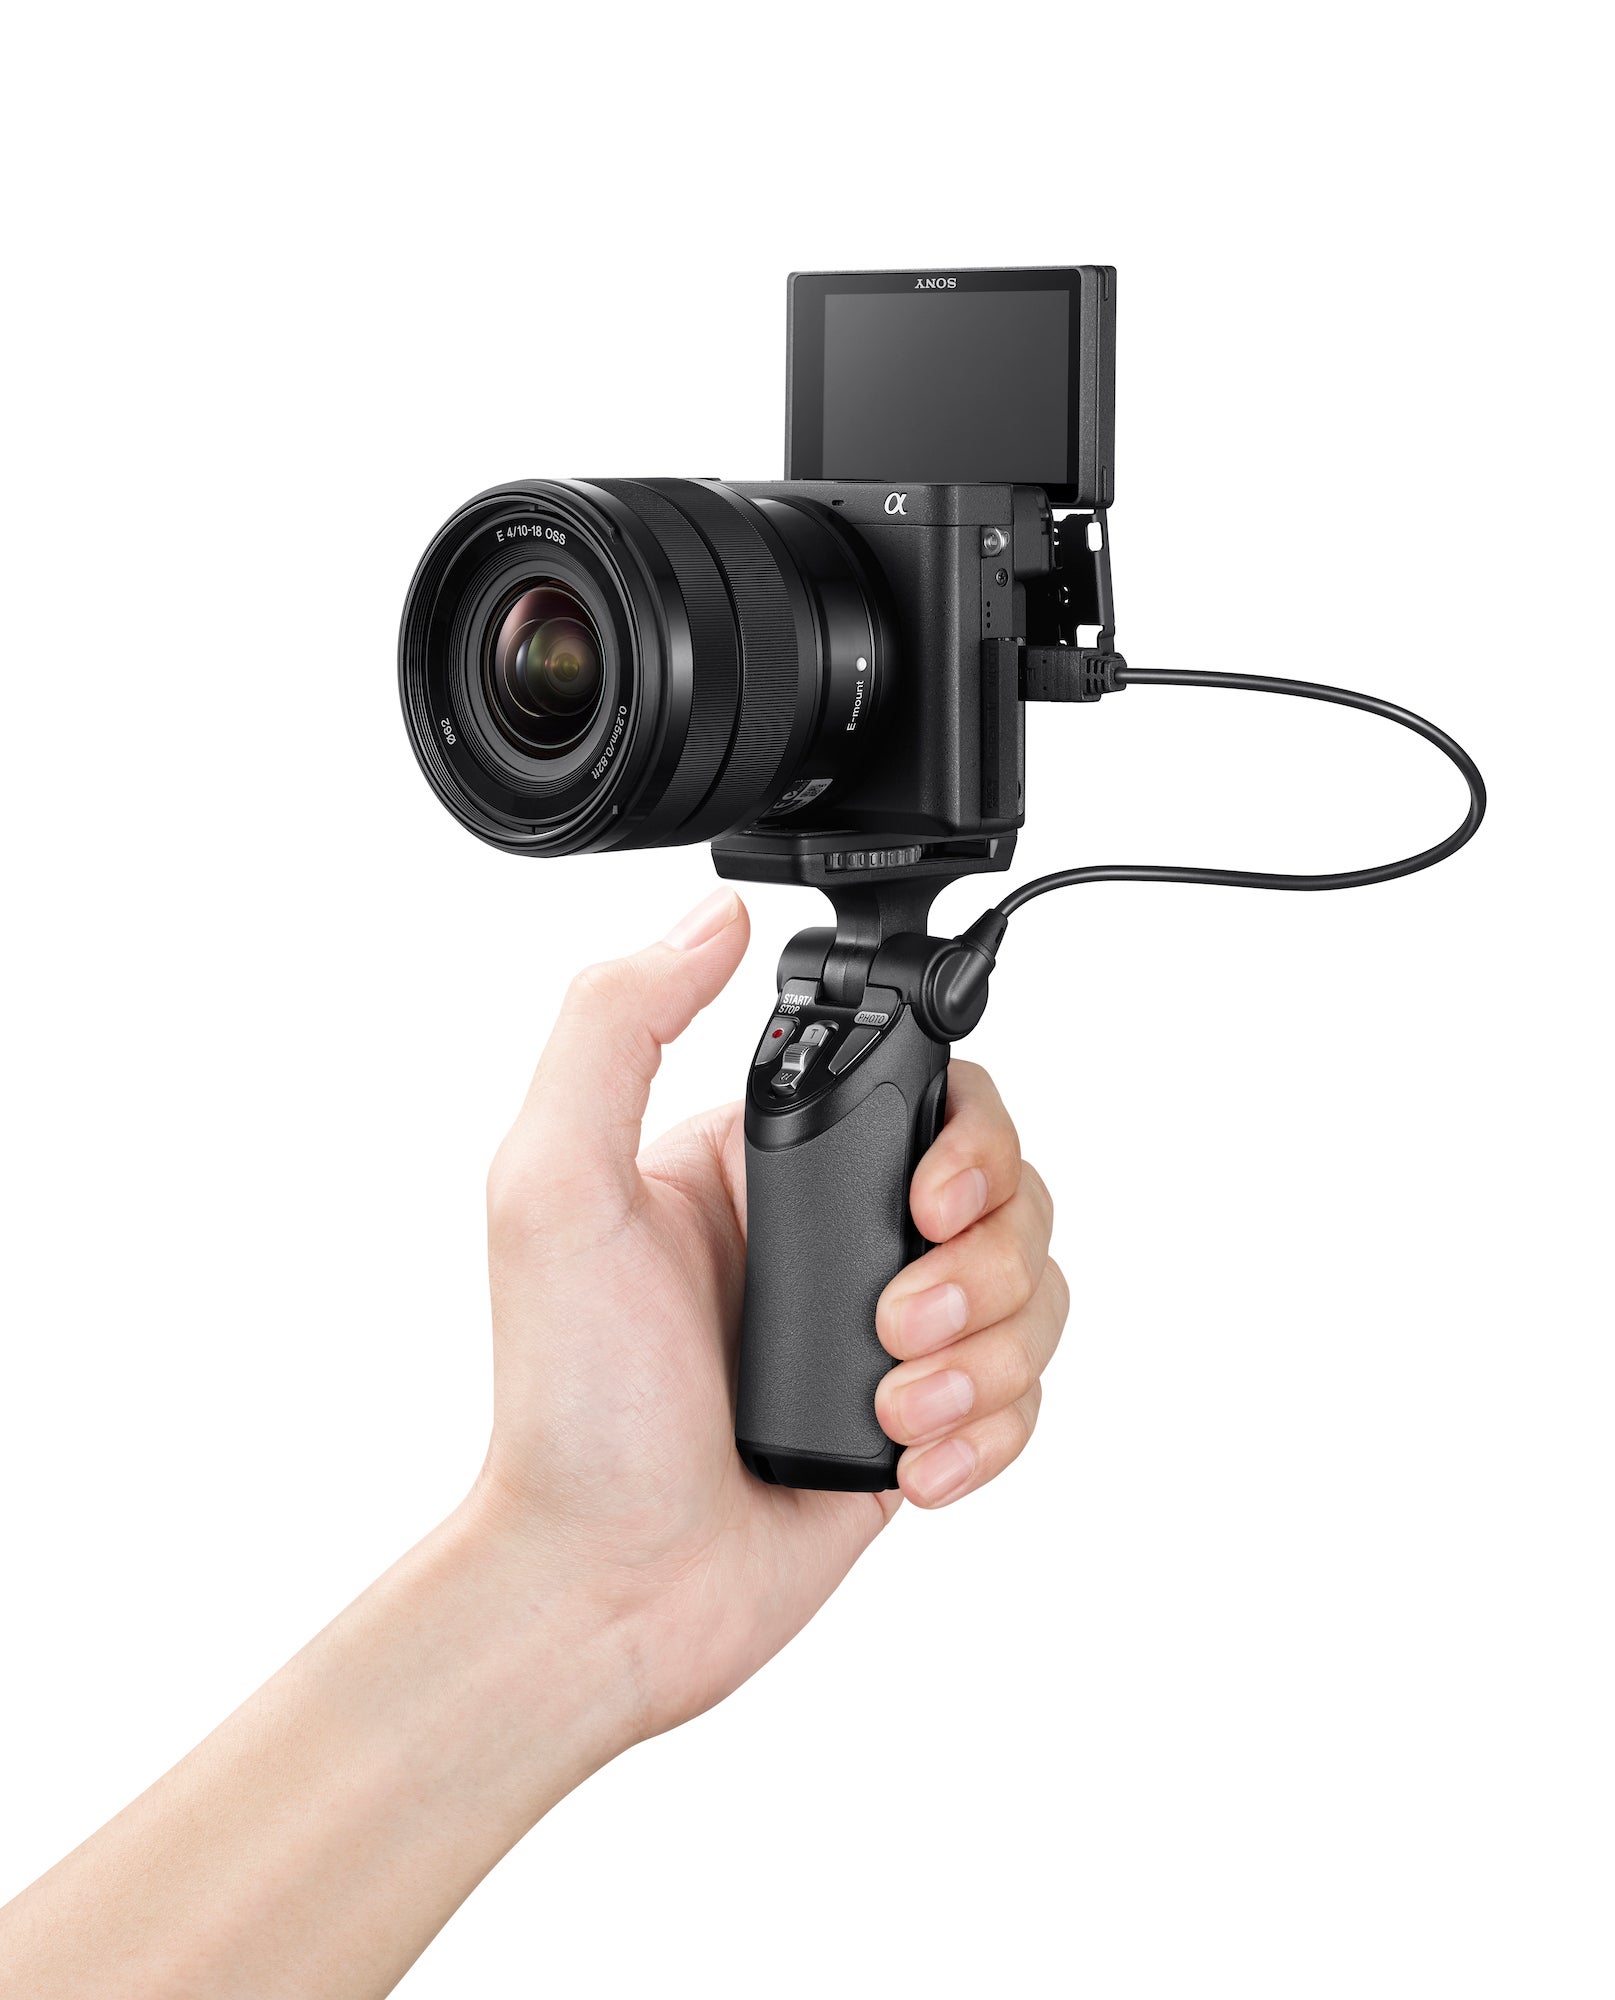
For creatives who want to get into the vlogging game, the choices can seem a little overwhelming. We connected with pro vlogger and content creator Jason Vong to get some suggestions on building your first vlogging setup. We asked Vong to outline three basic kits with just the essentials—camera, lens, audio and essential supports. Something to keep in mind as you’re starting out with vlogging is that you want to keep your kit nice and light. If you look at many of the most successful vloggers on YouTube, they’re always on a quest to lighten up without sacrificing image and sound quality.
Vlogger & content creator Jason Vong outlines three basic kits that can serve as your first vlogging setup.
We’ve broken the kits into Full-frame, APS-C and Compact cameras. Each has its strengths and limitations and it’s common for experienced vloggers to use them all, depending upon the situation.
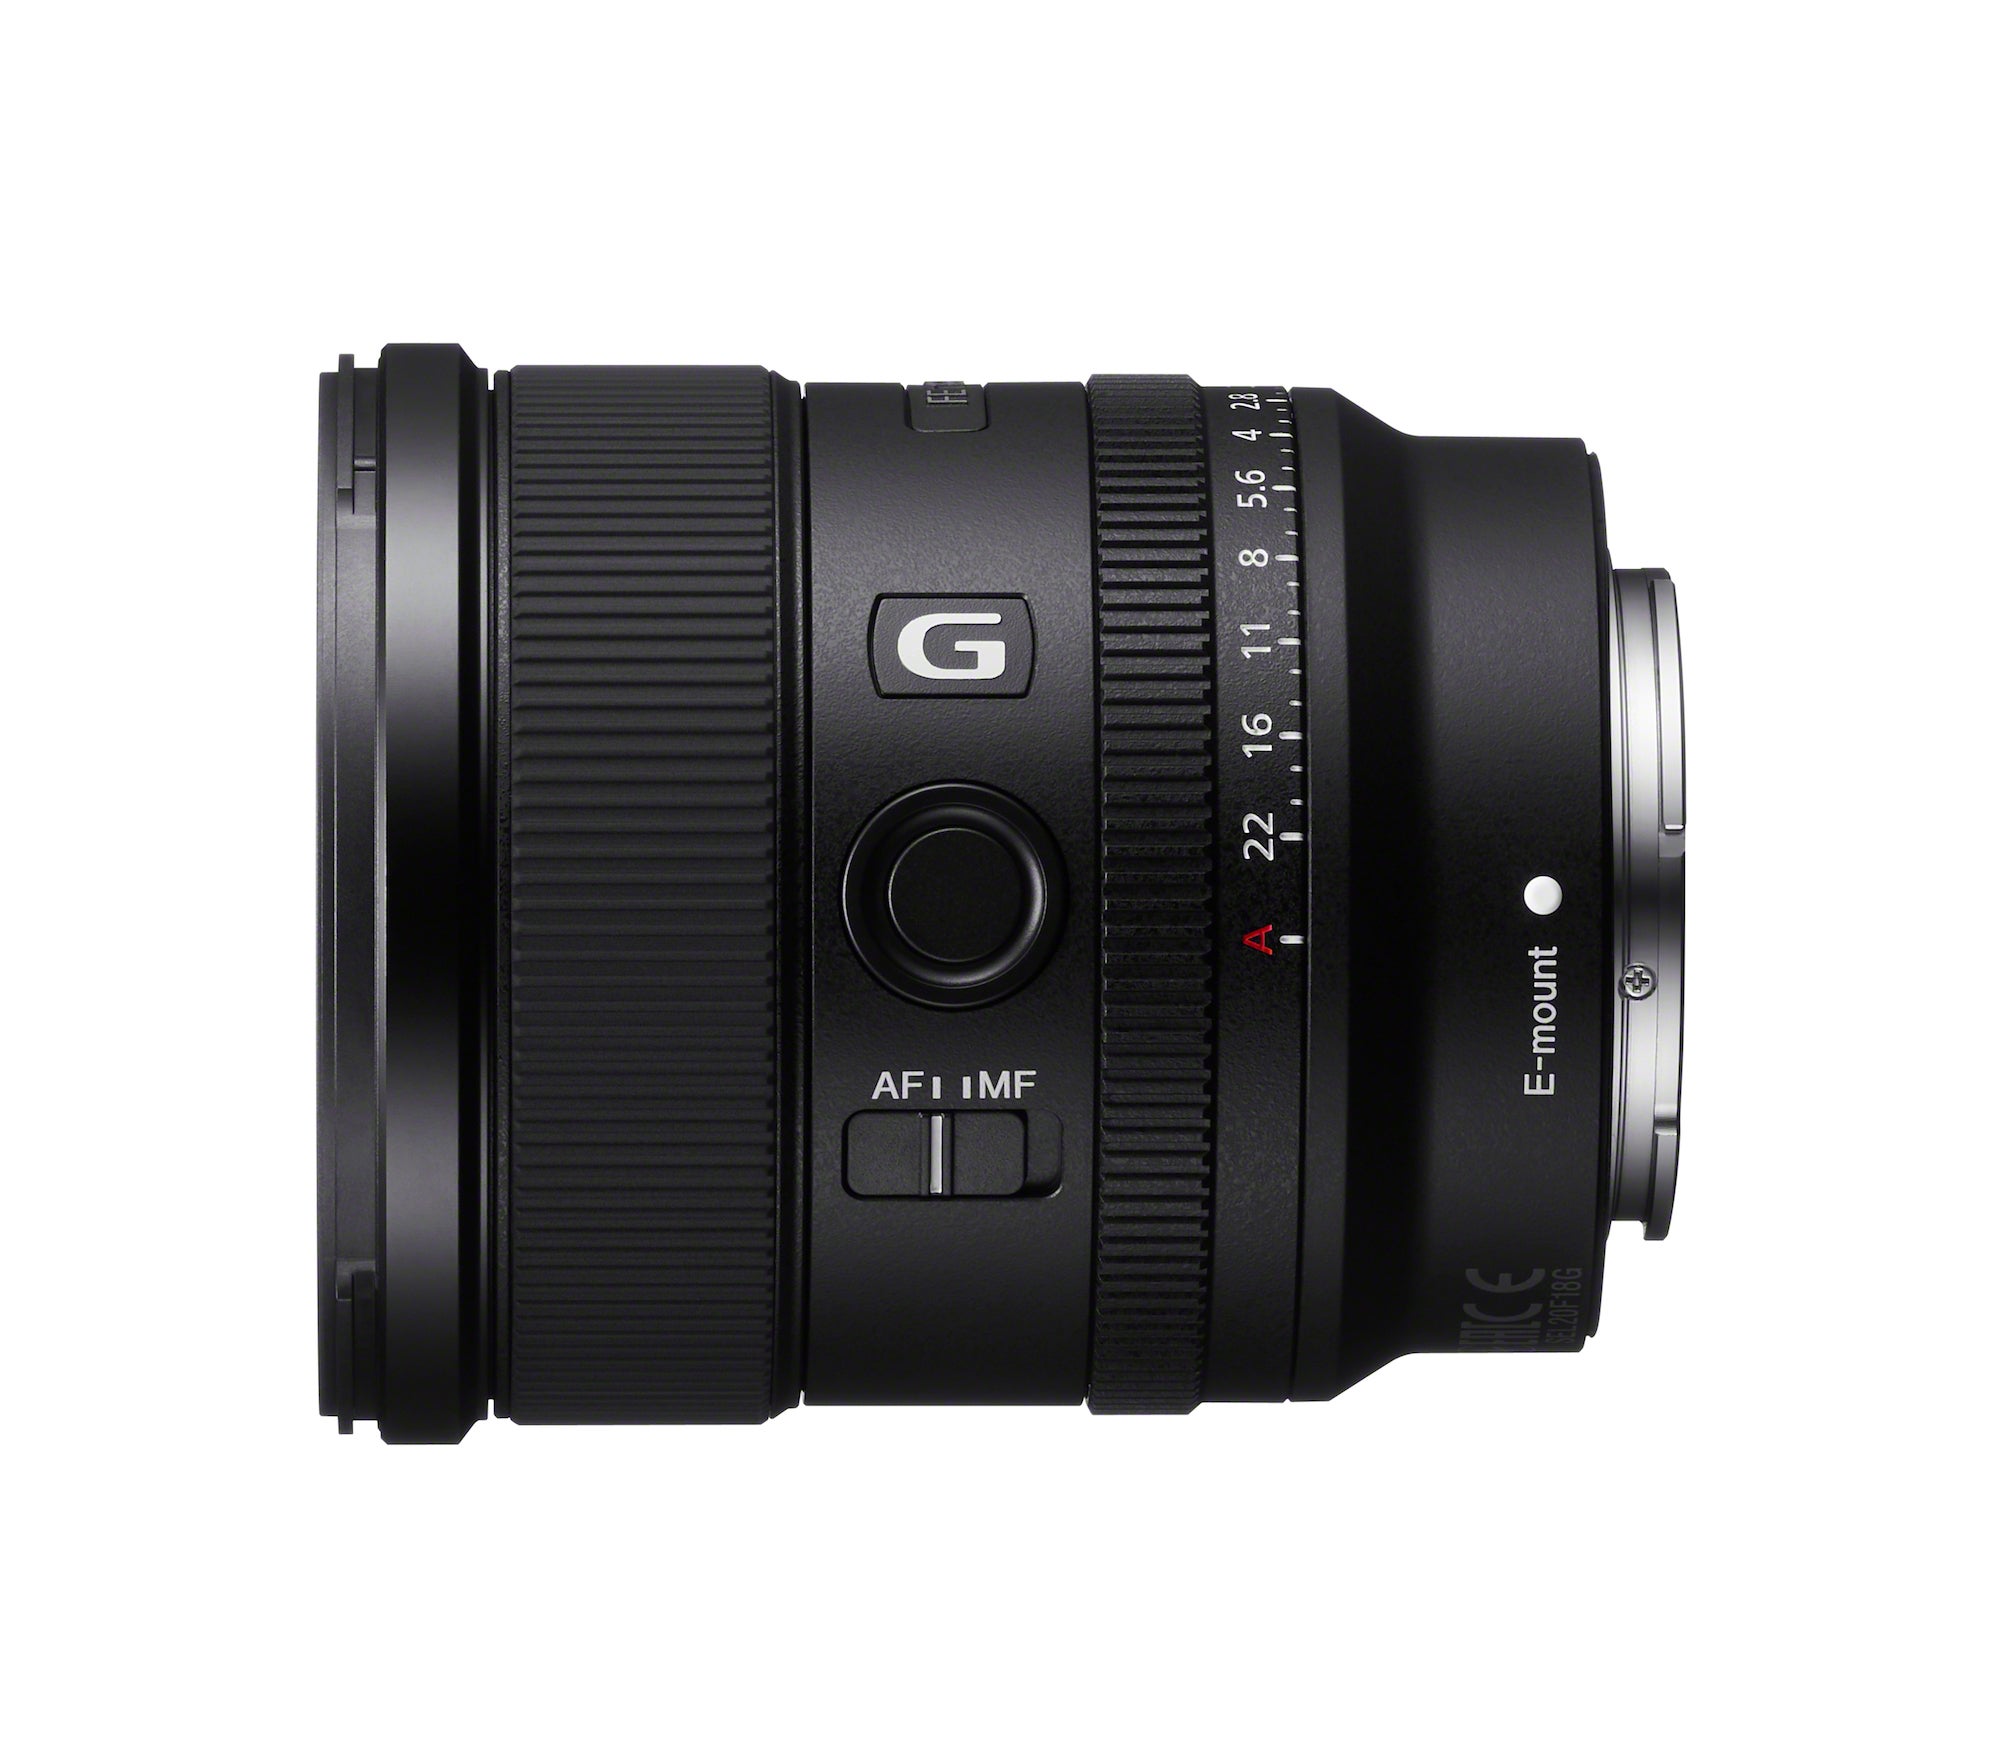
Full Frame Setup: Sony α7R IV or α7 III and Sony 20mm f/1.8 lens
Key Benefits
- Maximum image quality
- High resolution gives you a lot of options in editing
- You can get more of a cinematic look than is possible with small formats
- Cameras are rich in features
- Interchangeable lenses let you compose without limitations
- Excellent low-light capability
- In-body stabilization in Sony full-frame cameras gives vloggers lots of options
Camera/Lens
Sony α7R IV: This is a camera that I personally use and it’s really great. One of the things this camera has that I really like is the video eye auto-focus feature. That is a great tool for vlogging because it gives me confidence to know that the focus is always going to be spot on. It shoots in 4K and it has great low-light image quality.
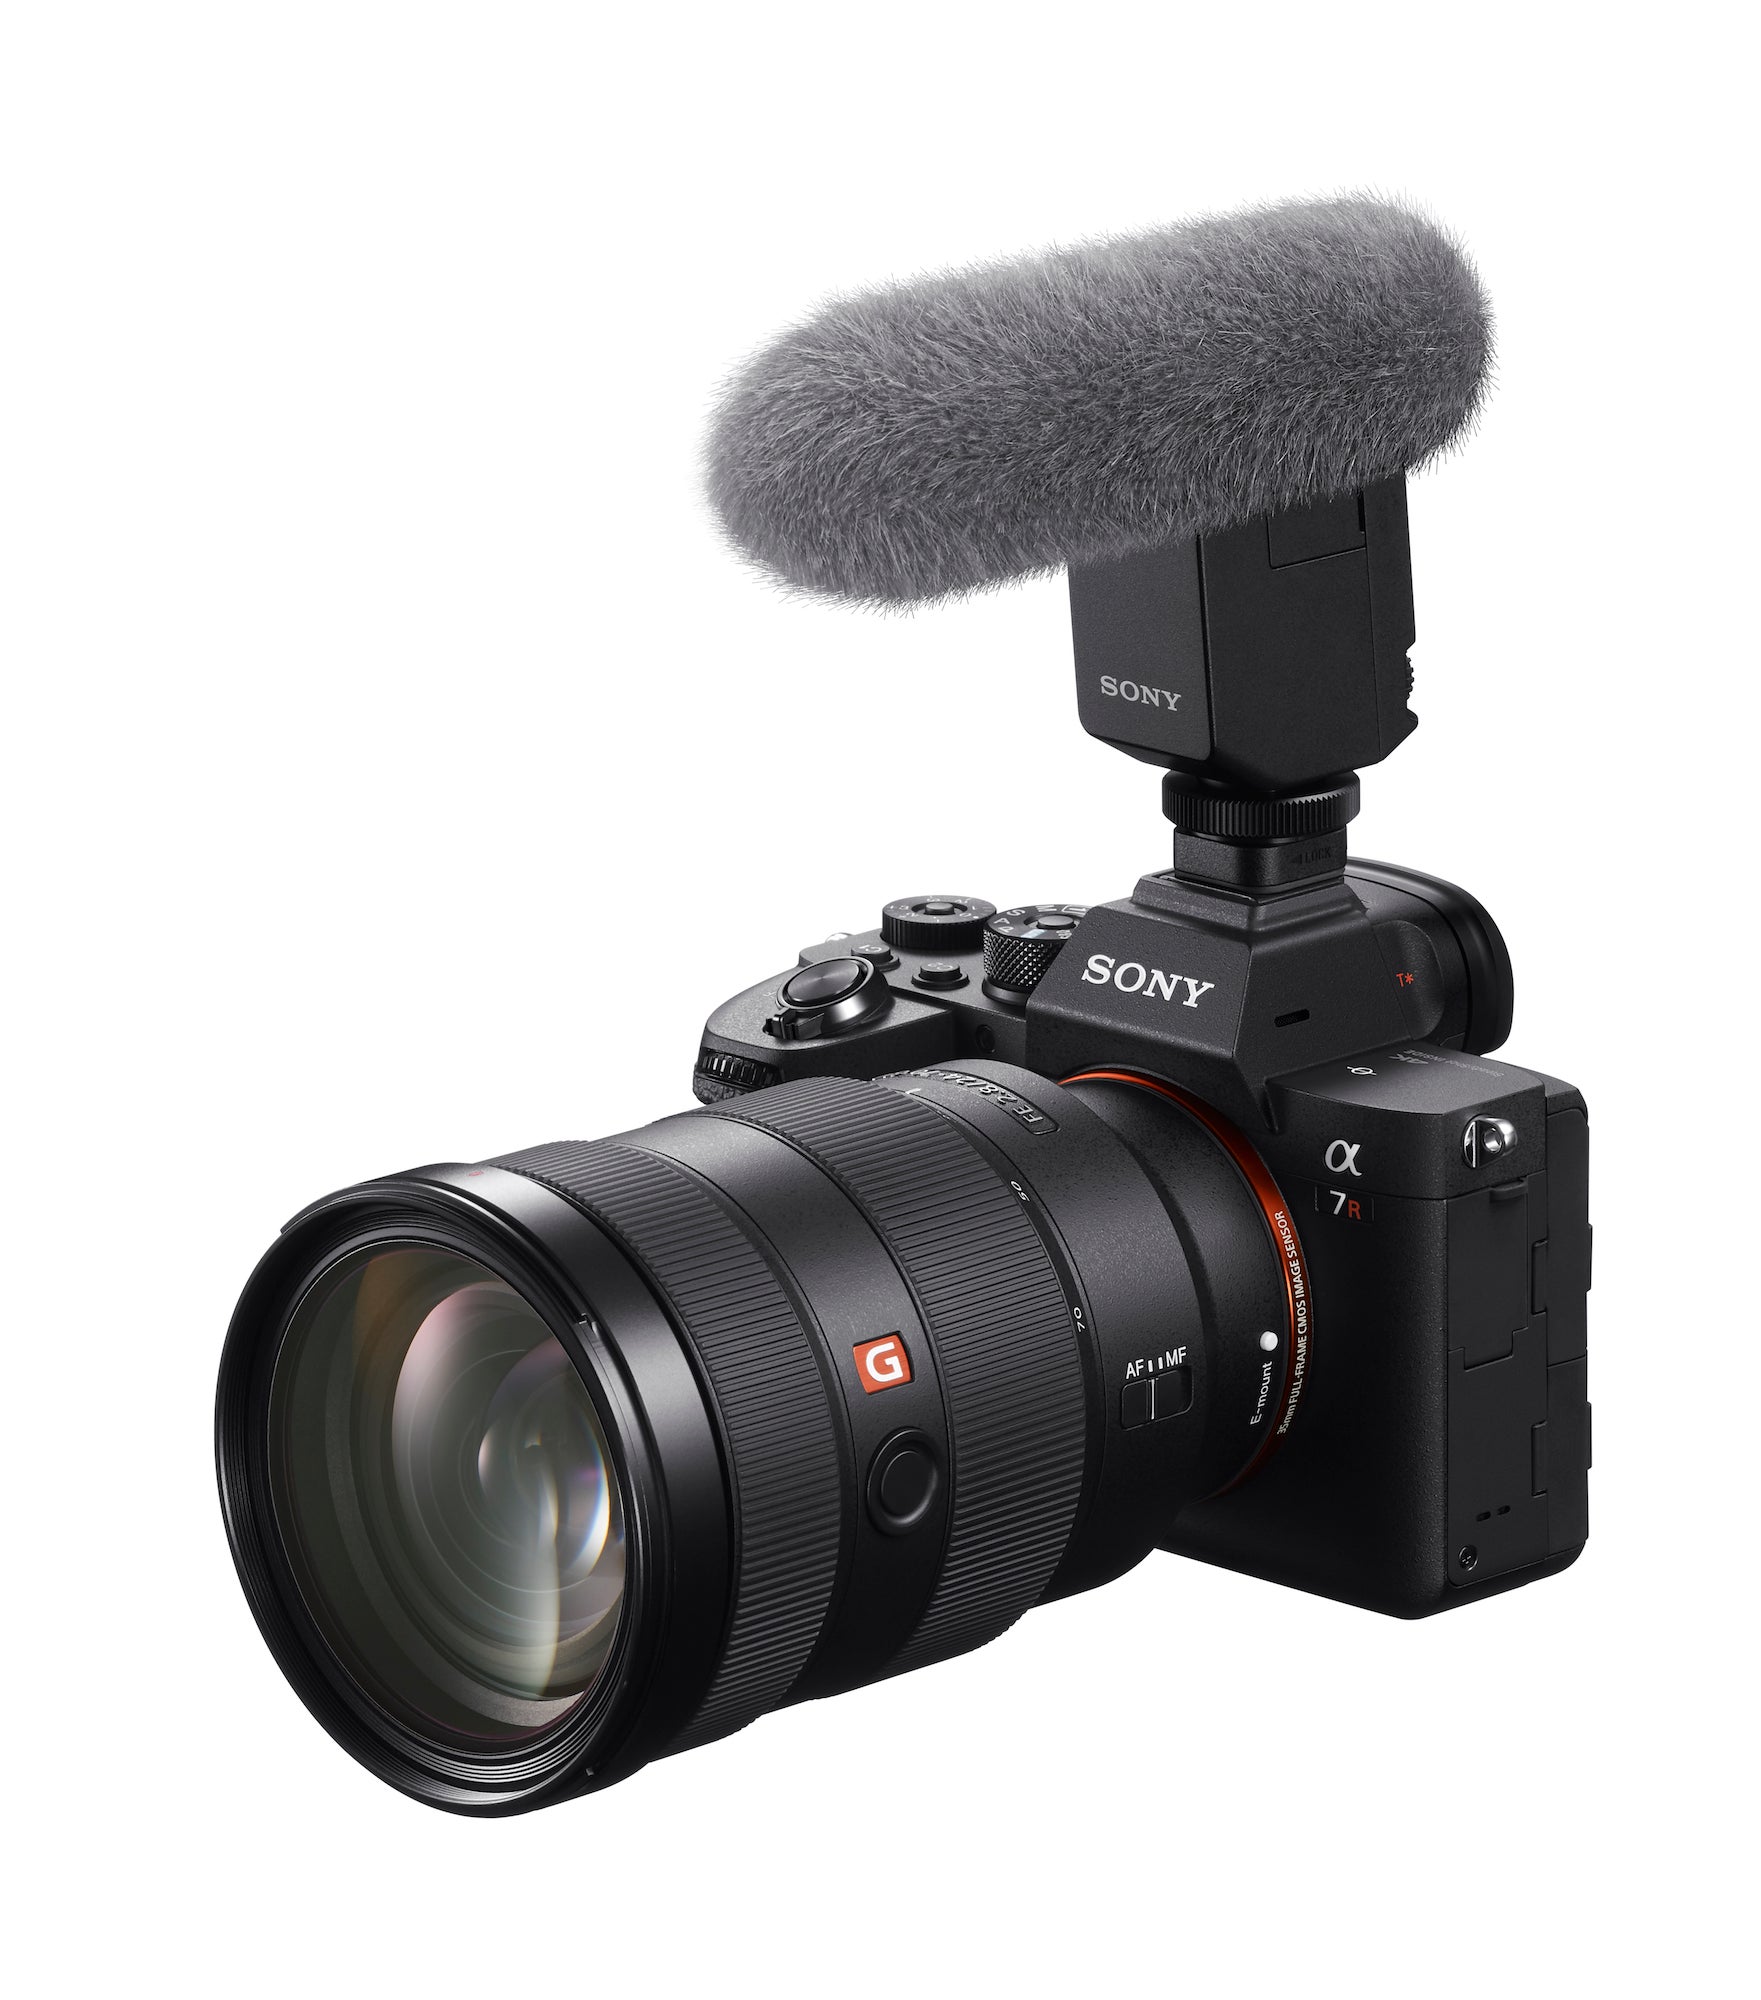
Sony α7 III: The α7 III is a really nice entry-level full frame camera with top of the line auto focus features. It has that full frame look, meaning it’s better in low light and just comes with all the benefits of a full frame camera setup. The 4K video quality is great and the camera is available at a nice price.
Sony 20mm f/1.8: This new 20mm is a nice small, lightweight, ultra wide-angle prime lens with a fast aperture of f/1.8. For anyone who wants to do any type of vlogging, the 20mm is a comfortable-enough distance for hand-holding the camera while getting you and your surroundings in the frame. Shooting wide open at f/1.8, the lens gives you that nice blurry background-look when you’re vlogging. And with that faster aperture you have a little more wiggle room when it comes to shooting in low light. I really like this lens for vlogging for its combination of size, aperture and angle of view. I’m very comfortable using it instead of a larger, heavier zoom.
Accessories
Rode Video Mic Pro+: This is one of the more popular mics in the vlogging community. What’s nice about it is that once you connect it to the camera and you power on your camera, the mic automatically powers on too. So it’s not like you’re going to forget to turn one thing on. On top of that you can set different recording levels so you can record the right channel at a different decibel level than the left channel. This way if you go into a loud place and you blow out the audio on one side, you can still save your footage by recording at a lower decibel level on the other side.
Sony ECM-B1M: This mic is gives you some advantages over the Rode if you’re shooting with the Sony α7R IV. It takes advantage of the camera’s multi-interface hot shoe technology to integrate beautifully with the camera controls and noise cancellation.
SmallHD Focus 5: With the full frame setup, I don’t really have a flip-out screen. When I’m making videos at home, having this small monitor mounted on my camera helps me stay where I want to be in the frame.
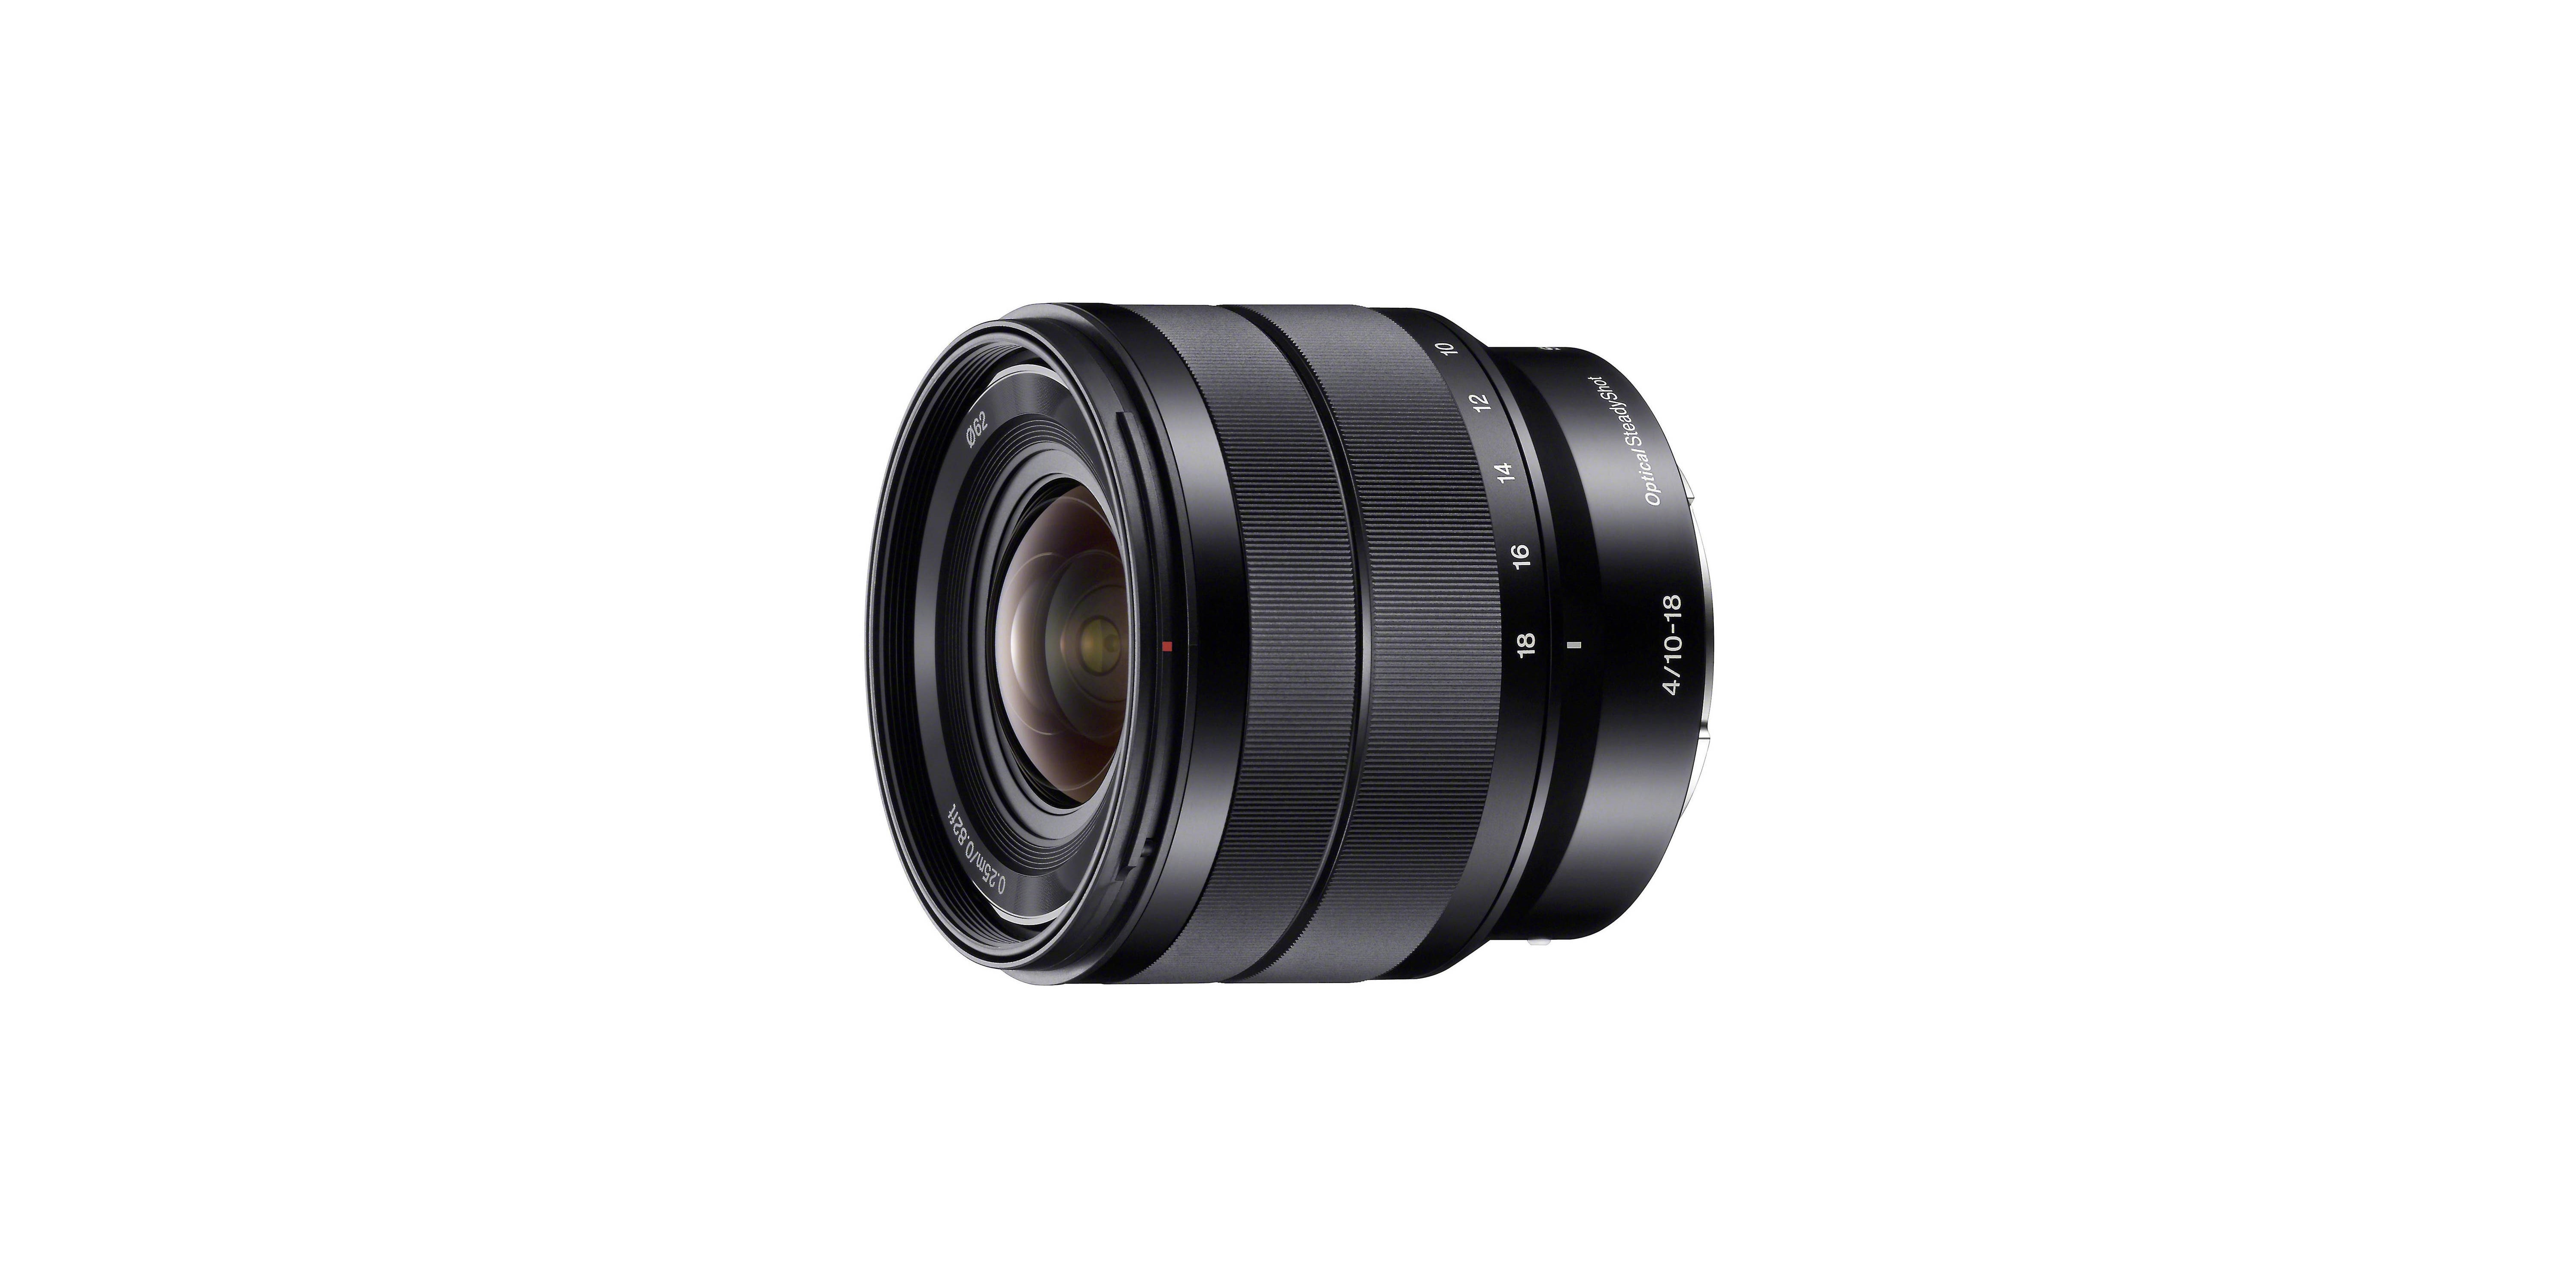
APS-C Setup: Sony α6400 and Sony 10-18mm f/4 Lens
Key Benefits
- Usually smaller and lighter than full-frame setups
- Interchangeable lenses let you compose without limitations
- Nice combination of size/weight and image quality
- Cameras have a rich feature set
- Can hit a nice sweetspot for vloggers who want interchangeable lenses
Camera/Lens
Sony α6400: In terms of budget, performance and the whole package itself, I think this camera gives you a lot of bang for your buck. You have all the picture profiles as well as pro features in a very small form factor. It has a flip-up screen which has some limitations, but that’s easy to work around and it’s a lot more convenient than having to use a separate monitor. For beginners and experienced vloggers alike, this camera has a lot going for it and the price is really good.
Sony 10-18mm f/4: When you pair this lens with a Sony α6400 camera, you’re getting really high quality 4K video footage in a very light, compact form factor. One thing with the α6400 is that it doesn’t have any sort of built-in, in-body stabilization. With the 10-18mm f/4 you have Optical Steady Shot in the lens so when you’re hand-holding a setup and vlogging, it keeps that nice stability. It really makes the α6400 APS-C package strong.
Accessories
Cold Shoe Adapter Relocation Plate: With the α6400, the placement of the hot shoe is in the middle of the screen so when you mount the mic on it, the mic can block your view. This relocation plate fits the mic to the side of the camera so if you want to mount a shotgun mic it doesn’t get in the way.
Rode Video Micro: It may not have all of the features of the Rode Mic Pro+, but the form factor alone is a reason to use it. This mic with this setup keeps everything compact and still gives you great audio quality.
Rode Wireless GO Lav: The great thing about this particular wireless lav system is you don’t have to use it as a lapel microphone with the string. You can use it handheld. I always have a lav mic with me just in case. It’s so tiny and also very versatile and the receiver fits on top of the camera.
If you’re more run-and-gun and things are just happening and you don’t have much time to set up, the shotgun Rode Video Micro is going to be your best option. But for me personally, when I’m traveling and hosting and have time to prep and plan, I would use the OR Rode Wireless GO Lav system because I’m going to get better audio with the mic so close to me. I can also shield the mic away from other background noises, so I would use this as the cleanest audio recording solution.
Compact Setup: Sony ZV-1
Key Benefits
- Most lightweight and compact camera option
- Integral lens means not having to carry more lenses
- ZV-1 flip out screen for easy composition on yourself
- New advanced built-in mics and audio features can mitigate the need for an external mic
- Lower cost of entry than APS-C or Full-frame
- Streamlined vlogging features for easy setup
- You still get 4K recording
Camera
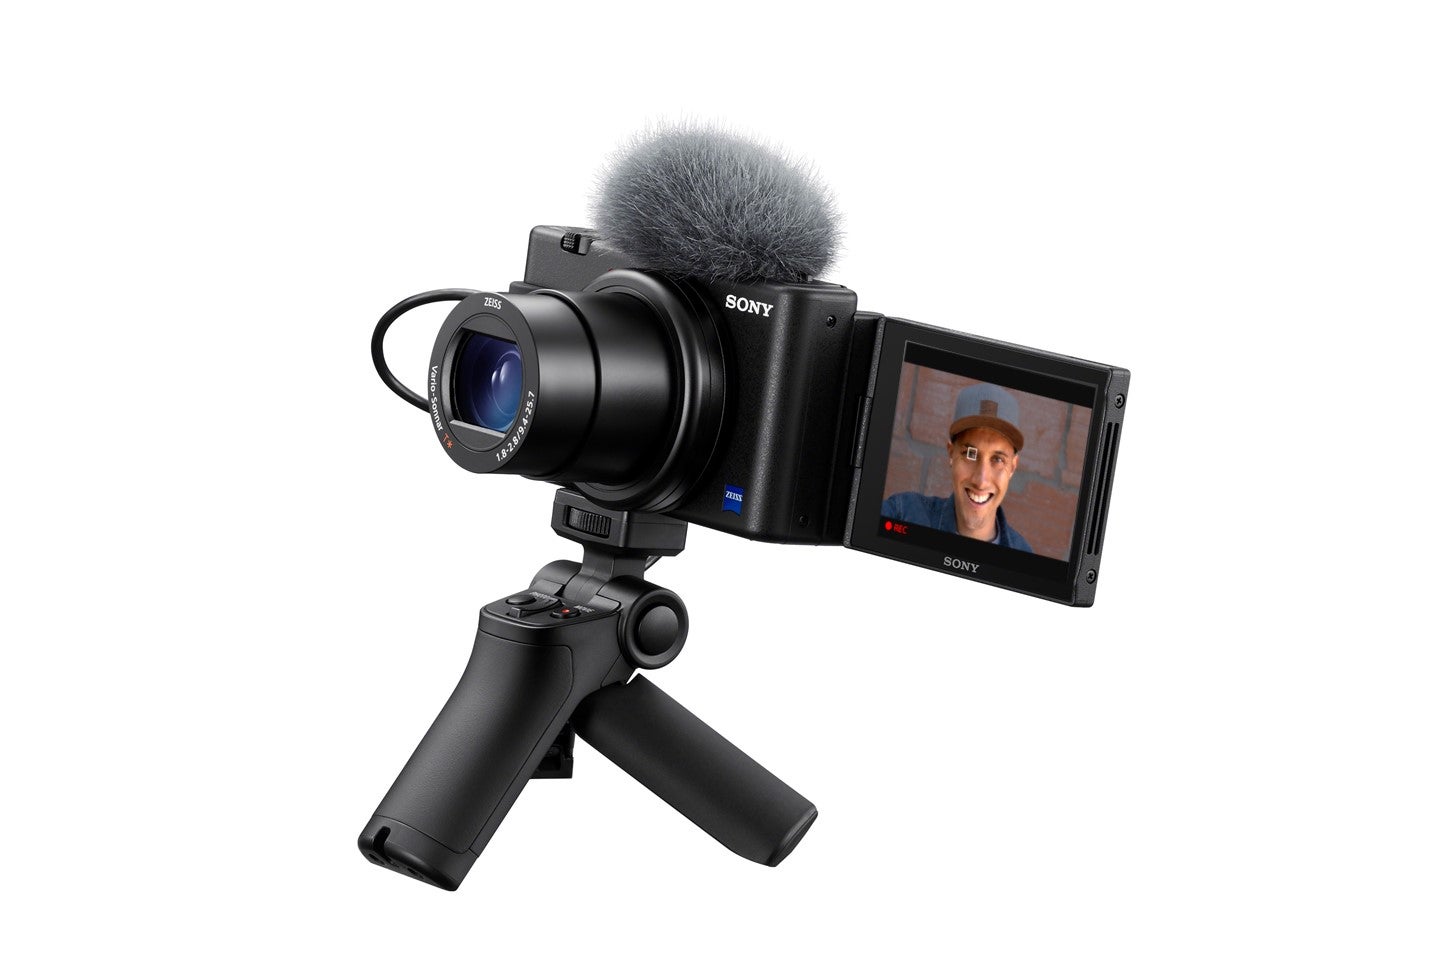
Sony ZV-1: If you want something even smaller, even more budgeted, the ZV-1 is a really great new option for vloggers. I’ve been using the ZV-1 since before it was announced and it really streamlines a lot of the most-used features for vloggers. Things like the background defocus and the product showcase features as well as the inclusion of the flip-out screen. The new built-in mics are outstanding and if you’re in a difficult location, you still have the option of plugging in an external mic as well. It’s a small package that includes everything a vlogger needs in a single package. You can use the ZV-1 as a standalone camera if you wanted to, or it can be a great complementary camera for the full frame camera or the APS-C camera.
Accessories
SD Card (64GB Minimum, 128GB Recommended): Make sure you get reliable fast memory cards from a reputable menufacturer.
Extra batteries and a Battery Bank: Even with high-capacity batteries and newer cameras, shooting video takes a lot of power. Always have a couple extra batteries with you.
Manfrotto Mini Tripod: I’m a fan of this more traditional-looking mini tripod. It’s really tiny and has a comfortable grip. It has nice, little articulations so if you need to level out your camera you can use the little ballhead to adjust the framing.
Sony Bluetooth Grip: I really enjoy this because you don’t have to connect any wires to the camera. It’s all done through a Bluetooth connection. Just being able to hit the record button or zoom from the grip is really nice.
LumeCube Panel Mini: If you’re on the go and suddenly in a low light situation and you need some light on your face, this is a great little light to have in your pocket or in your bag. It can get really bright, which is nice if you really need that level. But even at 20 percent, the light is plenty bright to keep you well-lit while you’re vlogging. The battery life also lasts pretty long.
