You can find S&Q mode, or Slow & Quick Mode, on a variety of Sony Alpha cameras. This shooting mode allows you to make creative videos like timelapses and slow motion in-camera as opposed to having to do it in post-production. Below we break down the menu settings step-by-step using the Sony Alpha 1 to show you how you can set it up for your camera no matter the creative footage you’re aiming to capture.
See how to set and use Slow & Quick Mode on your Sony Alpha camera to create slow-motion video and timelapses.
1. Access S&Q Settings
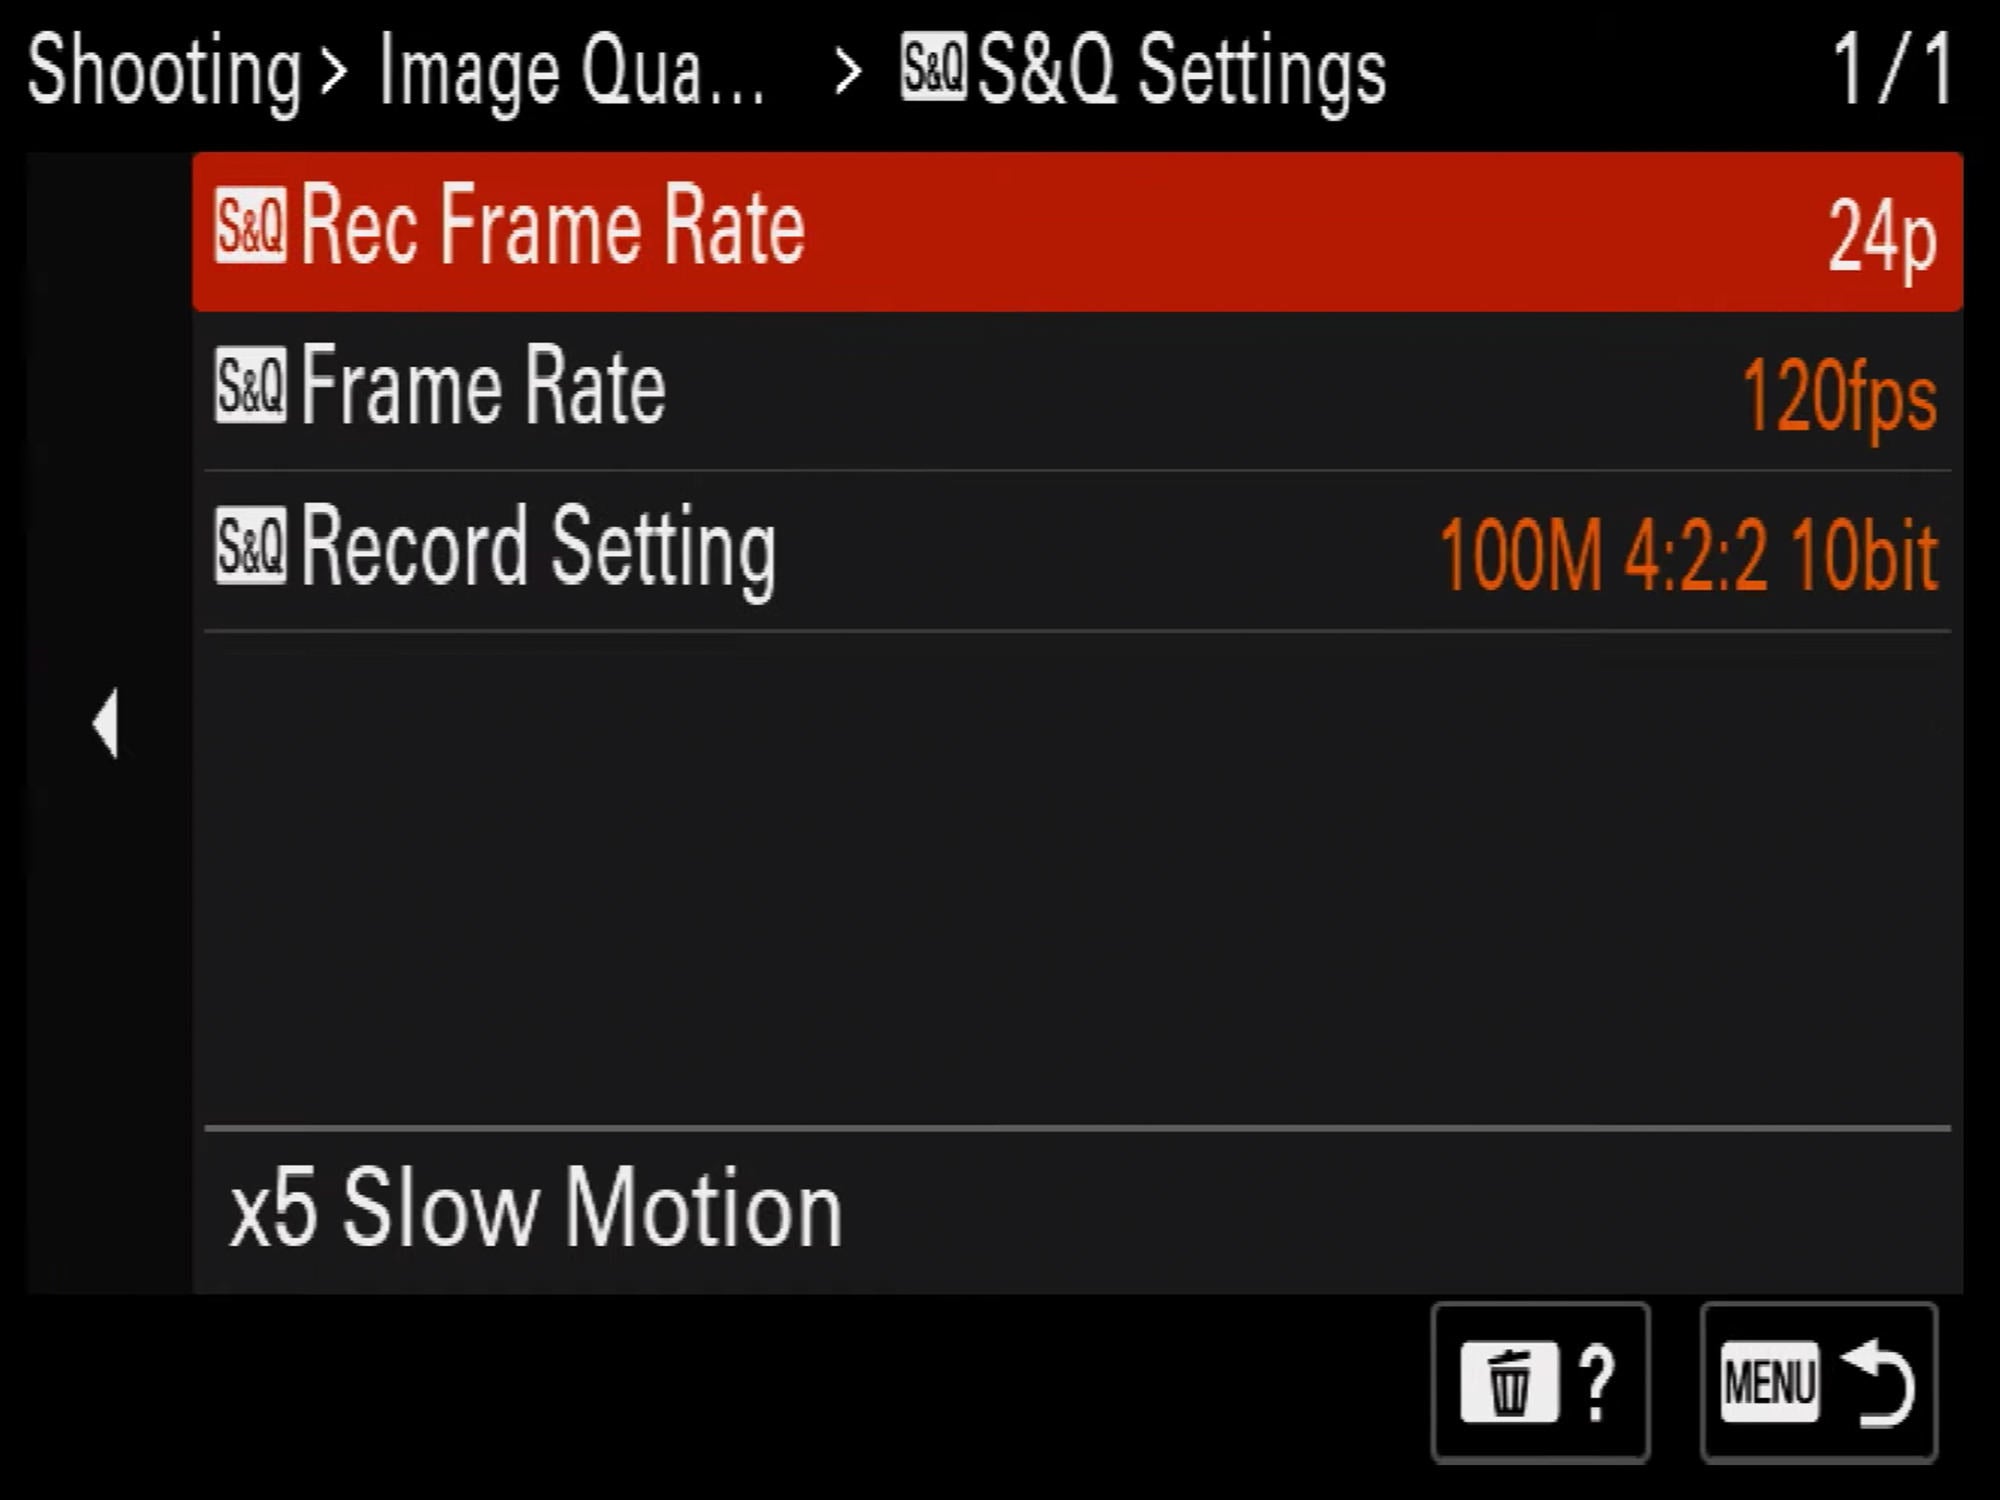
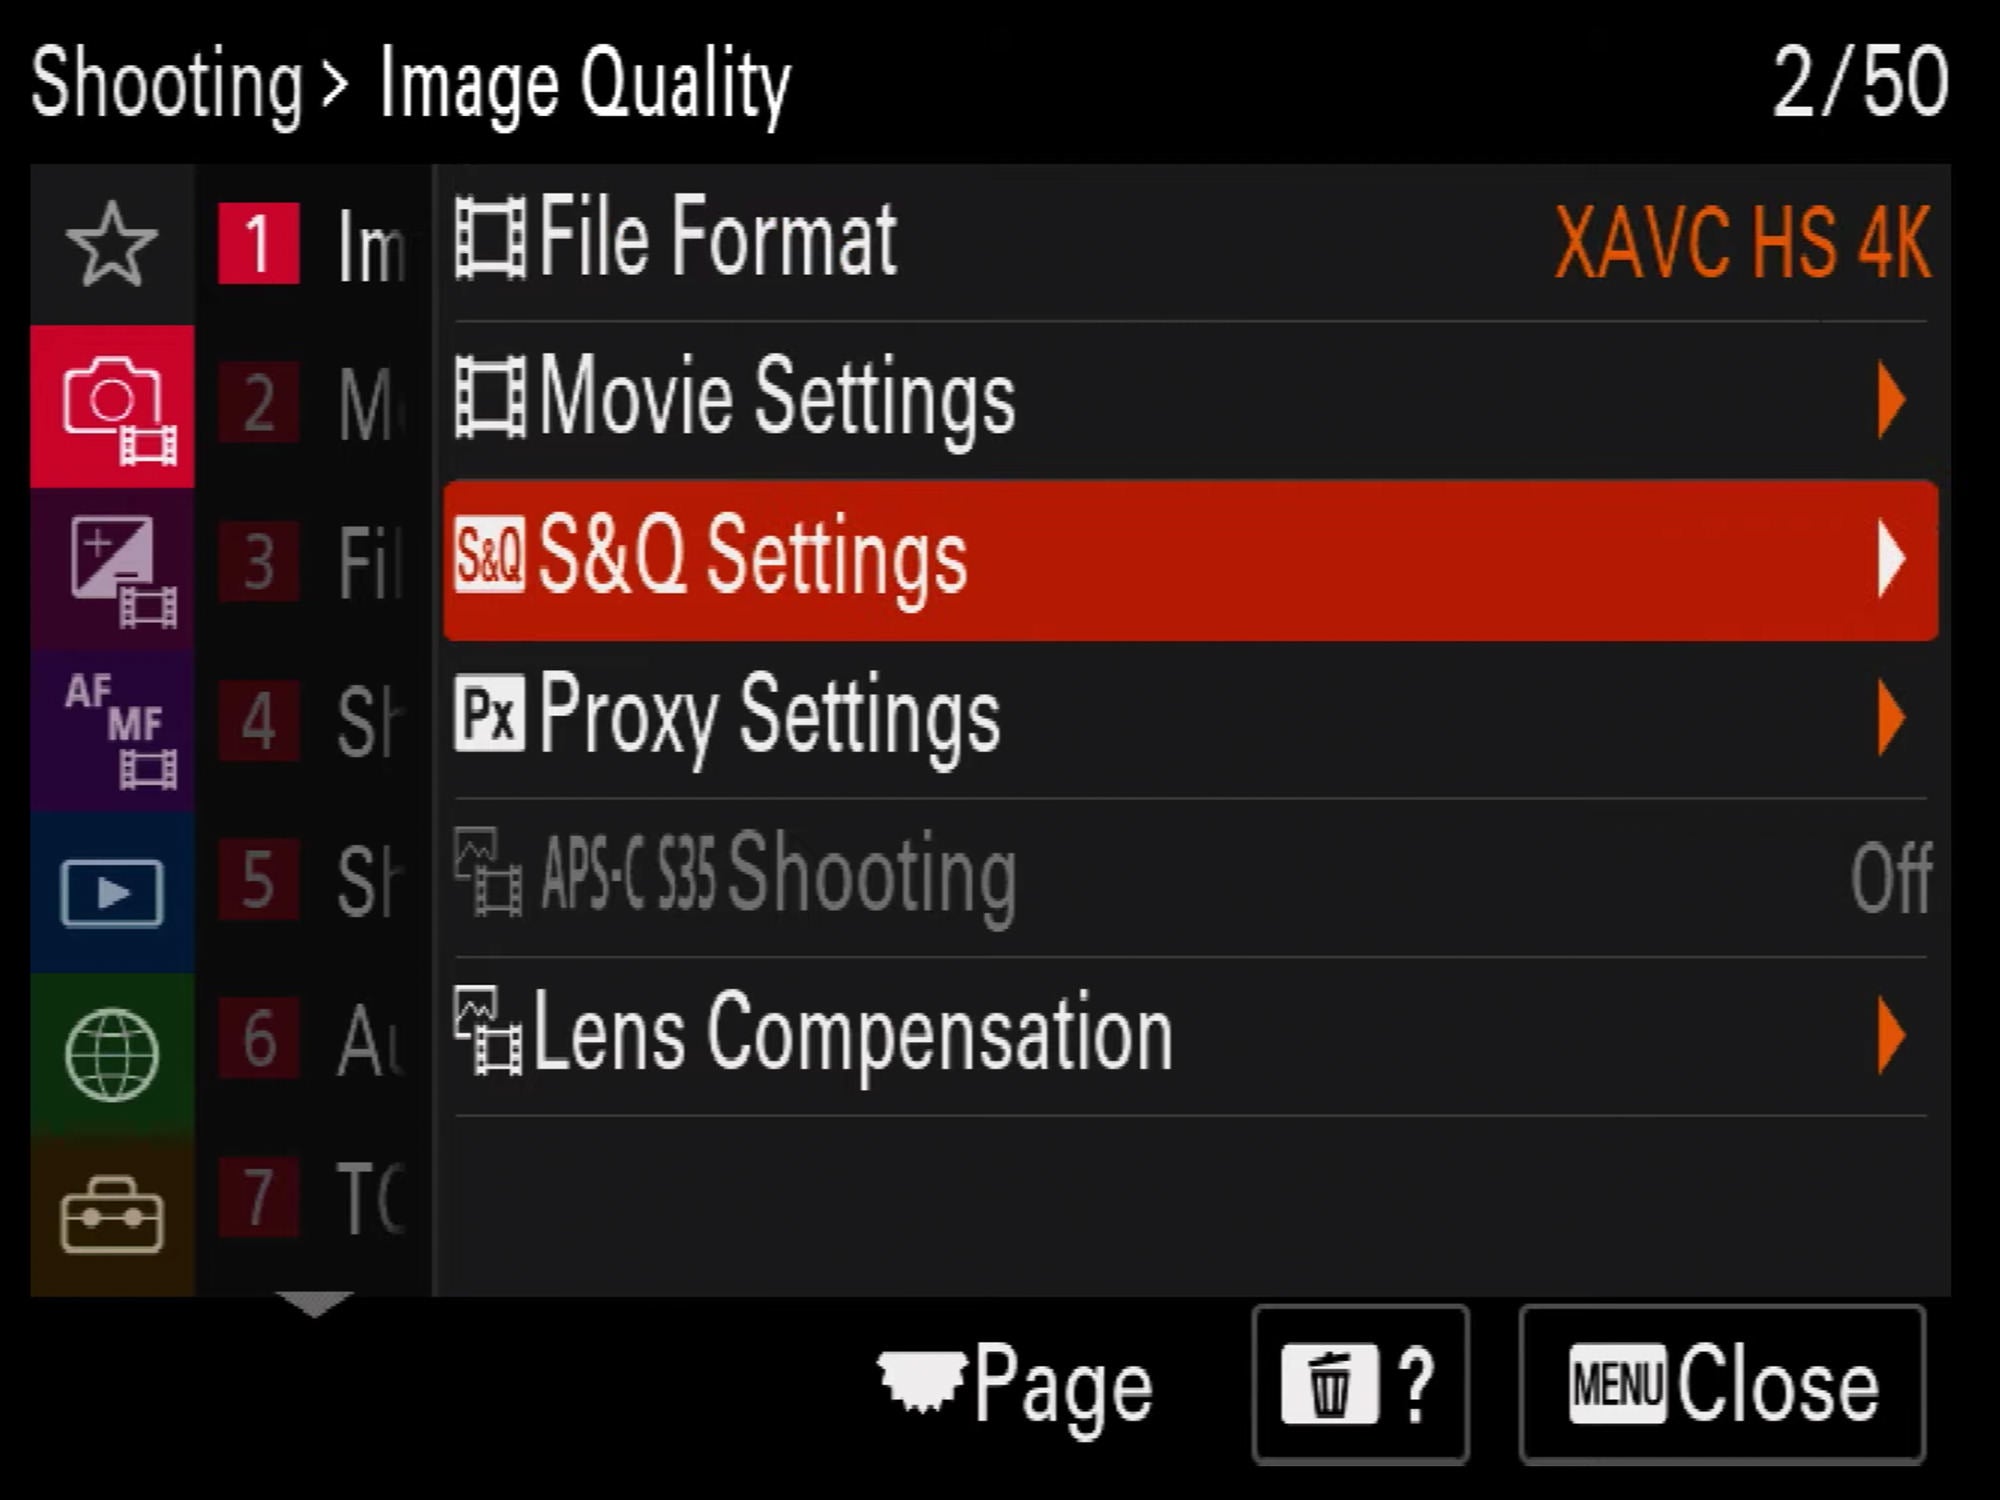
To access S&Q Settings, go to the Shooting Menu > Image Quality > S&Q Settings. This is where you’re going to set up your S&Q Rec Frame Rate, S&Q Frame Rate and Record Setting.
2. Set S&Q Rec Frame Rate
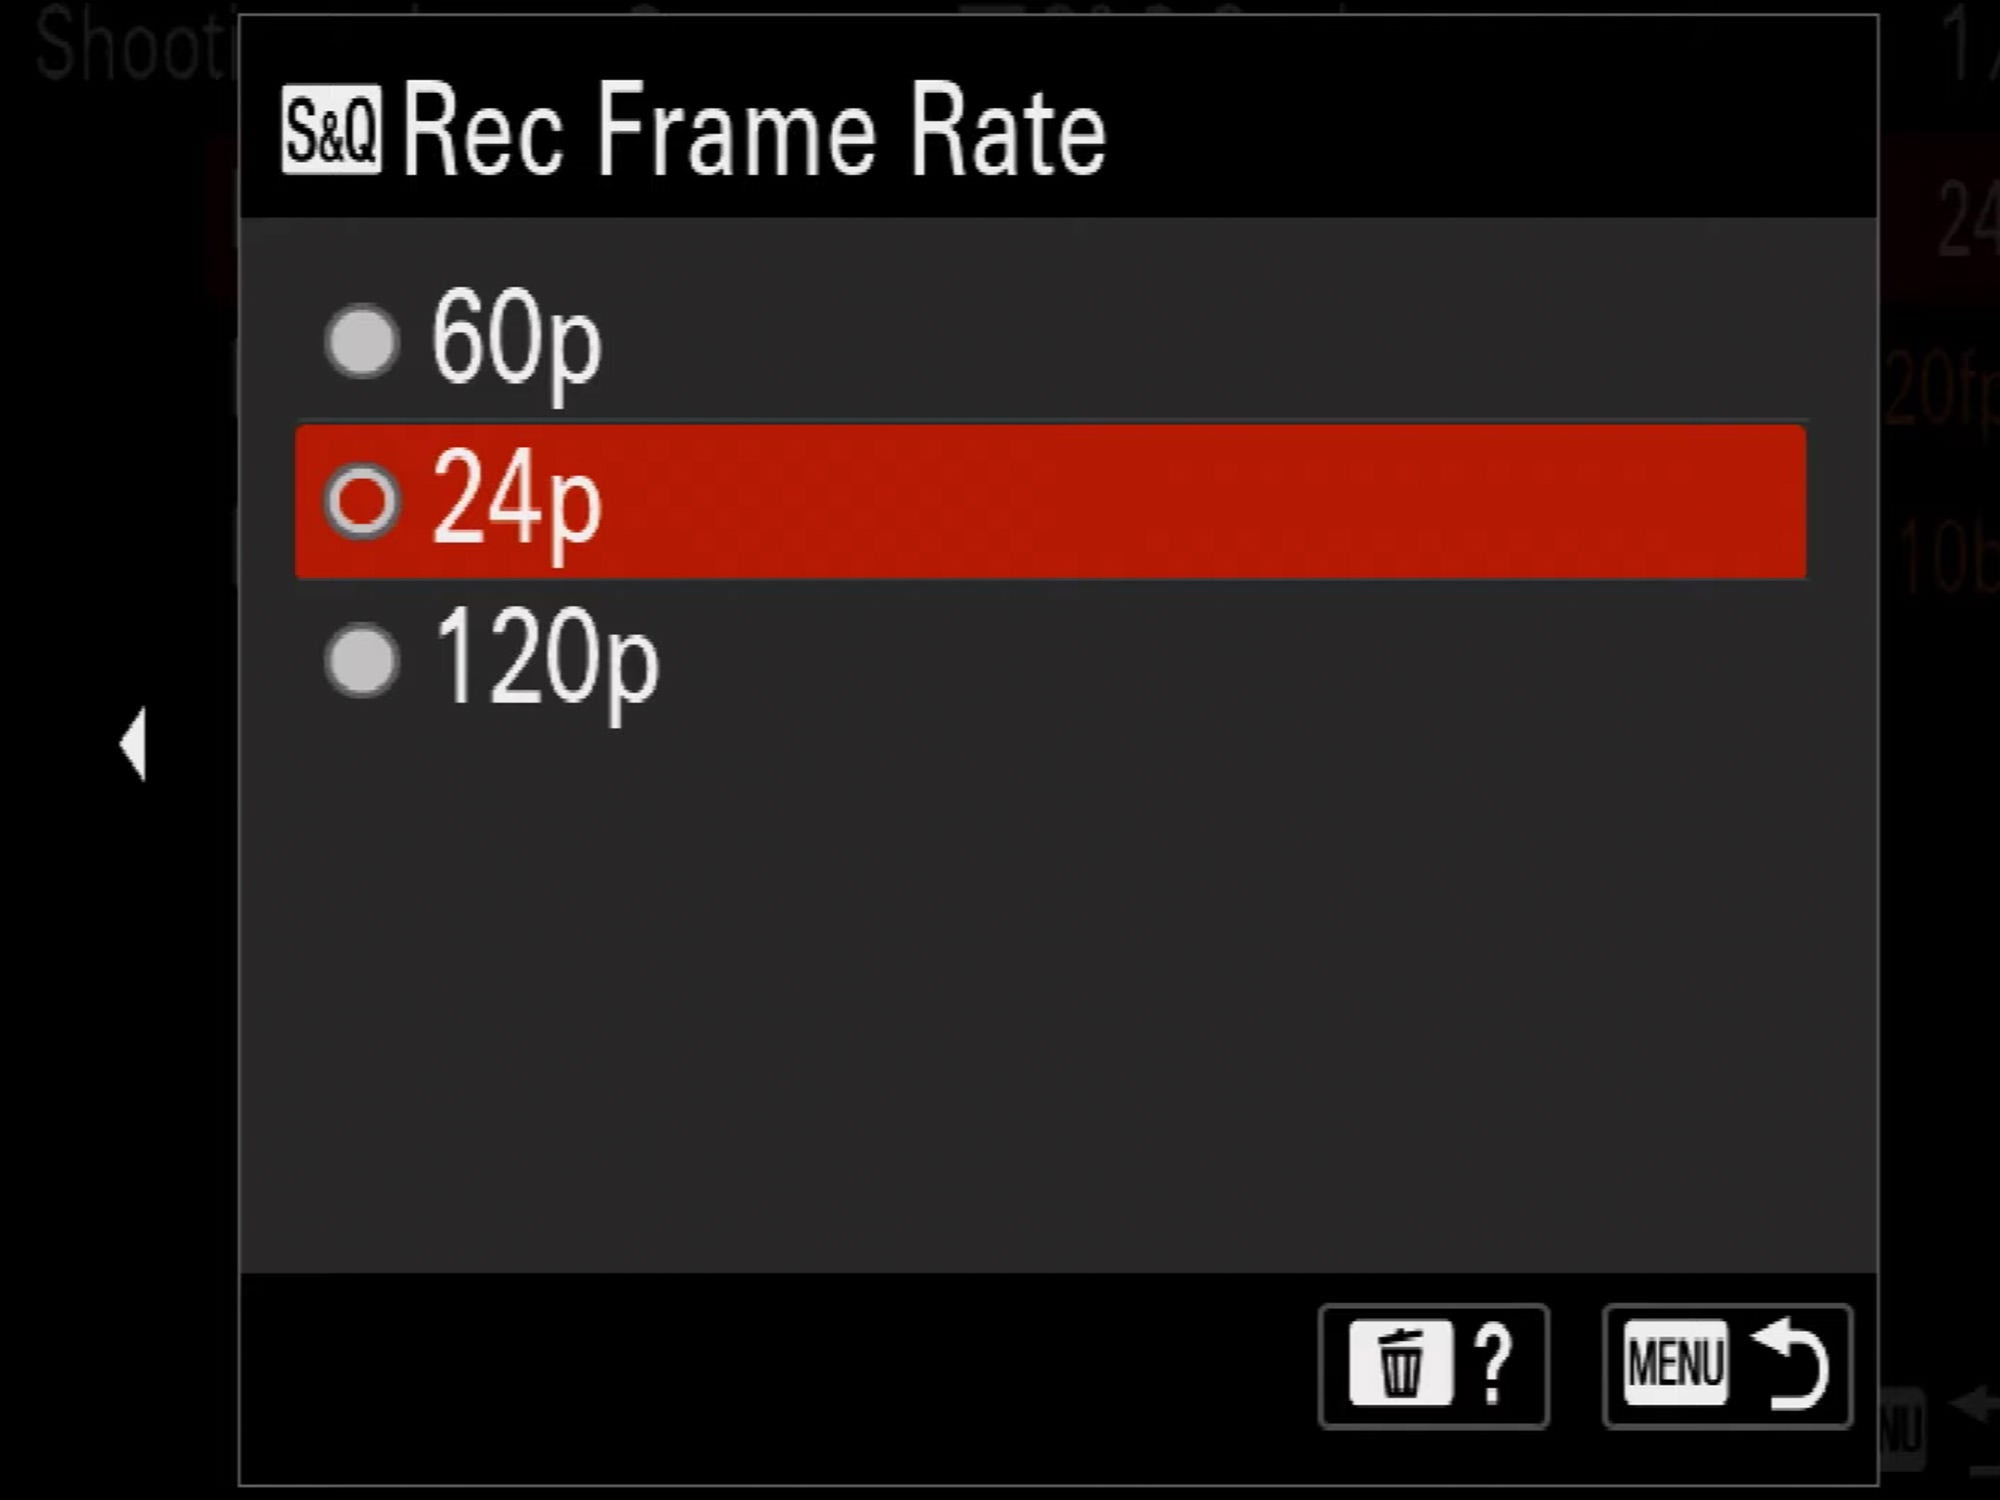
First you can set your S&Q Rec Frame Rate. This setting refers to the timeline you’ll ultimately be placing your videos on and you have three different options: 60p, 24p and 120p. Going for the cinematic look? Try shooting at 24p. Shooting more of a broadcast news-style video? You can try out 60p, but keep in mind that 24p is going to be the main choice for most shooters.
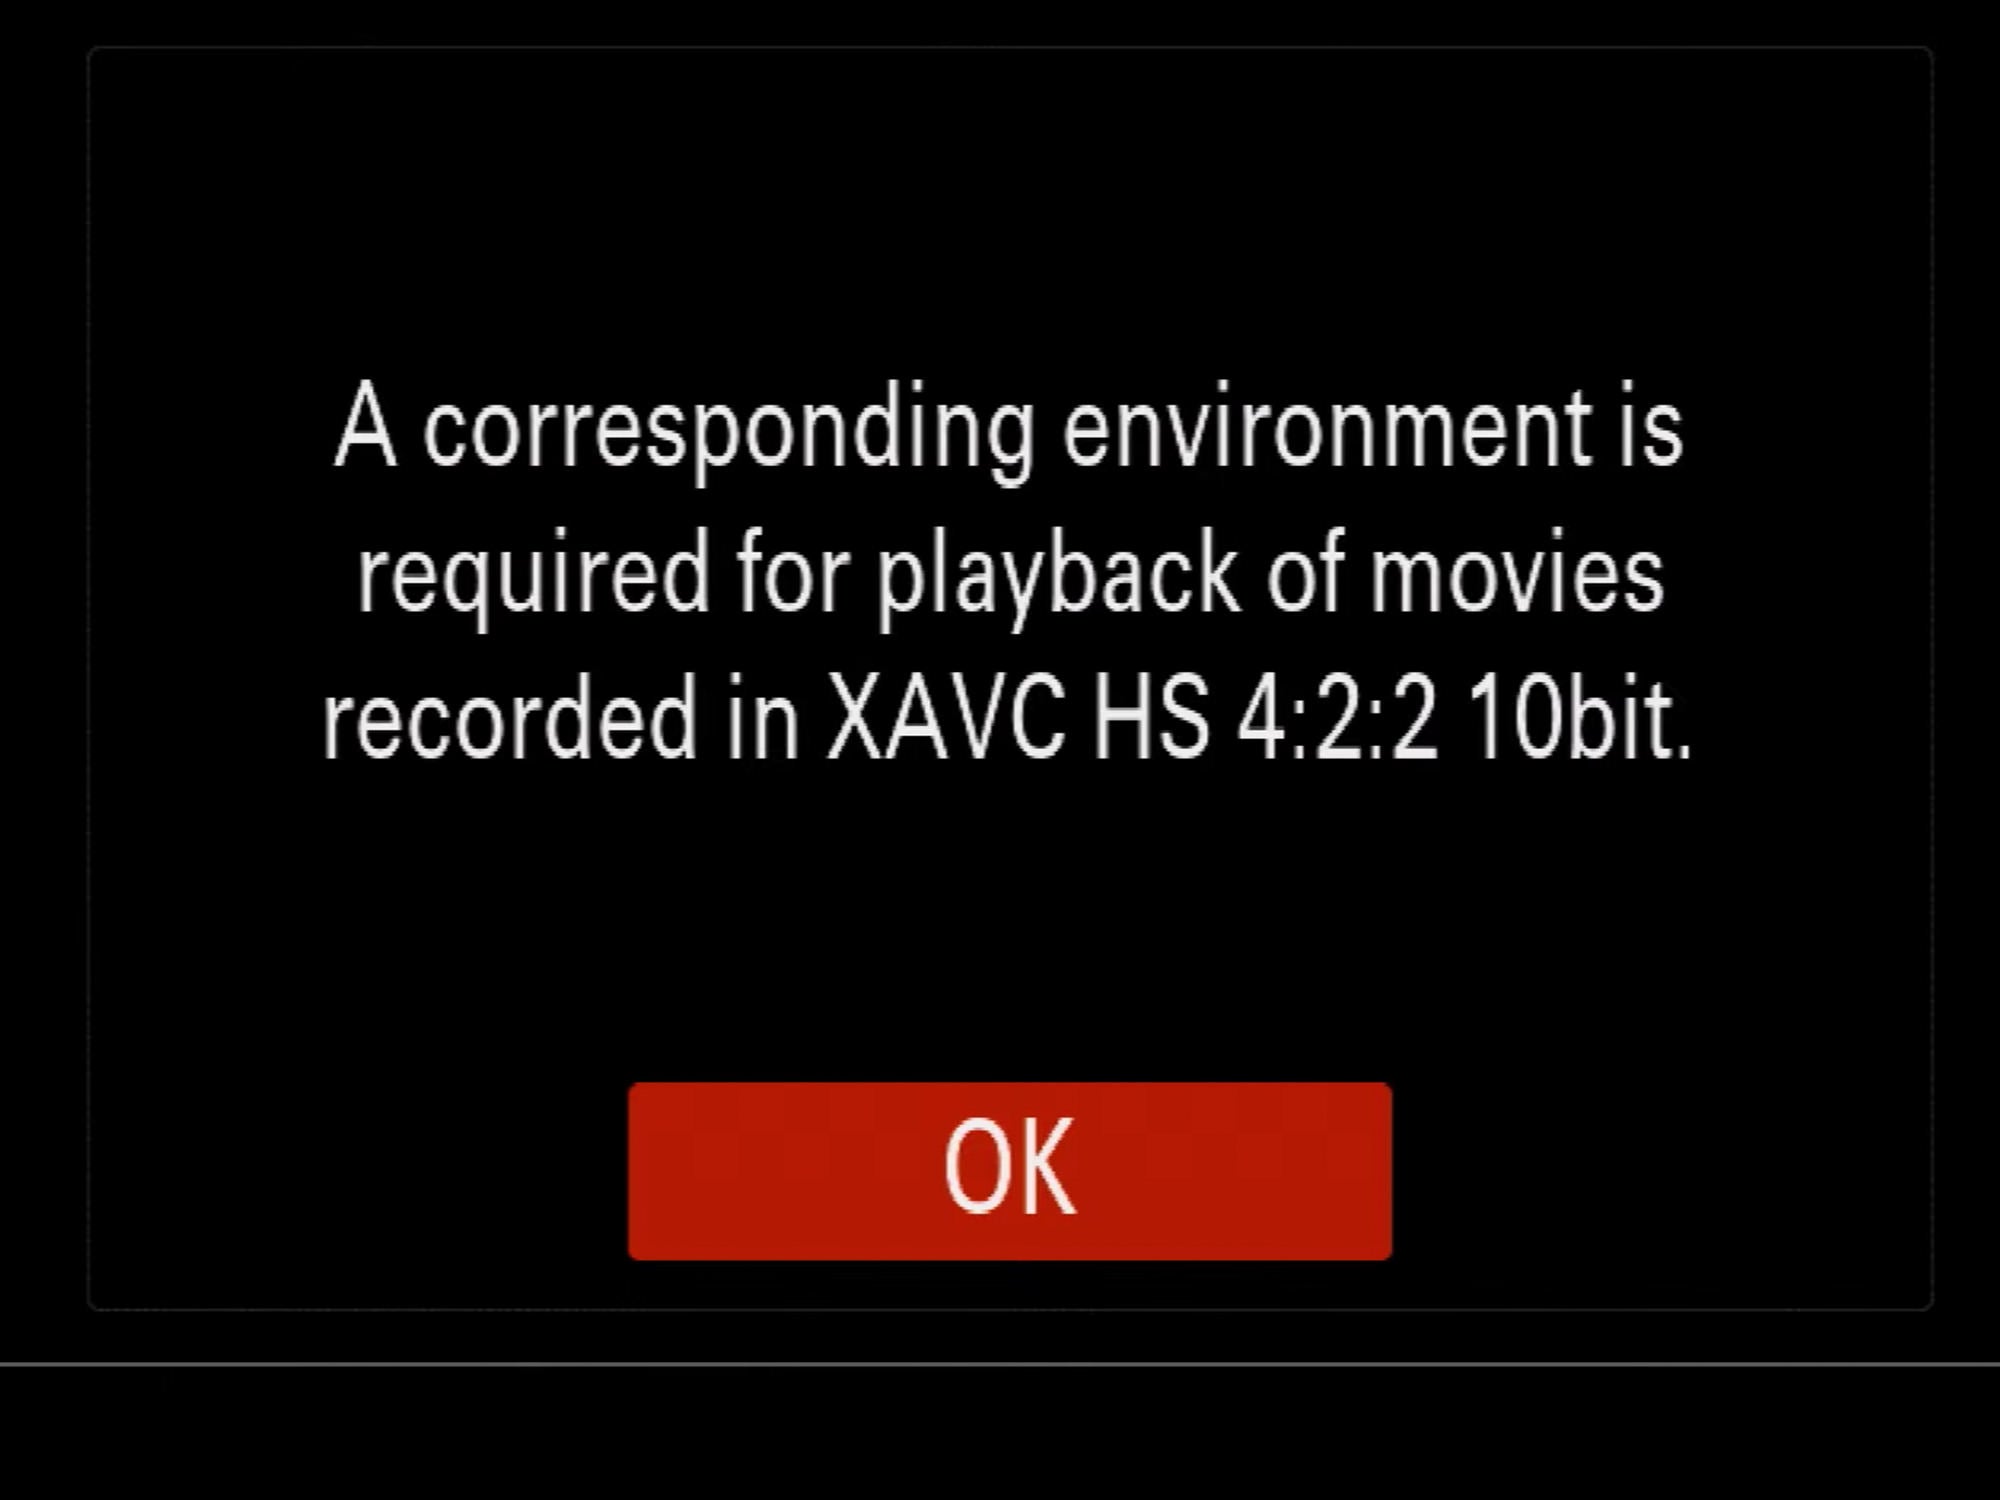
Once you select your S&Q Rec Frame Rate, depending on your settings you might get this playback message letting you know. Click OK.
3. Set S&Q Frame Rate
Under the S&Q Frame Rate menu, you’ll find a number of frame rates starting at 1fps and going up to 120fps. If you’re going for slow-motion, try 120fps or 60fps. If you’re shooting a timelapse-style video, then go for 1fps. What’s really nice about this setting is that whatever you shoot in, your camera will playback that video at this speed. It’s very useful to be able to see the footage as you envisioned capturing it.
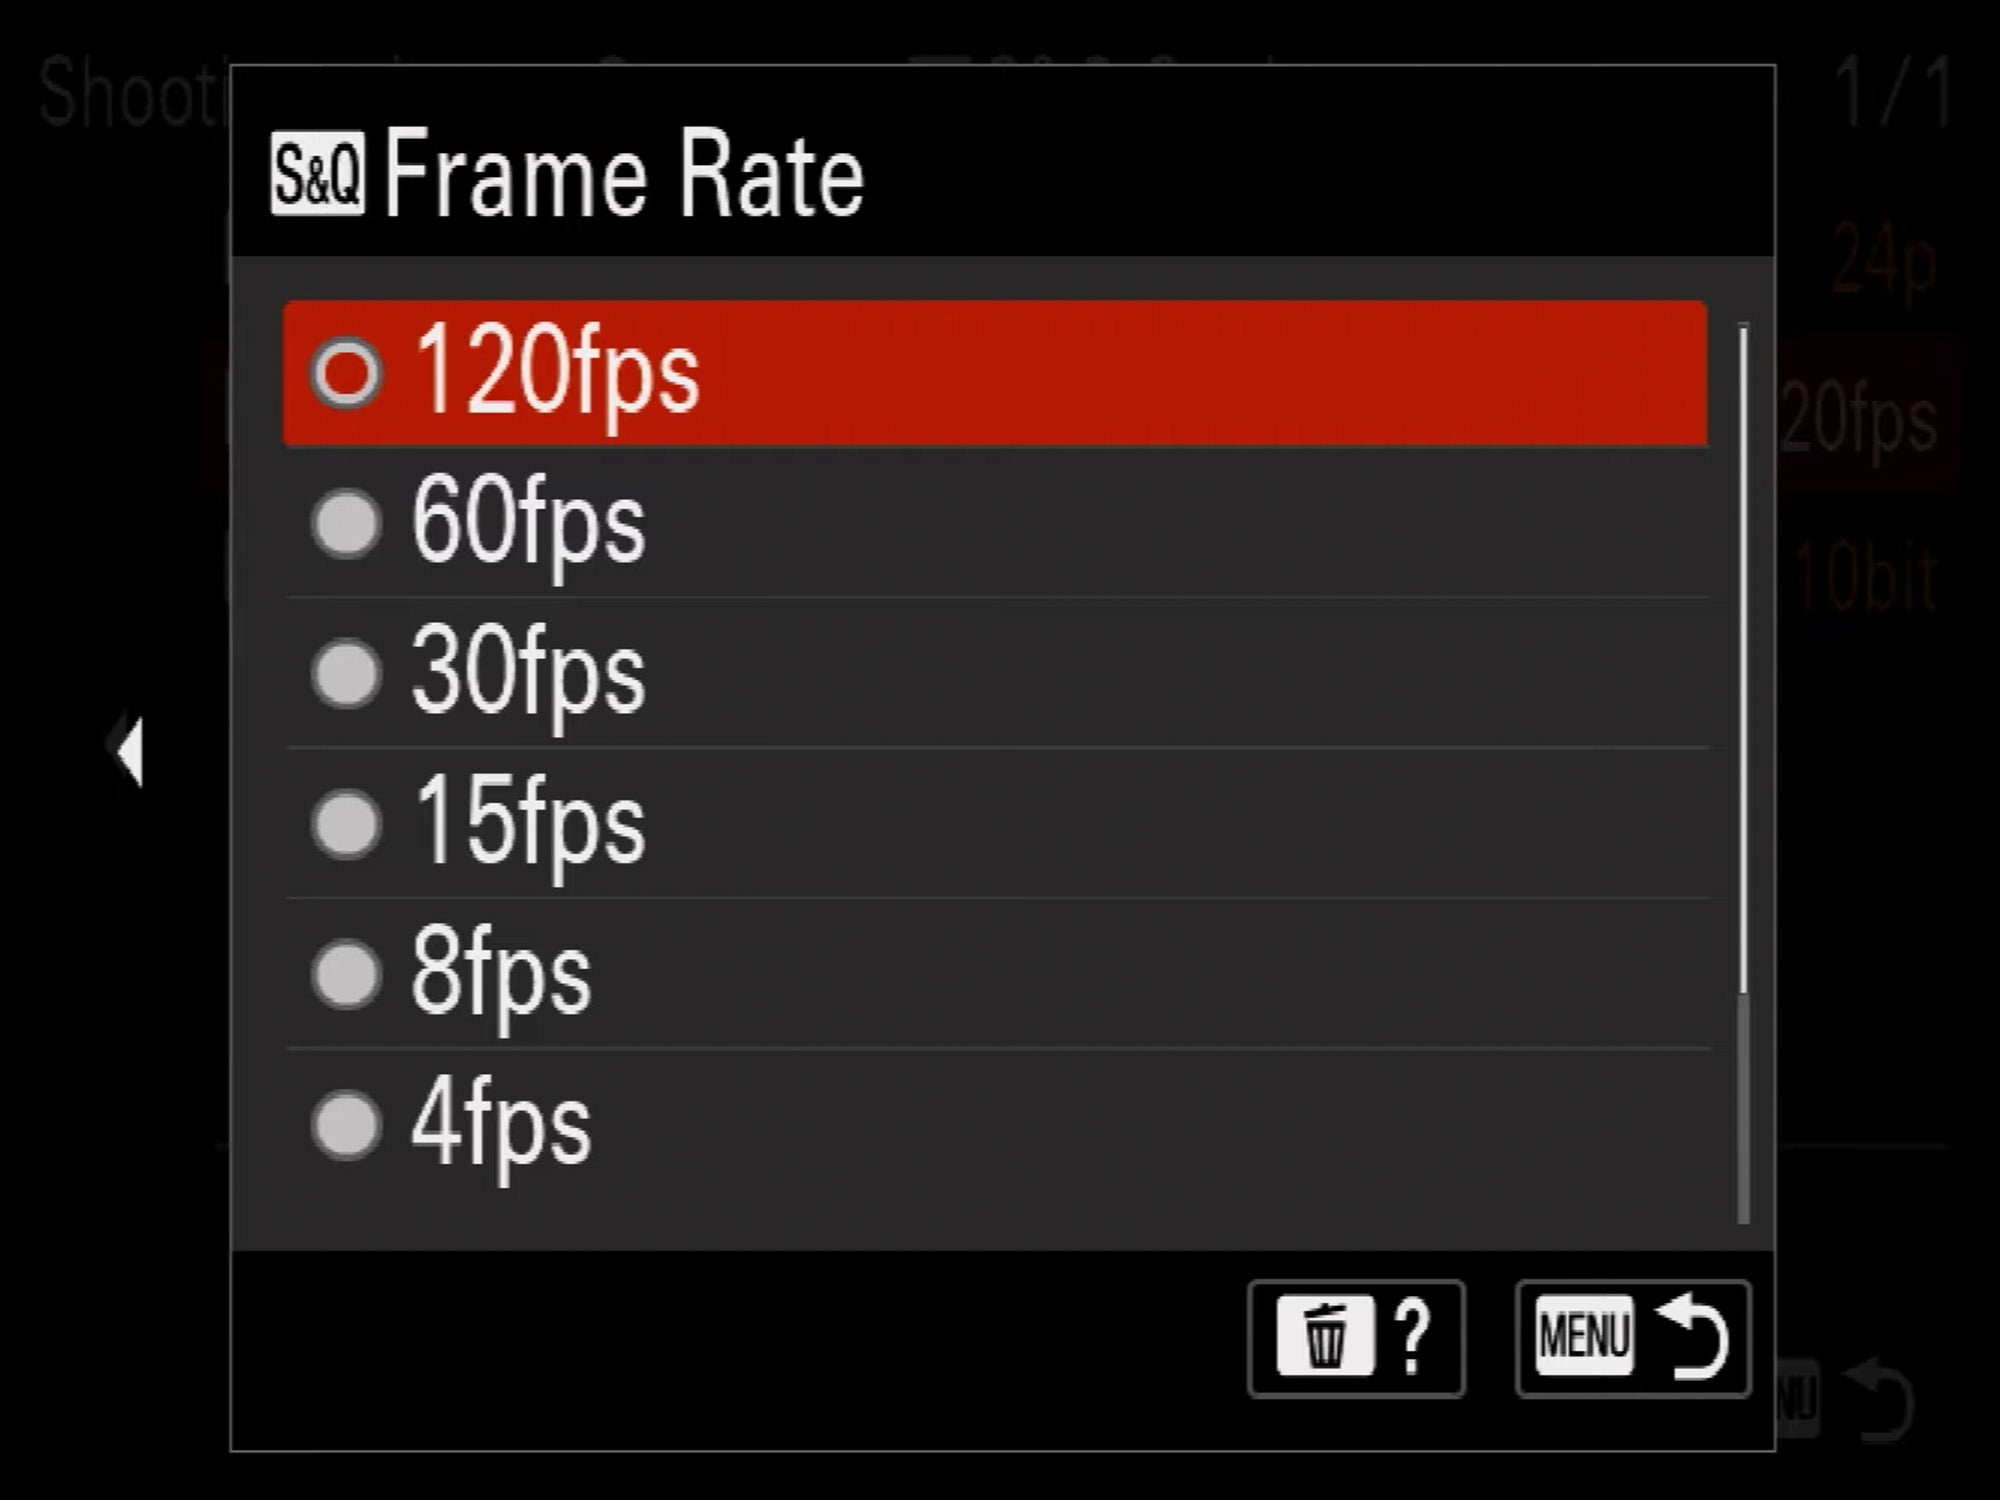
4. Set S&Q Record Setting
Under this menu item, you have the option to change your bit-rates and also the color space that you’re going to be recording in. Each option is 10-bit, so you can count on solid, high-quality files for your S&Q videos. Make sure you have the proper SD Card in your camera to capture the frame rate you select. You will get a warning on your screen if you don’t have the appropriate media because 4:2:2 10-bit uses a lot of data to produce such high quality.
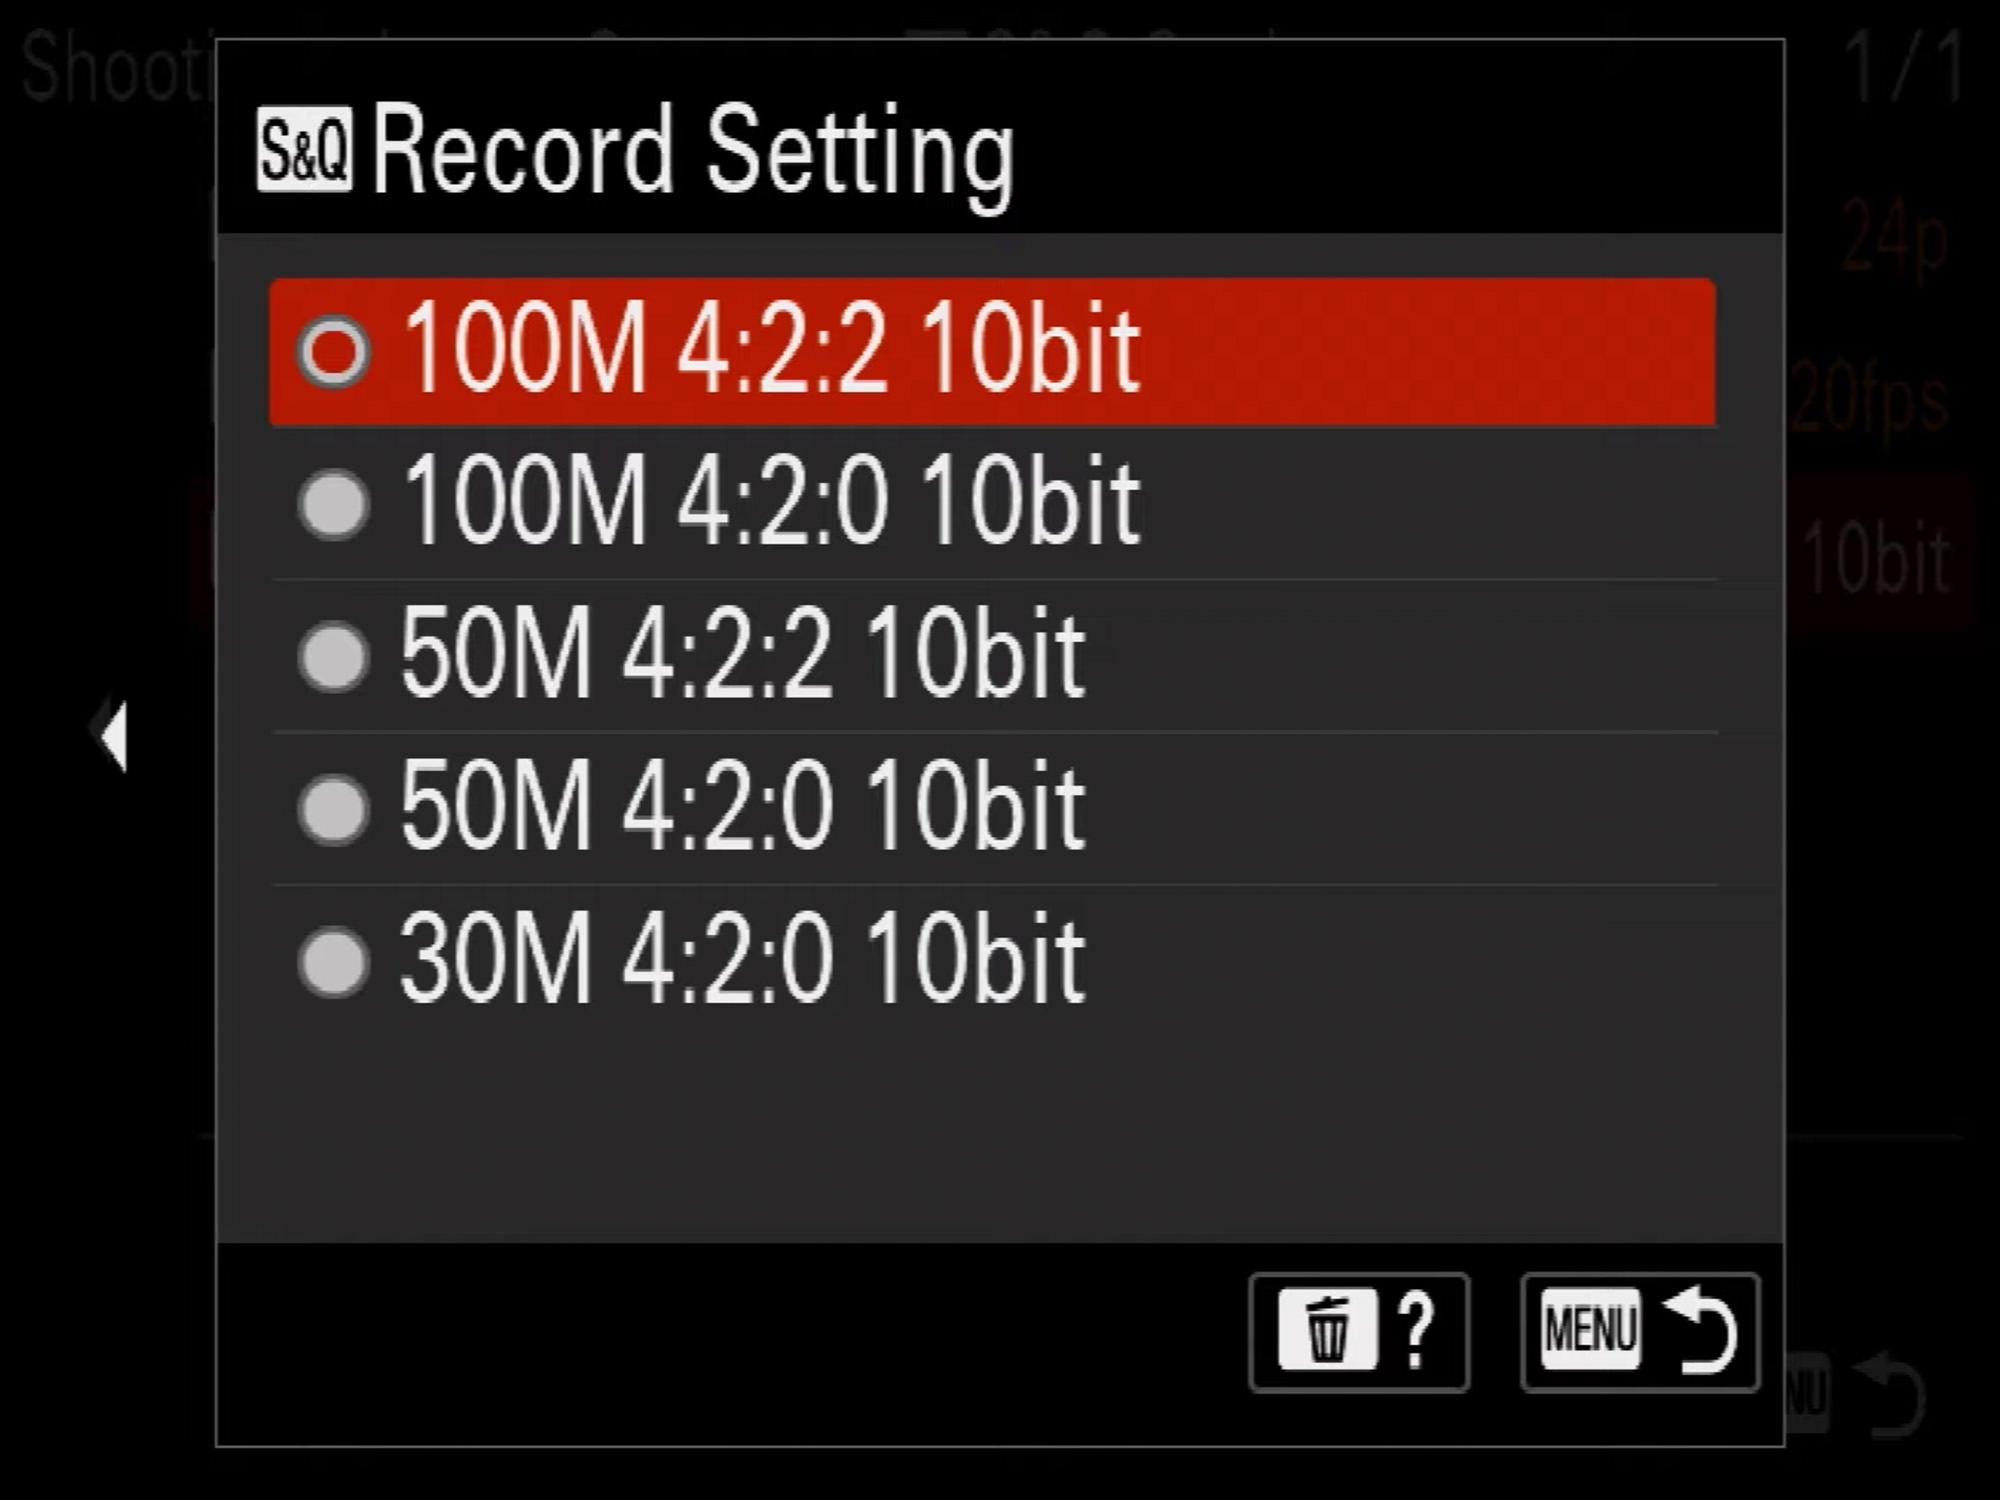
Once you select your S&Q Record Setting, you’ll get this playback message again. Click OK.

You can now see the settings you selected in your S&Q Settings Menu. In the example below, the camera is set to shoot at 120fps on a 24p timeline.
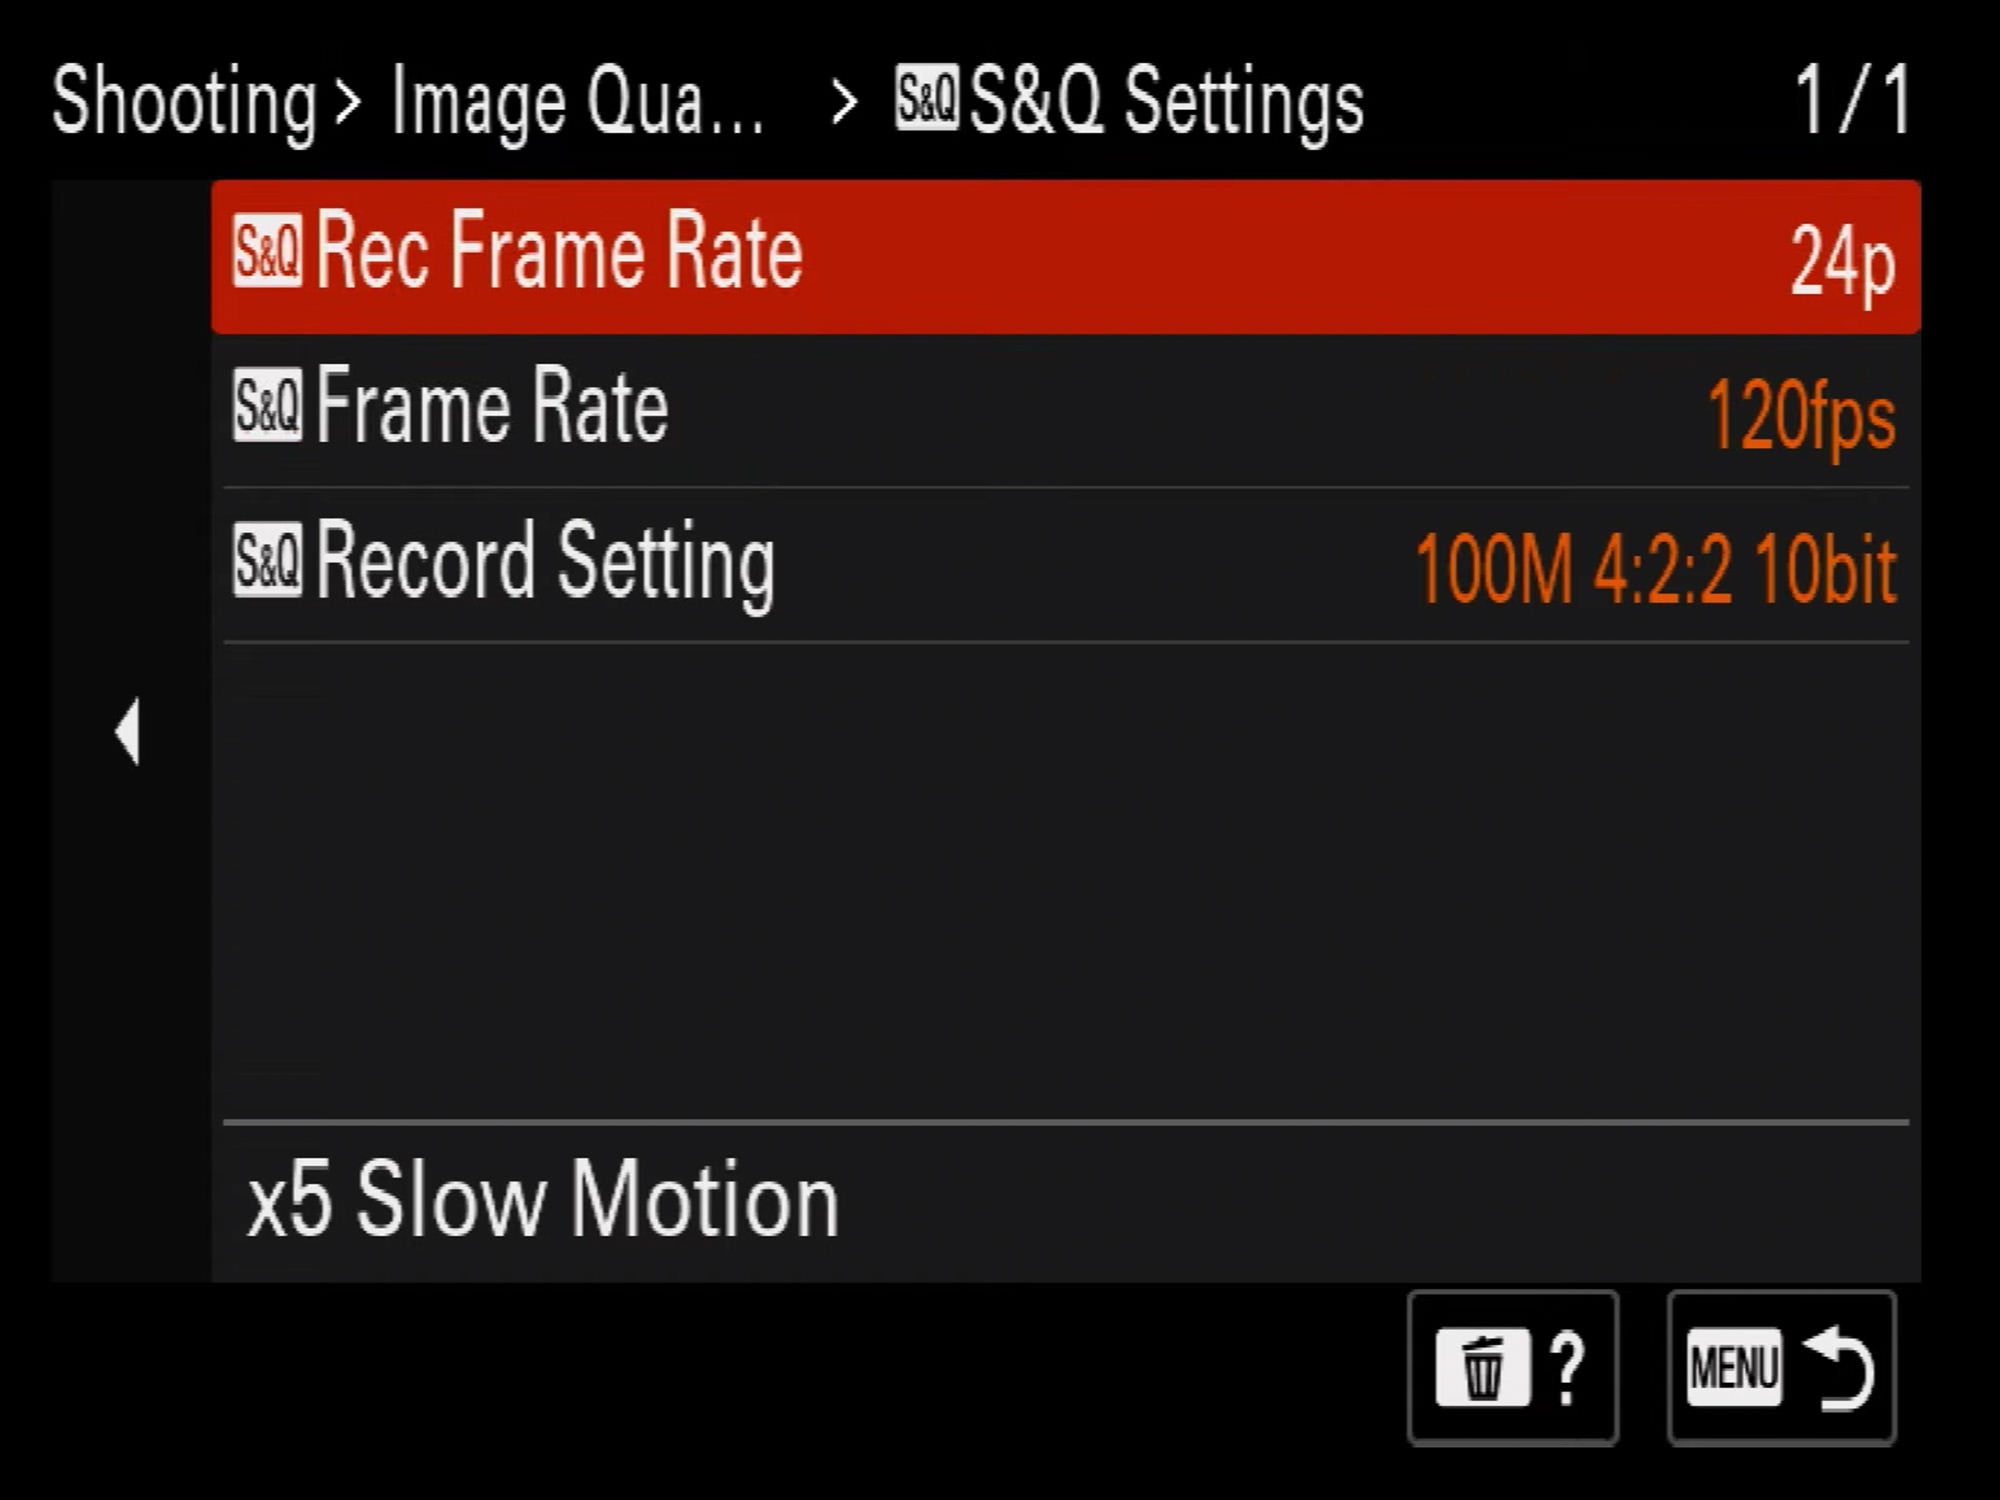
5. S&Q Exposure Mode
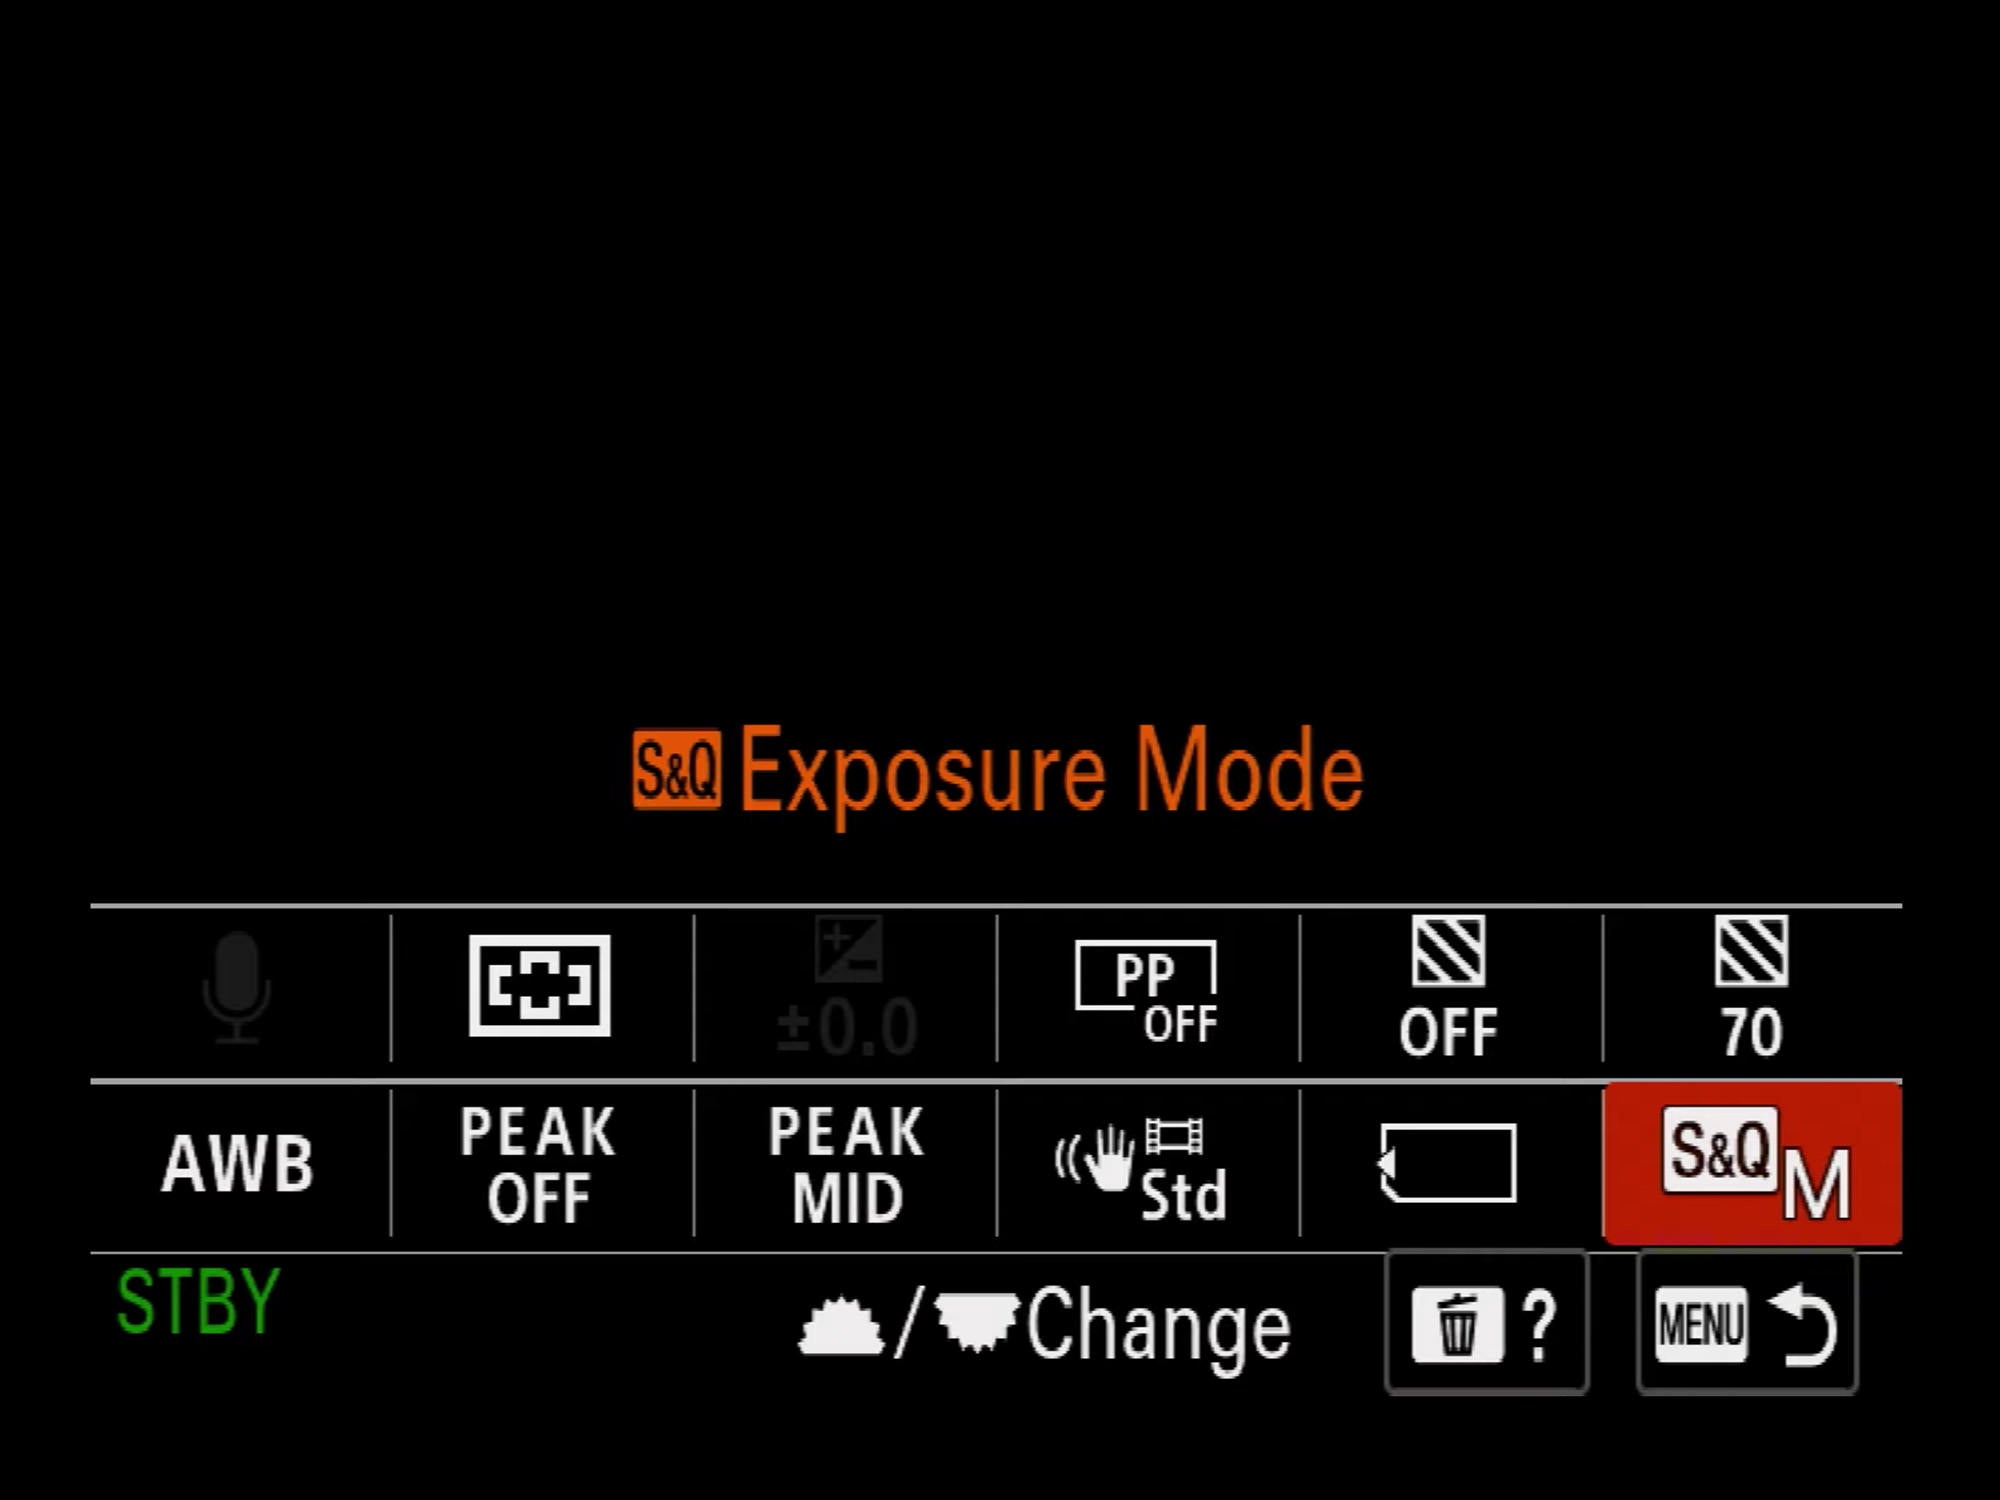
S&Q Exposure Mode can also be accessed in your camera menu, but you can access it even easier by hitting the Function button on the back of your camera. Once you hit this, you’ll see S&Q Exposure Mode in the bottom right corner of the pop-up menu.

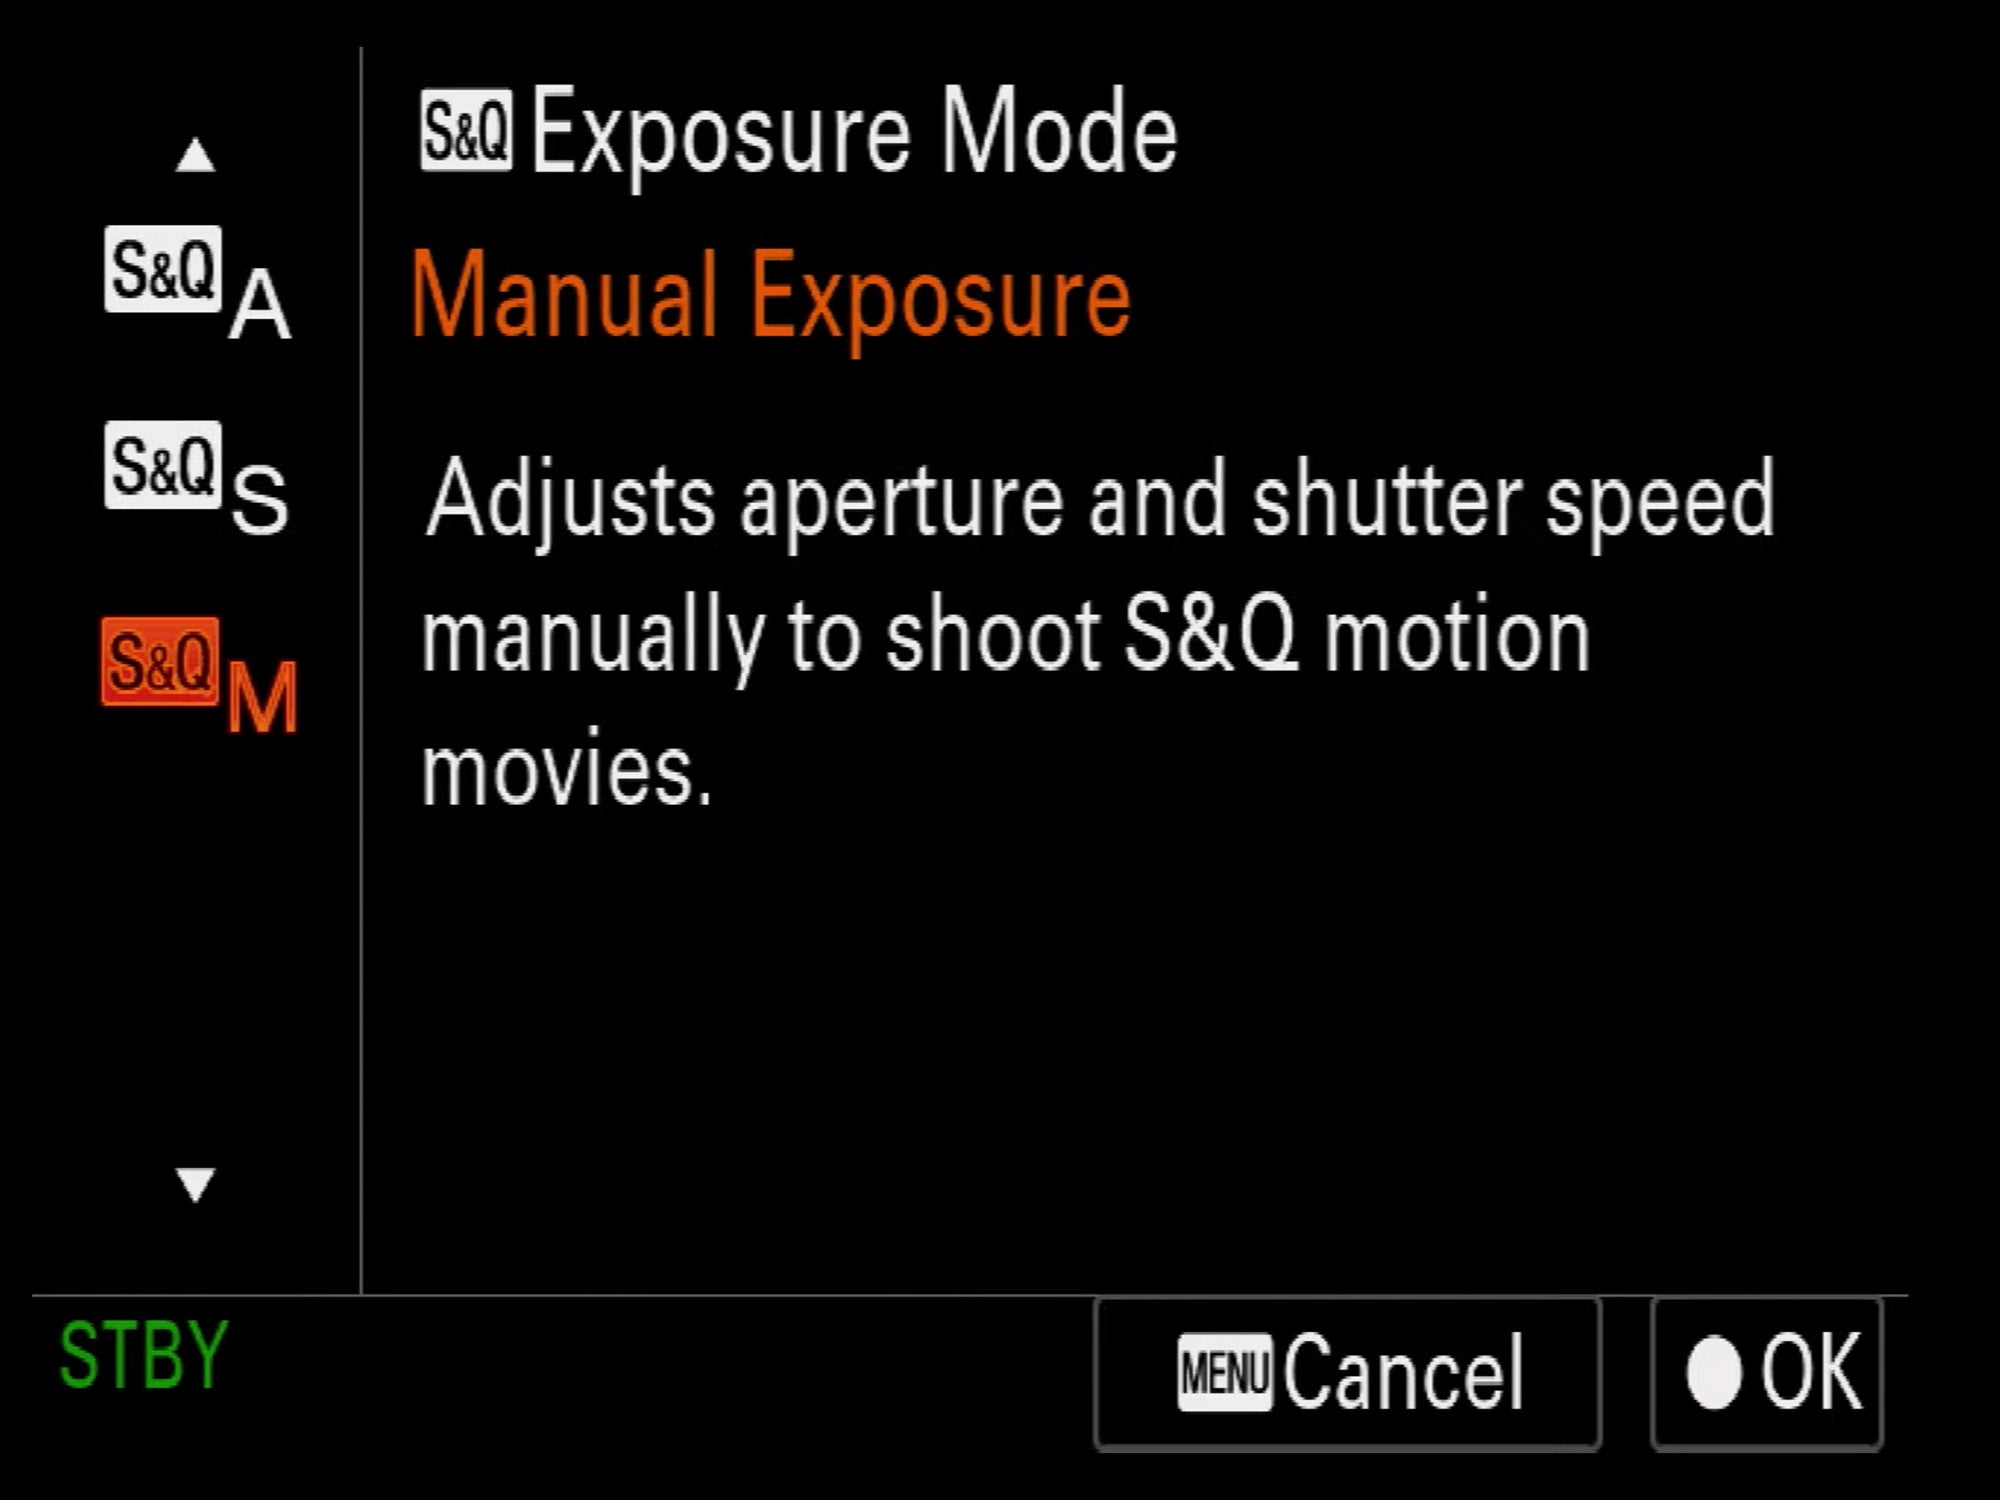
When you select this, by default the S&Q Exposure Mode will be set to Program Auto. This option won’t allow you to set your shutter speed and aperture on your own. We recommend switching this to Manual Exposure shown in the bottom image so you can adjust your settings to get the right exposure and tweak it to your own liking.
You can watch Sony Artisan Miguel Quiles fully explain how he sets up S&Q Mode and puts it to the test in the video below. Subscribe to the Sony Alpha Universe YouTube Channel for more.
