Van Lam (@vanlamphotography) is a wildlife and landscape photographer based in Massachusetts. His work is based on his passion for nature and he hopes to inspire others to realize the beautiful nature this world has to offer through his photography. He recently ventured out with his Sony Alpha gear to try to photograph the majestic snowy owl, and his super sharp results show what can be achieved with the right gear and a little patience. We connected with him to learn more about his experience photographing this snowy owl with the Sony α9 II and Sony 600mm f/4 G Master.
Do you crop in camera? In post? See how wildlife & nature photographer Van Lam set up his camera & lens and why he used a teleextender to capture a perfect moment of a snowy owl in flight.

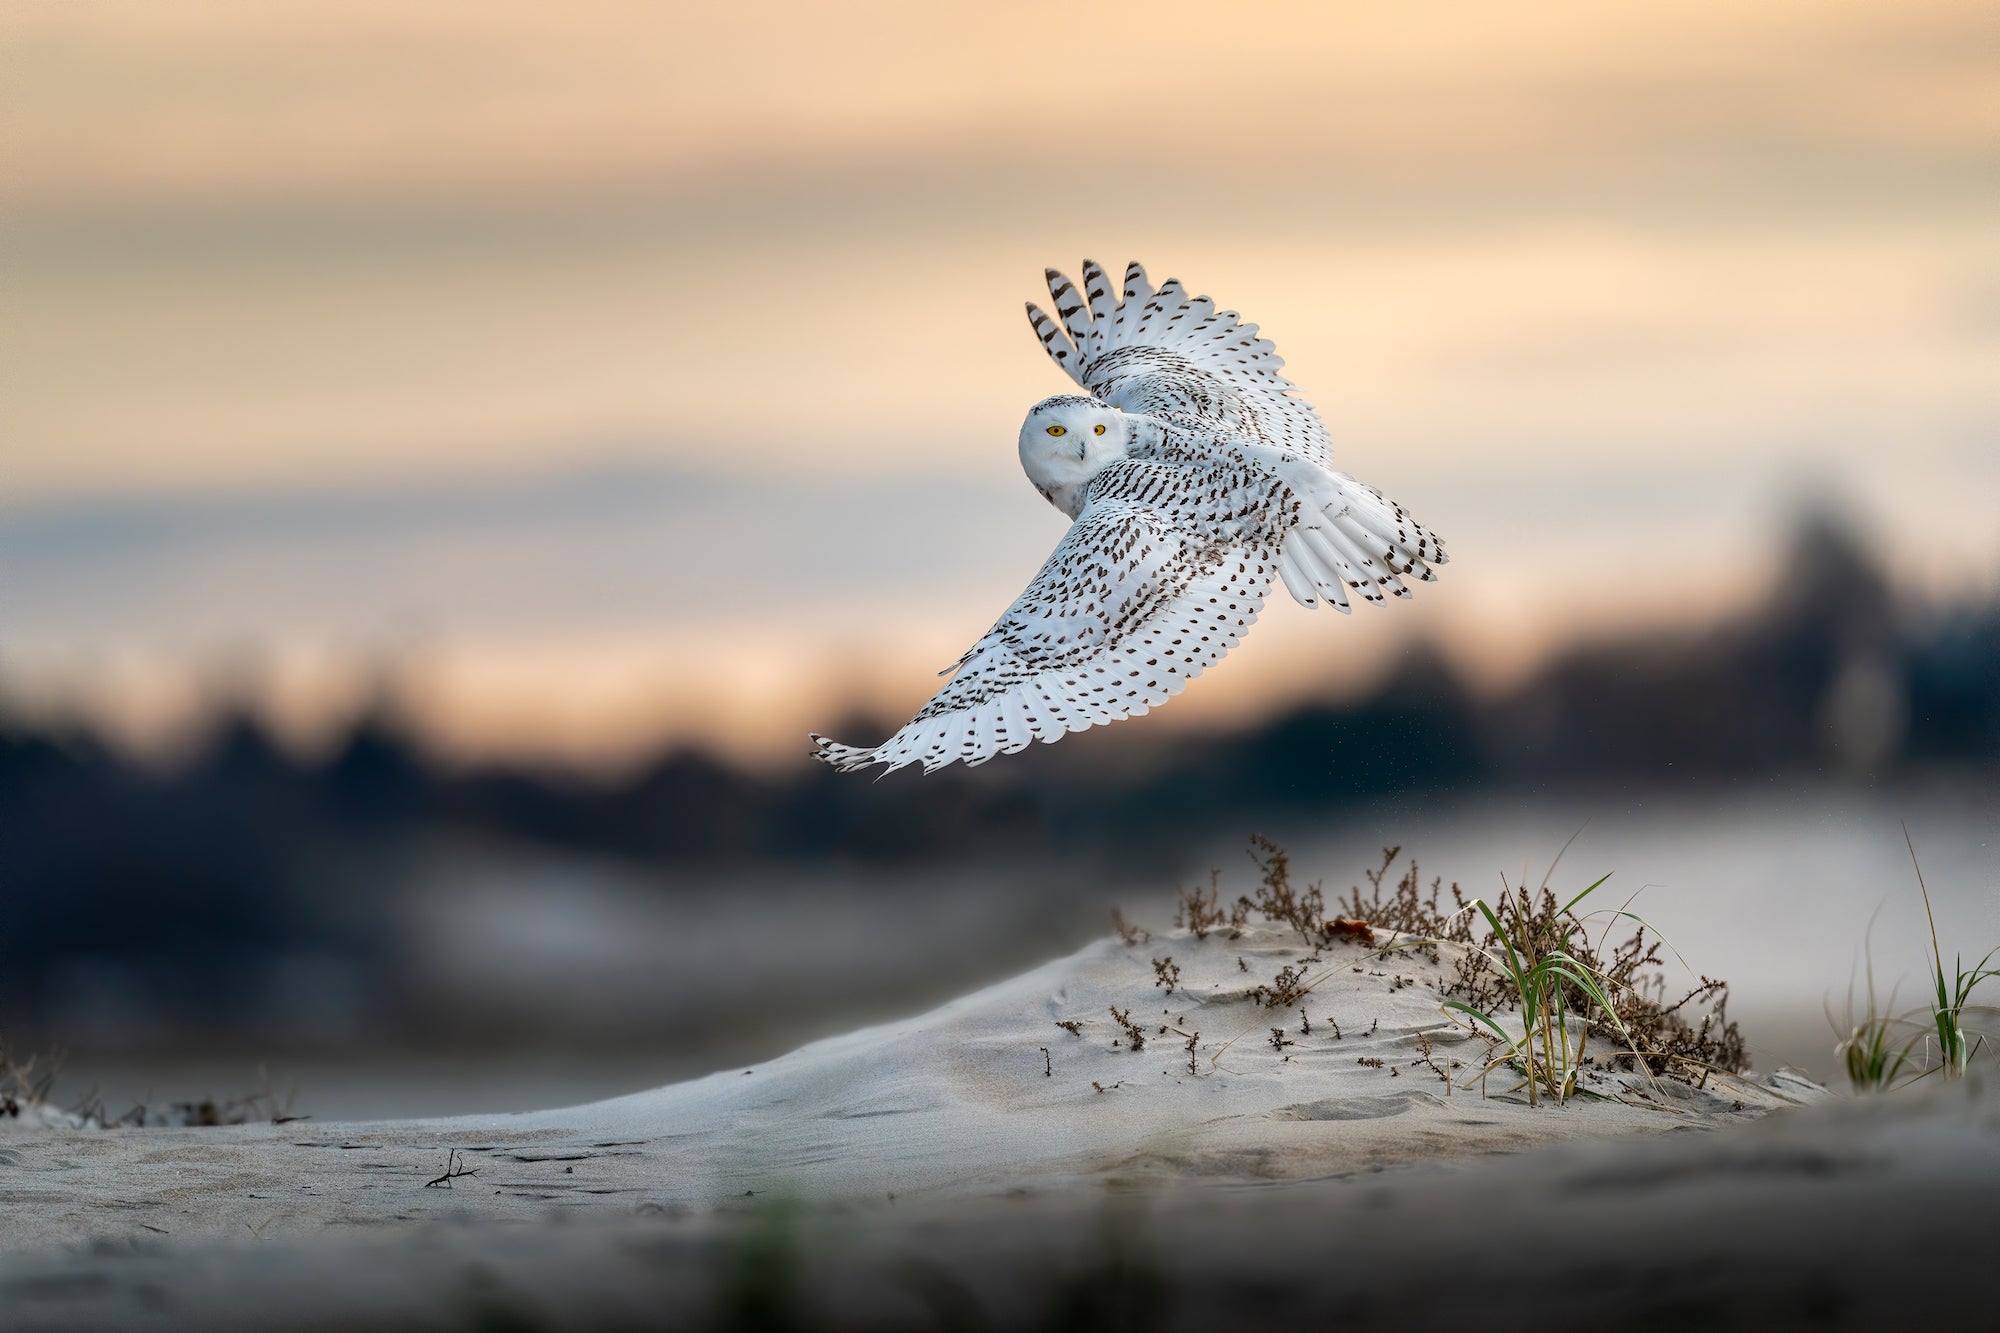
Photo by Van Lam. Sony α9 II. Sony 600mm f/4 G Master. 1/3200-sec., f/4, ISO 800
Photographer Van Lam shares how he used the Sony α9 II and Sony 600mm f/4 G Master to photograph a snowy owl in flight.
The Scene
I arrived at the beach at five in the morning. As I was getting out of the car, I could feel the cold wind hitting my face and my hands started to feel numb. I set up my Sony α9 II and Sony 600mm f/4 G Master and started my walk down the beach. As I walked, I could hear the sound of the crashing waves and the frozen brittle sand. Hours later I could see the sun peeking past the horizon but I still wasn't able to find the snowy owl. I kept on walking and finally spotted a white dot on the beach from a far distance. I approached it carefully and moved at a very slow pace so that I won't disturb it. The snowy owl is such a beautiful and majestic bird. I just love its bright yellow eyes and its beautiful white feathers, especially the fur boot-like feet. These are one of the reasons that inspired me to become a wildlife photographer.
Gear and Camera Settings
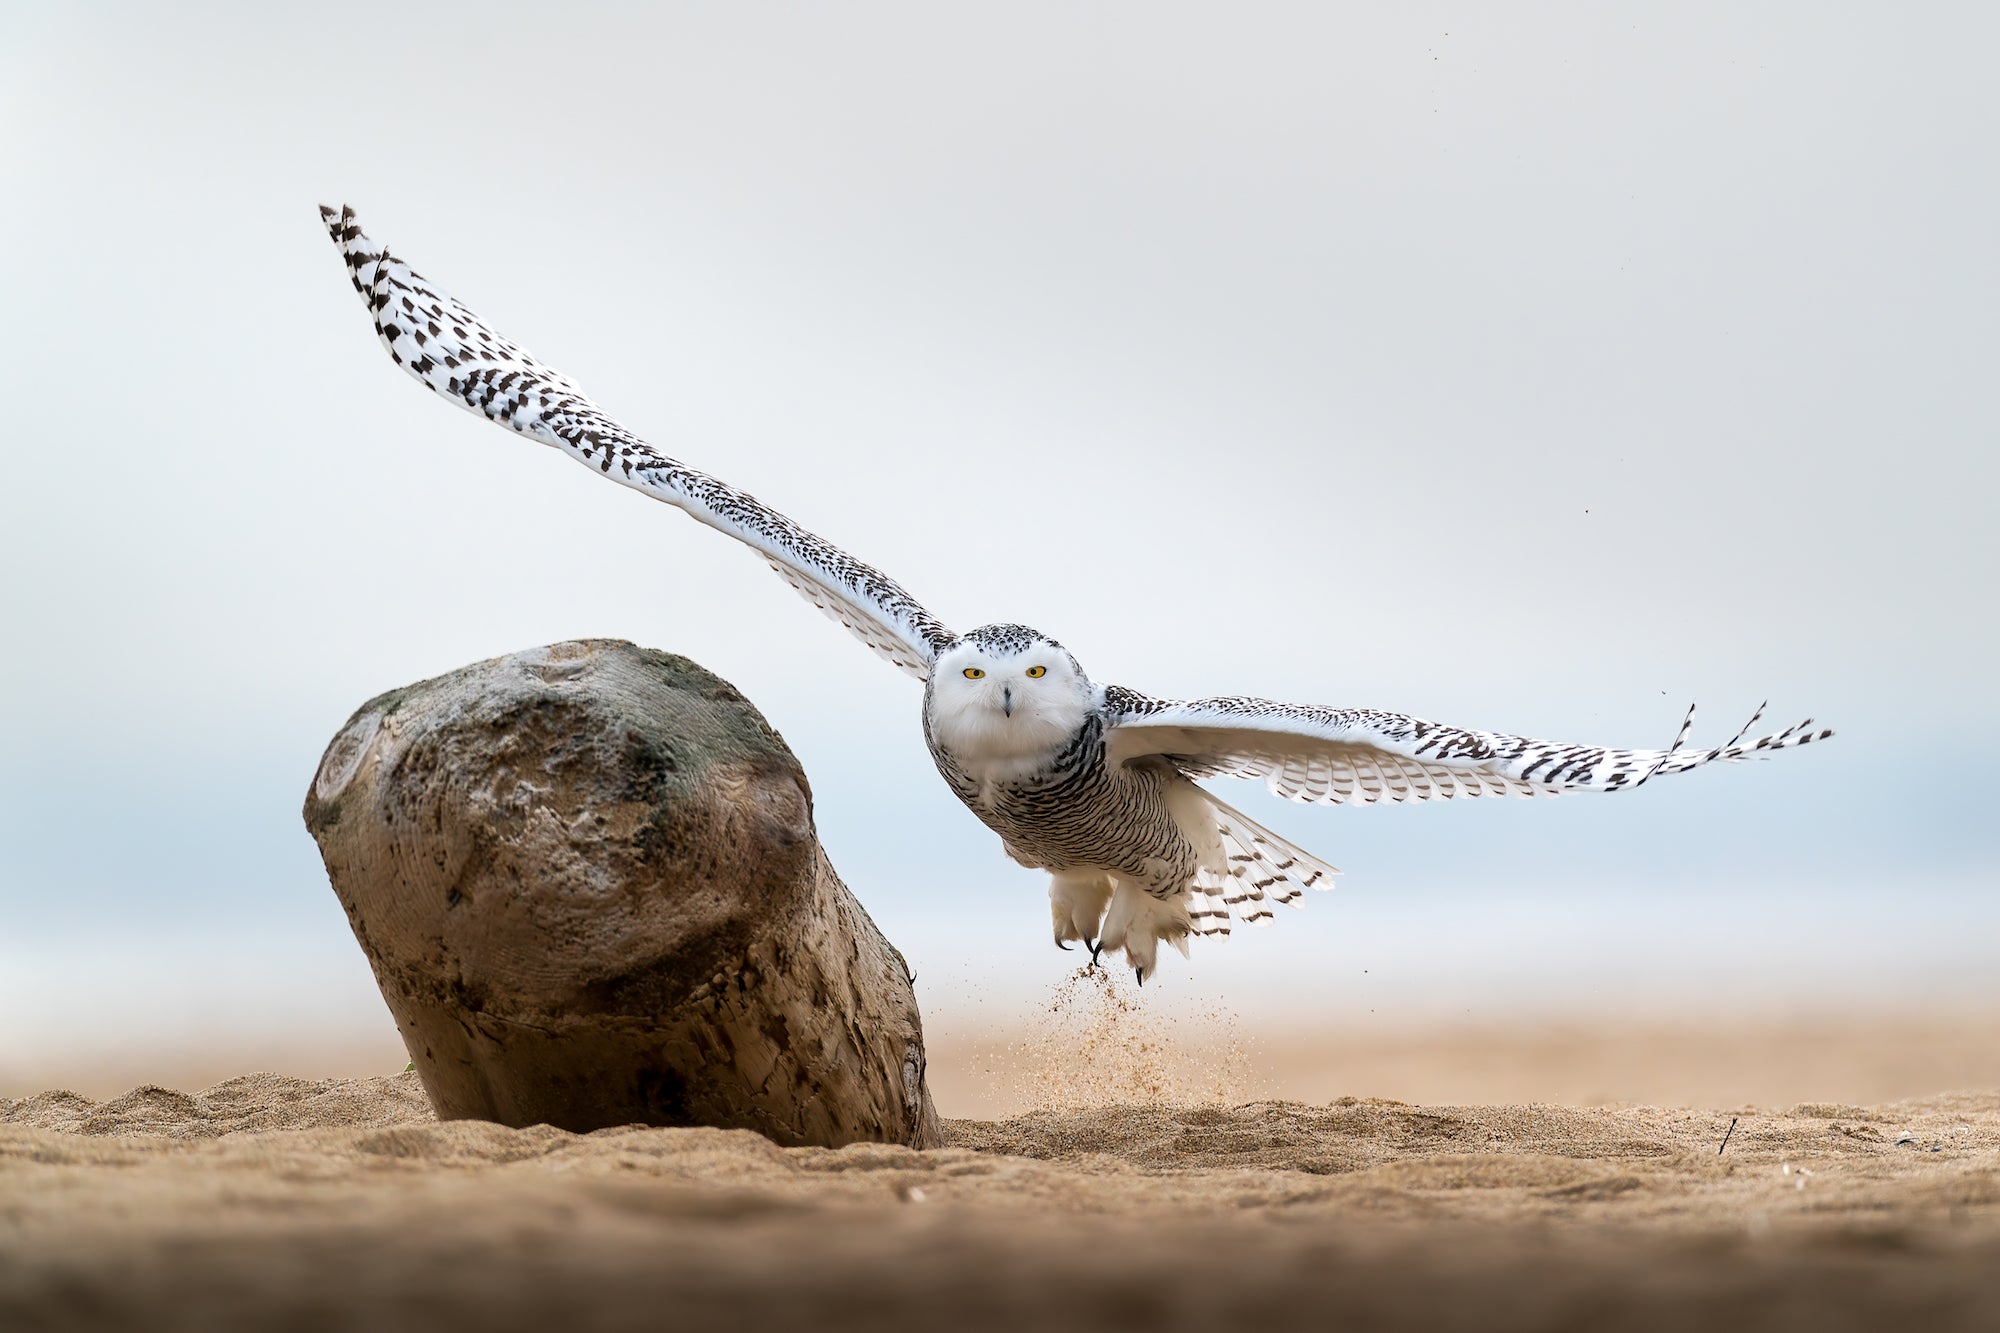
As I slowly moved toward it, I set up my tripod and lowered it to the ground. I lay flat on my stomach to get ready for a shot. It looked at me for a few seconds and closed its eyes as it turned its head in the opposite direction to rest for hours. When I wasn’t looking, it decided to take off unexpectedly. So I quickly grabbed onto my α9 II and held onto my back button focus, which at the time was set to Wide focus mode, and I started firing off shots. At first, I wasn't sure if I got the photo until I previewed the photos through the EVF and I saw that they were tack sharp. With this particular photo, the scene was a bit tricky: the log was right next to the Snowy and roughly the same focus distance. I set Animal Eye AF Tracking in my α9 II and took advantage of the fast response from the Sony 600mm f/4 G Master, and the camera was able to quickly lock onto its eyes.

Photo by Van Lam. Sony α9 II. Sony 600mm f/4 G Master. 1/3200-sec., f/5.6, ISO 800
My camera settings at the time were set to 1/3200-sec. That changes throughout the day depending on the light but in general, I like to keep it as fast as possible to be ready for a flight shot. I always shoot with the widest aperture available on the lens, and in this case that was f/5.6 because I had a 1.4x teleconverter attached to the 600mm f/4 GM. I use a teleconverter to help me increase my focal length to 840mm without compromising the quality of the image and the autofocus system. Also, a longer focal length is very important because it allows me to distance myself from the animal so that I don't disturb them.
Post-Processing
As for post-processing, I tend to do as little as I can because I want to keep it as natural as possible. I mainly use Adobe Lightroom and Photoshop for all my editing. I always import my photos to my Lightroom catalog then sort them out with the rating system. Once I finished sorting, I would go through it again to pick my favorite shots and start my editing.
For this particular photo, in Lightroom I applied basic adjustments such as correcting the exposure, highlight, contrast, shadow, tone curve, etc. Then I applied two graduated filters on the bottom of the image. One is to darken the bottom part of the image to help draw in a little more attention to the subject. The other is to help brighten up the sand to show the details of the sand as it took off. Once I am done with the basic adjustments, I always imported it into Photoshop to make any final adjustments. I used a software called Topaz Denoise to help me get rid of any noises in the image. As for sharpening, I used the high pass filter method in Photoshop to slightly brush in the sharpening to the area that I want as I don't want to over sharpen the whole image.
At the end of the day, I am extremely happy that I was able to see this beautiful bird and the opportunity to photograph it. From this photograph and my future adventures, I hope to one day inspire others to see what our beautiful planet has to offer and we all can do our little part to protect it.


