A memorable portrait is rarely the result of a lucky click. It comes from making smart decisions in the moment – before your subject has a chance to lose energy, before the light shifts and before a small technical miss becomes a big distraction.
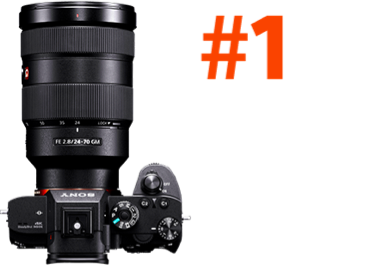
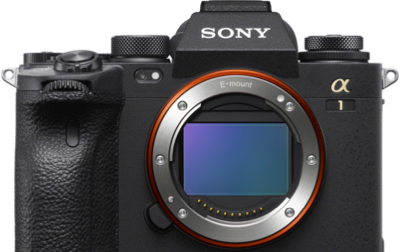
In a new tutorial on the Alpha Universe YouTube Channel, portrait photographer Miguel Quiles shares three practical habits that can immediately strengthen the way you shoot. From reading exposure in real time to composing with more intention and protecting natural-looking skin tones, these are foundational moves worth building into every portrait session. Miguel photographed this lesson with the Alpha 7R VI and 24-70mm f/2.8 G Master II lens.
1. Trust what you see in the viewfinder.
For available-light portraits, one of the biggest advantages of a Sony mirrorless camera is WYSIWYG: “what you see is what you get.” The image you see through the electronic viewfinder or on the monitor is a live read on how your final exposure will look.
“If the image is overexposed and you push the shutter button, your shot’s going to be overexposed,” Miguel says. “If it’s too dark, it’s going to be the same.”
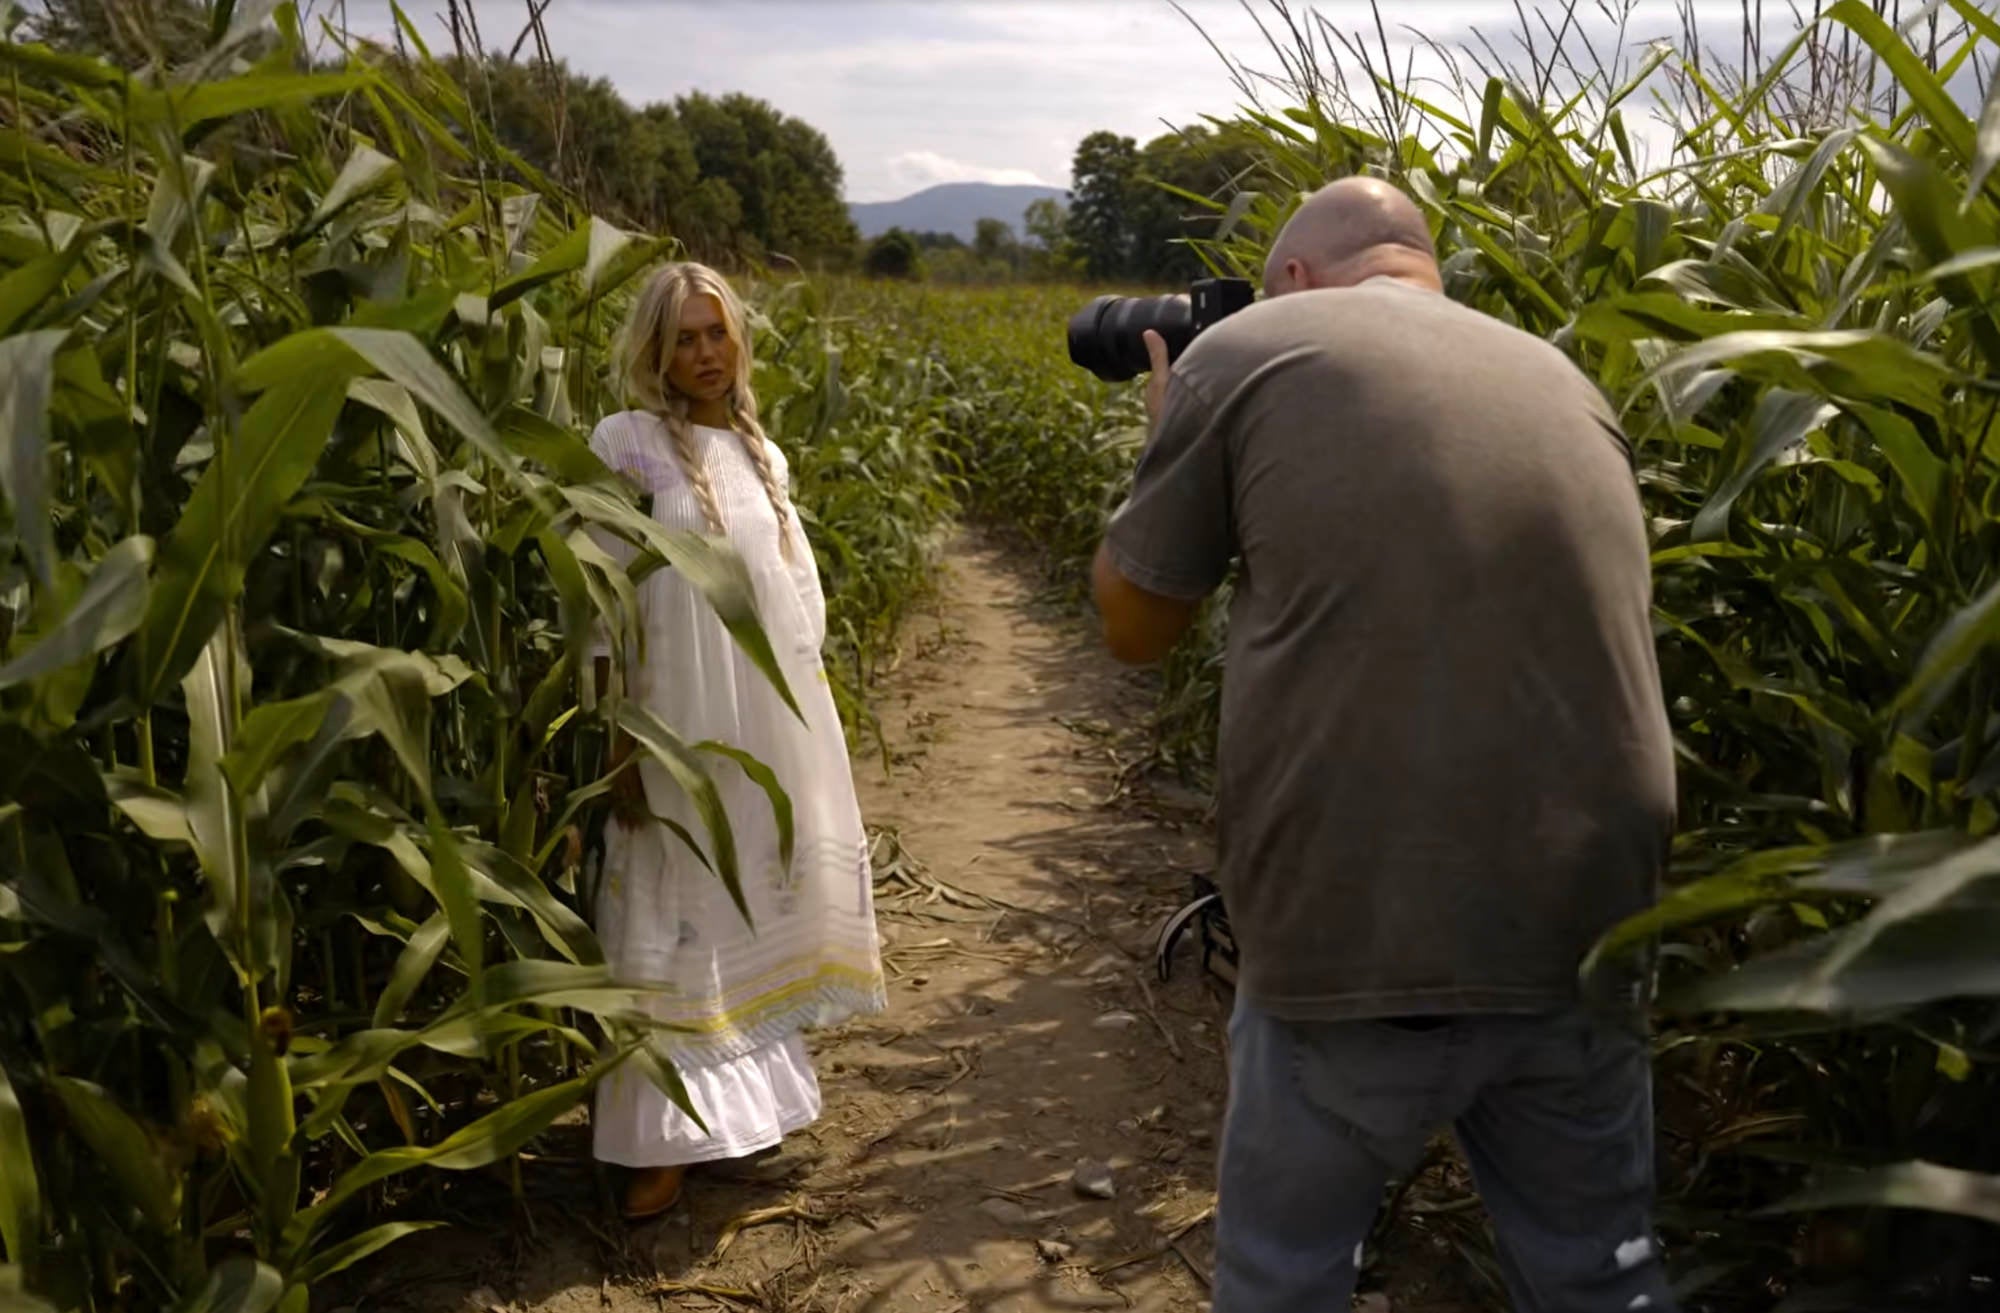
That sounds simple, but it has a meaningful impact on how you work with a subject. Rather than pointing the camera down, checking settings, and breaking the flow of the session, Miguel recommends keeping the camera up and making adjustments while your subject stays engaged. Set your exposure preview so the image appears in the viewfinder after a frame, then make any needed changes from there.
Need a few seconds to adjust shutter speed, ISO, aperture or white balance? Keep the subject involved. Ask them to sweep their hair to the other side or make a small pose adjustment while you fine-tune the settings. The result is a smoother shoot – and a more consistent connection between photographer and subject.
2. Turn on the grid display and compose with purpose.
A grid overlay may be one of the easiest camera settings to overlook, but it can dramatically improve portrait composition. Miguel recommends turning on the rule-of-thirds grid in the camera menu and using it as a guide for framing your subject.

A common beginner mistake is placing the subject’s head dead center in the frame, leaving too much empty space overhead. Unless that extra space is adding something important to the image, it can pull attention away from the person you are photographing.
“If I’m photographing people, they are the star of the show,” Miguel says. “I want them to look as powerful and as strong and as beautiful as possible.”
For a vertical portrait, Miguel generally positions the top grid line somewhere around the subject’s head. It leaves enough breathing room to keep the composition balanced, without making the subject feel small inside the frame. Use the grid as a starting point, then let the environment and your creative intent determine when it makes sense to bend the rule.
3. Set white balance for the light you’re in.
Auto white balance is impressively capable on modern Sony cameras, but Miguel encourages portrait photographers to take one more step: match white balance to the actual conditions of the scene.
The reason is simple – accurate white balance is one of the fastest ways to improve skin tones straight out of camera. If clouds move in and out or the color of the ambient light changes, an intentional setting can help maintain a more natural, consistent look from frame to frame.
“You get much better skin tones when you dial in the correct white balance based on whatever environment that you’re shooting in,” Miguel says.
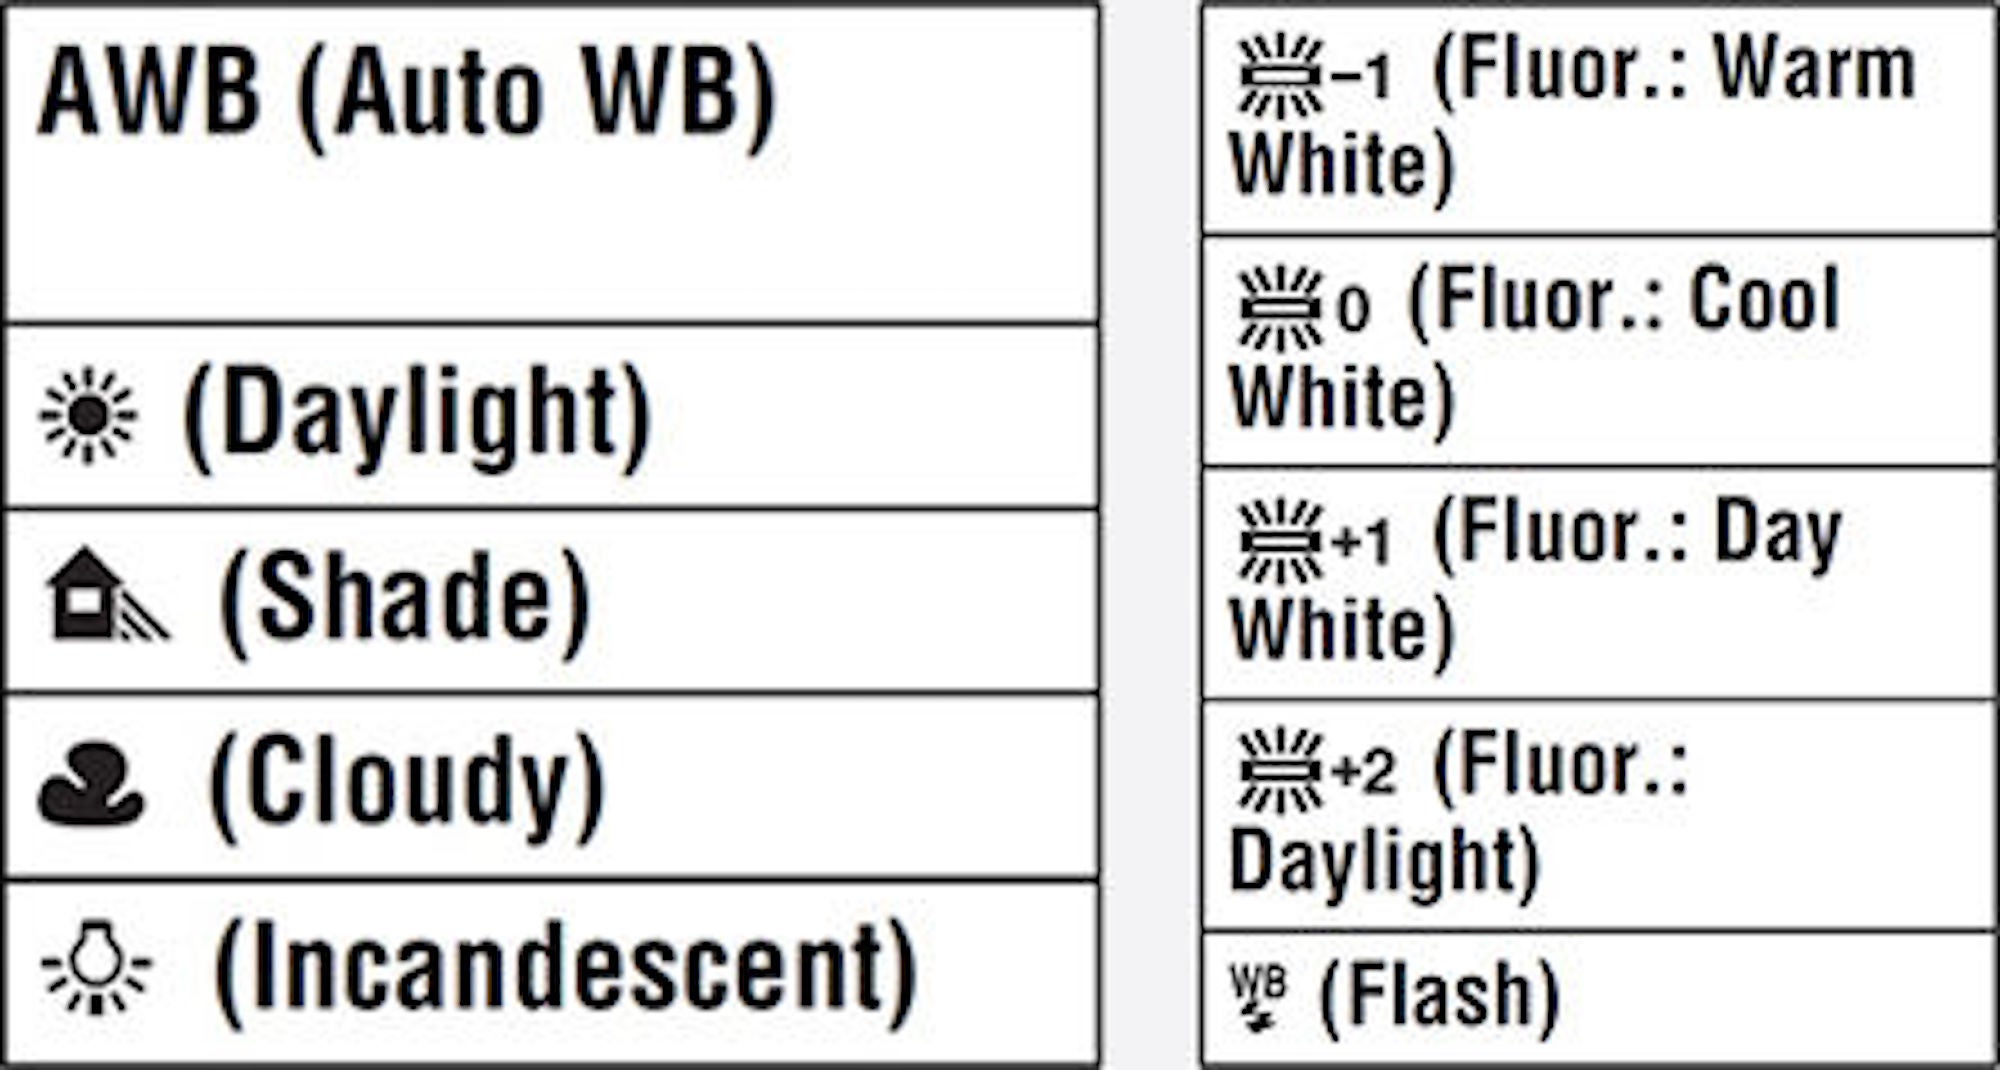
Start with the available presets. If the scene is cloudy, set the camera to Cloudy. If you’re in shade or direct daylight, choose the corresponding setting. As you become more comfortable, experiment with manually setting Kelvin values for even more precise control. But as Miguel points out, the presets are more than enough for many real-world portrait scenarios.
The through line in all three of Miguel’s tips is intention. Use the live exposure tools in front of you. Compose around the person – not the empty space. And make choices that give skin tones the care they deserve. Small adjustments like these add up quickly, helping you spend less time fixing images later and more time making stronger portraits in camera.
Watch the full tutorial below for Miguel Quiles’ complete breakdown of these three must-know portrait photography tips. Watch more videos like this one on the Alpha Universe YouTube Channel.
Interested in learning more about portrait photography?
–Click here to take our free Portrait Photography 101 course on Alpha Camera Academy.
–Click here to see our list of Best Lenses For Portrait Photography.
–Click here to explore more portrait photography content across the Alpha Universe.