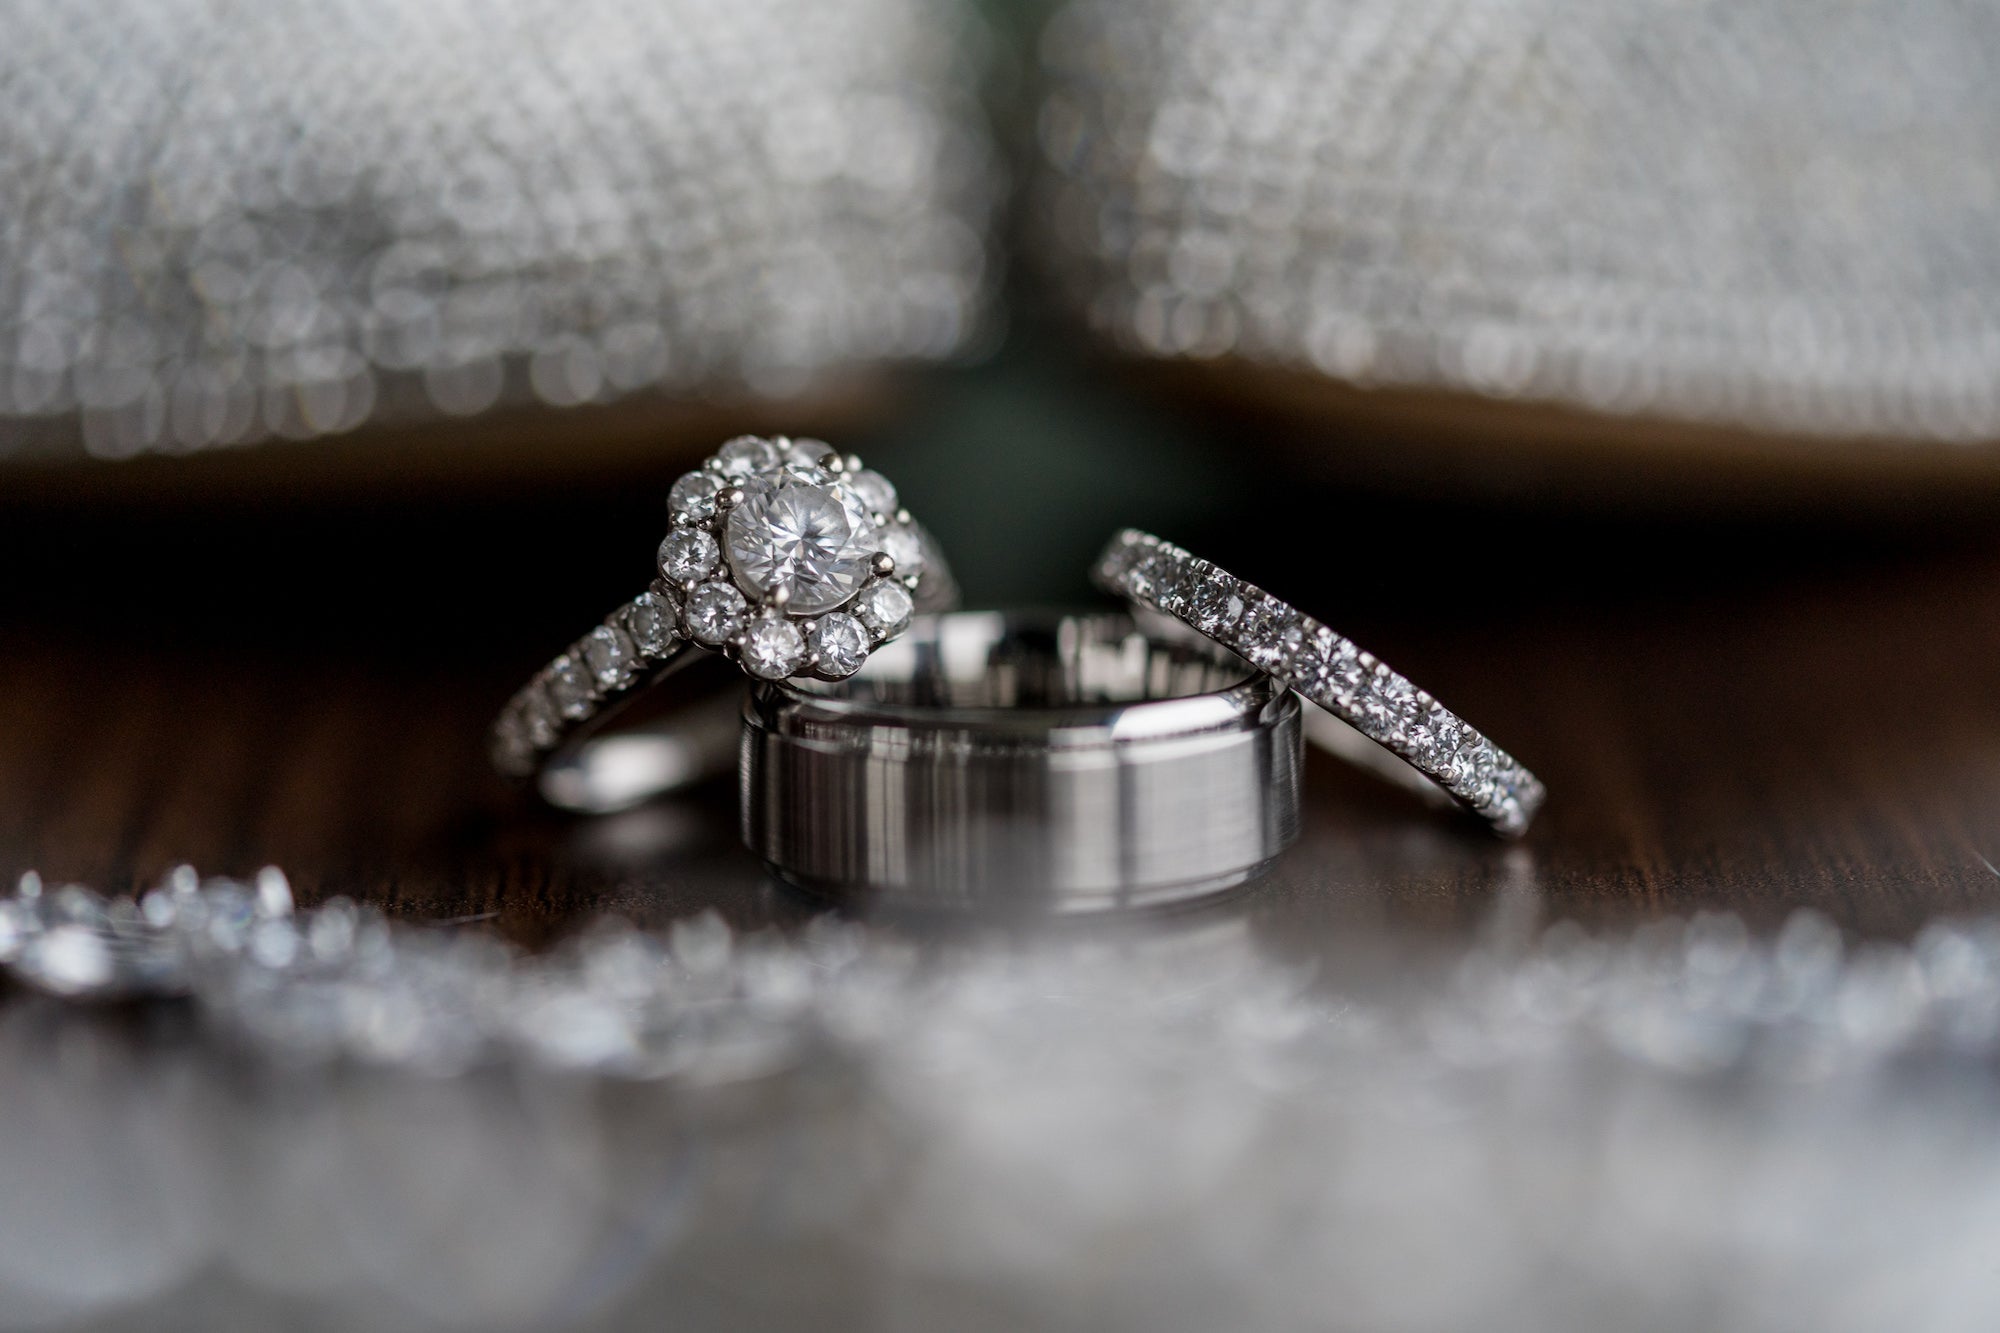
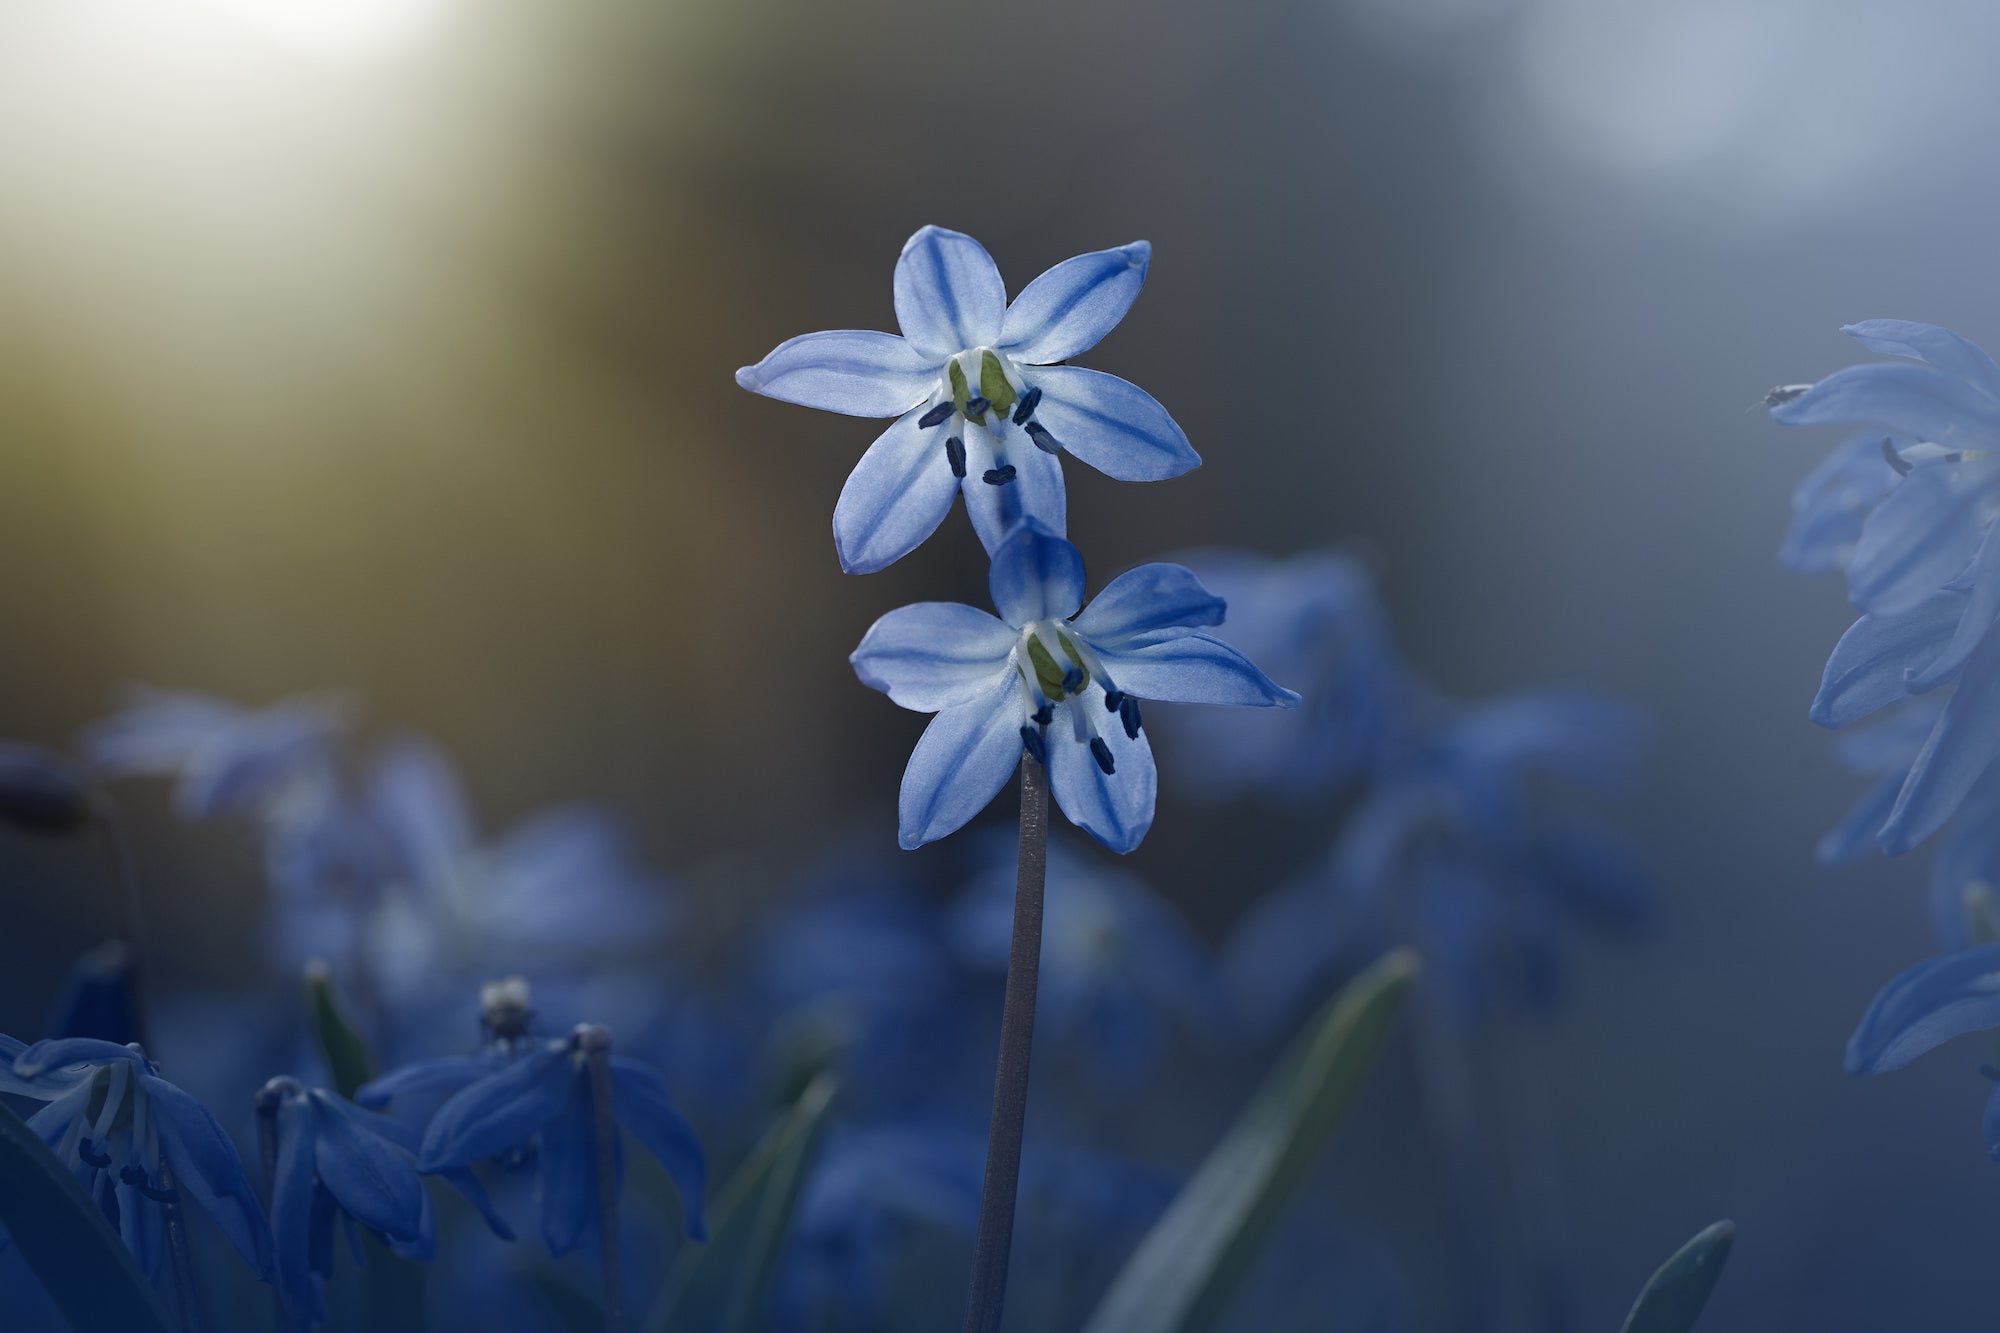
Macro photography offers a fascinating glimpse into the miniature world, allowing novice photographers to explore the intricate details of subjects up close. With a Sony Alpha camera and lens that can achieve close focus like the Sony 90mm f/2.8 Macro G, you can delve into this form of photography that's filled with endless opportunities. Want some guidance to get you started on the right path? We've got seven essential steps to get you started in macro photography.
1. Choose The Right Lens
Invest in a dedicated macro lens like the Sony 90mm f/2.8 Macro G lens for optimal results in macro photography. This lens offers a versatile focal length and exceptional optical performance, making it ideal for capturing stunning close-up shots with intricate detail and clarity. The 90mm Macro G is an awesome lens, but you can get started in macro with just about any lens that can achieve close focus. Purists will tell you that true macro means at least 1:1 magnification, but if you think of macro as just being able to get in close and exploring details that aren't readily visible to our eyes, then you can try a lot of other lenses. For example, using a wide angle zoom like the 16-25mm f/2.8 G will allow you to experiment with close-focus wide-angle macro photography. The possibilities are limitless when you start with the right lens.

Photo by Caroline Jensen. Sony Alpha 7R V. Sony 90mm f/2.8 Macro G. 1/320-sec., f/5.6, ISO 1600
2. Try Manual Exposure & Auto ISO
Many experienced macro shooters use manual exposure mode when shooting macro. This lets them control the depth of field, often minimizing it with a wide-open aperture, as well as a suitable shutter speed to avoid any blurring of the subject. If you do that, set your camera to Auto ISO to allow the camera to adjust the exposure on the fly as you're shooting. Don't get too hung up on the potential for noise. Your camera can do a remarkable job of controlling noise even at very high ISOs and in the final analysis, a little noise is far more preferable to an image that's blurry.
3. Set Aperture for Depth of Field
Adjust the aperture settings on your Sony camera to control depth of field in macro photography. For the most dramatic macro effects, try setting your aperture to minimize the depth of field such that you have sharp focus on the main subject and everything else becomes soft bokeh. This will emphasize intricate details and textures while eliminating distractions in the foreground and background for visual impact.

Photo by Jermaine Horton. Sony Alpha 9 II. Sony 90mm f/2.8 Macro G. 1/100-sec., f/2.8, ISO 400
4. Use Manual Assist Autofocus & Focus Peaking
While manual focus can offer precise control in macro photography, you can still benefit from autofocus assistance. Set your Sony camera to manual focus mode and utilize manual assist autofocus along with focus peaking. This combination allows you to fine-tune focus manually while benefiting from autofocus assistance, ensuring sharp focus on your macro subjects. Focus peaking is a feature available on Sony Alpha cameras to highlight in-focus areas in the viewfinder in real-time. It's incredibly useful for achieving sharp focus on small and highly-detailed subjects.
5. Turn On Image Stabilization
Take advantage of built-in image stabilization (OSS) in your lens and in-body image stabilization (IBIS) in your camera body if you have them. These features minimize camera shake and ensure sharp handheld macro shots. Stabilization is quite helpful for macro. It allows for greater mobility and flexibility when shooting macro subjects in various environments. Oftentimes you'll be shooting handheld and your subjects might be moving in a light breeze or darting in and out of the frame. Stabilization helps you maintain sharpness in the photo as you're moving the camera handheld and many photographers say it makes it less fatiguing on your eye as you compose.
6. Experiment With Lighting
Explore different lighting techniques to enhance your macro photography. Utilize natural light for soft, diffused illumination or incorporate artificial lighting sources such as flash or LED lights for controlled lighting conditions. Experiment with angles, diffusion methods, and reflectors to create captivating lighting effects that accentuate the textures and details of your macro subjects.

Photo by Caroline Jensen. Sony Alpha 7 IV. Sony 90mm f/2.8 Macro G. 1/250-sec., f/8, ISO 1000
7. Practice Patience & Persistence
Macro photography requires patience and persistence to capture compelling images of small and elusive subjects. Take the time to observe your surroundings and look for interesting macro subjects such as flowers, insects, or everyday objects with intricate details. Experiment with composition, framing, and camera angles to create visually striking macro compositions with your Sony camera and lenses.


