Mike Meyers is a Chicago-based photographer and Alpha Collective member specializing in landscape, cityscape, street, wildlife astro and timelapse photography. “Living in the city, I don’t have a lot of day-to-day opportunities to shoot nature or wildlife, or even see more than a handful of stars in the light-polluted night sky,” he says. “As you can imagine, I look forward to any chance to leave the city and get a glimpse of the Milky Way.” Using the Alpha 1 (Buy Now), 12-24mm f/2.8 G Master (Buy Now), a tripod and a few tricks, he was able to create this crystal-clear cottage and Milky Way photograph. Keep reading below as he shares his story behind the shot.
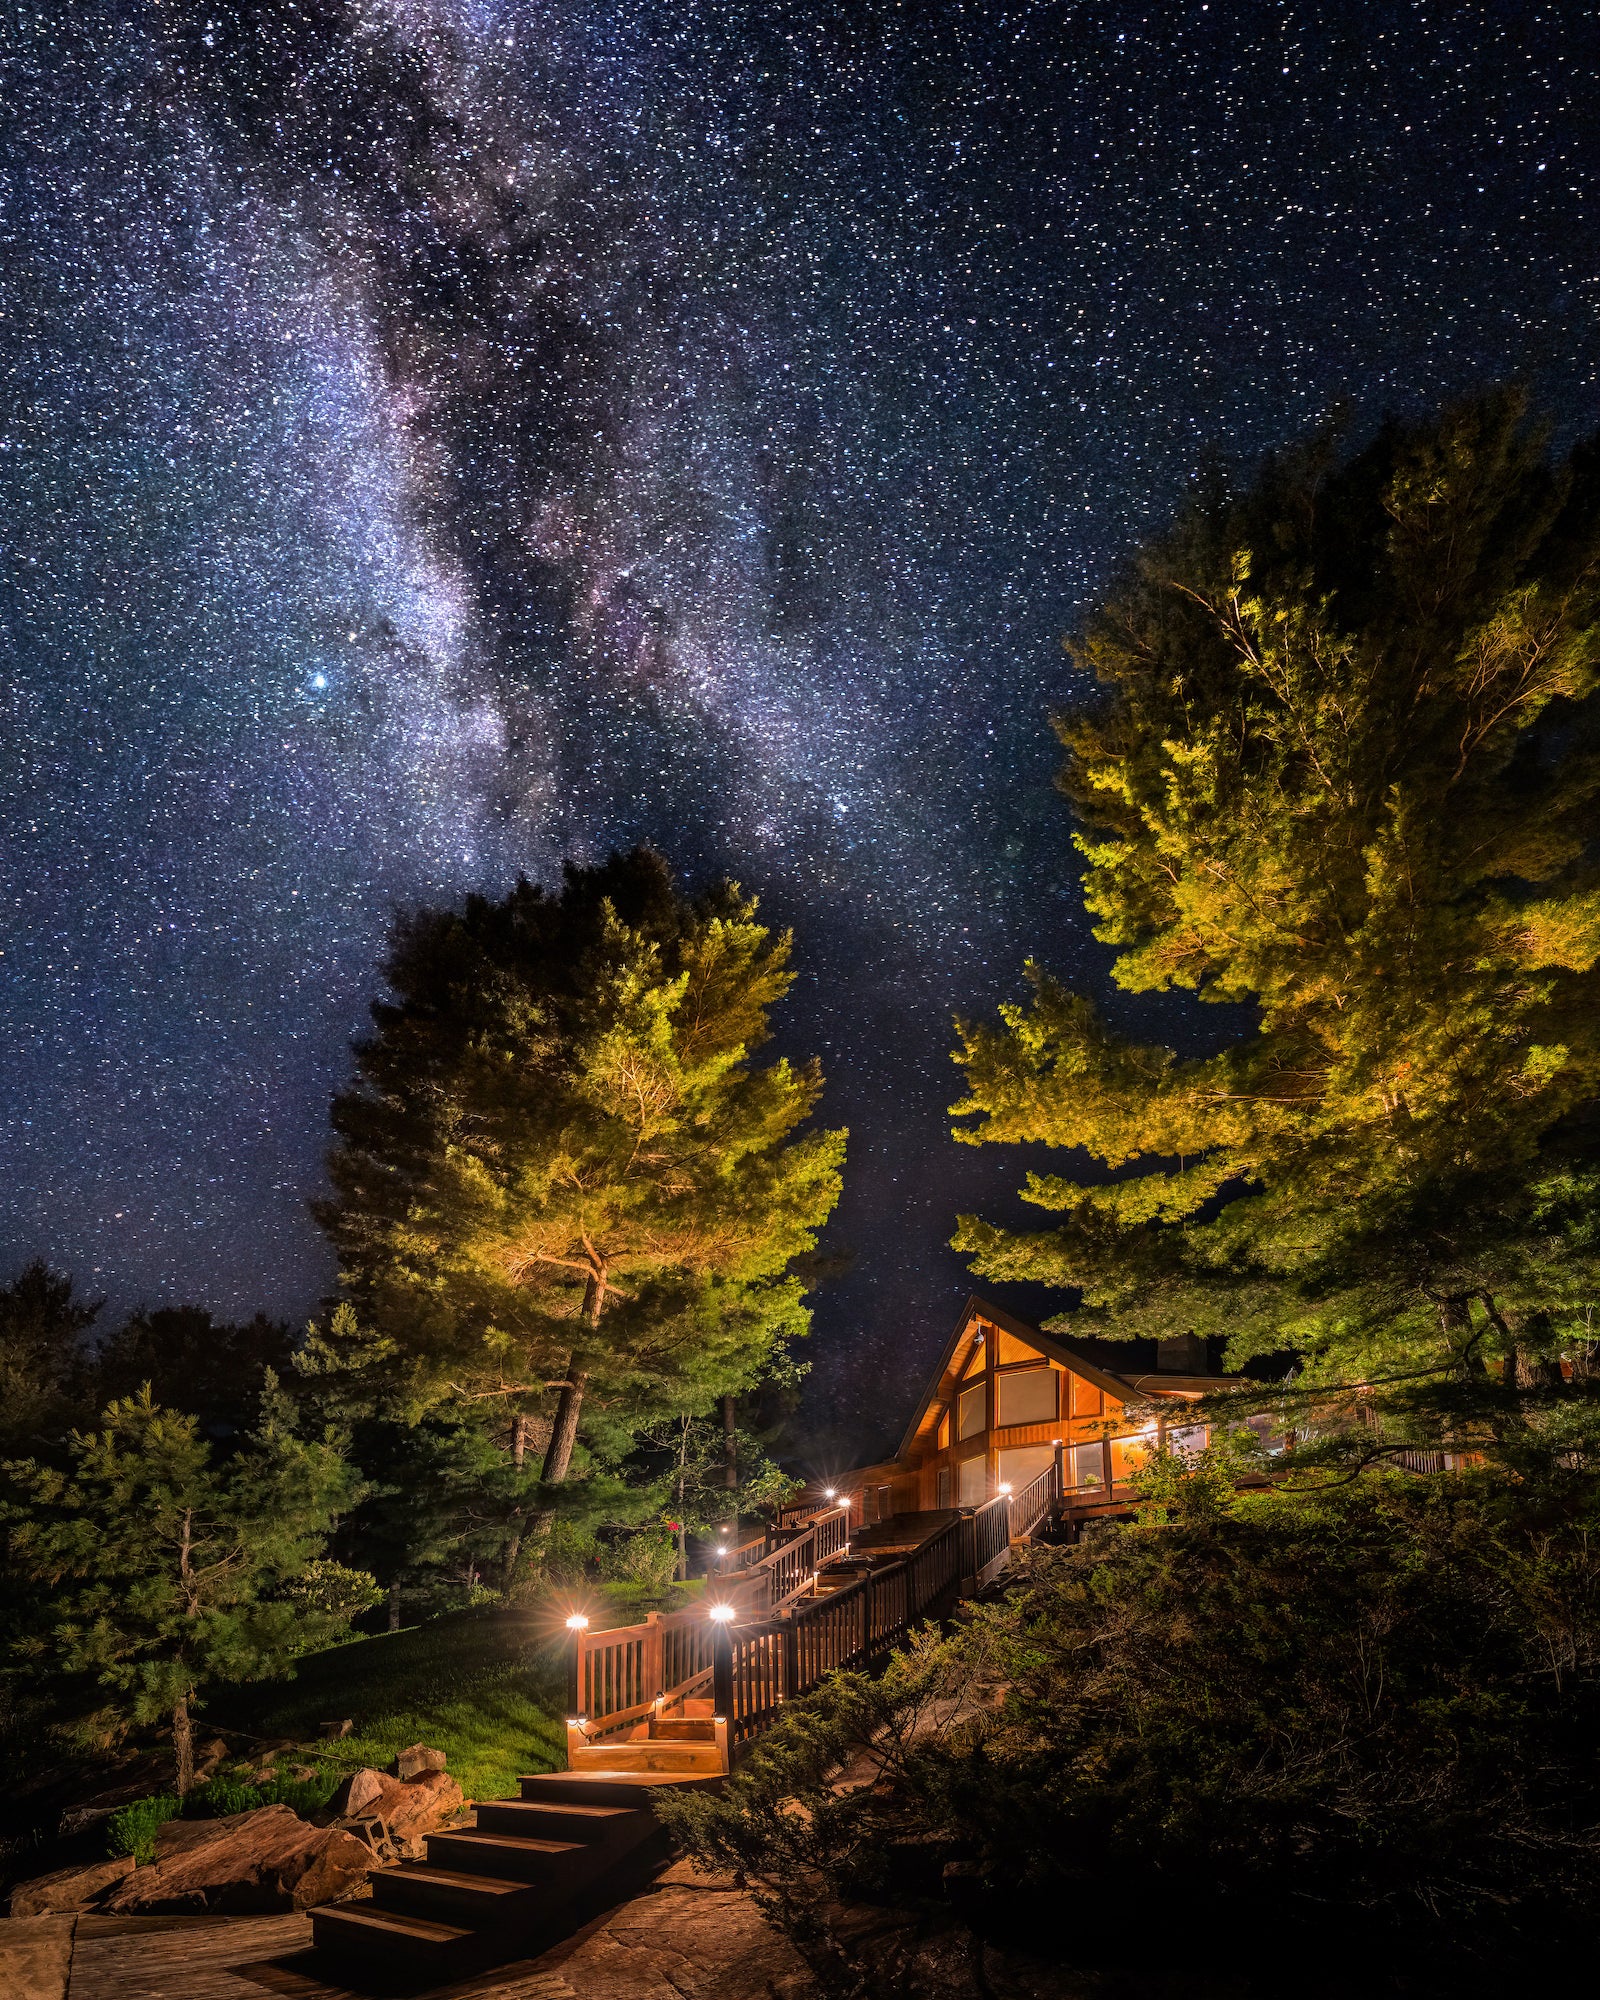
Photo by Mike Meyers. Alpha 1. 12-24mm f/2.8 G Master. 30-sec., f/4, ISO 500
Cottagecore Meets Astrophotography
Fortunately, my girlfriend’s family has a cottage in middle-of-nowhere Canada boasting some of the darkest night skies I’ve seen, and we try to make it up there once every year or two to do a little fishing and just kind of get away from everything for a week. I always make sure to get out at least once during the trip to photograph the Milky Way. I waited until we had a perfectly cloudless night and headed out around midnight to shoot the cottage when it would be perfectly aligned to sit under the core of the Milky Way.
Must-Have Gear For Milky Way Photography
I chose my Alpha 1 as the body for the shot – it performs exceptionally well in low light and I knew I’d need to add some ISO for the Milky Way shot. The 50MP sensor was also plenty of resolution for a large-format print, which I was planning on giving her parents as a thank you. The plan was to photograph the cottage as one image, then photograph the Milky Way as the second image, then combine the two in post. It would be difficult getting the entire cottage in frame from my vantage point, so I knew the 12-24mm f/2.8 G Master would be the perfect lens to pair with the Alpha 1. Plus I wanted to feature the entire Milky Way core, so going super wide at 12mm was my only option. A tripod is a must for any long-exposure shot like this to ensure your camera remains perfectly still while you’re shooting.
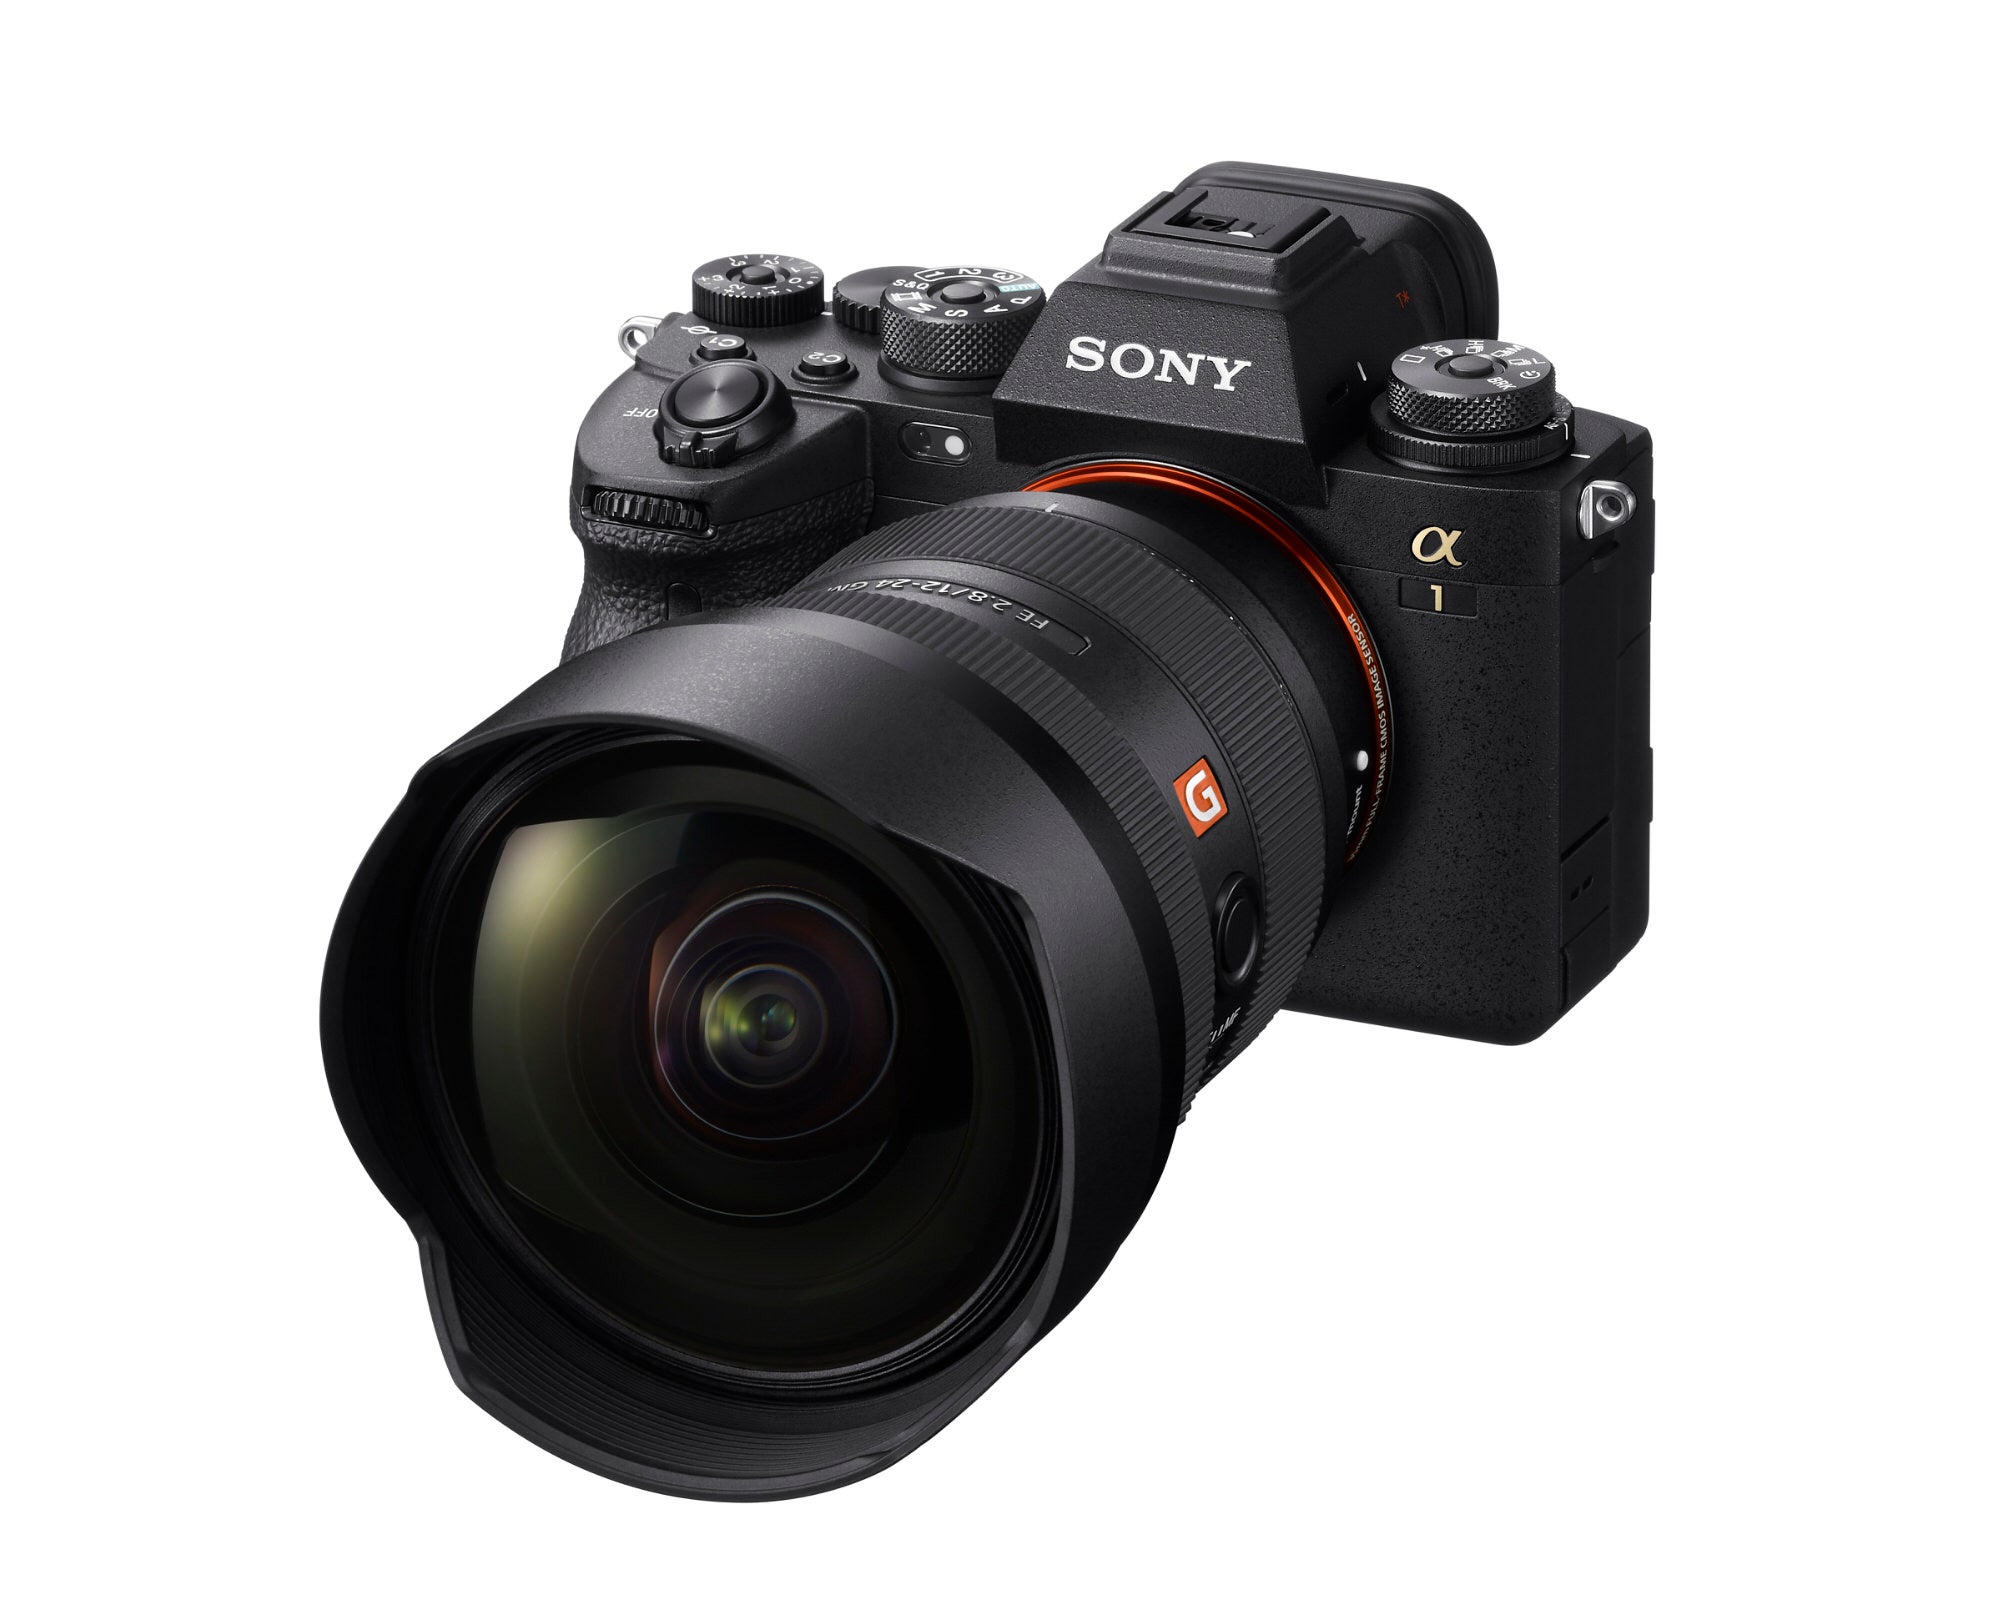
Alpha 1 (Buy Now) + 12-24mm f/2.8 G Master (Buy Now)
A Quick Trick To Create A Wider Composition
When I set up to frame the shot how I envisioned, I realized that even at 12mm, I couldn’t fit the entire scene into frame. It’s impossible to see from the image itself, but I couldn’t back up any further to get a wider composition. I wanted to frame the image vertically to capture a lot of the sky, so I took two vertical images, one capturing the left side of the scene, and another for the right.
Using Bracket Settings On The Alpha 1
Then I realized that the dynamic range of the scene was so wide that I’d need to exposure bracket images (the Alpha 1 will automatically shoot three images back to back to back, giving you a proper exposure for every part of the scene). So I actually took three bracketed images of the left side of the scene, and three for the right to ensure I captured all the shadow detail and also had images that kept the highlights from blowing out. So between those six images (f4, ISO 500, 4s, 15s, 30s exposures), I had the foreground properly captured. Now on to the Milky Way…
How To Capture Sharp Stars With Your Camera
I didn’t realize this until I became a photographer, but the stars actually move quickly enough across the night sky to turn from pin points into streaks if you don’t capture them properly. The trick is to divide 500 by your focal length to determine the maximum shutter speed before the stars become noticeably streaky. At 12mm, the math is 500/12= 41s. I always like to err on the shorter side of that equation, so I opted for a 30s exposure at f4, ISO 500.
You’ll want to focus manually for a Milky Way shot. I like to pick out the brightest star I can find and use the Alpha 1’s magnification feature to punch in as much as possible, then manually focus back and forth until the star becomes as tiny as possible in the viewfinder. This ensures perfect focus on the night sky. I took a few images just in case, but with the mosquitoes swarming, I’d had enough and packed up my gear to head back into the cottage.
Editing Night Sky Photography
These were the first photos I edited when I got back home. I knew it wouldn’t be a quick edit, but I was excited about what the final image would look like. The first step was exposure blending the two sets of three bracketed images of the condo. This is actually pretty easy in Lightroom – you can even do an HDR panorama of all six images at once, which saves some time but might not get you perfect results. I ended up taking all six images into Photoshop, aligning them just in case the wind had blown my tripod or there was any movement during the shooting process. I then used luminosity masks to brush in properly exposed highlights and edited them until the images were looking how I liked them, then combined them as a panorama to stitch everything together. Now that I had the foreground done, it was time to add in the Milky Way.

Photo by Mike Meyers. Alpha 1. 12-24mm f/2.8 G Master. 30-sec., f/4, ISO 500
I actually ended up using the sky replacement feature in Photoshop which worked really well. I had to clean up some areas, but in general it was a nice solution to drop in the properly exposed sky over the cottage. It ended up taking a few hours to get the image exactly how I’d envisioned, but I was pretty happy with the final result. I know this sounds like a very involved process, but once you do it a few times, I promise it’s not bad at all, and in my opinion, definitely worth it to get the image you want!
See more of Mike Meyers’ work on his Alpha Universe Profile and on Instagram @mmeyers76.
To level up your imaging and streamline your workflow, purchase the Alpha 1.
To add an ultra-wide angle view to your arsenal, purchase the 12-24mm f/2.8 G Master.
To explore more articles about astrophotography, visit alphauniverse.com/astro.
