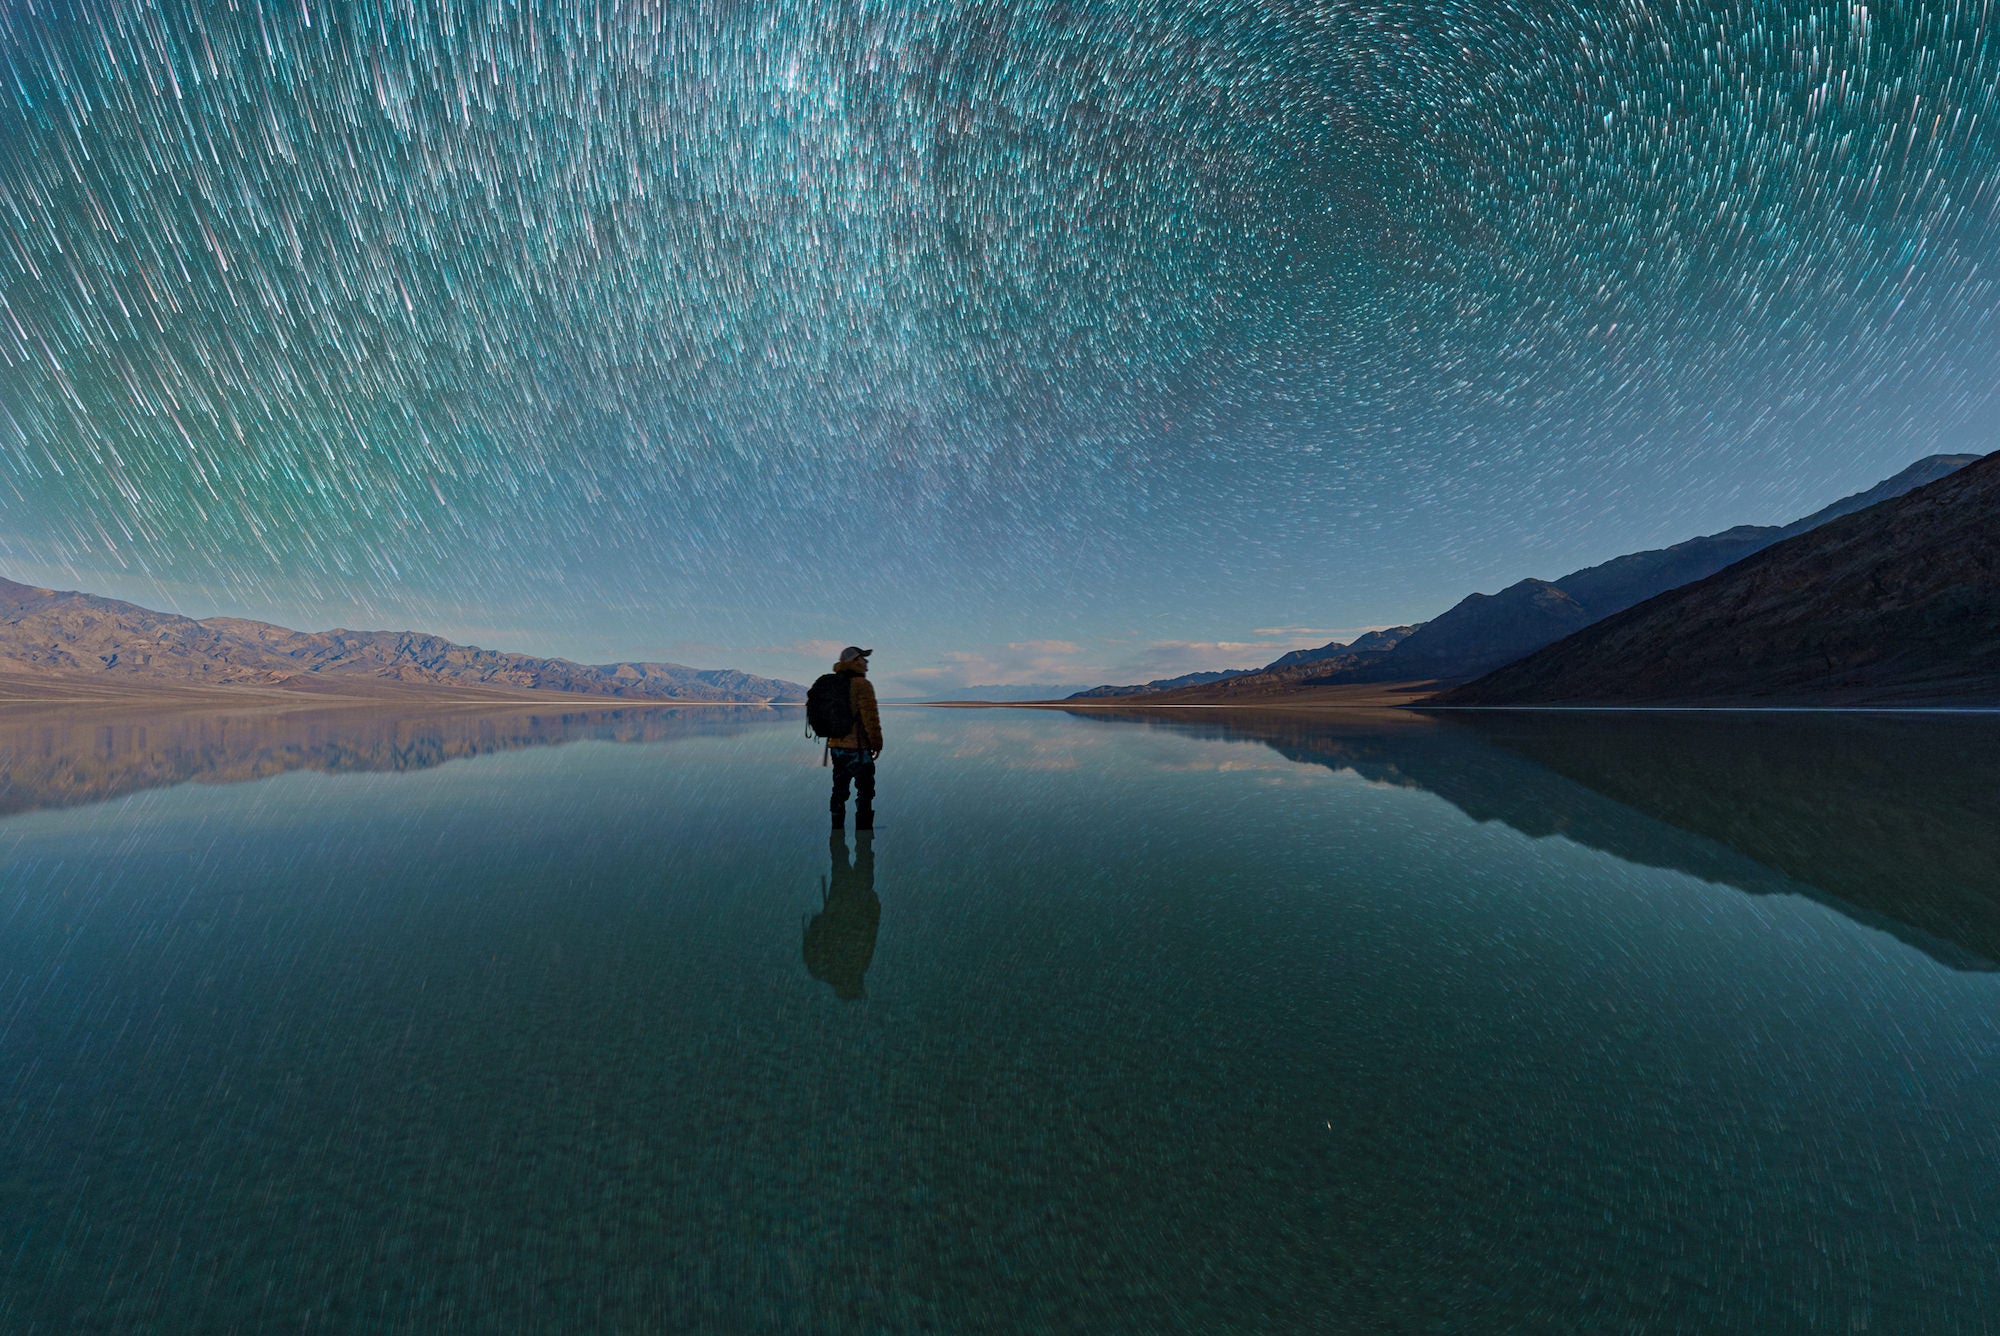
Recently, Sony Brand Ambassador Stan Moniz (@StanMoniz) spent an evening exploring and photographing Badwater Basin in Death Valley. He went with a specific shooting plan in mind, yet when mother nature spoiled those plans, he ended up creating a different stunning image that he hadn’t even previously visualized. Using his Sony FX3 and 14mm f/1.8 G Master, Moniz experienced the joy of trying out different shots and spending time in nature – and he was rewarded with this stunning star-trail image. We connected with Moniz to learn more about his original plan and how it ended up leading to this shot instead.
Product Preview – In This Article You'll Find:
–Sony FX3
–Sony 14mm f/1.8 G Master

Photo by Stan Moniz. Sony FX3. Sony 14mm f/1.8 G Master.
Creator and Sony Brand Ambassador Stan Moniz tells us how he created this composite at Badwater Basin in Death Valley with his Sony FX3 and Sony 14mm f/1.8 G Master.
A Man With A Plan...And A Backup Plan
Moniz has been photographing Badwater Basin in Death Valley for many years. It is the lowest point in North America at 282 ft (86 m) below sea level. The salt flats here cover nearly 200 square miles, and the area is particularly known for its dark skies. That is one of the reasons he loves visiting, because it allows him to indulge in his passion of night photography.
Though he has been to this area countless times, he says he’s never seen it in the state it was the night he made this image. On August 20, remnants from Hurricane Hilary dropped about a year's worth of rain for the park in just one day. This storm devastated the infrastructure of the park, and left Badwater Basin filled with water. And he says that with the cold temperatures, that water will remain for quite a while.
His original plan was to head to Badwater Basin to shoot the solar cycle, a cycle happening roughly every 11 years that leads to a show of northern lights. He knew that it would max out between 7:00 p.m.-10:00 p.m. that night. So he arrived at 6:00 p.m., and hiked about half a mile out into the Basin. He knew the moon was rising at 10:00 p.m. and that it was going to be so bright it would diminish the northern lights – so time was of the essence. “You could literally hear a pin drop. If you just make no noise, you hear your heartbeat. It was insane and beautiful – a very spiritual kind of vibe.”
Unfortunately, the moon was so bright, Stan didn’t really get a chance to see the northern lights that night. “I knew that might happen, so I had a backup plan. I started shooting the star trails.”
Interval Shooting & Layering An Image
Moniz was shooting on the Sony interval shooting function with his Sony FX3 and Sony 14mm f/1.8 G Master. With this function, the camera captures a series of still images automatically, based on the interval time and number of shots set in advance. “It’s a fantastic tool for astrophotographers, and the FX3 is the king of astro. I use it for all my low light work.”

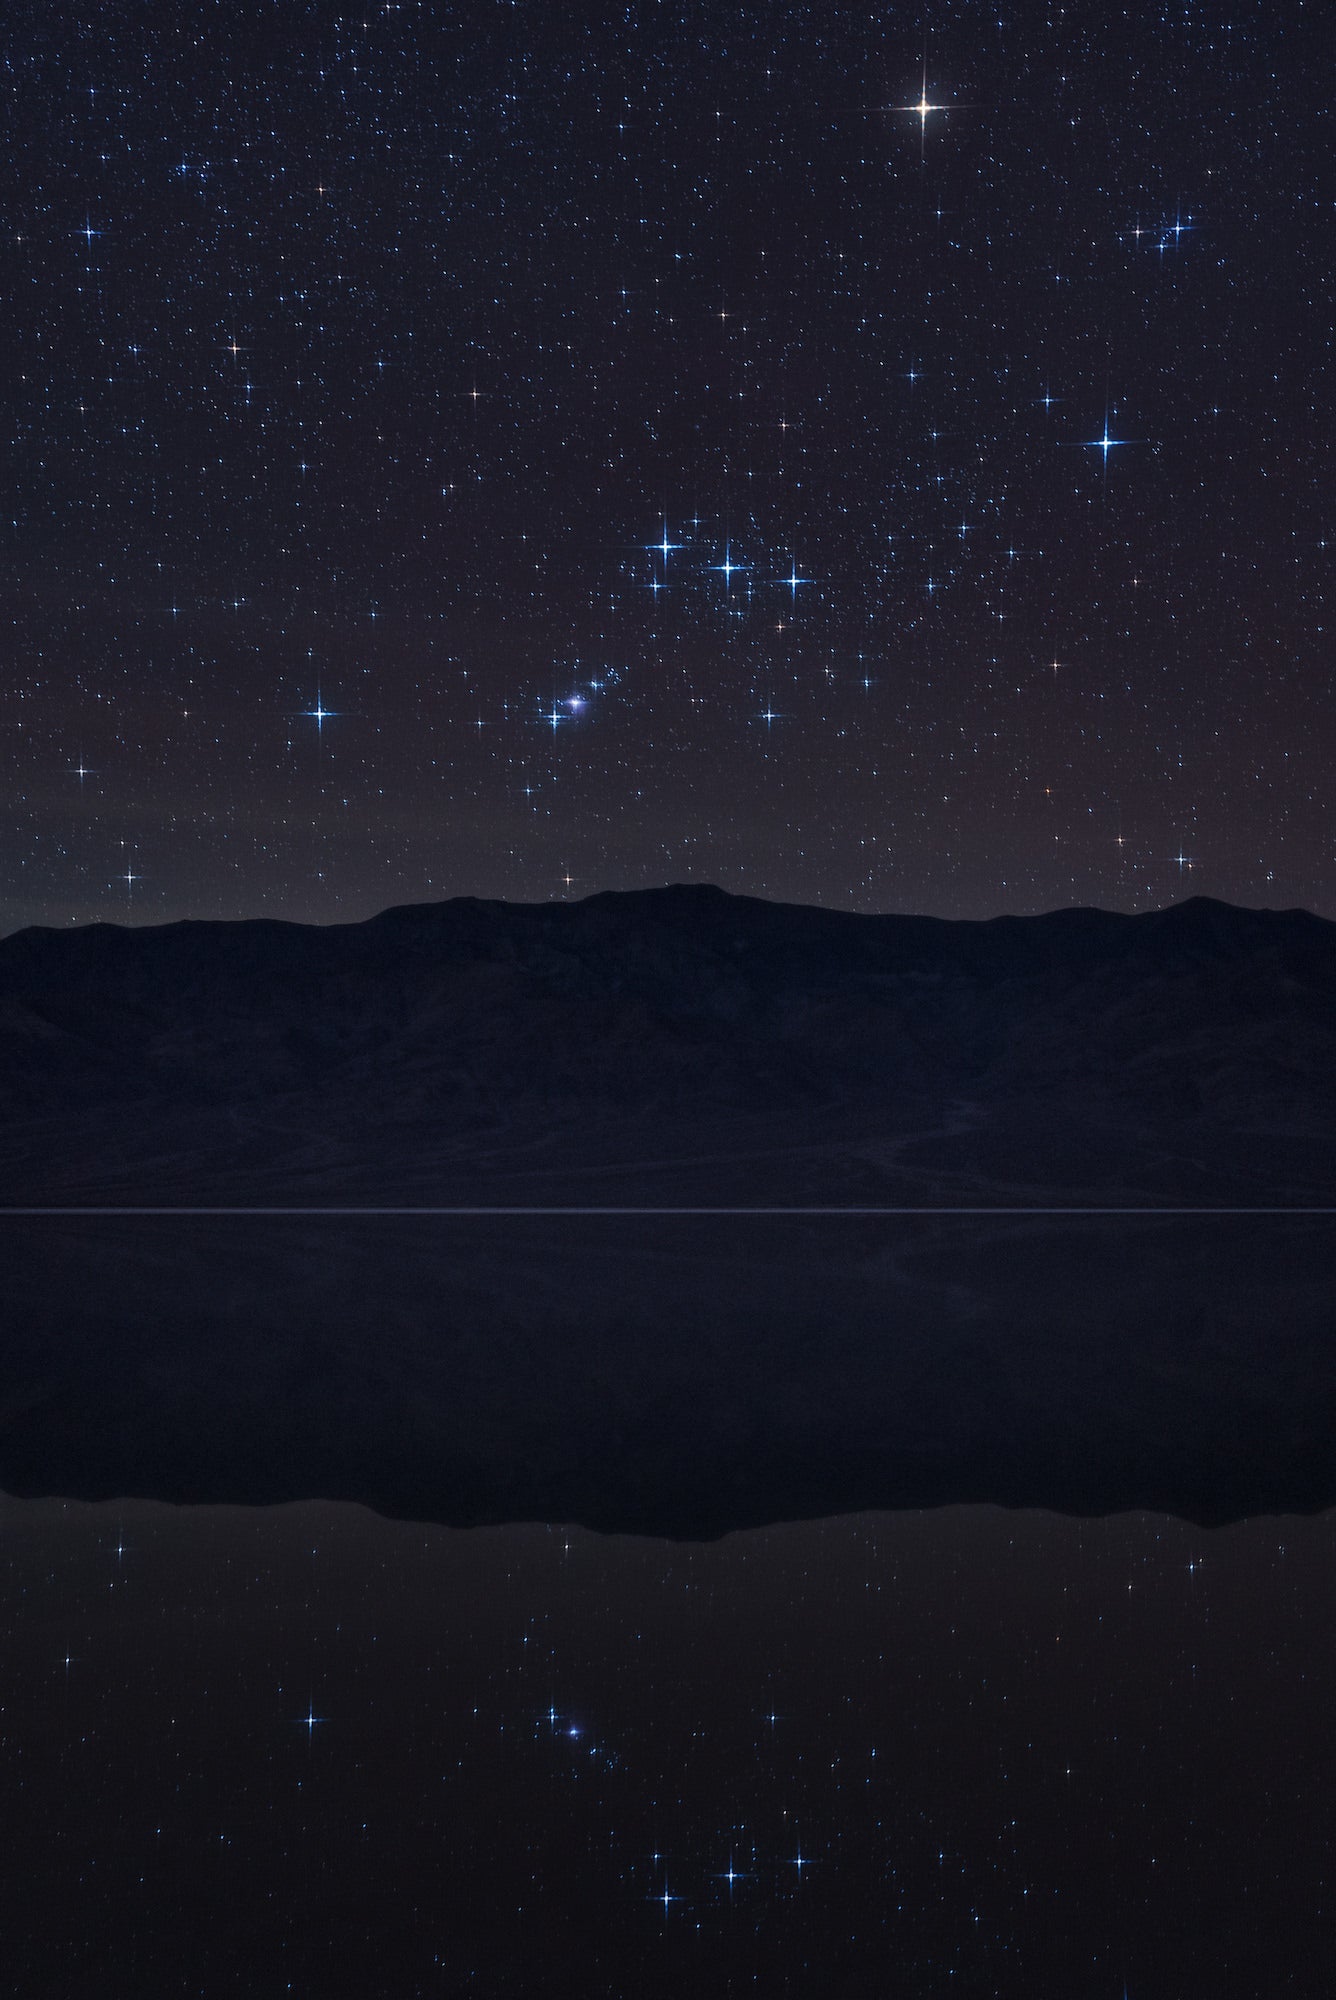
Photo by Stan Moniz. Sony FX3. Sony 14mm f/1.8 G Master.
To create the final image, he combined multiple shots. He shot the first set before the moon had risen and included only the stars without himself in the frame. For those shots his settings were: a 15-second exposure, at f/2.5, and ISO 800. With interval shooting on, Moniz will add two extra seconds to give the camera room to breathe. So even with a 15 second exposure, he sets it to 17 or 18. “Many people don’t realize that your interval shooting function doesn’t have to be the same as your exposure time,” he explains. “I have found that if the camera doesn’t have room to breathe, it skips and you can see it in the moonlight, so I always add around two extra seconds.”
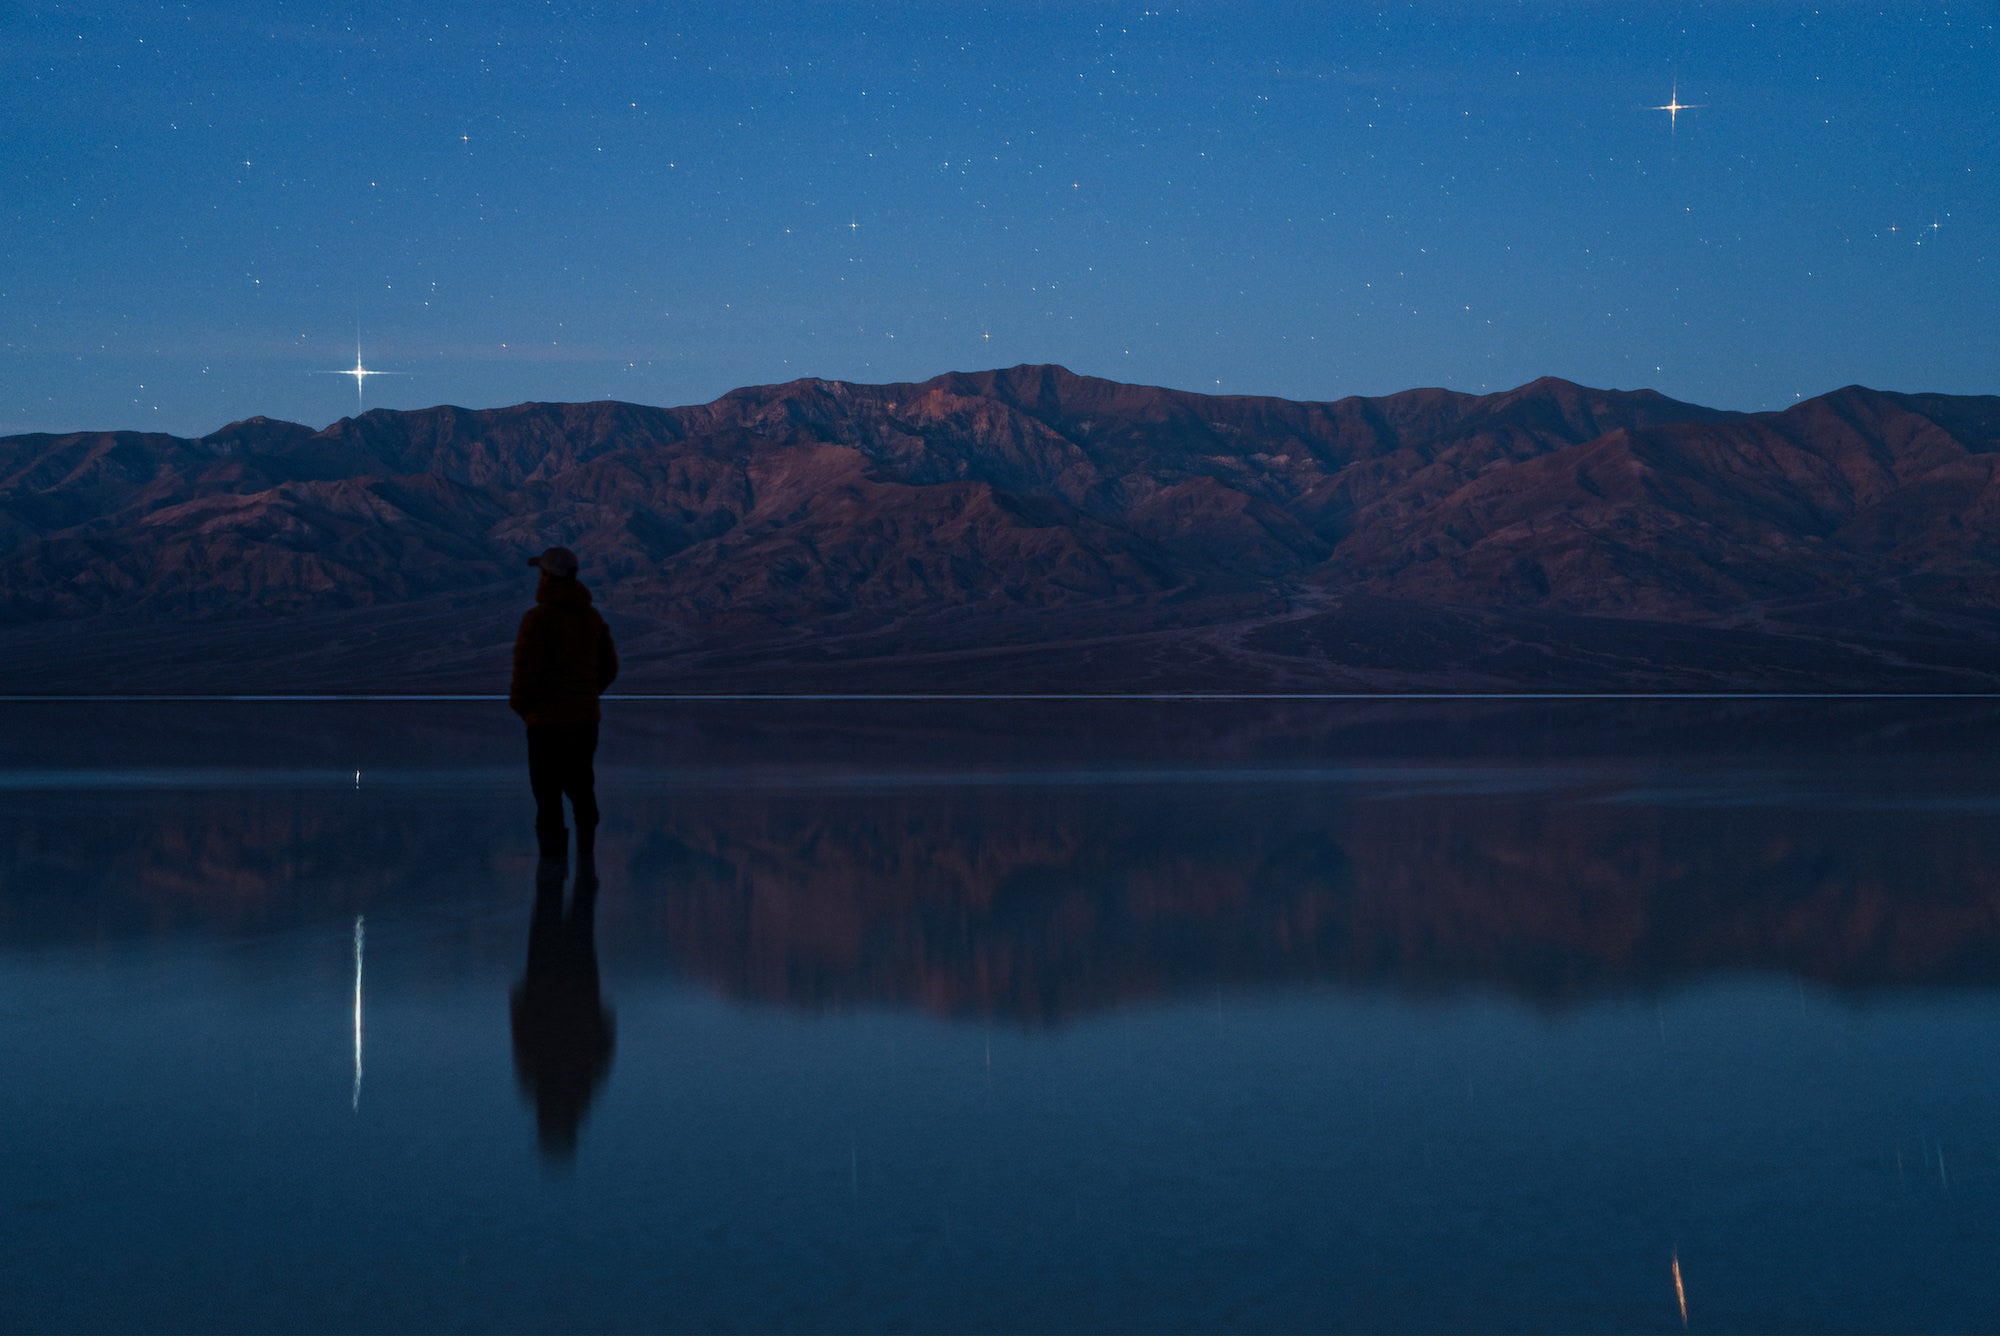
Moniz says he didn’t have an exact image in mind when he started shooting, since the star trails weren’t his original intention, but he often adds a human character in his frames. “I find that it gives your shots a lot of depth. You can tell more about scale and the scene with a human presence in the frame. So I realized I should go out and pose for the photo.” This is when he created his second set of images. He took these shots when the moon had risen, which gave him the great reflection in the water. Stan loves that he highlighted the water reflection, because it is so rare to see water in Badwater Basin, so it’s an important element to the story.
For the second set, Stan set the camera to a 10-second exposure, which meant he set the interval shooting time to 12 seconds. Since he was totally alone, he didn’t have anyone to guide him or help him frame up the shot, so he spent about 20 minutes out there standing in different areas. He had to stand as still as he could for the 10 seconds, and then he would try again in a different spot. “I didn’t know if anything was going to be good, but I hoped I would get one or two good poses that could lead to some cool shots.”

Photo by Stan Moniz. Sony FX3. Sony 14mm f/1.8 G Master.
Compositing, Blending & Building Images
Editing the image was a whole process unto itself. Stan had roughly 240 images he wanted to combine into a composite. First, Stan pulled all the photos into Adobe Lightroom, where he did basic edits, making the images all look roughly the same in terms of lighting, color temperature and white balance. Then, he exported all the images and put them in a folder on his desktop.
Next, he opened a free program called StarStaX, that allows you to take a number of photos, add them together and create a star trail. It also has a feature Moniz loves that allows you to save each stacked image after each frame is processed, which allows you to create a cumulative stacking video (see the Instagram video below). He used this program to create the star trail from his initial set of images, without him in the frame. He then pulled the final composite back into Lightroom to make any necessary adjustments. He then repeated this process with the images of him in the frame. After these steps, he was left with two composite, star trail images.
Stan took the two images he had created, one of just the star trails, and one of him in the frame and brought them into Adobe Photoshop. First, he opened the star trail image, then he opened the image of himself and copied himself. Then he pasted himself as a layer in the original image. “Then I made a mask and I inverted that mask, so the mask is black. I took the brush tool and then gradually brought myself in. That way I was blended into the shot well.”
After combining these two final images, Stan flattened the shot, so it is now one, complete image. He did some final blending and adjustments and then exported the image.
“What’s so cool about this shot is that I never intended to create this image. This wasn't the plan at all when I showed up, it was just a happy accident when my original plan went awry. And the moonlight that ruined my first shot, was what made this shot possible. The moonlight helped burn me into the photo, because if you're moving a little bit like that, any type of light flash or whatever will help the objects look still. So it’s super cool, how it all came together.”
Keep up with all of Stan’s adventures by following him on Instagram (@StanMoniz) and check out his full list of gear HERE to see what Sony gear he relies on as well as the filters he likes to play with for star images.


