Everyone is getting excited for the North American total eclipse – and for good reason – it’s rare (and getting rarer). The last time a total solar eclipse took place over the United States was during the late 1970's and the last one visible by the entire United States was in 1918. Nearly half a century later, the eclipse now taking place on August 21, 2017 is going to have a totality (full magnitude) stripe across the nation from the southeast corner to the northwest corner. The rest of the United States is going to experience AT LEAST a 60% partial eclipse. This is insane – and naturally, a nerd like myself is going crazy preparing to photograph this eclipse.
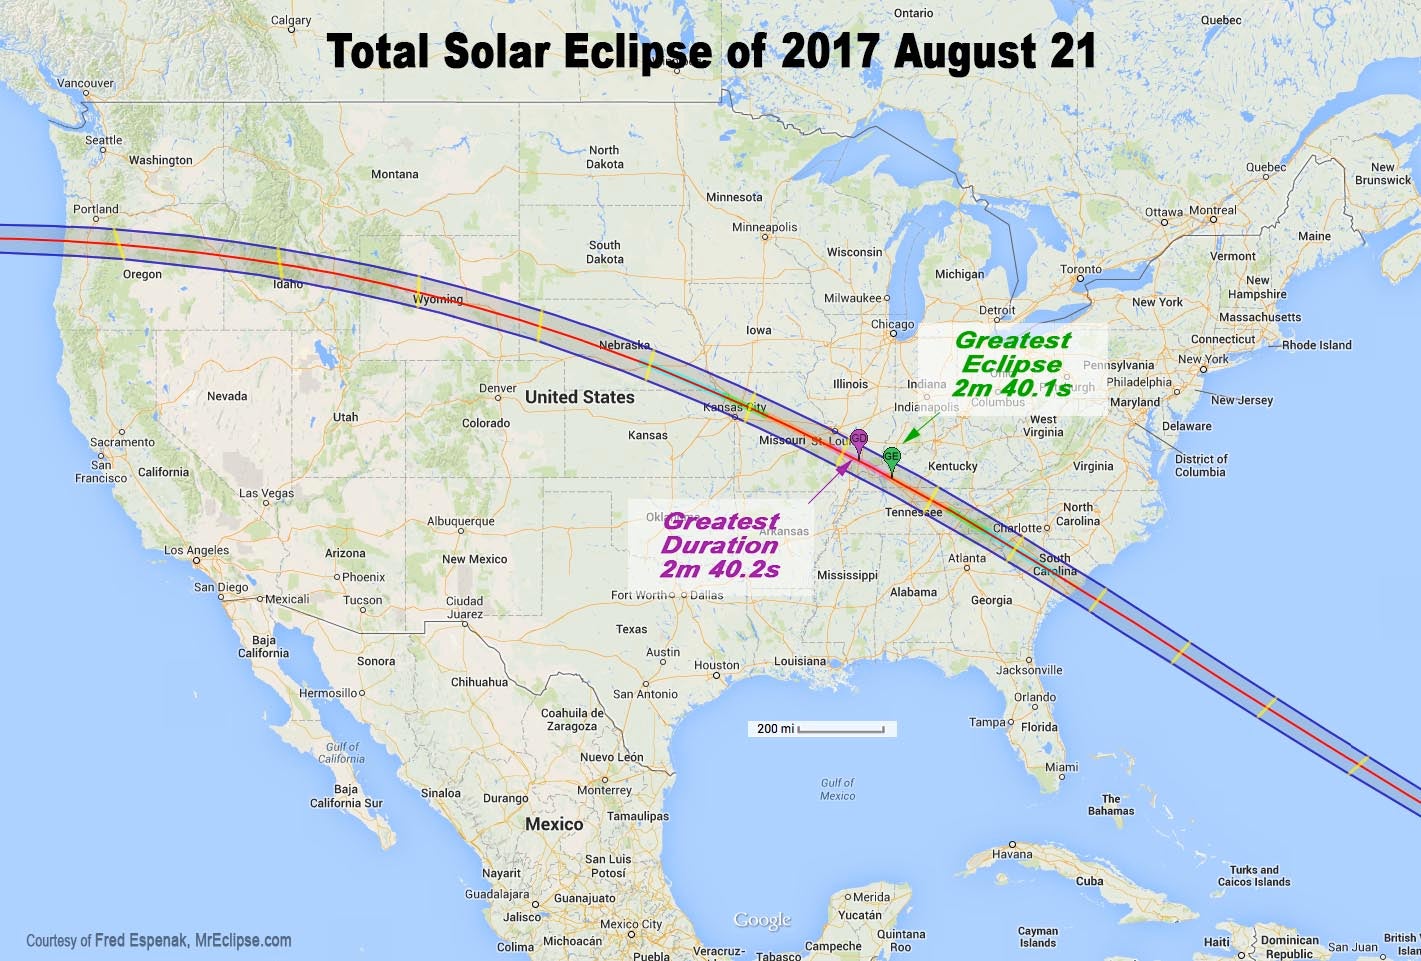
Oh yeah – I wasn’t kidding about being a nerd. I am a big nerd and I write nerdy articles. So be warned.
Just like many of my colleagues, this will be my first experience seeing a total eclipse. I’ve seen lunar eclipses before –very cool stuff – but I hear that nothing can quite compare to a full-on total eclipse. So having zero experience photographing a total eclipse, I had to leverage the expertise of my fellow photographers who have the experience, some of whom have spent their lives chasing the elusive eclipse.
So I have never photographed the eclipse before–why would you listen to me?
I’ve studied, man!
I’ve lost sleep researching this thing! I have spent a bunch of time reading up on the eclipse, spent hours in exciting lectures and even more time figuring the equipment I needed to bring with me. I have practiced photographing the sun in the meantime – even photographing sunspots!
So let me share what I’ve learned so far.
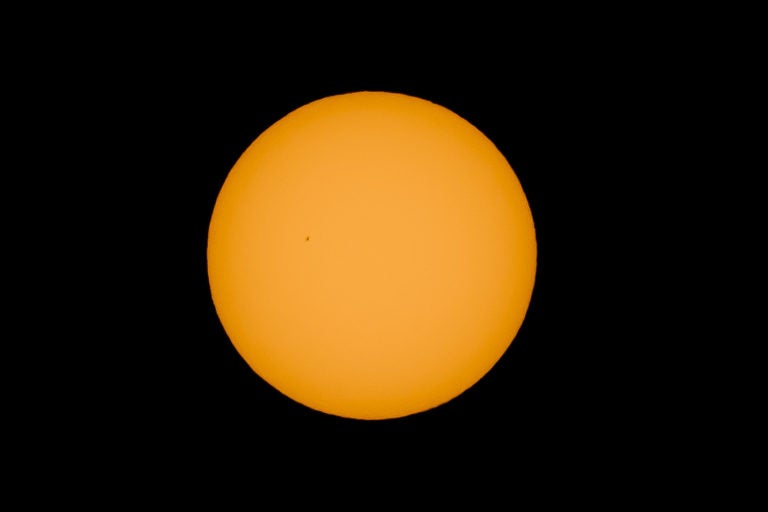
Photo by Spencer Pablo. Sony α9. Sony 100-400mm f/4.5-5.6 G Master lens. 1/320-sec., f/9, ISO 640
For those who will be seeing totality, there are four contacts that you will experience.
- First contact: Moon begins to cover the sun. This is the beginning of the partial eclipse.
- Second contact: Moon completely covers the sun.
- Third contact: Moon uncovers the sun.
- Fourth contact: Moon separates from the sun. The eclipse is over.
For those in the United States who are not going to be in totality, you will see a partial eclipse the entire time and never get to see the second contact.
EVERY STAGE OF THE ECLIPSE IS DANGEROUS to the naked eye without solar protection except the moment of totality (second contact). During the second contact of a total solar eclipse, the moon completely covers the sun. Do not confuse this with an ANNULAR eclipse, which – even when the moon is completely between the sun and earth – some of the sun is still visible around the moon. Because of the dangers to the eyes, wear your solar eye protection up until totality, then put it back on as soon as the moon starts to uncover the sun (third contact).
Now let’s talk about your cameras and protection. Your lenses act like a very expensive magnifying glass and your camera body acts like a very expensive ant on the business end of the magnifying glass.
Just like the solar glasses are crucial to protect your eyes, solar filters are important for your cameras. Respected subject matter experts recommend them over the neutral density filters that only limit the visible light that makes it to your sensor. ND filters do nothing with regards to the ultraviolet and infrared rays that can damage your sensors. If you shoot with a camera that has mirrors and prisms that reflect the image into your optical viewfinder, all those damaging UV and IR waves go right into your eyeballs if you’re not using a solar filter. At least with the Sony mirrorless camera setups like my Sony α7R II and α9 bodies, the damage is localized to your camera. It will cost you to fix your gear, but at least you did not damage your eyes. What happens if you cannot get any solar filters this late in the game? Check with your local telescope shops to see if they have any solar film sheets that they can cut for you. I also hear welders film works.
Protect your eyes and gear.
Now let’s talk about the types of pictures you will take. When you use the solar filter, the only discernible image that will make it to your camera is the sun. So if Bigfoot happens to walk into your shot, sorry – no amount of dynamic range is going to bring him out of the shadows. Most of the photos of the eclipse that I have studied are closer images of the sun, devoid of the landscape that may surround the photographer.
As such, it’s all about those telephotos (or spotting scopes).
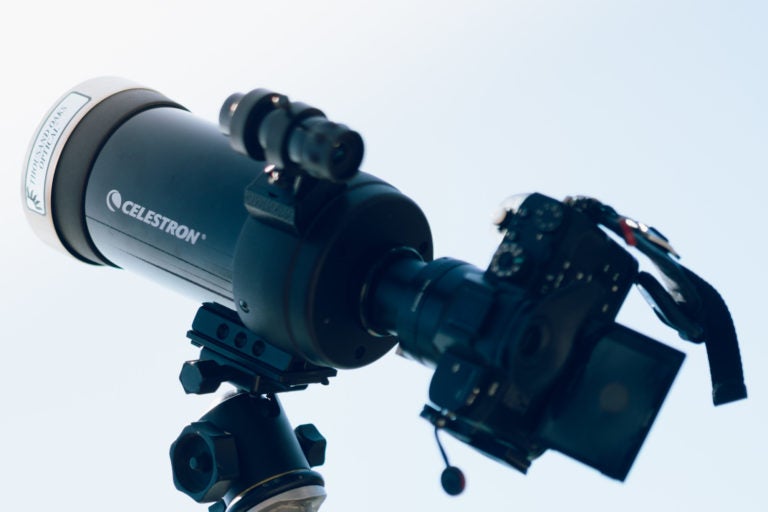
The camera attached to a spotting scope via an adapter.
For me, telephoto lenses are the easiest way to get those shots of the “diamond ring” (at a point where the moon nearly covers the sun). But using a telephoto lens brings with it a few additional considerations. The first one is stability. You’ll want a tripod (I happen to know a very good article on that). Telephoto lenses also tend to be pretty hefty – so those little GorillaPods might not help too much in this regard. I’ve said it before and I’ll say it again.
Get a good tripod already.
I am also going to be using an equatorial mount. If you have ever tried to photograph the sun or moon from a tripod before, you’ll know why I am using the equatorial mount. If you have your telephoto lens on a tripod and the moon or sun centered in your frame…just give it a few minutes. You’ll notice that the moon or the sun moves across the frame. Having an equatorial mount continually tracks those “space objects” by compensating for earth’s movement. I can track the sun all day if I wanted to. If you don’t have one of these snazzy equatorial mounts, no worries – you’ll just need to recompose your photos every few minutes.
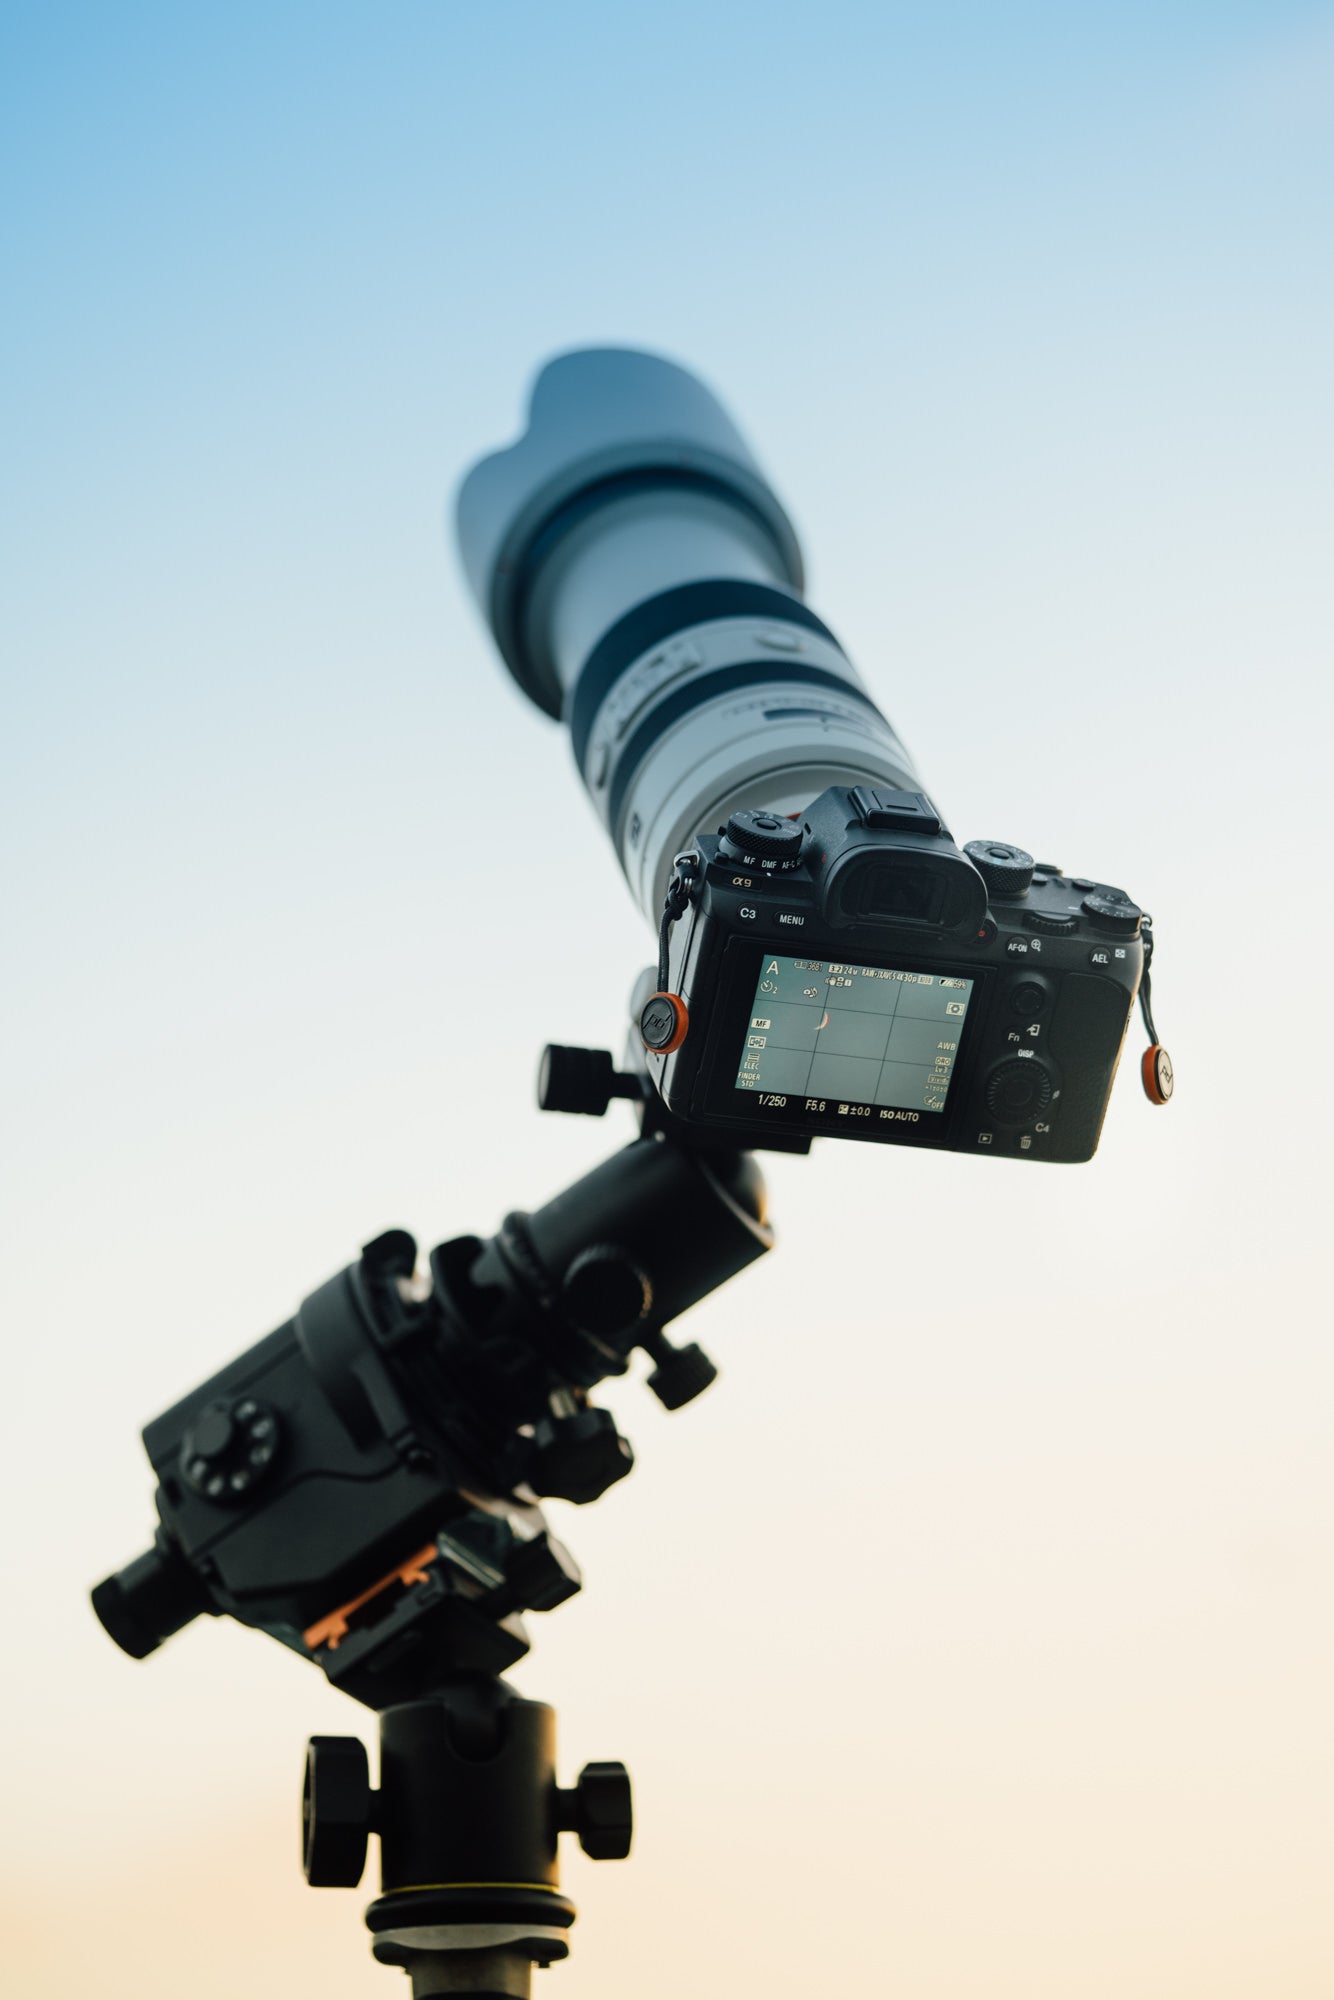
Sony α9 attached to an equatorial tracking mount.
See, I told you I was a big nerd.
Hopefully you already have an idea of what lenses you are going to use. Ready to find out something about you lens that may surprise you? Your infinity focus might not actually be at what the lens indicates as “infinity.” Most of the lenses I have used have the focus for the stars or moon at slightly before the infinity markings on the scale of my lenses. On the Sony mirrorless lenses, set your cameras to manual focus, move your focus ring, and notice that little scale that shows up on the bottom of the screen? That’s the scale on our new-fangled mirrorless cameras. Learn what the sun’s focus is before the eclipse happens and keep it there. That should ensure sharp eclipse photos. Sony mirrorless users –you should have a feature called Focus Magnification that can zoom in even closer to assist you in nailing your focus.
Let’s talk about how I am going to have my camera configured. On both of the Sony camera bodies that I am bringing (my trusty α7R II and the new α9), I have a few custom settings on the mode dial (α7R II has two, α9 has three). I am planning on using all of them so I can easily change my shooting options so I don’t make a mistake when the adrenaline is surging through my veins during the eclipse.
For instance, here’s how I'm setting up my α7R II:
Memory 1
- Purpose: Partial Eclipse
- Mode: Manual
- Shutter: 1/1600-sec.
- Aperture: f/8
- ISO: 200
- Focus Mode: Manual
Memory 2
- Purpose: Totality with solar corona
- Mode: Manual
- Shutter: 1/250-sec.
- Aperture: f/8
- ISO: 1250
- Focus Mode: Manual
Note that the totality mode (Memory 2) is at ISO 1250. The solar filter is off at that point, and because we’re at totality, it’s going to be dark, hence the higher ISO. I will be leveraging one camera for time lapse purposes and the other for bracketing photos of the rapid-fire changes in-between contact points.
Another pretty important tip is to set your camera up to do bracket shooting. This will be useful to try and spread your shots across several stops to try to improve the amount of “keepers.” I’ll start my bracketing at +/-3 stops. The dynamic range of the Sony cameras will help fill in the gaps.
Location, Location, Location
Other things to note is the location you decide to set up for the eclipse. I recommend going to a place away from big bodies of water and free of clouds. I have read stories of someone who perched near a lake for an eclipse, then as soon as the eclipse began, the lake had a layer of fog over it. Great for landscape photos – not so good for clear sky images. Have snacks ready (and in bear-proof containers if you happen to shoot in areas that have those dangers) and plenty of water. Expect to be out in the sun for two to three hours if you are going to photograph the entire event.
Other than photographing the eclipse, note that there’s going to be some strange phenomenon that tends to take place. The temperature will drop (I’ve heard it can drop 15 degrees F). Animals and plants will start acting as if it is nighttime. You may even see the elusive flickering shadow bands that appear on lighter surfaces. And this is the most insane part – the eclipse will bring along with it a 360 degree sunset.
Let me say that again – A 360 DEGREE SUNSET.
You will get that sweet sunset light over to your northern, eastern and southern directions. Crazy, I know!
If you find that you’re getting hung up on your gear and the eclipse is seconds away, stop. Use those solar glasses and enjoy the show with your own (protected) eyeballs. It’s better to experience the eclipse than it is to get frustrated trying to photograph it and missing the entire event.
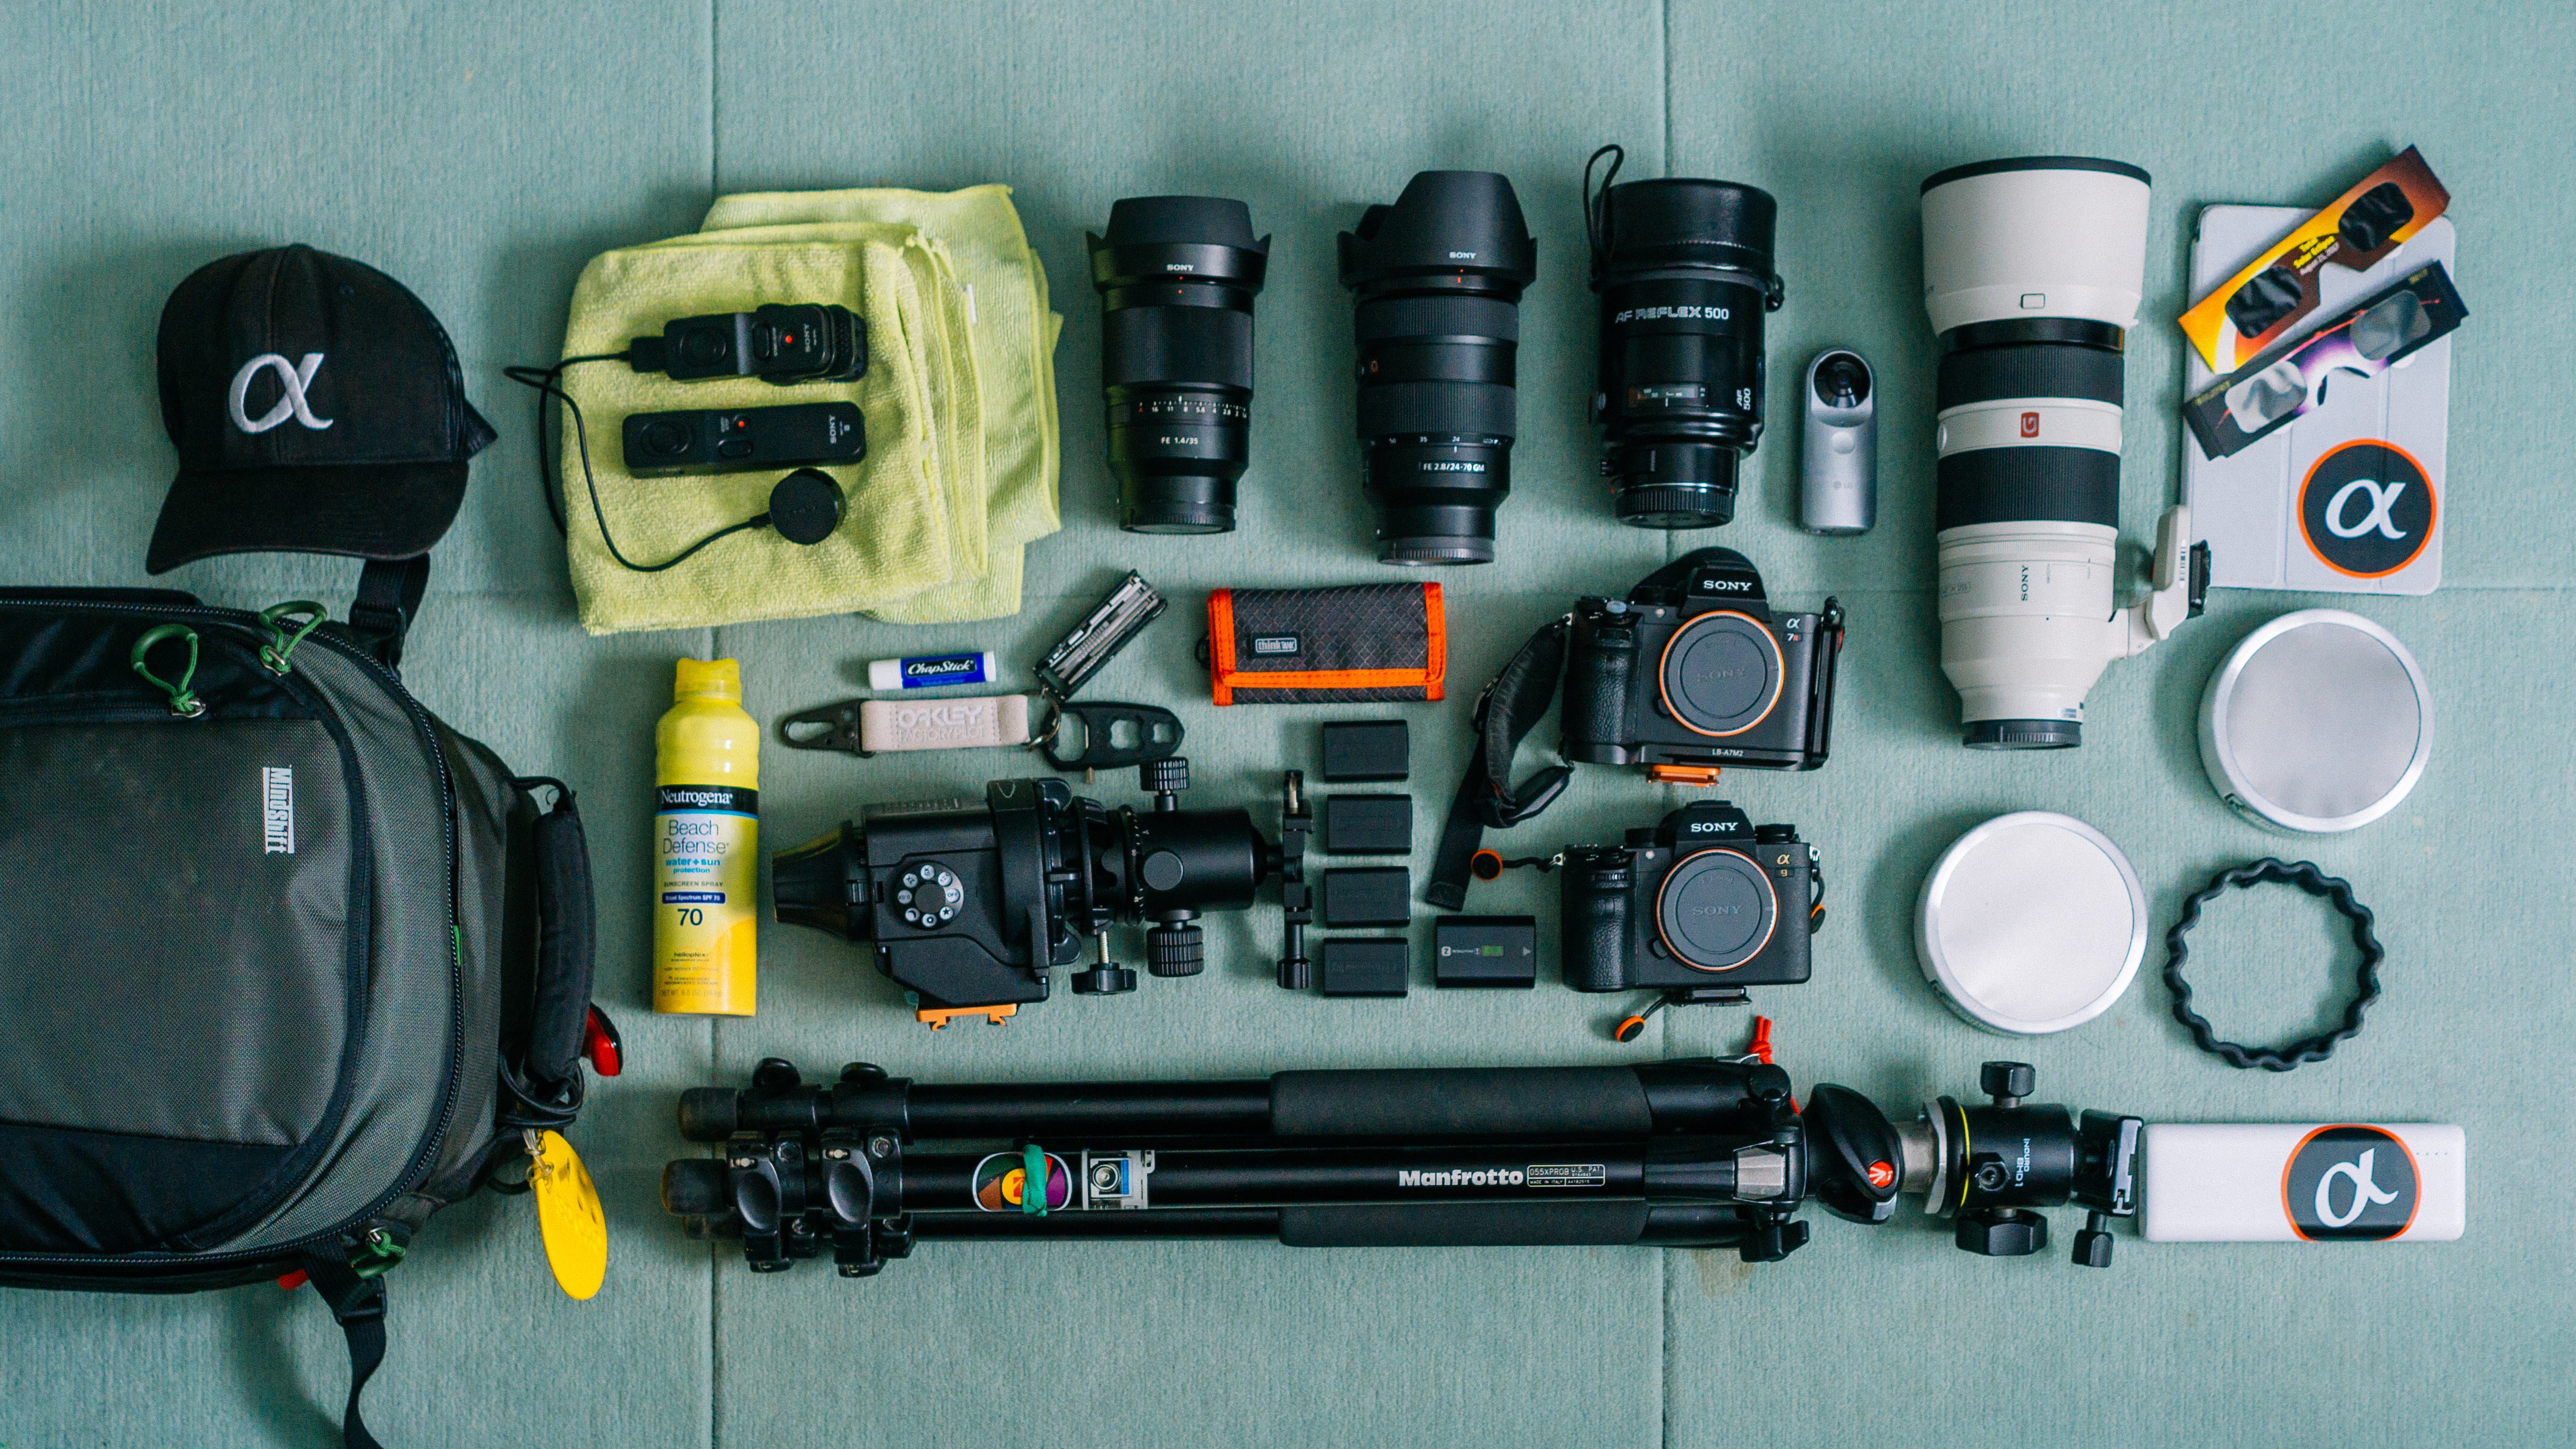
So what am I bringing? Based on the photo above, the kitchen sink, apparently. (A note about your equipment: Be safe. You’ll have all your techy gear out trying to photograph the eclipse. Less scrupulous people know that, so keep an eye on your gear.)
Cameras
- Sony α7R II. My high-resolution camera.
- Sony α9. It’s just plain fast. Not really knowing what to expect with regards to the diamond ring shots, I want to be sure I can capture every split second.
- 360-degree camera. Like I said, I’ll be having a 360 degree sunset?
Lenses
- Sony 35mm f/1.4 lens. I love this lens. I will use it to photograph the area leading up to the eclipse.
- Sony 24-70mm f/2.8 G Master lens. For everything I don’t need a telephoto to shoot.
- Sony 100-400mm f/4.5-5.6 G Master lens. A telephoto that is sharp and very easy to handle? Yes, please.
- Minolta 500mm f/8 Reflex lens. You can never really have enough telephotos at an eclipse, can you? To mount this on my Sony mirrorless bodies I’ll use an adapter.
Other stuff
- Mindshift FirstLight 40L bag. Few bags can hold all this gear and still be comfortable. This happens to be one of them.
- Hat. For protection, and also because you can never have enough Alpha.
- Remotes. I don’t want to touch my camera bodies while they’re tracking, so I’ll use my remotes.
- Microfiber. Believe it or not, it’s not for cleaning, but to provide shade to my gear.
- iPad mini. Tetris and Bejeweled.
- Solar glasses. Protect those eyeballs. I’m bringing several in case any of them get damaged or I want to make a new friend.
- Sunblock. Knowing me, I’ll be in the sun for at least three hours.
- Chapstick. Lips need protection, too.
- Keychain. Keyport for tools and Peak Design Capture tool for tightening Arca plates and opening a cold beer later.
- ThinkTank SD Pixel Pocket Rocket. This holds my SD cards. The Sony a9 can shoot 20 frames per second. You do the math.
- Skywatcher Star Adventurer equatorial mount. The equatorial mount I use for tracking sky objects.
- Batteries. I always have spares.
- Thousand Oaks Optical Solar Filters. The critical component to protect my gear and capture photos of the partial eclipse.
- 3D printed solar filter adapter. This adapter was custom made by a friend to allow me to quickly slide the filter on and off a lens, while still being secure.
- Sturdy tripod. One of two that I will have for this trip. The Manfrotto pictured works well with my equatorial mount.
- Anker USB battery pack. I have to keep my Tetris and Bejeweled games powered, man.
Here are some other useful links:
Les and Mary Anderson's photo gallery of eclipse photography.
Mr. Eclipse's Guide to Eclipse Photography.
The Great American Eclipse website
Astronomy magazine's What to Bring to the Eclipse Guide


