Professional portrait photographer Scott Robert Lim likes to take bold location portraits that capture the flavor of his surrounding environment. That’s what he did when creating the image featured in the video below while in Las Vegas, and he says it was the most difficult part. “I wanted to have this feel of when you see it, right away you know where I am. So that was the hardest thing, so get a frame that conveyed that entire story…” Watch below as Sony Artisan Miguel Quiles interviews Lim to learn more about how he created this image. From choosing the location, determining the right lens and camera settings and his overall approach, Lim takes us through the making of the photo, step by step.
Product Preview – In This Article You’ll Find:
–Sony Alpha 1
–Sony 24mm f/1.4 G Master
Finding Higher Ground
In order to capture this specific frame, Lim had to shoot from a higher elevation. “We figured out we could go on the top level of the parking lot of the Mirage, and not very many people were up there. So we went up, we didn’t ask permission so we weren’t sure if it would be allowed and had a Plan B just in case. But we went up there and there was nobody up there at all. And so we had a couple of hours up there just doing our shot.” Since then, others have tried to visit the same location and aren’t able to shoot from there anymore.
Lim’s On-Location Portrait Gear
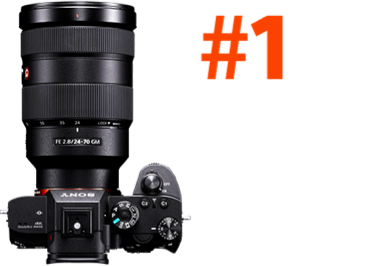
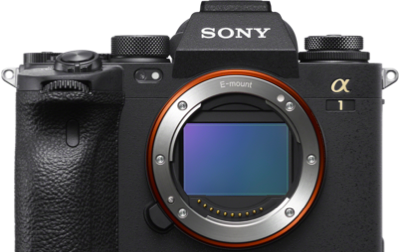
Lim was using two Sony Alpha 1 cameras during the shoot, one with a Sony 50mm lens and the other with the Sony 24mm f/1.4 G Master. “I decided to use the 24mm because I wanted to capture that hotel behind them was so large that I had to use the 24mm to get it in my entire frame from the position that I was at all the way across. So I had a 50mm but there’s no way I could fit the whole hotel there. And I also needed, I wanted to leave some room on top of the frame so I could have my subject there so she would be clean. There would be nothing behind her so boom, you would see her immediately.”
He continues, “And so it’s just kind of a composition trick that I like doing – just having a clean background behind my subject. And so that’s why I chose that combination. The full frame so I could go really wide, have the 24mm on and line up the composition exactly how I wanted it.”
Lim also shoots from a lower angle to give his subjects that larger-than-life look and feel. “So I set my composition and then I had the subject come toward me os I could get her the right size I wanted.”
Setting Your Background First
When shooting on location, Lim says that you have to set the background first to determine your settings. In this instance, the hotels are so far away you can’t light it up so you set the background first. “...I set my ISO up fairly high, at 800,” he explains. “I had a very fast lens, a 24mm f/1.4, and I had to consider what I wanted the subject to do. So if I wanted the subject to move around or show movement, I would have to keep my shutter speed up a little bit higher too. So I chose to be above 1/200-sec. Just in case I wanted to do something fun, have her twirl or do something with the dress, then I could get tack sharp focus.” With the wide-angle lens you have a larger depth of field, so when Lim is shooting wide, he usually shoots at f/1.4.
Lighting The Subject
On a shot like this, Lim sets his background exposure first. The amount of light that comes from the background to his camera, is about the amount of light he says he needs to put on his subject. I just need a small light source on my subject, so I just used a Stella Pro constant light through an umbrella on my subject. Because I have mirrorless with the Sony, I see my exposure before I shoot it and I just turn my light on.” If the light isn’t bright enough, he turns it brighter, and if it’s too bright, he turns it down. Lim also likes constant light in case he also wants to shoot video at the same time or have multiple photographs shooting at the same time. (You can learn more about Lim’s portrait lighting in Try This Portrait Pro’s Magic Formula For Soft Lighting.)
He typically sets his Sony Alpha 1 to Auto White Balance. “All I say is that the skin tone of your subject has to look realistic,” explains Lim. So as long as the skin tone looks good, I don’t really care what the background looks like because I’m color-grading it and making it funky anyways. So if I put white light on my subject like 5500, somewhere around there, then the skin tone is going to look true. And since I’m always using light that has white light or sunlight, then the skin looks good and I don’t have to worry about white balance or anything like that.”
See more of Scott Robert Lim’s work at scottrobertstudio.com.
Subscribe to the Alpha Universe YouTube Channel for more videos like this one.


