Vladimir Voronin (@actionphotographer) is a professional extreme and adventure sports photographer working internationally. “Since childhood, I have been involved in freerunning, and alongside my athletic pursuits, I have also been passionate about photography,” he explains. “I have dedicated more than 12 years of my life to both disciplines. Parkour has always complimented my vision in photography, as well as contributed to my physical preparation.”
Product Preview – In This Article You’ll Find:
–Sony Alpha 7 IV
–Sony 14mm f/1.8 G Master
In his field, he often has to shoot or set up lighting systems in hard-to-reach locations, so his parkour and climbing skills tend to come in handy. “Sports help me see shooting scenes from unique perspectives and think more creatively,” he says. We came across his Instagram reel giving us a behind-the-scenes glimpse at how he created this image using his Sony Alpha 7 IV, Sony 14mm f/1.8 G Master and his flash in a self-made plastic underwater housing. Keep reading as he shares his story behind the shot in his own words.
Illuminating The Ice From Underneath
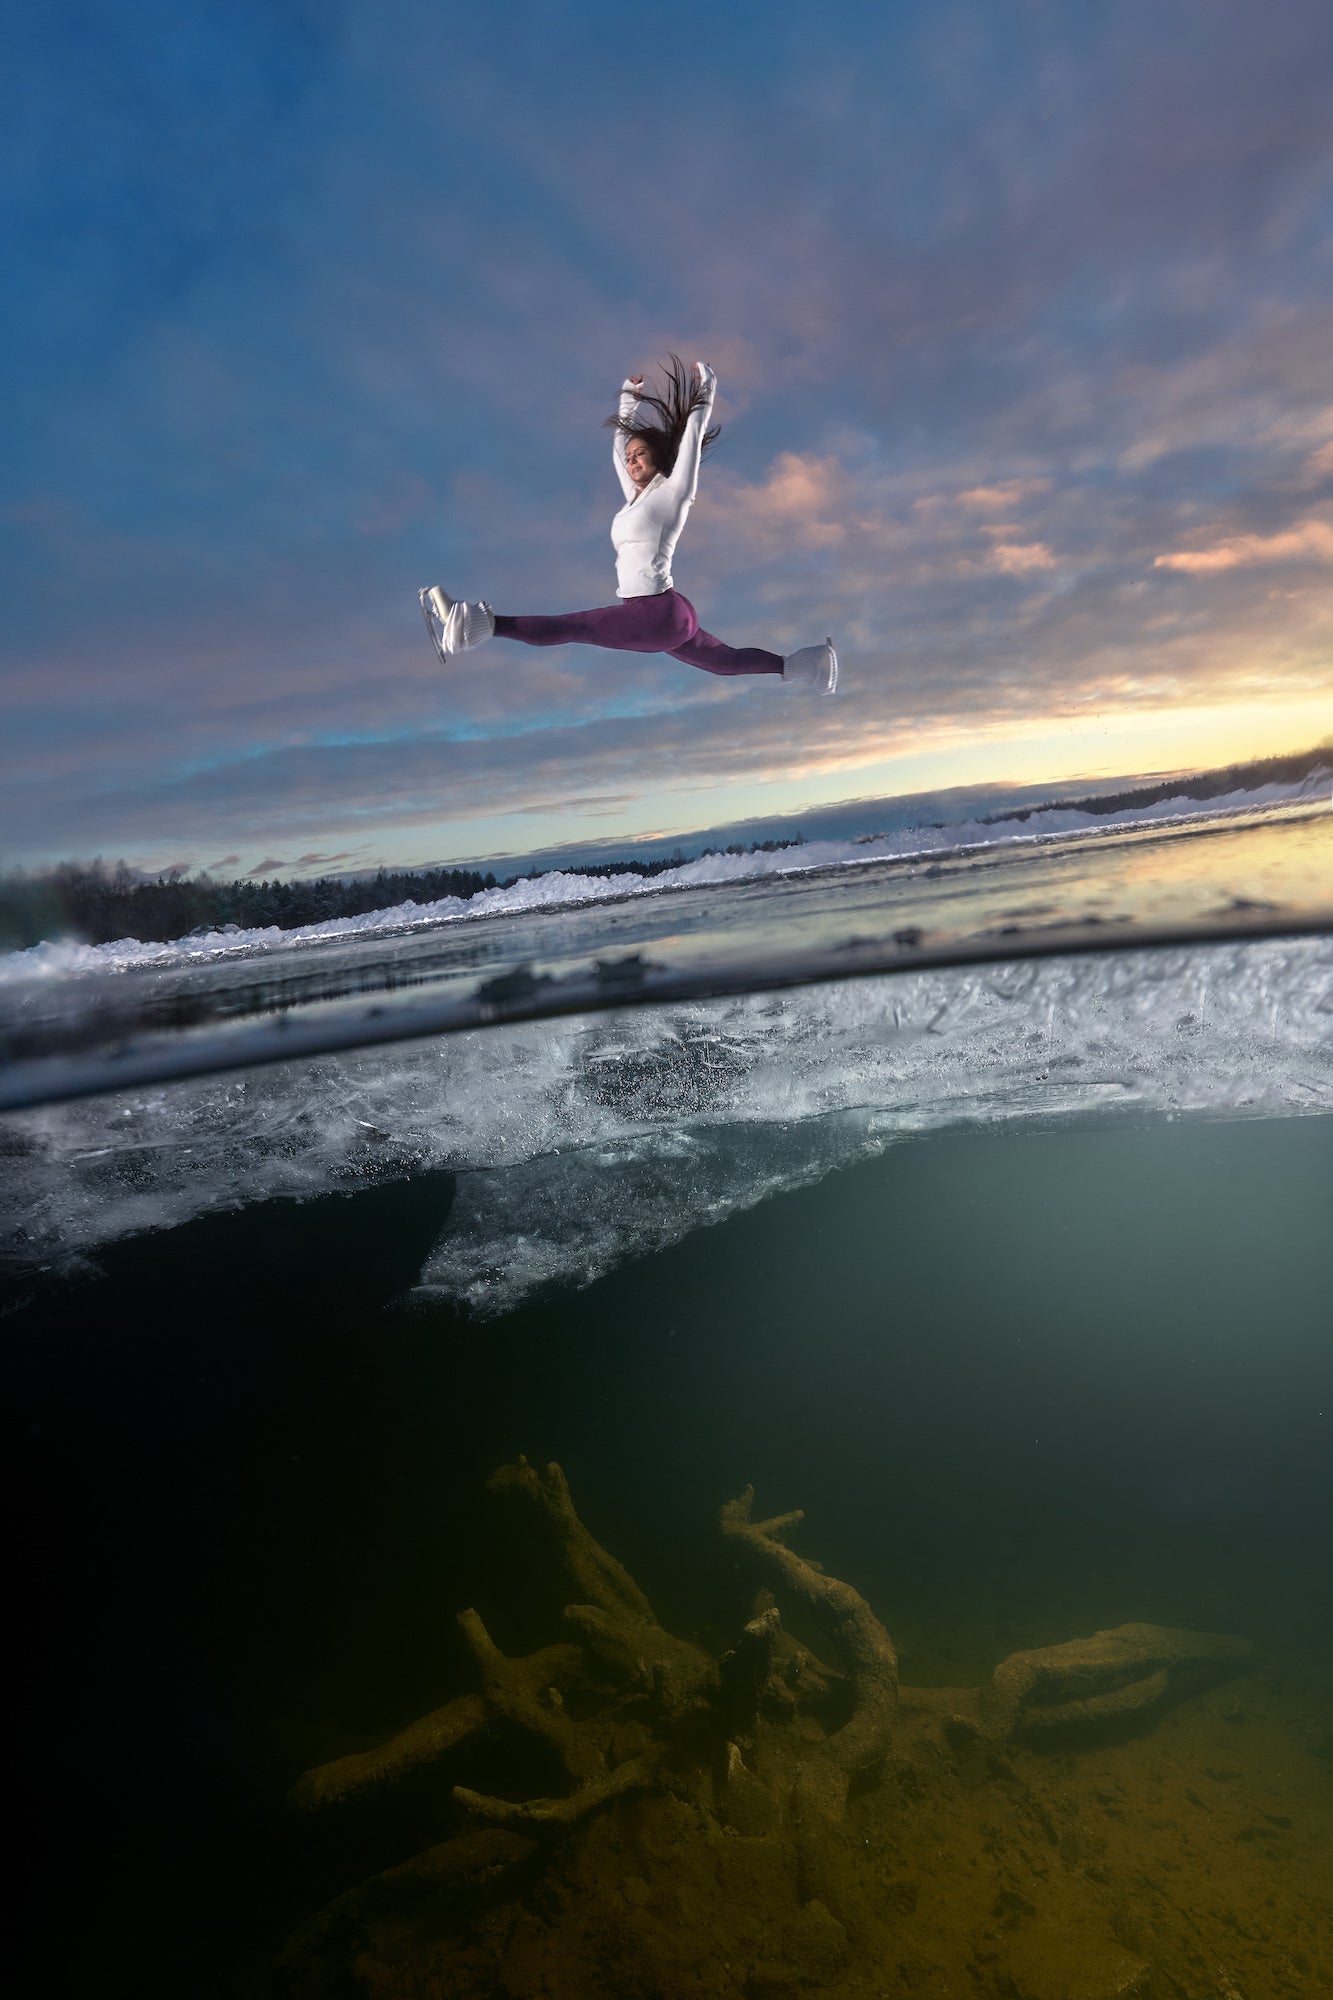
This winter was unusually warm, and until this moment, Riga had not experienced a single freeze. So, when I saw in the forecast that we were about to have a brief cold spell for about a week, I started thinking about how to make the most of the moment. Initially, I just wanted to capture some standard winter shots by lighting up the model with a flash while she performed tricks. But then I started wondering how I could uniquely emphasize winter and this fleeting moment of frost. Two ideas immediately came to mind. The first was to take a split-ice shot that would show the thickness of the ice and the dark water beneath it.

Photo by Vladimir Voronin. Sony Alpha 7 IV. Sony 14mm f/1.8 G Master. 1/400-sec., f/9, ISO 500
The second idea, however, instantly scared me — but that only made it more exciting to pursue since it became a personal challenge. The idea was to illuminate the ice from underneath, highlighting the texture of the surface. From that moment on, I started thinking about how to construct an engineering solution that would allow me to submerge a flash without flooding it while ensuring the signal would still work.
I should mention that a standard on-camera-trigger signal does not function underwater, and typical underwater lamps lack the power to effectively illuminate the ice. I came up with a few ideas for submerging the flash, but they were all quite expensive. So, I considered the simplest method: placing the flash inside a homemade transparent underwater housing and setting it to slave (photocell) mode so it would be triggered by the light of another flash.
The Sony Alpha 7 IV & G Master Primes For Low-Light Photography
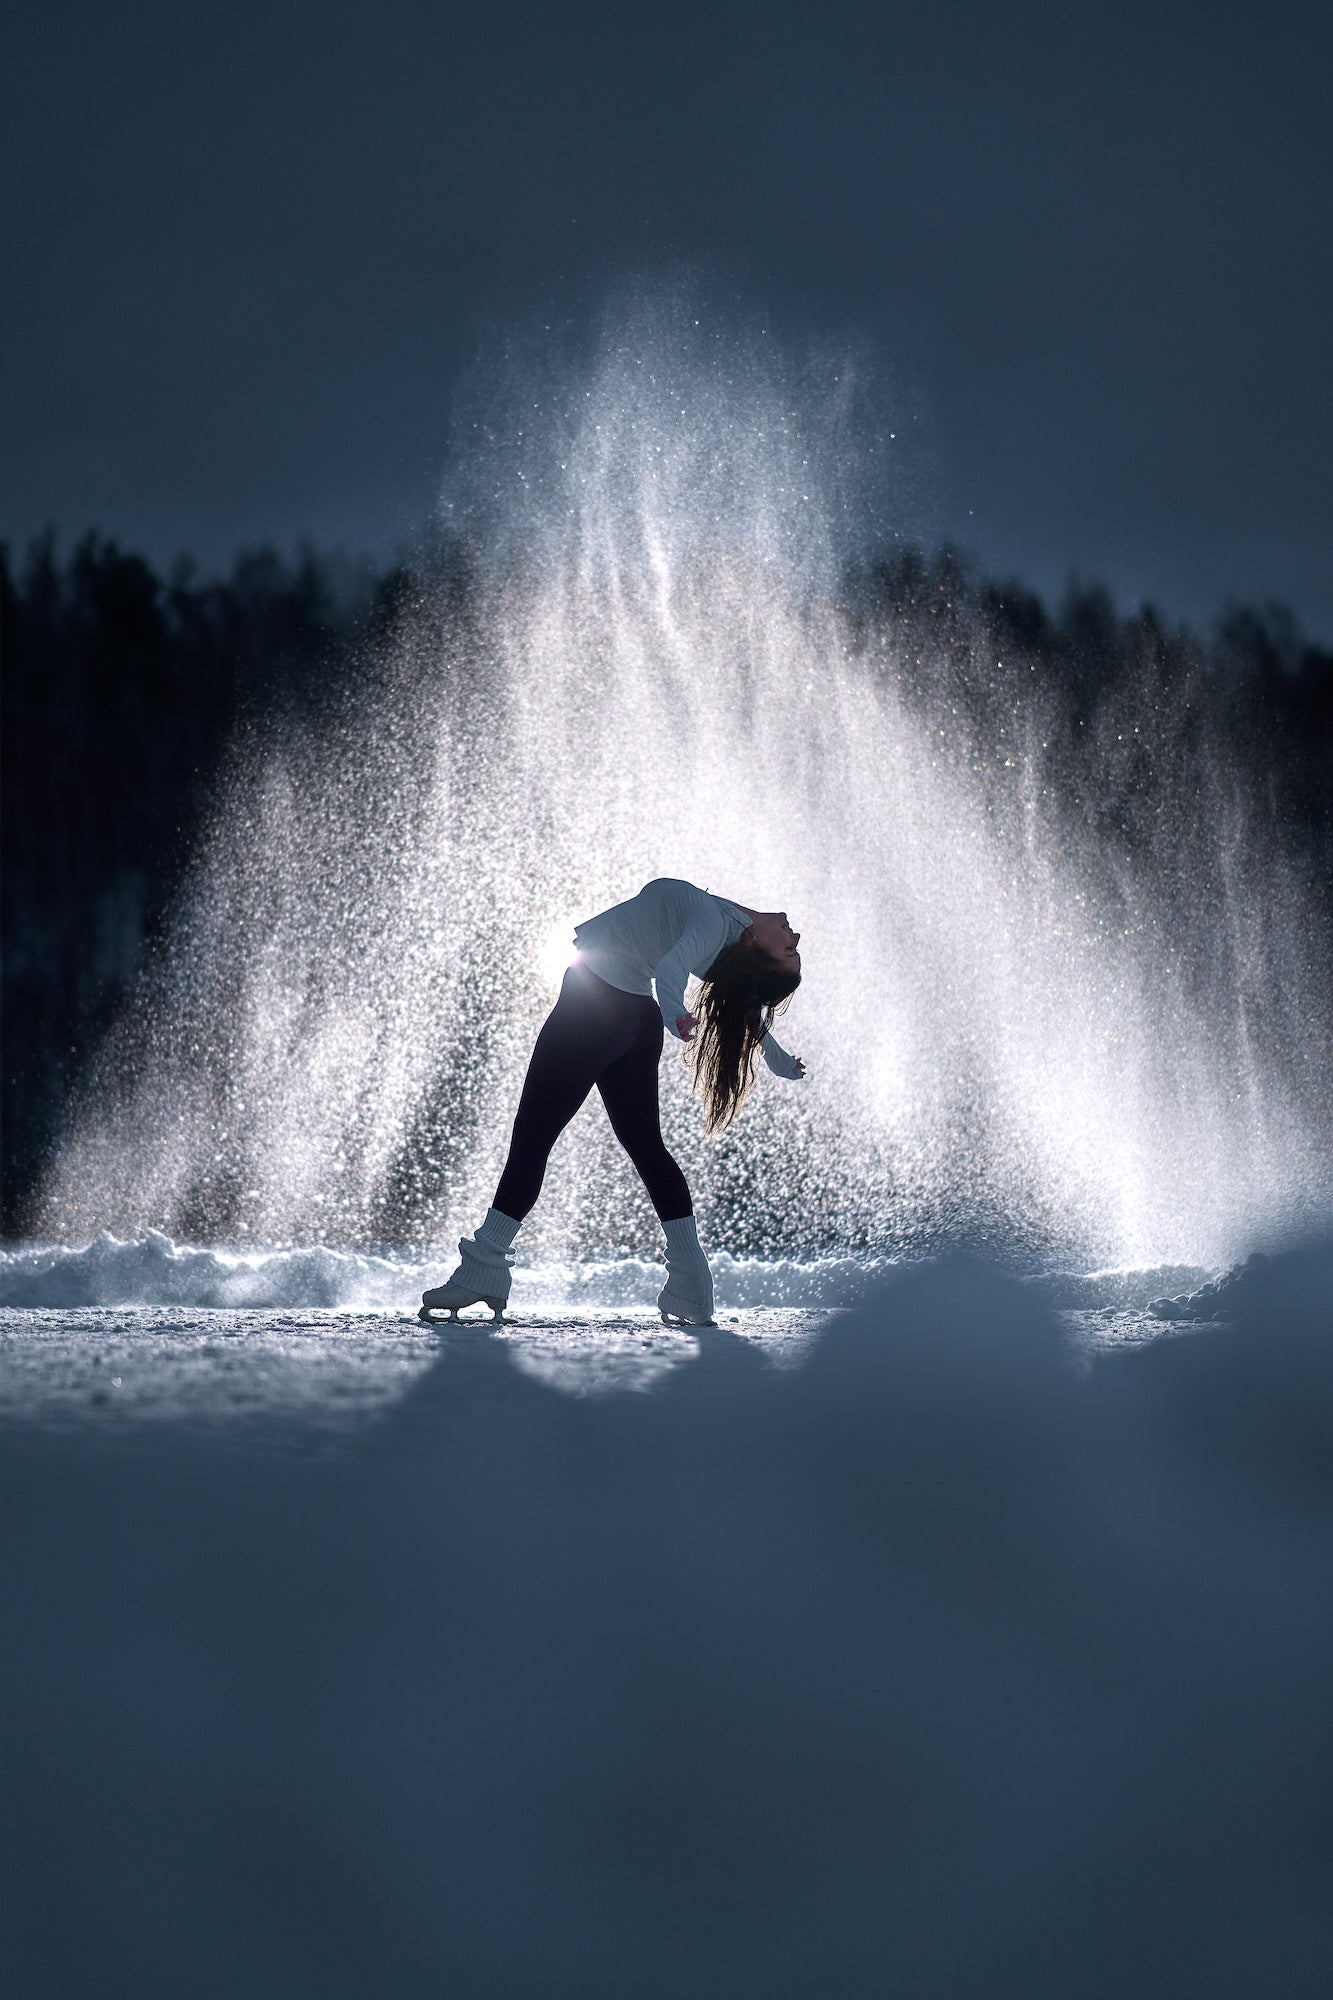
I visualized this shot with a wide-angle lens because I wanted to capture as much of the illuminated ice texture as possible. Since we were shooting at dusk, a bright lens was also necessary. I chose the Sony 14mm f/1.8 GM for the majority of the shoot – one of my favorite wide-angle lenses. The camera of choice was the Sony Alpha 7 IV, primarily because of its exceptional low-light performance. The Alpha 7 IV delivers one of the best noise-reduction results at high ISO, making it the perfect option for dark environment type of shoot. I also used the Sony 85mm f/1.4 G Master, another favorite prime of mine for portraits.

Photo by Vladimir Voronin. Sony Alpha 7 IV. Sony 14mm f/1.8 G Master. 1/250-sec., f/1.8, ISO 400
Submerging An $800 Flash Under The Ice
To be honest, I wasn’t completely confident in the shot until the very last moment. This often happens when I have an idea that’s difficult to visualize, so I have to make it up as I go. Initially, I considered submerging the Godox AD1200Pro II underwater. This is a large flash with a separate battery pack. I came up with a plan and will definitely execute it in the future! But for this particular shot, there wasn’t enough time or budget to build something with difficult construction.
So, as mentioned earlier, I placed a Godox AD600Pro II flash inside a transparent plastic bottle, sealed it tightly with industrial waterproof tape, and attached it to a weighted rope, lowering it to about 2–3 meters in depth. For safety, the setup was tested beforehand and worked perfectly — no leaks, and the flash successfully triggered from another light source. However, during the first real attempt, I ran into a problem: the light signal was apparently too weak, and the flash wouldn’t trigger underwater. I had to raise it slightly, and at about 1-1.3 meters, it finally started responding to the master flash positioned on the ice above, aimed straight down.
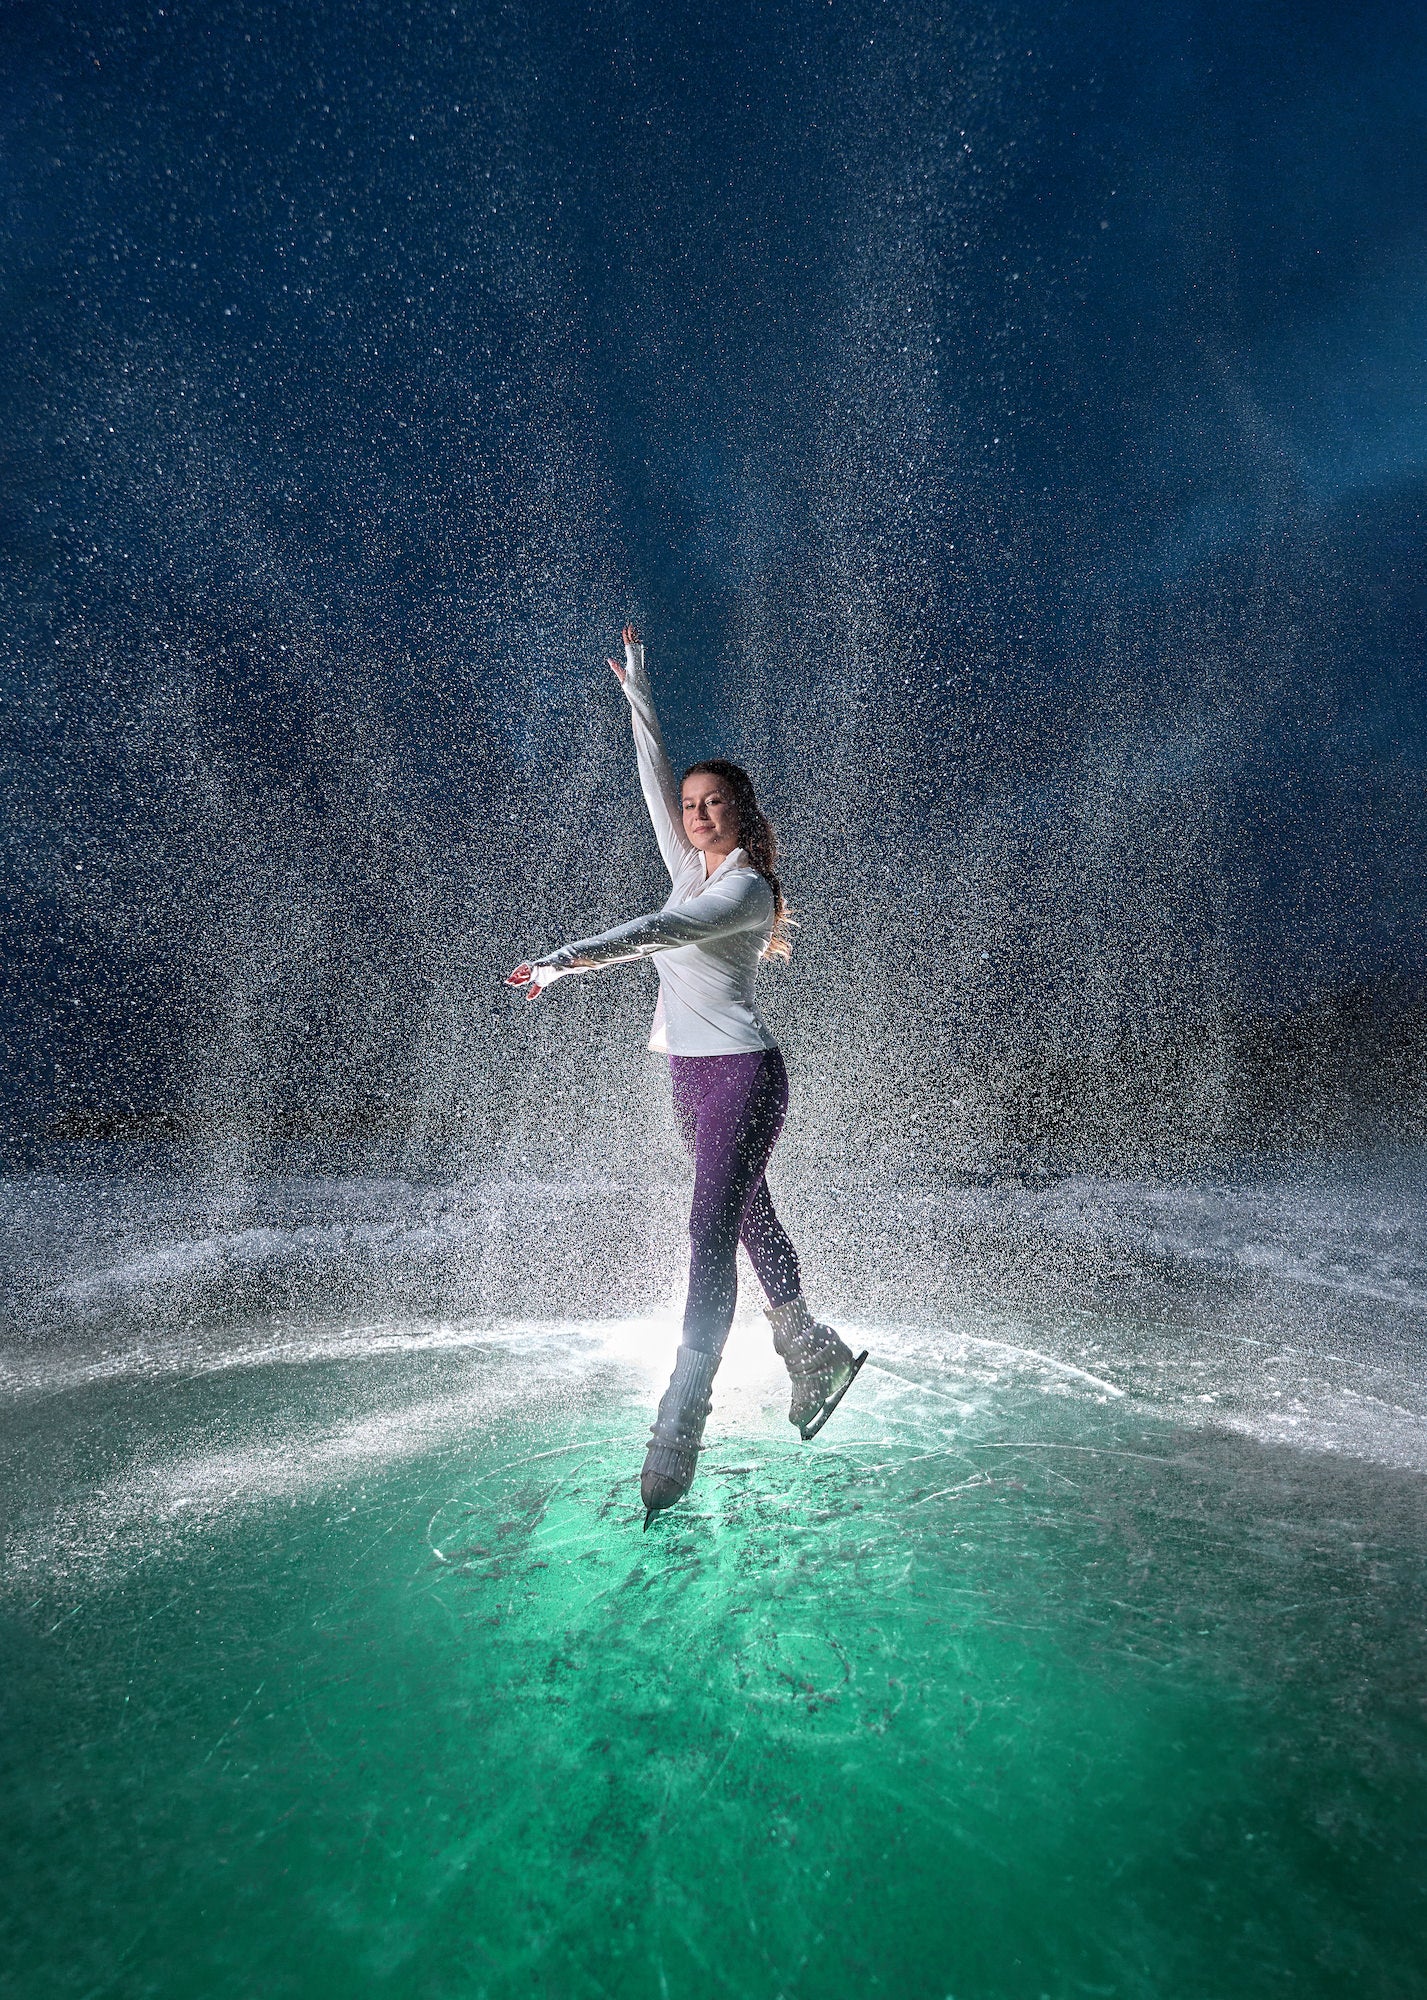
By then, it was getting quite dark, and I couldn’t shake the anxiety of knowing that an $800 flash was submerged under the ice. To speed things up, we decided to pose the model on ice skates, instead of capturing action shots. Additional flashes were set up on the surface to light the model, and my assistant threw snow toward the model to create a dynamic particle effect.

Photo by Vladimir Voronin. Sony Alpha 7 IV. Sony 85mm f/1.4 G Master. 1/1600-sec., f/1.4, ISO 100
Everything went smoothly – we got the shot, and the flash remained dry and undamaged. This entire setup was just an initial test, as we were extremely pressed for time and couldn’t fully prepare. I’ve already figured out how to upgrade the setup for even better results. This experience has also sparked new, even more exciting ideas, and I hope to bring them to life soon!
Keeping It Authentic With The Edit
My credo - no photo manipulations (as collages) and no AI. Only color correction and light environment editing (like dust removal, or writings on the wall removal, or cans on the floor removal etc..). I will never fake athlete\model trick or completely fake conditions where it was done, this is really important for me. Otherwise, in my opinion, it's not photography, it's already a fake and a collage. So for this shot I just used Capture One for color correction and Photoshop for the cosmetic cleaning (to clean ice or to darken overexposed areas).
See more of Vladimir Voronin’s work on Instagram @actionphotographer and at actionphotographer.com.


