


On the night of November 7th there's going to be a total lunar eclipse that will be visible across North America, Central America, Asia and Australia. This will be the second such lunar eclipse for North America this year (the first was on May 15-16, 2022) and it will be the last one until 2025. A lunar eclipse happens during a full moon when the Earth either partially or fully blocks the sun’s light from hitting the moon. This upcoming eclipse will be a full lunar eclipse meaning that the entire disc of the moon will be in the Earth's shadow. Everyone in the US with clear skies will be able to see and photograph the November lunar eclipse.
I think it is very cool and unique that we will be having a second opportunity to see a total lunar eclipse in the United States this year given that on average we see only one once ever 2.5 years! Moreover, unlike solar eclipses, lunar eclipses are safe to view with the naked eye. If you want to try your hand at photographing the lunar eclipse, planning is the key, and that is what I will help you with in this article. Before we start with the planning phase, let’s be clear on what a total lunar eclipse is and how it occurs.
Get ready for the November 7th lunar eclipse. This pro photographer shares the science behind an eclipse, how to plan for it and how to create a stunning image.
The Science Behind An Eclipse
A total lunar eclipse means at some point the entire full moon will not be seen. The key is that it involves a full moon. It happens when the Earth comes between the sun and the moon allowing for the Earth’s shadow (umbra) to cover the moon. Generally, the moon will turn a reddish color when the eclipse reaches totality.
The astronomical term for this alignment is “syzygy,” which means “being paired together” in Greek.
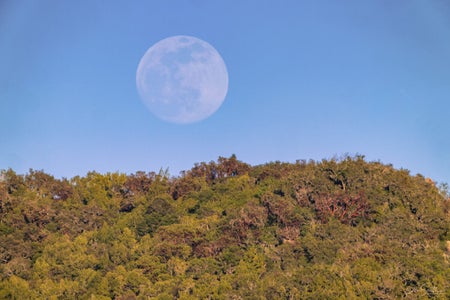
One must first realize the moon, whether during the day or night, is lit by the sun. The Earth does not emit light, but can block the path of the sun that is striking the moon. Therefore, we see various amounts of the moon throughout any given 28-day cycle. When the moon is full, the Earth is not blocking the light from the sun at all.
During a total lunar eclipse, the moon, Earth and sun are aligned in a straight line. Another key piece of information is that the Earth’s shadow can be divided into three parts: The first part is the umbra of the darker, central part. When the moon is completely in eclipse, Earth’s umbra is completely covering the moon.
The next type of Earth’s shadow is the penumbra which is the outer part of the shadow. We see this during a penumbral lunar eclipse. The third type of shadow is the antumbra which is the partly shaded area beyond the umbra. This shadow plays no part in eclipses.
When the moon is in total lunar eclipse, it appears reddish in color and is visible to the naked eye. This is because light from the sun is not hitting the Moon’s surface directly; rather; it is bending around the Earth’s atmosphere. Thus, it will pick up different types of particles and pass through clouds and will allow different wavelengths to hit the surface of the Moon.
There are 7 stages to a total lunar eclipse:
Penumbral eclipse begins: The penumbra shadow of the Earth starts to move over the moon.
Partial eclipse begins: The earth’s umbra shadow begins covering the moon.
Total eclipse begins: The earth’s umbra shadow now completely covers the moon.
Maximum eclipse: this portion is described as the middle portion of the entire eclipse.
Total eclipse ends: Earth’s umbra begins to move away from the moon.
Partial eclipse ends: Earth’s umbra shadow is no longer covering the moon.
Penumbral eclipse ends: No longer is any portion of the Earth’s shadow covering the moon.
How To Plan For An Eclipse
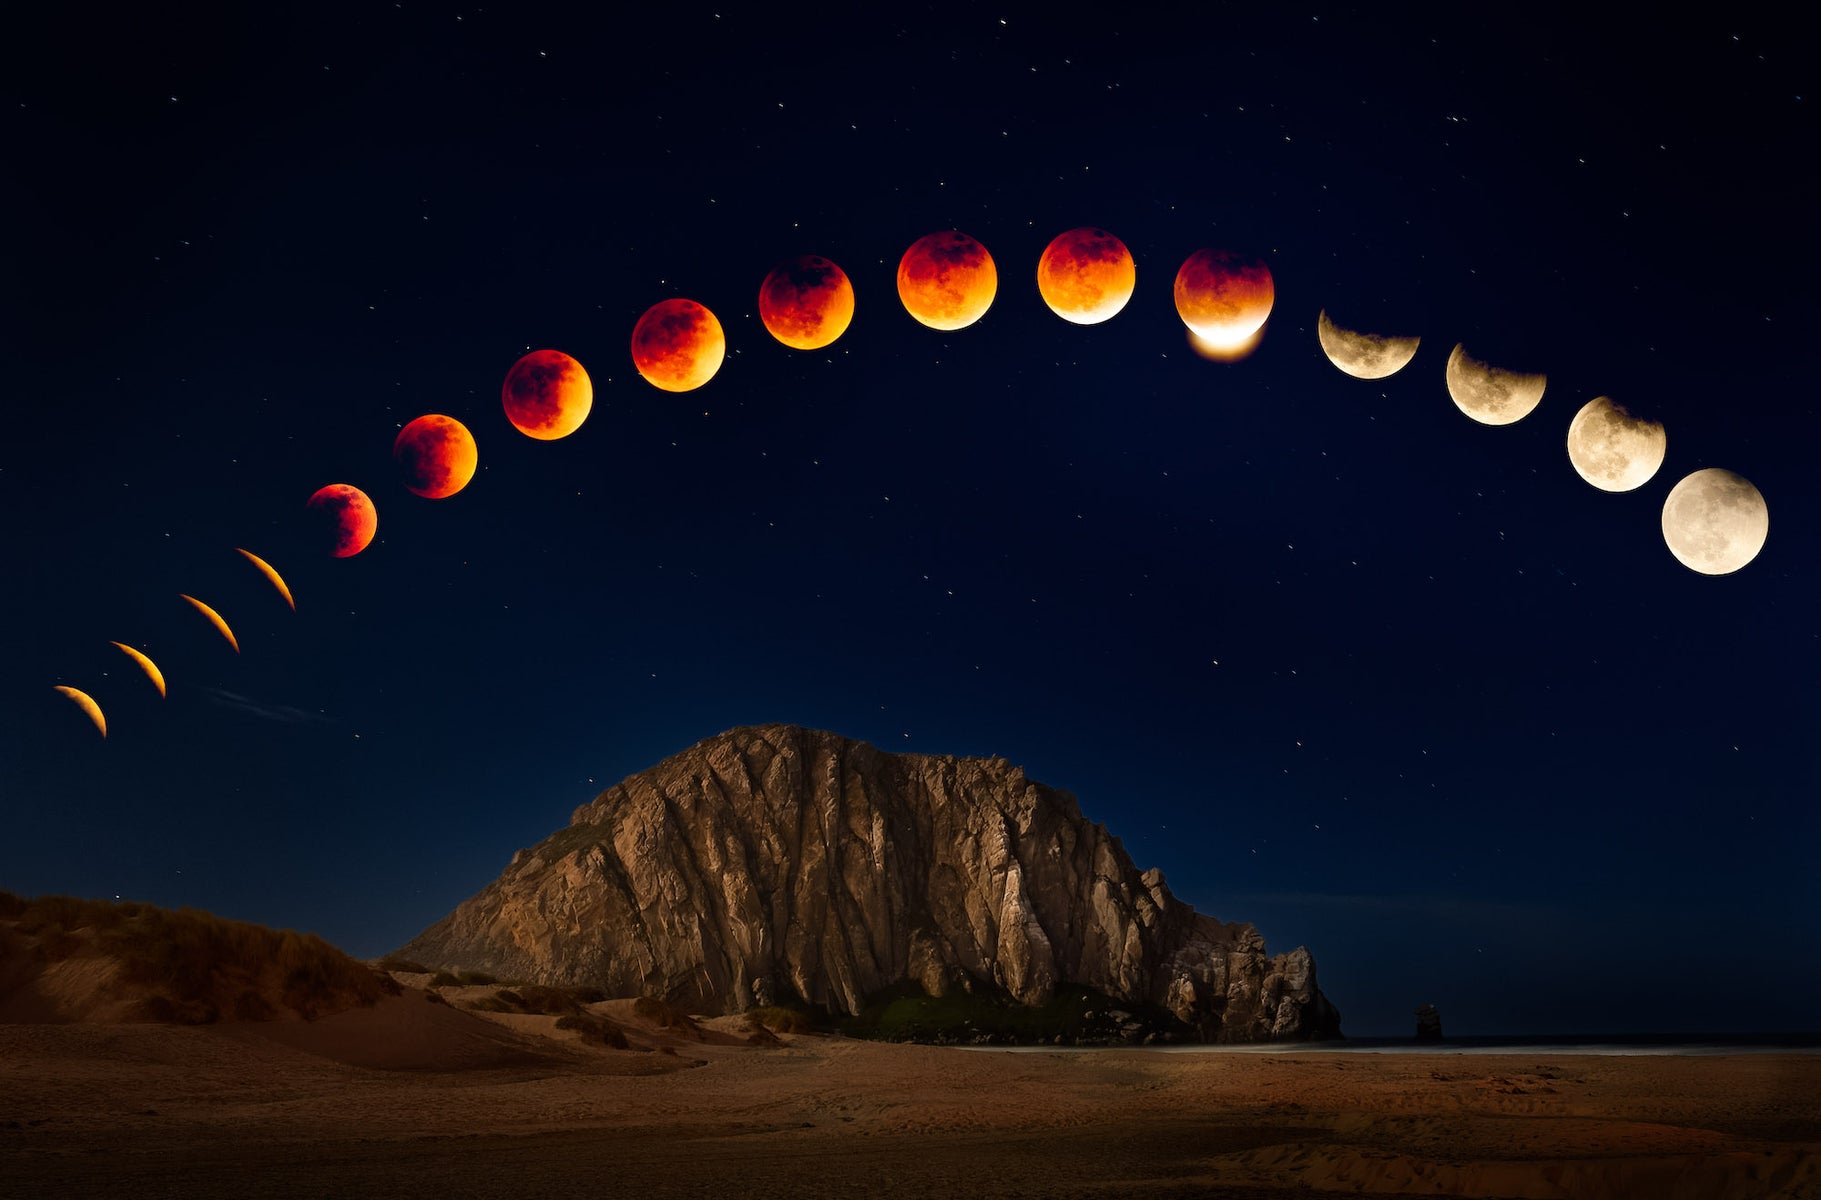
So now that we have covered the technical aspects of a total lunar eclipse, let’s get to the planning stages. For the image that I created back on the night of May 15-16, I had to do some Photoshop wizardry. The moon sequence could never be in this location over Morro Rock (a 576-foot volcanic plug located in Morro Bay, California) as I was looking south from my camera position.
The location I used to capture the total eclipse was off a road at approximately 1800 feet in elevation that links coastal Highway 1 with Highway 101. My fear was that the coastal fog would form and block the eclipse if I was to try capturing it from sea level. I knew that by gaining elevation, my chances of getting a clear sky would increase exponentially.
For you, I would first recommend using an app like The Photographer’s Ephemeris or Photo Pills to plan where the eclipse will begin and end on the night of November 7-8 in the area you wish to shoot. You can start at the next full moon and make it a scouting trip. Ask yourself the following questions as the moon begins to arrive: Will I be able to see the entire eclipse from start to finish? What does the area look like that the total lunar eclipse will pass over? Is the location interesting enough on its own or should I think of shooting a composite?
NOTE: Be aware that from night to night the moon is moving northward in the sky and will continue to do so until the Winter Solstice on December 21, when it will begin its trek south until the Summer Solstice on June 21. During that same time, the sun moves opposite of the moon in the sky from day to day.

Photo by Don Smith. Sony Alpha 1. Sony 100-400mm f/4.5-5.6 G Master + 2X (800mm). 1/80-sec., f/16, ISO 100
When I did my scout in May, the answer to the last question about an interesting was a "no"; thus, I decided to first photograph Morro Rock the night before the total eclipse, then photograph the eclipse sequence and composite the results. Moreover, I had to shoot towards a mountain range so I missed the first part of the eclipse as I had to wait for both the sun to set and the moon to rise above the range which was 25 minutes after posted moonrise time.
I rarely composite but when I do, I make it a point to let my audience know. I don’t believe in trickery and deception. I know others that do, but I will leave that for them to explain why.

Morro Rock captured on the night before the lunar eclipse. Photo by Don Smith. Sony Alpha 7S III. Sony 16-35mm f/2.8 G Master. 30 sec., f/8, ISO 3200
Here is the base image of my composite – Morro Rock – captured from the Morro Strand beach looking south.
I like using my Sony Alpha 7S III for my night work as the files are virtually noise-free at high ISO’s.
My wife Beri and I left our home on the evening for the 25-minute drive back up to our prescouted vantage point. To our surprise, the parking lots were somewhat crowded with other photographers and eclipse watchers. It was kind of cool to see others getting excited about the eclipse.
Right on cue, the moon appeared above the ridgeline south of where it rose the evening before at 8:14pm. Knowing that the eclipse was well underway, I was just hoping I would get a few frames of the moon before it went into total eclipse. I got lucky as you can see:

As the moon crested the mountain the eclipse was well under way; nonetheless, I got four usable images for my sequence prior to the moon entering an 84-minute period of total eclipse. Photo by Don Smith. Sony Alpha 7S III. Sony 200-600mm f/5.6-6.3 G. 1/10-sec., f/8, ISO 1600
I decided to photograph every stage of the moon at a full 600mm. To be sure I got a very sharp frame, I took multiple images of the moon every 10 minutes using my timer on my smart phone. After each sequence, I shot a black frame so I could see my breaks back at the computer.
Here is a contact sheet of some of my final selects:

I had shot a total of 170 frames of the moon that evening. Each frame here represents the best exposed and sharpest of the bunch.
Beri and I found it somewhat funny that we were the only ones to stick it out until the end, which by the way, was 10:55pm. After the full eclipse ended, all the spectators and other photographers called it a night. I guess no one else but me had planned for a full sequence – at least not from our location. After I captured my final image of the full moon, it was time to pack and leave.
Putting It All Together
One of the keys to blending moon images seamlessly onto my image of Morro Rock was to first convert all the images so the sky is black. I realized that the first 6 sets of moon images had more of a rich blue sky from dusk.
Thus, I had to select the moon in those images in Photoshop and then drop the background to black. I did this with the aid of both Lightroom and the Tony Kuyper TK8 panel. This made my task simple and saved the day. The panel allowed me a one-click selection of the moon based on its luminosity. Then I inverted the mask and lowered the light of the sky using the Levels tool. This could also be done using Photoshop’s Object selection tool and a layer.

Next, I opened my image of Morro Rock into Photoshop and one-by-one opened each of the 16 moon shots. I worked bottom left to the finished image of the full moon at the end of the eclipse on the right. As I opened each frame it would appear on its own layer. My first move (and this is where the magic happens) I would change the blend mode from Normal to Lighten. This would drop out the black background of each moon image leaving me with just the moon.
Next in Photoshop I would select that layer of the moon, then go to Edit > Transform > Scale. I would then drag the moon on top of the base image of Morro Rock and size it so each frame of the moon was the same size.
If I needed to rotate the moon, I would switch to Edit > Transform > Rotate. Frame-by-frame I began to build my composite:

This was the fun part for me – slowly building my composite of each of the 16 moon frames. To keep the relative size of each succeeding frame of the moon the same size, I would first drag it over the last moon I had place and lower the layer’s opacity to 50%. This allowed me to make each moon the same size.
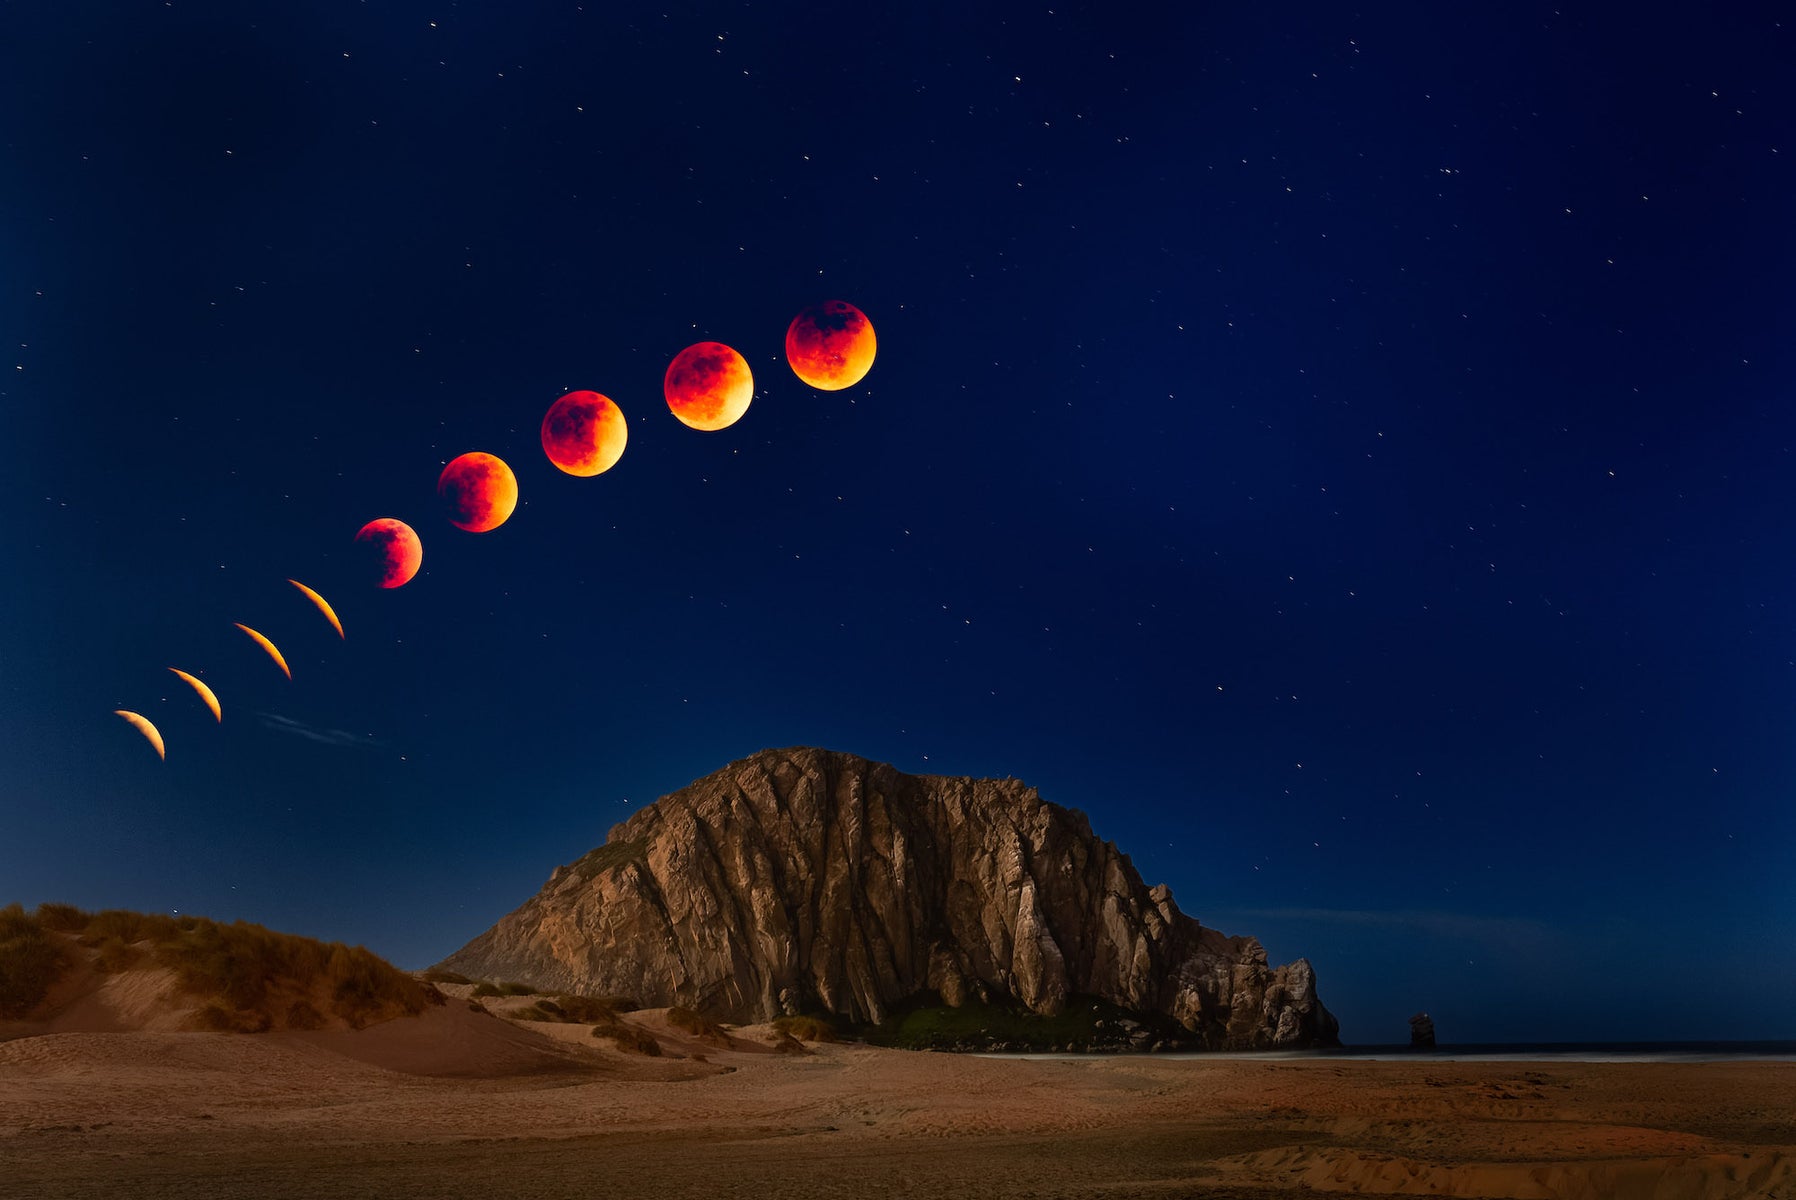
I first thought of placing the moons along an imaginary diagonal from bottom left to top right but I didn’t like it. The line was too linear and the eye wanted to race to the top-right of the frame and out of the composition. Next, I played with having the moons aligned more in an arc. It immediately looked more pleasing to my eye and the composition felt more balanced. Because each moon was on its own layer I could come back at any time and adjust size, exposure and placement.
Once done, I left the computer on overnight and came in this morning to see the image with fresh eyes. I made a few minor tweaks to the image of the rock itself (the background image) and then saved a master copy with all layers in tack. I duplicated the image and made a flattened TIFF. I then opened the image (now converted to 8-bit) back into Lightroom and went to Photo > Enhance. This enlarged the 38.9 MB file up to a beefy 128 MB with no artifacts.
Practice Makes Perfect
Really, this is not difficult but it does require practice. Start on the next full moon and pretend you are shooting the total eclipse. Then get back to your computer and run through the steps until you feel comfortable with it. Be ready to stay up for a good portion of the night. The timing of the eclipse will depend on where you live. If you think clouds could be an issue, plan a road trip.
Take along some friends, coffee, snacks and warm clothes and have a memorable night. You now have the roadmap on how to create your own masterpiece, just get out there and have a lot of fun!
See more of Don Smith's work on his Alpha Universe Profile and learn directly from the pro himself by signing up for one of his photography workshops.

