Capturing stunning photos of a solar eclipse with a camera can be an exhilarating experience, blending the marvel of celestial events with the power of cutting-edge technology. This guide will help you prepare for that, ensuring you capture absolutely stunning photos and/or timelapse of the event.
Best Camera & Lens Combination To Use
If you want to capture the absolute best detail of the solar eclipse, you’ll want to consider using the highest resolution camera you have. The Sony Alpha 7R V, Sony Alpha 1 or Sony Alpha 7CR will be your best choice(s) due to the increase in megapixels. If you don’t have those cameras, don’t worry, you can also shoot with lower resolution cameras like the Sony Alpha 7 IV, Sony Alpha 7C II or Sony Alpha 6700 and still produce incredible imagery.
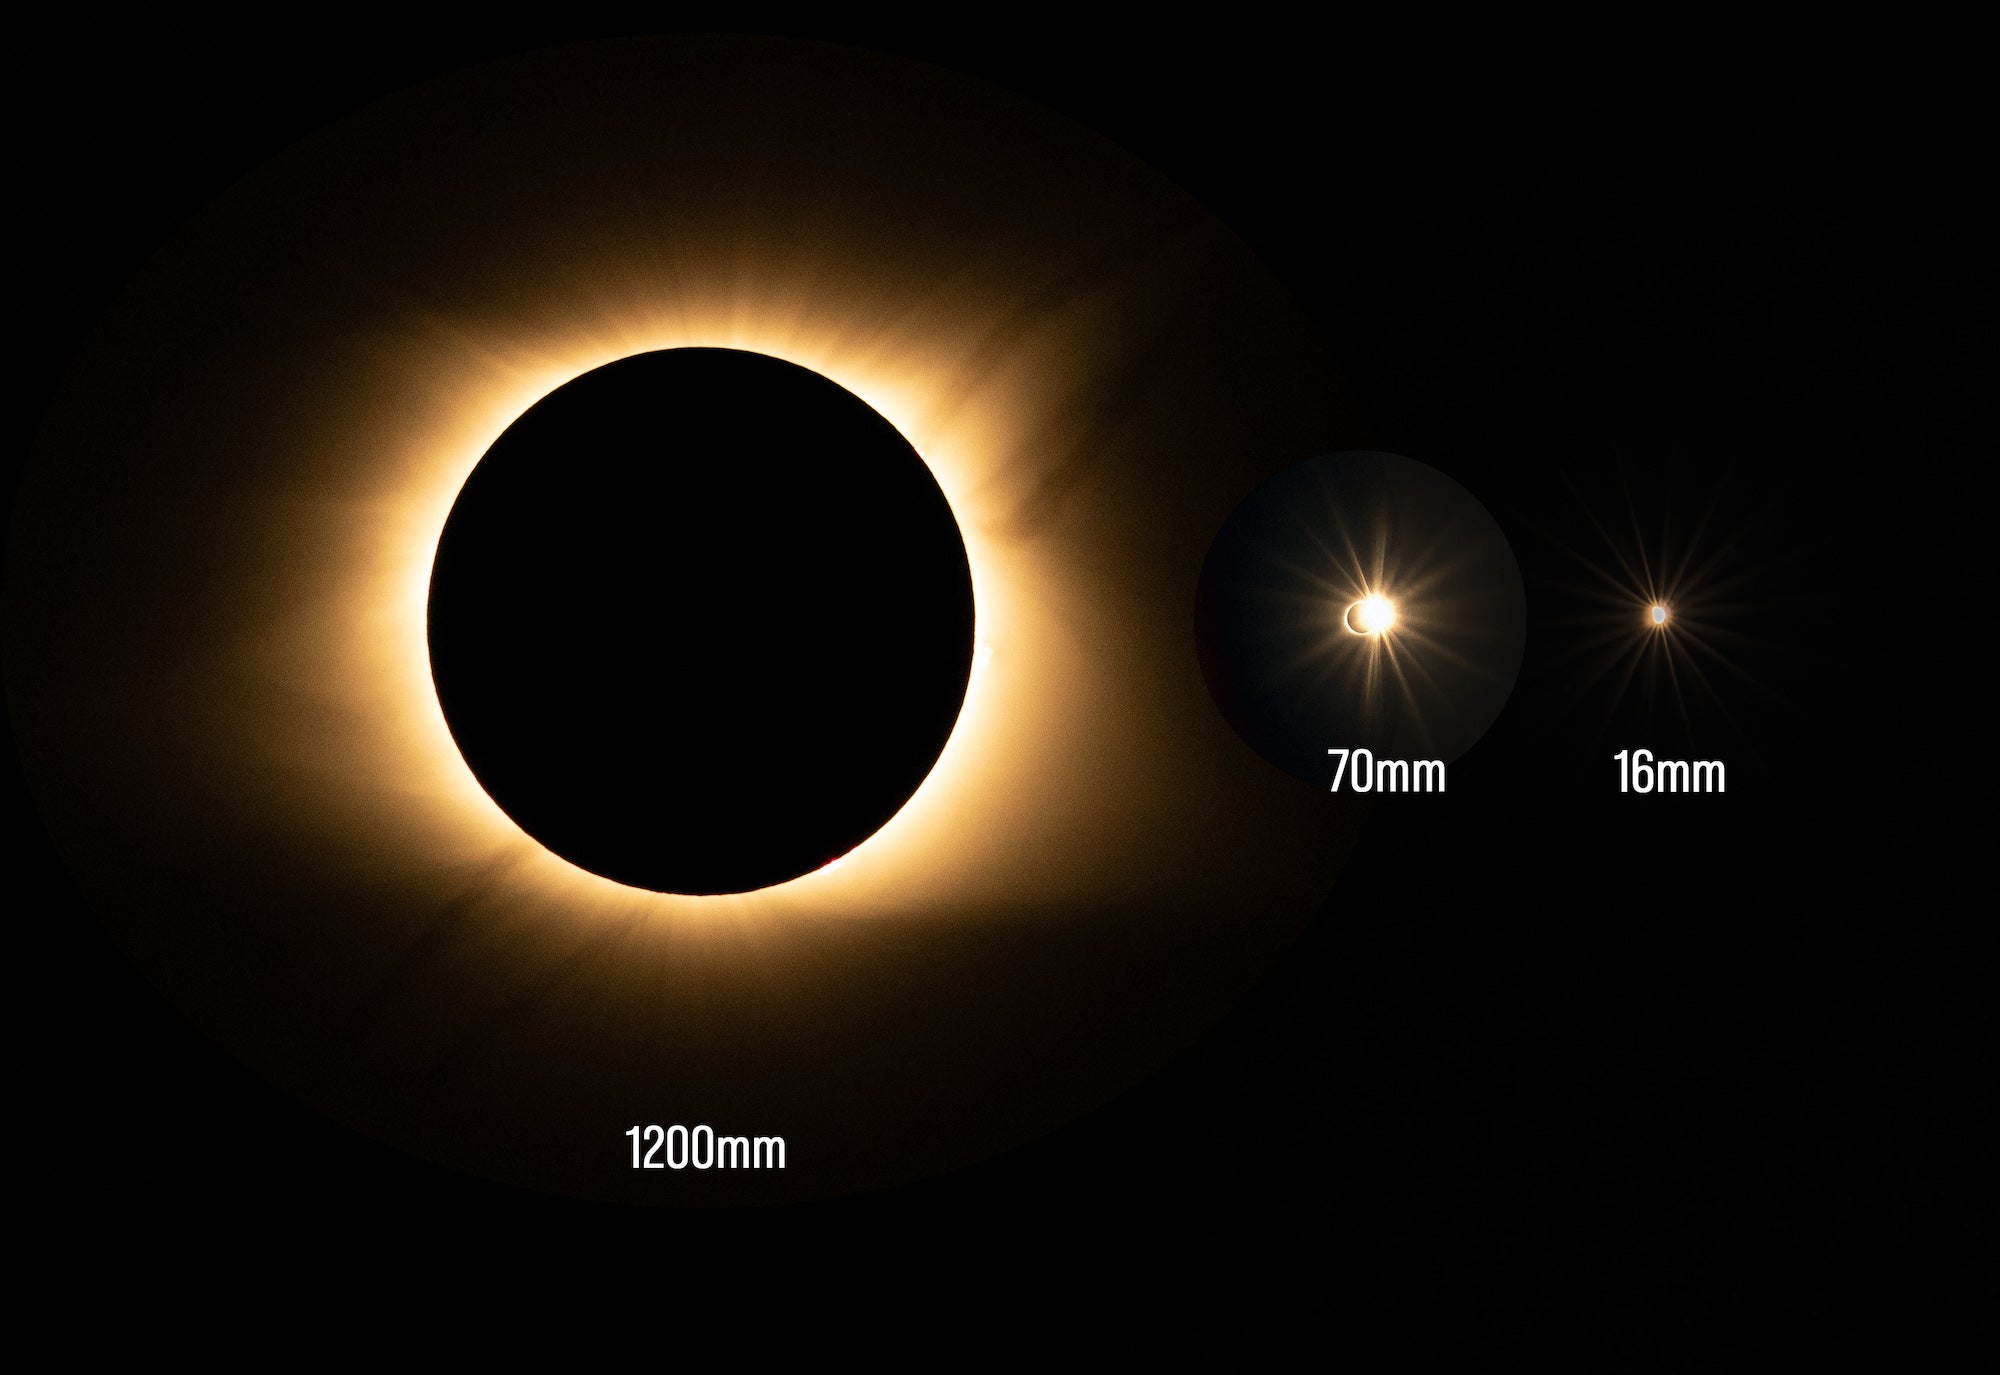
When pairing your camera to a lens, consider using multiple bodies and multiple focal lengths to capture a dynamic range of imagery. Lens that are over 100mm to 1200mm will be your best friend. My personal choice would be using the Sony 200-600mm f/5.6-6.3 G with a Sony 2x Teleconverter (giving you a 1200mm close up), followed by the new Sony 300mm f/2.8 G Master with Sony 2x Teleconverter (600mm) and even the Sony 70-200mm f/2.8 G Master II with Sony 2x Teleconverter (400mm) will yield impressive shots. You can shoot the eclipse with a wider lens, just know that you won’t see much in the way of details of the moon passing between the sun. It’ll be there, just very tiny and hard to view without enhancing/zooming into the image x50+.

Photo by Andrew Geraci
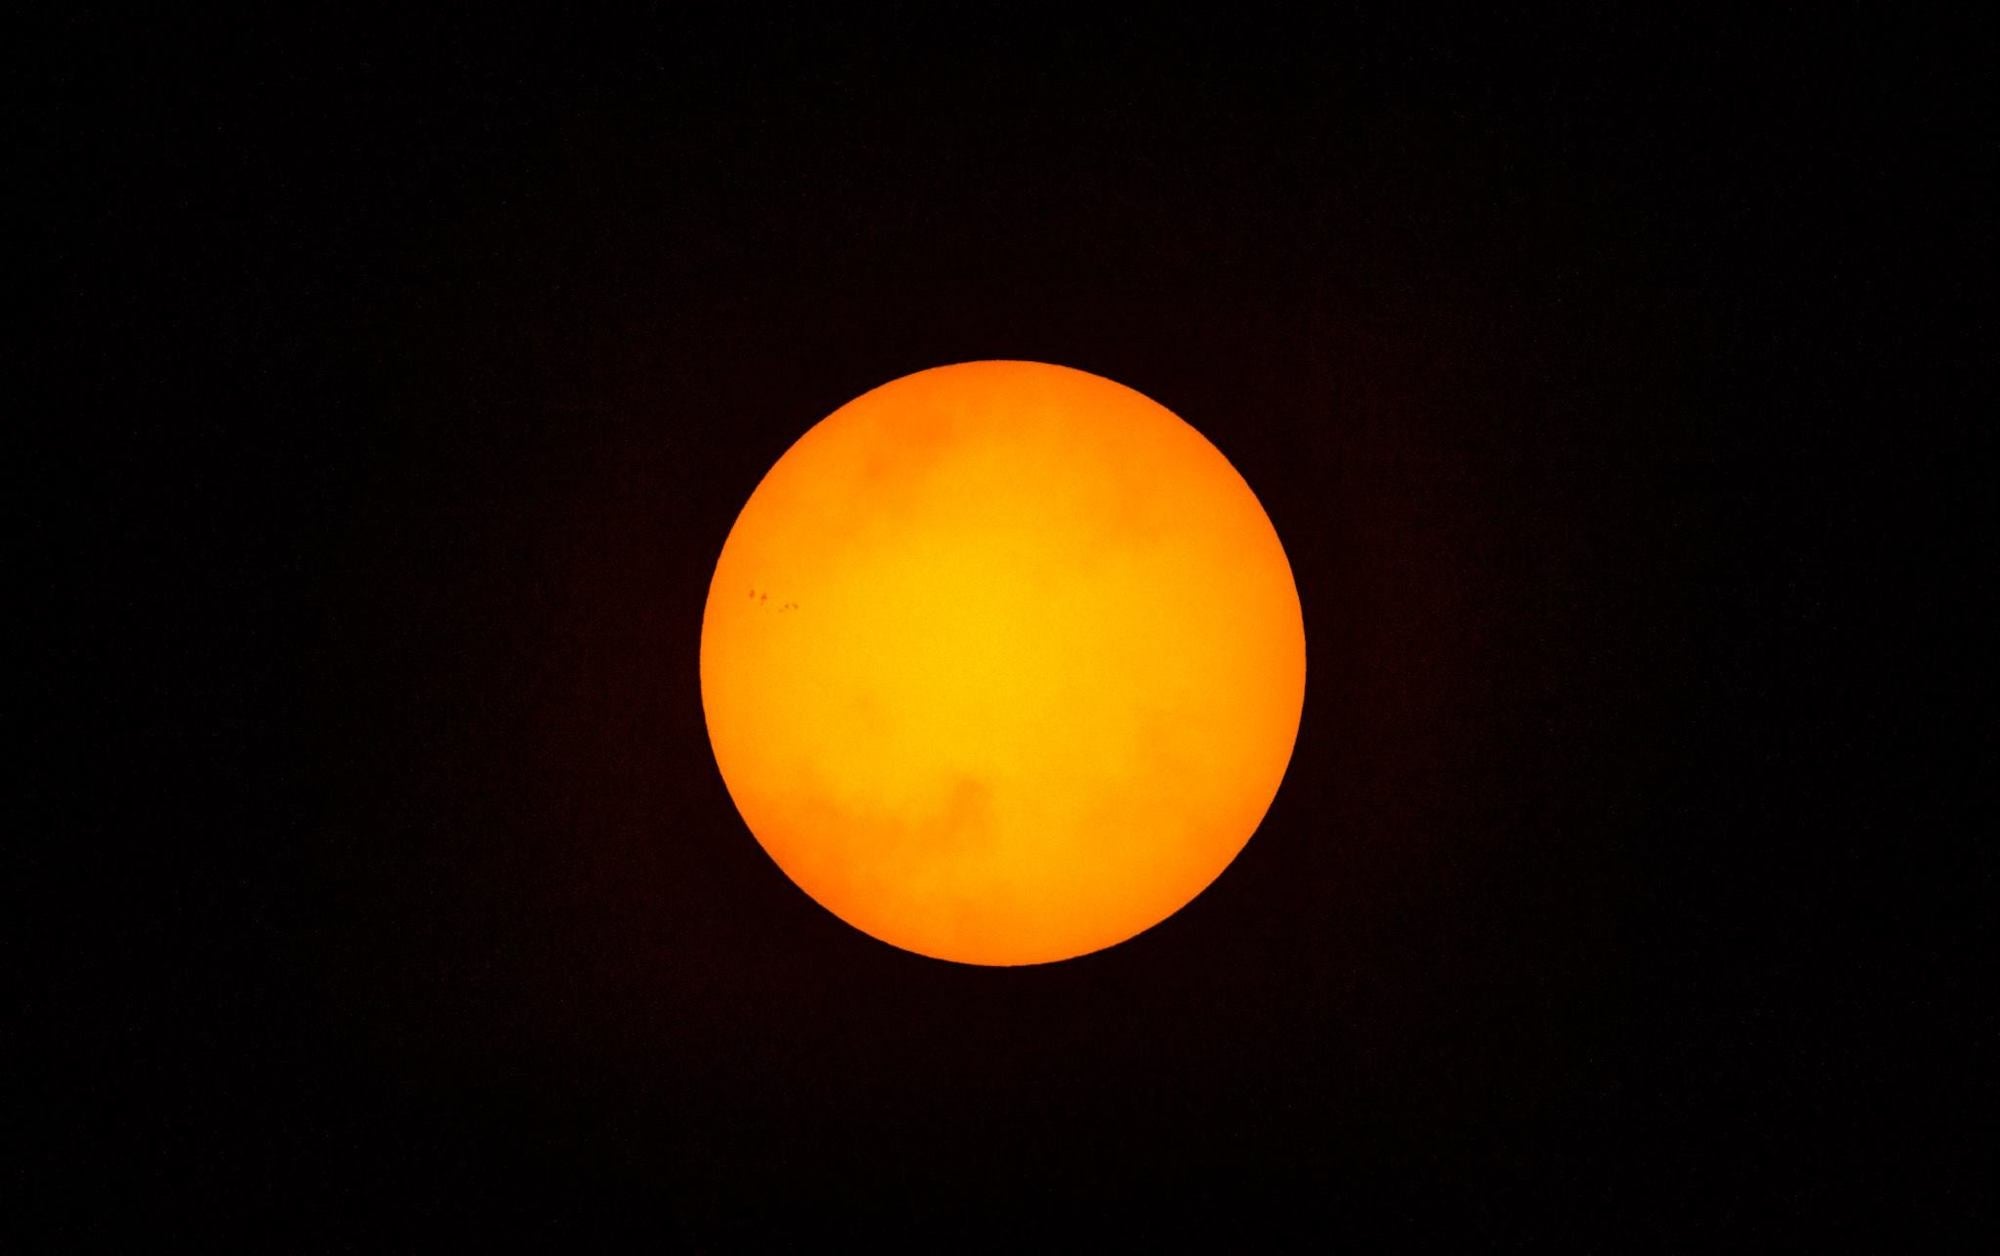
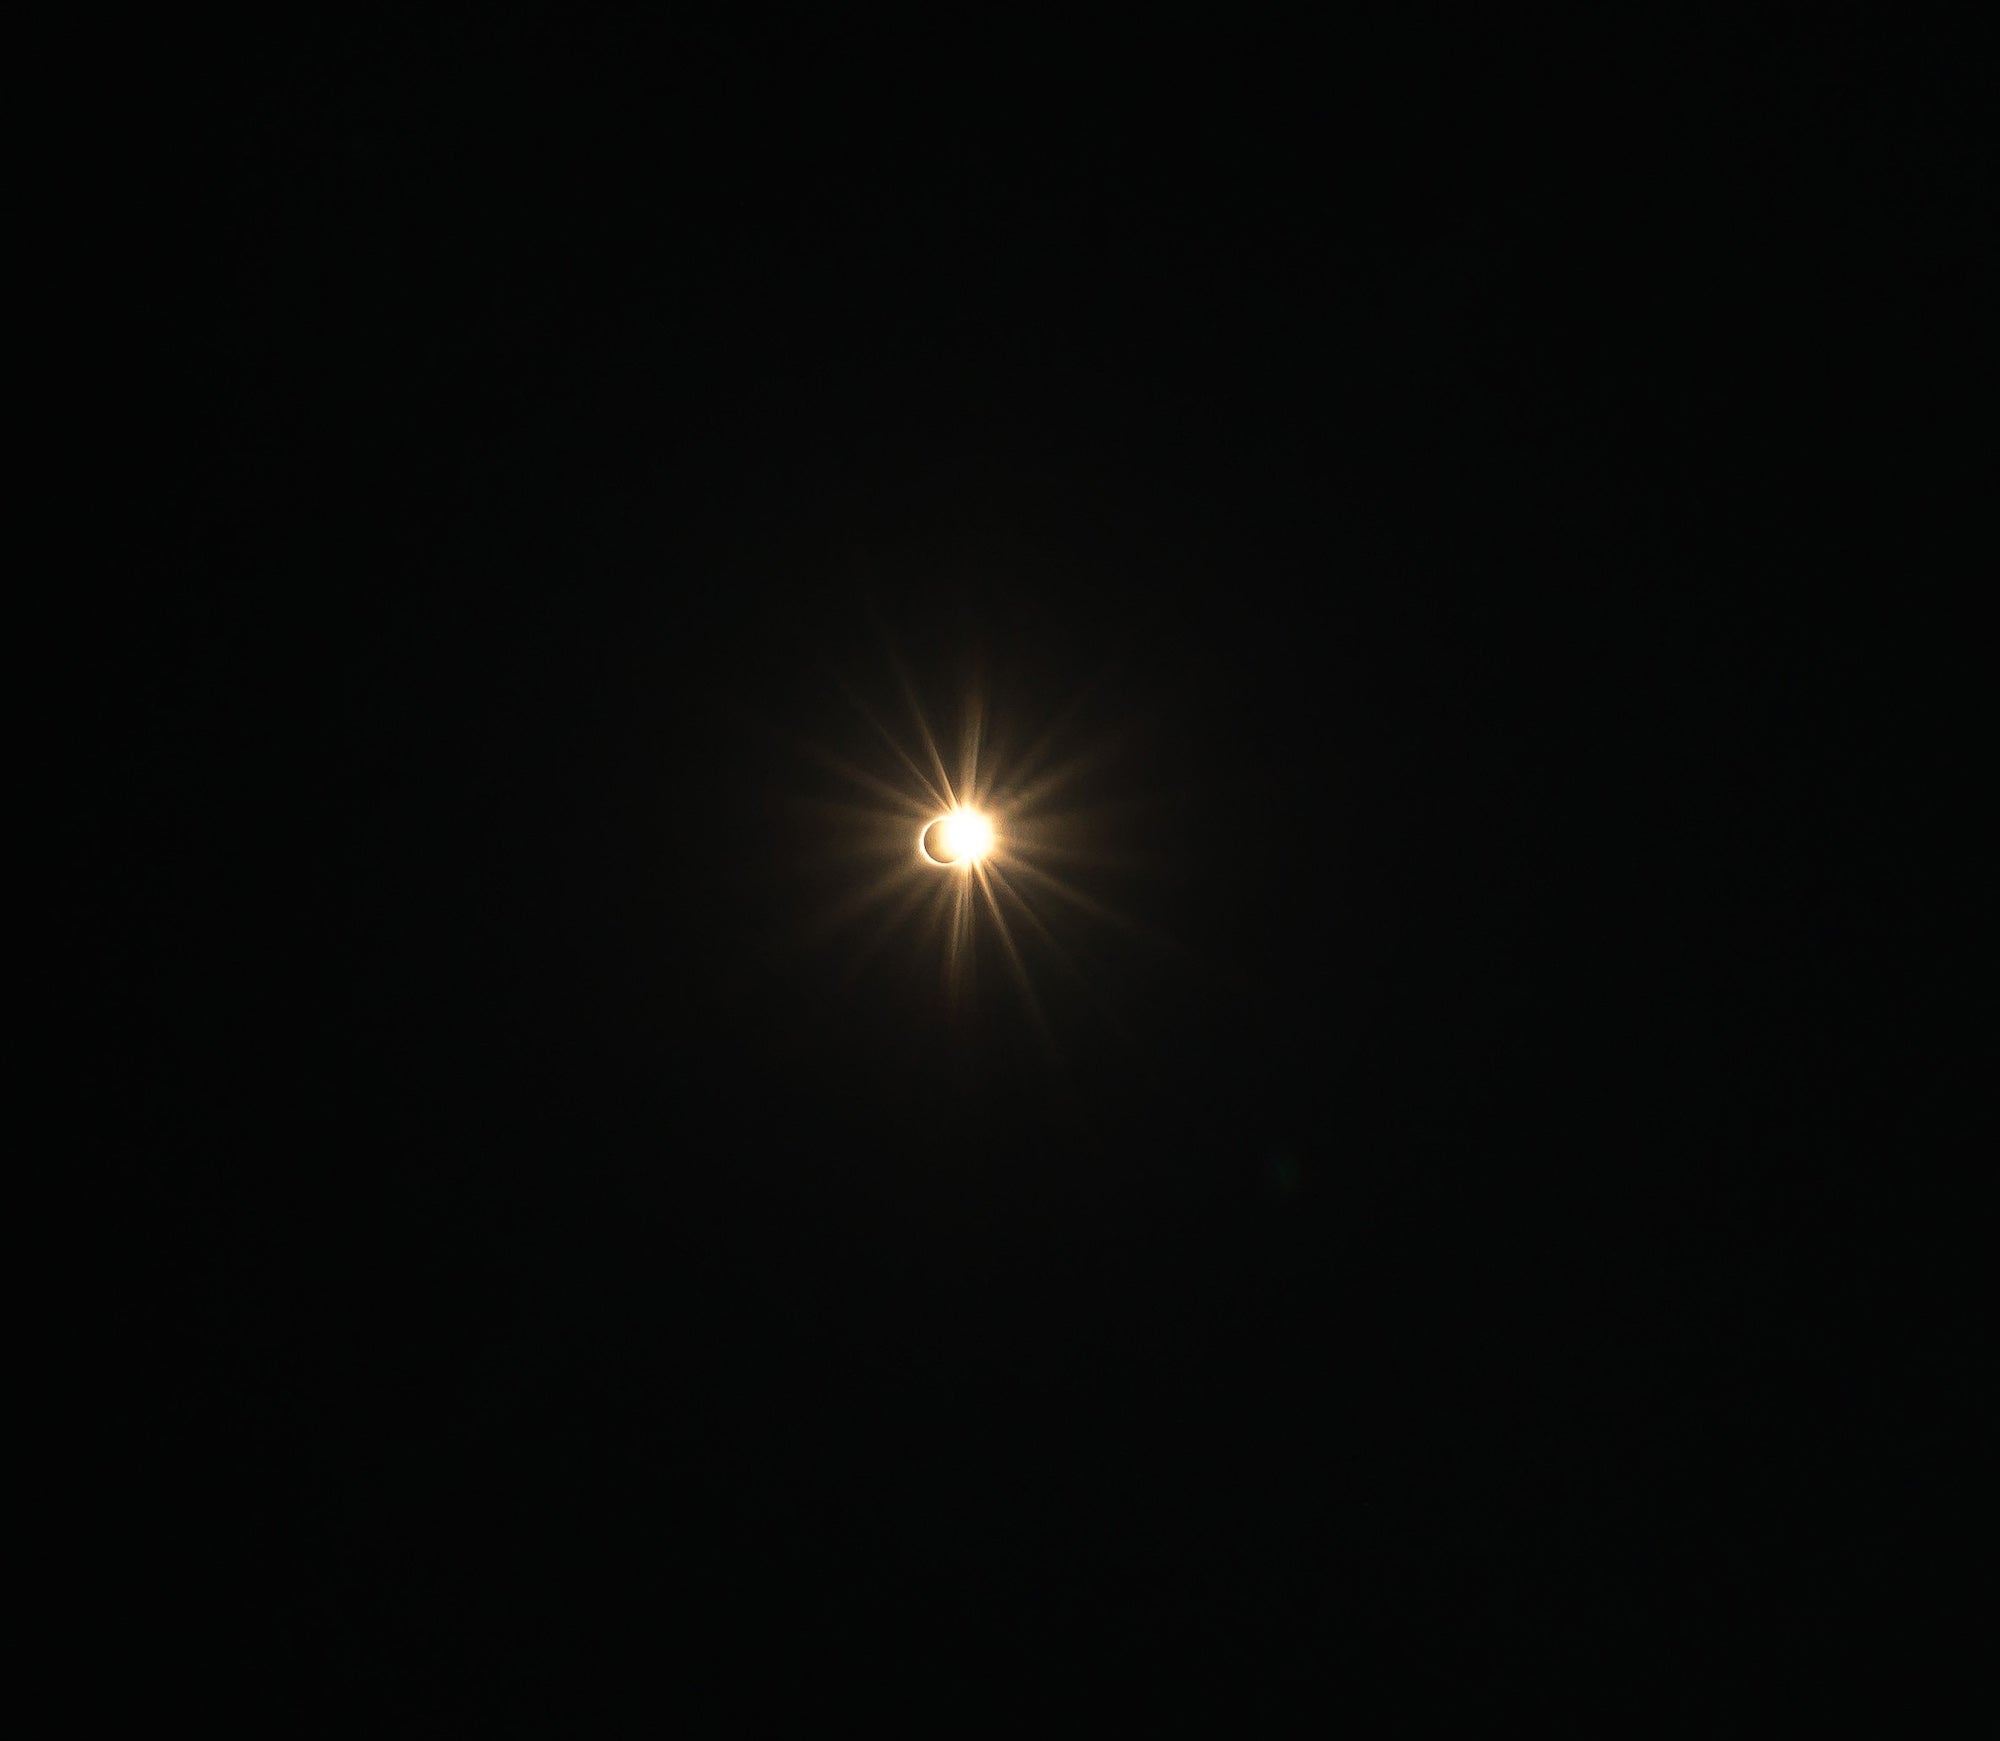
It’s important to remember that with all of your cameras/lenses you want to be using a solar filter that blocks up to 99% of the light so you don’t risk harming your camera sensor before the eclipse actually happens. Once the moon starts to move in front of the sun you can take the solar filter off and then shoot at the highest aperture you have (f/22+) and a semi-fast shutter speed. The high aperture use will yield a brilliant star burst once the moon and sun between to move opposite directions, which usually yields the best shot possible during the entire evolution.
In addition to having your camera and lens or lenses, you’ll also want a super sturdy tripod. I recommend using something that has substantial weight to it so your lens doesn’t move too much during filming. You can weigh the tripod down with your camera bag or sand bags. Either way, the more secure your tripod is, the better your eclipse shots will turn out.
Filters Required
As mentioned with the lenses, the use of a solar filter is required to film the sun. Most solar filters block 99% of the light, allowing you to see the sun in its full glory. I recommend that you purchase your solar filters well before the event because they usually sell out fast and are marked up considerably once the solar event happens. I recommend using Thousand Oak Optical 12x12” solar filter sheets because you can cut them up and place them easily on the front of any lens you might have. It also allows you to make multiple filters from one single sheet if you’re using multiple cameras. If you’re not using a solar filter, I don't recommend pointing your camera at the sun. You risk damaging your sensor as you’re magnifying the sun's energy directly on sensor with your lens.

Photo by Andrew Geraci
Camera Settings
If you’re looking to do a timelapse of the eclipse you should note that you will have to have a tracking device that will slowly move the camera as the sun moves across the sky. If you just use a stationary tripod the sun will move out of frame within a matter of seconds (if using a 600mm+ lens) which means you’ll miss most of the action.
To accomplish a timelapse of the eclipse I recommend using a slightly wider lens in the 70-100mm range and then placing the sun to the far left of the frame, anticipating the movement of the sun's path to the right of the frame. You should go out a day or two before the eclipse happens to test out and see where the path of the sun is moving so you know how to frame your shot.
If you’re using a tracking device or motion-controlled head, you’ll want to check the position of the sun the day before, find it’s starting location, mark it, and then find it’s end location. Depsnding upon your location, "totality" of the solar eclipse on April 8, 2024, the period where the moon completely obscures the sun, will last as long as four and a half minutes. And the beginning of the partial eclipse, when the moon first begins to cross in front of the sun to the end of the partial eclipse when the moon finishes crossing in front of the sun will take about two and a half hours, so plan to track the sun accordingly.
For your aperture, you’ll want to use f/22+, your ISO will be lowest possible settings (ISO 50- 100), and a fast shutter speed around 1/120-1/250 should work. These aren’t fool-proof settings though, as atmospheric conditions will also impact the final exposure, so you'll have to play it by ear and plan to adjust your shutter speed, ISO and aperture as necessary in the moment. If you have multiple cameras I suggest putting one camera on Aperture Priority at a -1 or -2 EV, and one camera on Manual so you have the best chances of capturing an epic eclipse shot! Remember to expose for the highlights in the scene, otherwise everything will be blown out.
How To Ramp Up Exposure During The Eclipse
This is one of the trickiest things to do i timelapse, and there’s not an exact science to it. If you’re just starting out I would recommend using Aperture Priority to achieve your ramping, it may flicker a bit, but it will be the best option you have at ramping the exposure from before to after of the solar eclipse. It’s important to remember that you have to remove the solar filter for totality, otherwise the exposure will be too dark and you will not capture the dramatic tendrils of the sun's corona.
If you want to manually ramp your camera, it’s best to adjust the shutter speed + or – what you need it as, as you visually see the solar eclipse happening in your camera. Do this carefully because if you accidentally move the camera as you're pressing buttons during the timelapse sequence, you can kill the serquence. I highly recommend using a tethered connection so you can control the camera from a device like your smartphone so you don’t have to touch the camera at all. Adjust the settings there as it’s happening and you’ll be set!

Photo by Andrew Geraci
If you don’t care much about quality and are just interested in capturing the eclipse for the fun of it, use video mode, aperture priority, hit record, and then sit back and enjoy the show. The quality will likely be less than that of a RAW photograph but you’ll still capture something beautiful and incredible at the same time.
If you’re doing a traditional single frame timelapse using RAW imagery for totality and. the moments just before and after (which is where you get the so-called diamond ring effect), I suggest an interval time of one second and around 2000 frames (you’ll likely only need 400 frames, but this will give you more leader time in case something happens). You can use the internal intervalometer on your Sony camera to achieve this.
Step-By-Step Breakdown During Eclipse
5 Minutes Before Totality
Frame up the sun (be sure to use your solar filter) and adjust your camera settings as necessary. If you’re filming a timelapse, this is when you’ll want to set your in and out points for your tracking device so you can track the sun as it moves. If you don’t have a tracker, don’t worry, just frame the sun up on the left hand side of your frame and let the sun pass through it (you will have to be fairly wide to do this, around 35mm-70mm).
Totality
Immediately slip off your solar filter right before the sun is completely hidden behind the moon. If you’re using Aperture priority the camera will automatically adjust exposure and you’ll be set. If you’re filming manually, you’ll likely want to open up your aperture a bit more (f/6-f/11) so you can see more of the light that the moon is blocking from the sun. You will have around four and a half minutes of this so it’s wise to have a timer setup and started so you know when to place the solar filter back on your camera. Again, you’ll want to control these settings via Imaging Edge on your phone, tablet or computer.
After Totality
Immediately put your solar filter back on your lens (without disrupting the camera) and repeat the first step of readjusting your cameras exposure settings or using aperture priority.
Once the event is complete, you can go back, edit the frames as you normally would inside of Lightroom or Capture one and/or then use an NLE like Davinci Resolve to compile the entire sequence together to get a beautiful timelapse composition. You can watch my video of how to compile a basic timelapse below:
Additional Food For Thought
Things can and will go wrong during your eclipse shoot. Everything happens quite quickly so you really must be on your toes to troubleshoot things if your camera or gear has an issue. During the last solar eclipse I experienced a last-minute breakdown on one of my setups and I had to quickly switch gears to ensure that the two other rigs I had were operating properly. Make sure you practice in the weeks before the eclipse and do gear checks the day before and right before you plan on filming. Make sure you have extra batteries, extra filters, and extra cameras (if possible) on hand in case anything fails.
Lastly, embrace the moment and enjoy the experience! Solar eclipses are rare occurrences, so take the time to soak in the atmosphere and appreciate the beauty of the cosmos. Be patient and stay alert, as the lighting conditions will change rapidly during the eclipse. With your creative vision guiding you, you're bound to capture breathtaking photos that will be cherished for years to come. So, grab your gear, head outdoors, and get ready to witness the magic of a solar eclipse through your lens!


