With Firmware 3.0, the α7R III and α7 III (as well as the Sony α6400) now have a built-in timelapse intervalometer. Here are some tips to get the camera set up for making a timelapse using the built-in controls. There’s a lot of trial and error in making a timelapse. By definition, you’re capturing scenes where the light and composition is in flux. And of course, that’s part of the allure. Once you get your camera settings dialed in to a good starting point, we suggest you save the setup to one of the custom modes on the mode dial (have a look at our article 6 Sony Alpha Hidden Sleeper Features to see how to do that).
How to get your camera dialed in for a timelapse with the α7R III and α7 III using the built-in intervalometer
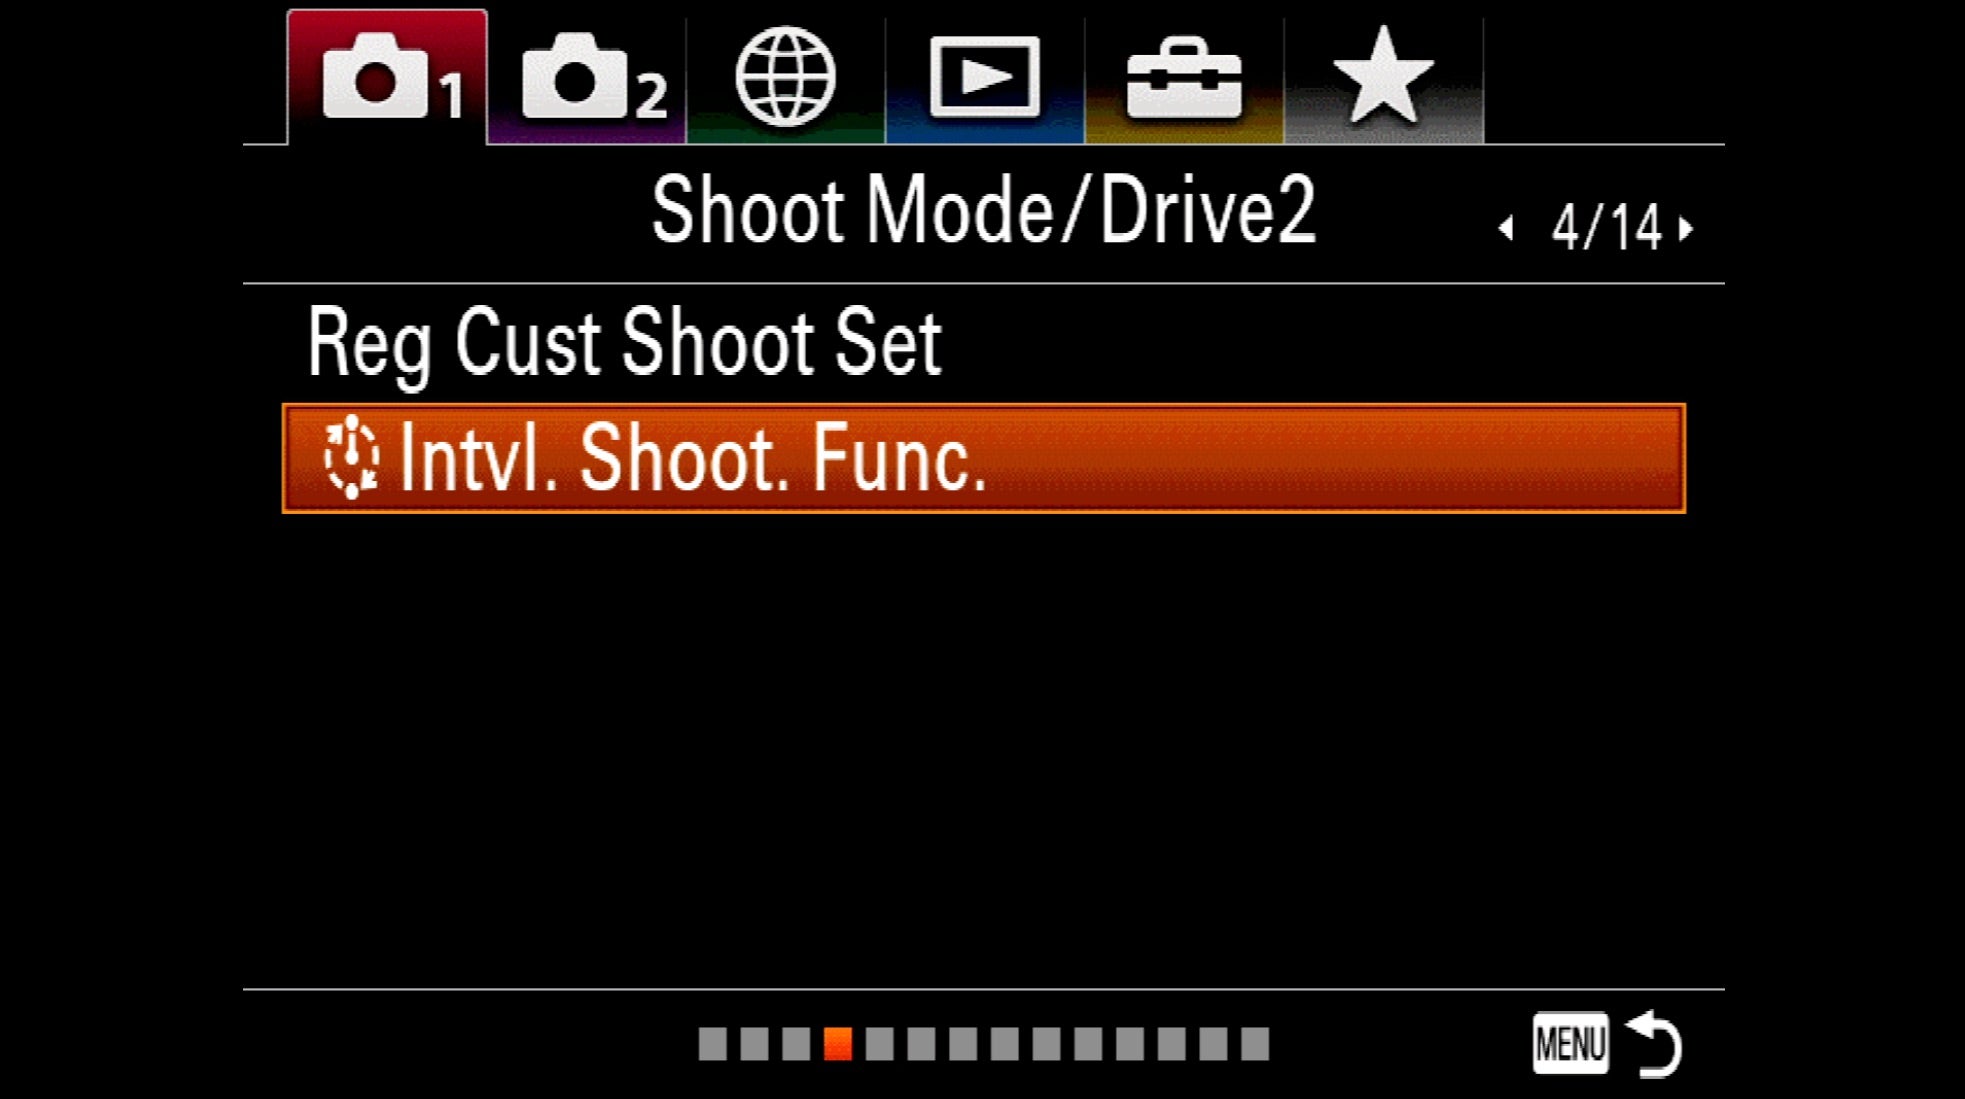
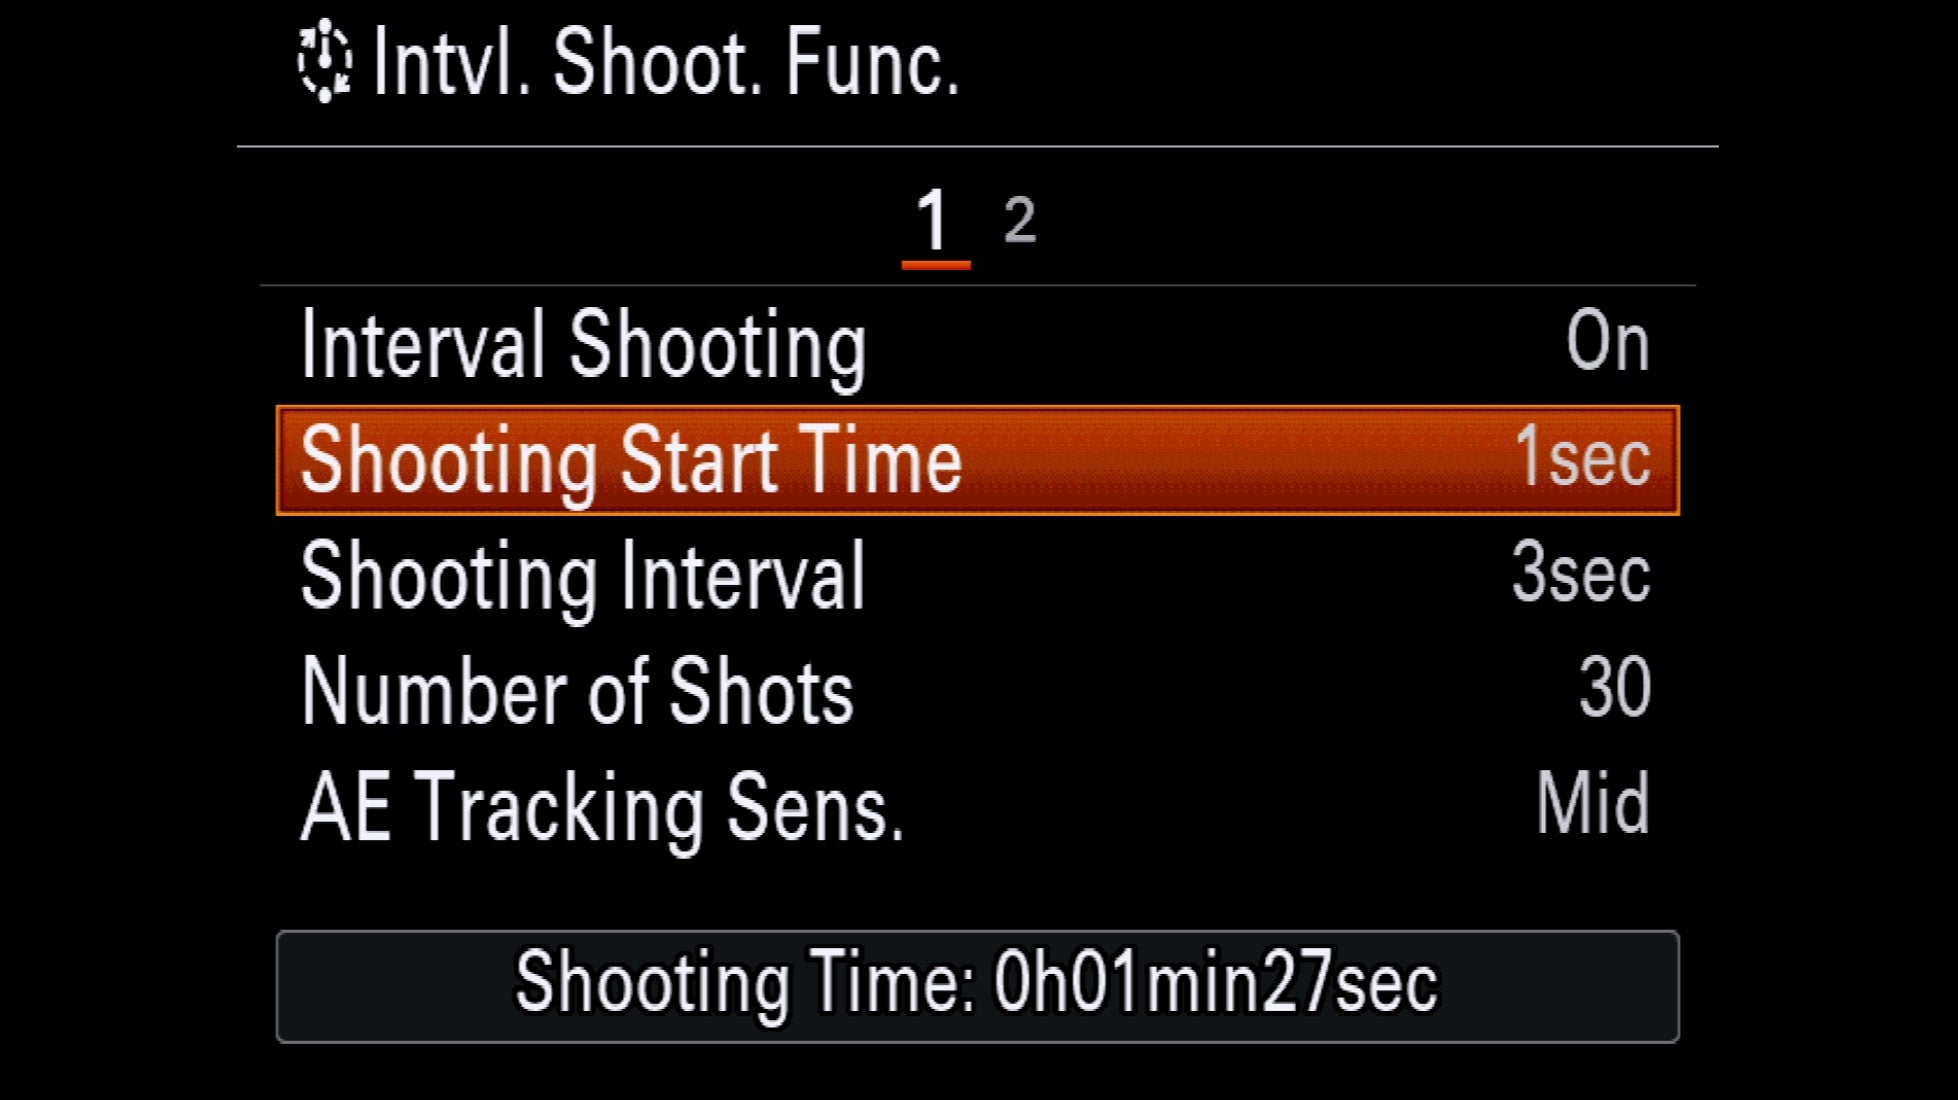
To get your camera ready to shoot a timelapse, start by accessing the Internal Intervalometer. Go to Camera Tab1, Screen 4 where you’ll see Shoot Mode/Drive2 and select Intvl. Shoot Func. (note, we’re using an α7R III with Firmware 3.0 so depending on your camera and firmware, the exact menu screens might be a little different). Within the Interval function, first, select Interval Shooting to On.
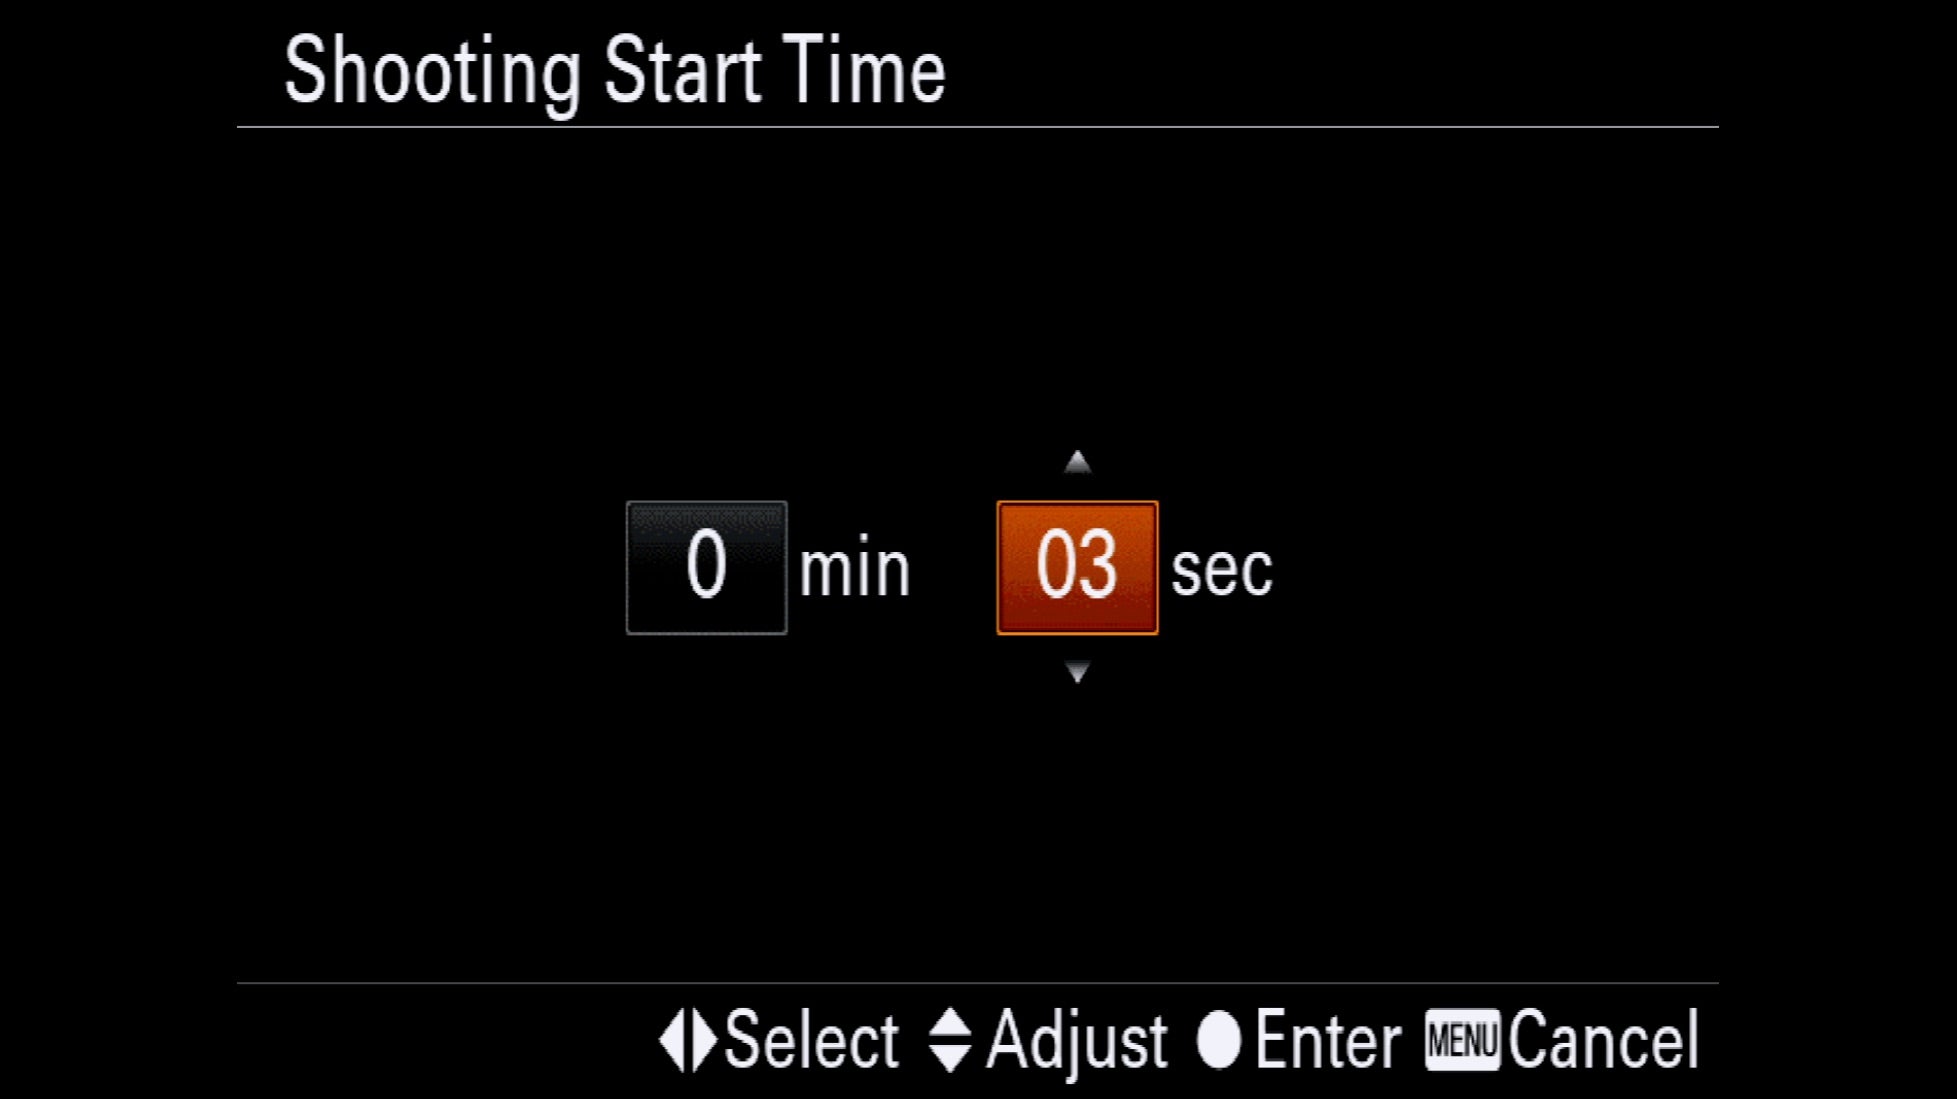
1. Shooting Start Time
For Shooting Start Time, we suggest three seconds. This will start shooting the sequence three seconds after you press the shutter button which gives any vibration from pressing the button time to settle down before exposures begin.
2. Shooting Interval
Your Shooting Interval is the time from the beginning of one shot to the beginning of the next. You’ll want to base the interval on the subject matter. Here are some starting intervals to get you in the ballpark:
-
Around one to two seconds for cityscapes and scenes with moving cars and for landscapes with fast clouds.
-
Around three to four seconds for landscapes with slower clouds.
-
Around one to three seconds for scenes with people moving.
-
Around 30 seconds for stars and astroscapes and for showing the sun moving across big swathes of sky.
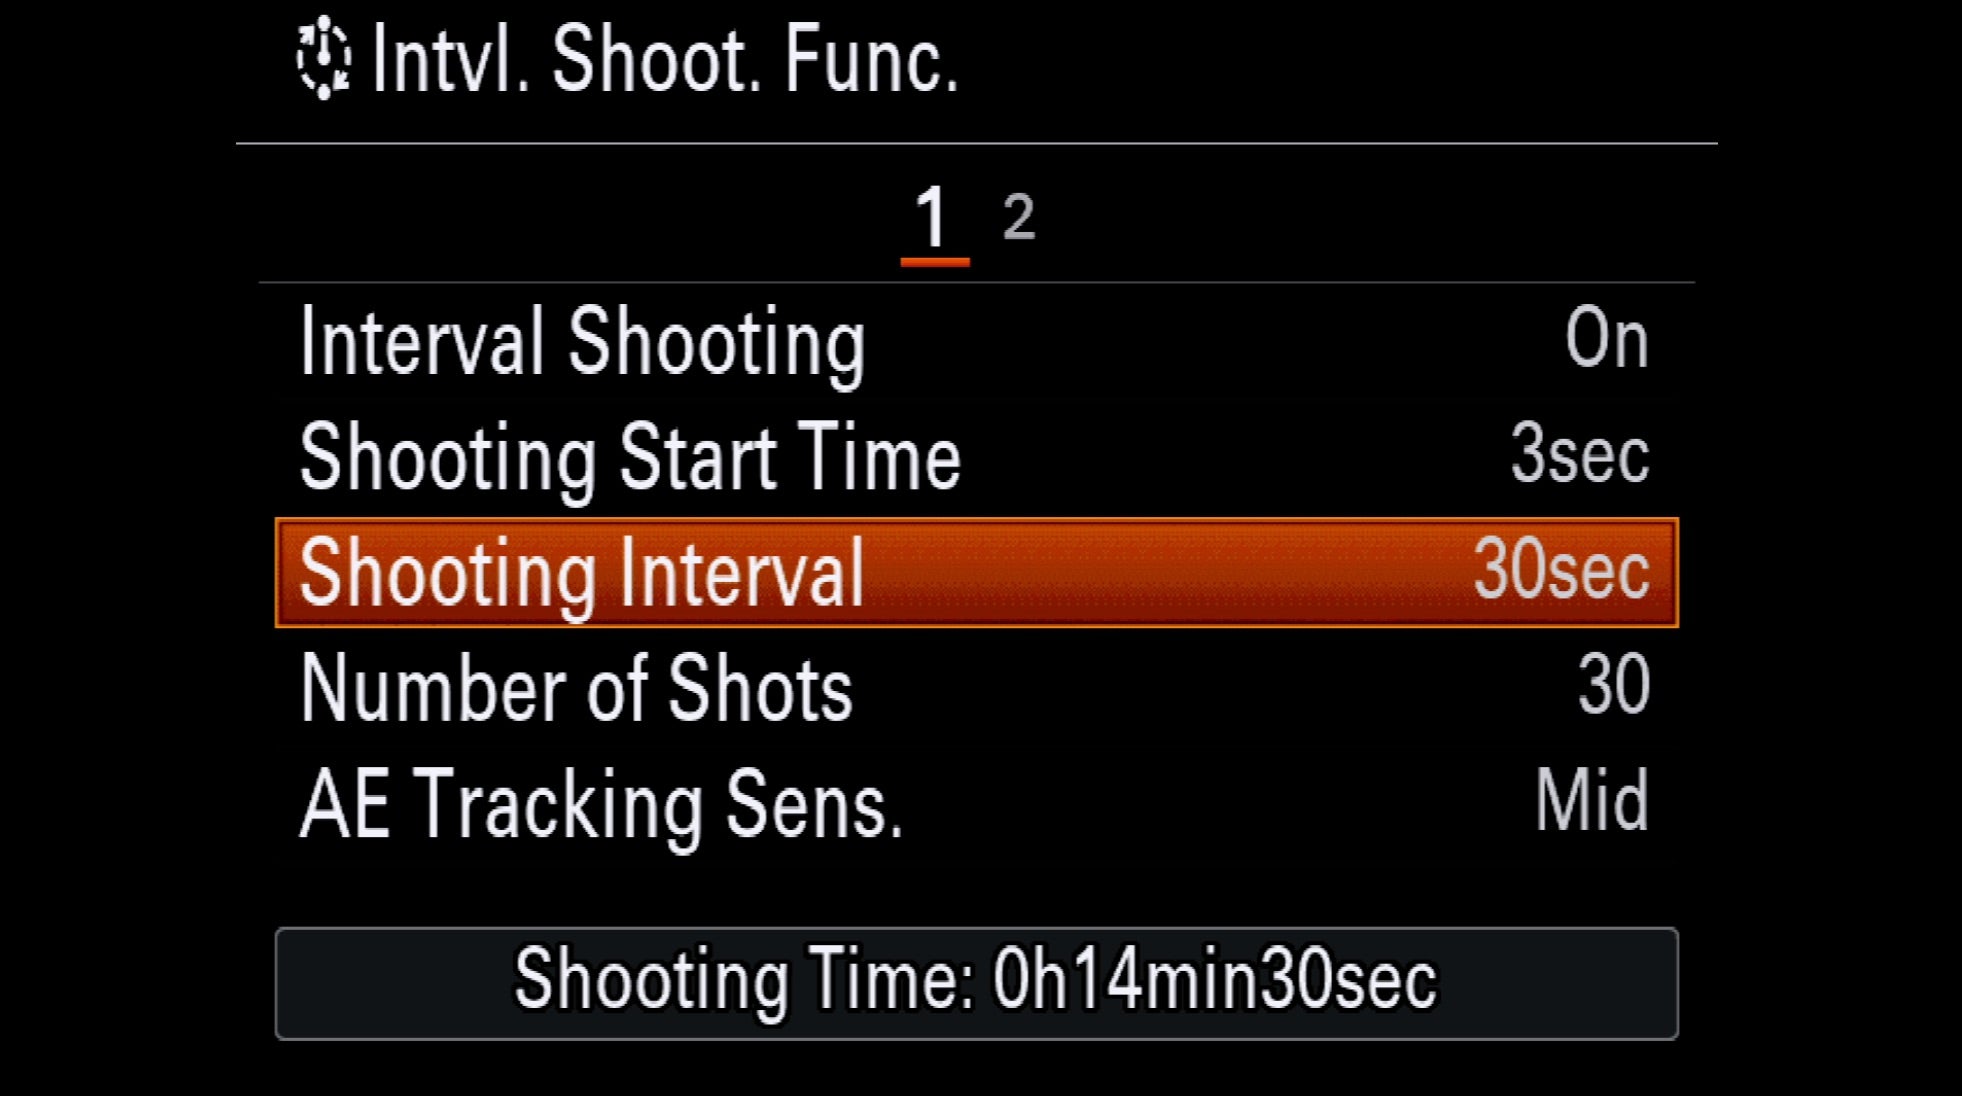
3. Number Of Shots
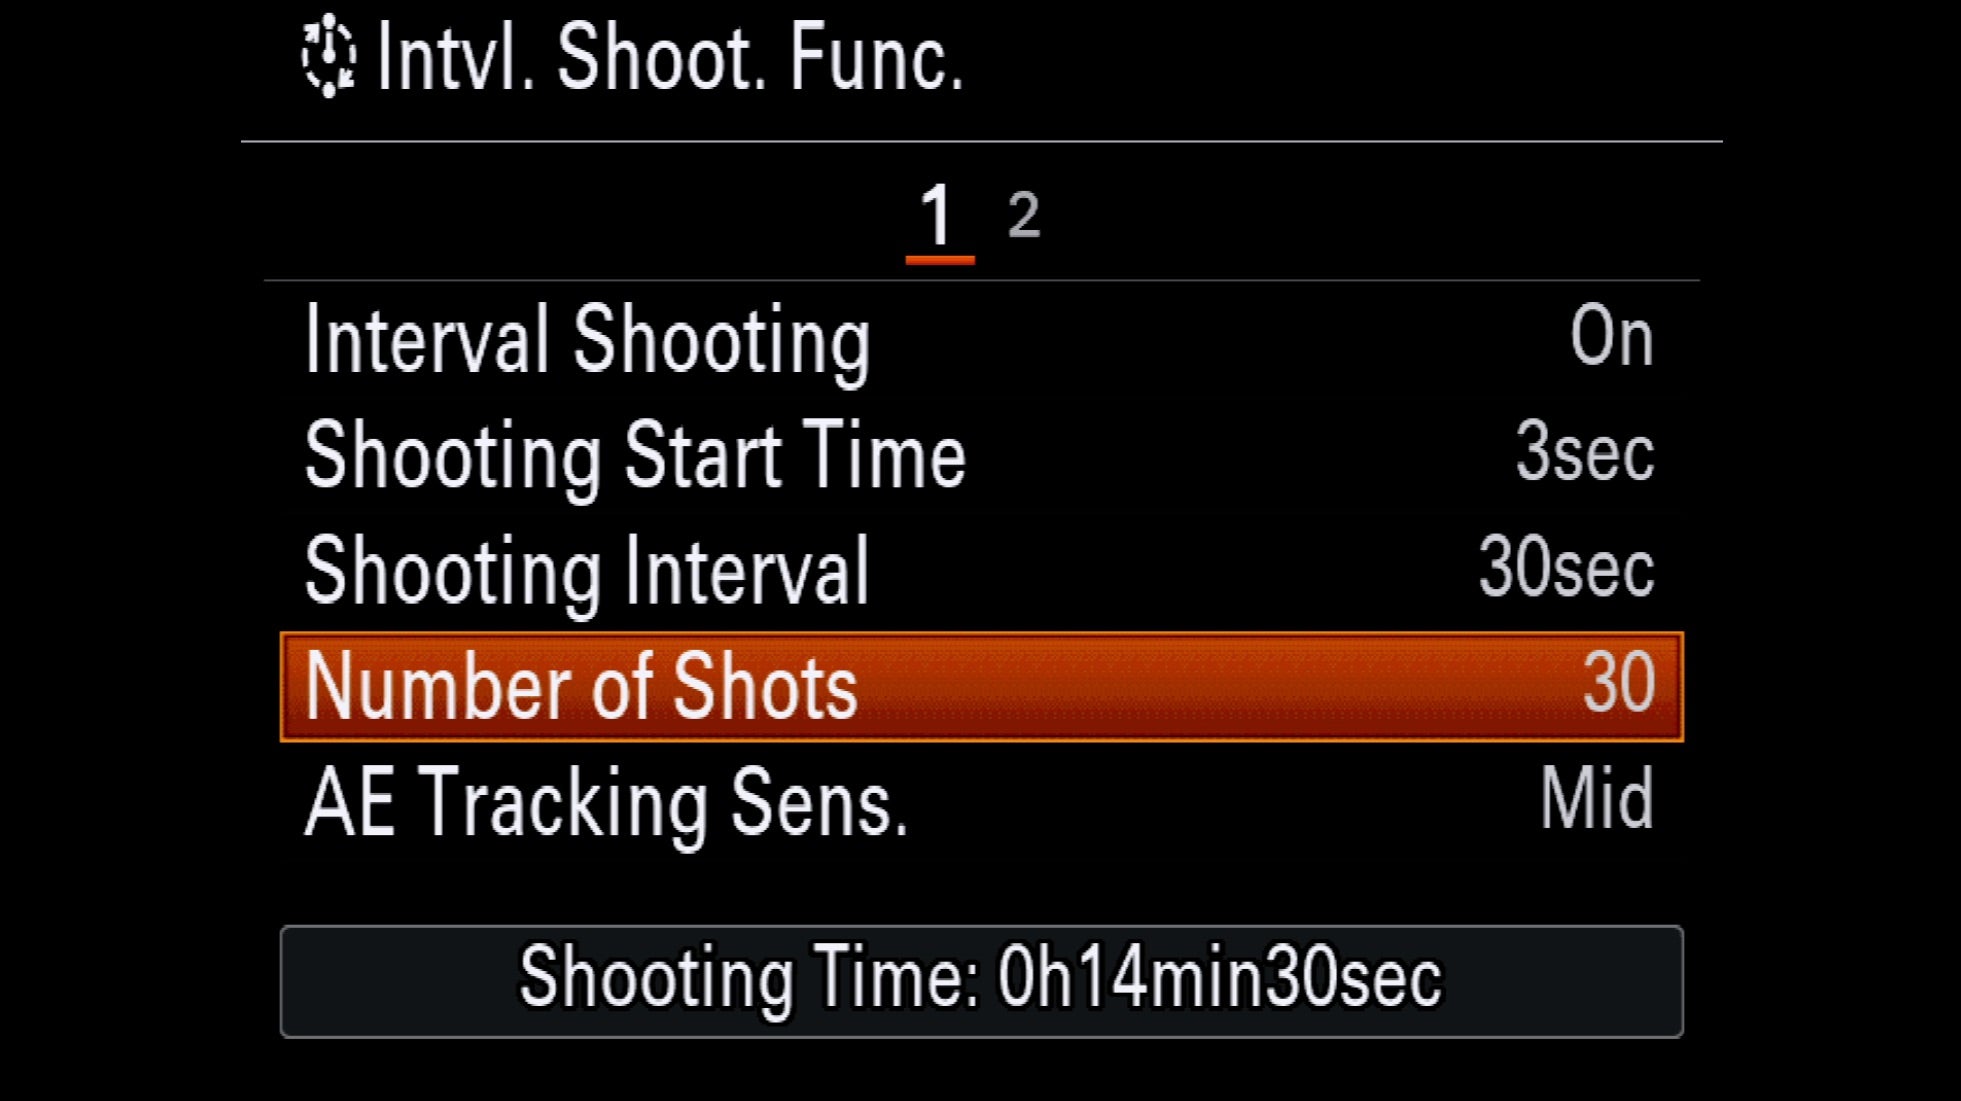
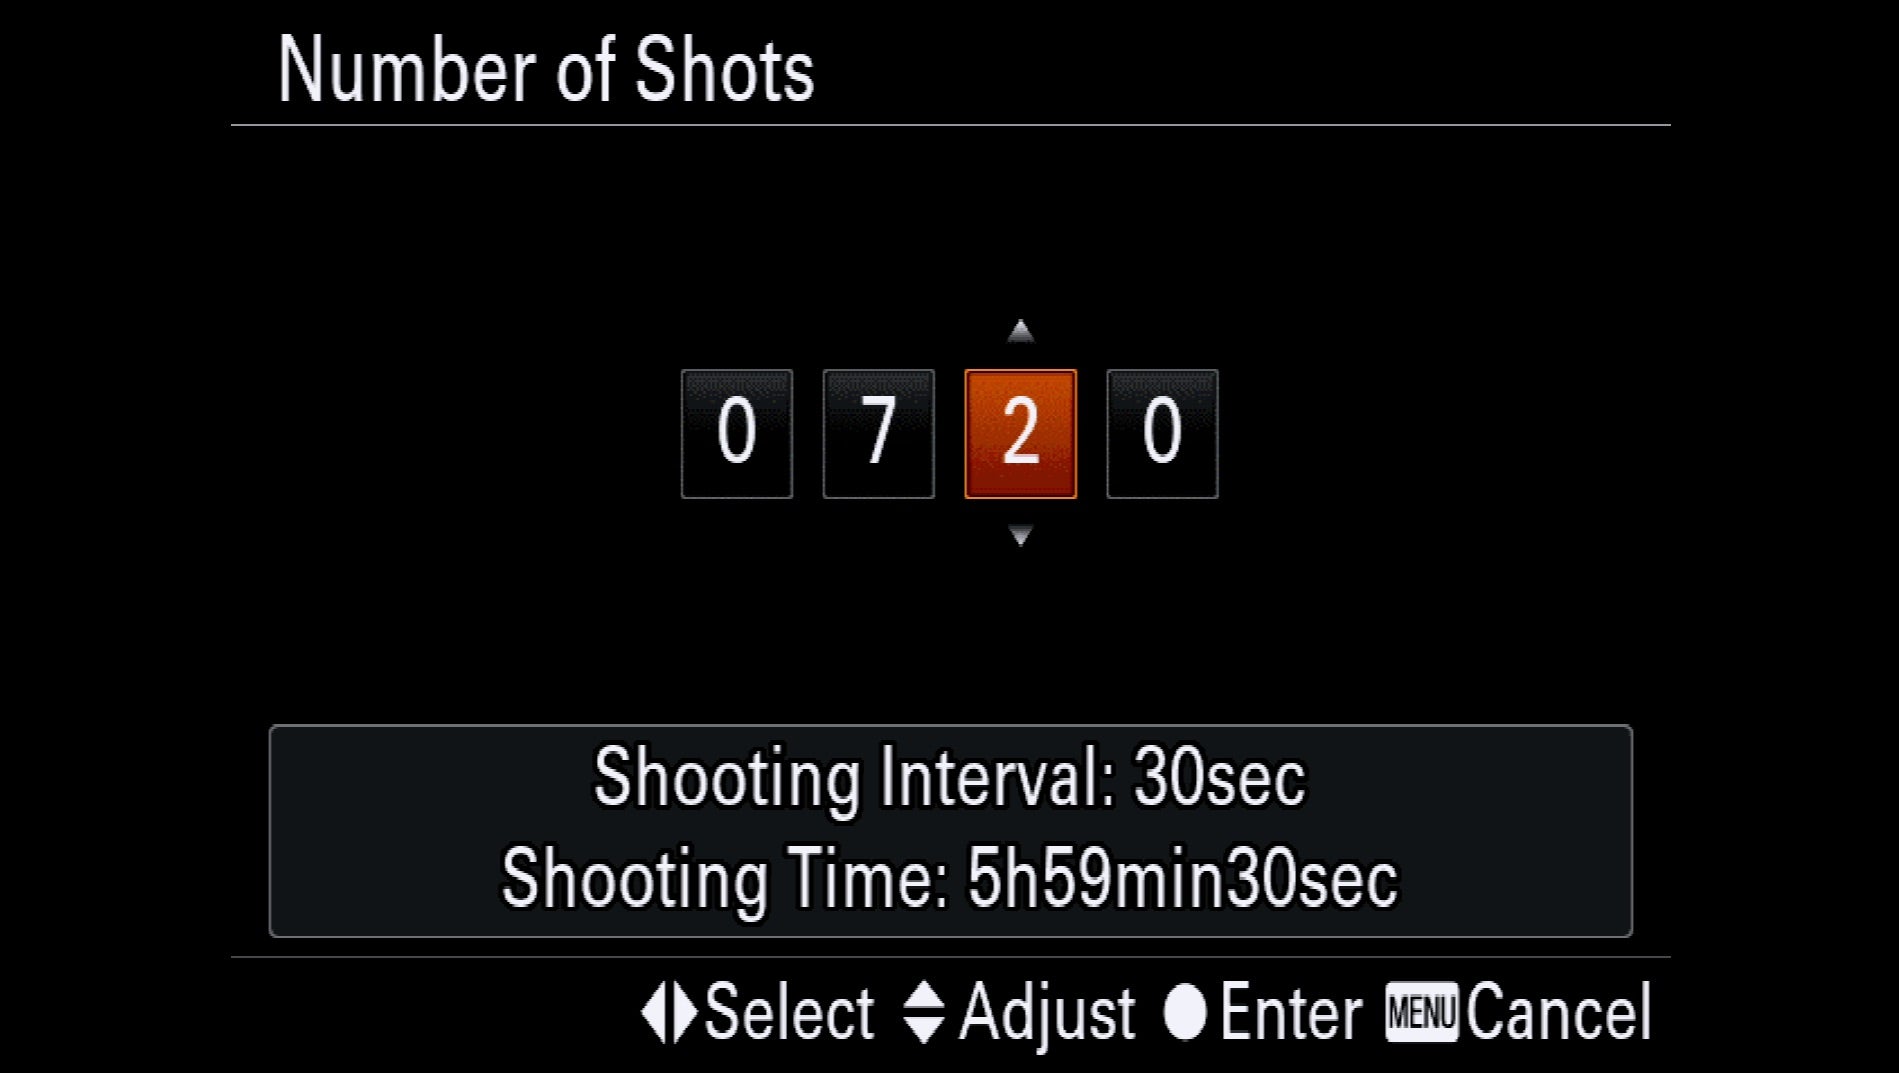
For Number of Shots, calculate how long you want the sequence to be and multiply by 24 (you’ll export the final video at 24 frames per second). So, for a 30-second timelapse sequence, 30 * 24=720. Note, the camera automatically calculates how long it will take to shoot the sequence and shows it at the bottom of the screen.
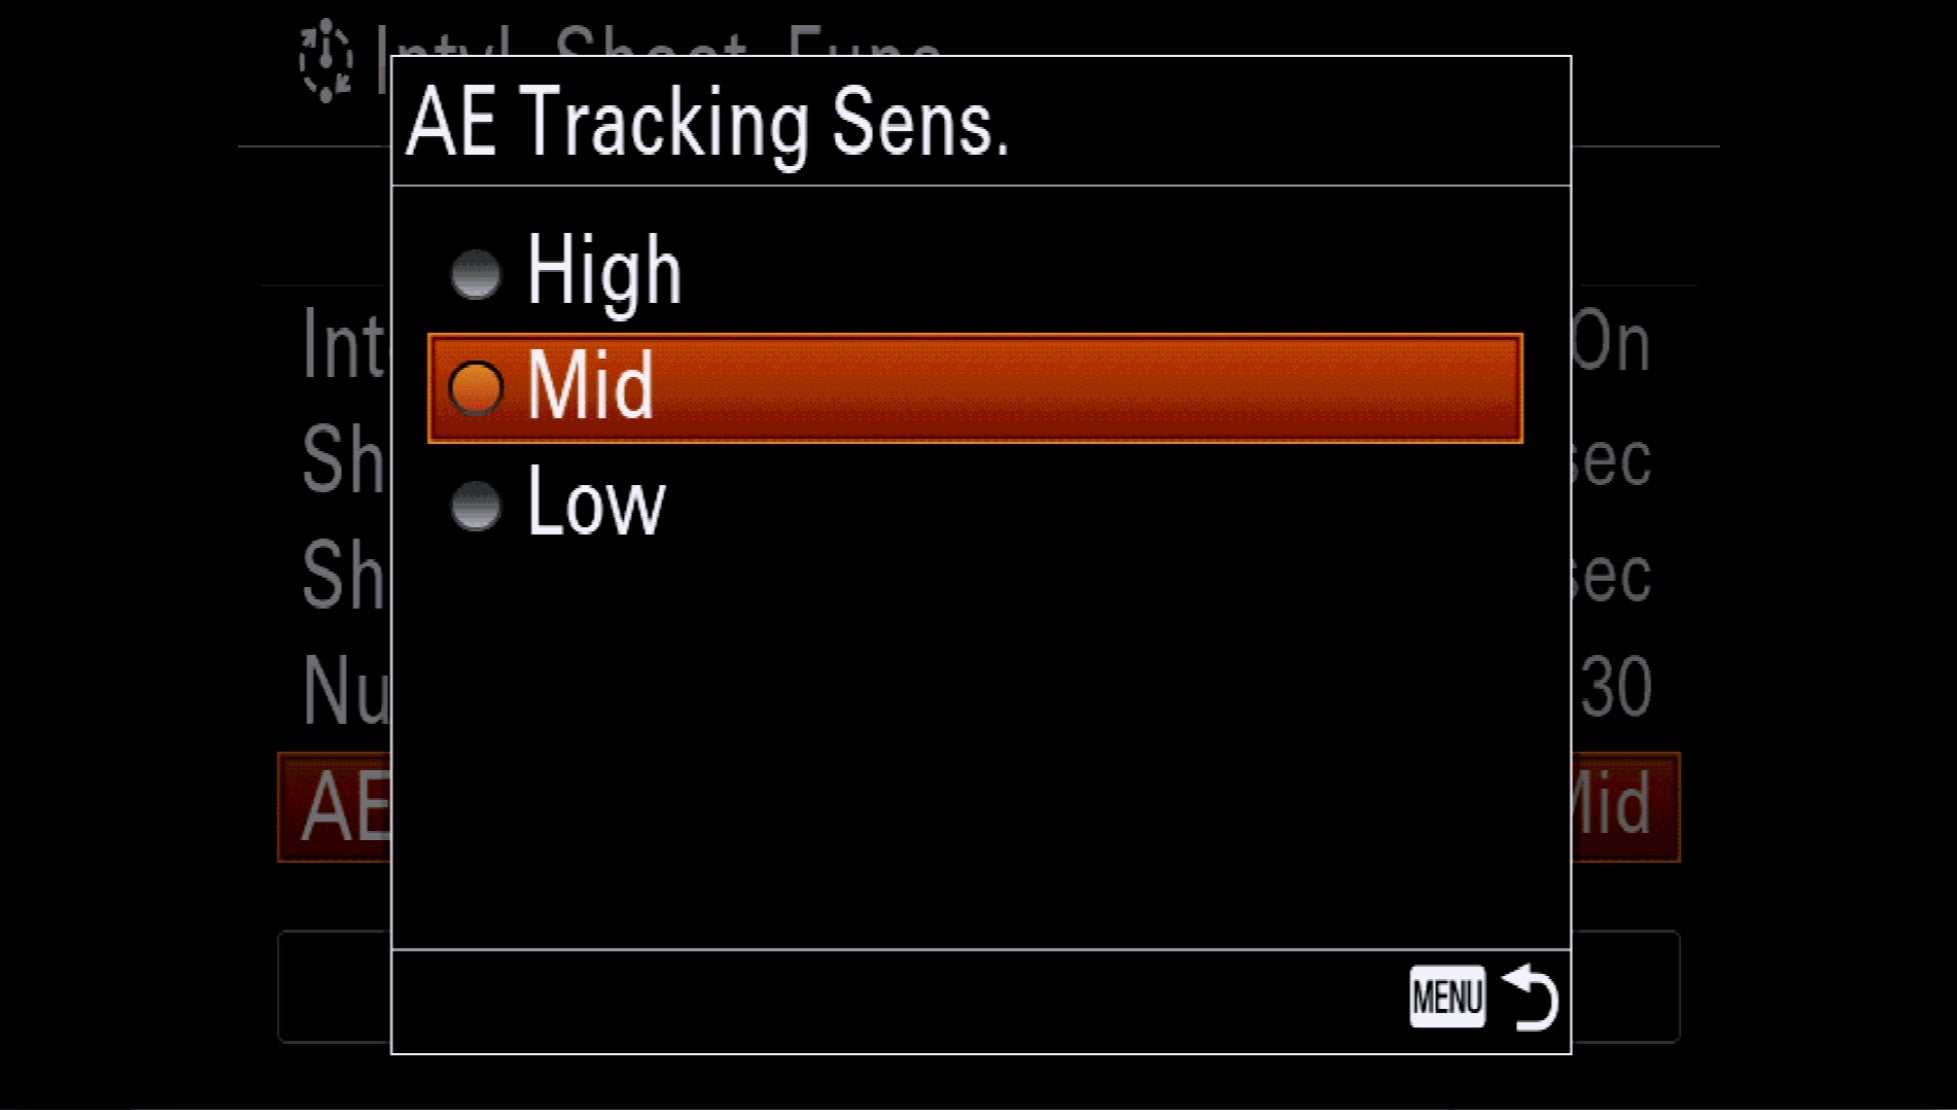
4. AE Tracking Sensitivity
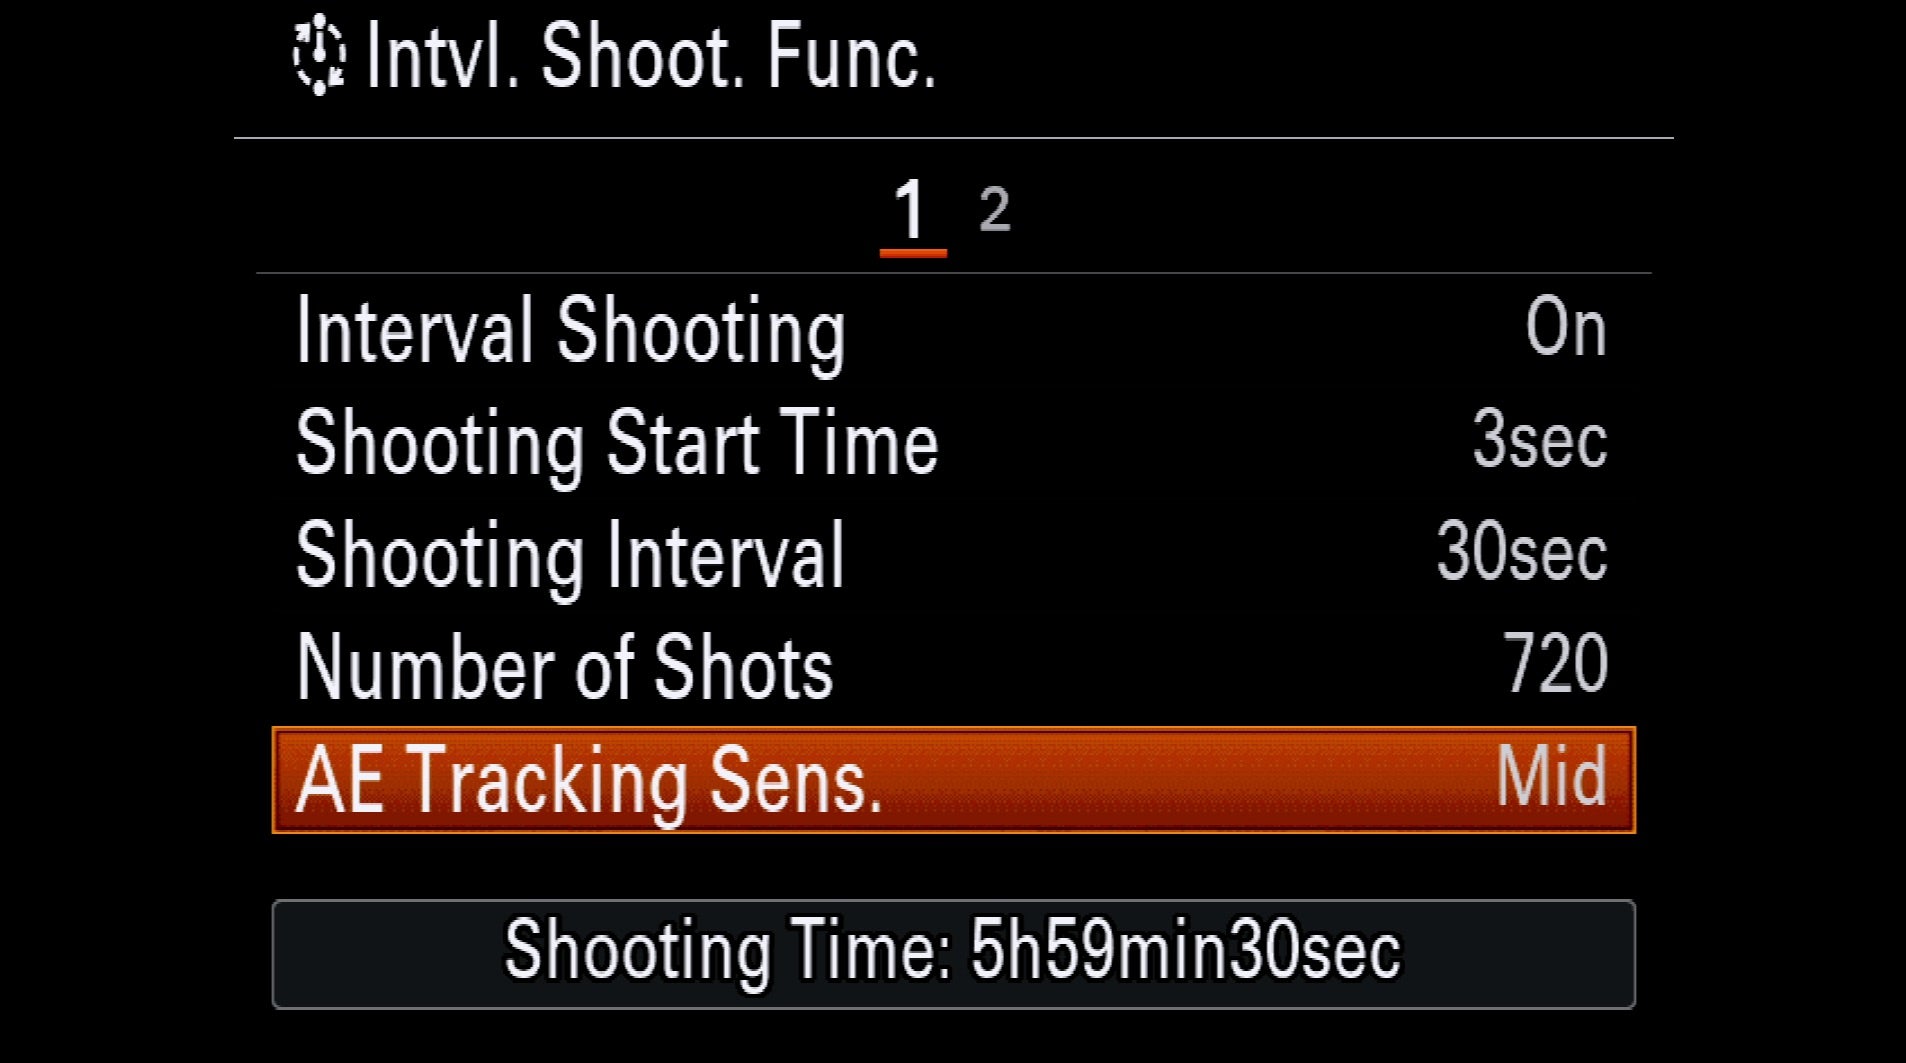
AE Tracking Sensitivity is an incredibly useful feature for “Holy Grail” timelapses (sunrise and sunset) and for scenes with clouds moving through where the light is changing. You can set it to High, Medium or Low. We suggest you start with Medium and if you prefer smoother exposure changes, set to Low.
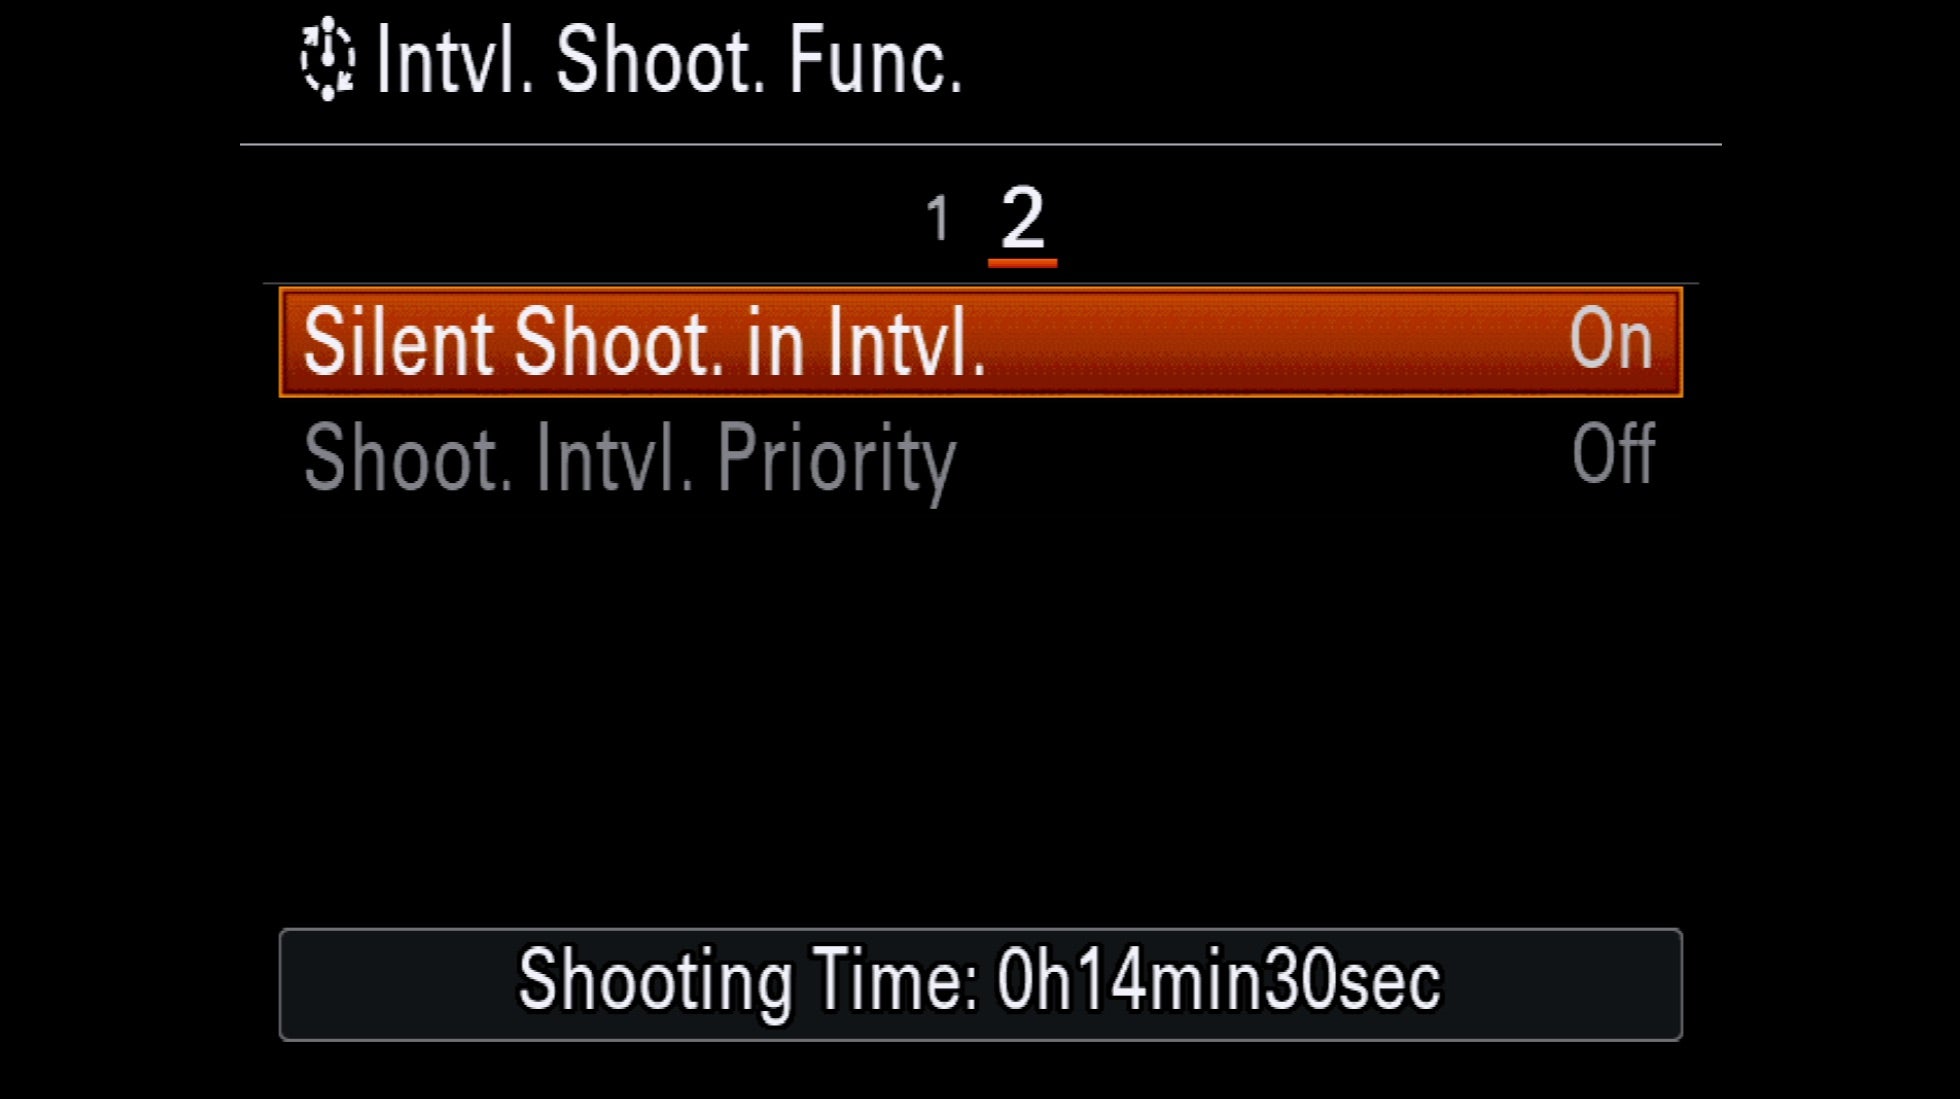
5. Silent Shooting
Set Silent Shooting in Intervalometer mode to on. A couple particularly practical reasons to do this are so that you’re not introducing the possibility of any vibration and by using the electronic shutter, you’re not racking up the count on your mechanical shutter.
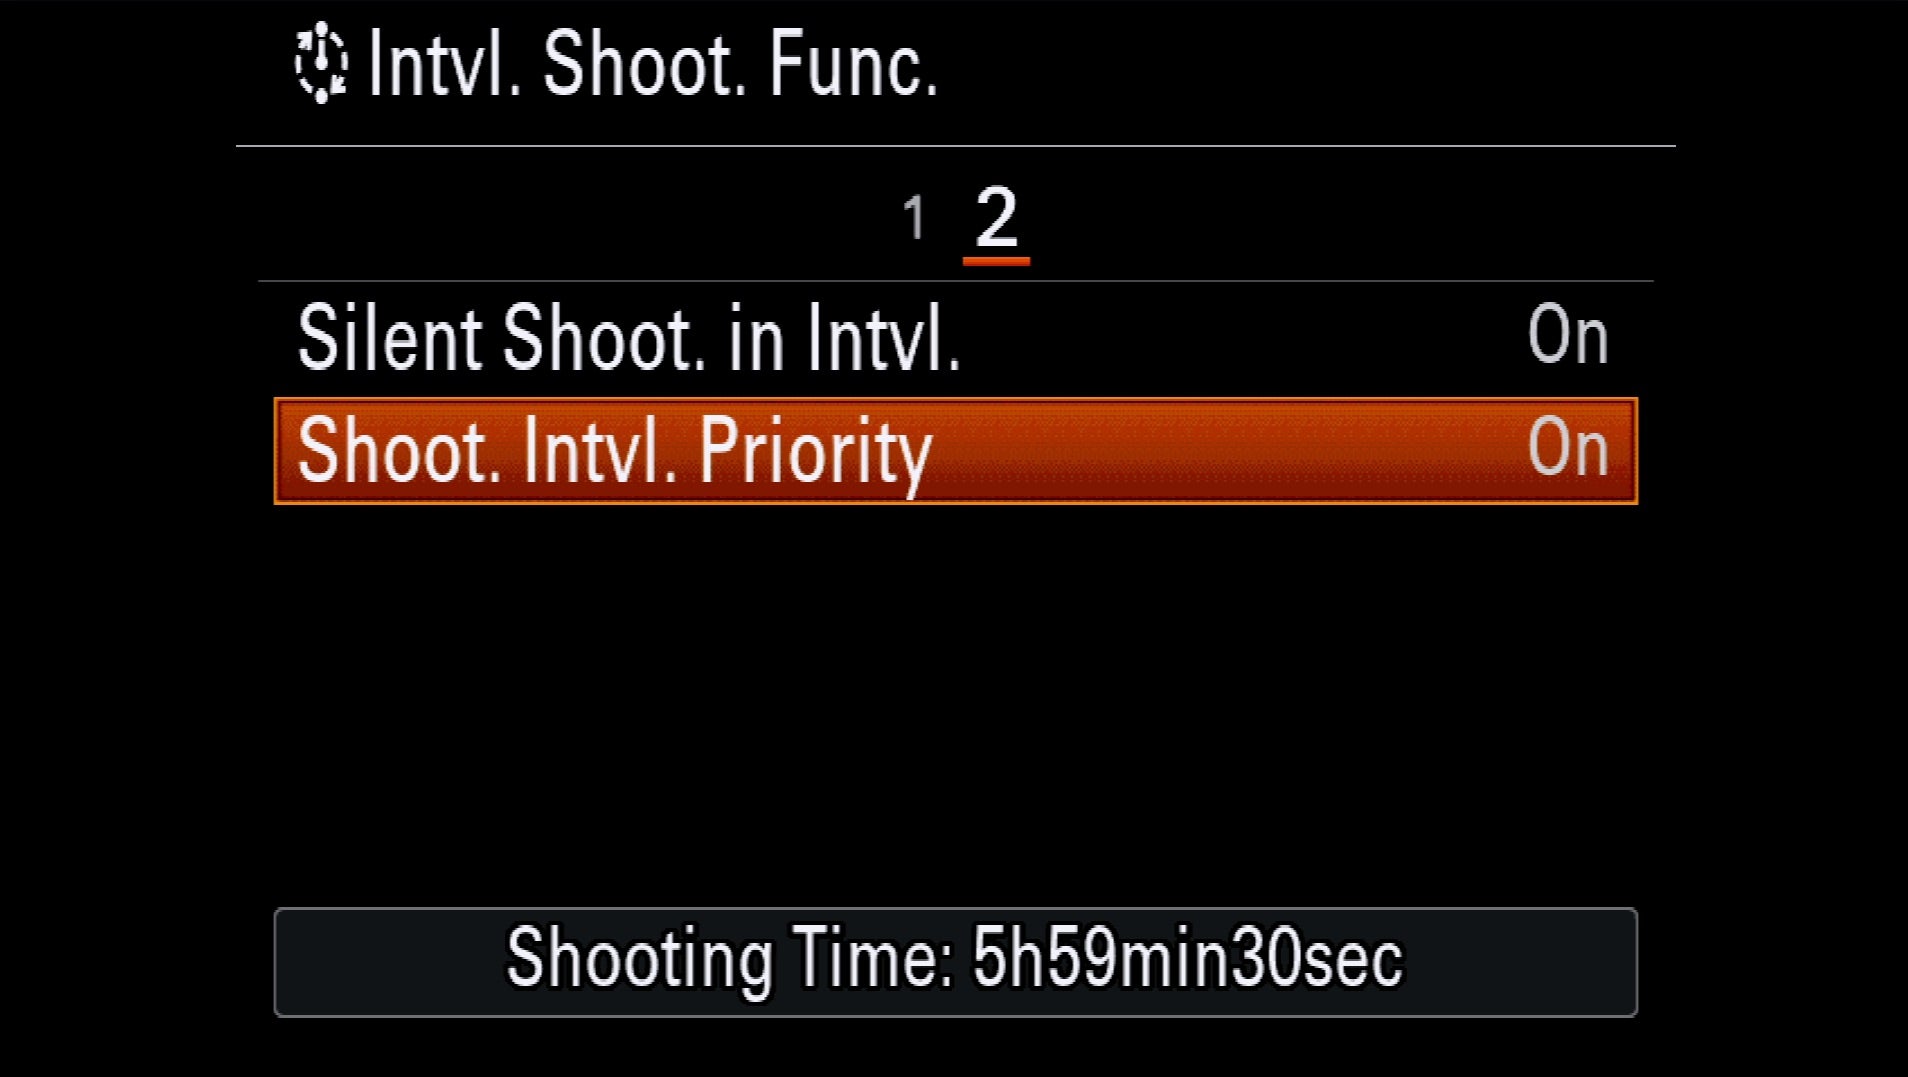
6. Shoot Interval Priority
Shoot Interval Priority lets you decide whether the interval or the shutter speed takes priority in the event that they conflict. That can happen in a stormy sky situation when you set the interval for, say two seconds and you have the camera set to aperture priority or program exposure. As a dark cloud passes, the shutter speed can temporarily become longer than the two second interval. In general, you’d want the interval to take priority so turn this on.
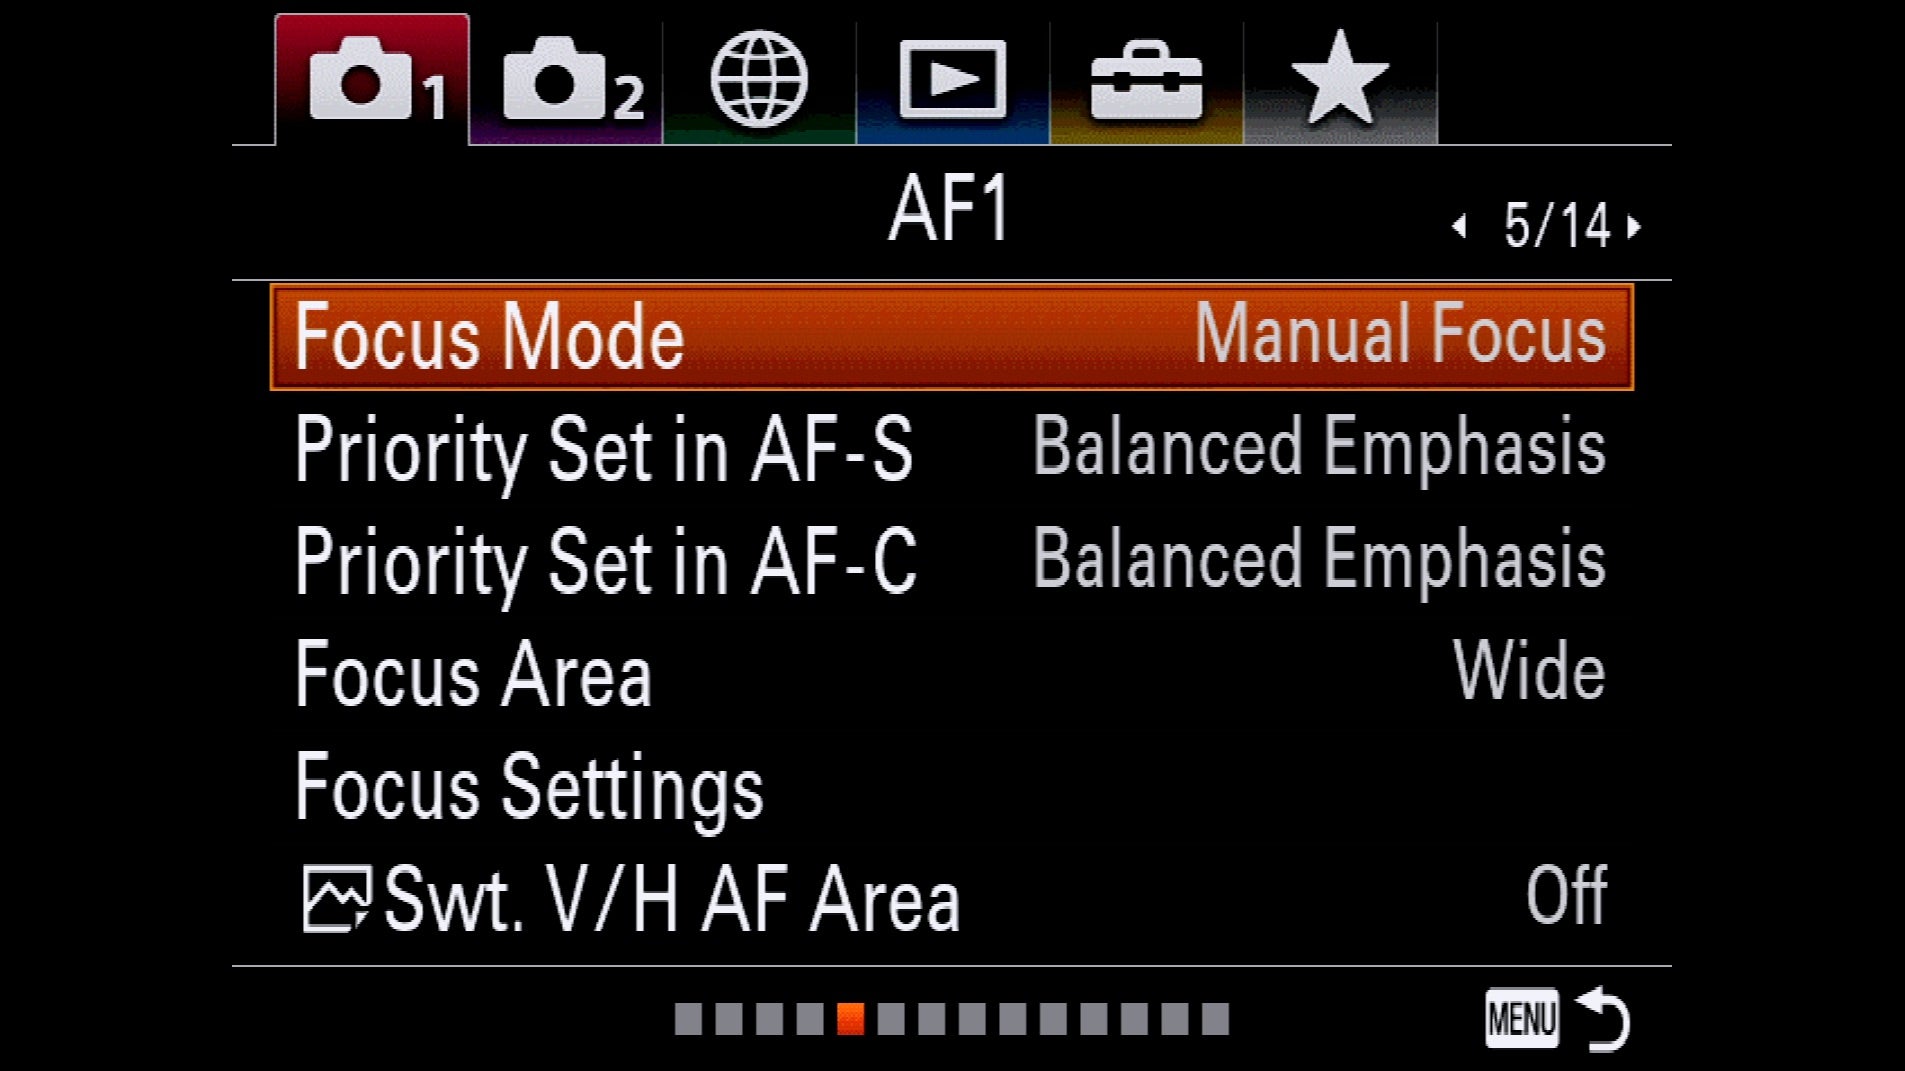
7. Set Manual Focus
If there’s one thing all timelapse shooters can agree on, it’s setting manual focus. The reason is simple: you don’t want the camera to hunt for and change focus between frames. Set MF in the camera or on the lens before you start shooting.
8. Shoot RAW
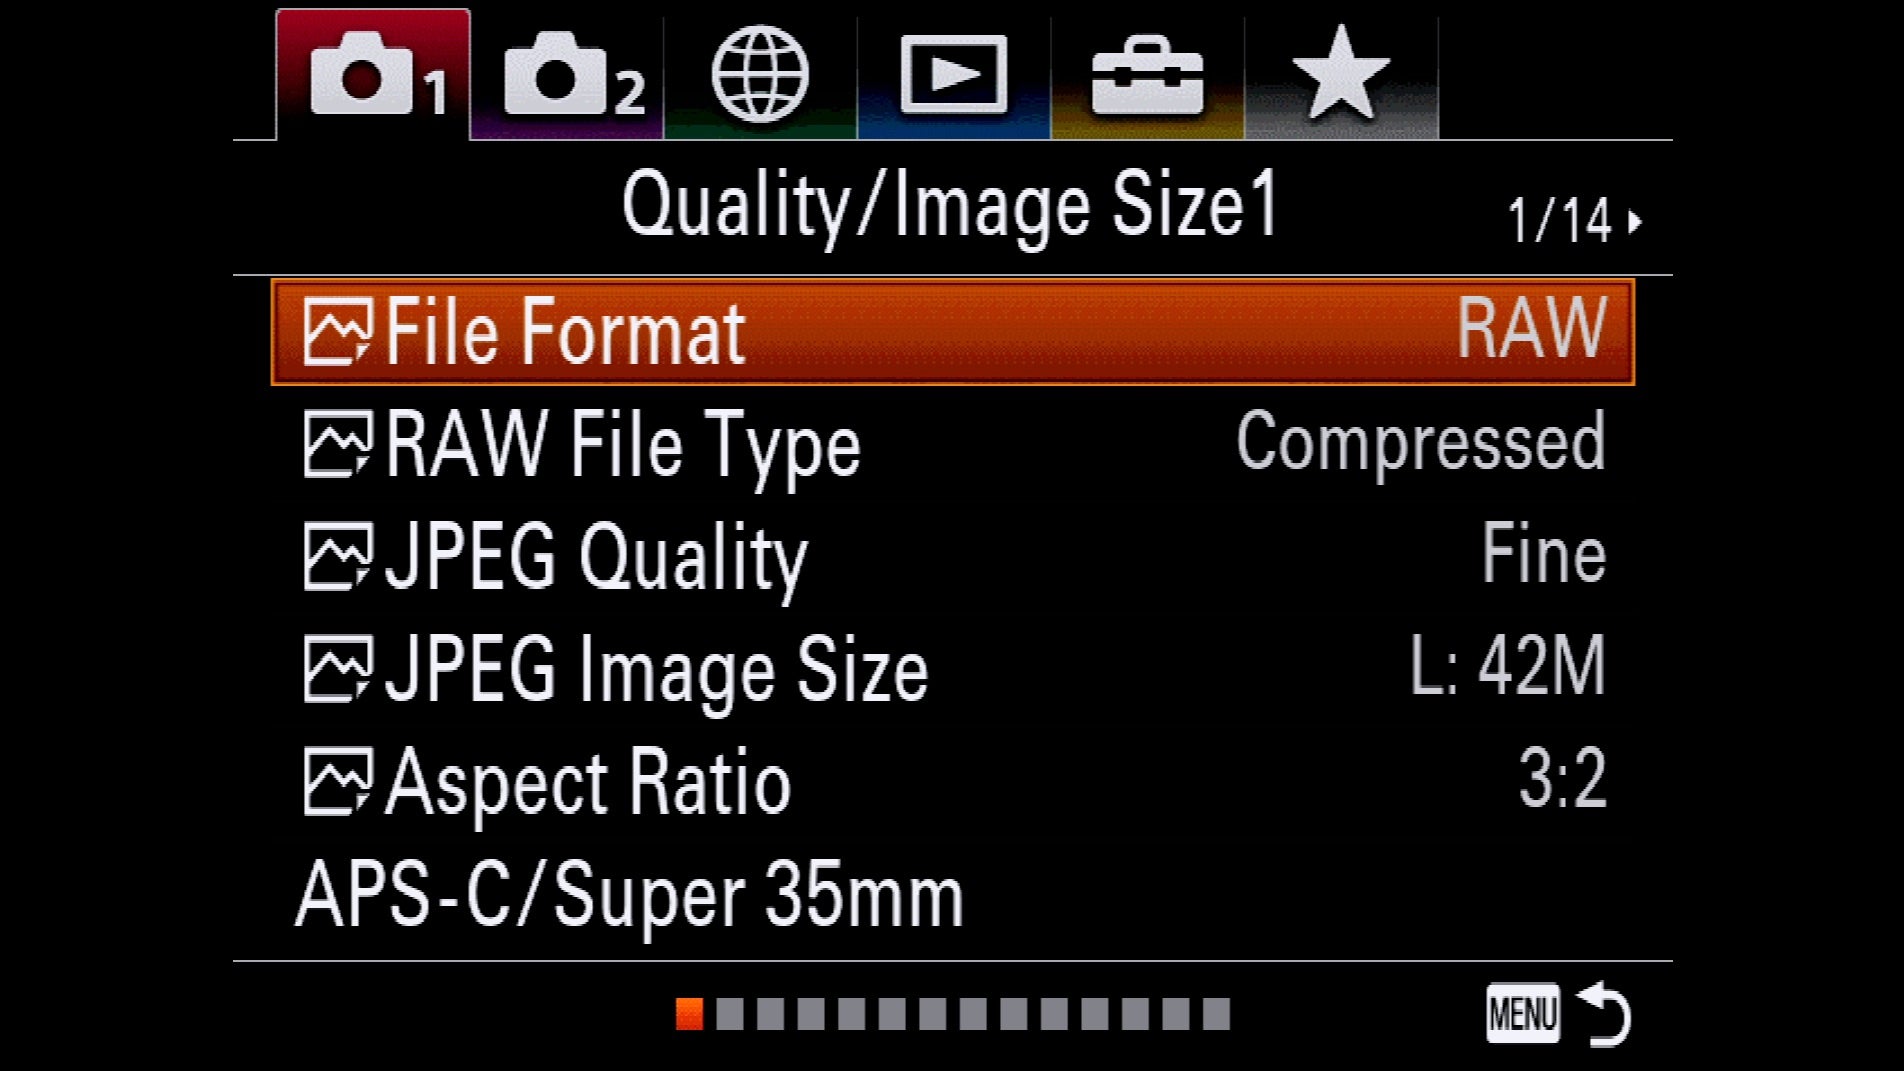
The best timelapses feature camera movement within a scene and while many pros use elaborate motorized support systems to move the camera between frames, you can simulate the powerful effect with your camera locked down on a tripod if you’re shooting at high resolution. 4K video is 3840 x 2160 (or 4096 x 2160) pixels. The α7R III shooting at full resolution creates images that are 7952 x 5304. That resolution lets you simulate complex camera movements and zooms in post without having to use a separate motion rig. Also, by shooting in RAW you give yourself the ability to adjust white balance and some exposure latitude in post. Because shooting a long timelapse sequence at full resolution in RAW takes up a lot of memory, be sure to use a high-capacity, fast card (we suggest Sony TOUGH SD cards) and make use of the second card slot for more shooting capacity.
9. Drag Your Shutter
To keep a smooth timelapse, some blur in the individual frames is helpful. Where a single image might look overly blurry, within the sequence it looks perfect. Slowing your shutter speed, also known as dragging the shutter, does the trick. A good rule of thumb to start with is to set your shutter speed to ½ the interval. If you’re shooting a 5-second interval, that would mean a 2.5-second shutter speed. That rule of thumb breaks down at longer intervals because you’d end up with extremely blurry frames and you’d need heavy ND filters to avoid blowing out the exposure. That said, it’s still a useful starting point.
10. Use Imaging Edge
Once you’ve shot a sequence, there are a lot of ways to work with the images in post. In the new Imaging Edge software software suite, the Viewer gives you a super-fast, solution.
Imaging Edge is free and you can download it here.

