In this article we connect with Sony Artisan Gary Hart for some of his camera setup tips when photographing astroscapes.
Many photographers create beautiful images of the Milky Way by compositing multiple scenes together, but when Sony Artisan Gary Hart is shooting astrophotography, he says he prefers to be a little more old school. “I like to capture just what my camera sensor captured with a single shutter click,” he says. He does still of course process those images, something he thinks is essential for night photography, but he likes to have his camera set to get all the information he needs in a single exposure, rather than through multiple image stacking. Hart's camera setup for astrophotography shares many of the same settings as his landscape photography, and he shares some extra tips for capturing the stars in the night sky.
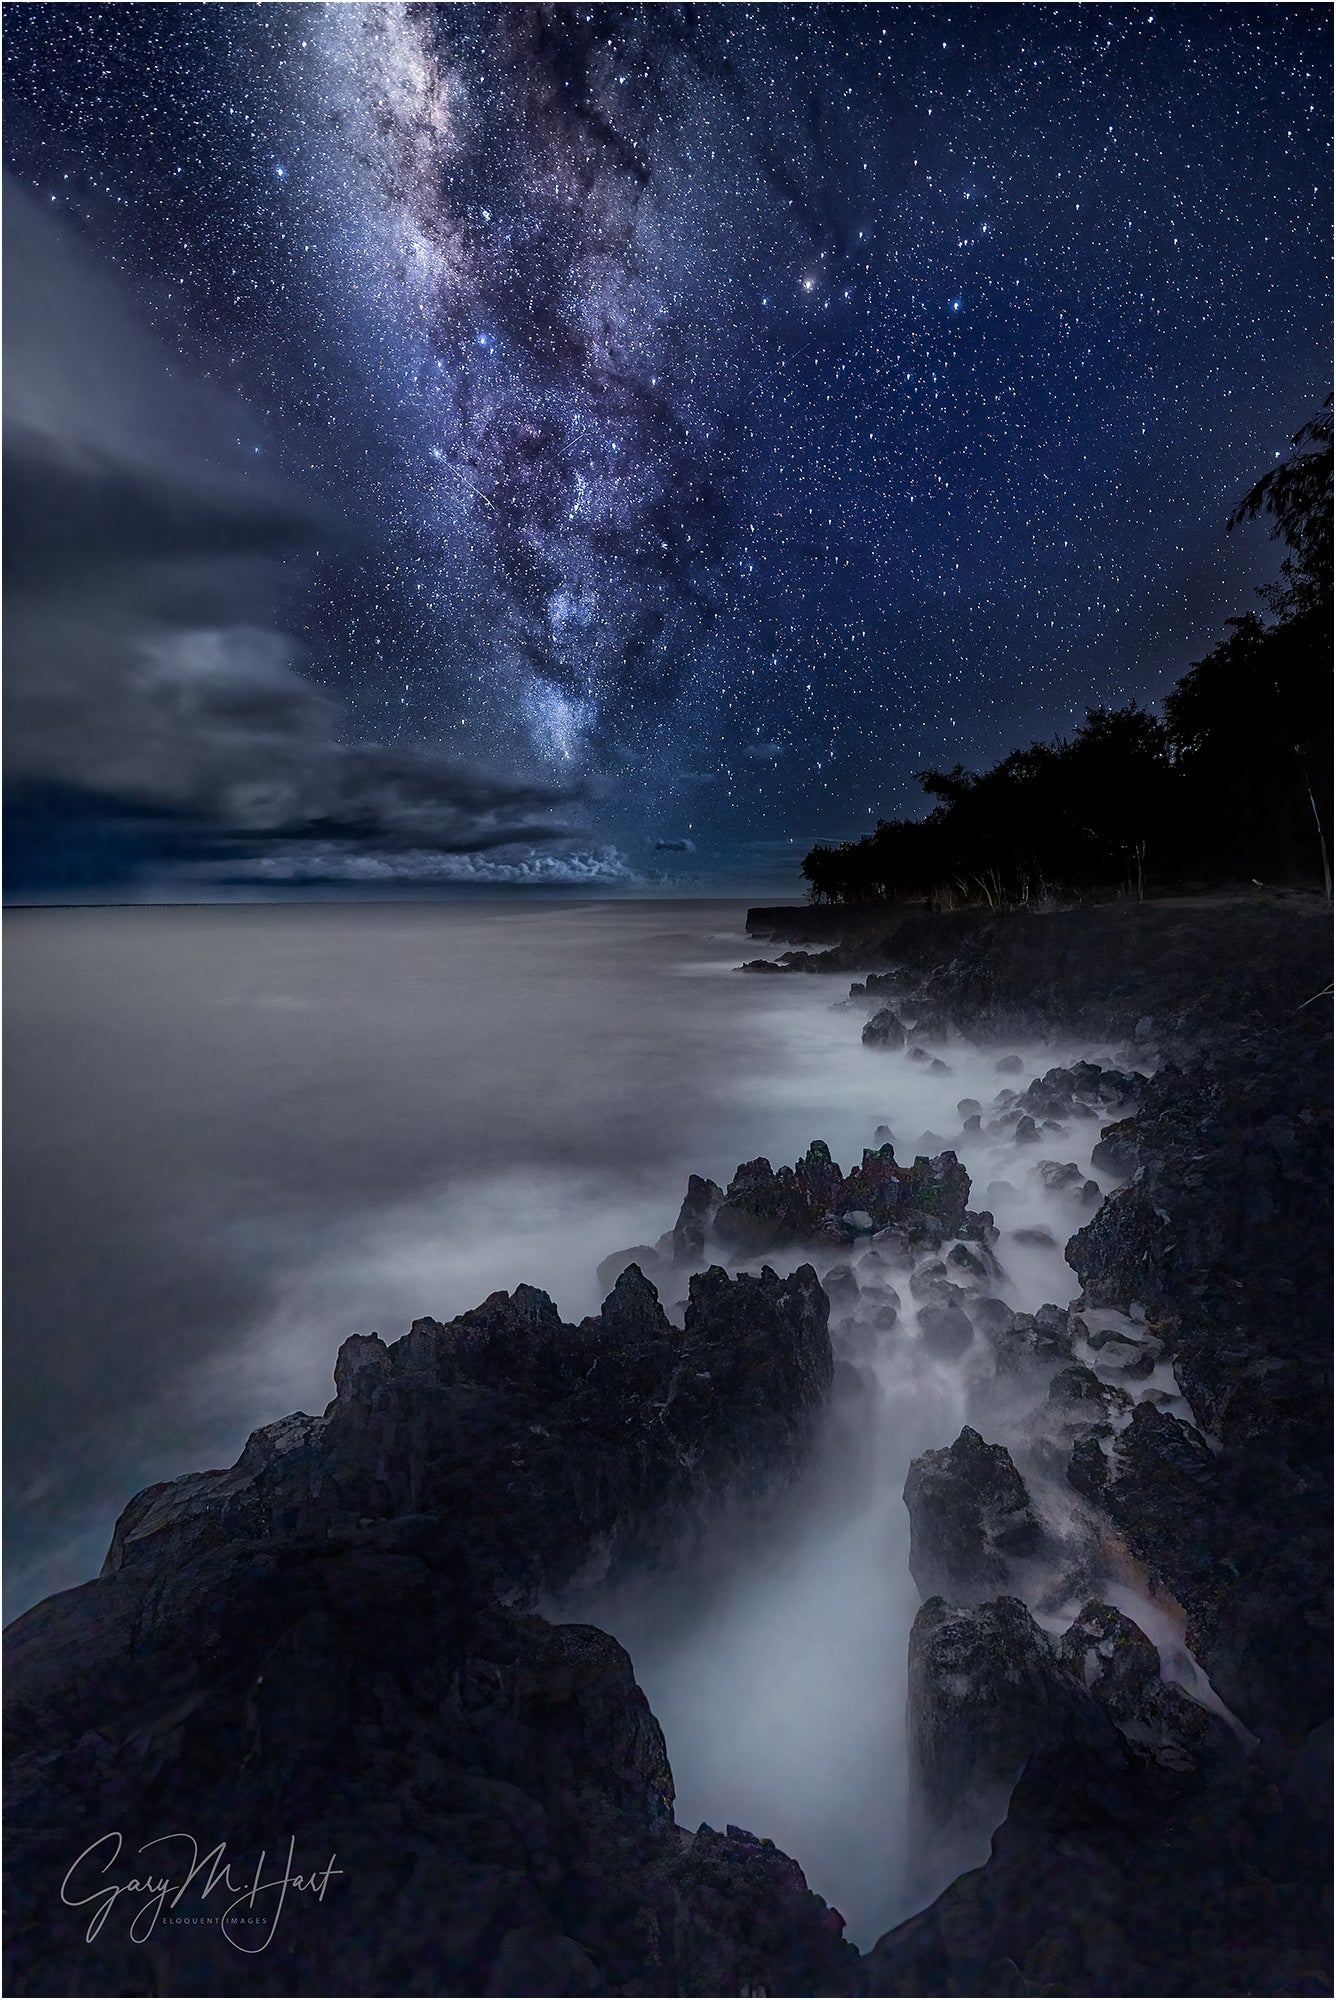
Photo by Gary Hart. Sony Alpha 7S III. Sony 14mm f/1.8 G Master. 20-secs., f/1.8, ISO 6400
Sony Artisan and pro landscape and astrophotographer Gary Hart explains how he sets up his camera for single-exposure astrophotography.
Use A Tripod Without A Center Post
Hart first explains that you have to stabilize your camera on a tripod, and to ditch the center post if your tripod has one. “I would suggest to people that they don't use the center post in their tripod,” he says. “My tripod doesn't have a center post, but a lot of people do. I think anybody using the center post has to be a lot more careful about any kind of vibration.”
Maximize The Light
Before Hart shares the typical settings he uses for astrophotography, he explains why he uses them and why he chooses to shoot with the Sony Alpha 7S III at night. “Every single thing I do when I shoot astrophotography is about maximizing the amount of light,” Hart explains. “And astrophotography is really about compromise and how much compromise you can accept, because you're going to be choosing an ISO that's higher than ideal, an F-stop that's wider than ideal and a shutter speed that's longer than ideal, all to get in enough light. So the settings I use are to get the most amount of light possible without compromising my image beyond the point of no return. That's one of the reasons I use the Alpha 7S III, because it's just a monster at night.”
Set Your ISO
As Hart suggests, with astrophotography settings, it’s all about compromise to get the most amount of light possible to your sensor. “In a perfect world, I’d take every image at ISO 100 and f/8—the best ISO and f-stop for my camera and lens. But that’s not possible when photographing in near total darkness—a usable Milky Way image requires exposure compromises,” he explains.
For astrophotography, Hart typically has his ISO set between 6400 to 12800 to get usable images. “Raising ISO to increase light sensitivity comes with a corresponding increase in noise that muddies detail. The noise at any particular ISO varies greatly with the camera, so it’s essential to know your camera’s low-light capability. Some of the noise can be cleaned up with noise reduction software (I use Topaz DeNoise 6). The amount that cleans up will depend on the noise reduction software you use, your skill using that software, and where the noise is.”
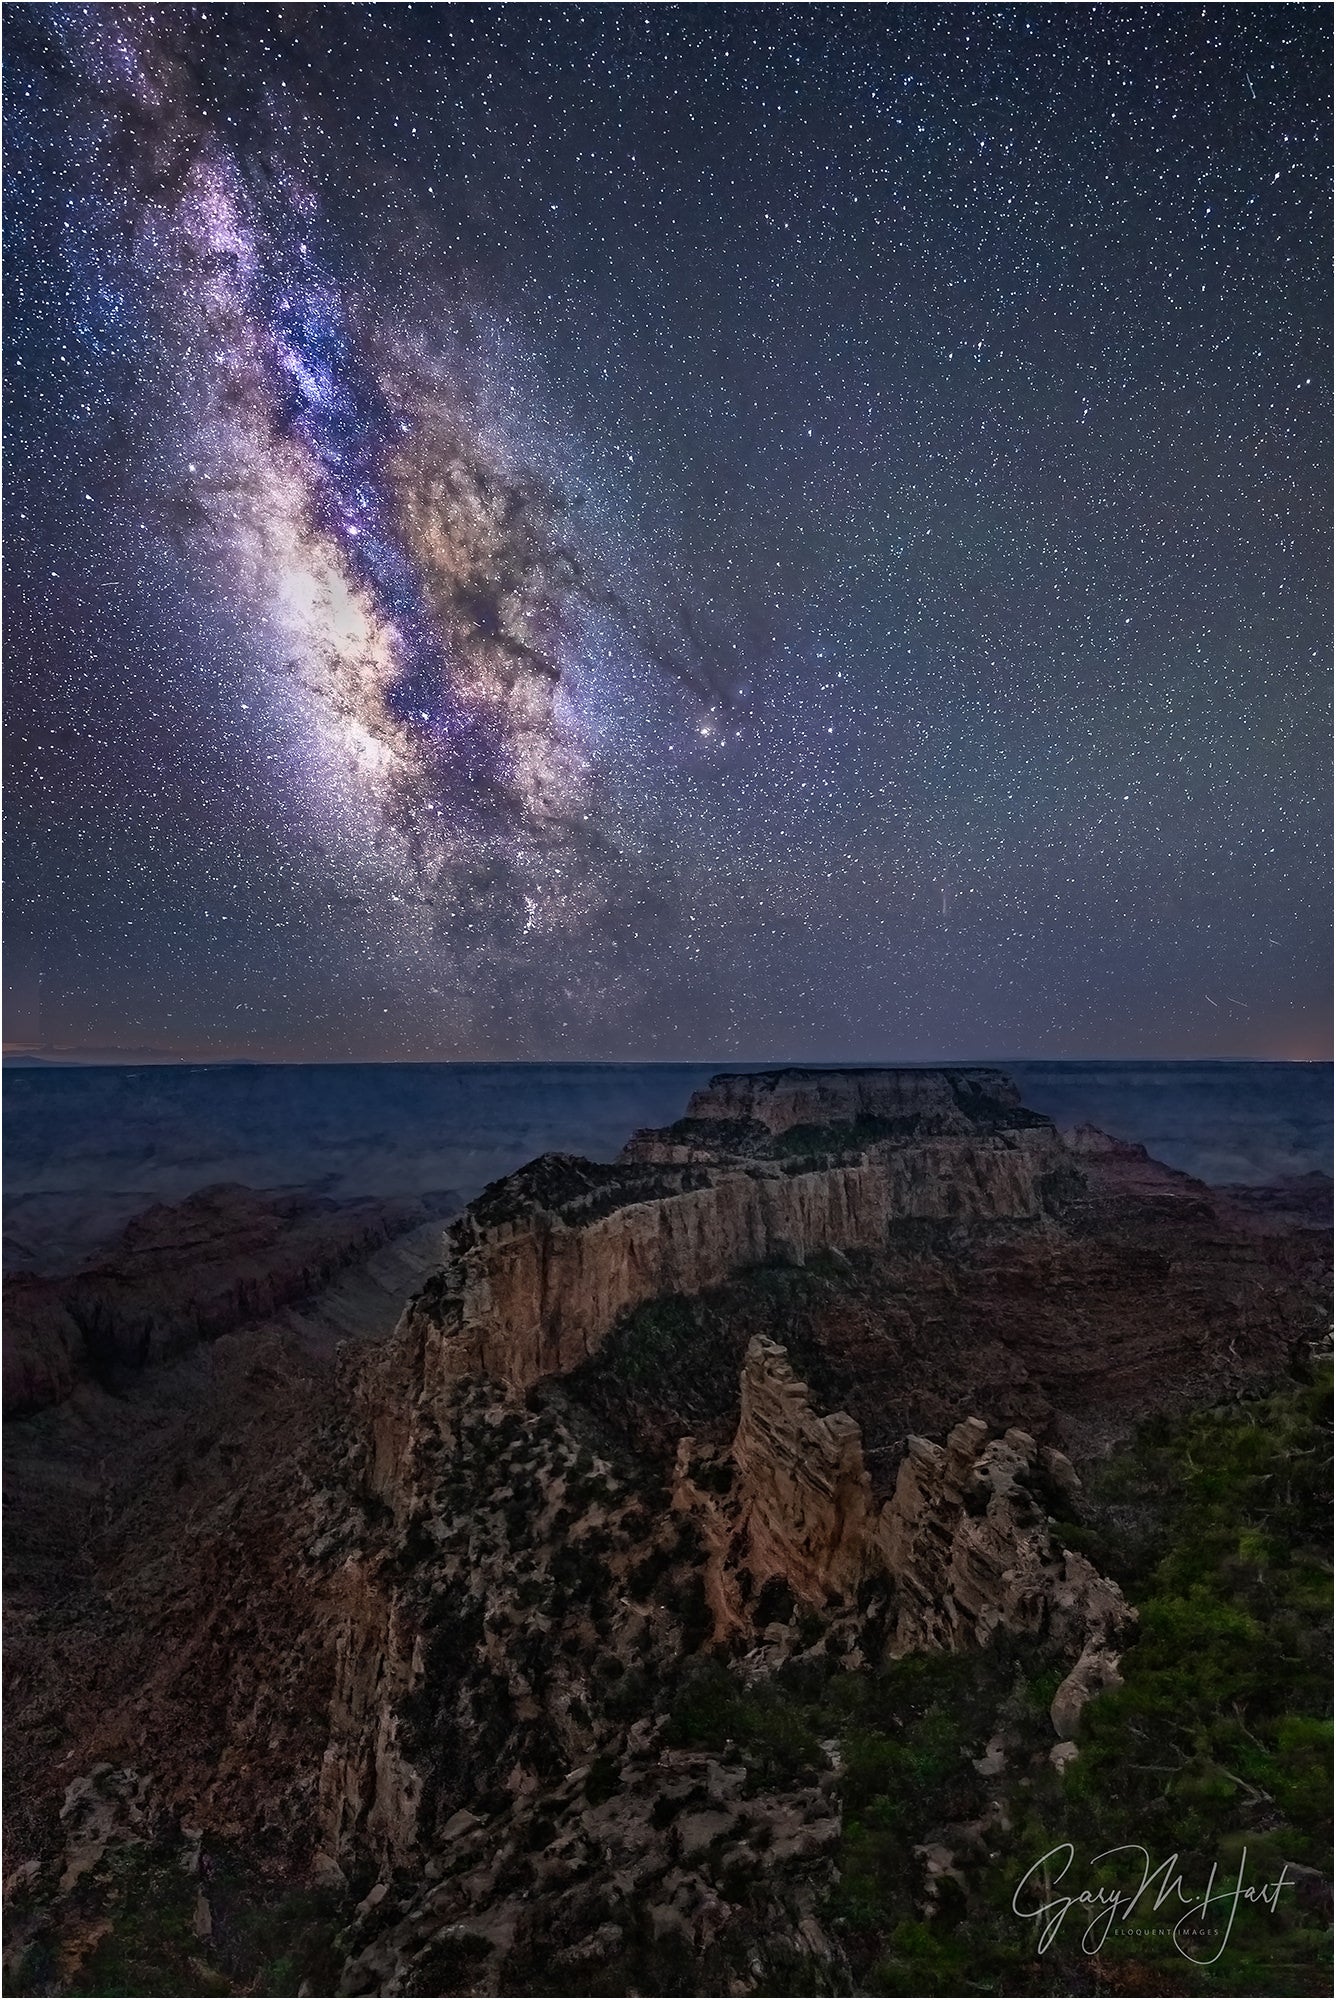
Photo by Gary Hart. Sony Alpha 7S III. Sony 14mm f/1.8 G Master. 30-secs., f/2.8, ISO 6400
Choose A Shutter Speed
When Hart chooses his shutter speed for an astro image, he says to avoid motion blur he goes with a 20- or 30-second exposure. “The longer the shutter stays open, the more motion blur spreads the stars’ distinct pinpoints into streaks. I’m not a big fan of formulas that dictate star photography shutter speeds because I find them arbitrary and inflexible, and they fail to account for the fact that the amount of apparent stellar motion varies with the direction you’re composing. My general shutter-speed rule of thumb is 30-seconds or less, preferably less – I won’t exceed 30 seconds, and do everything I can to get enough light with a faster shutter speed.”
Go Wide With Your Aperture
“At their widest apertures, lenses tend to lose sharpness, especially on the edges, and display optical flaws like comatic aberration that distorts points of light (like stars) into comet-shaped blurs. For many lenses, stopping down even one stop from wide open significantly improves image quality.” For this reason Hart says he avoids some of the faster lenses when shooting astrophotography. “If I have to stop down one-third or two-thirds, it defeats the purpose of the fast lens. Whereas if I shoot wide open with a lens like the Sony 14mm f/1.4 G Master, it’s fine. I’m not compromising that much.”
Use Bright Monitoring
Just as he does with his landscape photography, Hart makes sure he sets one of his custom buttons for Bright Monitoring so he’s easily able to change it. This setting doesn’t brighten the screen, it brightens the exposure in the viewfinder/LCD but not in the resulting image, making it easier to compose and focus. “That's a huge thing for night photography, is just being able to hit that trash can button. I know exactly where it is, I can do it in the dark, and things get brighter, a lot brighter. It helps, especially with composition.”
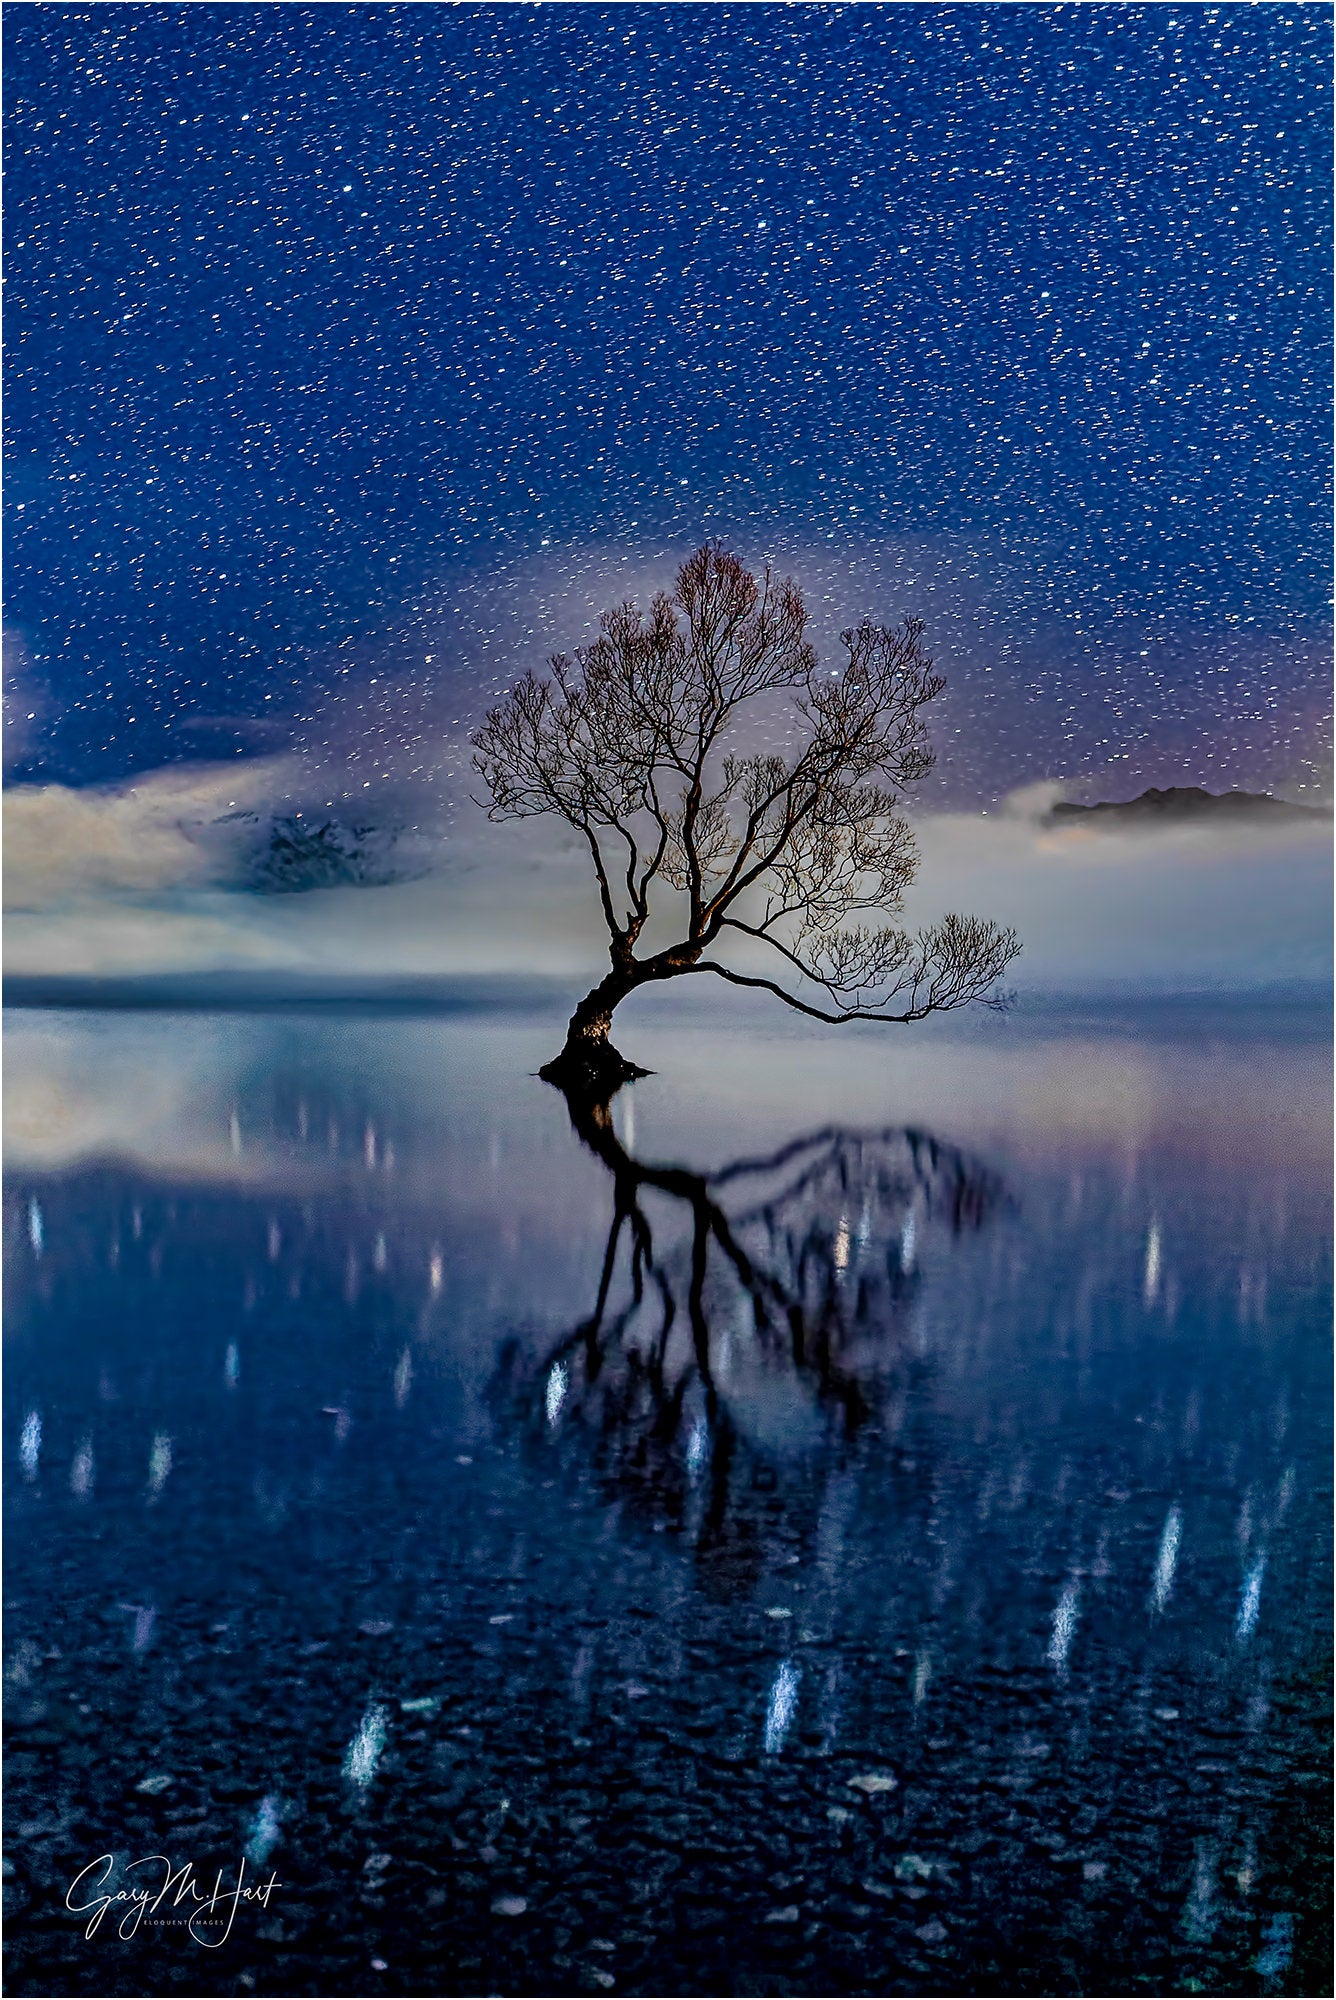
Photo by Gary Hart. Sony Alpha 7S II. Sony 16-35mm f/2.8 G Master. 30-secs., f/2.8, ISO 6400
Hart sets Bright Monitoring in the same spot on his camera for landscape photography, and he does this with all of his Custom buttons so he doesn’t have to hunt for them. “I think it's really important to be able to use your camera in the dark, and so I want everything to be in pretty much the same place. I don't really have that many special settings for night photography.”
(See more about how to set up Bright Monitoring HERE)
Re-assign Focus Assist
Before he starts to frame his composition, Hart makes sure he turns off Focus Assist on his camera. “When you're in manual focus mode, your Sony camera will do the Focus Assist, which means as soon as you hit that focus ring, it magnifies the frame so you can focus in,” he explains. “Personally, I find this distracting, so I’ve actually turned off Focus Assist. Instead, I’ve set the button in the center of the wheel on the back of the camera to do that same magnification. I want to be able to use Focus Assist, I just don’t want it to just magnify every time I hit the focus ring, I want to control when it magnifies. So all my cameras are set up on that center button with magnification. It's just easy and I can just press it with my thumb.”
Find & Verify Focus
When Hart is trying to get his stars in focus, sometimes he’ll use focus-peaking depending on the stars in his frame. “If there’s a big bright star, I’ll put my eye to the viewfinder, find the star, put the magnification square around it and magnify it,” he explains. “If I'm focus peaking, I'm usually not looking at an individual star. I'd say the time that I use it would be if rather than a single relatively bright star, I've got several really faint stars in my frame. And then I'll turn on the focus peaking to red, and dial on my focus ring until I see the most little red dots.”
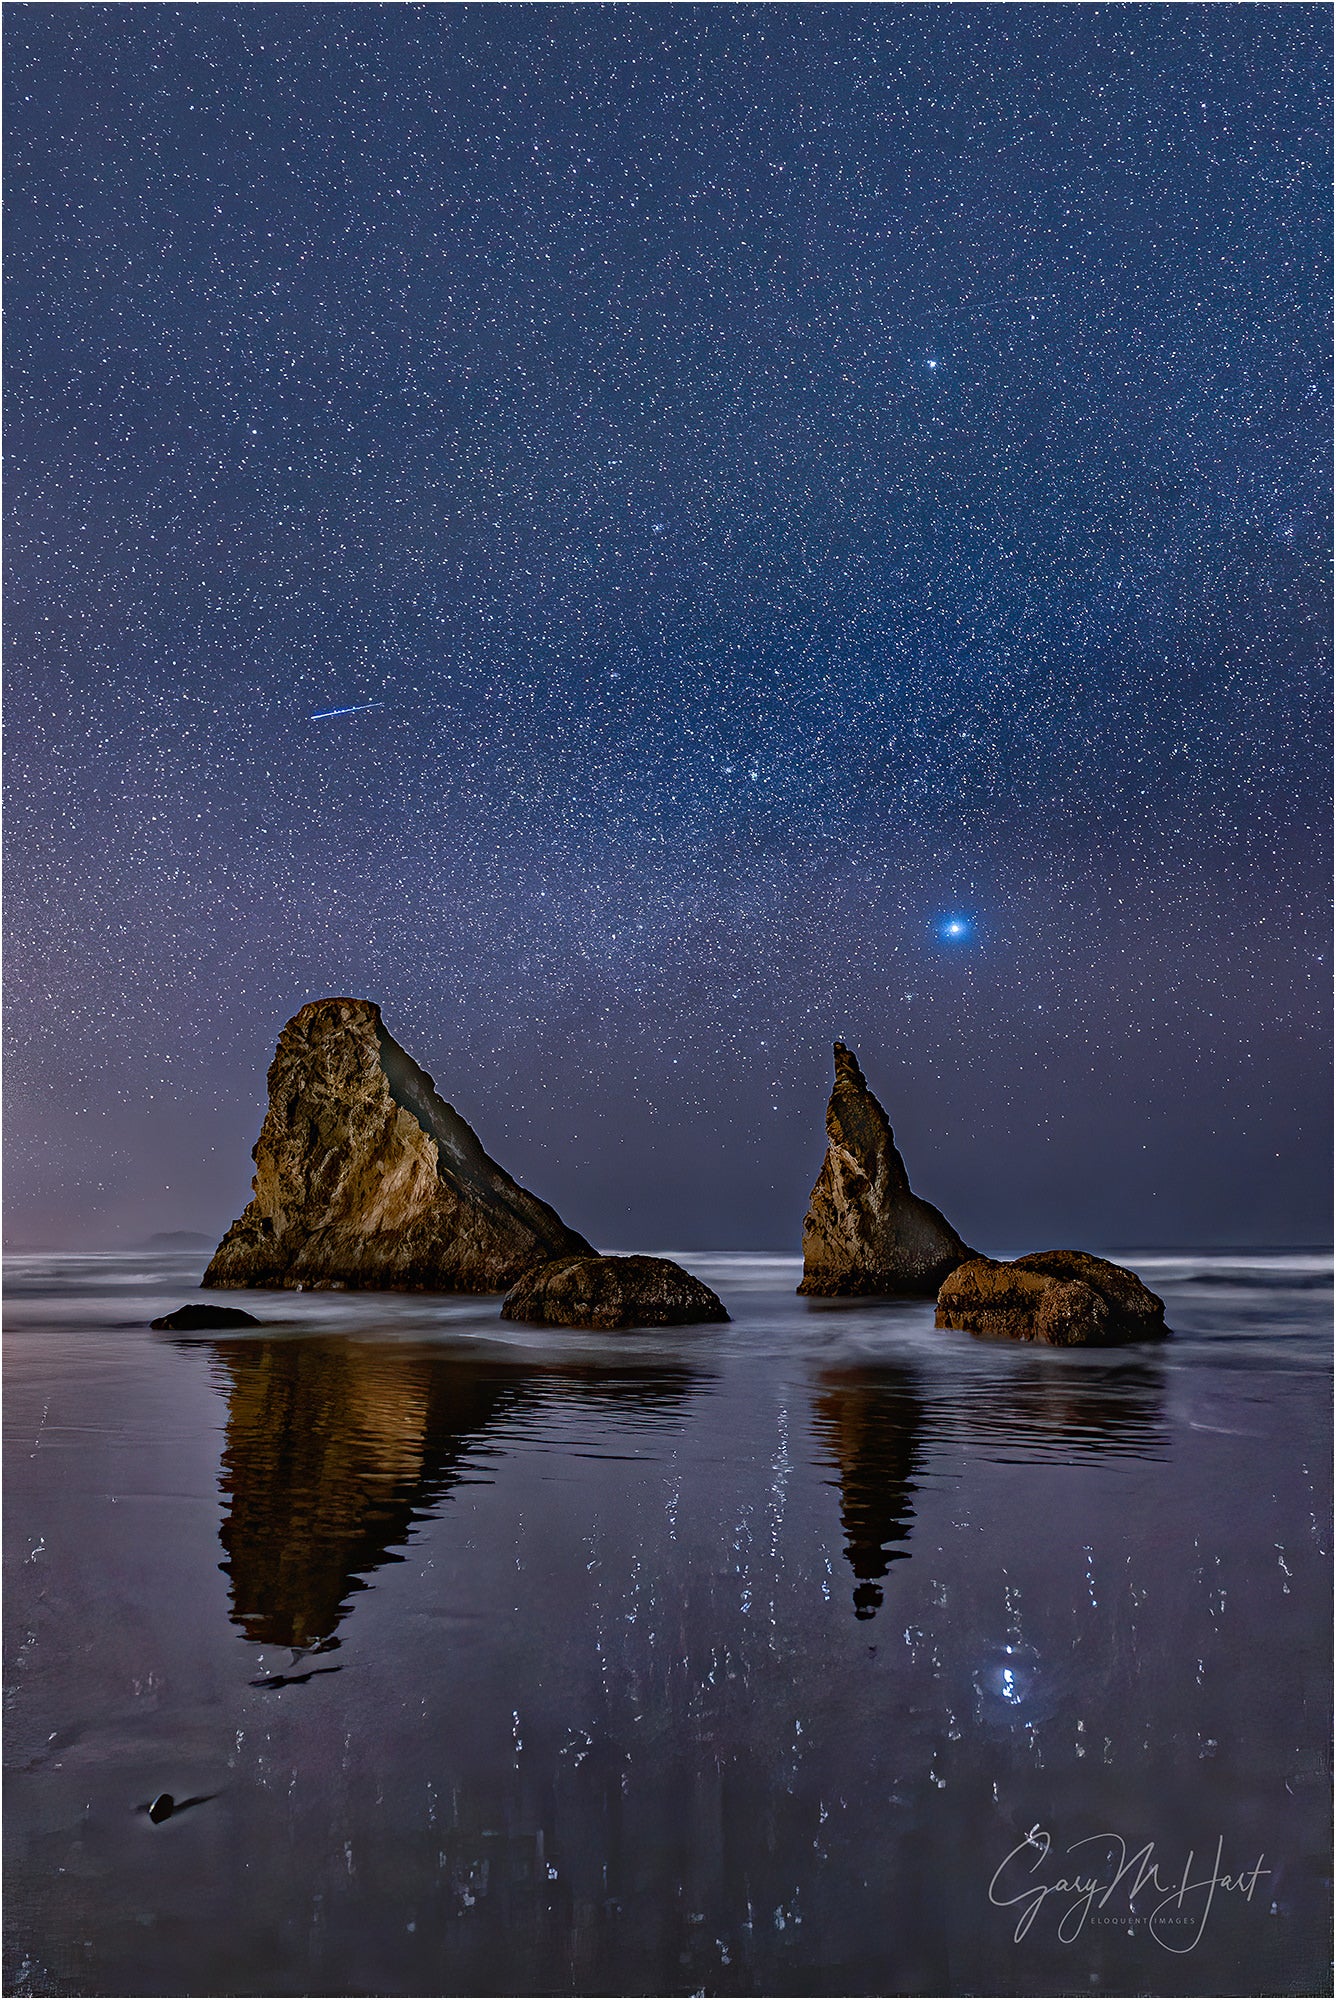
Photo by Gary Hart. Sony Alpha 7S II. Sony 20mm f/1.8 G. 10-secs., f/1.8, ISO 12800
Another very important part of focusing in Hart’s astrophotography is verifying the focus. “After I capture a frame, I magnify it on my viewfinder. I bring it up in review, display it, and then I magnify it,” he explains. “And when I’m checking focus I don’t usually look to the stars. Instead, I look for an edge that’s an interface between the sky and whatever is in my foreground to see if that's sharp.”
Use A Timer Or Remote To Eliminate Vibration
Hart recommends using a remote or two-second timer to eliminate the vibration from pressing your finger on the shutter, but admits that sometimes he turns the timer off and just very carefully presses the shutter. “You have to give it a gentle press, don’t stab at the shutter button,” he says. “But because the shutter speeds are so long, any vibration that I put in that camera lens tripod system is going to be just a tiny fraction of the entire exposure, and so it's never been a problem. Just do what’s right for you.”
See more of Gary Hart's work on his Alpha Universe Profile and on Instagram @garyhartphoto.

