This article is part of a series on post-production workflow with Capture One. As a Sony camera owner, you get Capture One Express (for Sony) with your purchase. This series of articles will show you how to get more out of the software. Of course, you don’t have to be a Sony shooter to make use of these tips. They’re for anyone who wants to use Capture One.
Copy and applying adjustments from one image to another is fast and simple with Capture One. It’s really just a matter of choosing Adjustments>Copy Adjustments selecting the images to copy to and choosing Adjustments>Apply Adjustments.
However, sometimes you simply want to copy one adjustment from an image to others, but leave every other adjustment untouched.
What’s the fastest way to do that?
Copy and Apply, from a single tool
Every tool in Capture One has a small Up/Down arrow in the title bar, which copies the current values of that tool and applies them to other images.
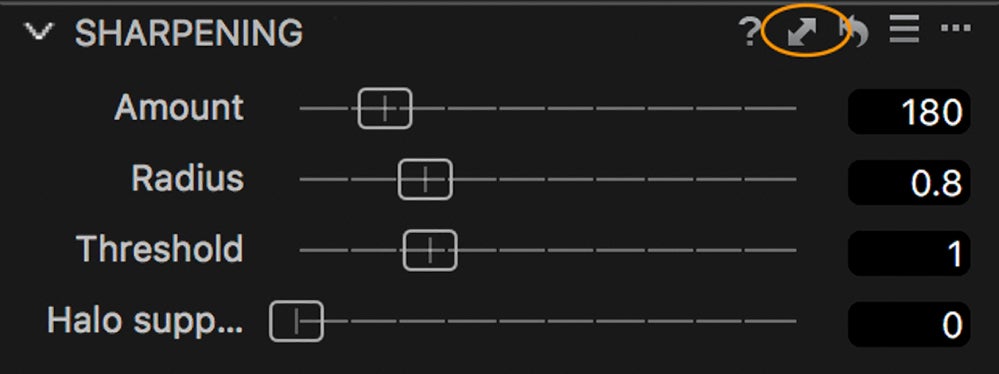
The Copy/Apply icon. It’s a very neat and quick solution, and simpler than copying all the adjustments and then having to deselect the ones you don’t want in the ‘Adjustments Clipboard’ tool.
In this example, lets copy the sharpening values from the Primary variant (the image with the thicker white boarder) to the other selected images.
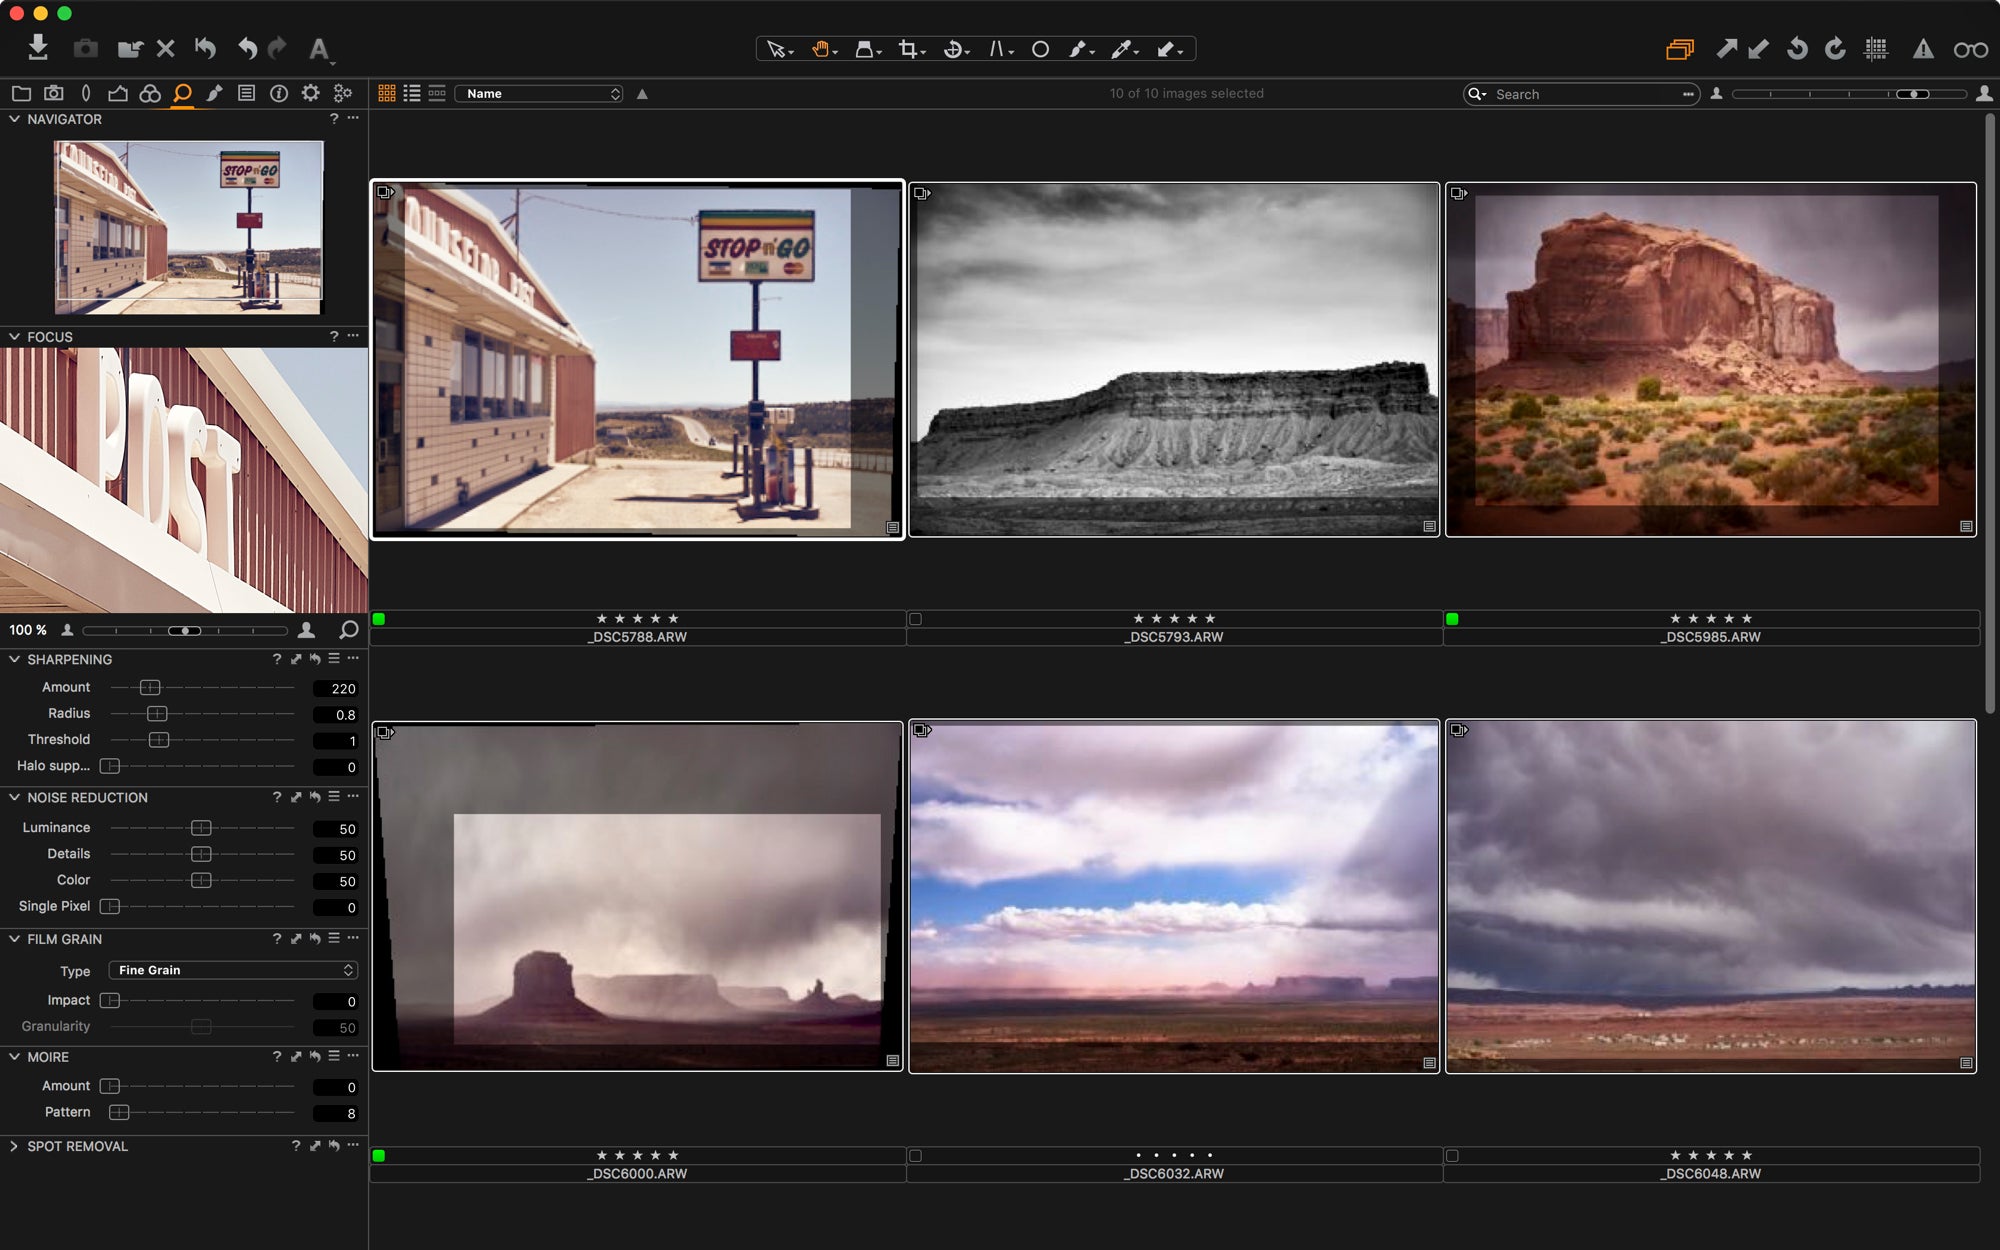
Images selected. First, the Sharpening value is adjusted from the current setting (220) to a new value, 250.
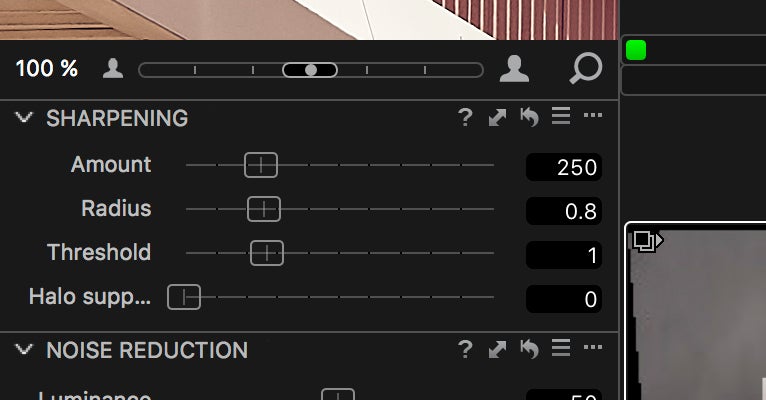
Sharpening value adjusted. Next, click on the Copy / Apply icon to open the Adjustments Clipboard, for that tool.
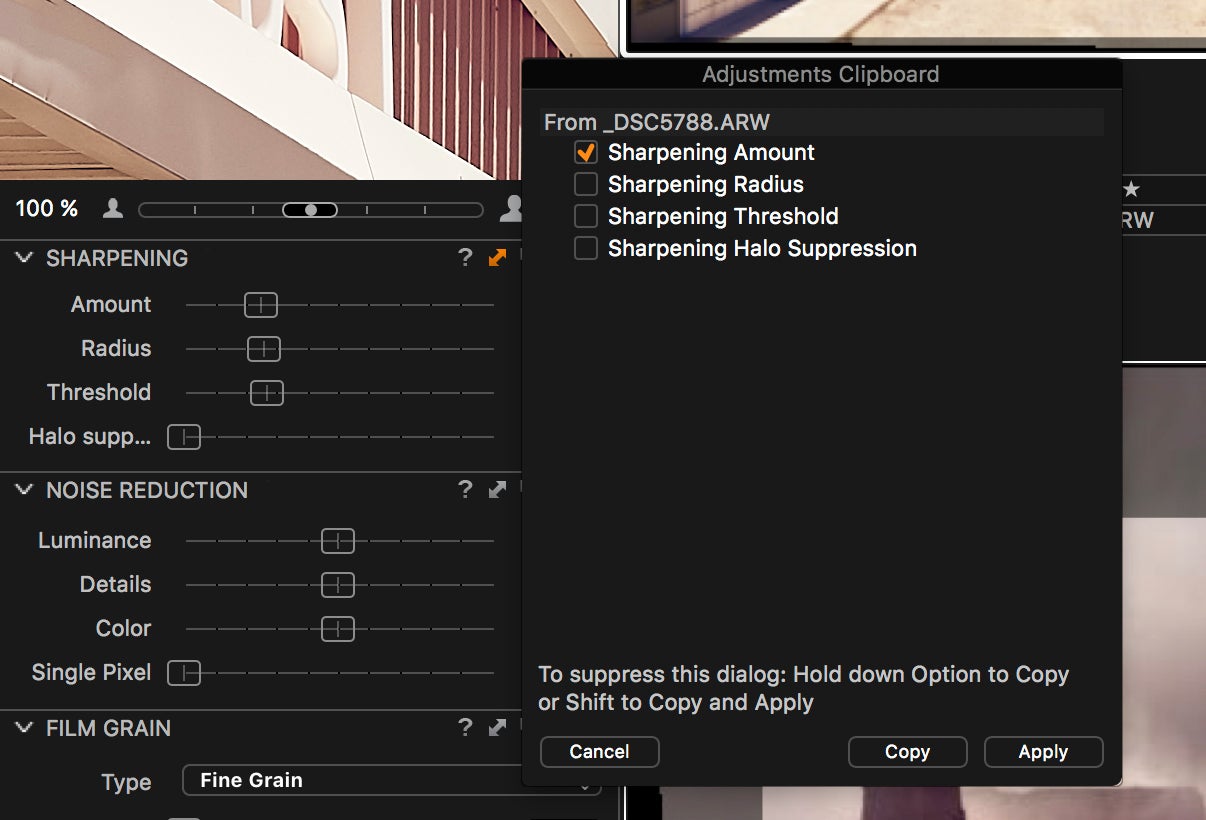
Adjustments Clipboard. Notice that only Sharpening Amount has been checked, as Capture One recognized that this is the only value we changed.
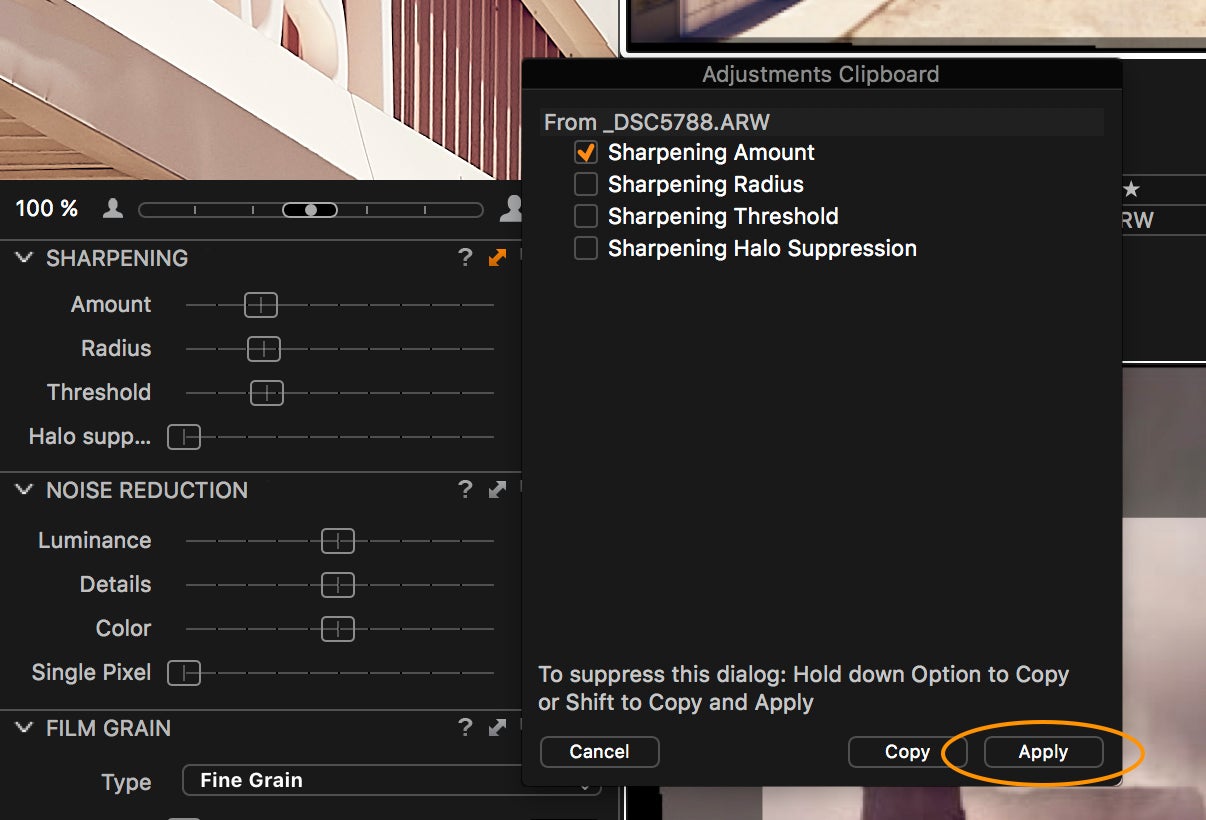
Click Apply, and the same values will be copied across to all other images. No other adjustments on those images will be changed.
This method can be made even quicker, by simply ‘SHIFT-Clicking’ the Copy / Apply icon. The Adjustments Clipboard menu will be supressed and the values applied immediately.
The Adjustments Clipboard menu is only really necessary if you want to override some of the parameters being copied over.
About the author:
David Grover is a Capture One expert based in the UK. In addition to writing a weekly column for Alpha Universe, he runs the Capture One weekly webinar series on Capture One Pro 10 and produces a series of video tutorials on Capture One as well.
If you're just getting satrted with Capture One, check out this tutorial.


