Halloween is the perfect time to have some fun with creative photography, and what better way to celebrate than with a spooky pet portrait session? Recently, we caught up with multi-talented photographer, filmmaker and Sony Artisan Garrette Baird, who transformed a simple pet shoot into a captivating Halloween-themed masterpiece, complete with eerie lighting and atmospheric effects. Here's a behind-the-scenes look at how this haunting photo session came together, offering you inspiration for your own spooky photography projects.
Behind-the-scenes of Garrette Baird's Halloween pet portrait photo shoot
Product Preview – In This Article You’ll Find:
–Sony Alpha 1
–Sony 24mm f/1.4 G Master
A Spark Of Spooky Inspiration
Garrette has a dog photography business with his wife and fellow Sony Artisan Amber Baird. The two are known for capturing the essence of both pups and people with unique and whimsical portraits. The idea for this specific shoot began when Garrette noticed a unique portrait of a creatively colored poodle on social media. The dog's owner, Ashley, is a groomer with a knack for creatively coloring pets. He reached out to offer a professional Halloween portrait session for her and her pup so she could have high-quality images of the dog’s stunning skeleton-like coloring.
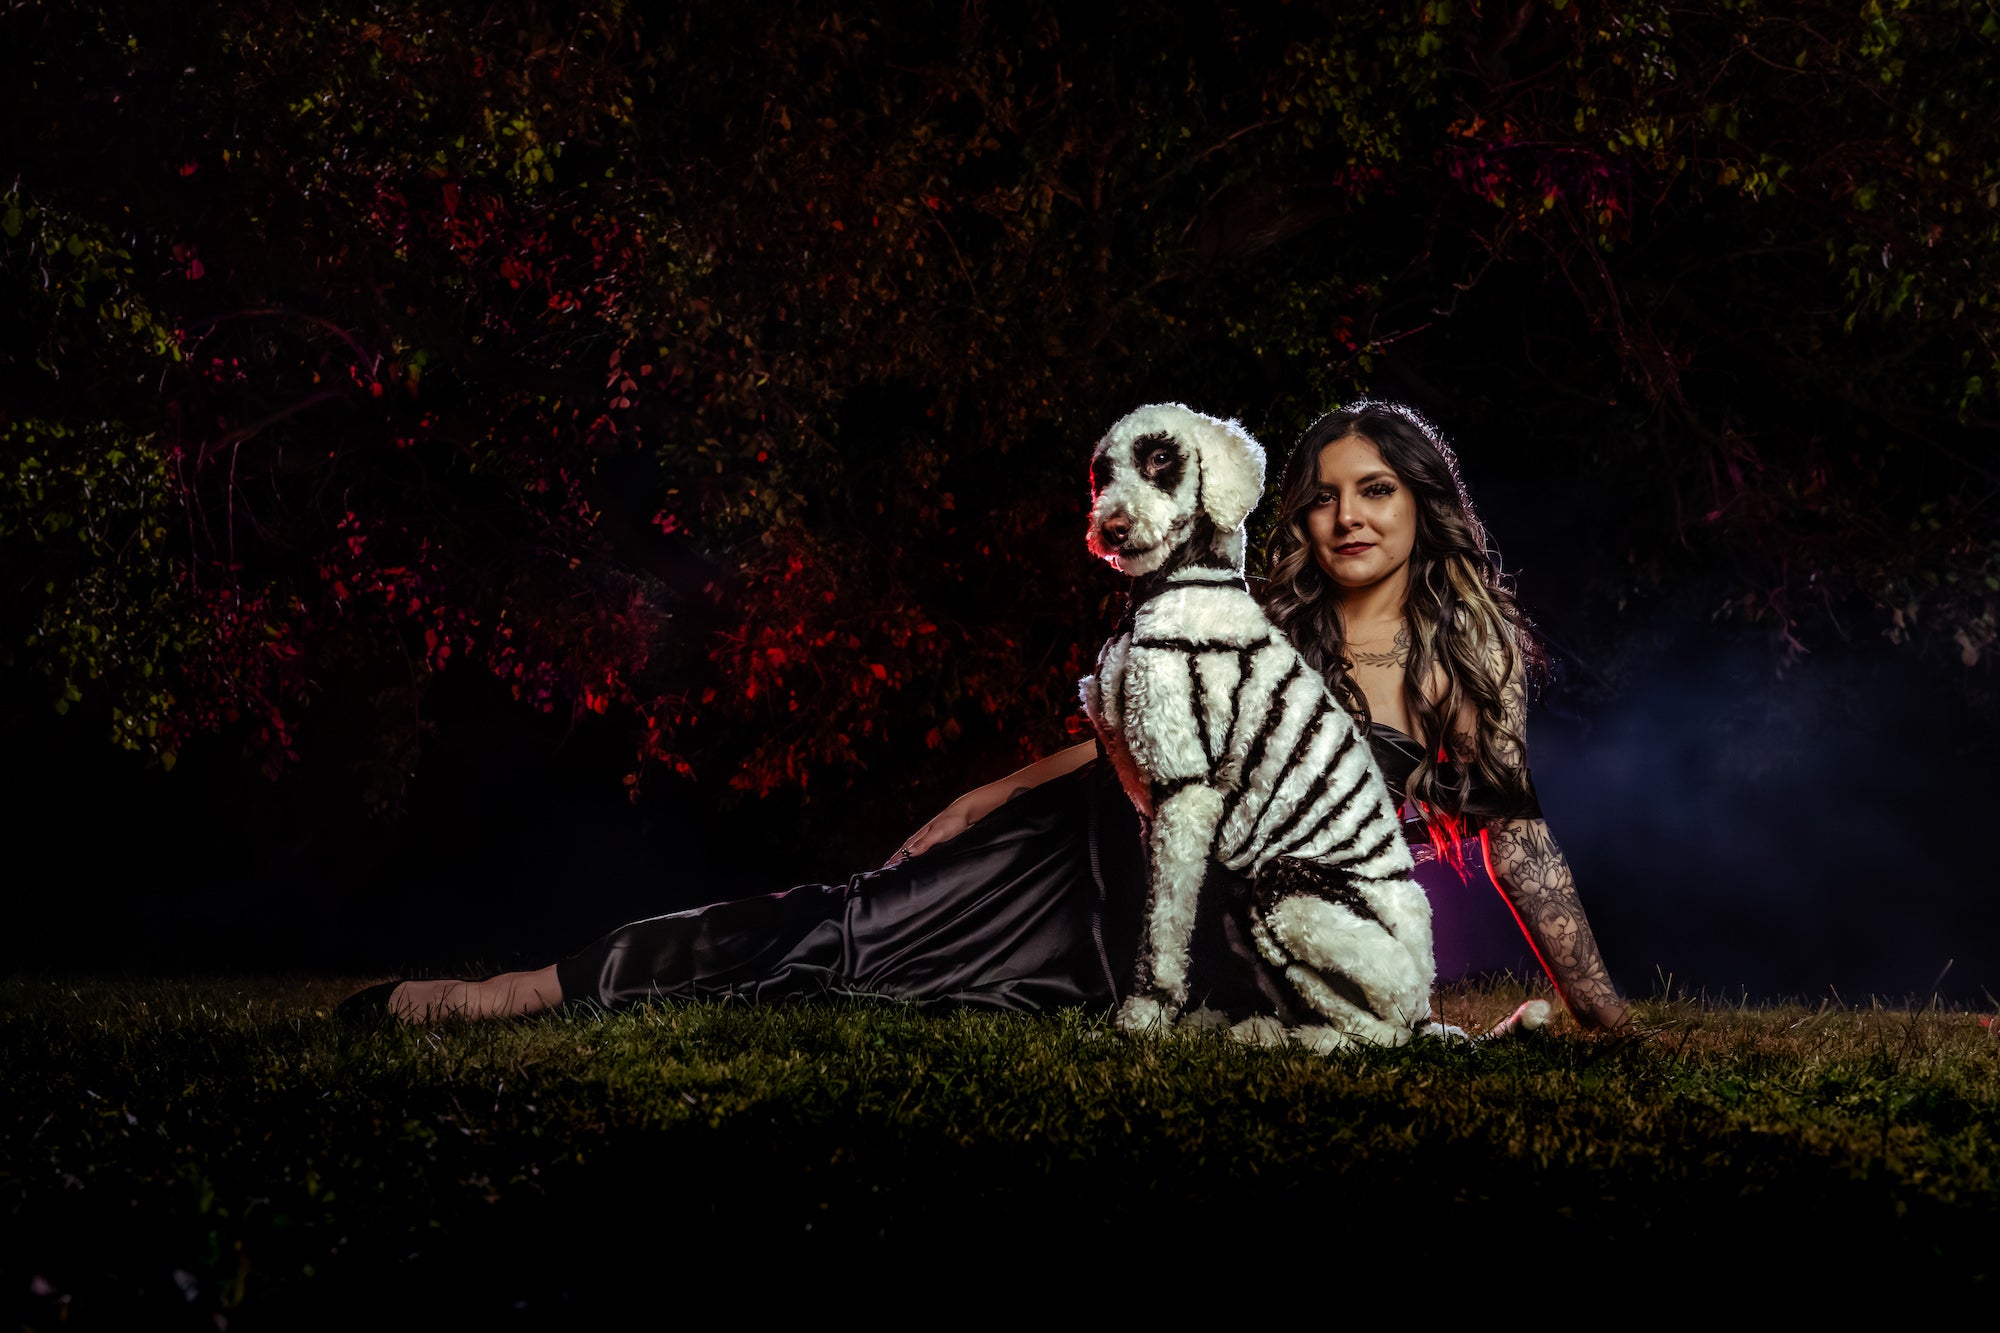
Photo by Garrette Baird. Sony Alpha 1. Sony 24mm f/1.4 G Master. 1/400-sec., f/2.2, ISO 1600
Using Location, Lighting & Effects To Create An Eerie Vibe
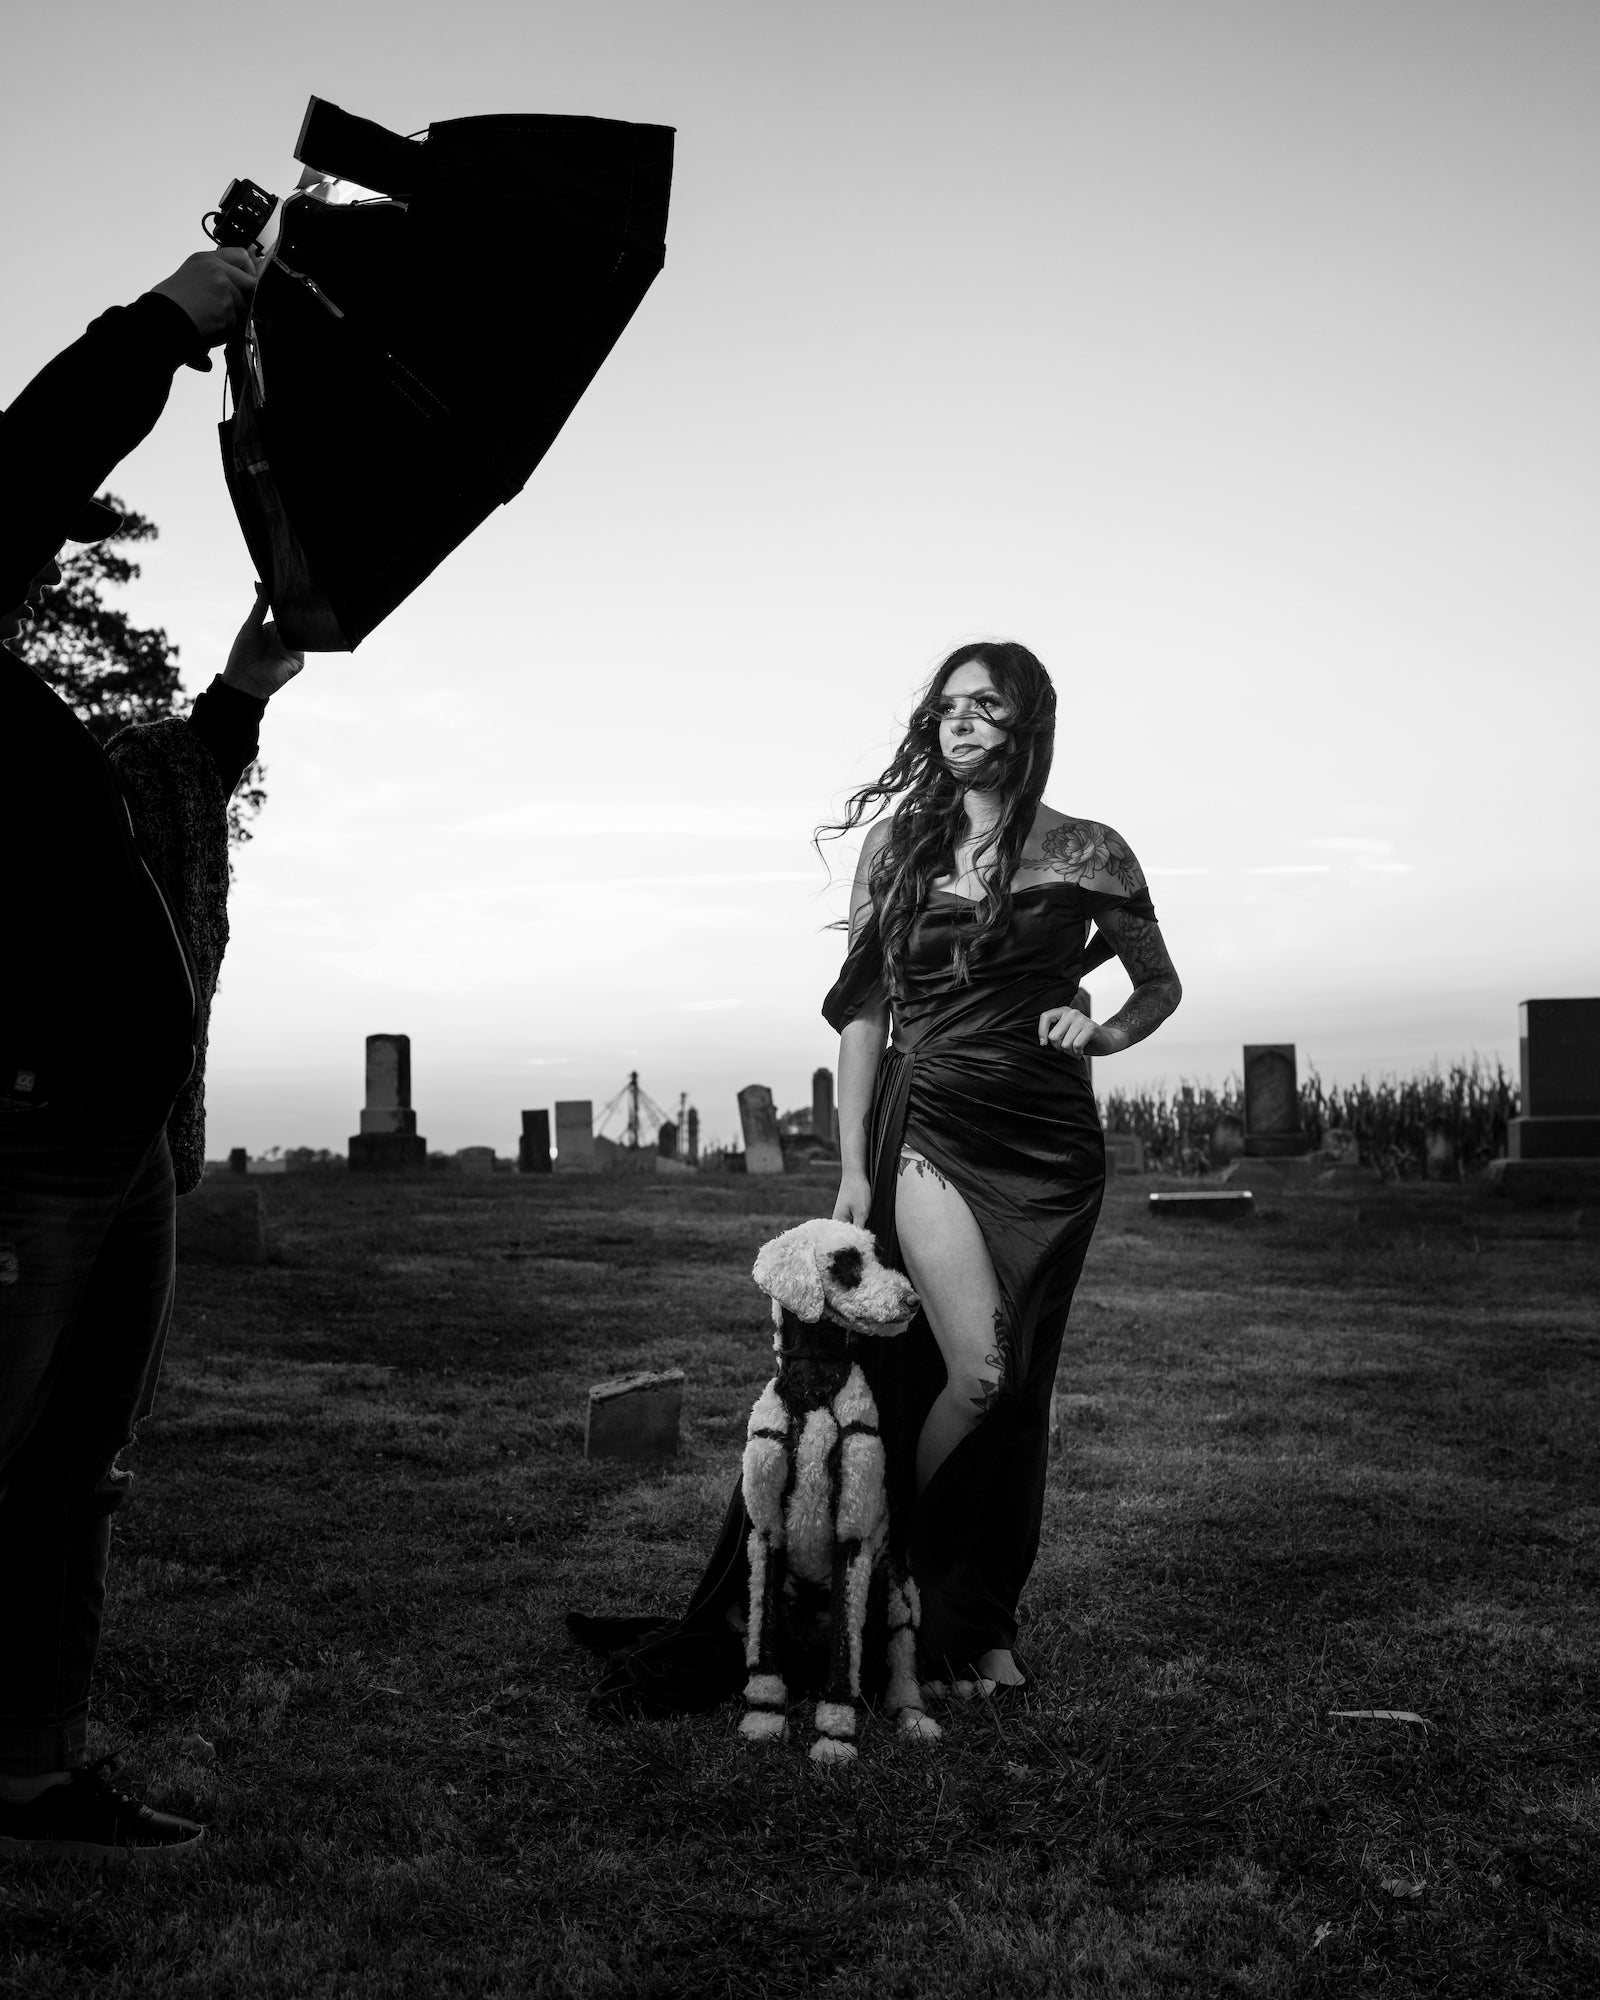
Garrette loves to play with lighting and effects, and there’s really no better time than Halloween to put those skills into play. “We wanted to get that whole spooktacular ambiance since it was for Halloween,” Garrette explains, “so we had the shoot at the edge of a graveyard to create that eerie mood we wanted for the images. I added in the fog with a simple fog machine that you can get at the store. I have other ways of creating fog in photo shoots, but this simple setup worked for this shoot.”
When it comes to lighting, Garrette says he’s been heavily influenced by the television show, What We Do In The Shadows. “If you want to see a brilliant use of different colors and textures and different layers of lighting, that is a great show to watch,” he says. “It’s a comedy series with vampires that basically takes place in an old haunted mansion. All of the decor is very Victorian era and macabre, and they light it all in a very unique way. They use colors like teal, turquoise, bright blue, pinks, reds – a lot of bright neon colors. You wouldn’t think about using lighting in that way, but it’s so unique and adds so much to it.”
Photo by Garrette Baird. Sony Alpha 1. Sony 24mm f/1.4 G Master. 1/160-sec., f/2.8, ISO 800
Using constant lighting on 10-foot poles, Garrette highlighted the background as well as parts of the subject. For the fill light, he used a 3-foot softbox with a grid. In some of the images from the shoot, you’ll also notice a subtle red hue coming from the subject. “I just got these very inexpensive colored Pocket LEDs online to give that little bit of color to the shoot and then I can crank it up a little when I edit in Lightroom and Photoshop. I just think adding lights really enriches the image and enhances the viewer experience.”
Utilizing Shutter Speed To Change Your Fog Effect
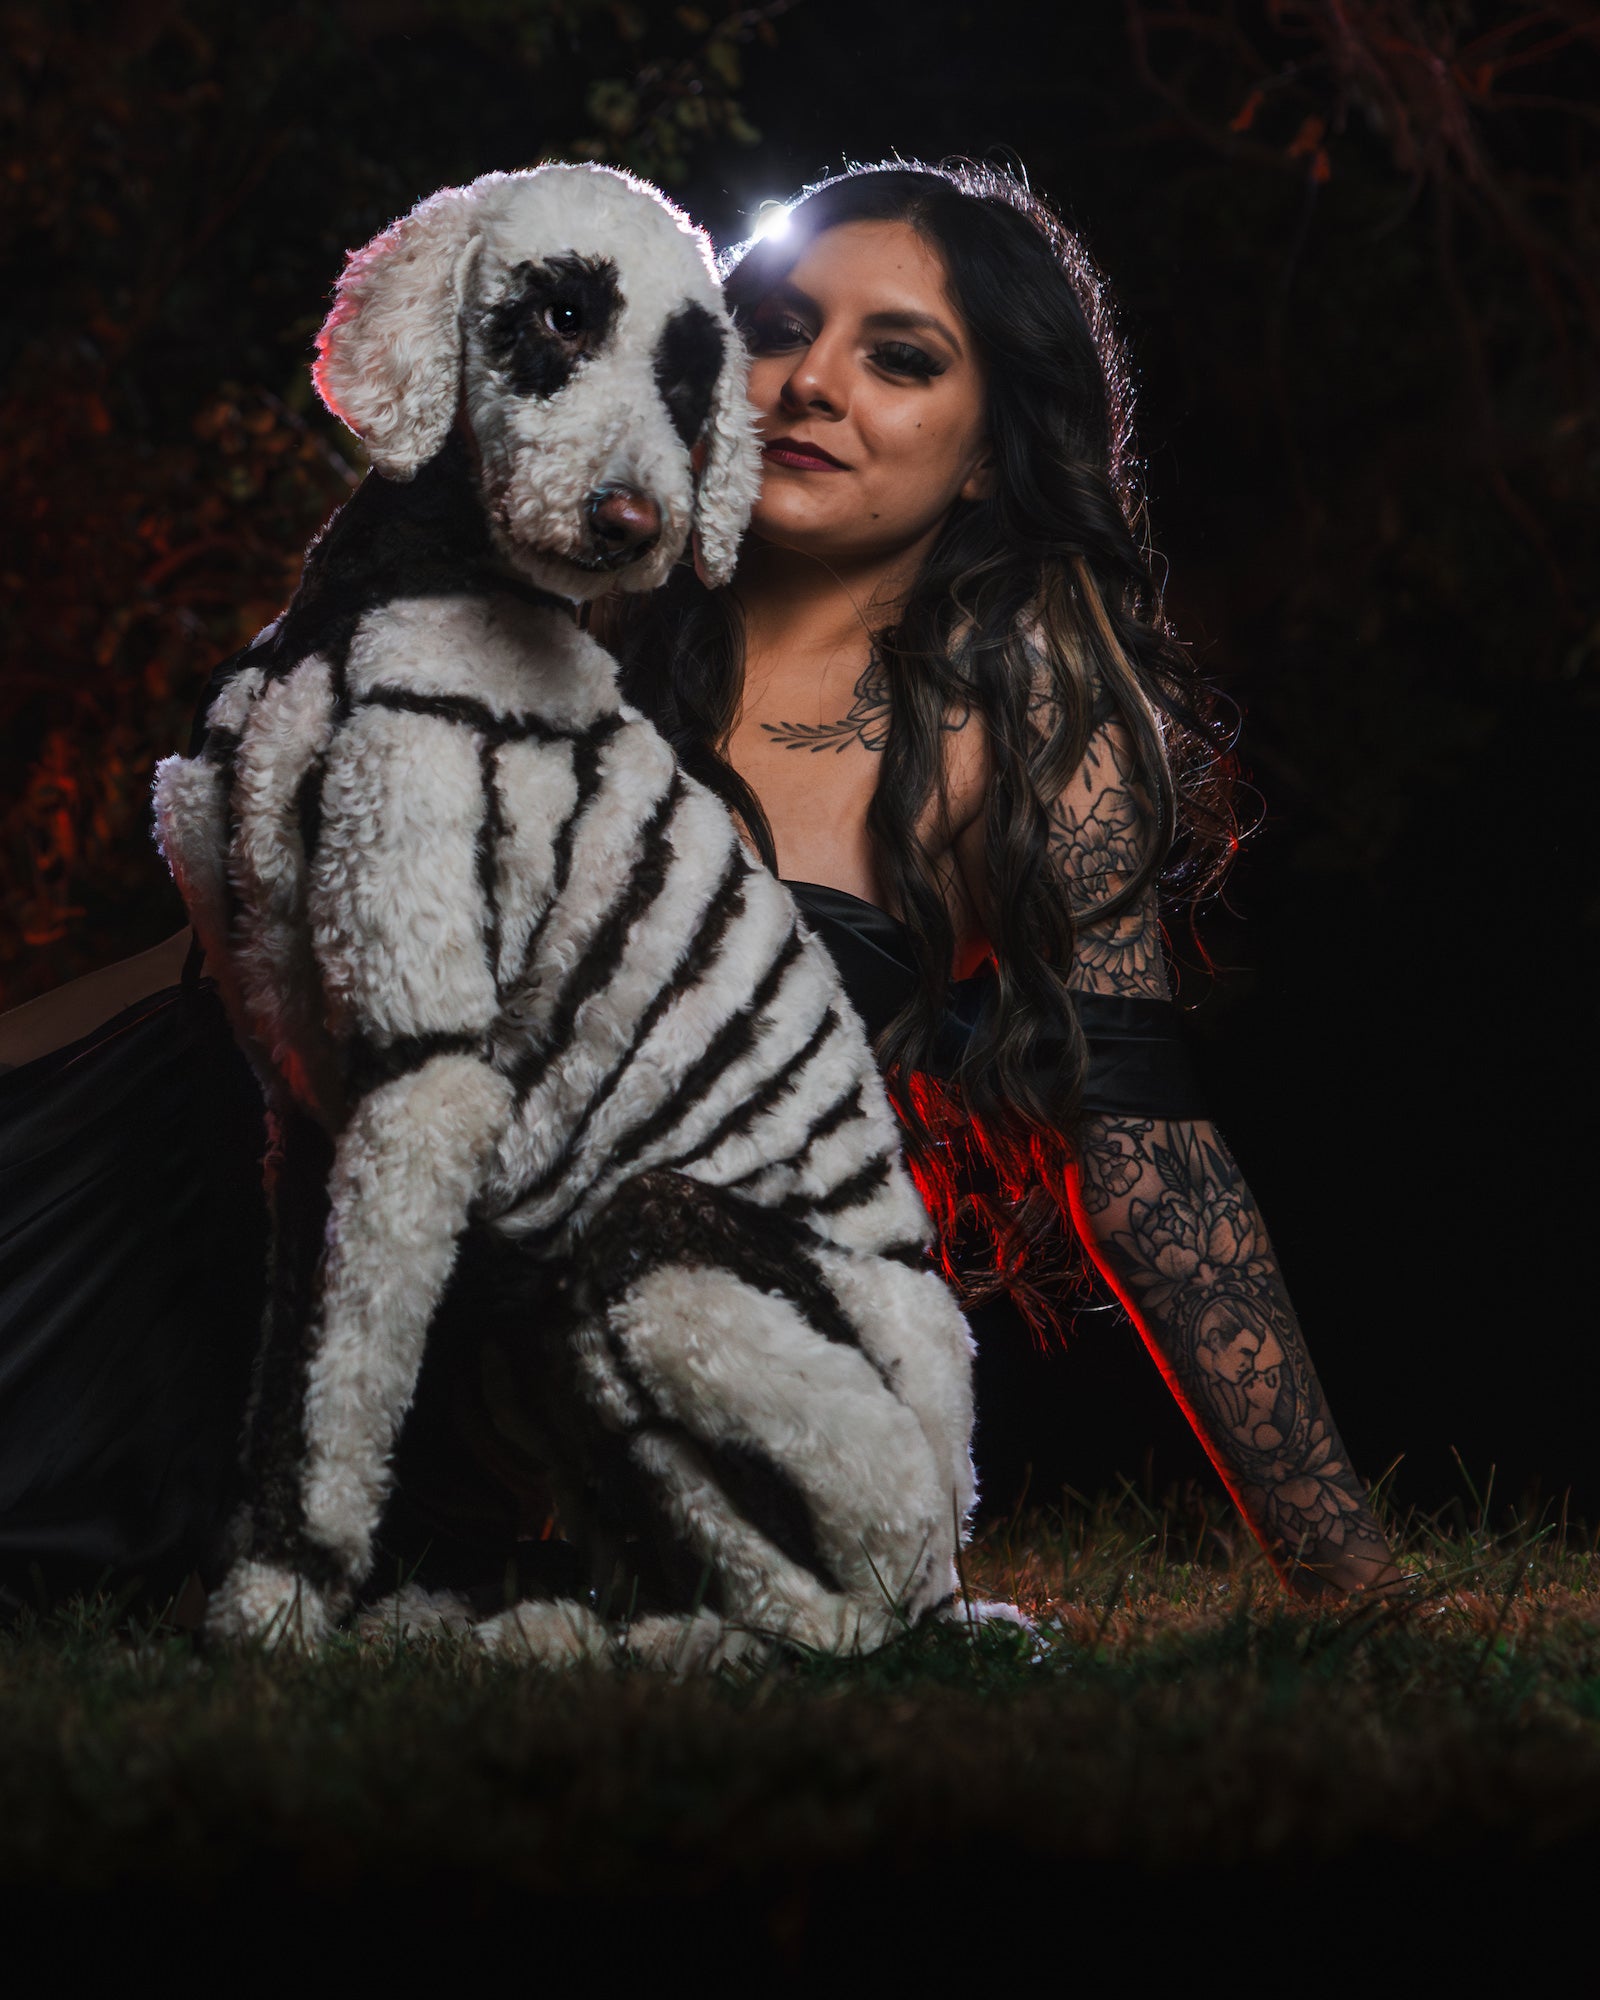
Garrette’s lens of choice for this shoot was one many might not think to reach for during a portrait session – the Sony 24mm f/1.4 G Master. “This is more of a specialty lens that I use from time to time for locations and environments that need an additional bit of width,” he explains. “The 24mm really helps me encompass the environment. In the shot where she’s laying sideways with the dog, the depth of field and the view the Sony 24mm f/1.4 G Master gives is just so unique for a portrait. In this situation, it just felt right and I was thrilled with the results.”
Photo by Garrette Baird. Sony Alpha 1. Sony 24mm f/1.4 G Master. 1/200-sec., f/1.4, ISO 1250
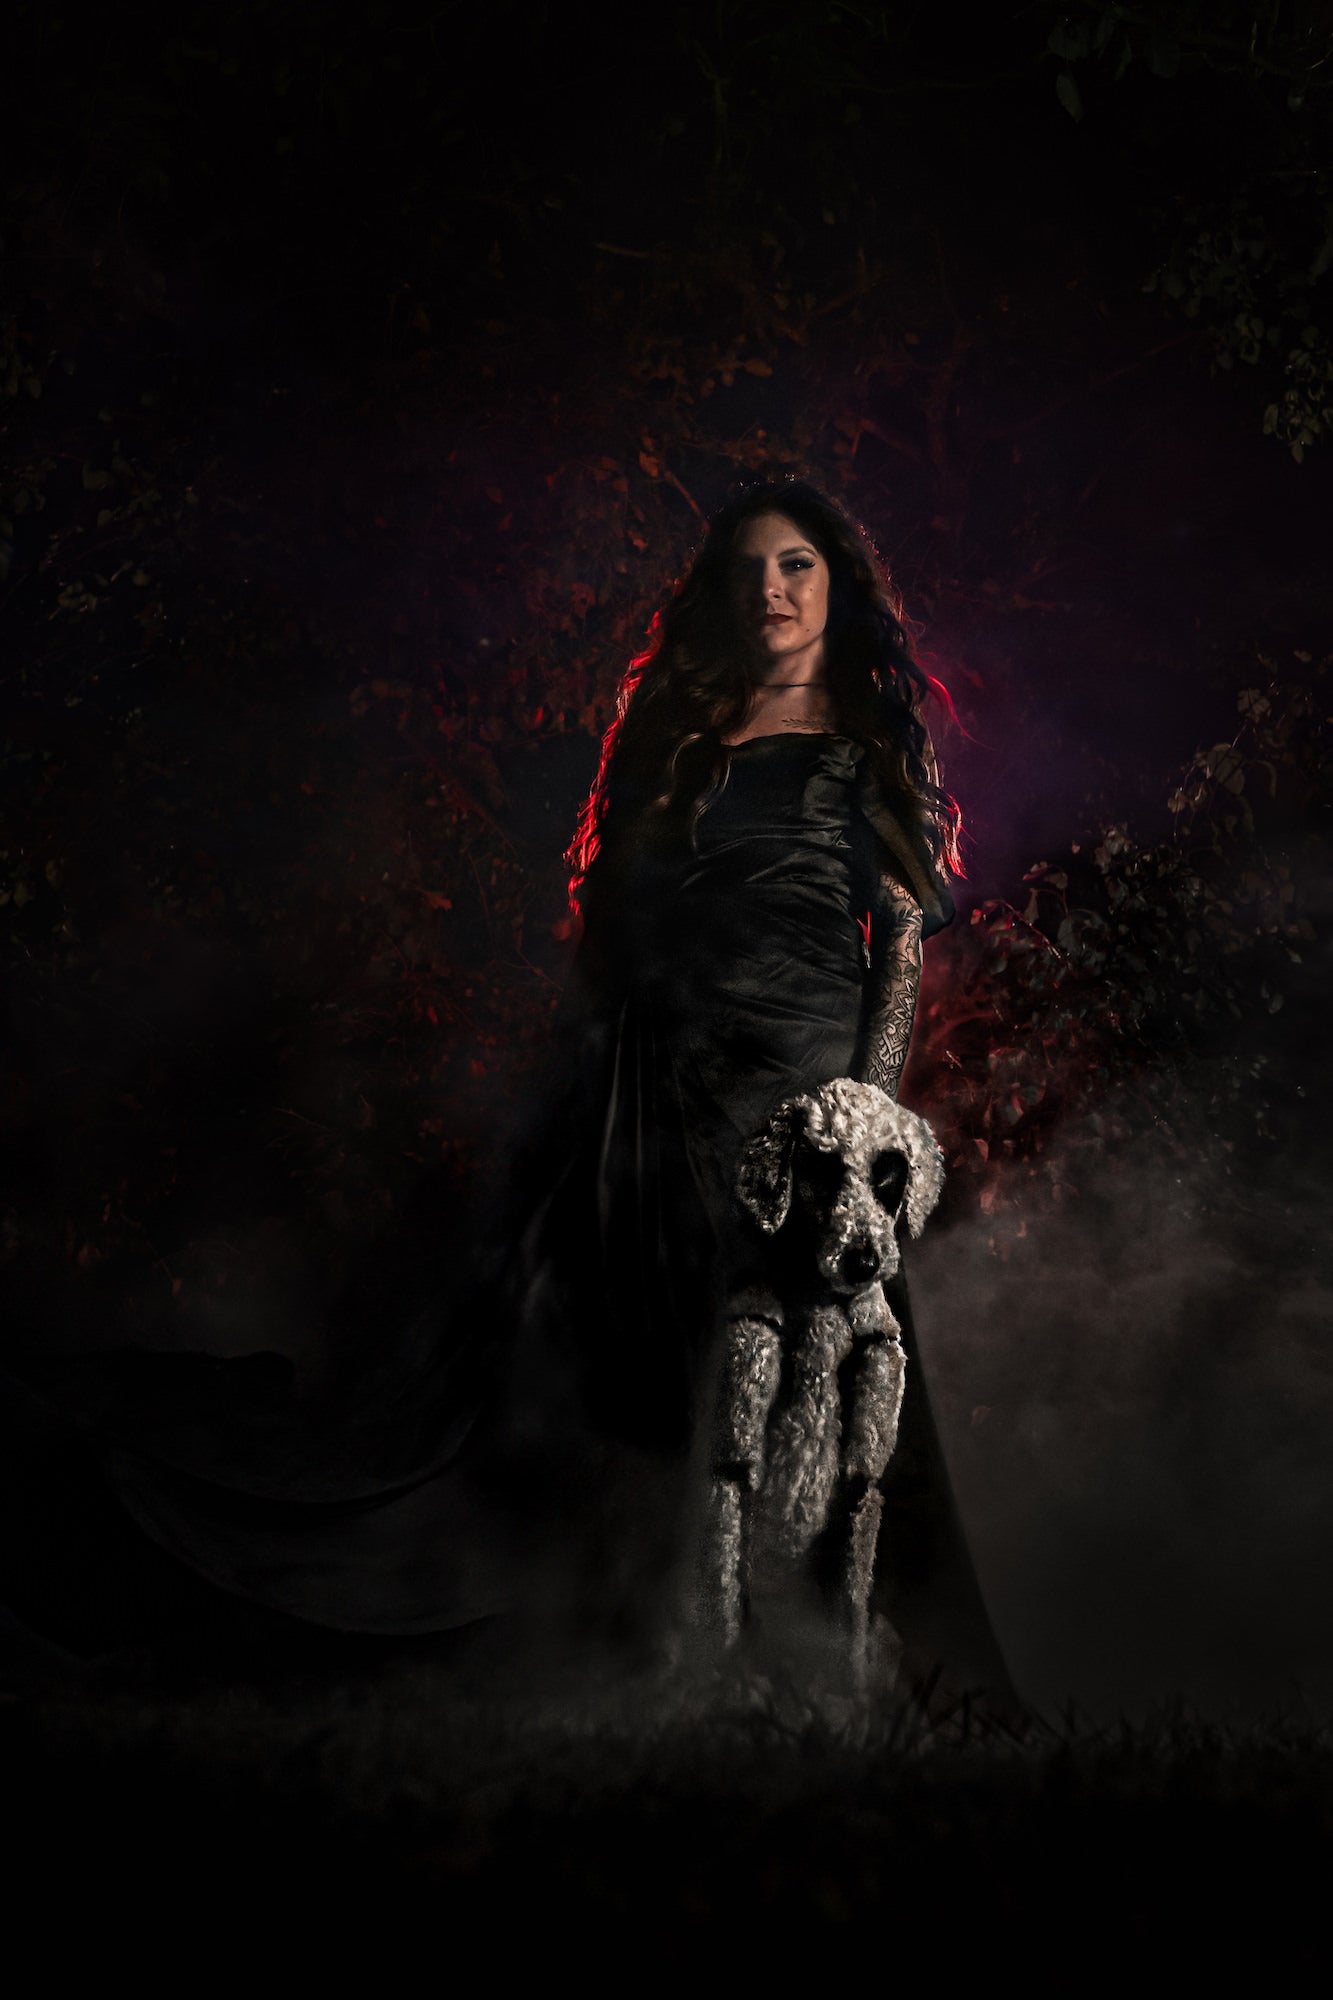
He paired the lens with his Sony Alpha 1 to create high-quality portraits that could easily handle the lighting and fog effects. He wanted the effects to add depth and mystery without overshadowing the main subjects. “If you’re photographing fog at a high shutter speed, you’re going to get a lot of texture in it,” he explains. “Depending on your style and your art, that can be exactly what you want, or not at all what you want. In this case, I didn’t want the fog to be the main character – I wanted it to be a supporting role. I shot it at 1/6-sec. to let the fog move just a little bit. So there’s not too much texture but it also isn’t just a blur.”
He continues, “Had I shot at a higher shutter speed, as the fog moved, the air pockets would be super sharp. But the more you lower your shutter speed, you create a totally different effect and the fog becomes more of a textureless entity hovering there. It looks totally awesome. It’s just a personal choice of what you want to do.” (Note: You can learn more about Garrette’s complete pet photography kit here.)
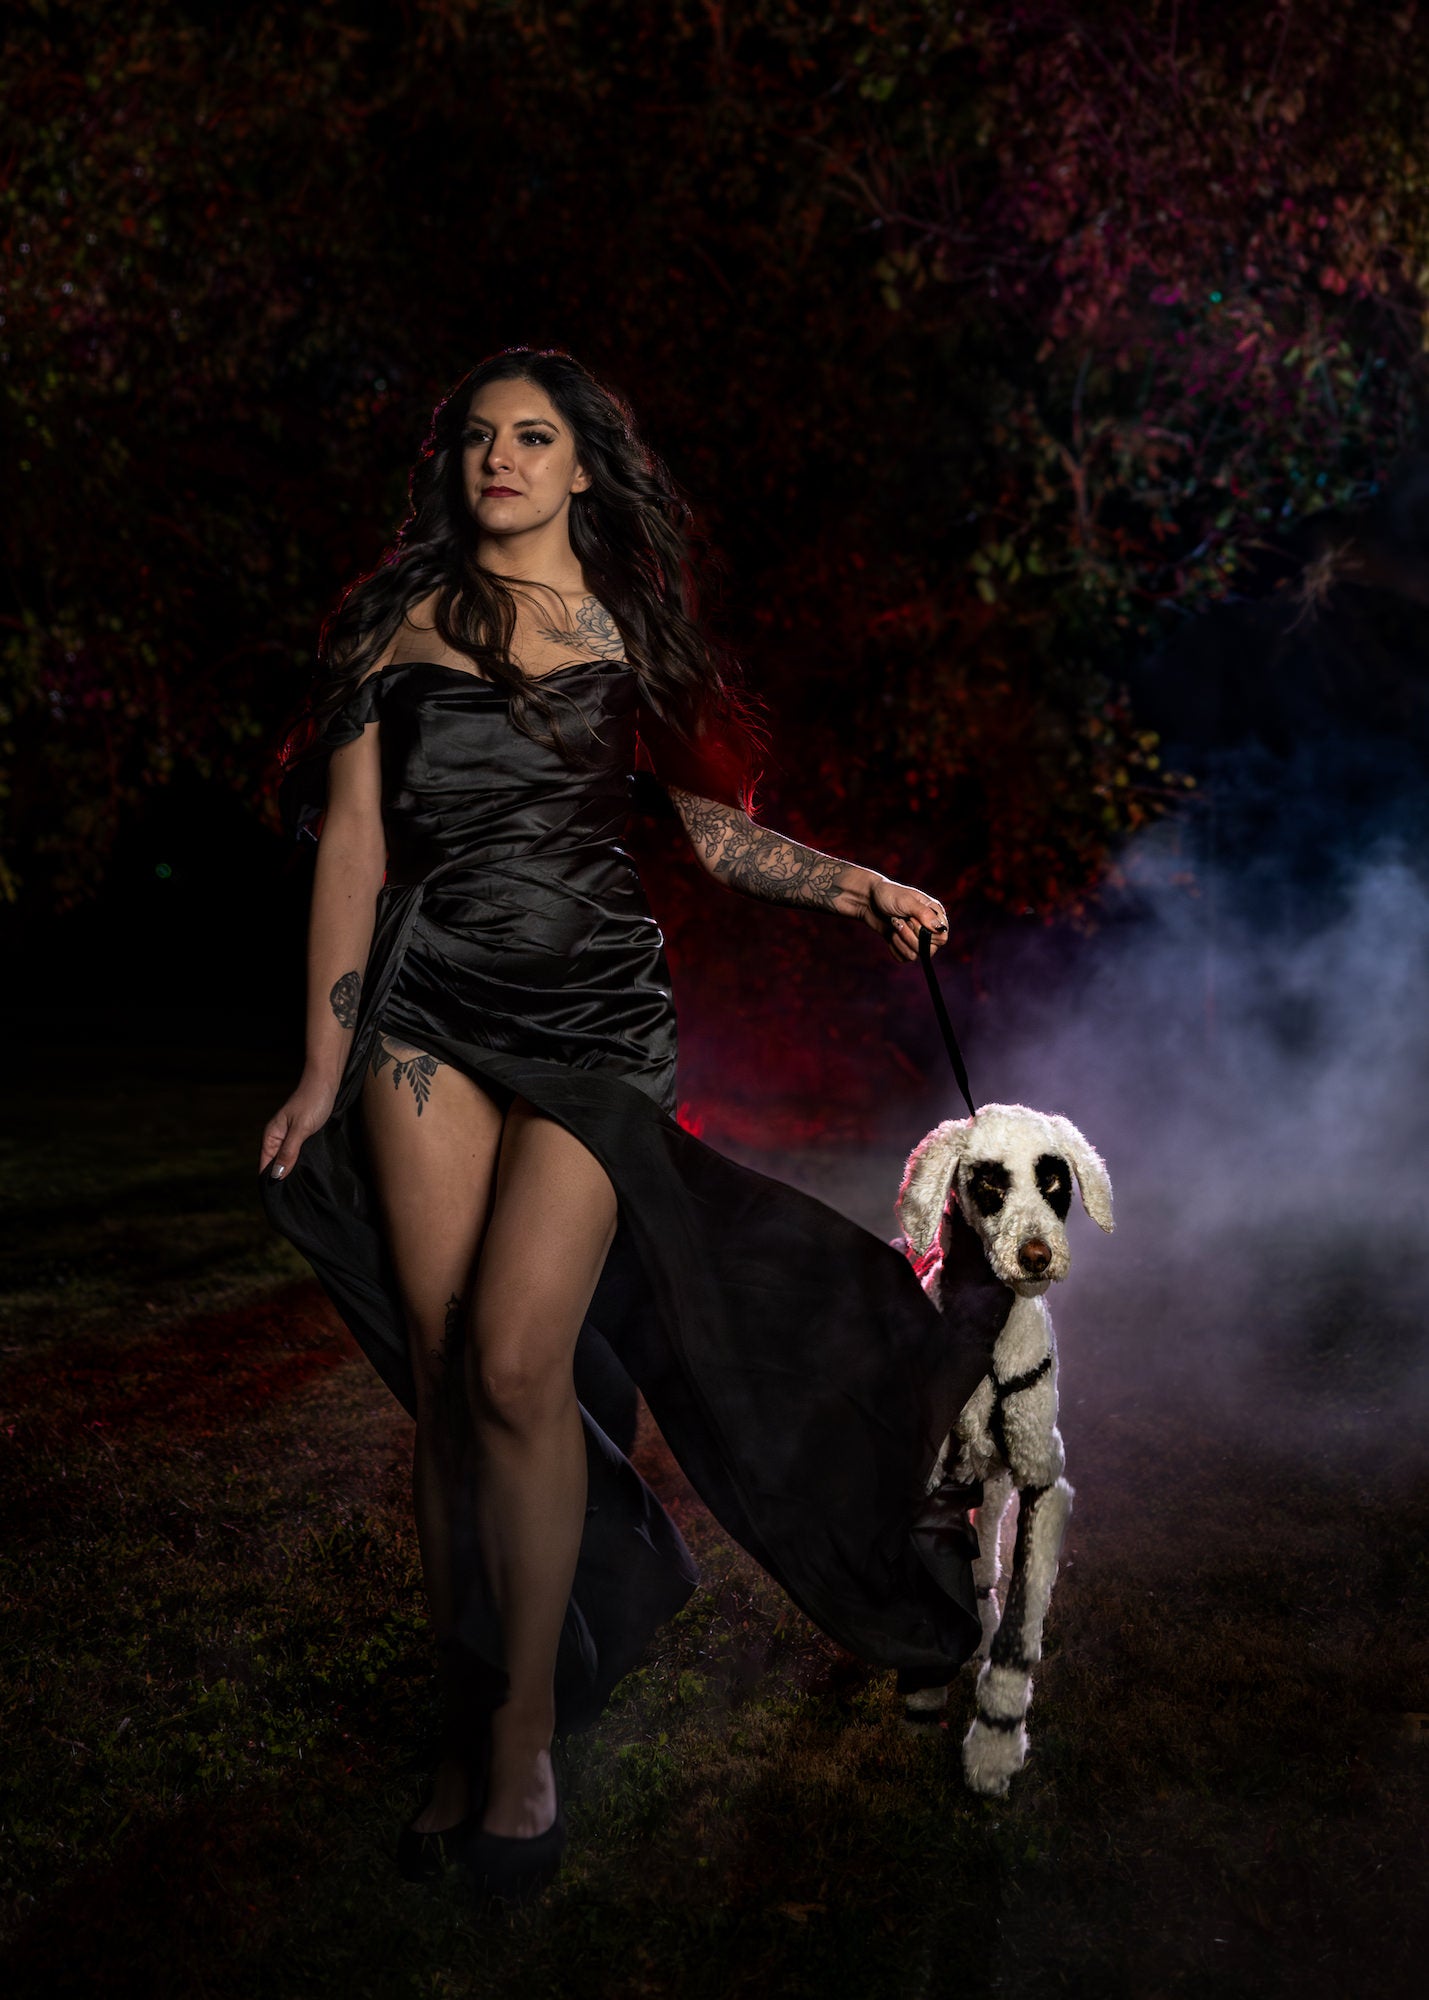
Photo by Garrette Baird. Sony Alpha 1. Sony 24mm f/1.4 G Master. 1/125-sec., f/5, ISO 3200
The shoot was smooth and seamless, and Garrette says a night without wind made it easy for him to get the fog in frame how he wanted. With the perfect location, unique lighting, moody effects and a well-behaved pup, the pet portraits turned out to be a real Halloween treat.
Follow Garrette and Amber Baird’s dog photography business on Instagram @hearts_and_hounds and at heartsandhoundsphoto.com.


