Andrea Zappia (@andreazappia_ph) is a passionate landscape photographer. He frequently travels and plans trips around the world with photographic destinations in mind. Landscape photography is about being in the right place at the right time and having the tools to take advantage of the situation. To do that, Zappia keeps an under-the-radar lens in his bag, the Sony 70-300mm f/4.5-5.6 G OSS. The 70-300mm G is overshadowed by its 70-200mm f/2.8 GM OSS (and 70-200mm GM II) and 70-200mm f/4 siblings as well as the 100-400mm f/4.5-5.6 GM OSS, but many travel and landscape photographers have been drawn to its combination of focal range, optical performance, size and price. We recently saw this stunning image that Zappia took with the 70-300mm G and that he posted on Instagram. We connected with Zappia to learn more about how he got this shot.
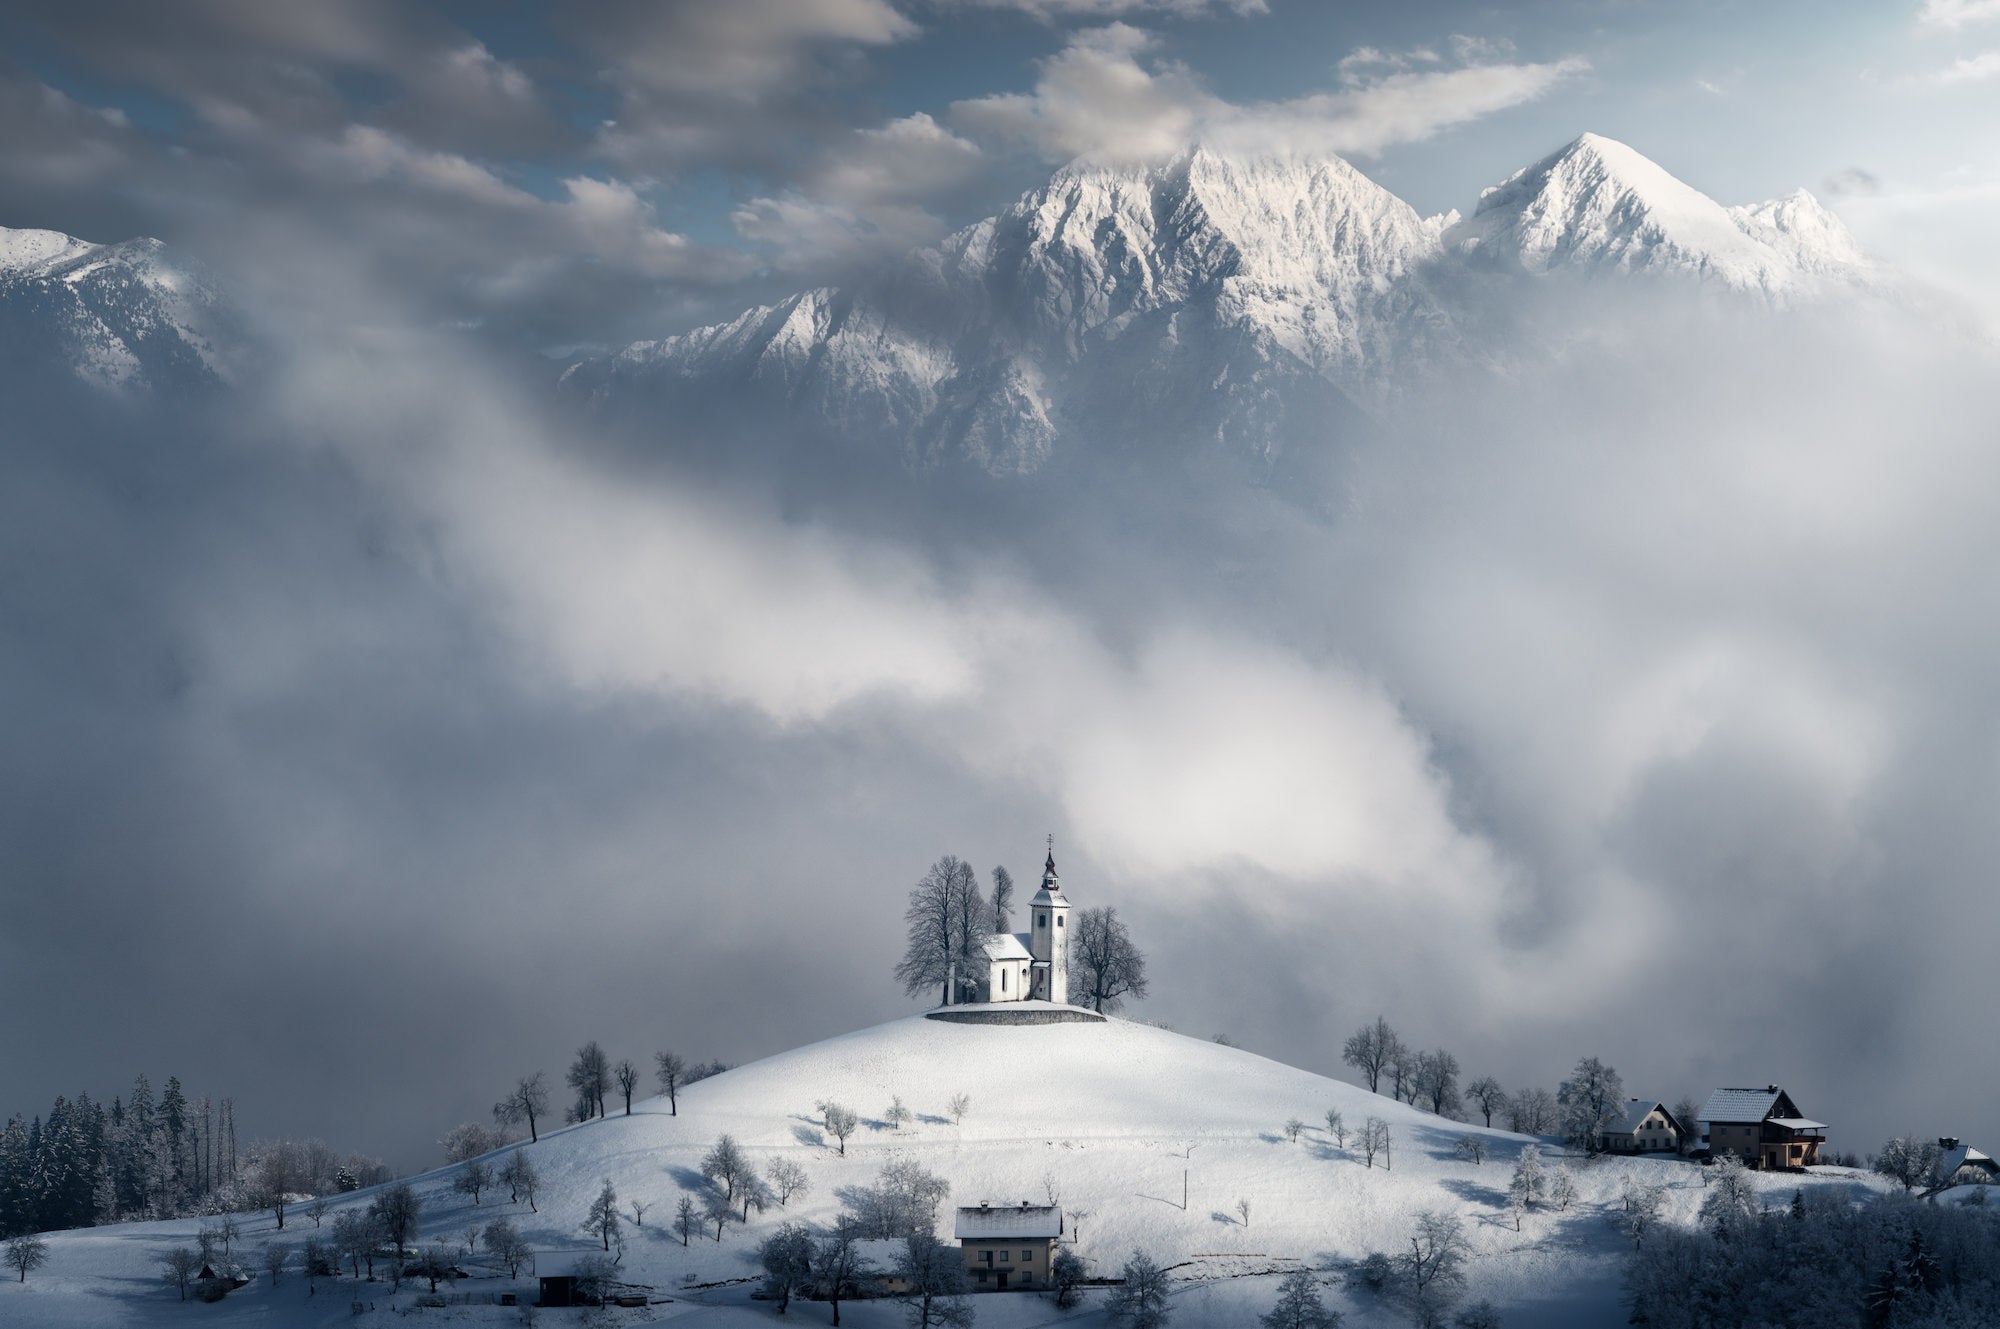
Being in the right place at the right time with the right gear, how a landscape photographer captured a wintry fog landscape with one of the true sleepers in the Sony G-series lens lineup.

Photo by Andrea Zappia. Sony Alpha 7R II. Sony 70-300mm f/4.5-5.6 G. 1/1250-sec., f/5.6, ISO 100
The Scene
After a heavy snowfall this winter, I decided to go to Slovenia because I wanted to photograph its wintry landscapes. I decided to go to Spodnja Luša to photograph the church of St Thomas. When I arrived at the place it was all covered by fog. After two hours of waiting the fog slowly began to clear and the church appeared, giving me this picture I’ve wanted to take for a long time.
The Gear
To take this picture I used my Sony Alpha 7R II which is perfect for landscapes thanks to its quality performance. The 42 megapixels give superb detailed photos and thanks to the tropicalization, it is not harmed when temperatures dip far below zero. I chose to use a telephoto lens: the Sony 70-300mm f/4.5-5.6 G. It allowed me to get this shot even though I was very far from the subject.
The Shot
After waiting for two hours in the freezing temperatures, I was delighted when this shot finally appeared. The settings for this photo were 1/1250-sec., f/5.6, ISO 100, automatic white balance. When shooting I always use a tripod to get a precise and thought-out shot.
The Edit
For the post-production on this photograph I used Adobe Photoshop and Camera Raw. The first thing I did was adjust the basic settings on camera raw, I fixed the white balance to make sure the scene looked as cold as it was at the time. I adjusted the highlights and shadows to get the photograph well balanced and then I moved into Photoshop. Here I worked on darkening the areas of little interest and working on the more interesting ones emphasizing them such as the church above the hill and the fog behind and the mountains. To do this I used the dodge and burn technique, darkening the parts of little interest and lighting up the interesting ones, increasing the contrast. Then I worked on the colors of the picture. I wanted to have a picture with a monochromatic color palette using this light blue as a base color. To do this I went back to Camera Raw and in the hsl panel I worked on the color sliders to obtain the desired ones. After that, I was quite happy with the final product.
To see more of Zappia’s landscape imagery check out his website and follow him on Instagram @andreazappia_ph.


