This article is part of a series on post-production workflow with Capture One. As a Sony camera owner, you get Capture One Express (for Sony) with your purchase. This series of articles will show you how to get more out of the software. Of course, you don’t have to be a Sony shooter to make use of these tips. They’re for anyone who wants to use Capture One.
Color casts can pop up in a number of different ways in images, and normally they can be corrected by a simple white balance correction. Sometimes, however, this can be a little trickier. The following example shows a neat one-click solution in Capture One, to remove a blue cast created by haze from a landscape image using the Levels Tool Channel Mode.
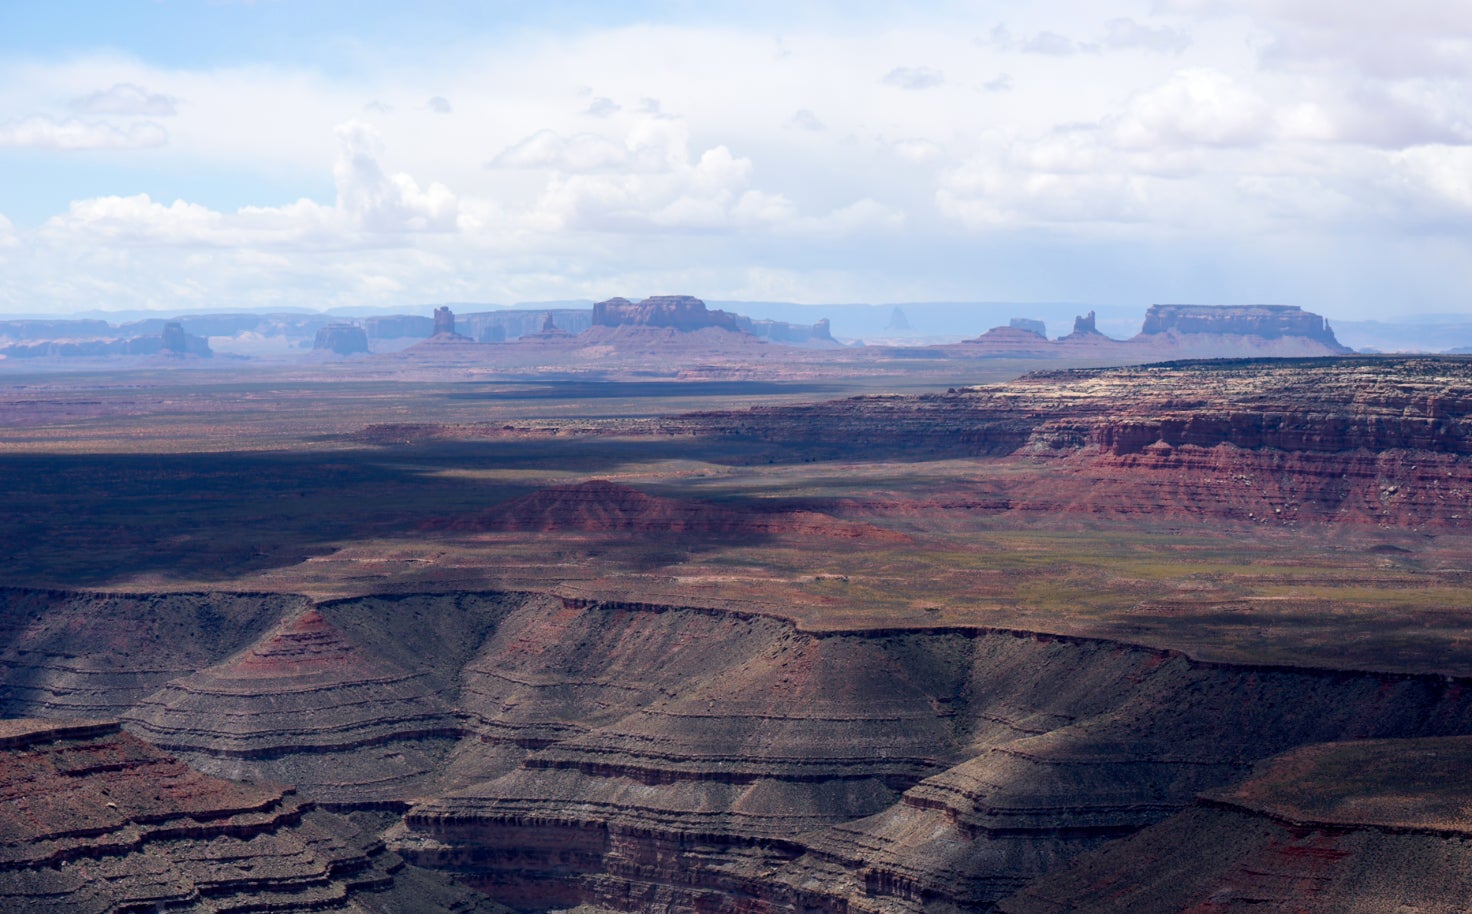
Sony α7R II. Sony 90mm f/2.8 lens. In this desert southwest landscape photo, the haze has created a blueish color cast which is making it look flat and spoiling the scene somewhat. We can correct it quickly in Capture One.
In Capture One’s preference dialog, go to the ‘Exposure’ tab and then the Levels section.
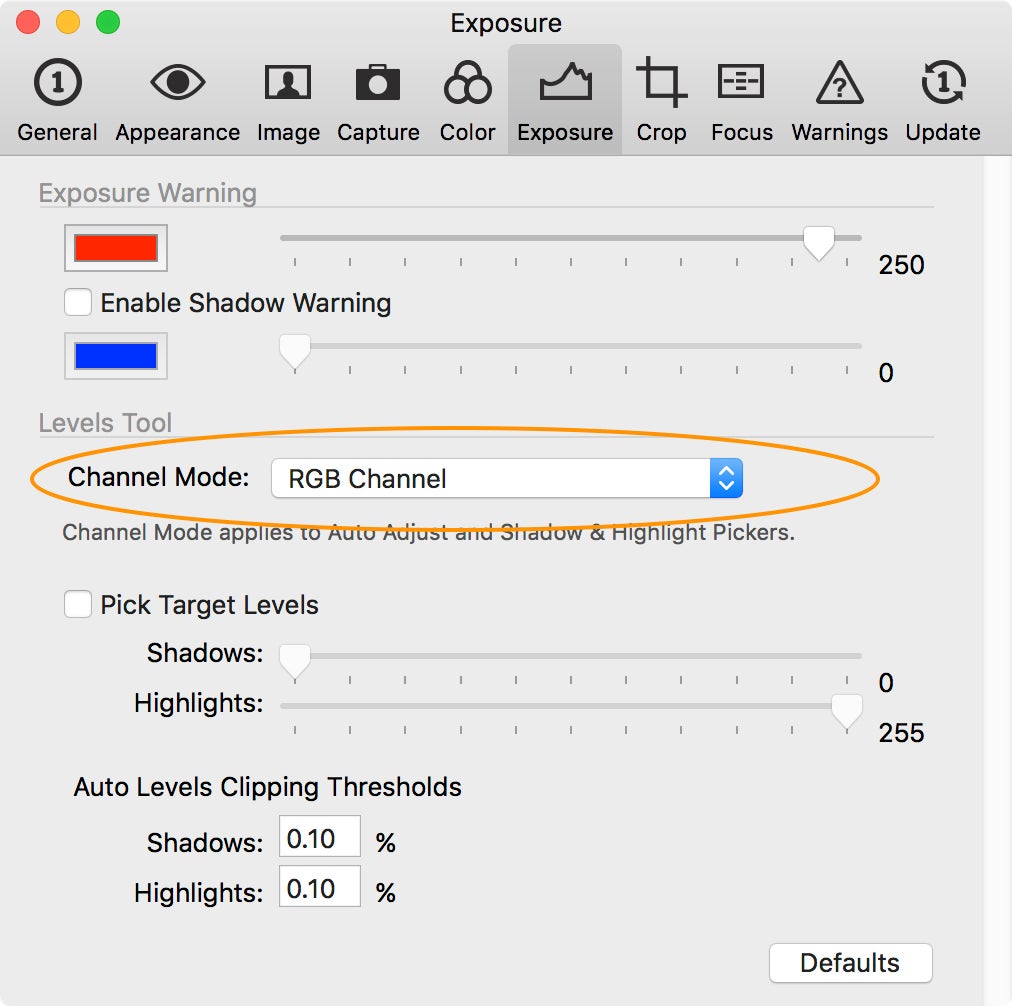
Exposure Tab in Capture One’s preferences.
The channel mode refers to how the AUTO Levels function works in Capture One. By default it’s set to RGB Channel, meaning when you hit the ‘A’ button in the levels tool, shadow and highlight points are set on the composite RGB channels.
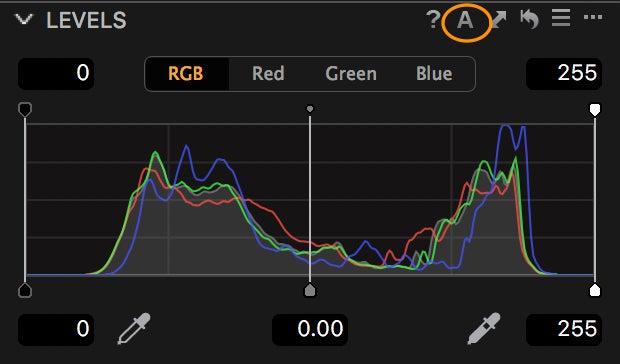
A is for Auto in the levels tool.
This is generally the best choice for most images. However, with any image where there is a more prevalent color cast, it makes sense to switch the preference to ‘Red, Green and Blue Channels’.
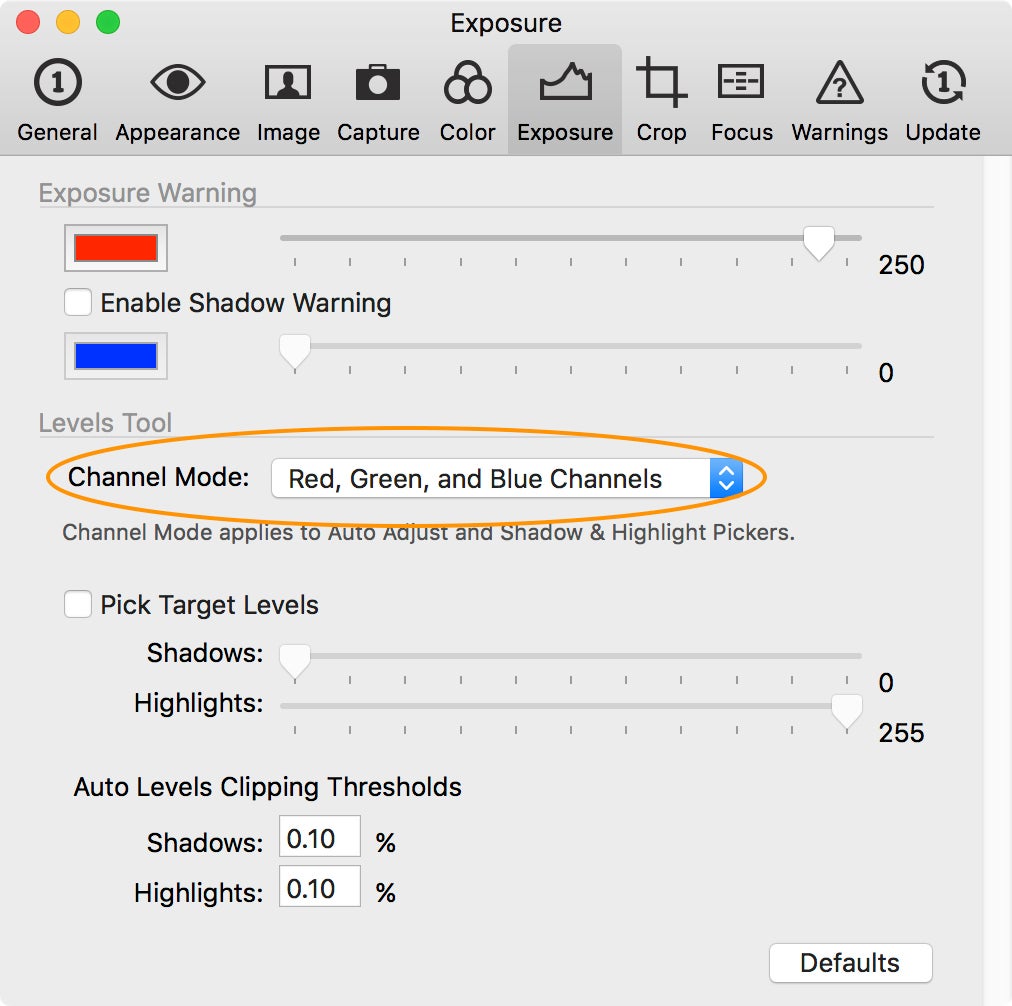
Channel Mode set to Red, Green and Blue Channels.
In this mode, Capture One will make individual shadow and highlight adjustments to each of the Red, Green and Blue channels. This will make for a better correction for this kind of landscape image.
In the following image, captured with a Sony α7R II and Sony 90mm f/2.8 lens, the top image was corrected with Auto Levels, RGB Channel, and the bottom with Red, Green and Blue Channels.
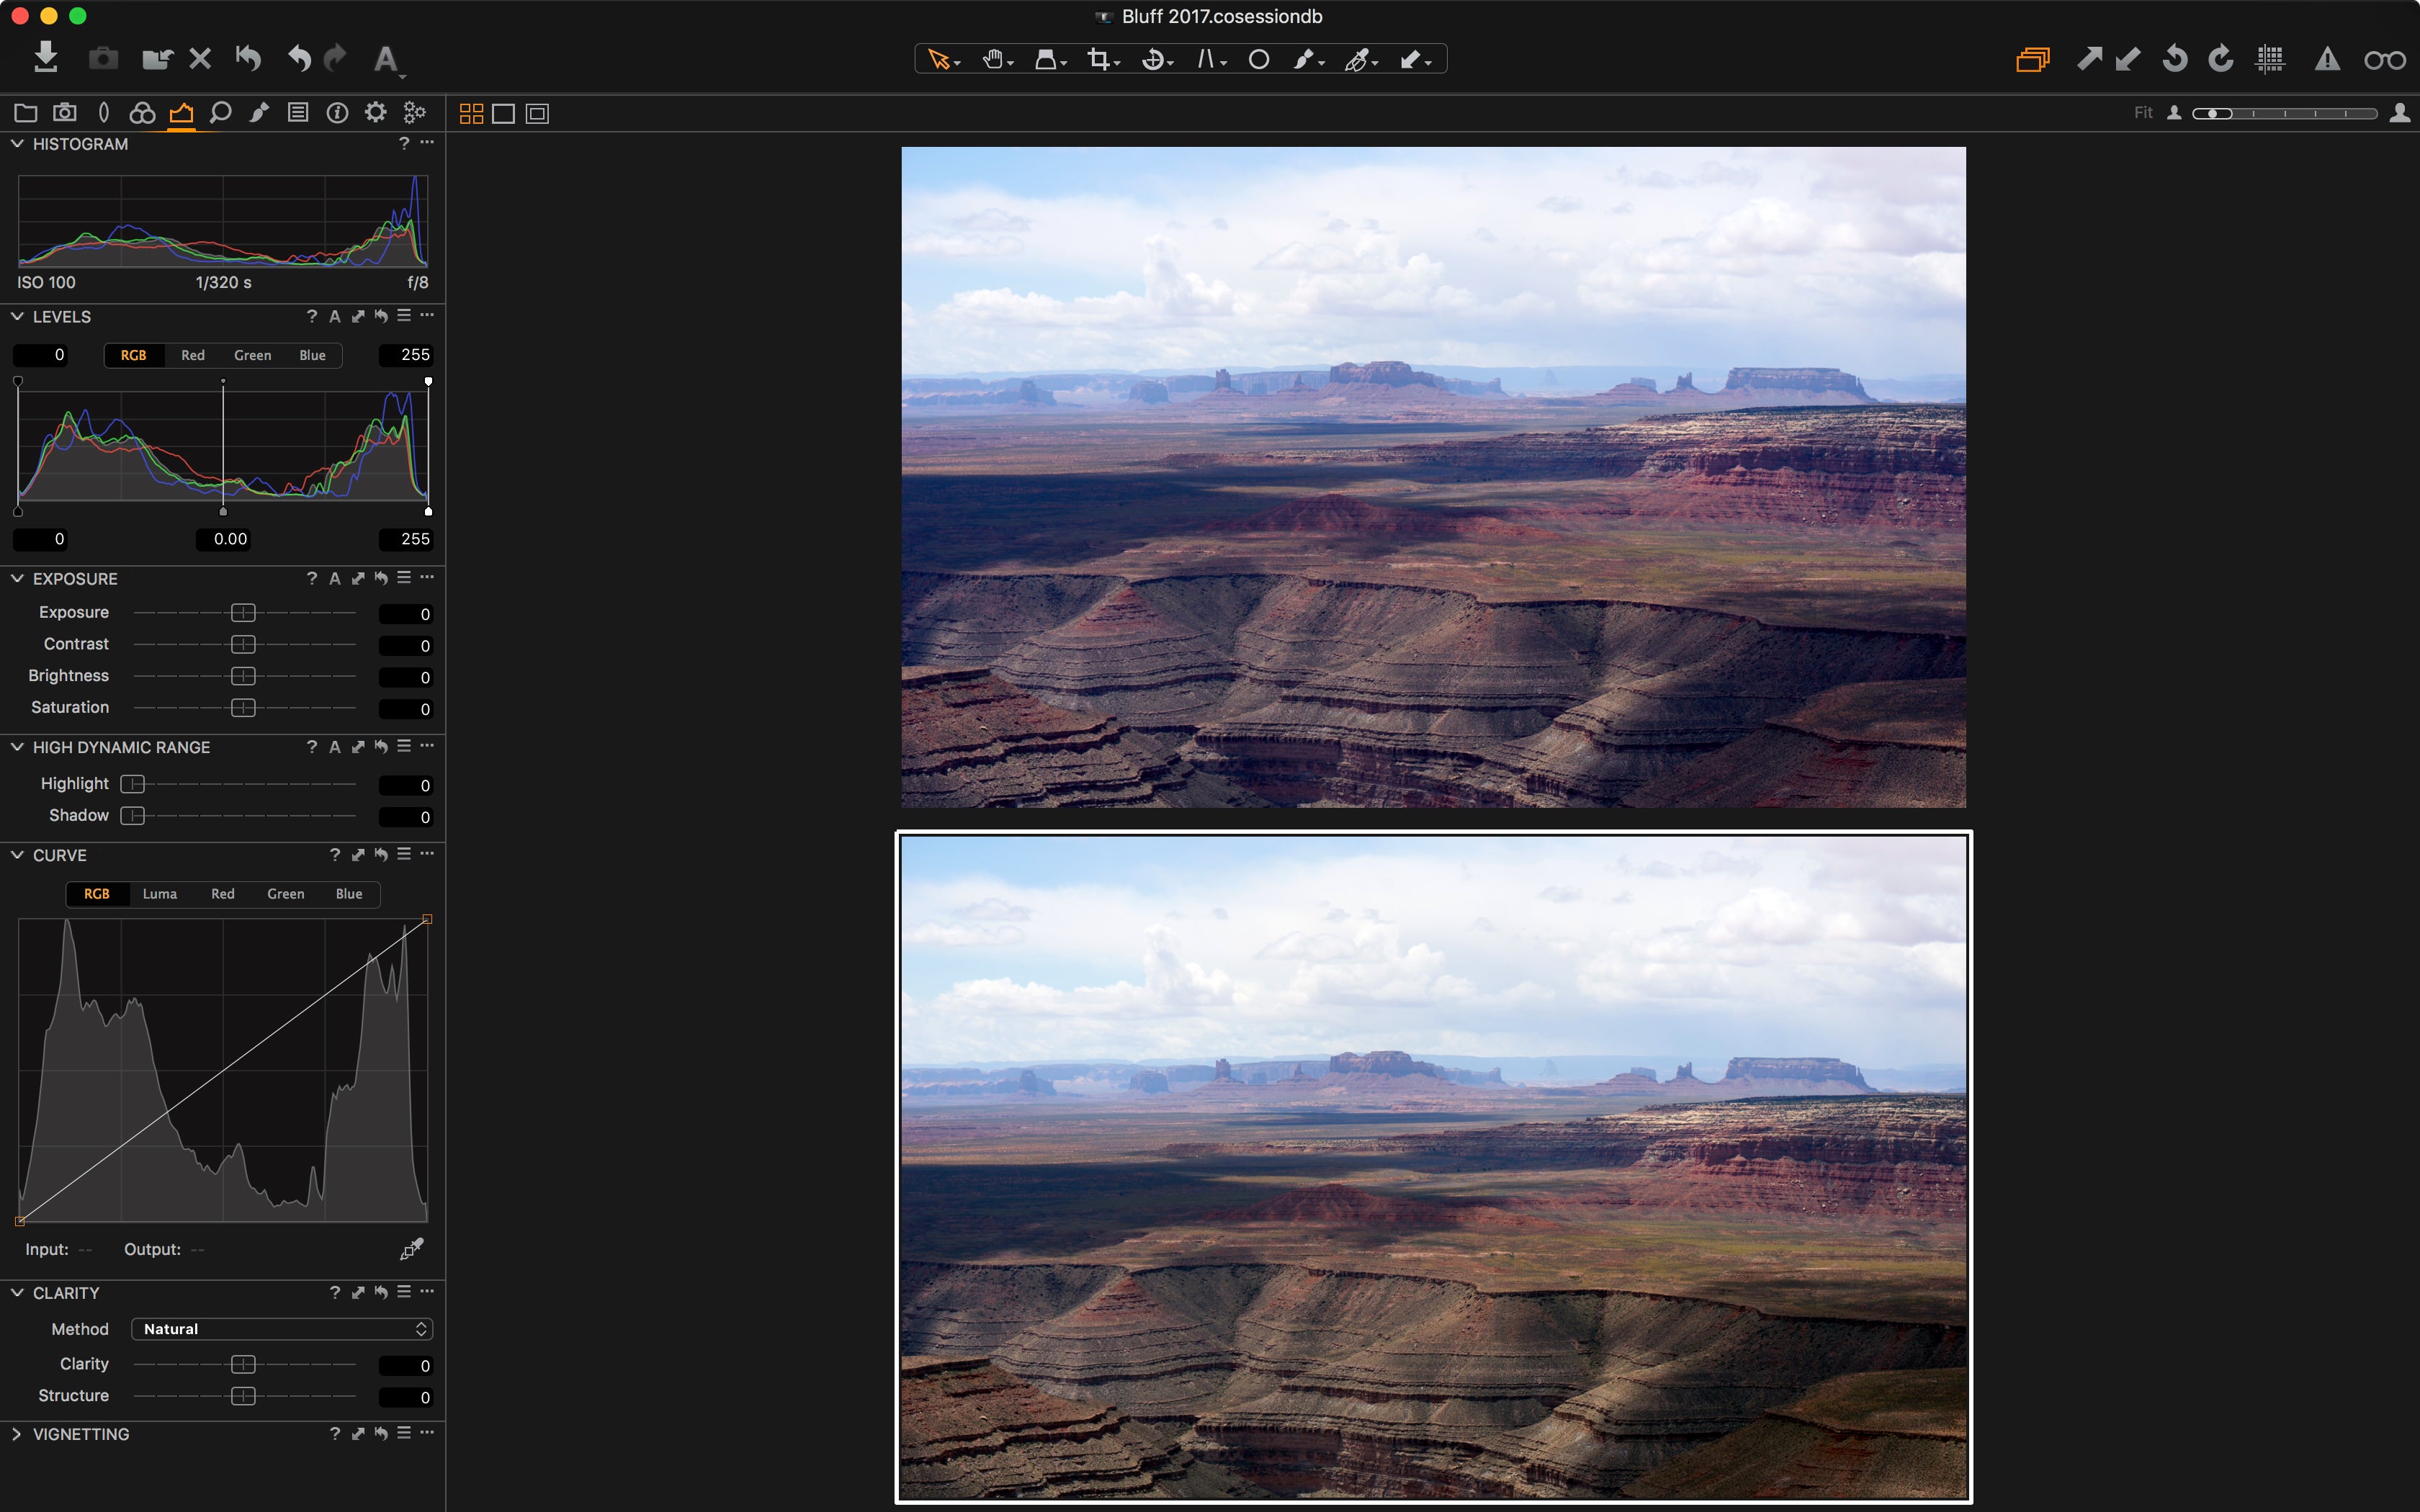
Image Comparison before and after the Auto Levels correction in Red, Green, Blue Channel Mode.

Before.
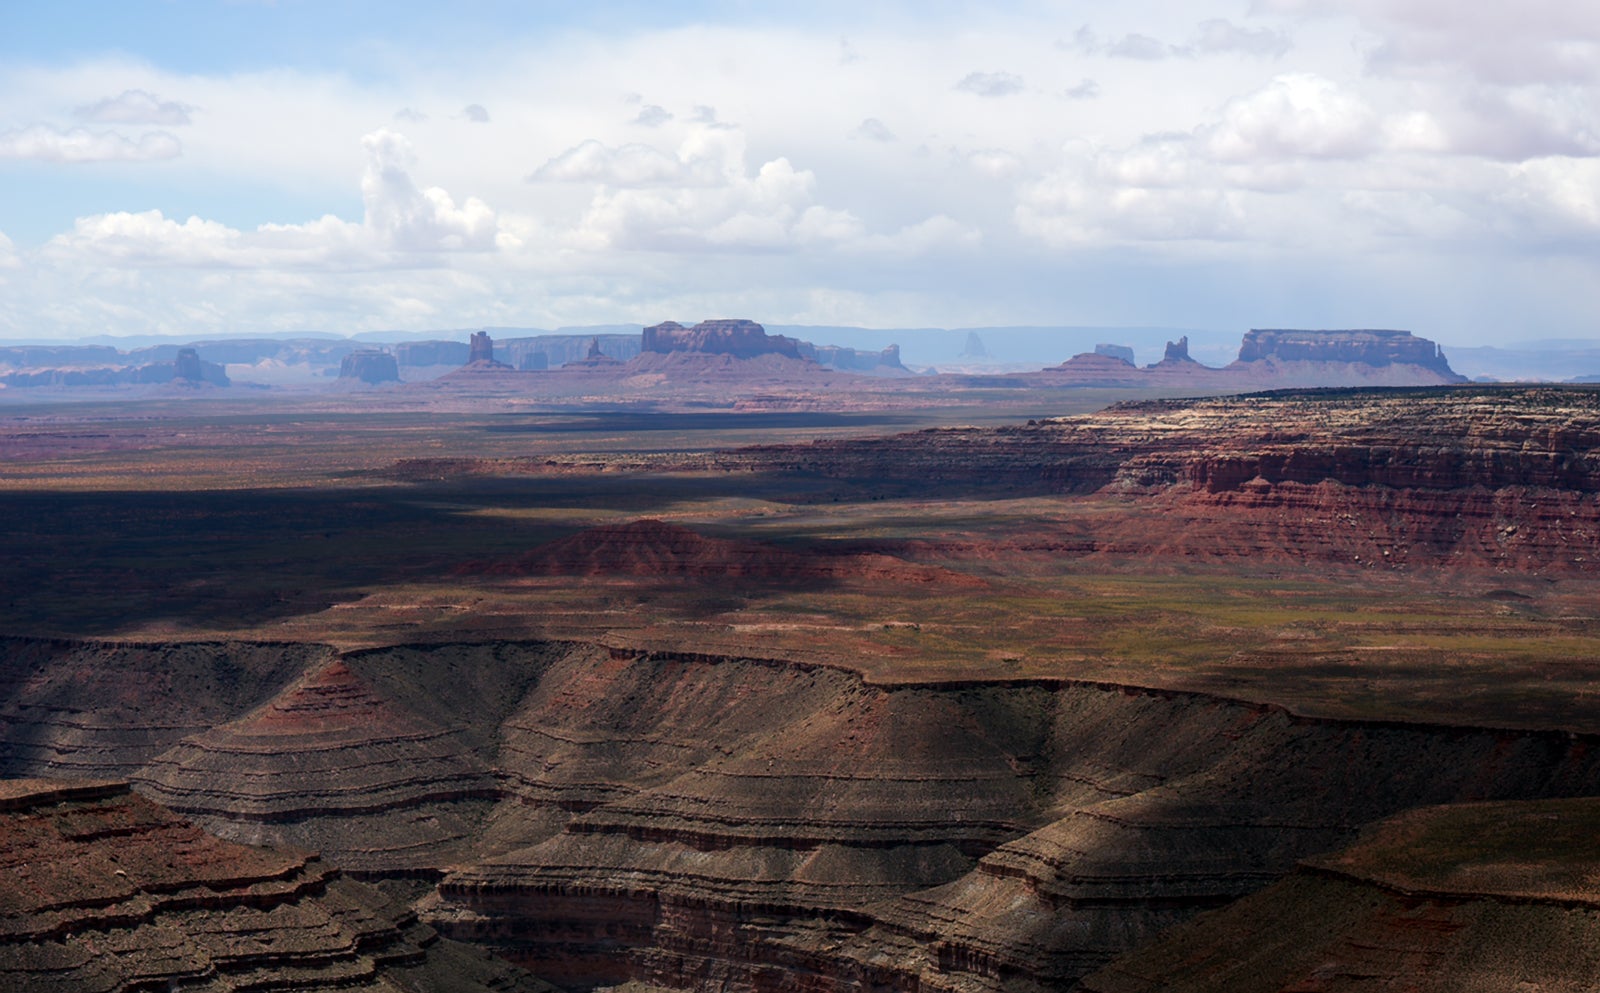
After.
Sony α7R II. Sony 90mm f/2.8 lens. You can see the color cast in the bottom image is significantly reduced and the photo has more punch thanks to our one-click fix.
Watch this accompanying video for the full step by step process:
About the author:
David Grover is a Capture One expert based in the UK. In addition to writing a weekly column for Alpha Universe, he runs the Capture One weekly webinar series on Capture One Pro 10 and produces a series of video tutorials on Capture One as well.
If you're just getting satrted with Capture One, check out this tutorial.
