The pull of the night sky is built into my DNA. I grew up in northern Alberta where the sky was so dark and the stars shone so brightly, that I felt as if I could reach out and touch them. In my early adulthood I moved to a large city to attend university for what I thought would be my career in research psychology. That all changed when I saw my first glimpse of the Milky Way on the back of my camera; it was like someone had pulled back a curtain and allowed me to peer into the universe. I didn’t know it at the time, but that night marked the eventual end of my path in academia, and the beginning of my career as a full-time photographer.
Photo by Rachel Jones Ross. Sony Alpha 7S III. Sony 12-24mm f/2.8 G Master.
Photography is interesting that way: It's often a gateway to “something more.” Seeing the world through a camera and lens often changes how we experience a place or a moment. I might be biased, but I think that's especially true of night photography. Cameras enable us to see deep into the universe, and glimpse what is invisible to the human eye under low-light conditions.
I wish I could bottle the wonder, awe, joy, and peace I feel sitting under a sky full of stars and share it with the world. Since that's not yet possible, I've devoted myself to teaching, and sharing what I have learned so others may be able to experience it for themselves. Whether you're just starting out in night photography, or you are a seasoned astro photographer, this is my best advice for getting the most out of your next trip to photograph the stars.
Photo by Rachel Jones Ross. Sony Alpha 7 III. Sony 14mm f/1.8 G Master.
Plan Your Shot
The difference between a “stunning” image of the night sky and “nice” image of the night sky often comes down to planning. With a bit of planning, you can understand what the possibilities are for shooting in a particular location (what is in the night sky, and when to see it, as well as seasonal variations in the landscape). With good planning you give yourself the opportunity to be in the “right place at the right time.”
Photo by Rachel Jones Ross. Sony Alpha 1. Sony 12-24mm f/2.8 G Master.
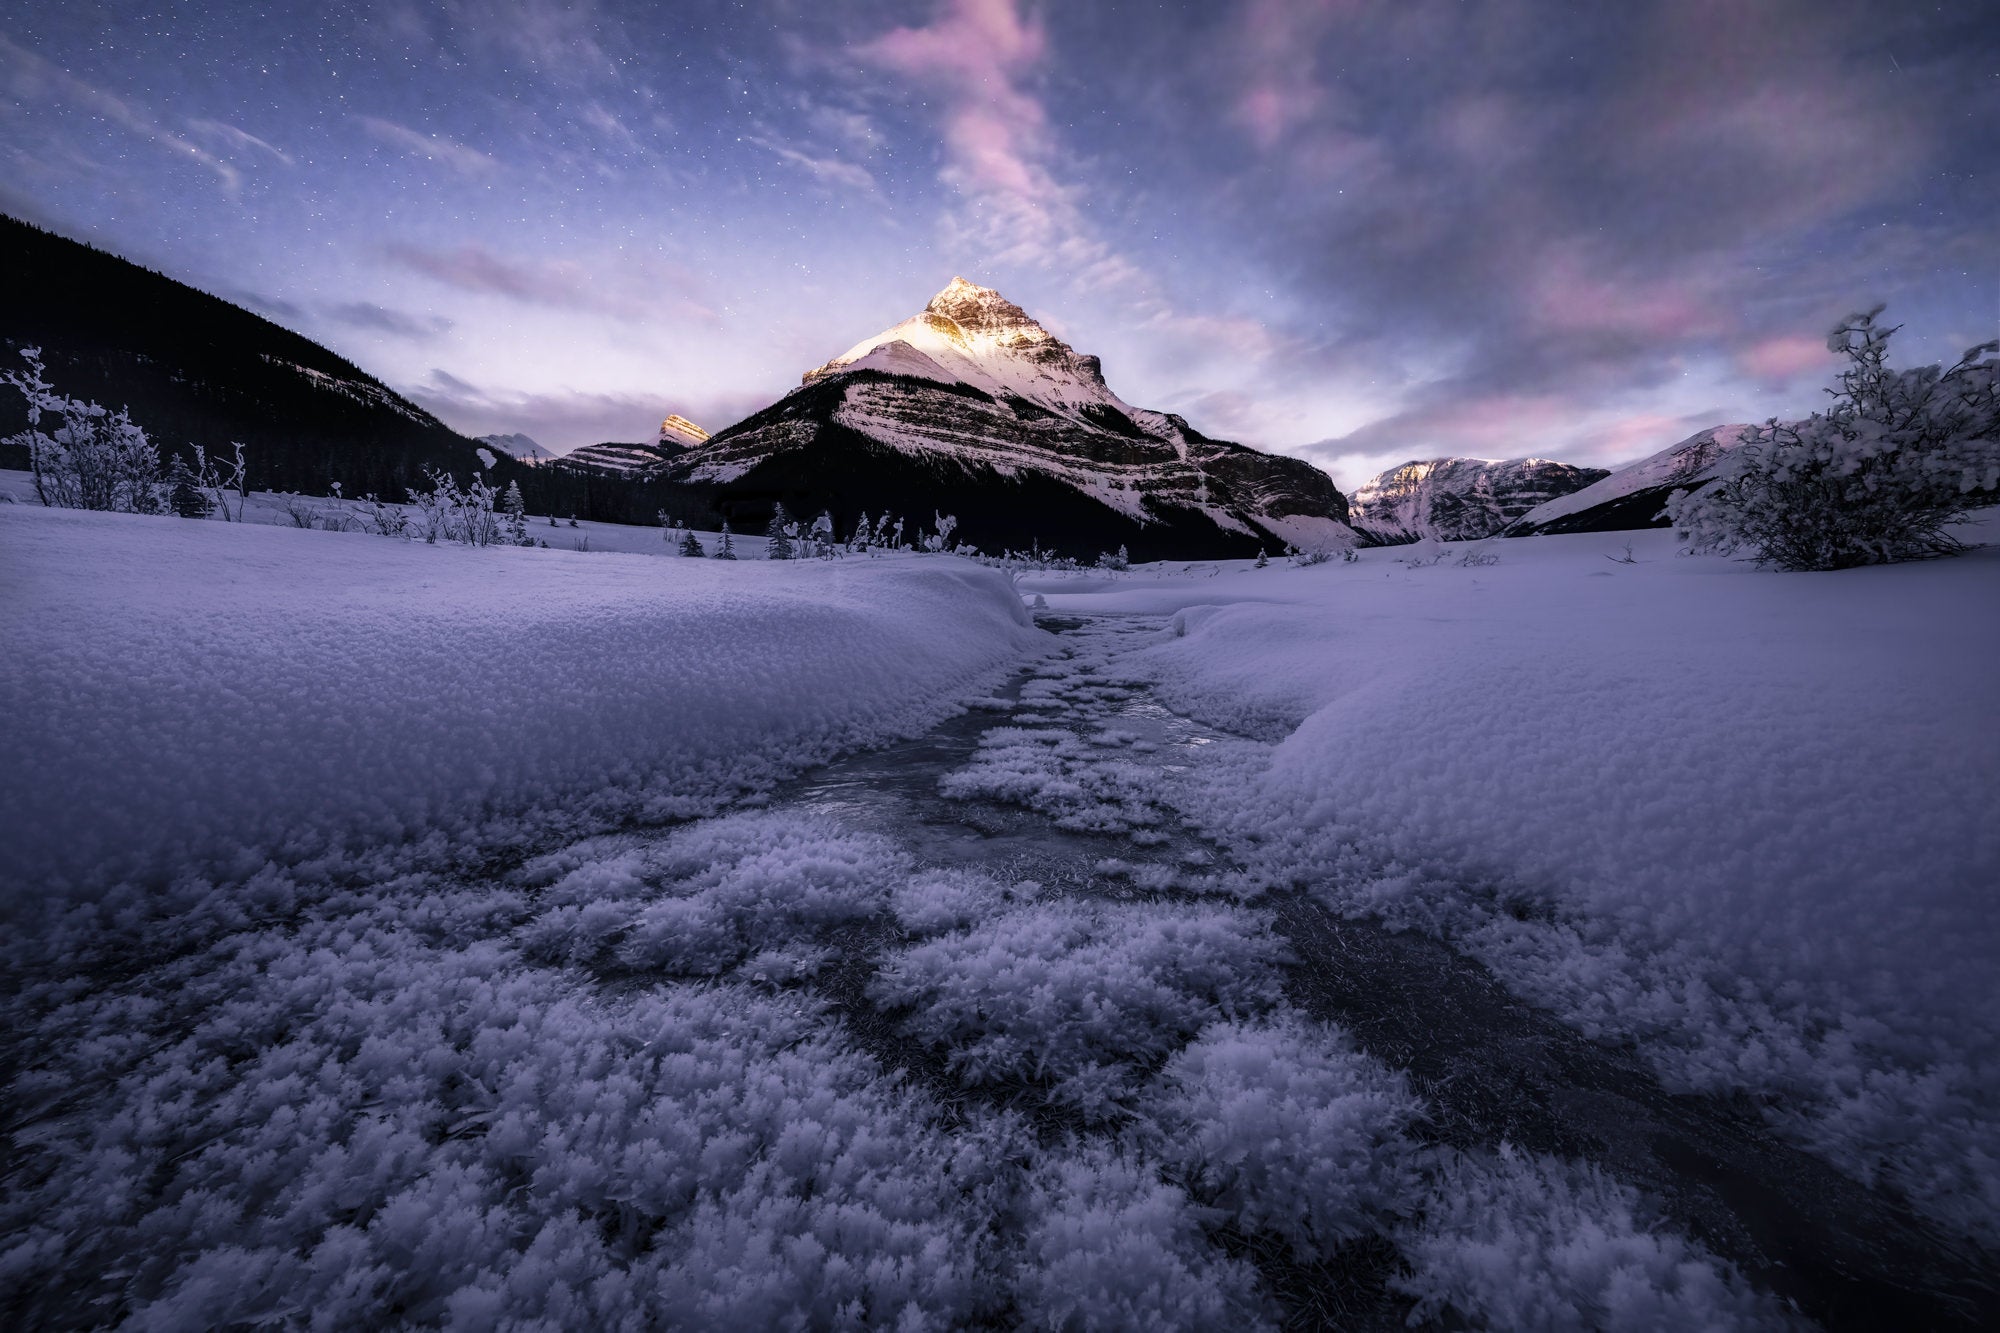
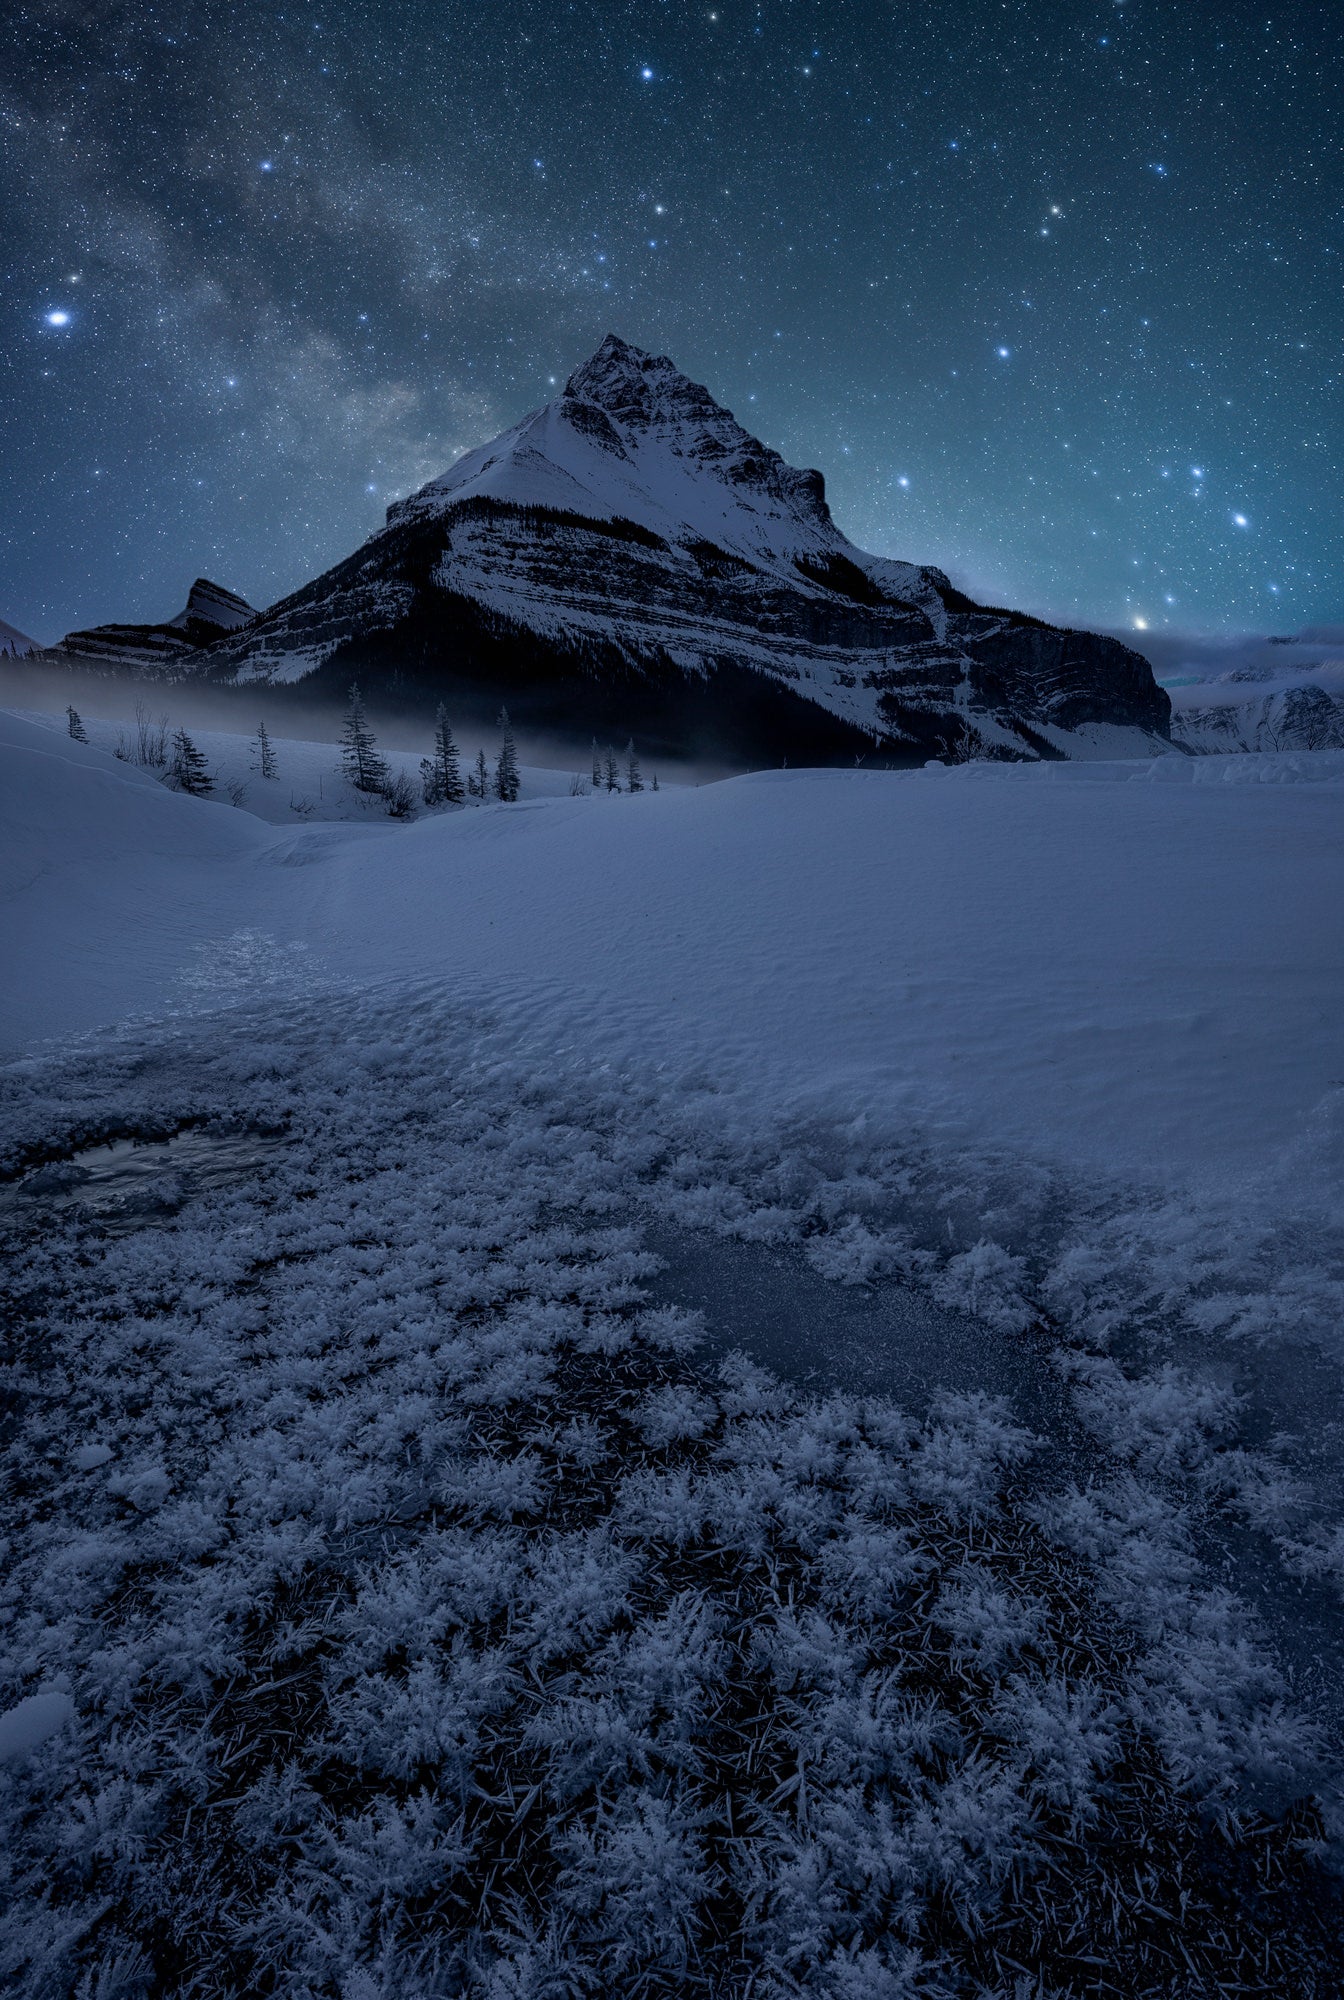
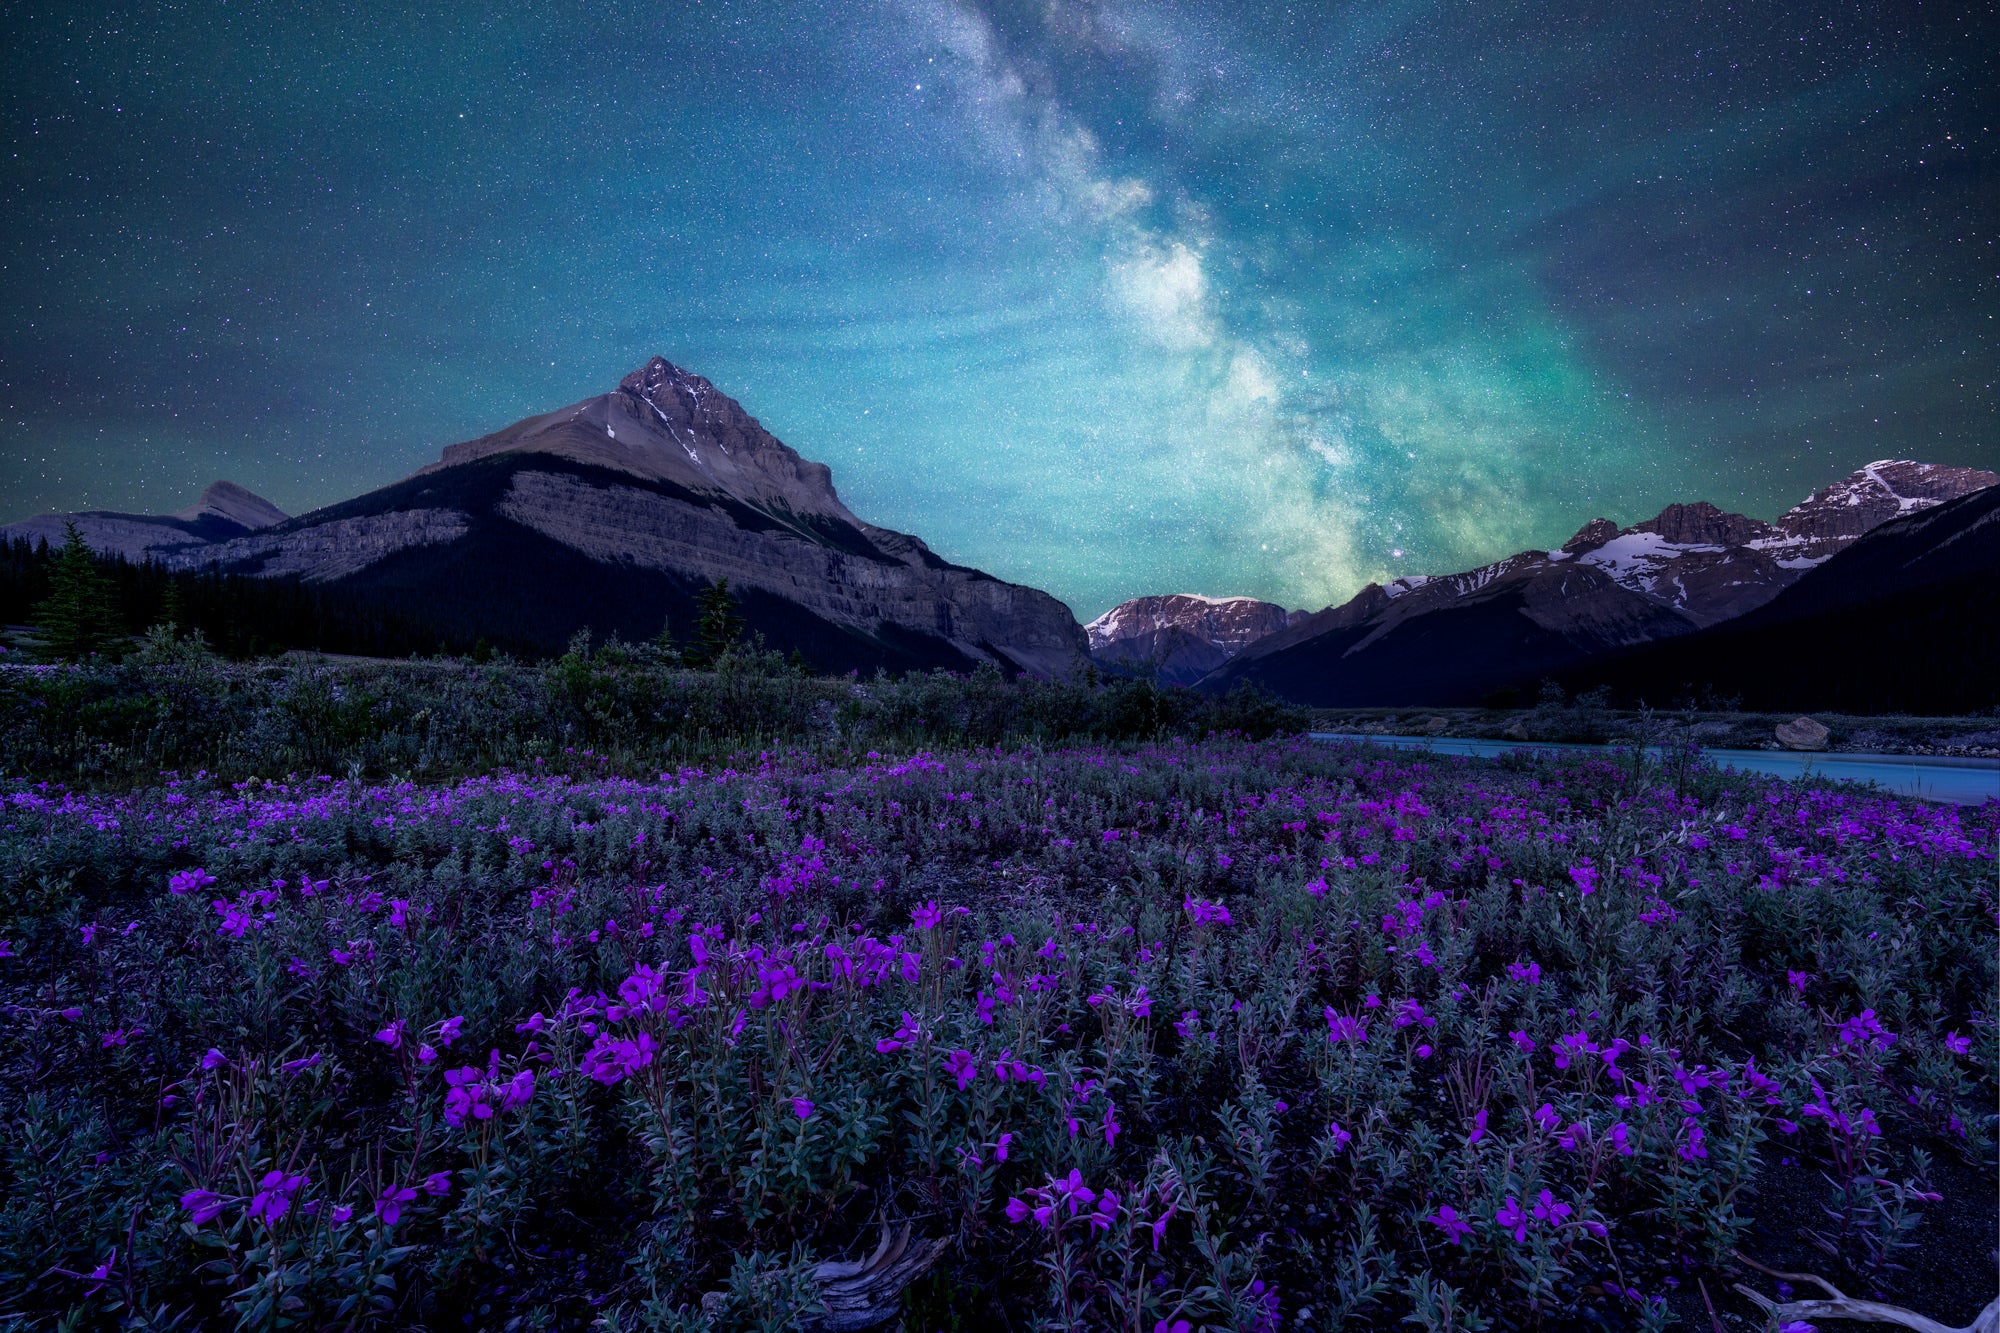
Here are a few examples from one of the most beautiful places in the Canadian Rockies, Tangle Ridge. Using my favorite planning tool, PhotoPills, you can see that the Milky Way begins to rise behind this majestic mountain in February and continues to be visible through the month of May. This mountain location is so far North (52°) that in June the sky doesn’t get darker than astronomical twilight. The dark of night, along with the galactic core of the Milky Way, return to this mountain in July, then it slowly starts to drift away from the mountain as the summer transitions to fall. For a more in-depth guide of how to use PhotoPills to plan this shot, check out Rafael’s tutorial, created after our joint expedition to the Canadian Rockies.
Photo by Rachel Jones Ross. Sony Alpha 7S III.
Photo by Rachel Jones Ross. Sony Alpha 1.
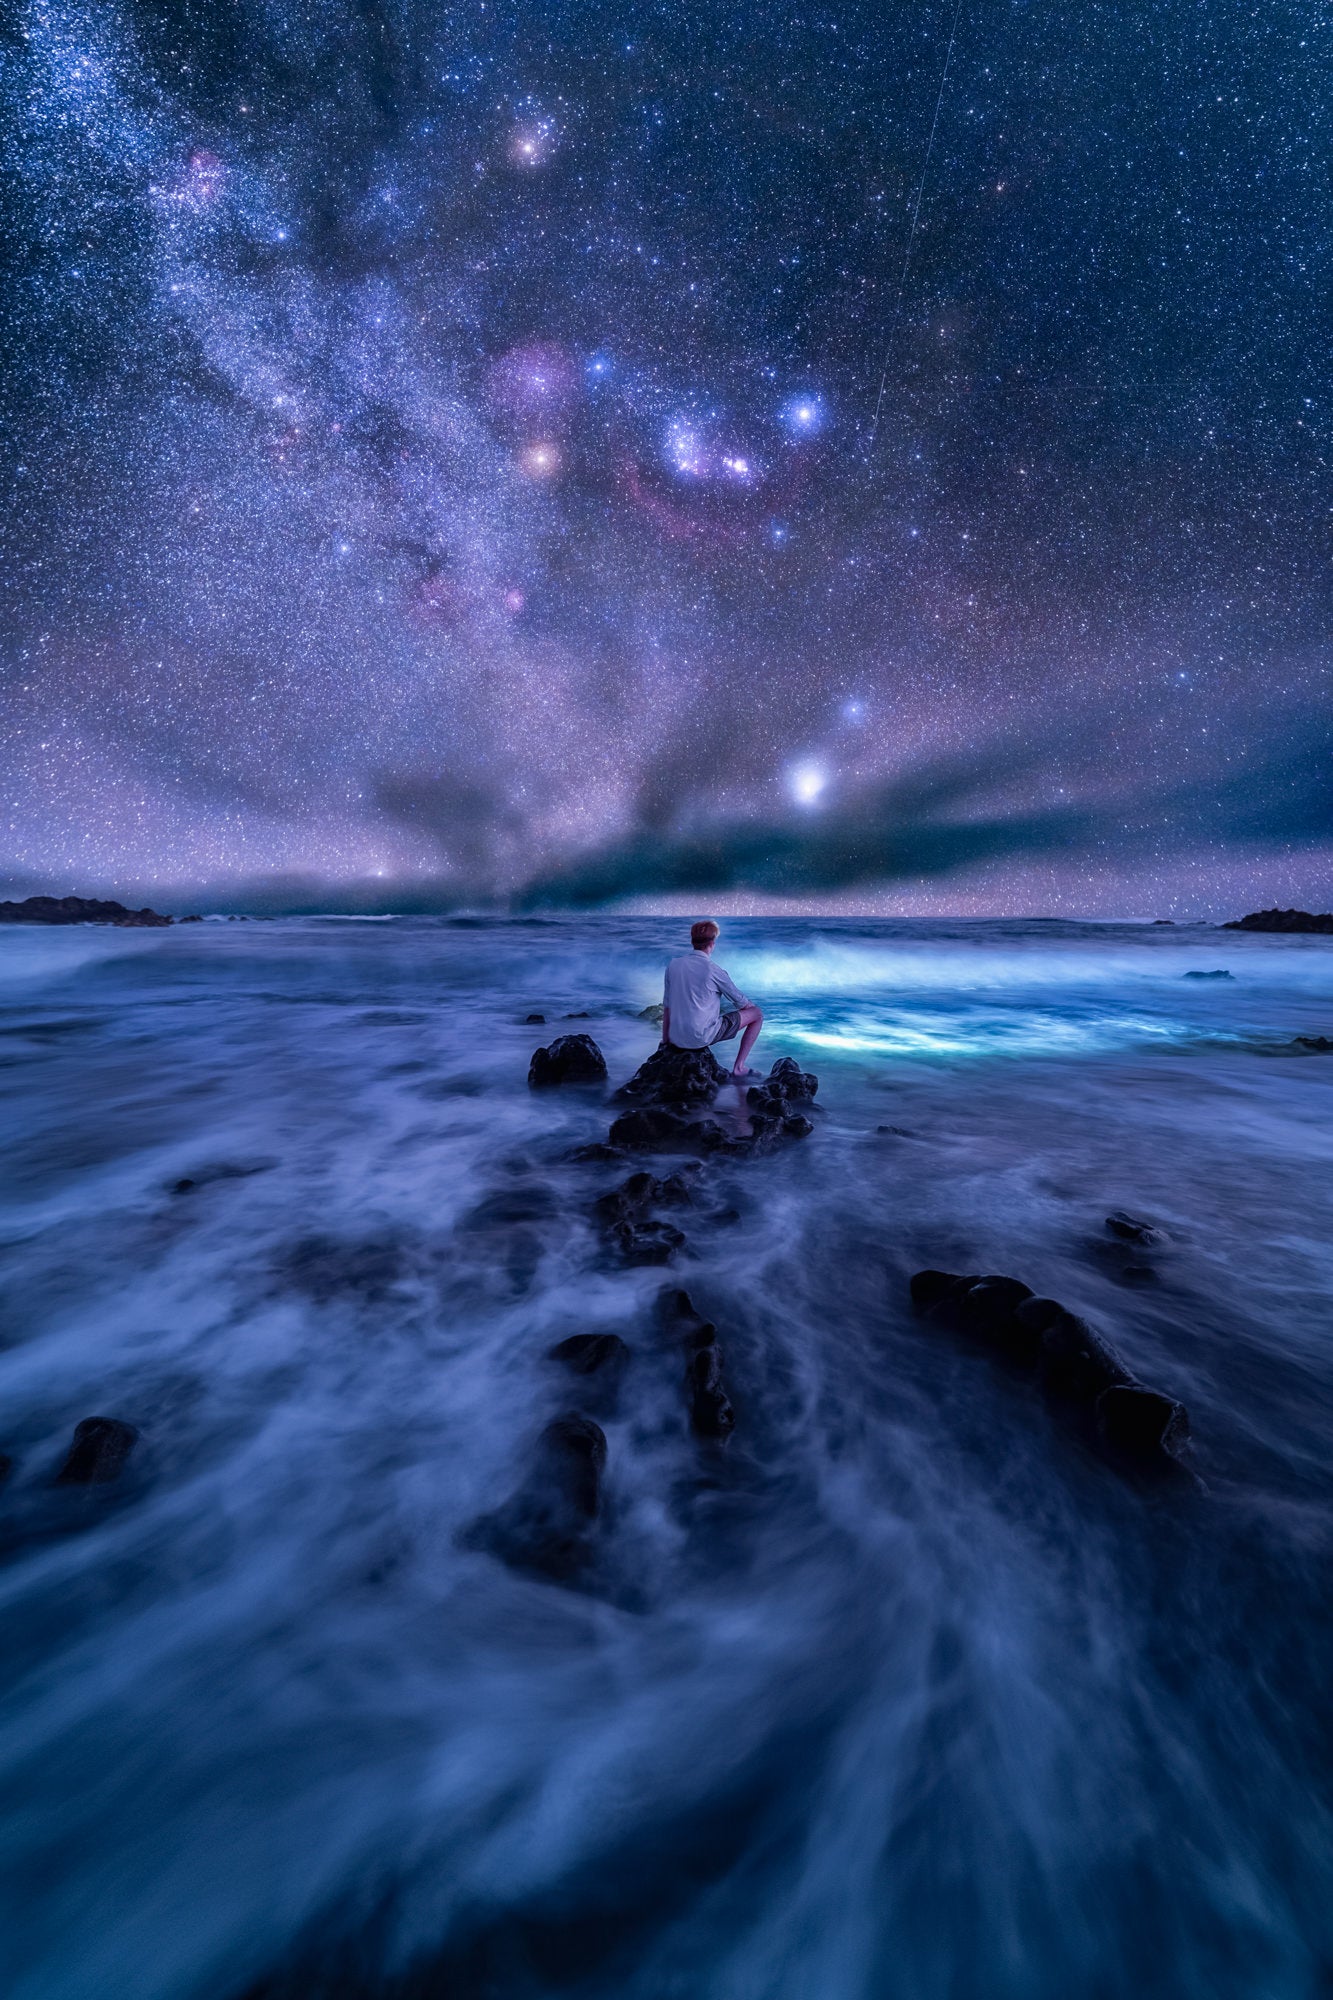
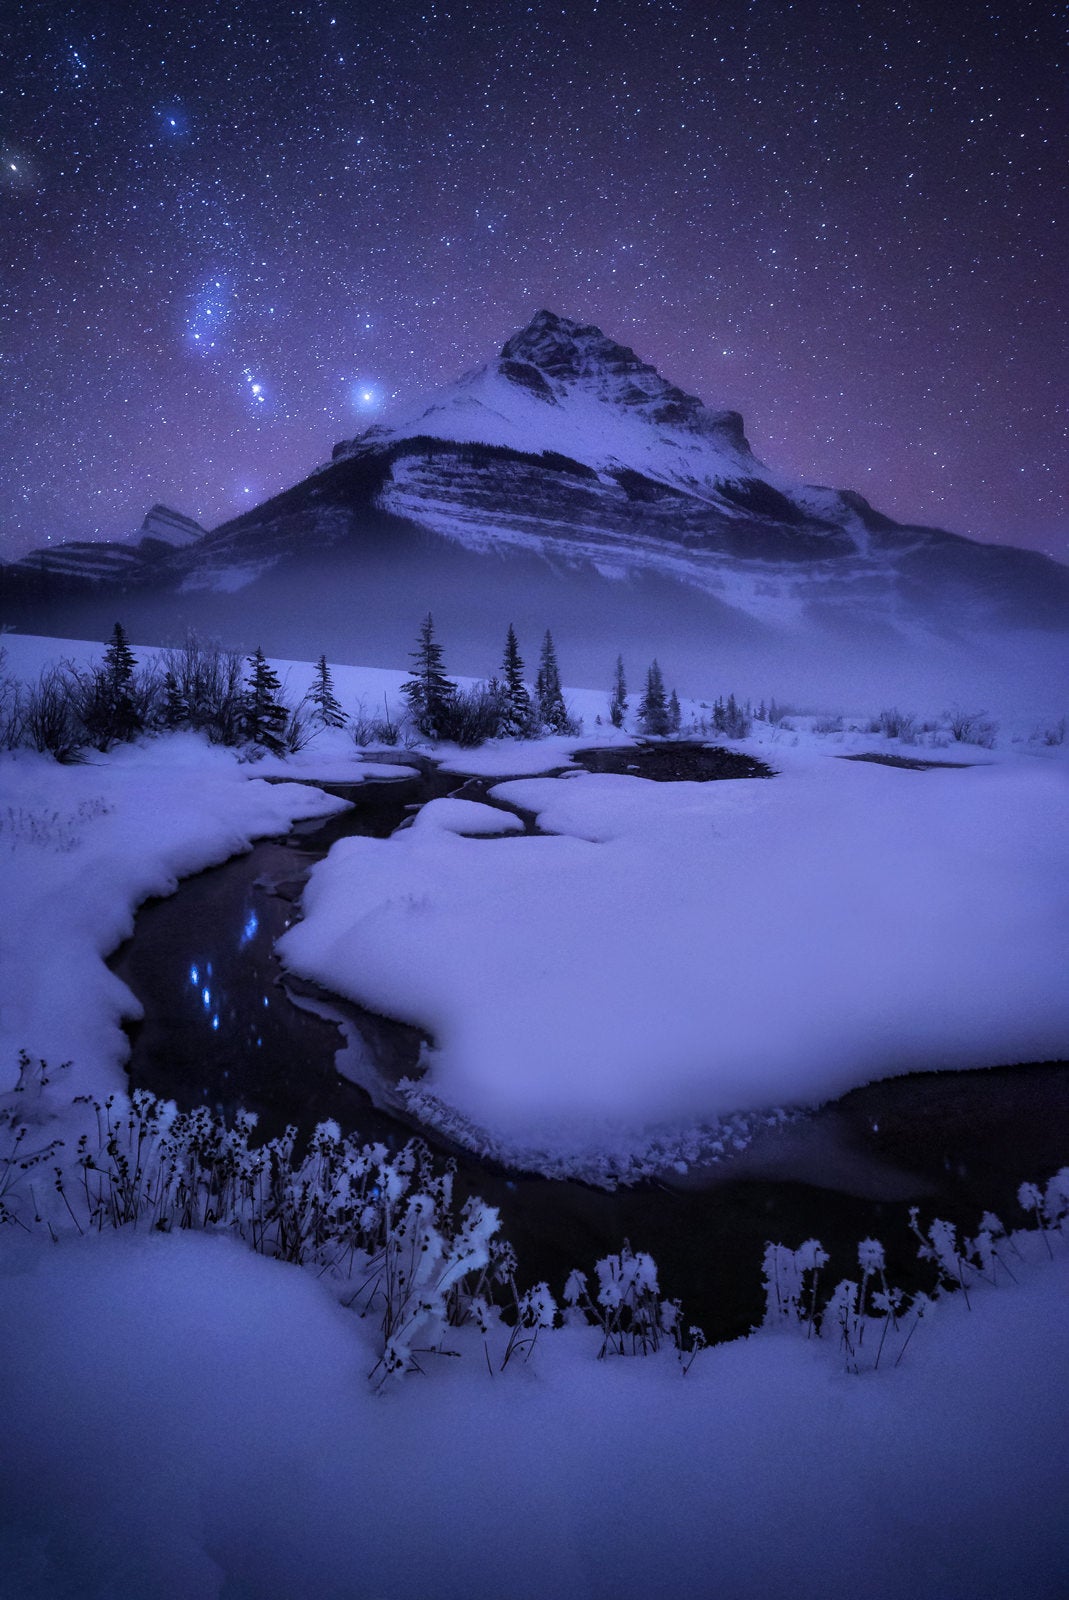
Of course, there’s so much more to the night sky than just the Milky Way. As winter sets in, the Orion constellation begins its journey through the winter night sky, following the same path that the galactic center of the Milky Way travelled earlier in the year. Including an immediately-recognizeable constellation like Orion gives the viewer a sense of connection to the image.
Photo by Rachel Jones Ross. Sony Alpha 7R III.
As the seasons transition, so too does the landscape. In the winter months, when temperatures fall, flowers of ice bloom on open water. In the summer months, fields of bright purple fireweed cover the sandy riverbed.
Have A Backup Plan
Having one plan is great, having multiple plans is better. The more you learn about the area you intend to visit, the better prepared you will be to get great shots, regardless of what mother nature gives you. If you are travelling to the Canadian Rockies for example, the weather will vary considerably from one mountain to the next. Chances are if Tangle Ridge, or another bucket-list location is under clouds, you can find a gap in another area.
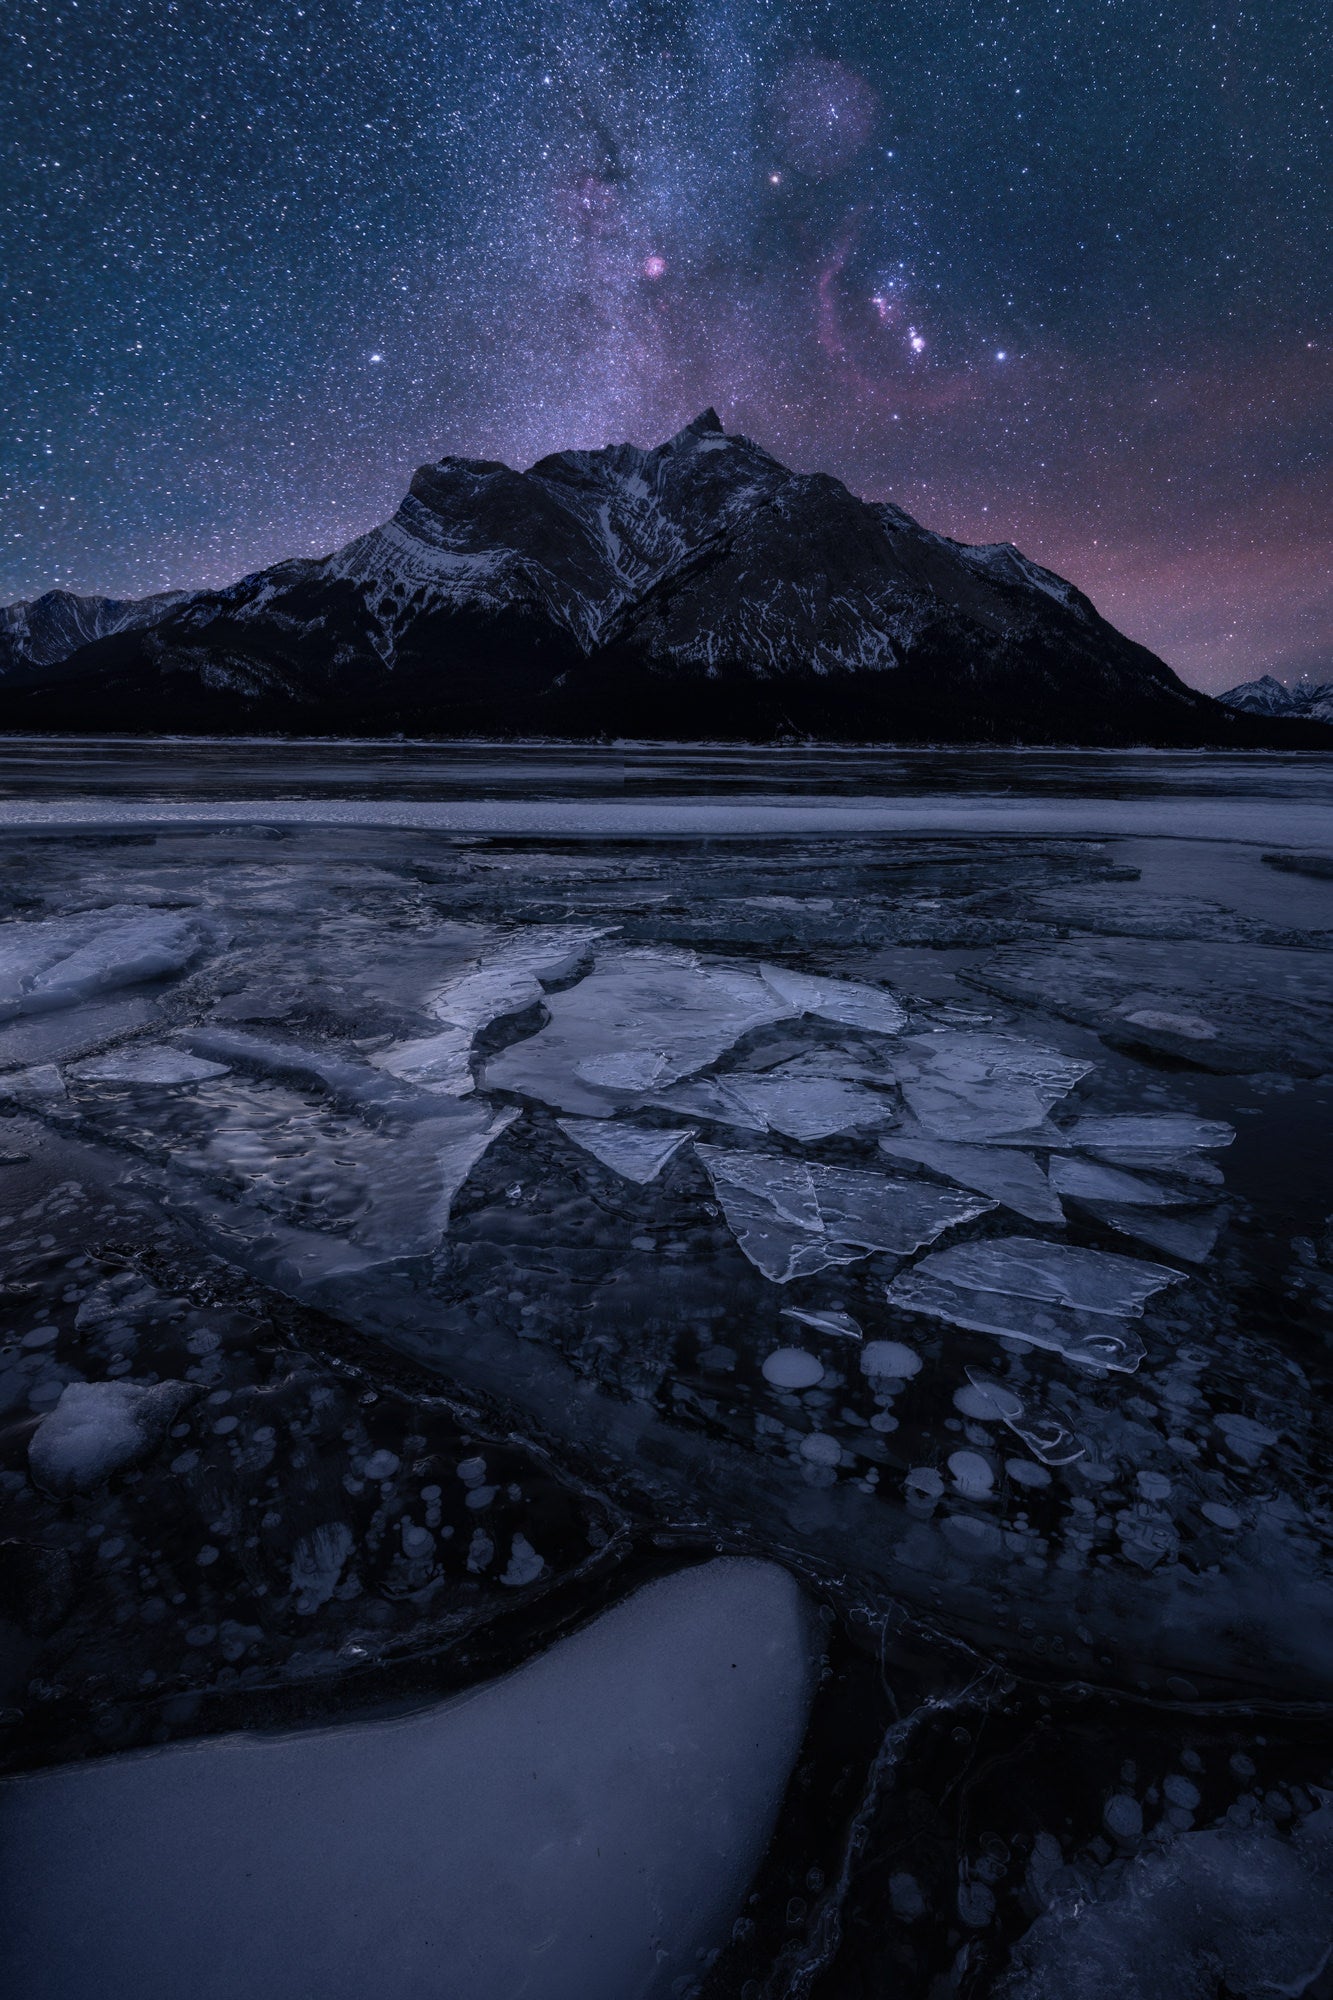
Photo by Rachel Jones Ross. Sony Alpha 7 III. Sony 12-24mm f/2.8 G Master.
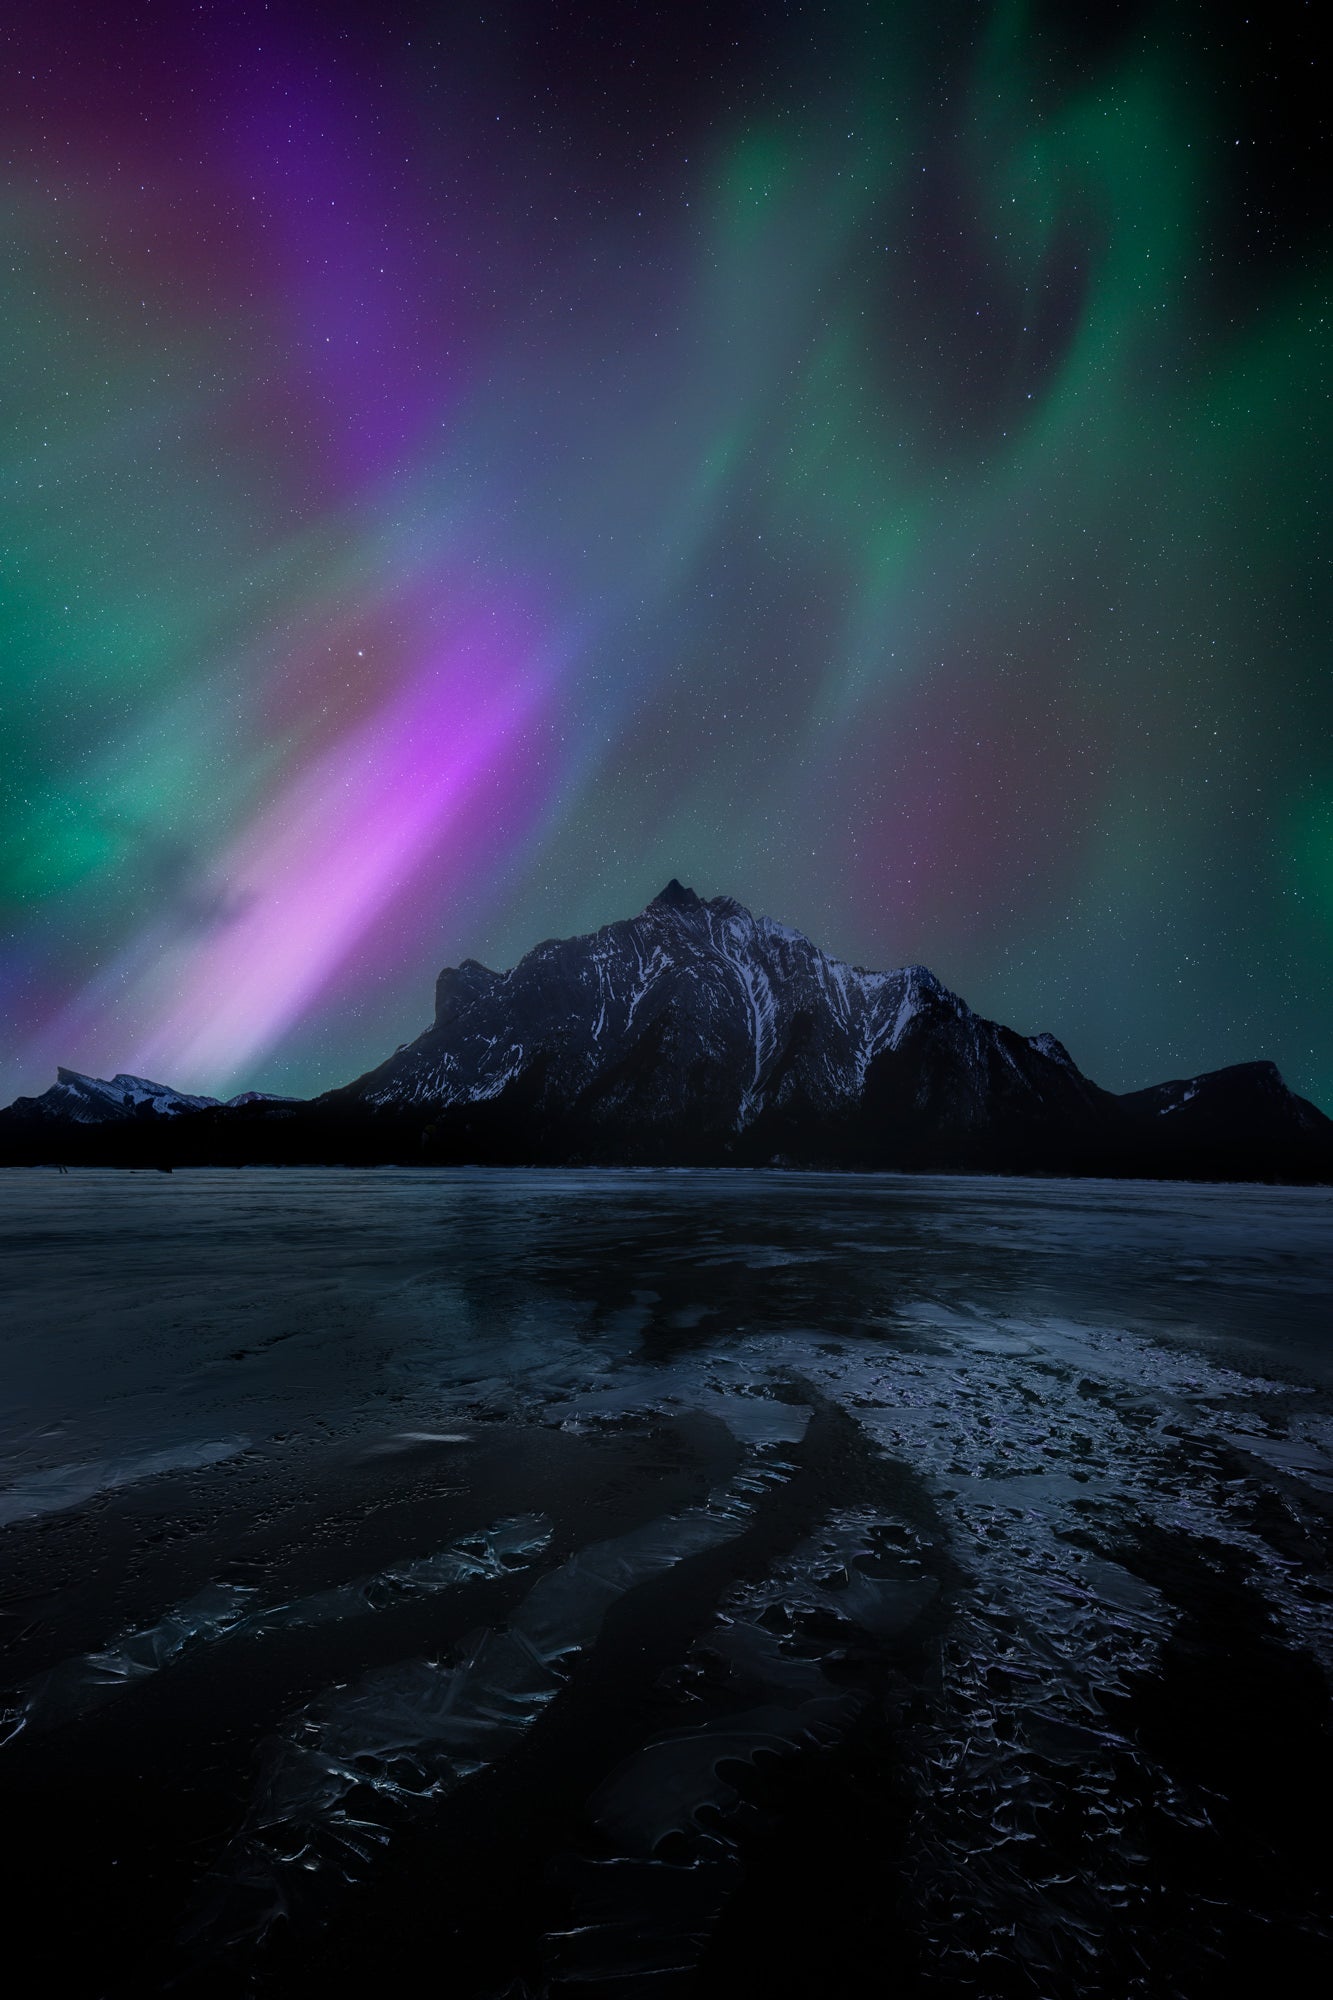
Last February I had a workshop group in the Rockies during one of the biggest solar events of the year, and a forecast for snowmageddon over the entire mountain range. Experience, training, and research has taught me where and how to look at the weather patterns in the area. I poured over the weather forecasts from multiple sources, and multiple weather models looking for any patterns that might hint at a break in the clouds.
That night would prove to be one I hope I never forget. My group arrived at a mountain obscured by snowfall. The snow cleared in time for sunset, then promptly returned as blue hour set in. A few people in the group started to pack up their cameras, until I saw the first dazzling colors of aurora borealis streaming from a tiny gap in the clouds. Everyone erupted into cheers as we watched the veil of clouds slowly part, revealing the most colorful and powerful display of aurora I have ever witnessed. We had clear skies above us for most of the night. We shot from astronomical twilight that evening until astronomical twilight the next morning. Even after 12 hours, and capturing over 22000(!) images, it was difficult to leave.
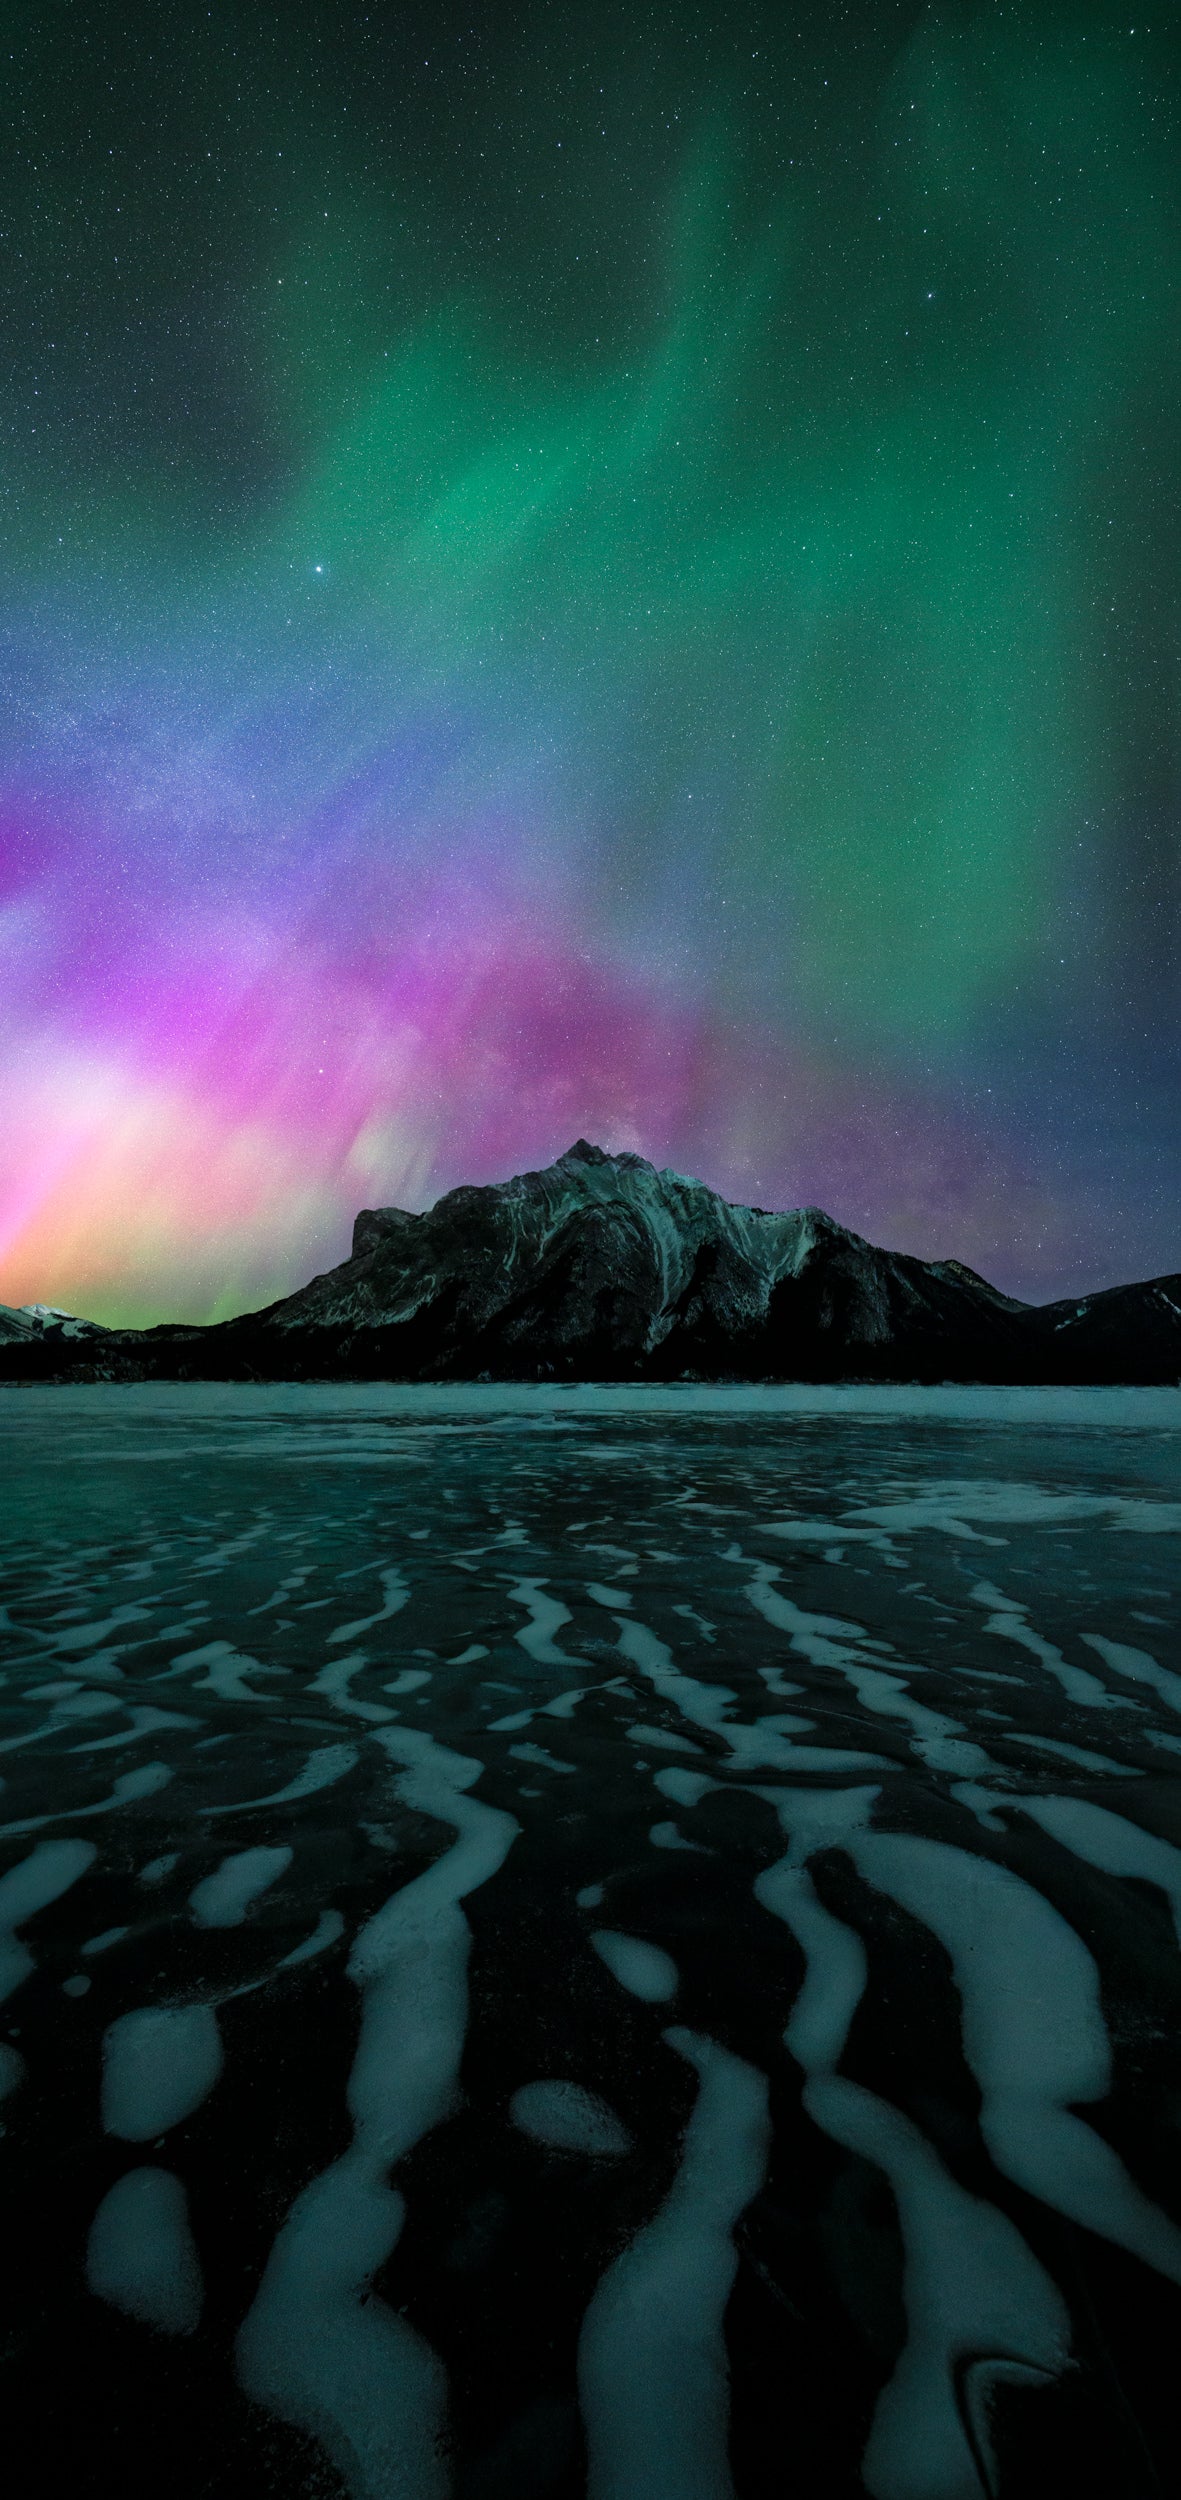
Photo by Rachel Jones Ross. Sony Alpha 1. Sony 14mm f/1.8 G Master.
We were the only group out on the lake that night, and to my knowledge the only people in the Canadian Rockies who were able to capture the unbelievable undulating ribbons of light.
Choose The Right Gear For The Job
Cameras. The old adage is true: The best camera to use is the one you have with you. A camera will let you see more of our galaxy than the human eye can perceive. That said, some cameras certainly perform better than others when it comes to low-light sensitivity and noise.
As a general rule, lower resolution cameras will let in more light, and produce less noise than a higher resolution camera with the same sensor size. As the technology in our cameras advance, newer models like the Sony Alpha 7 IV seem to defy the laws of engineering.
I have long been an advocate of the Sony Alpha 7S III. The “S” line of Sony Alpha cameras is the most Sensitive to light and produce extremely clean images in low light. The tradeoff for this sensitivity is that it has a low resolution (only 12 megapixels).
The Sony Alpha 7 IV, hits the sweet spot in full frame mirrorless cameras and it seems to me that it defies the laws of the photography universe. In my experience, it has the low-light capability of the S line but boasts a 33-megapixel sensor. Put another way, the Sony Alpha 7 IV can take images at ISO 12800 that look like they were shot at ISO 3200 (on par with the S line of Sony cameras). And with 33 megapixels, the Sony Alpha 7 IV boasts nearly three times the resolution of my beloved Sony Alpha 7S III.
I've taken stunning nightscapes on all my Sony cameras. But for single image type of shots (when I am not able to use stacking techniques to reduce noise), I reach for the Sony Alpha 7S III and Sony Alpha 7 IV before I reach for the Sony Alpha 1.
Photo by Rachel Jones Ross. Sony Alpha 1. Sony 14mm f/1.8 G Master.
Lenses. I typically gravitate to wide and fast (f/2.8 or faster) lenses. When photographing the Milky Way, I want a fast lens that compliments my subject. In an area like the Canadian Rockies, that's often my Sony 12-24mm f/2.8 G Master zoom or my Sony 14mm f/1.8 G Master prime lens. These lenses help me to capture a balance between foreground, mountains, and sky with imposing mountain peaks. In other parts of the world, I can often trade my ultra-wide lens for something more mid-range, which brings the Milky Way closer to the viewer.
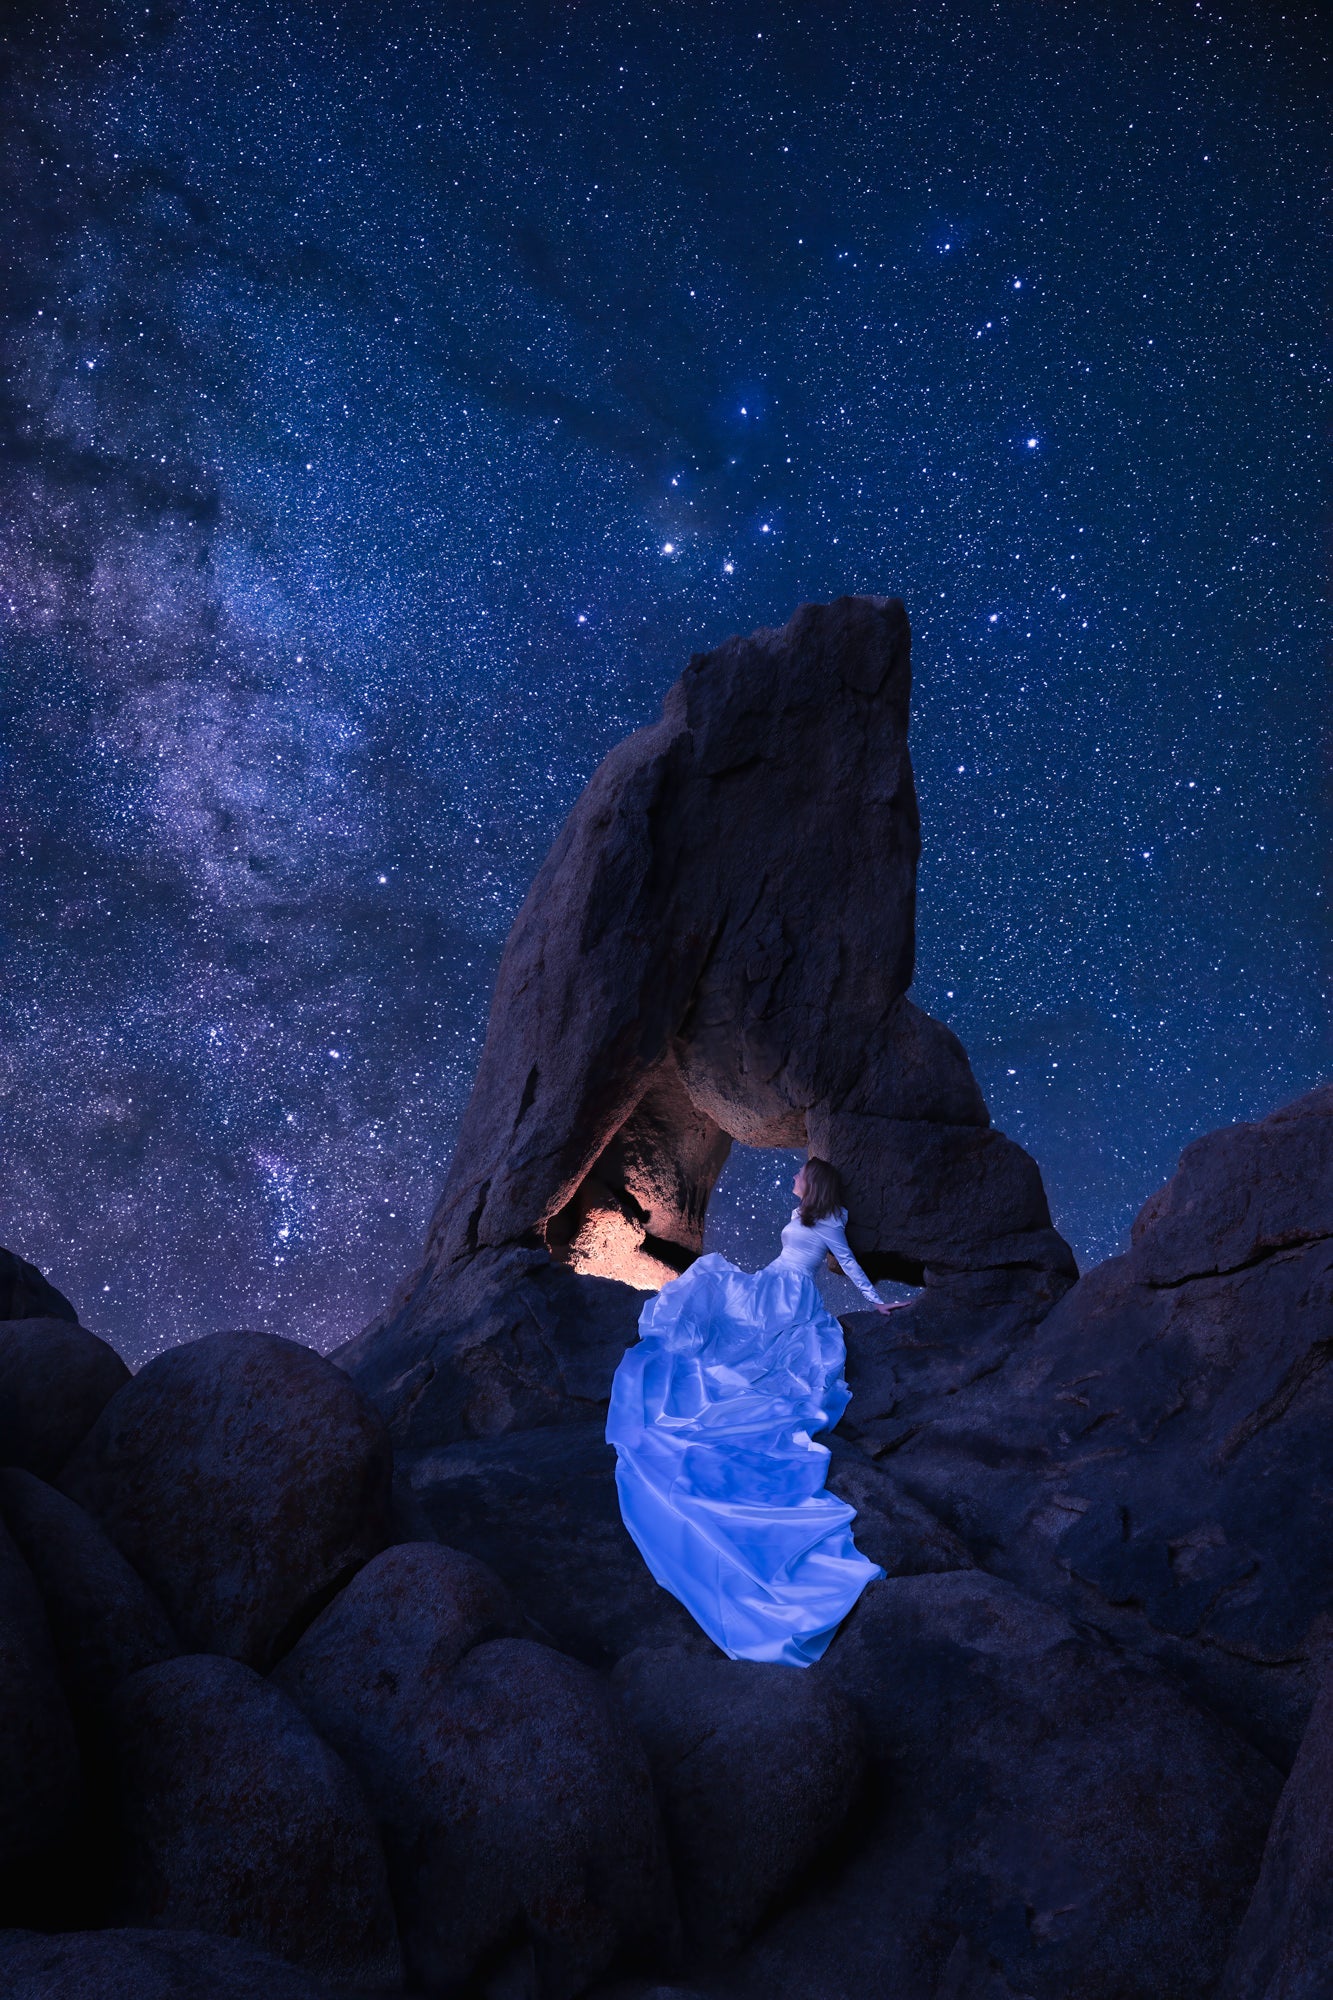
Photo by Rachel Jones Ross. Sony Alpha 1. Sony 24-70mm f/2.8 G Master.
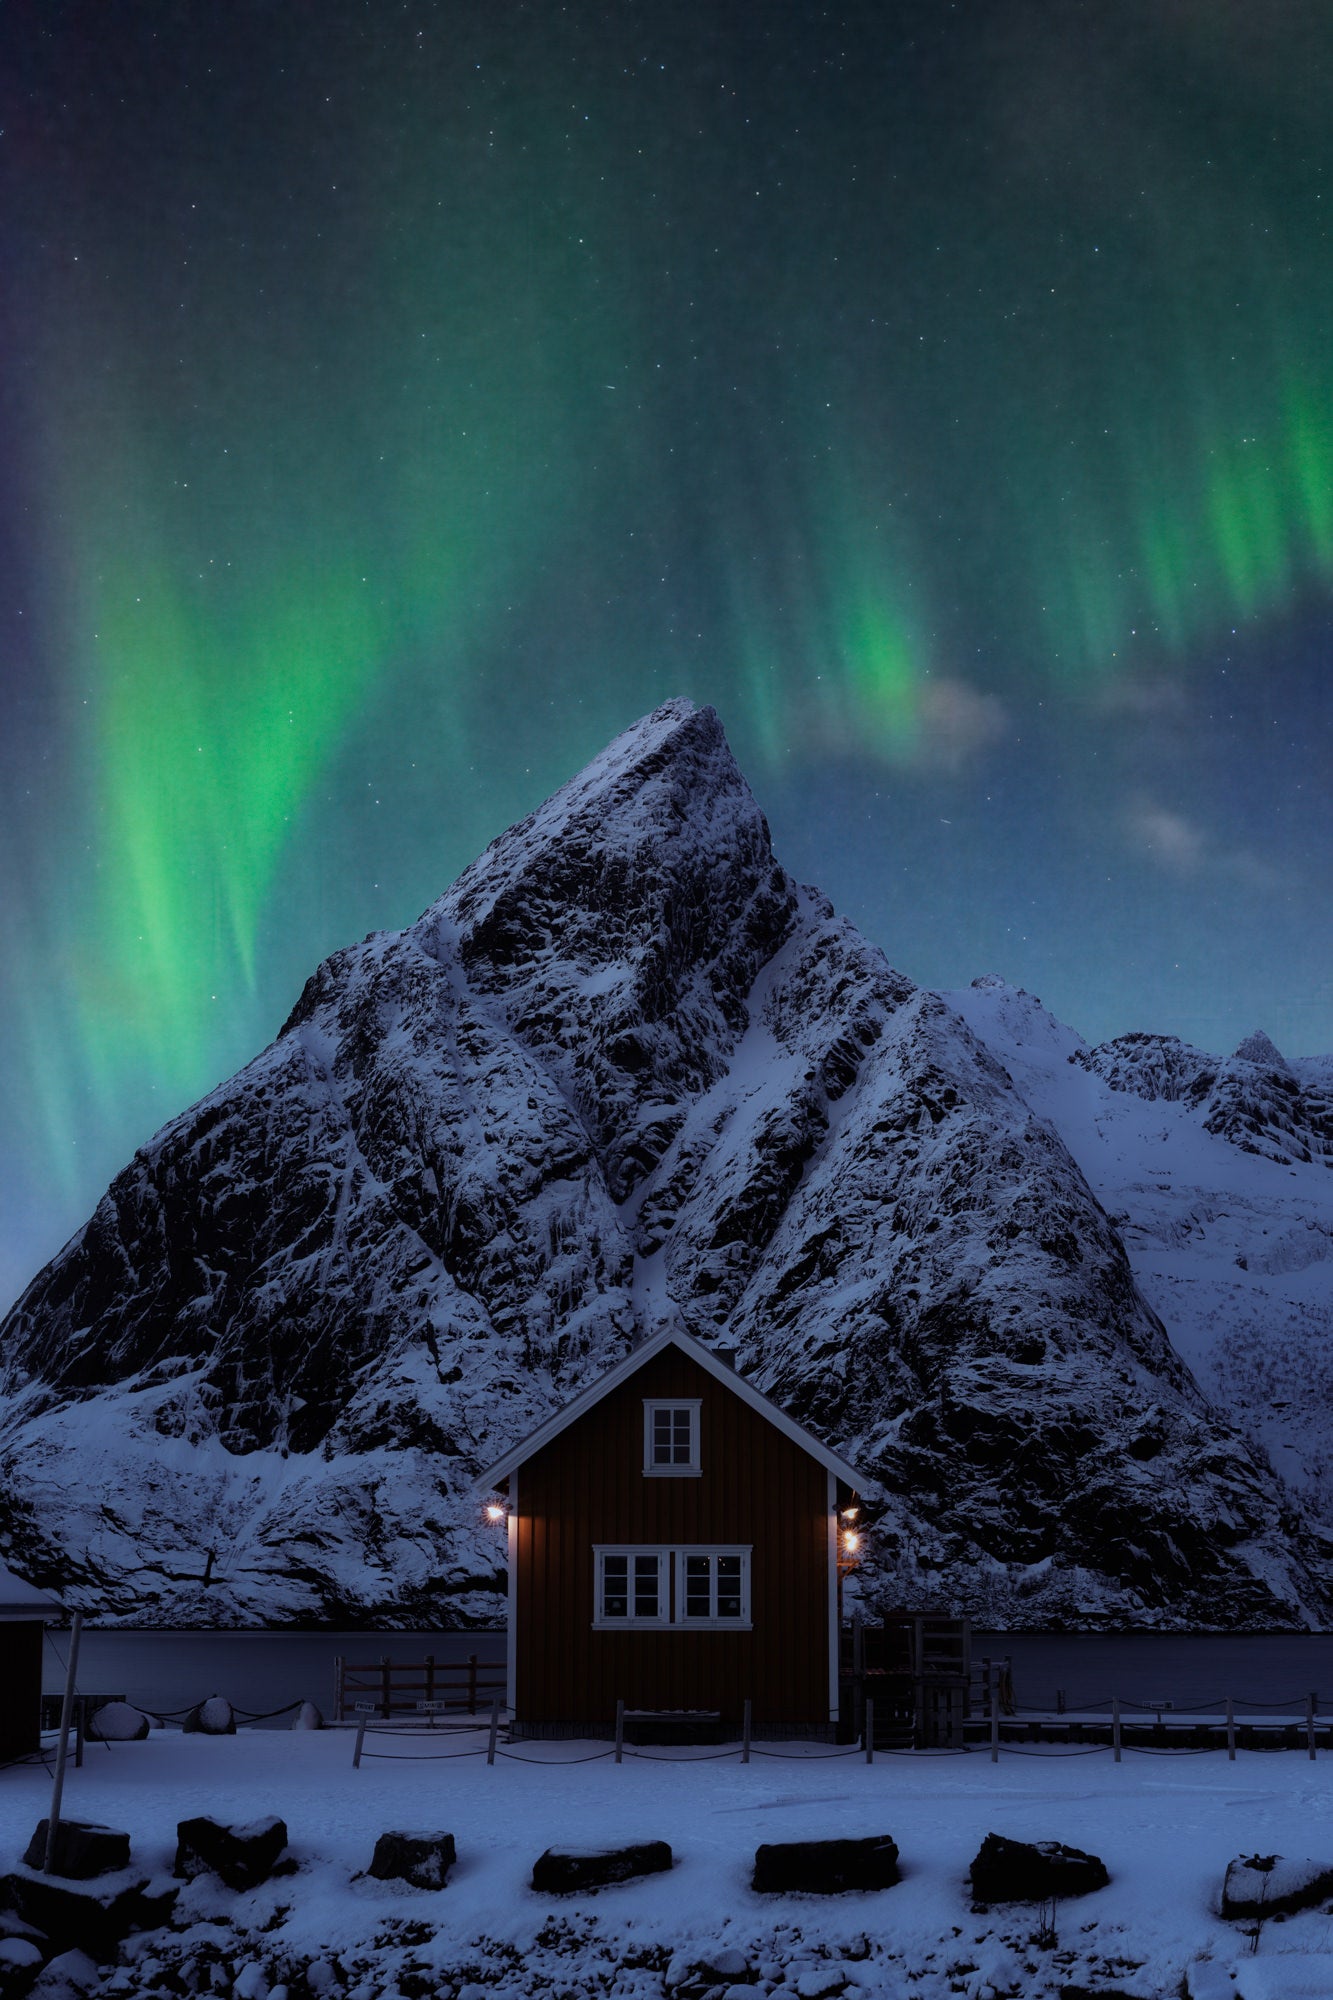
For aurora shooting, I tend to shoot wide, regardless of the landscape. The aurora can be difficult to capture as a lot of the drama, shape, and movement happens much higher than the horizon line where the landscape sits. I still want the landscape to be a prominent feature of the image, but I also must allow room in the composition to capture the dance of the northern lights.
In a perfect world (where airlines have no weight or luggage restrictions, and my body never gets tired or sore), I would use all prime lenses. Prime lenses are usually faster than zooms, and they're incredbly sharp. My favorite prime lenses are the Sony 14mm f/1.8 G Master, the Sony 20mm f/1.8 G, the Sony 24mm f/1.4 G Master and the Sony 35mm f/1.4 G Master. Alas, I am a greedy girl who carries three cameras and 2-3 tripods on every trip so unless my sweetheart accompanies me, there are only so many lenses I can carry…
Where & When to Shoot
Did I mention planning… er, uh, where and when to shoot? First, what is it you want to capture?
Milky Way. If you have never photographed the night sky, the Milky Way is a great place to start. Weather considerations aside, it’s predictable, and with planning tools like PhotoPills you can see how it will line up with your landscape without even leaving home.
The galactic center of the Milky Way can be seen and photographed as early as February in the northern hemisphere and as late as October. The best time to photograph it is in the weeks before and after new moon when night is the darkest. During full moon periods, the light of the moon washes out the color and brilliance of the Milky Way.
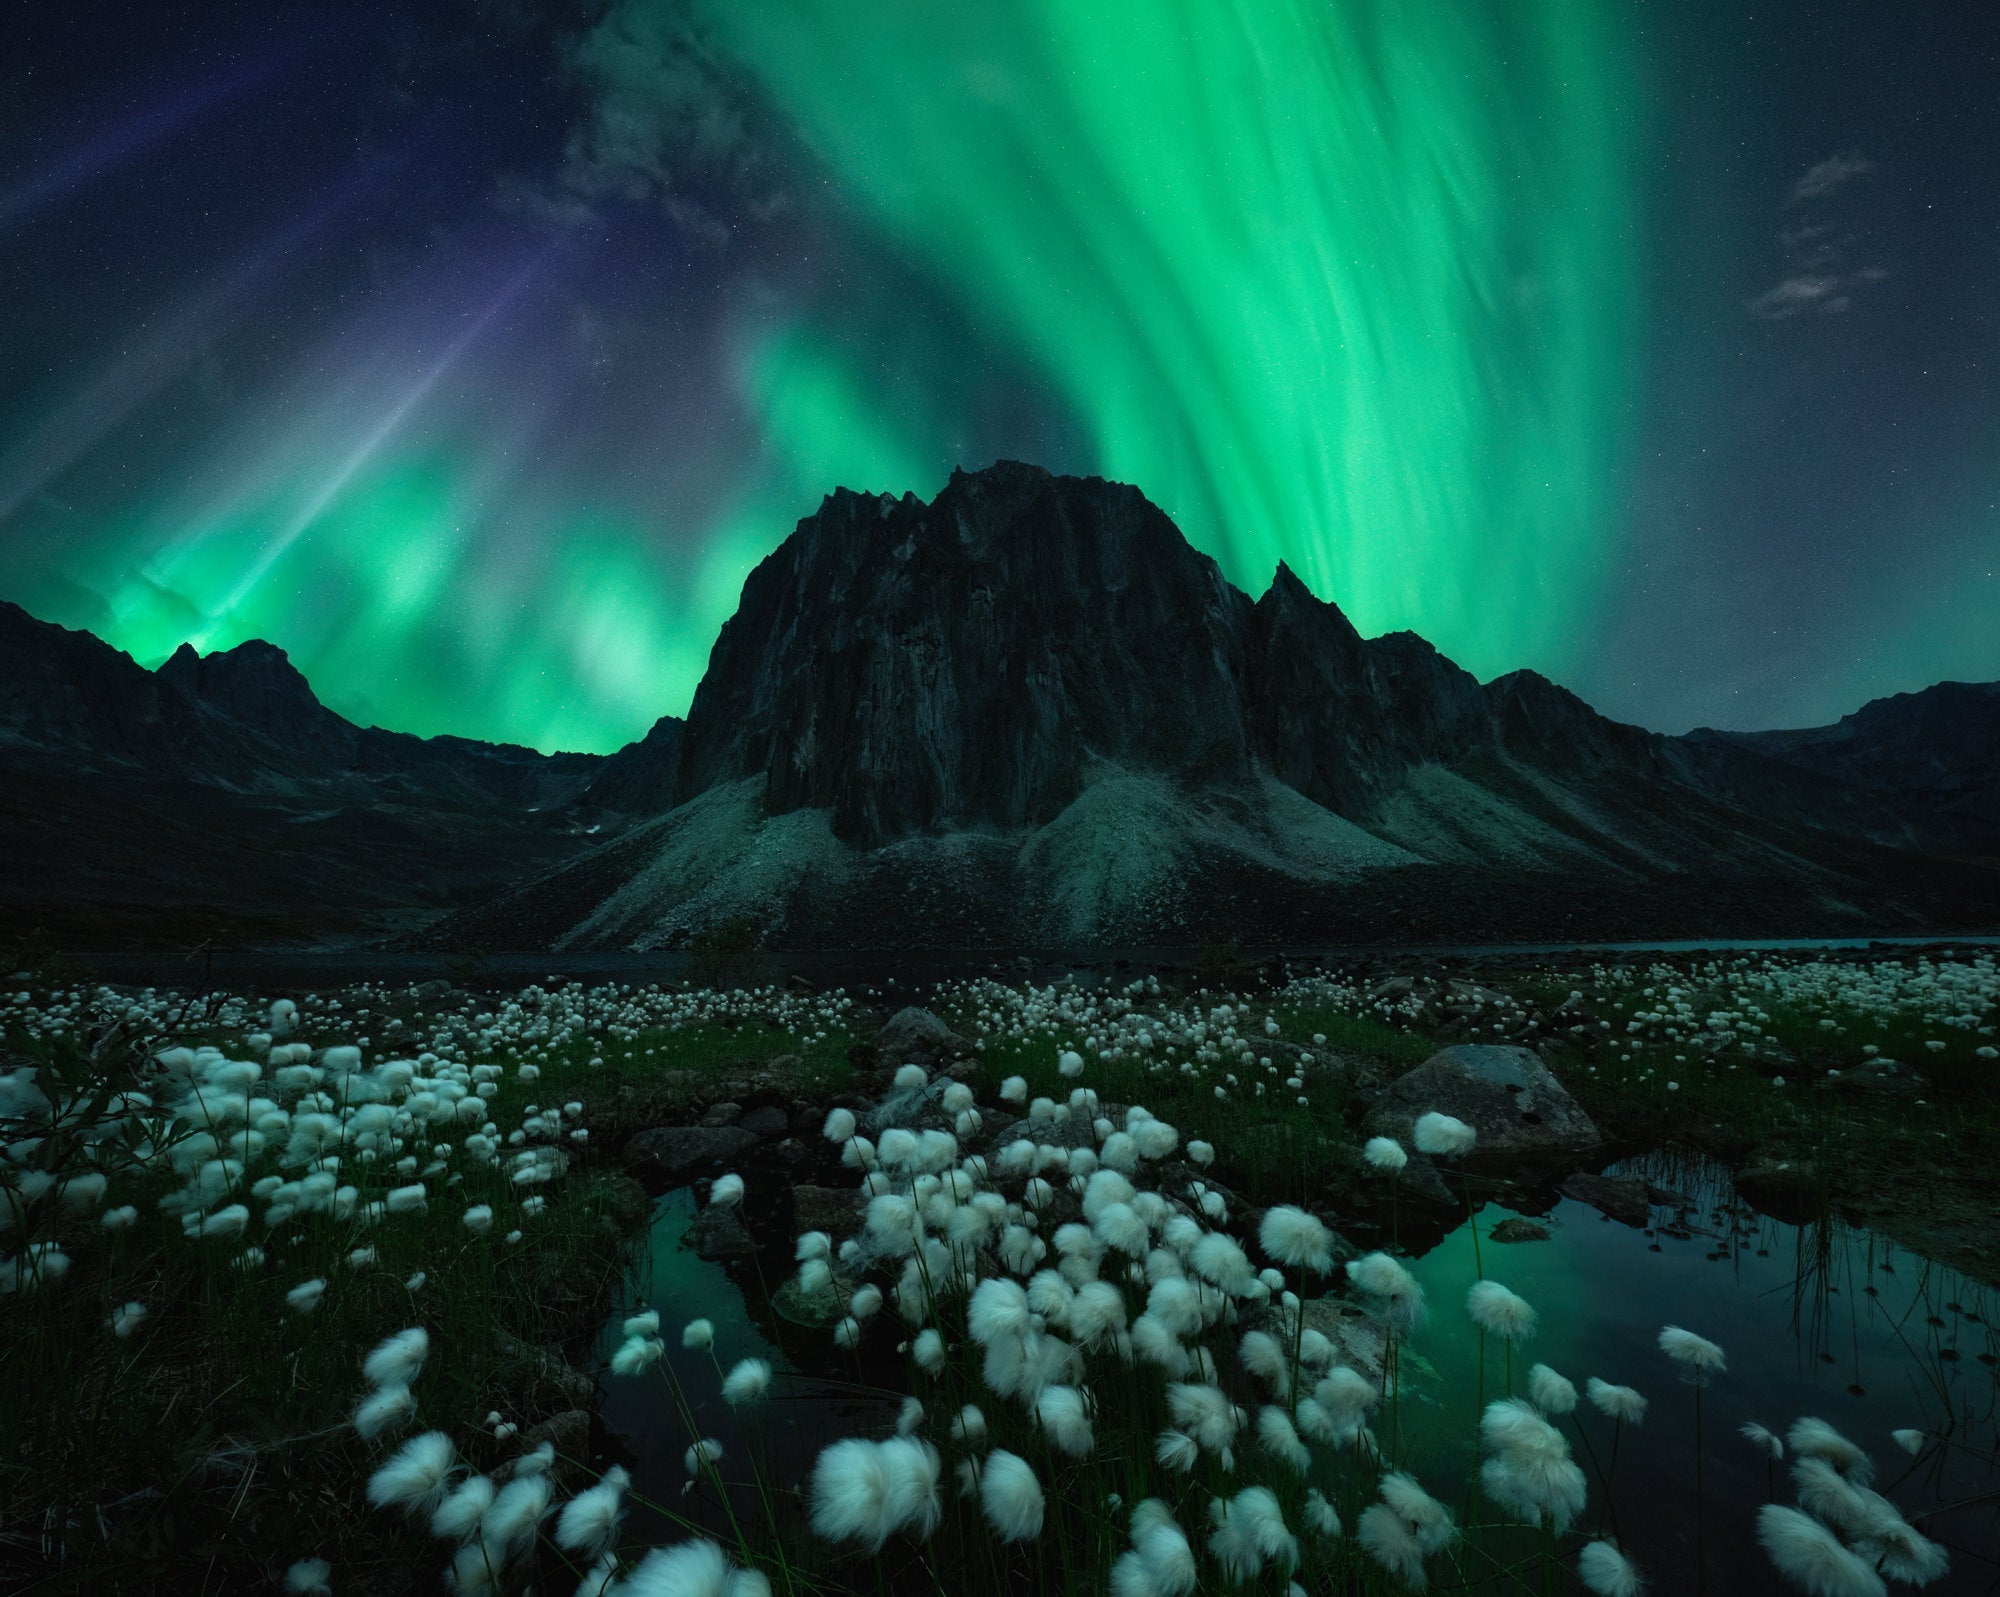
Aurora. Unlike the photographing the Milky Way, you do not need completely dark skies to photograph the aurora borealis. The brilliance of the colorful light can be seen over the light of the moon (yes, even on a full moon night!).
By the light of the moon, you can also better see the northern lights with your own eyes. Human vision relies on two types of photoreceptors in the eye: cones, and rods. Cones are the photoreceptor that allow us to see the world in color, but they require a lot of light to activate. Rods in contrast, need very little light to activate; these photoreceptors allow us to perceive movement in the dark but do not show us our world in color. The combination of moonlight and northern lights can stimulate the cone photoreceptors in our eyes, allowing us to see colorful curtains light.
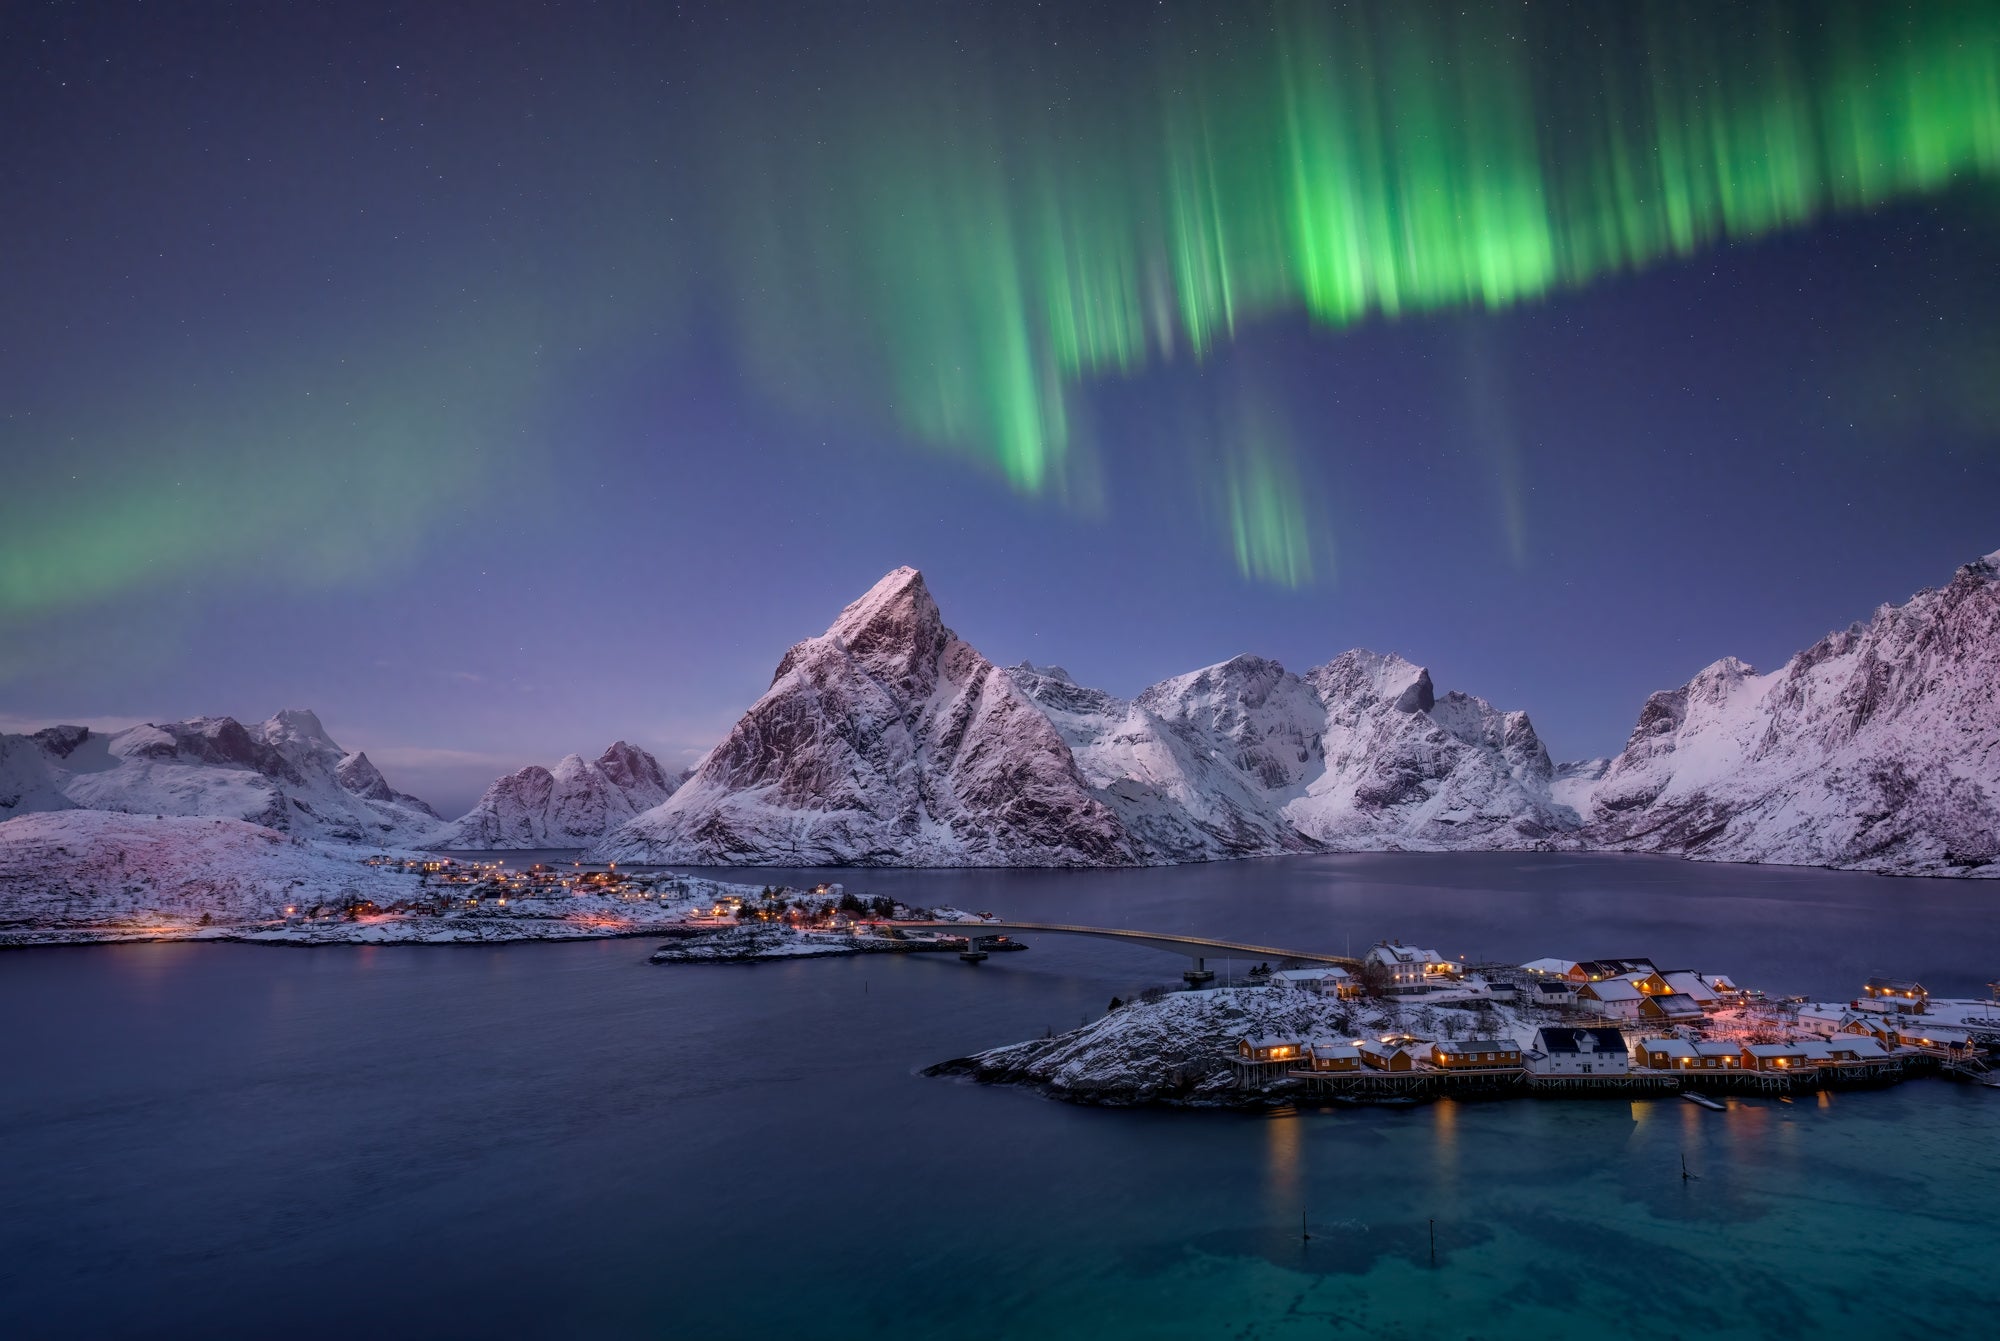
Photo by Rachel Jones Ross. Sony Alpha 1. Sony 20mm f/1.8 G.
If you have dreamt of capturing the ever-enchanting aurora borealis, the next few years will offer some of the best opportunities to experience it this decade. Over the next 12-18 months, the sun will enter a period of solar maximum. This is part of an 11-year cycle of solar-storm activity on our star. When the sun is storming, charged solar particles (protons and electrons) get hurled out into space, some headed toward earth. When those charged particles meet the gasses in our atmosphere (largely nitrogen and oxygen) the reaction creates an explosion of colorful light that we see as the aurora.
Photo by Rachel Jones Ross. Sony Alpha 1. Sony 24-70mm f/2.8 G Master.
My goal is to spend as much time photographing the aurora as possible. The Milky Way will always be visible in dark sky areas. In contrast, the timing for aurora shooting is most ideal over the next few years.
There is no greater thrill for me than seeing the northern lights from my home in the majestic Canadian Rockies. Outside of the Rockies, I plan to spend time in far reaches of the North, including the Canadian Yukon Territory, Finland, Norway, and Iceland.
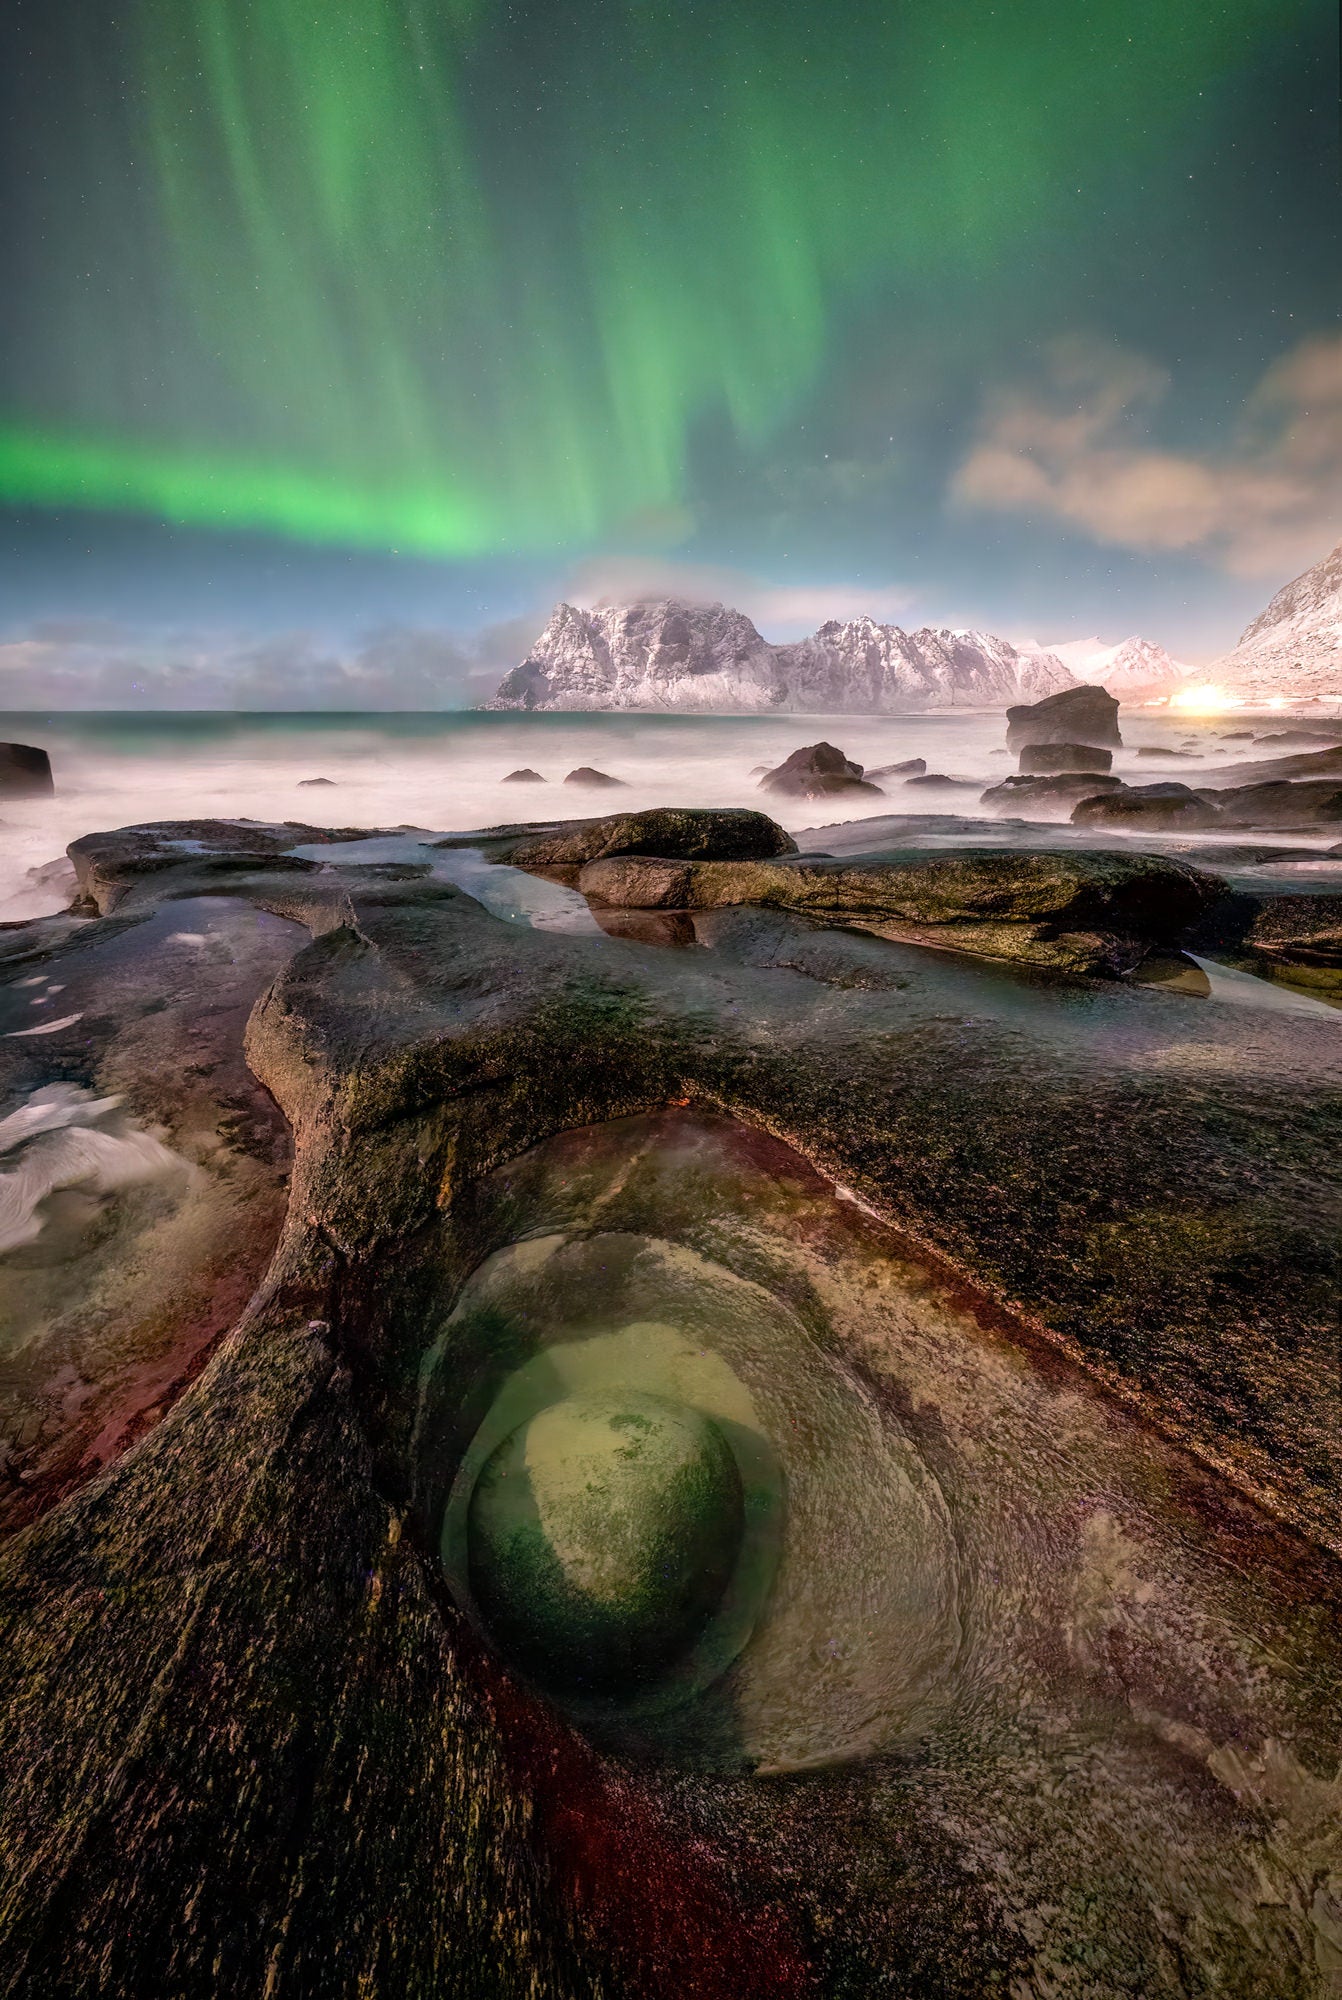
Photo by Rachel Jones Ross. Sony Alpha 7S III. Sony 12-24mm f/2.8 G Master.
If you want to learn more about how to put yourself in the right place at the right time to experience the aurora, check out my interview with The Camera Store, and Sony Canada.
If you are limited on time, or this level of planning seems overwhelming, you can let an expert plan it for you, and join a Photography Workshop designed to help you maximize every precious opportunity to capture the stars and the aurora.
My inheritance was a handful of Earth,
But of sky
All the Universe.
~ Rafael Arozarena
See more of Rachel Jones Ross' work on Instagram @rachel_jones_ross and at astralisphotography.com.


