We connect with professional food photographer and educator Lauren C. Short (@lauren.c.short) as she shares some of the steps in her food photography process.
Thanksgiving is this week, meaning we can expect an uptick in food photos on all of our feeds. Some food shots are certainly more appetizing than others, and we connected with full-time professional food photographer and educator Lauren C. Short (@lauren.c.short) to learn how you can make yours the best. Short is the creator of the Food Photography Academy, a course designed to help others grow their food photography skills and business, and her blog and YouTube are filled with information on taking your food photos to the next level. Keep reading for more of her tips on capturing the perfect seasonal spread or delicious dish this Thanksgiving.

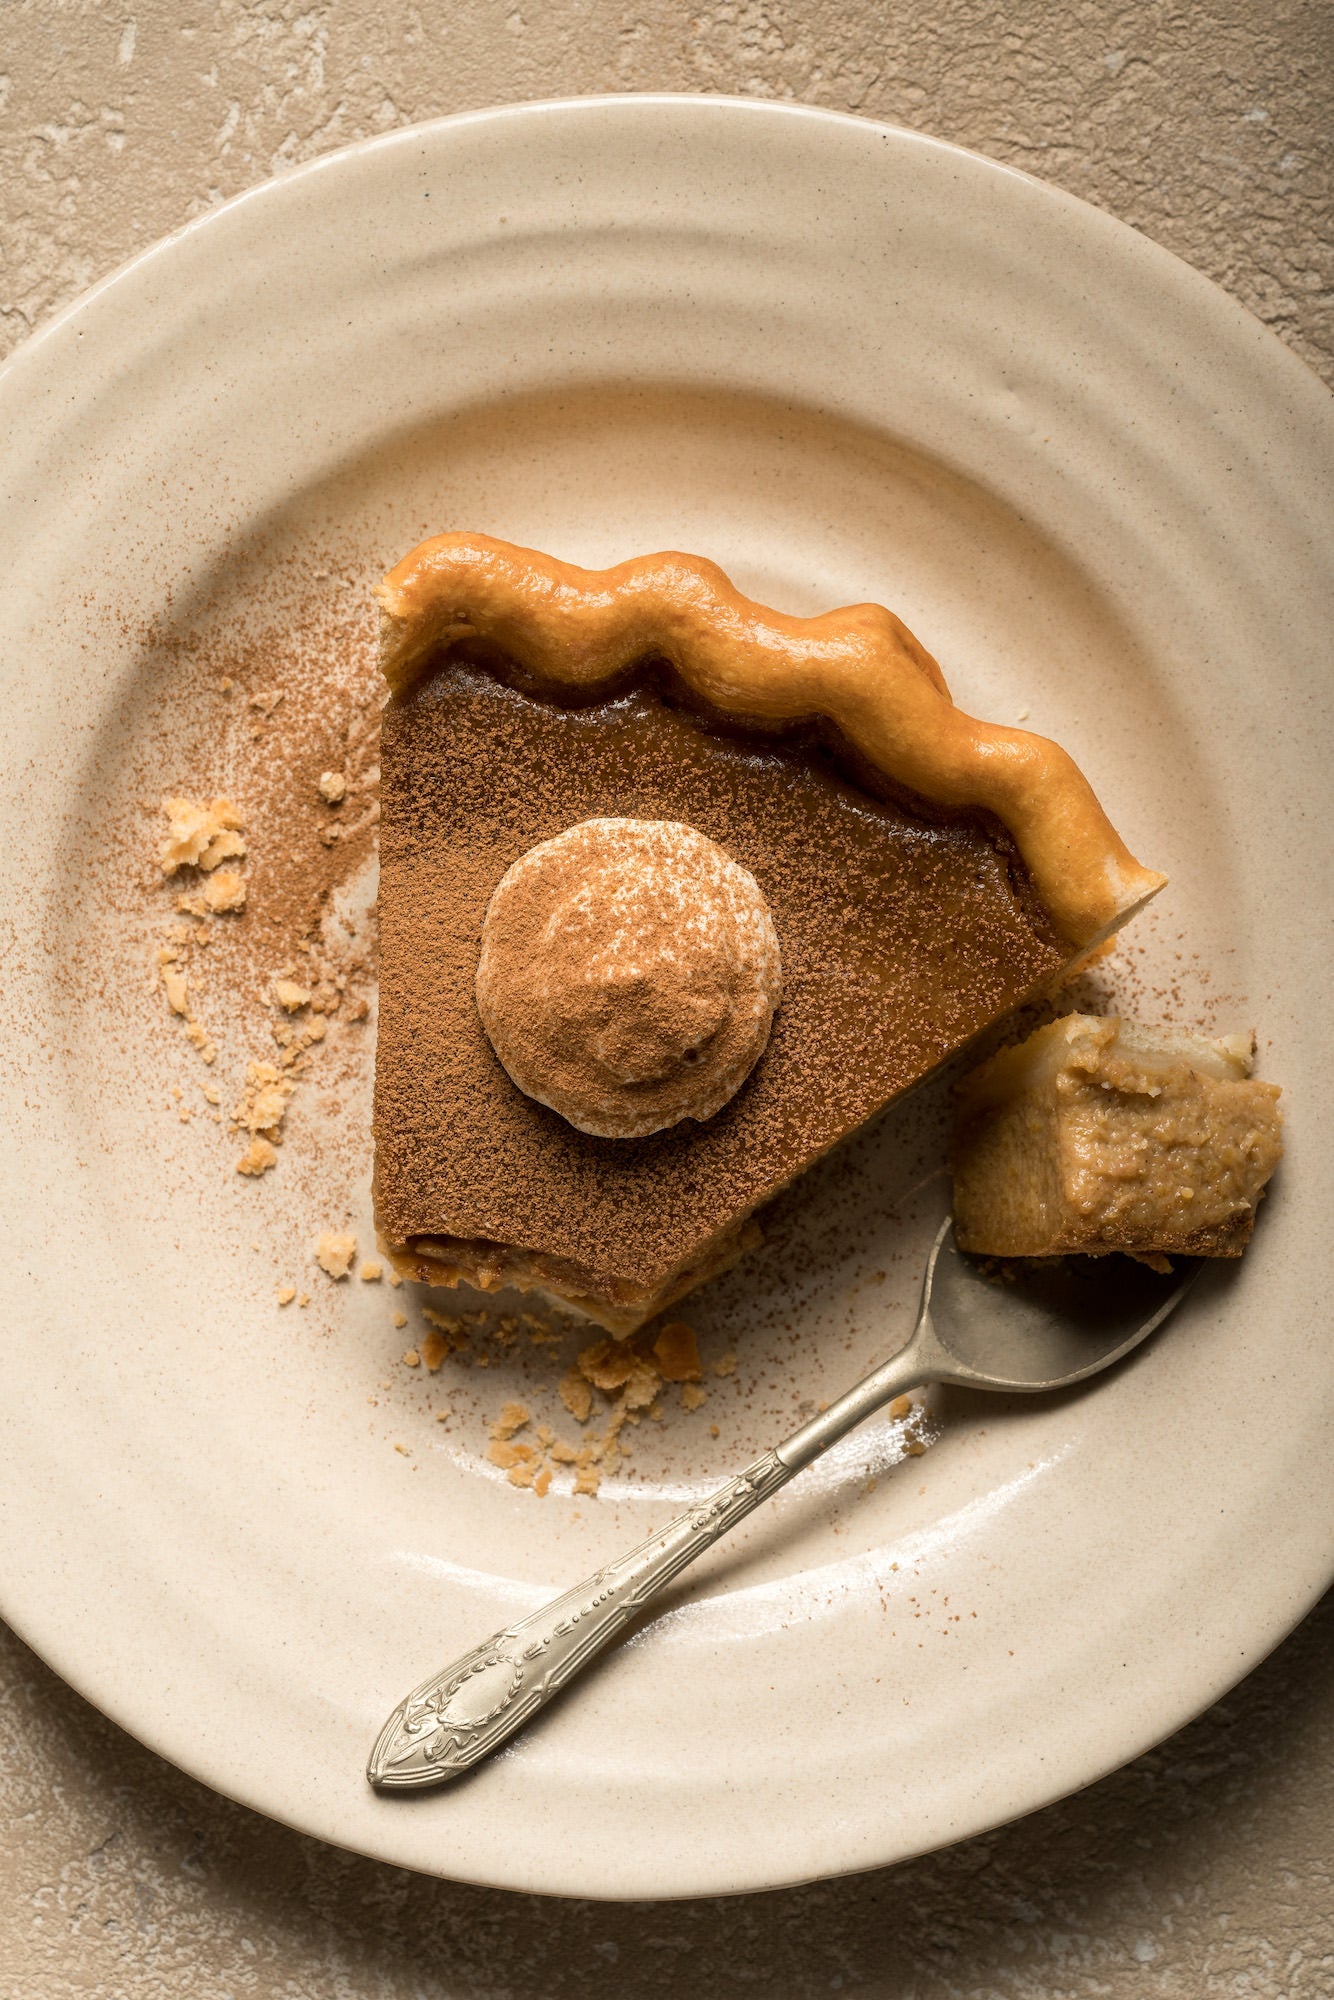
Photo by Lauren C. Short. Sony Alpha 7R III. Sony 90mm f/2.8 Macro G. 1/250-sec., f/11, ISO 250
Want to show off your Thanksgiving spread? Check out these 7 steps from a professional food photographer and stylist on how to create mouthwatering images of your meal.
Step 1: Choose Your Composition Technique
When Short approaches a food photography shoot, she always likes to start with some kind of composition grid to give her an idea of the layout. “Whether that's the rule of thirds or the golden triangle, the golden spiral, or any of those,” she explains. “It gives you a starting point to lay out where your hero subject's going to be and then how you can place the other elements in your frame to really lead your eye toward that and make sure that things are working together.
She continues, “Start with that as a base and make sure that you switch it up from time to time. It's quite easy to get comfortable with one, particularly with still life photography, like food photography, but they all have a really different feel. The golden spirals are very soft and curved. The golden triangle is quite angular and diagonal. So they give a really different feel in images.”
Step 2: Sketch Your Scene
Once Short has landed on the composition technique she’s going to use, she’s a big fan of planning out the scene in advance. She prints out one of her composition guides and sketches a rough structure of the photo before she goes into the shoot. “I don’t go super crazy and create a masterpiece out of it, but just a rough sketch to give myself an idea of where I want to place the main things and visualize how I want the photo to look. I'll even put some extra notes on it, like which direction I think the light should come from, what the angle of my camera is going to be, maybe a few notes about what background and props I might use. I find that much easier than just walking in, turning on the camera and having this big, blank screen with no starting point. And it always develops a bit as I go through the shoot, but it definitely helps to have that little bit of structure.”
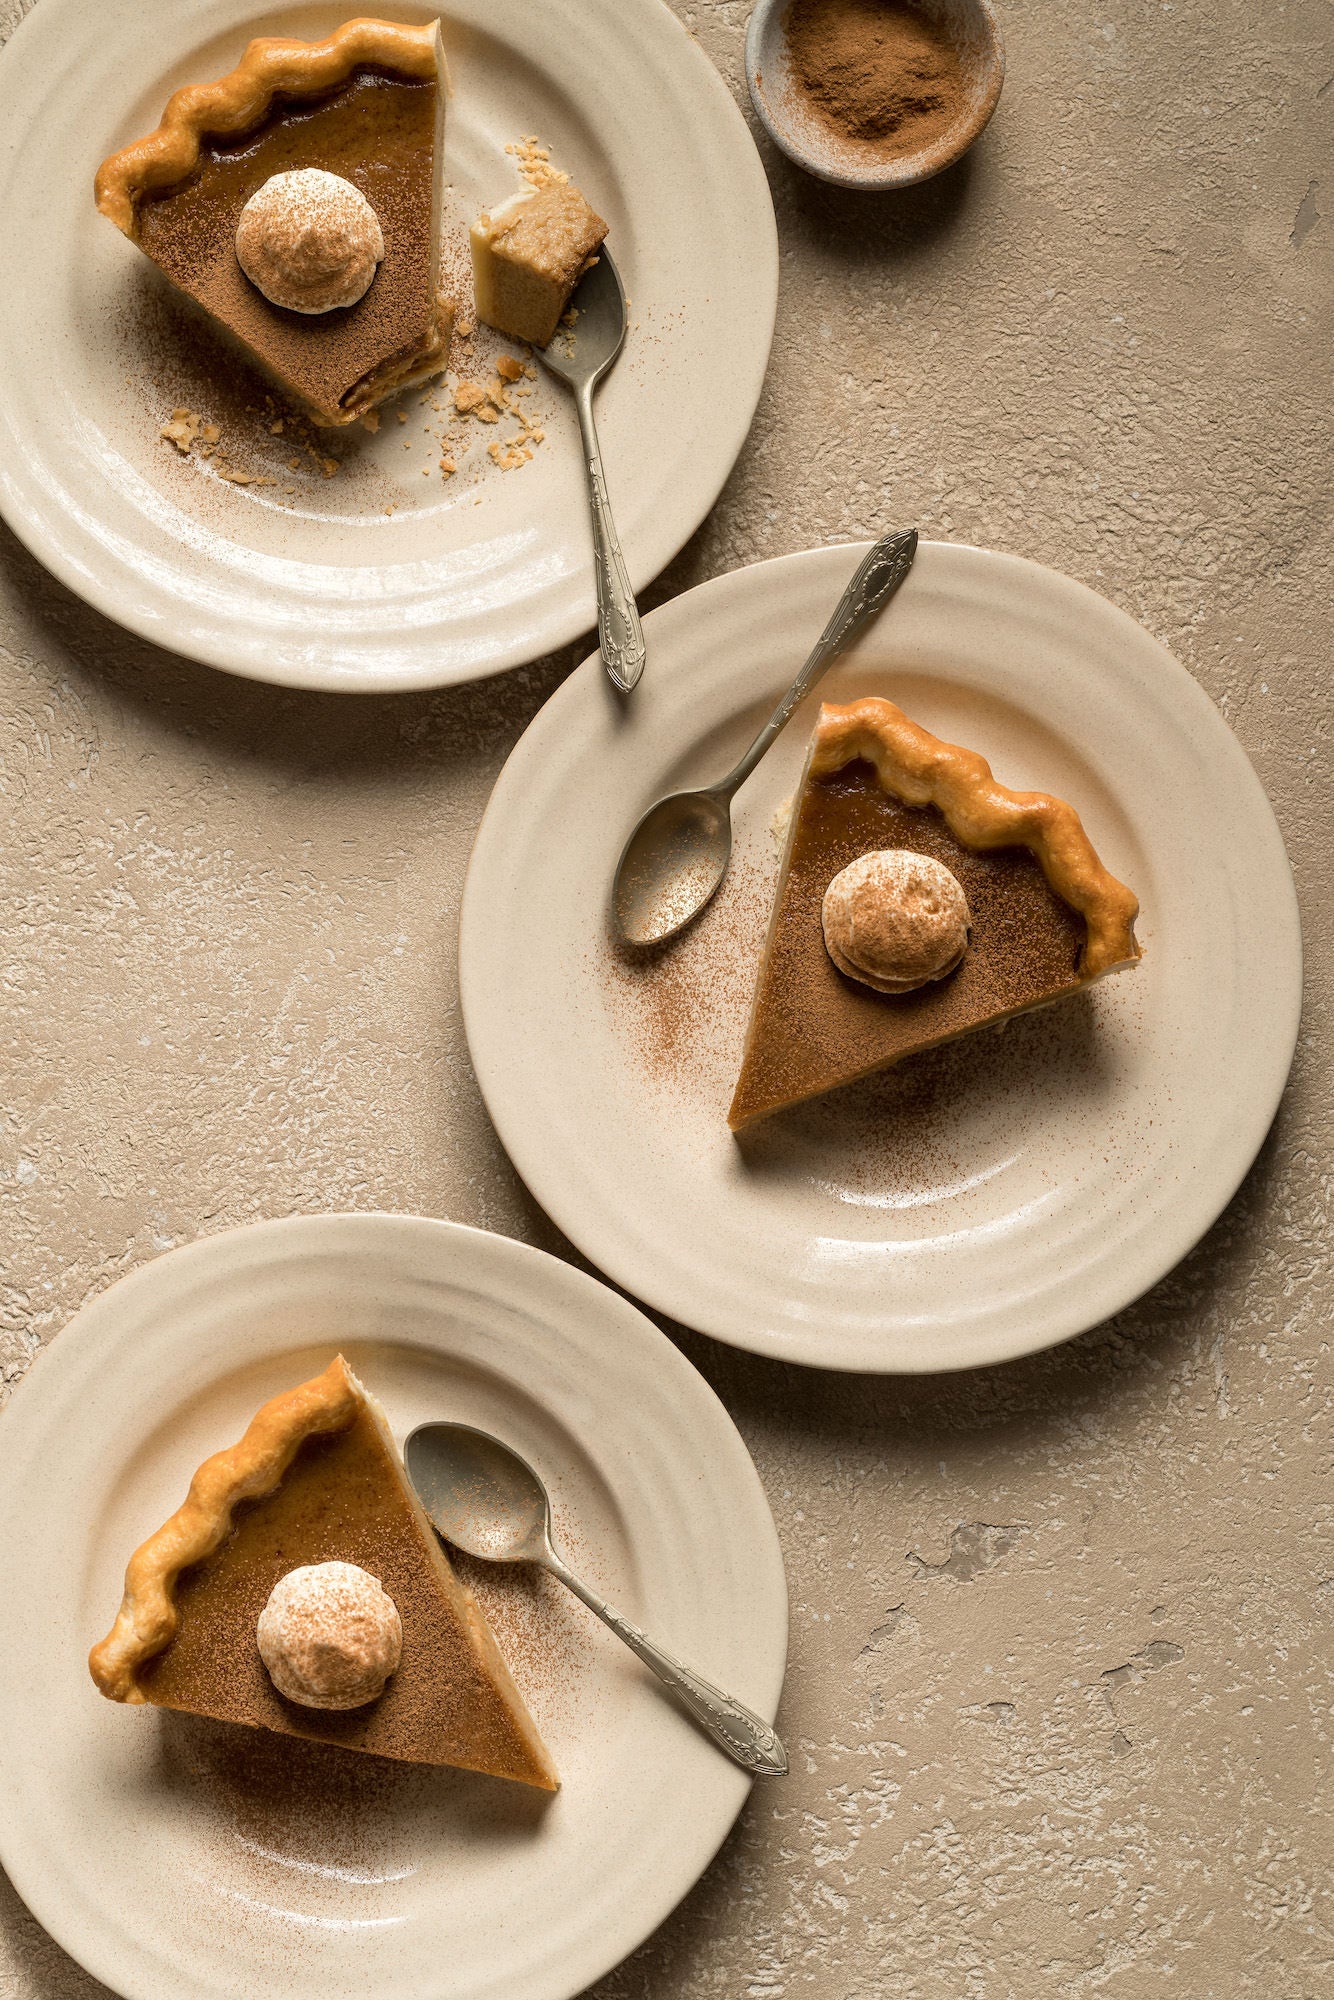
“With Thanksgiving,” she continues, “I'd say you are probably either going to be taking something that really focuses on one subject like a dessert or a main, or you could be shooting a really busy, big table scene. For the big, busier scenes, I find the dynamic symmetry grid is really helpful because it has a lot of lines and diagonals. So it really helps bring focus to scenes that can maybe look a little bit sporadic otherwise, or just there's a lot going on and it can help you bring some focus. I really like doing that for busy scenes.”

Photo by Lauren C. Short. Sony Alpha 7R III. Sony 85mm f/1.4 G Master. 1/250-sec., f/5.6, ISO 100
Step 3: Determine Your Gear
Depending on the scene and from where Short will be shooting will determine the gear she uses. For her food photography, the Sony Alpha 7R III is her main camera. “Particularly for work that will be printed, the high resolution captures so much detail,” she says. When filming for her YouTube or for client work, she switches to the Alpha 7 III because she loves the portability of the mirrorless body, and the quality of both its filming and photography capabilities.
As for lenses, if Short is filming a YouTube video or photographing a big, wide table scene, she will reach for the Sony 16-35mm f/2.8 G Master. She also has the Sony 55mm f/1.8 lens, which she says is probably the most versatile one she owns. She uses the 55mm mostly for overhead shots and the occasional straight-on shots. For the majority of her food photography however, Short uses the Sony 90mm f/2.8 Macro G lens. “This is my most loved lens. I use it for all the food portraiture shots I do, straight on angles and close ups. I love the short focusing distance that allows me to get into positions and angles I couldn't with another lens.”
Step 4: Get Your Lighting Right
The lighting for your photo can really make or break your image. Even with great composition, if there’s bad lighting, the food isn’t going to look good. Short says that to determine your lighting, you should ask yourself questions about the mood you’re trying to create. “Is it going to be a dark moody shot where you are really focusing the light on one point with something to create depth in the background? Or is it a really sort of light, bright scene where you want a nice airiness throughout the image? Whether you use natural light or if you're using studio artificial light, just make sure that you've got it down, because that will make a really big difference to the vibe and the overall look of your image.”
Step 5: Stick To A Color Theme
The color of your food photo or scene can also make a major difference in the overall look of the image. Short says that at least some basic color theory can really help you make conscious decisions when it comes to food photography. “If you are looking at a Thanksgiving scene,” she explains, “you might want to use an analogous color palette more in the warm tone, sort of in the oranges, the yellows, the reds. Or you might want to create something complementary where you've got really warm-toned food and then a blue or a green backdrop – that can be really effective. The color just makes a really big difference to the overall look, so I like to think about that for the background, the props, the food itself, if there are any garnishes that maybe are a bit flexible to add a little pop of something complementary.”
Step 6: Style The Food
Even with your composition determined, your scene sketched, your gear ready and your color theme secured, there is going to have to be some styling done to keep the food looking fresh and delicious for your image. While on a professional set, you might have a separate food stylist from the food photographer, but Short says it’s good to have some base knowledge on how to do it for the times when you are on your own. “Just knowing a few things that can help food look its best will go a long way,” she says. “For food styling, it really depends on what food it is. The techniques you might use for something savory would be different from a dessert.”
“If you’re photographing something like the turkey from Thanksgiving, make sure that you keep some of the juices behind so that you can brush it on to make it look nice and fresh from the oven. You can do the same thing with vegetables, just brush them with a little bit of honey or oil. You don’t want to do too much because it will look greasy, but just a little to freshen it up.”

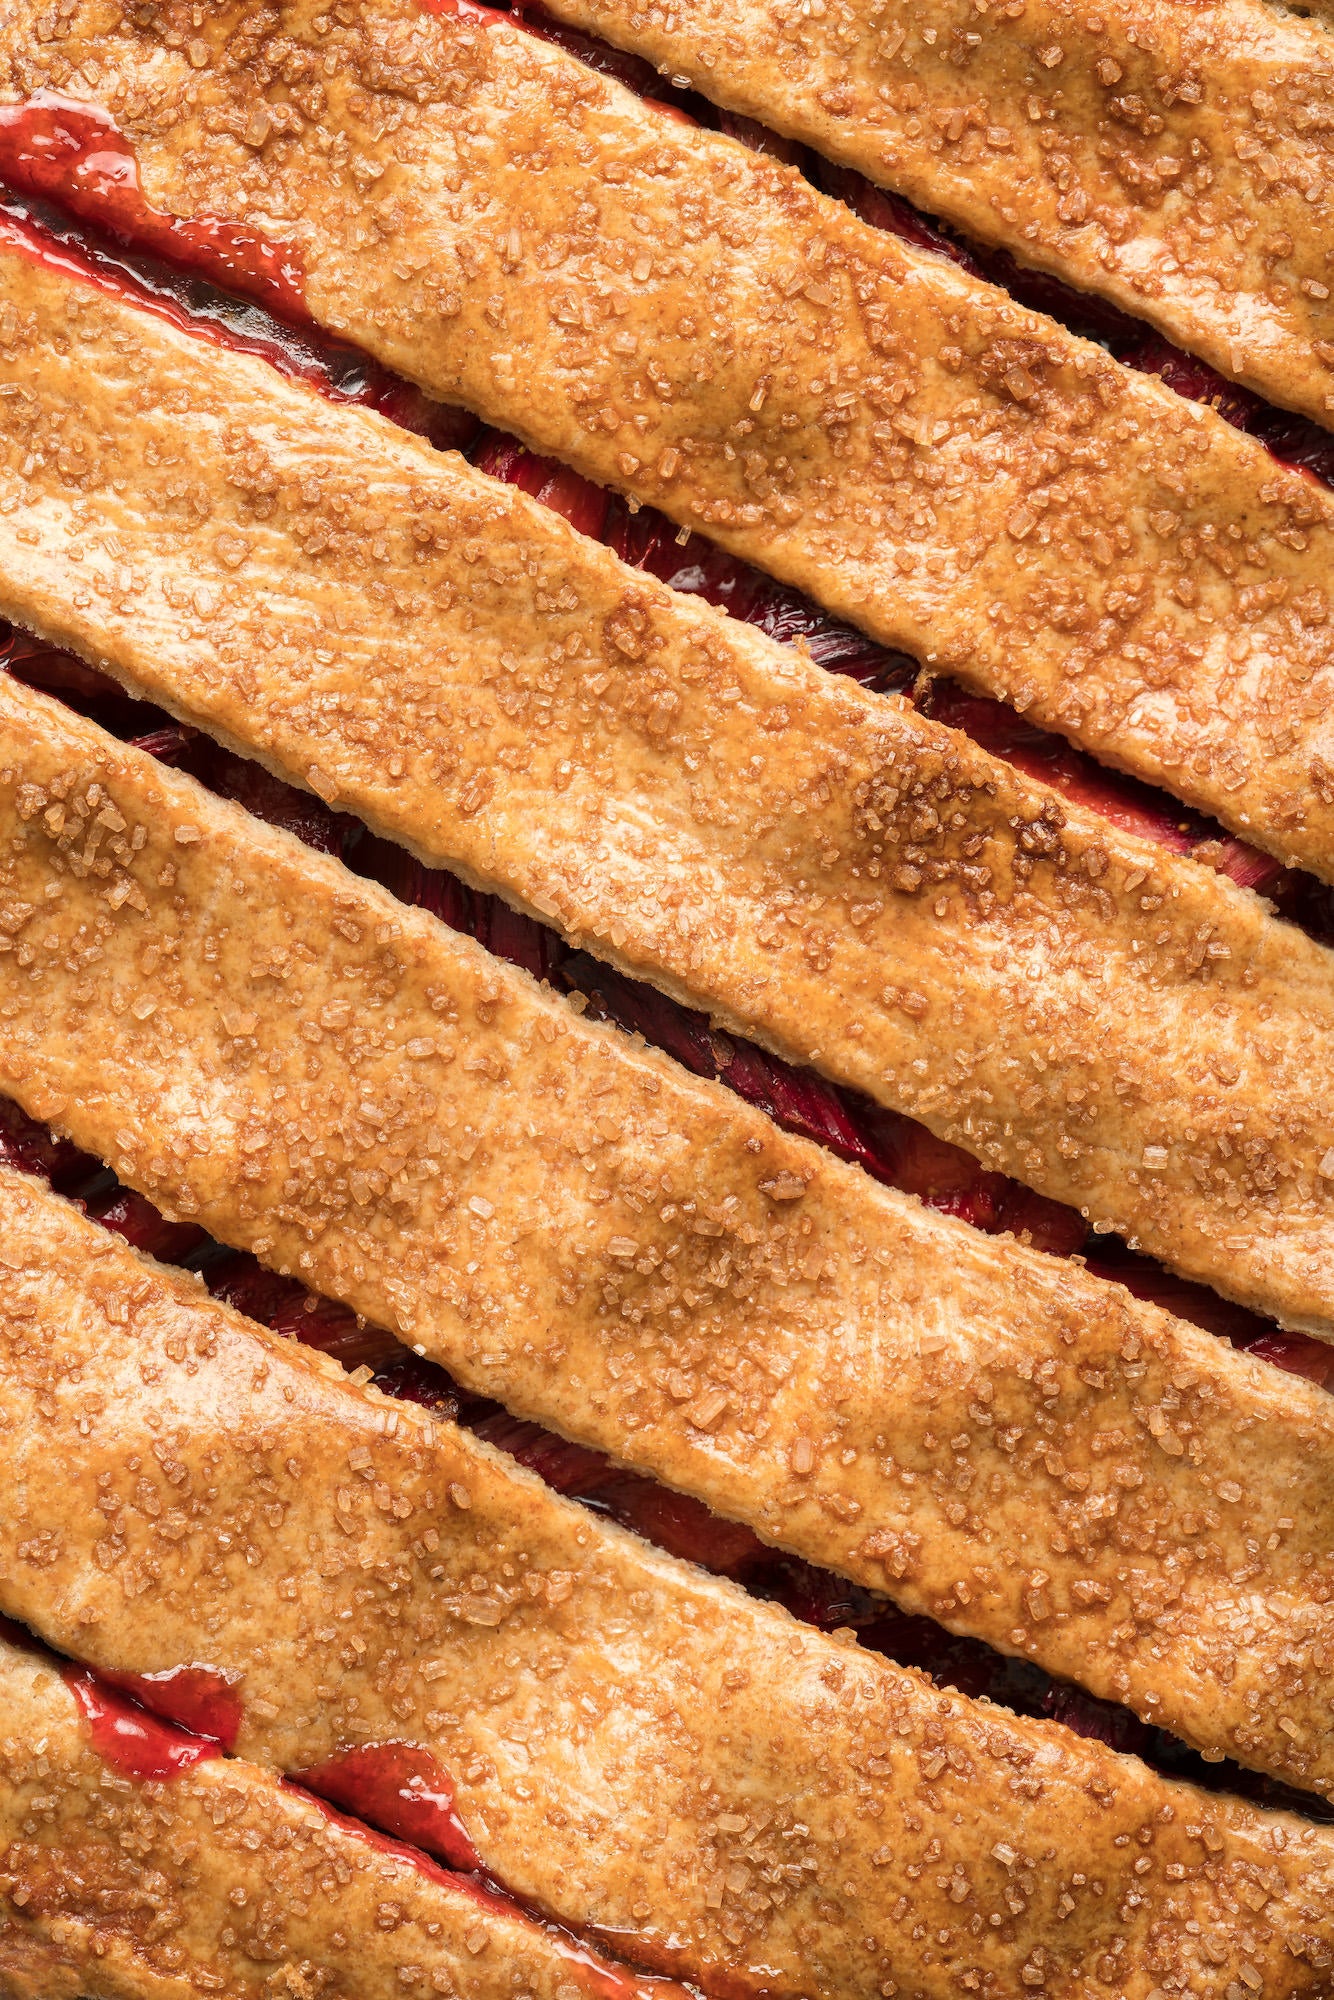
Photo by Lauren C. Short. Sony Alpha 7R III. Sony 90mm f/2.8 Macro G. 1/250-sec., f/8, ISO 100
She continues, “I actually have a set of small paint brushes in the studio to do these little delicate things. I also have a couple of pairs of culinary tweezers, which you can find for cheap online. They really help with placing delicate garnishes or herbs, particularly if there’s a specific spot you want to put them, but also because it keeps the herbs from wilting. If you place them with your hands, the heat from your hands can make them wilt. The cold tweezers don’t cause the degeneration so quickly so it gives you a bit more time.”
Step 7: Create A Story
Short’s final step for her food photography is ensuring she creates a story within the image. To do this, she always tries to make sure that everything in the scene has a purpose. “Whether it’s compositionally and it's leading my eye somewhere, or it's part of the story, or preferably both,” she explains. “I try not to put things in just because I feel like I should put them in. I try to make sure they have a purpose and that they're not taking away any focus from the hero.”
She continues, “So I’ll make sure there isn’t an element in the background that’s brighter than the hero because then your eye will be drawn first to that. You want to make sure that your eye is going to the hero first and then taking in the scene around it. I’m always thinking about the props I’m going to use and any other complementary elements that I can put into the scene. Maybe with a main dish I’ll have some of the ingredients around that go into it, or I’ll have a chopping board in the background to show some of the story and process of making the dish. Everything that makes it into the frame is adding to the story.”
See more of Lauren C. Short’s work on Instagram @lauren.c.short, on YouTube and on her website foodphotographyacademy.co.


