Photography is an art form that hinges on the manipulation of light. Among the trio of core camera settings – shutter speed, aperture and ISO – ISO plays a crucial role in determining how your camera senses light. Whether you're shooting in bright sunlight or low-light conditions, understanding ISO can significantly enhance your photographic skills. This guide will walk you through the fundamentals of ISO and how to use it effectively. Need new gear? See how you can save on Sony cameras, lenses and more here.
What Is ISO?
ISO measures your camera sensor's sensitivity to light. Originally derived from film photography, where film strips had fixed sensitivity levels, ISO in digital cameras is adjustable. It allows photographers to adapt to varying lighting conditions without changing the lens or lighting setup.
How Does ISO Work?
The ISO scale typically starts at 100 or 200 on most cameras and can go up to several thousands, depending on the model. As you increase the ISO number, your camera becomes more sensitive to light, allowing you to shoot in darker environments. However, this increased sensitivity comes with a trade-off: higher ISO settings can introduce noise, or grain, into your images.

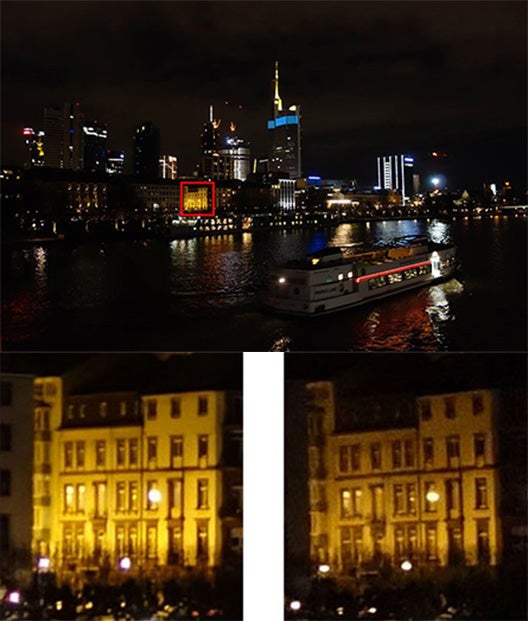
ISO 3200 vs ISO 800
ISO & Exposure
ISO is one of the three pillars of exposure, affecting the brightness of your photo alongside aperture and shutter speed. A higher ISO can help you achieve a correct exposure in low-light conditions without needing to slow down the shutter speed or open the aperture too wide, which might not always be possible or desirable.
Camera ISO Settings & Their Uses
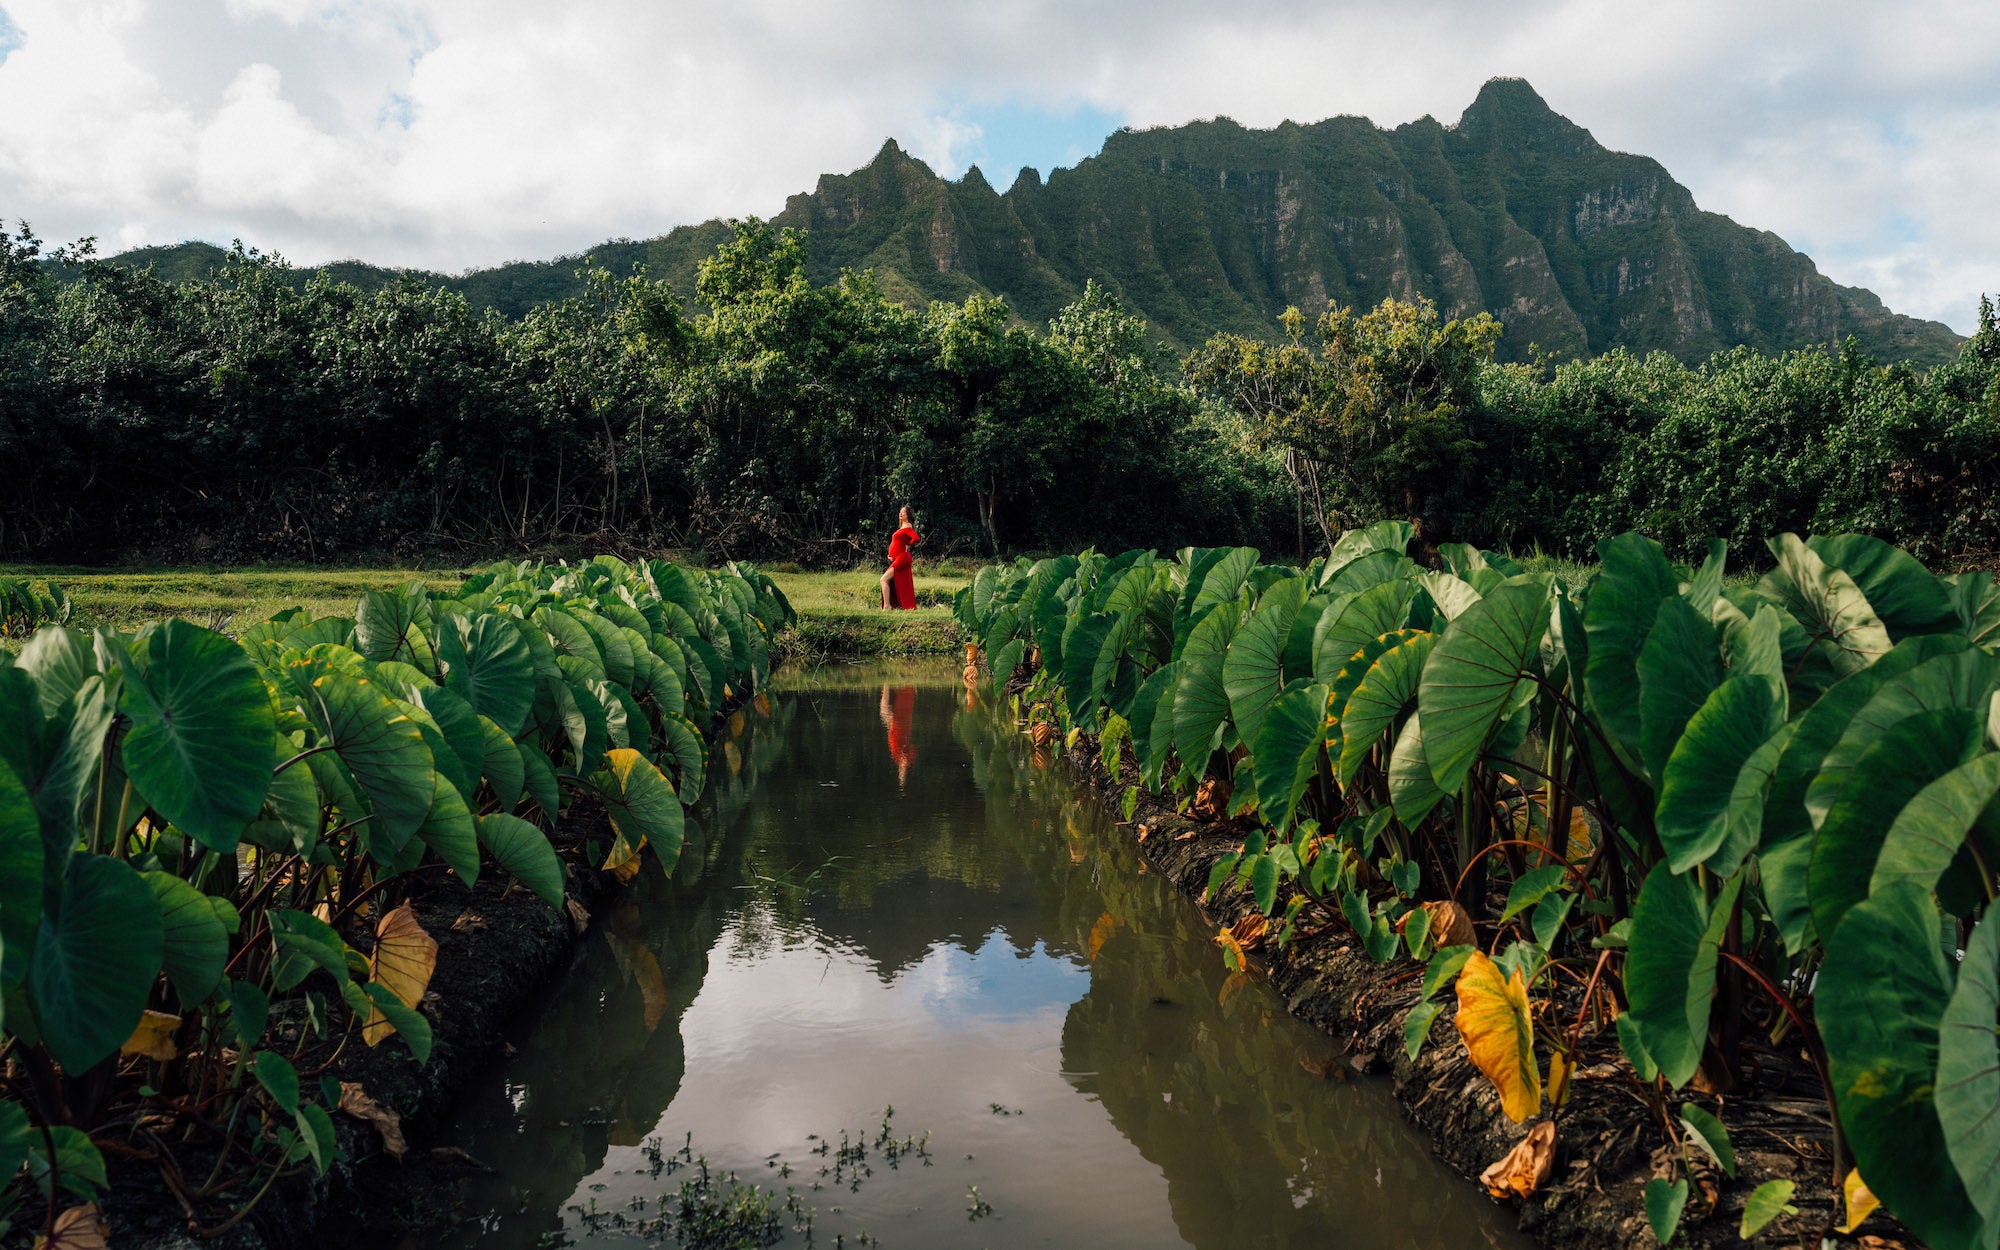
–Low ISO (100-400): Ideal for bright conditions, such as sunny outdoor scenes. Low ISO settings produce images with minimal noise, ensuring clarity and fine detail. Alpha Collective member Vince Lim captured the sunny scene in Hawaii below at ISO 100.
Photo by Vincent Lim. Sony Alpha 7R V. Sony 16-35mm f/2.8 G Master II. 1/320-sec., f/5.6, ISO 100
–Medium ISO (400-1600): Suitable for indoor photography with adequate lighting or overcast days. This range offers a balance between sensitivity and image quality. Photographer Allegra Hutton took the image below on a cloudy date outside at ISO 1000.

Photo by Allegra Hutton. Sony Alpha 7R V. Sony 600mm f/4 G Master. 1/800-sec., f/8, ISO 1000
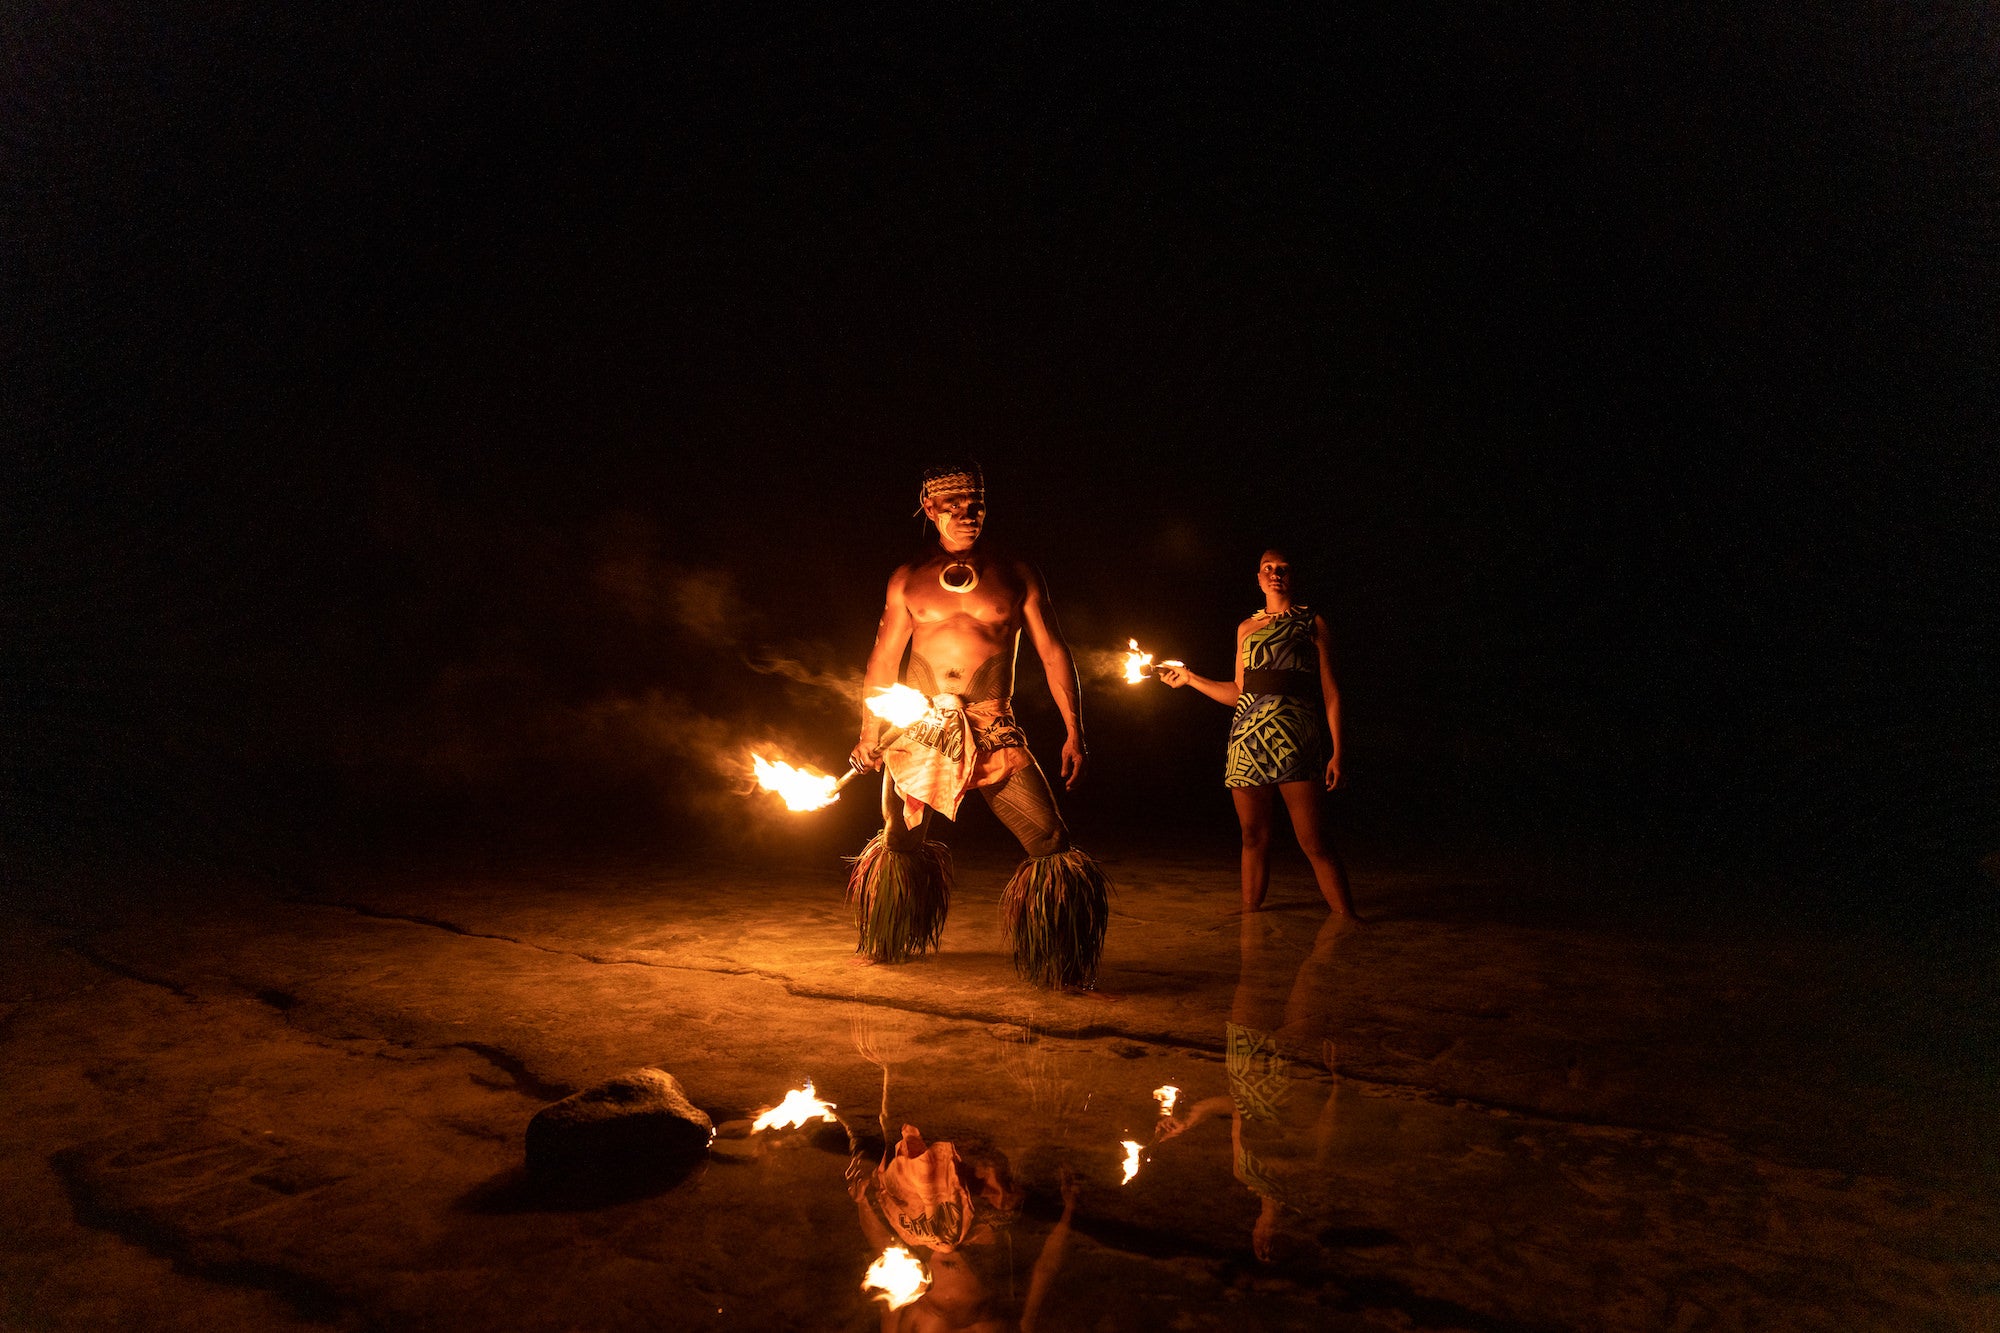
–High ISO (1600+): Used in low-light situations, such as night photography, indoor events, or capturing fast-moving action in poor light. While high ISO settings allow you to maintain a faster shutter speed and smaller aperture, they can introduce noticeable noise. Creator Nick Gruen captured the nighttime image below at ISO 2000.

Photo by Nick Gruen. Sony Alpha 7R IV. Sony 24-70mm f/2.8 G Master. 1/50-sec., f/2.8, ISO 2000
Managing Noise
Noise is the digital equivalent of film grain, appearing as random specks or colored pixels in your images. While some photographers embrace noise for its artistic quality, most aim to minimize it. Here are a few tips:
–Use the lowest ISO possible for your lighting conditions.
–Utilize noise reduction features in your camera or post-processing software.
–Invest in a camera with better low-light performance if you frequently shoot in challenging conditions.
Balancing ISO With Shutter Speed & Aperture
Adjusting ISO requires balancing it with shutter speed and aperture to achieve the desired exposure without compromising image quality. For instance, in a dimly lit concert, you might need to increase the ISO to capture the scene without blurring movement, while maintaining a reasonable aperture for depth of field.
Practical Tips For Using ISO
1. Test Different Settings: Experiment with various ISO settings in different lighting conditions to understand their effects on your images.
2. Know Your Camera's Limits: Familiarize yourself with the ISO range your camera can handle before noise becomes too intrusive.
3. Use Auto ISO: Many modern cameras have an Auto ISO setting, allowing the camera to adjust ISO automatically based on lighting conditions, freeing you to focus on composition and timing.
4. Check Your Histogram: Use your camera's histogram to ensure your exposure is balanced, and adjust ISO as needed to avoid underexposure or overexposure.
ISO On Your Sony Alpha Camera
Understanding how to effectively use ISO on your Sony Alpha camera can significantly enhance your photography, allowing you to adapt to various lighting conditions with ease.
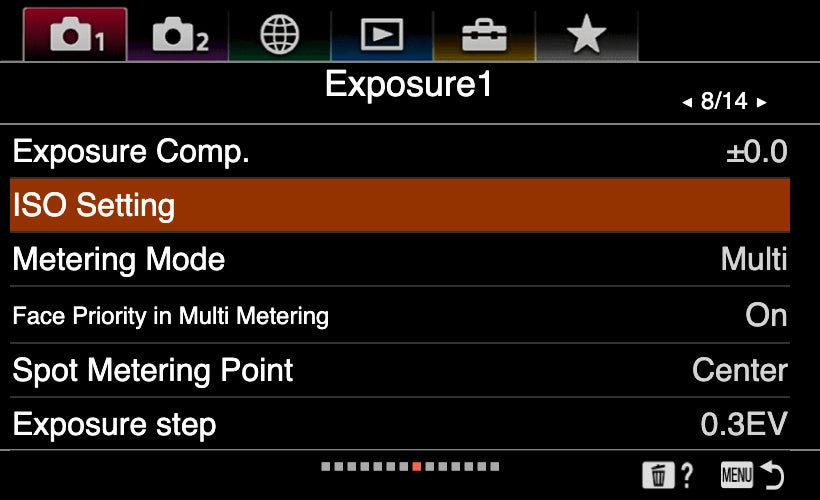
1. Accessing ISO
On most Sony Alpha models, ISO can be quickly adjusted via the dedicated ISO button or through the camera menu. Utilize the Quick Navigation screen for rapid changes.

2. Auto ISO Feature
This feature intelligently adjusts the ISO based on the lighting conditions, helping you maintain the perfect exposure while focusing on composition. Customize Auto ISO settings to set maximum and minimum ISO values, ensuring control over noise levels.
Mastering ISO is key to improving your photography, especially in challenging lighting conditions. By understanding and manipulating ISO, you can enhance your ability to capture stunning images regardless of the environment. Experiment with different settings, and soon you'll have a better grasp of how to use ISO creatively and effectively in your photography.
See our Beginner's Guide For Aperture, Beginner's Guide For Shutter Speed and check out our other beginner content on AlphaUniverse.com. Explore our Community Forums to connect with other creators.


