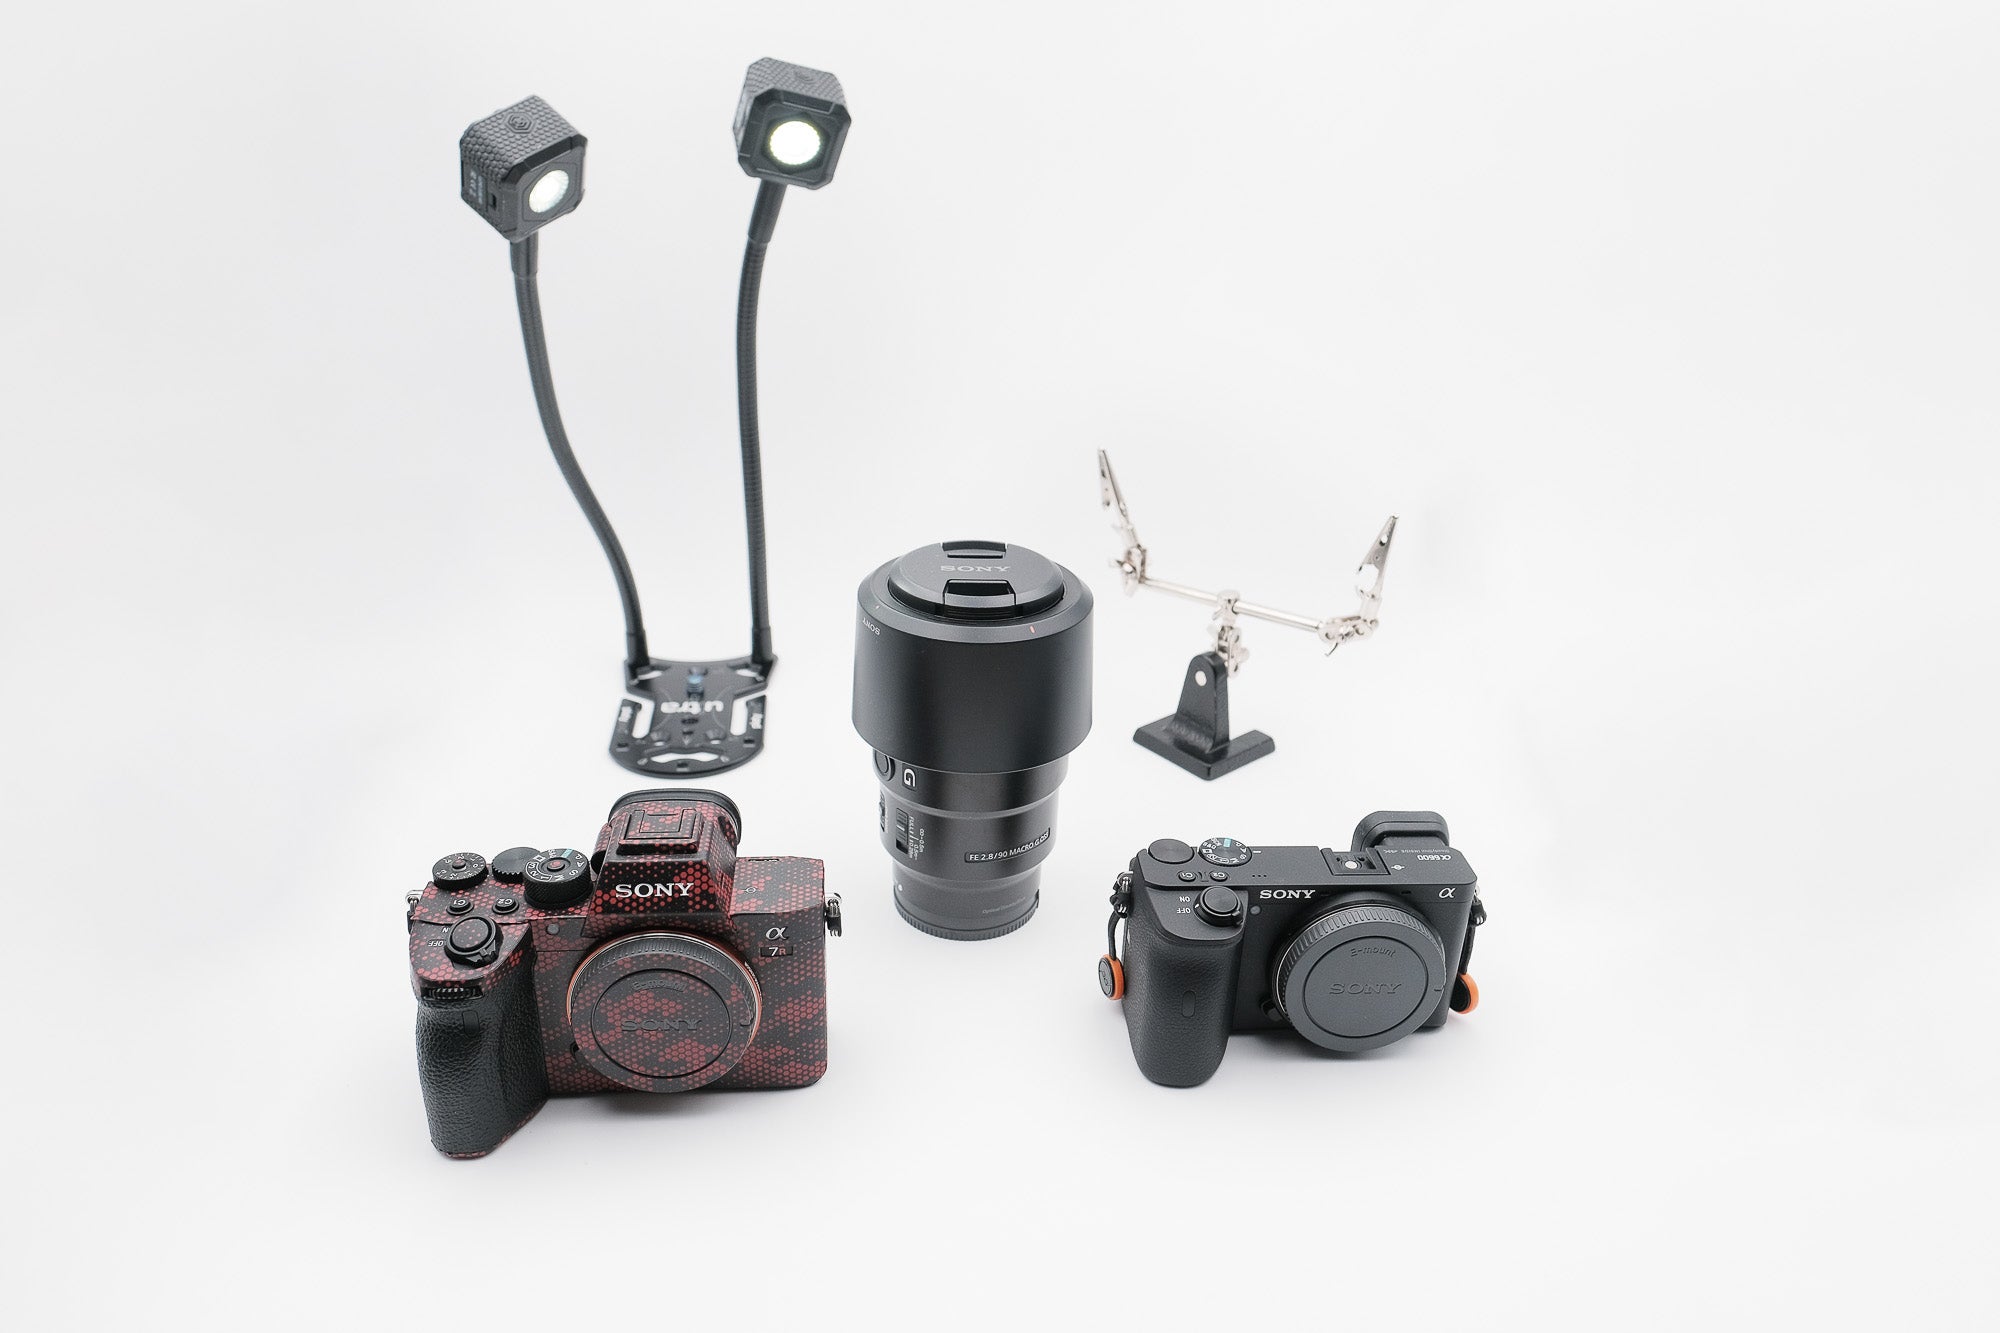
We’re kicking off a week of macro photography at alphauniverse.com by taking a look at photographer Mahesh Thapa’s gear for macro. He’s already showed us how he explores the world within a water droplet at home during social distancing, and now we connected with the Alpha Collective member to see why he goes between two different cameras and one lens to get those crisp macro shots.
See why Mahesh Thapa goes between these two cameras and one lens when shooting macro photography.
My name is Mahesh Thapa (@starvingphotographer), and I’m a nature photographer. I typically capture grand landscapes and wildlife, but I’m drawn to all types of compelling images. Over the past several months, like most of the world, I’ve become a pro at social distancing. This has given me an opportunity to rediscover my passion for macro photography. There are so many objects around the house and in our immediate environment to capture! What I pack for macro photography is different from what I carry for landscapes and wildlife, and I’d like to share my setup with you.

Cameras
Sony α7R IV: This is my workhorse body for both landscape and macro photography. It gives me best in class resolution, dynamic range, and ergonomics. I use the flip-out screen a lot to help me compose from difficult positions. I also find the manual focus tools of the camera invaluable for obtaining critical focus on macro subjects. I used it to take the photo below. I placed a drop of water on a flower petal using a syringe. I then put a photograph behind the water droplet. I focused on the water droplet which framed the photograph perfectly.
Sony α6600: I use this as my backup camera. The crop factor of 1.5 is also a welcome feature and allows me to position myself a little further away from skittish subjects. The crop sensor also translates to added depth of field for the same equivalent focal length, which is always a boon in macro photography. I used it in the shot below where I borrowed a Lego figure from my son and set up this scene using a few stones and some dirt. The matchstick provided all the illumination I needed.
Lens
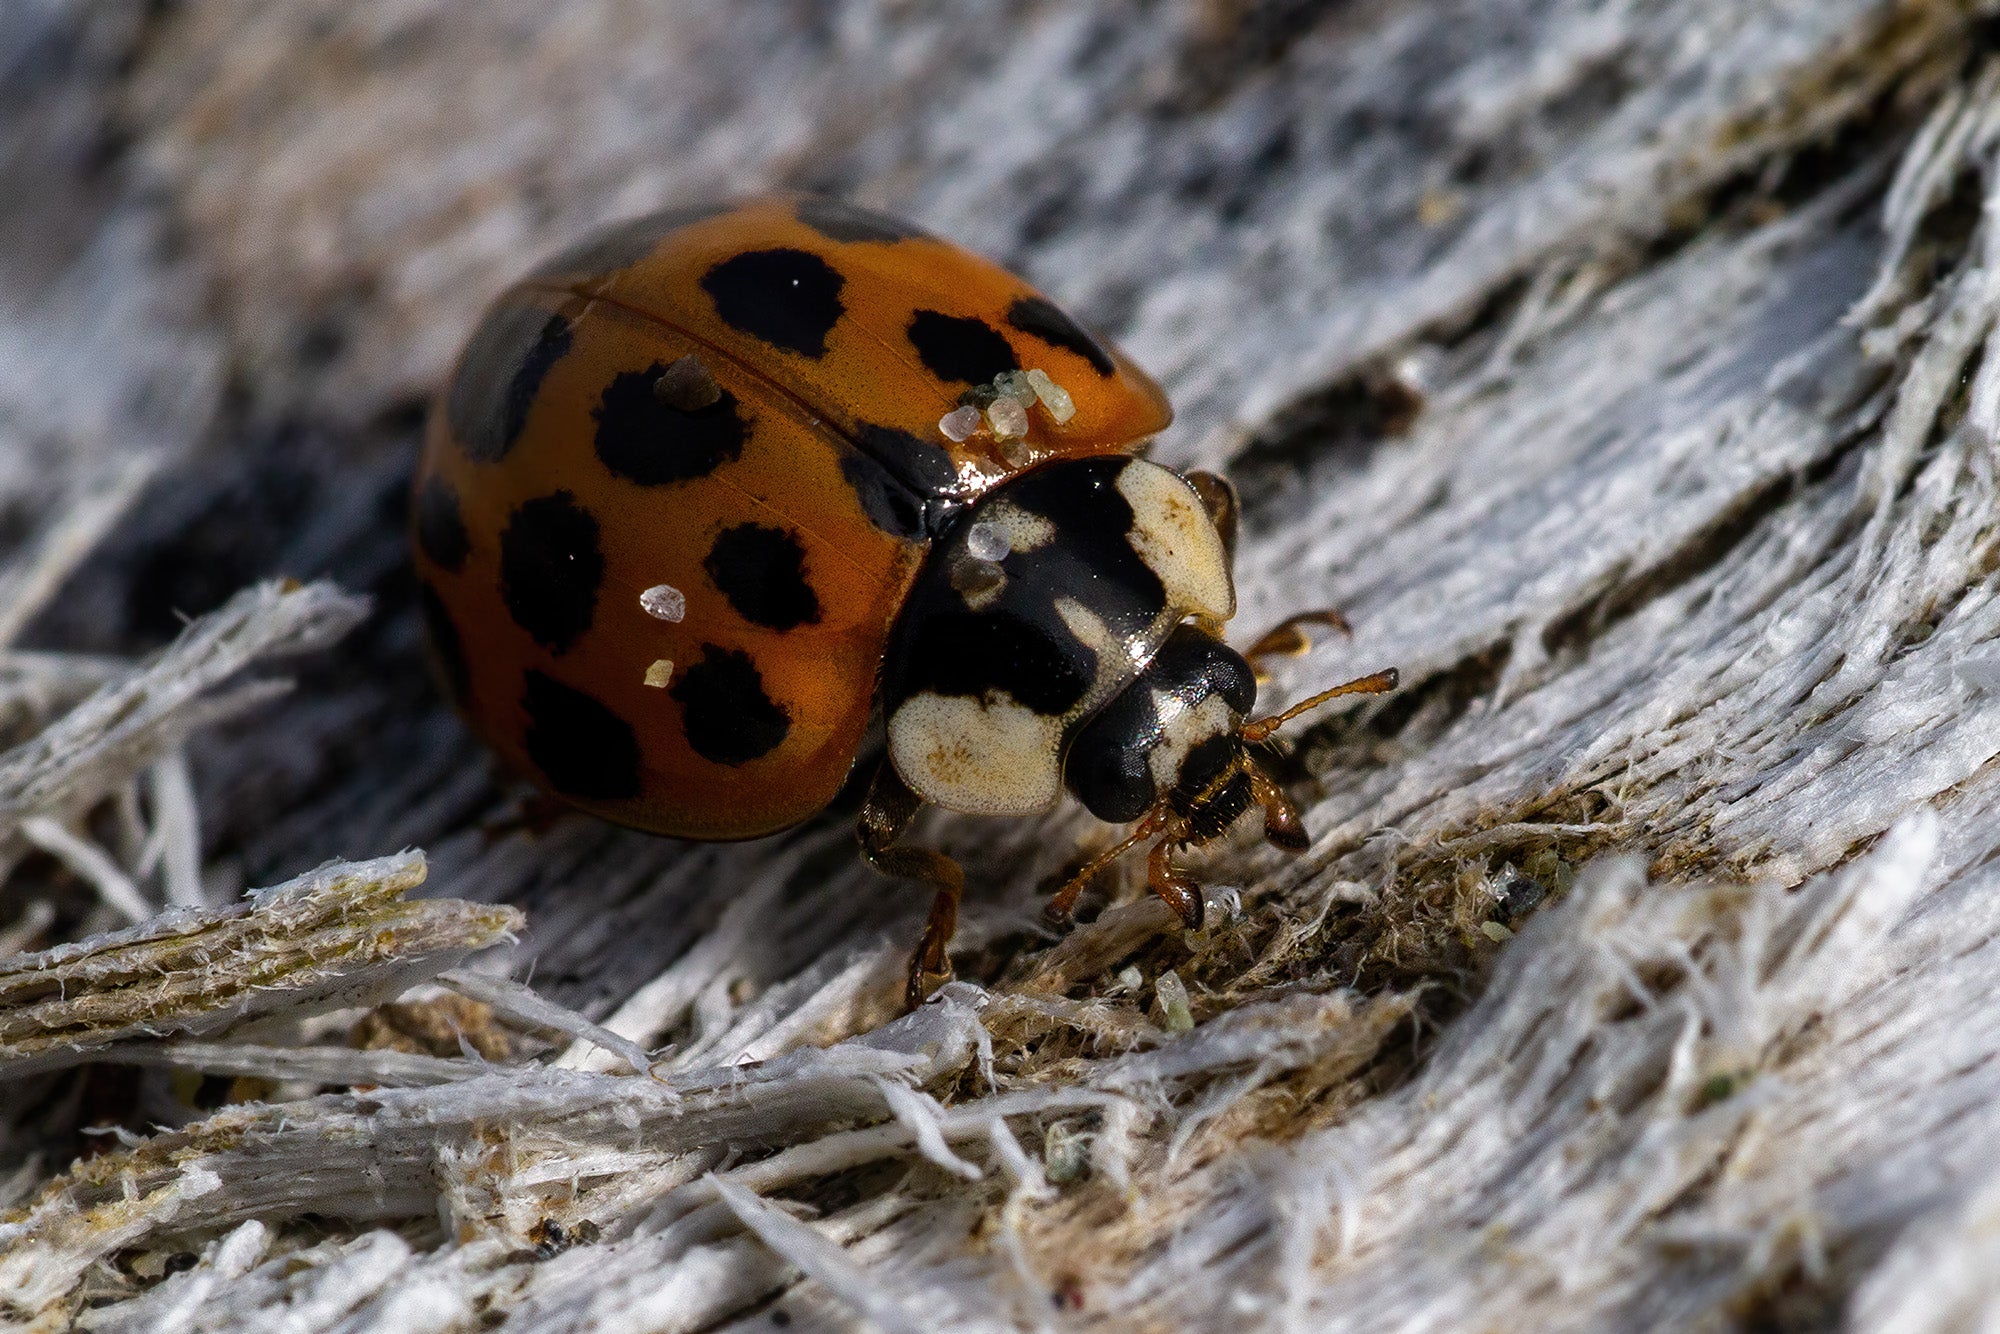
Sony 90mm f/2.8 G Macro: If you shoot with a Sony mirrorless body, this lens deserves a place in your bag. Besides being excellent for macro work, it also pulls double duty as a capable portrait lens. This is my go-to lens for macro work, because it is extremely sharp throughout all apertures, has excellent dampening of the manual focus ring, and is super-fast at f/2.8. Just because you can get extremely close to your subject, doesn’t mean you have to. Here I wanted to include a bit of the lady bug’s surrounding because the wood had interesting textures and patterns.

Photo by Mahesh Thapa.
Accessories
Circular Polarizer: Whenever I want to minimize glare from reflective surfaces (e.g., leaves, bugs, water, etc.) I use a circular polarizer. It also helps to bring out the rich colors from my subject.
Platypod: This is a unique, flat piece of metal which helps stabilize my system. I’m often very low to the ground and tripods can be impractical in such situations. Here’s where the Platypod comes to the rescue. You can also get optional flexible rods that allow you to attach light sources to illuminate your subject.
Lume Cube: Tiny, bright LED lights to illuminate your subject.
Helping Hands: This is a cool, little device with alligator clips. It allows you to position subjects like flowers with extreme precision.


