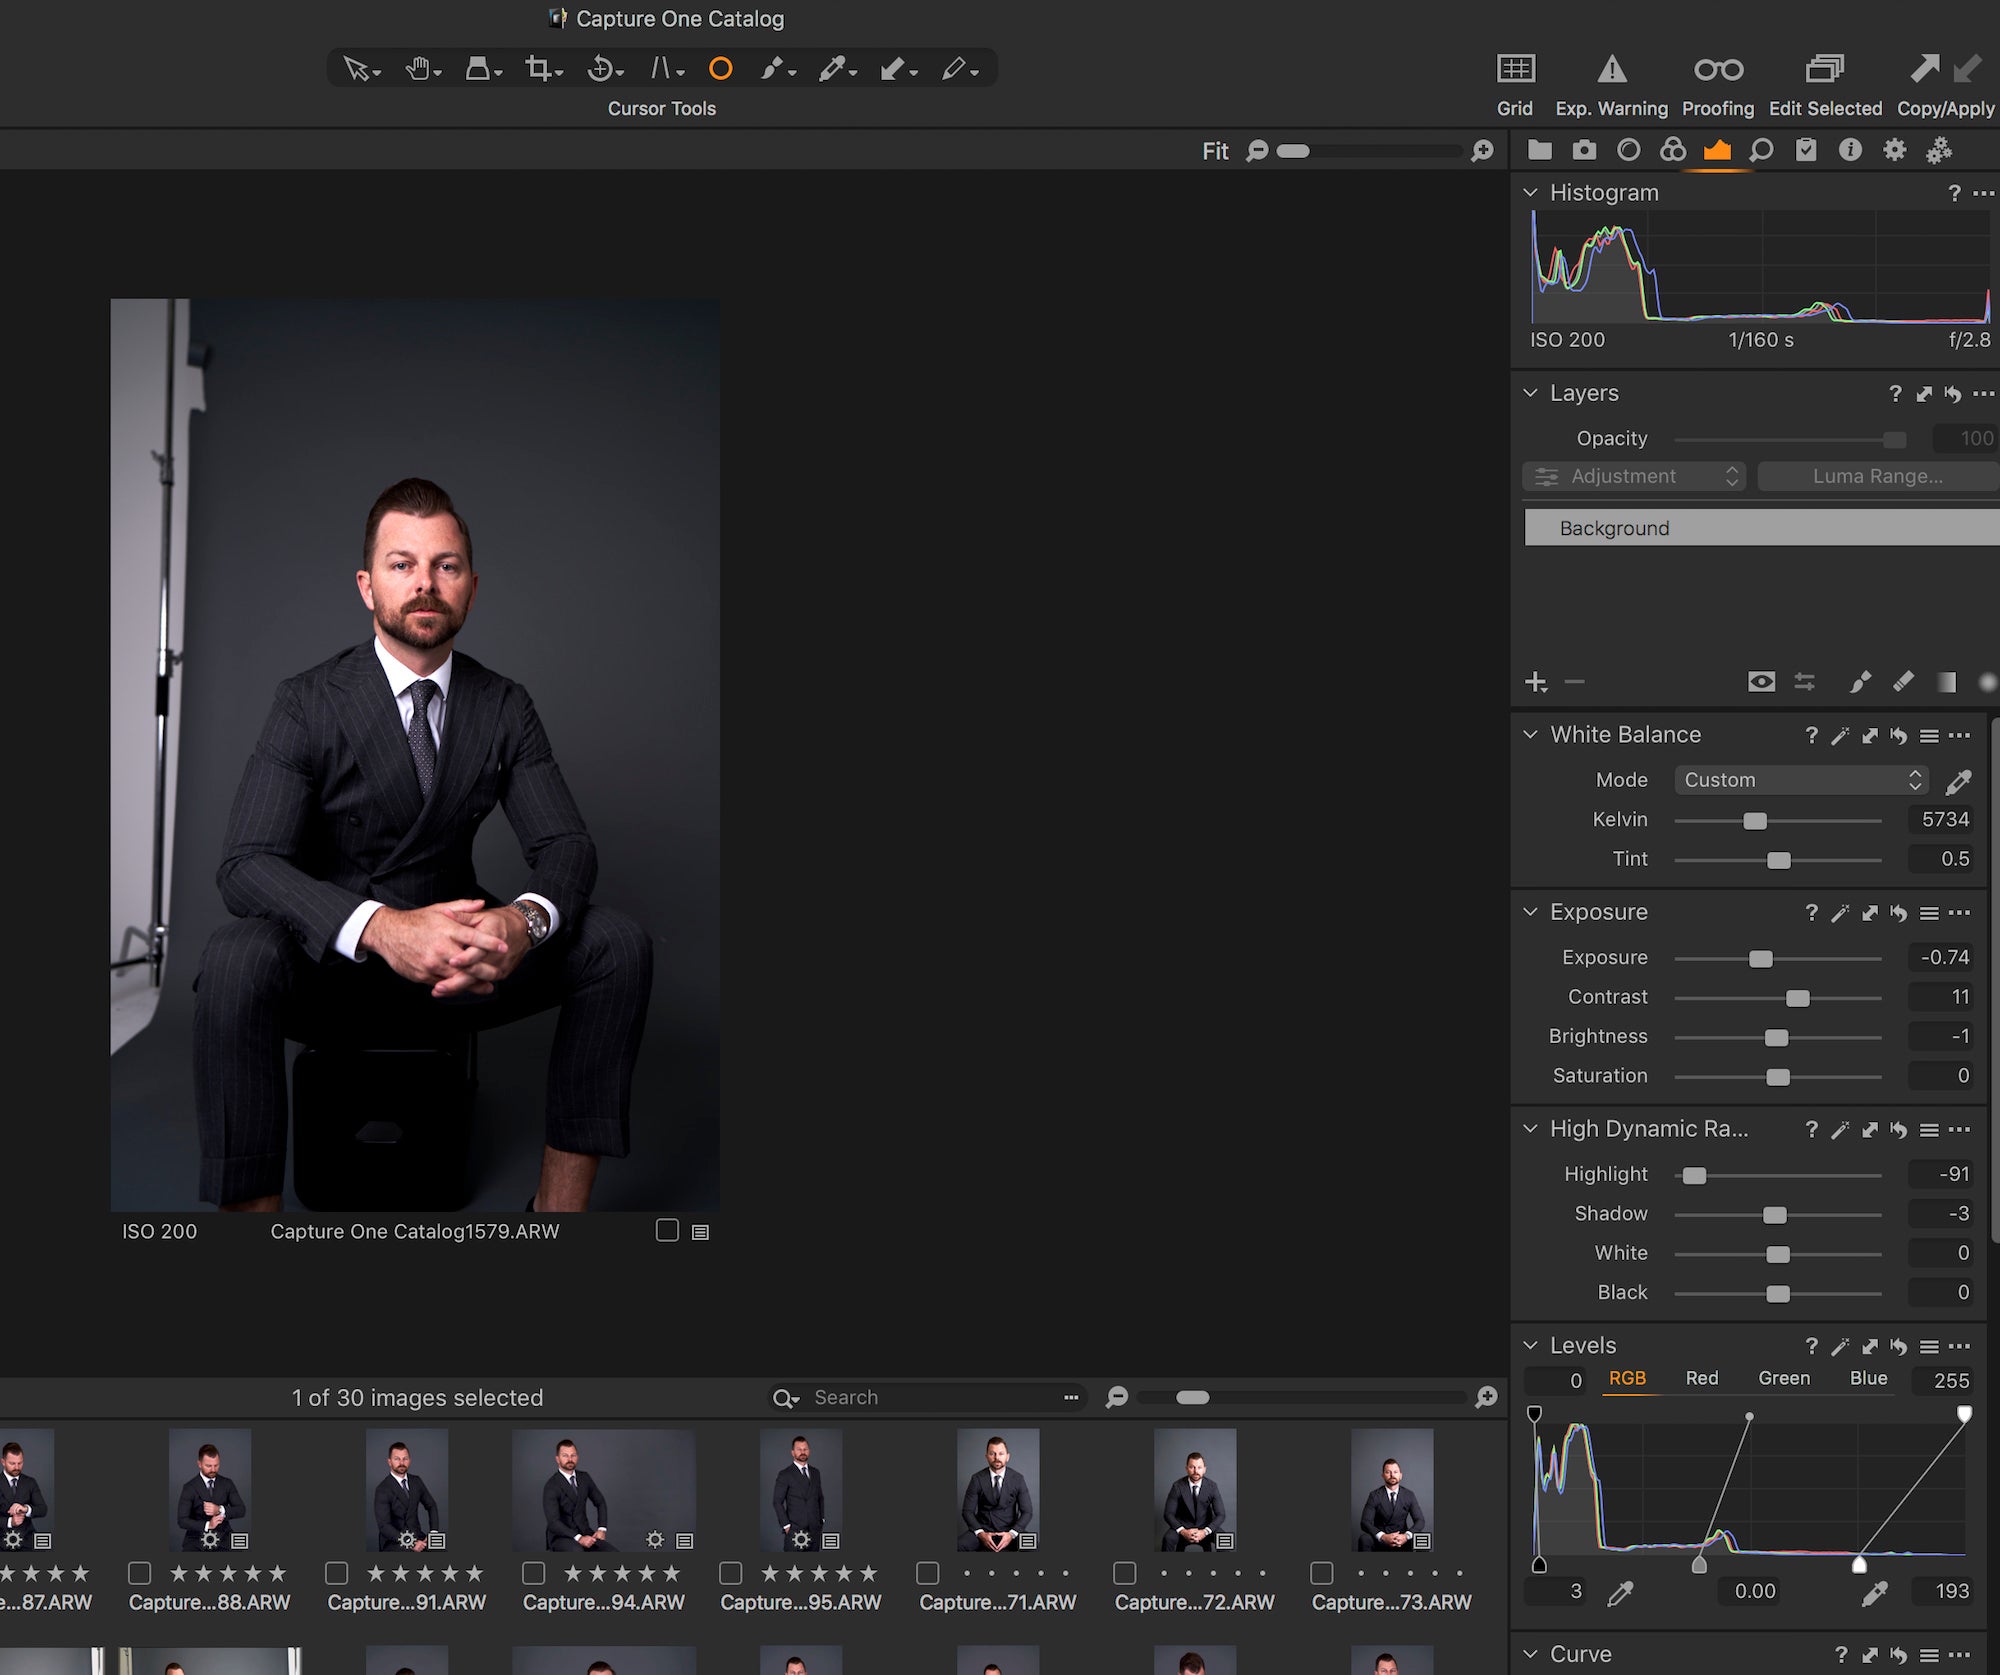
As a commercial photographer who focuses on landscapes and lifestyle projects and shoots with Sony Alpha mirrorless cameras and lenses, I (@aroundq) wanted to try some different image-processing software that would, hopefully, give me better results. I have been using Capture One now for the past year and I couldn’t be happier with the results. At first I was resistant like most people. Changing to a new editor can be a bit intimidating so here are five easy steps that helped me understand and use Capture One easier (NOTE: Through April 30, 2020, Capture One for Sony is 25% off the regular price).
1. Change your workflow to match your Lightroom workflow
The Capture One default layout has tools to the left and browser to the right of the viewer. To choose a layout more similar to Lightroom, simply select ‘Window > Workspace > Migration’. This will provide a workspace that more closely resembles Lightroom’s layout.
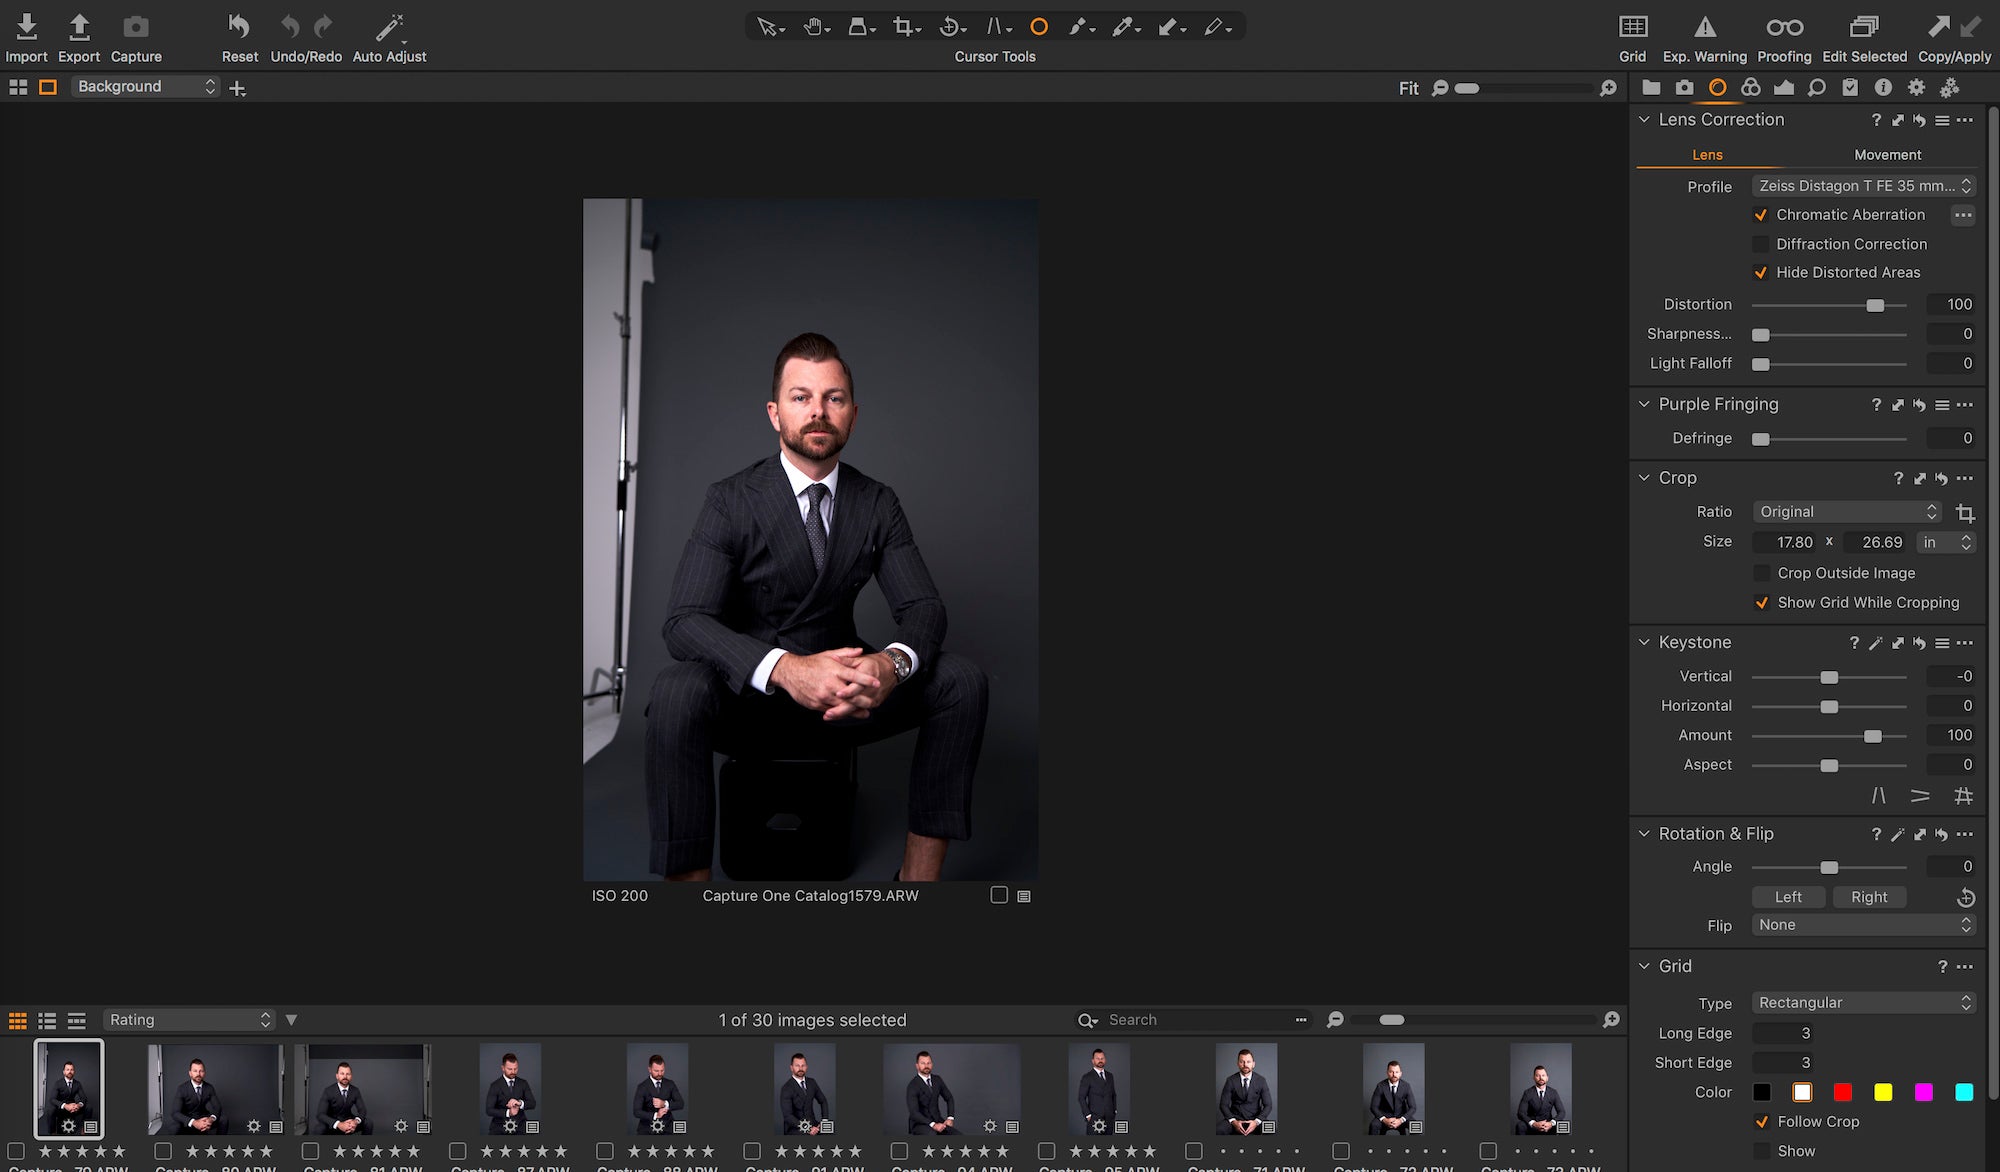
2. Understand the tabs
Library - The Library Tool Tab is where all file navigation and organization takes place. Your catalog, rating system, and color tags are all located here.
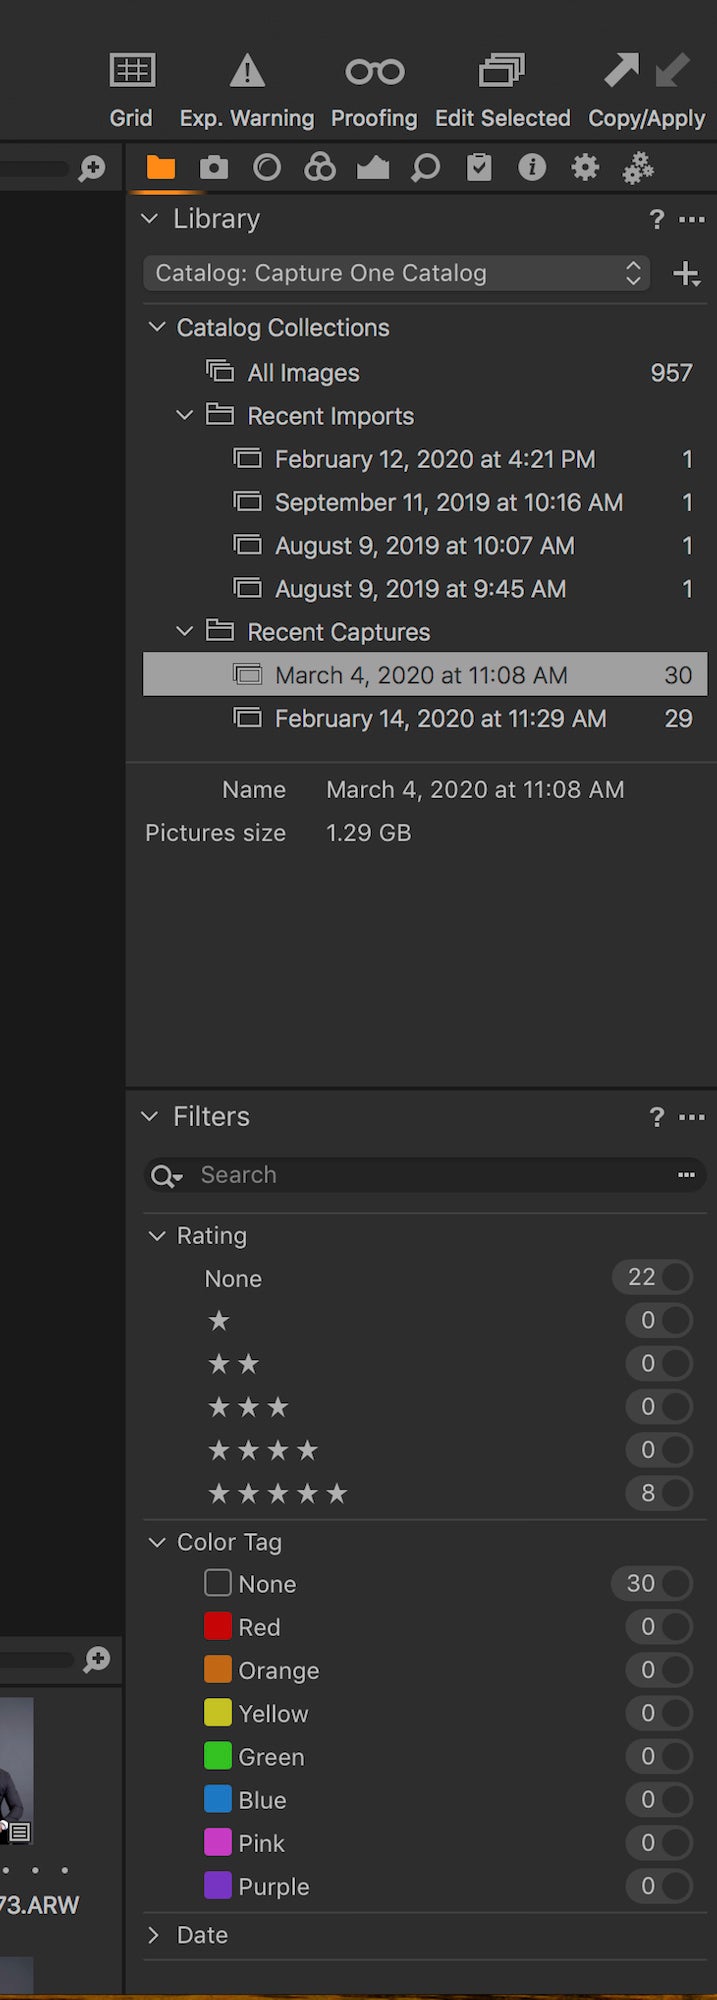
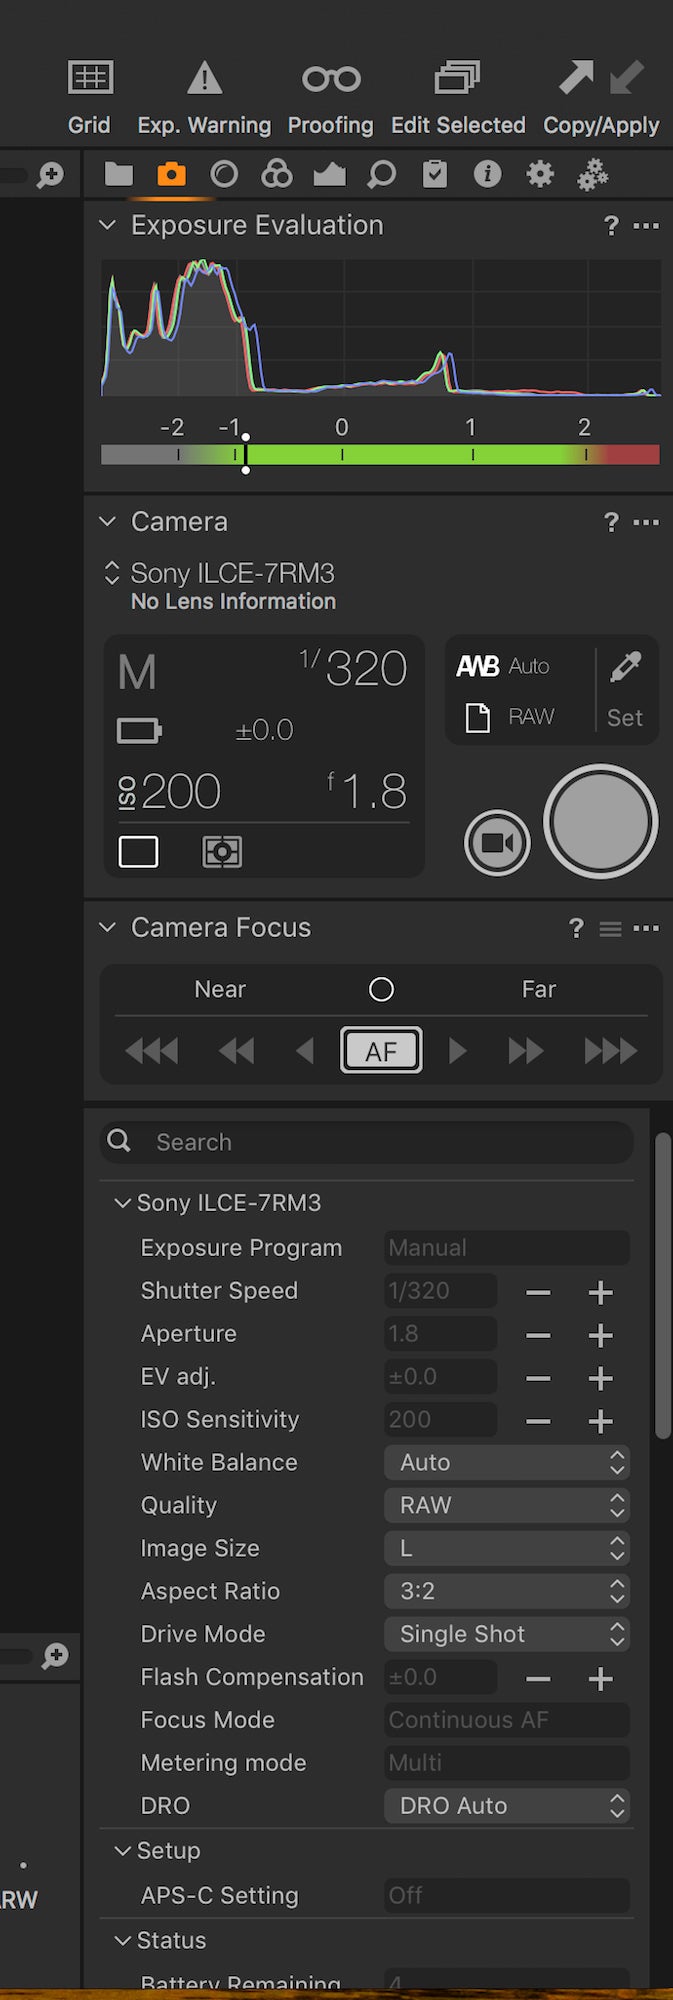
Camera - The Capture Tool Tab is the gateway to tethered shooting your camera. You can see all your cameras settings, naming convention, location and metadata here.
Lens Correction - The Lens Tool Tab is designed to address a number of unwanted is- sues that are commonly associated with lens distortion. Capture One incorporates a number of preset profiles that are available former your camera. Purple fringing, crop, keystone, rotating and flipping are all located here.
Color - The Color Tool Tab has a number of tools to help control the colors of an image file. The histogram, white balance, color balance and color editor for skin are all located here.
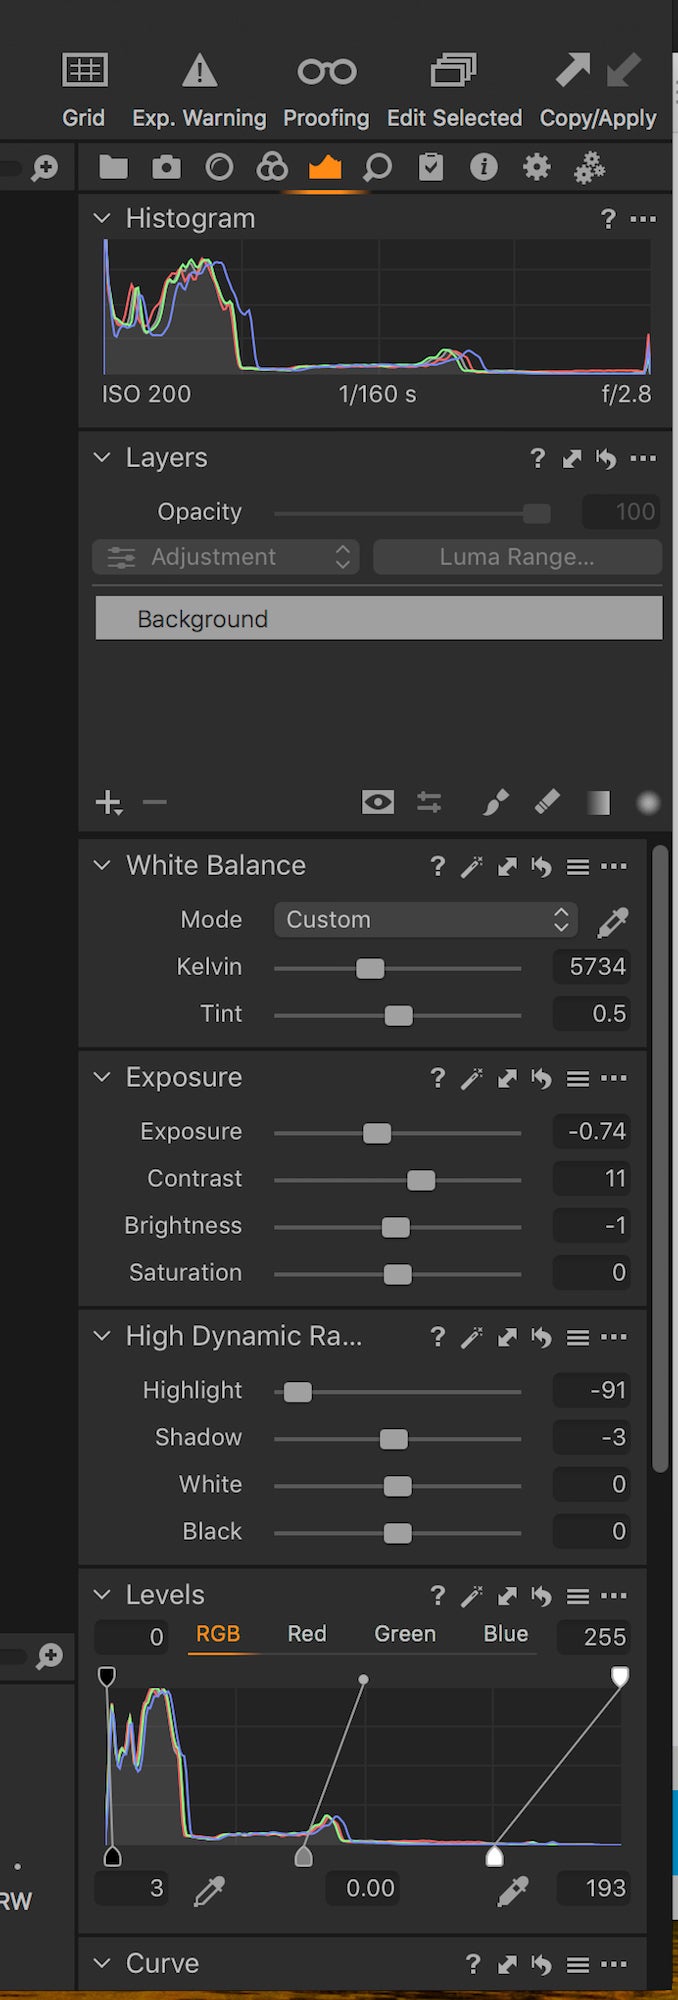
Exposure - The Exposure Tool Tab provides controls to adjust exposure aspects of images. Basic controls such as exposure, contrast, brightness and saturation that affect the whole image. More advised controls for high dynamic range enables users to fine- tune highlights, shadows, whites and blacks. Levels and Curves can adjust overall light- ness values as well as the individual Red, Green and Blue color channels. The Clarity tool can help reduce haze or (a negative value) can create a softening effect that is par- ticularly affective when applied to a portrait image to smooth out skin tones.
Details - The Details Tool Tab includes a combined navigation and focus tool that allow users to quickly inspect close-up details on the image. The sharpening, noise reduction, film grain and spot removal tools are located here as well.
3. Get familiar with the cursor tools

The Cursor tools are part of the Toolbar and provide easy access to a number of closely related sub-features. They are located at the top/middle of the user interface. The Cursor tools can also be activated by keyboard shortcuts.
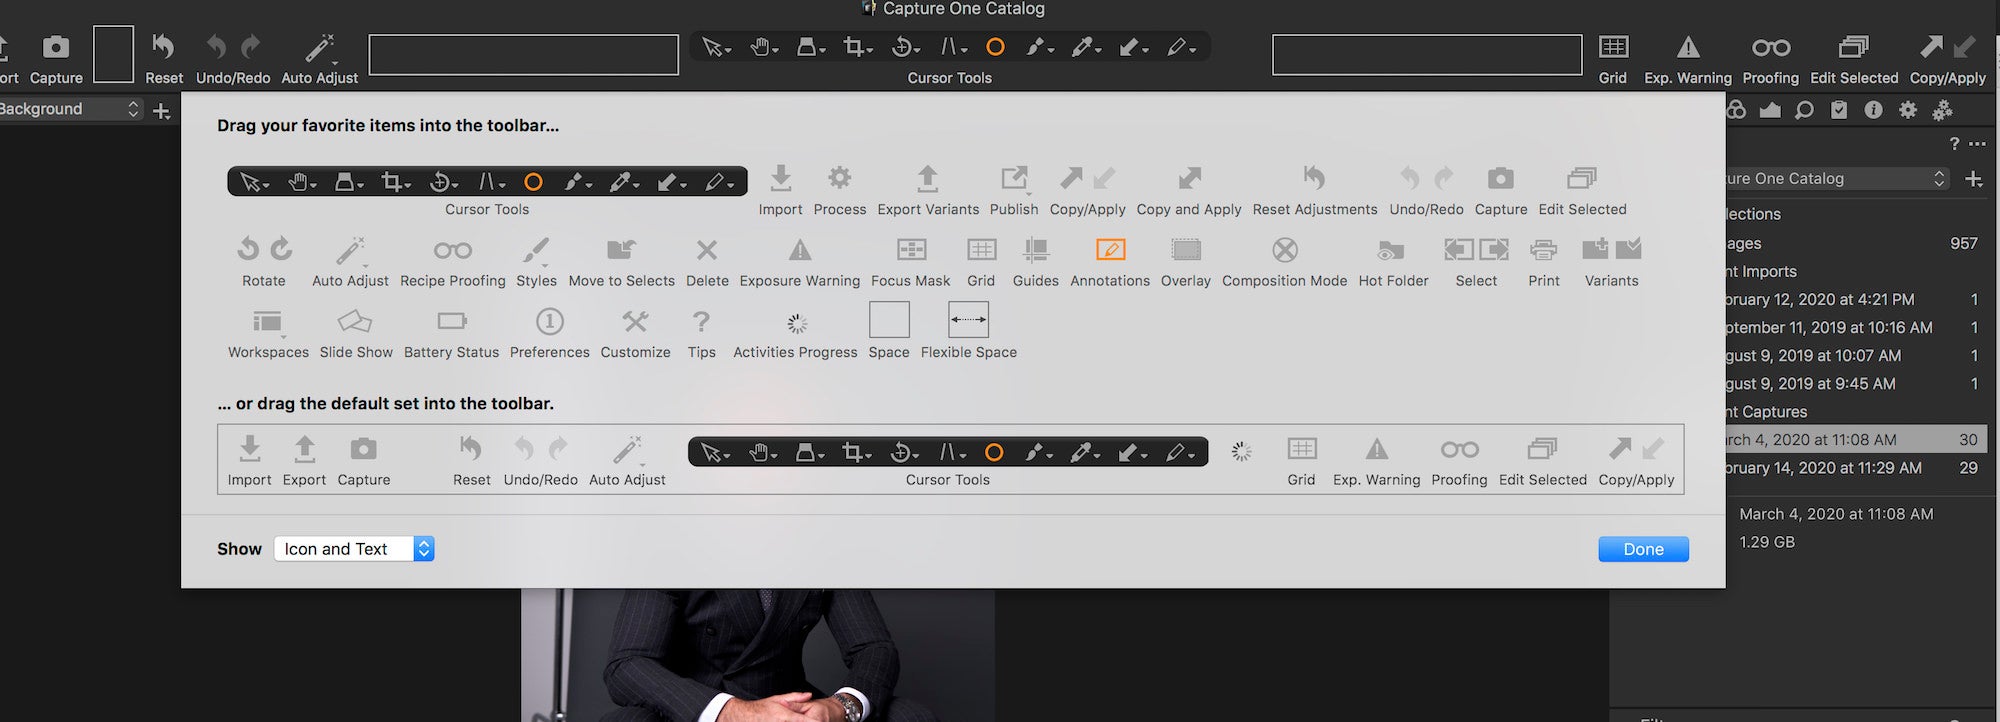
4. Customize your tool bar
Capture One offers a wide range of customization options. You can add icons to the top tool bar or reorder the tab-menu.
1. Go to View>Customize Toolbar... Alternatively, right click (or press Ctrl and click) on the toolbar and select “Customized Toolbar” The Customize Toolbar window will open.
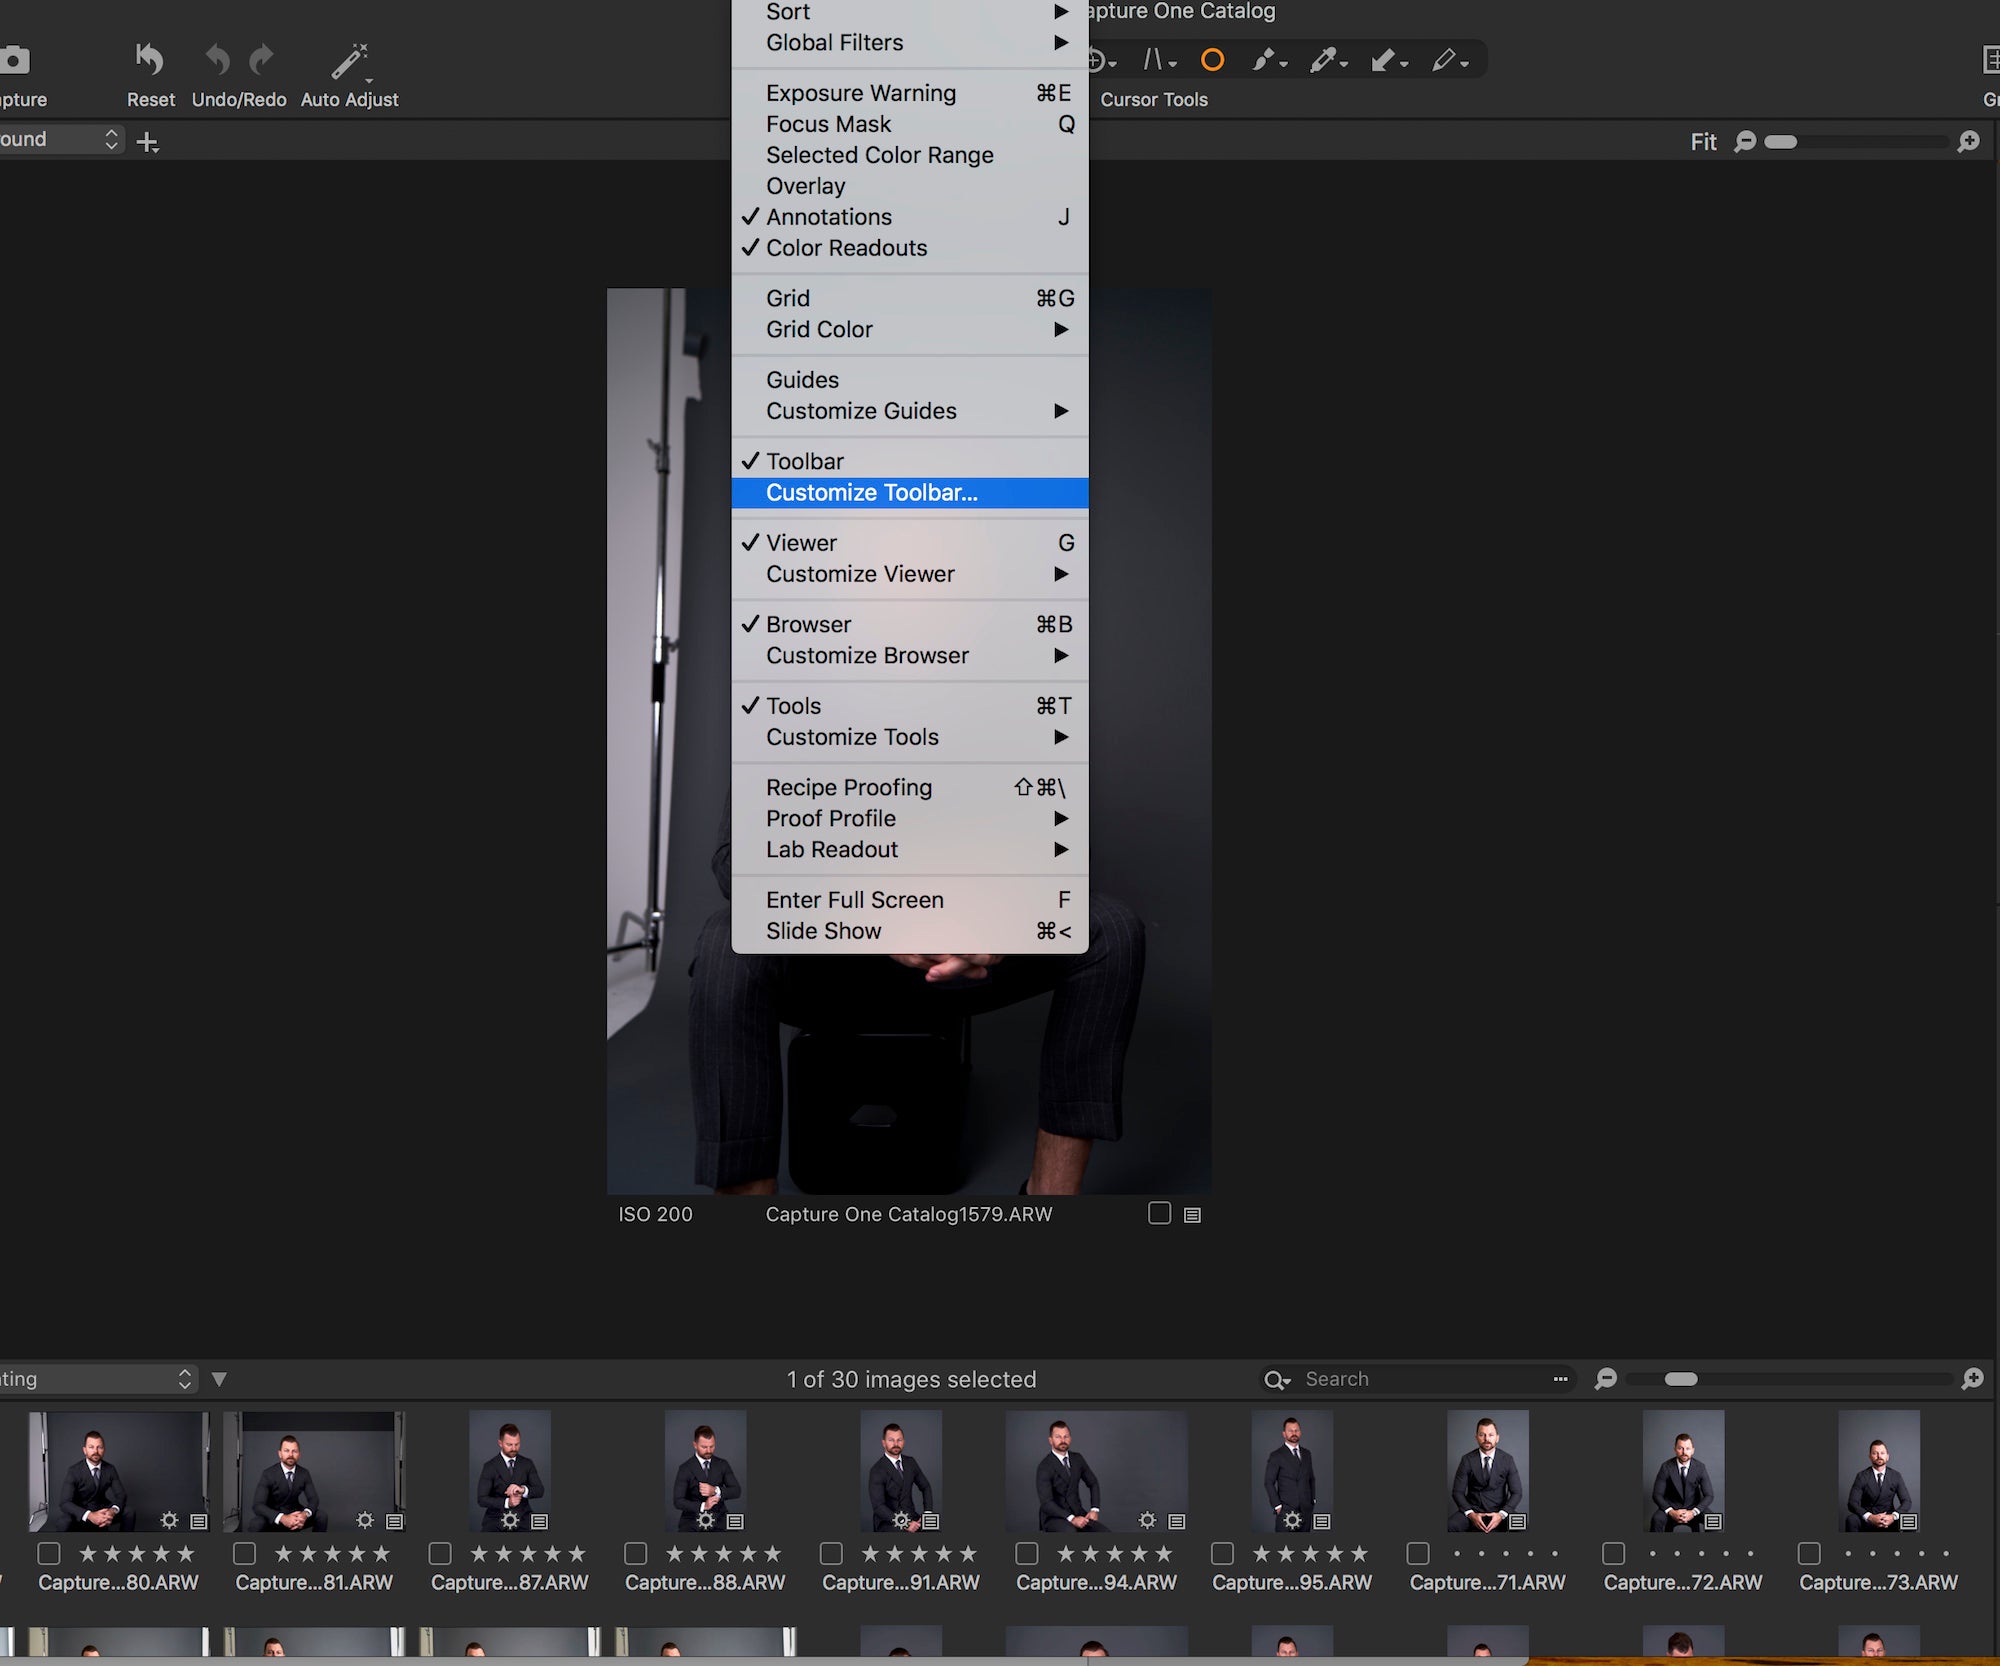
2. The Customize Toolbar feature is a placeholder for icons. Drag the icons from the placeholder to a position in the toolbar or remove icons from the Toolbar by dragging them to the placeholder.
5. Instant Tethering
Tethering while you have the client on the shoot can ease the pain for your client to pick their selects. They can rate images as you shoot. Just connect your camera and laptop then open Capture One, it should instantly read the camera.
