Food photography is becoming more and more popular by the day. Whether it’s just as a hobby, a quick pic to show off to friends and family to make them jealous of what’s being eaten, or professional styling, you see it everywhere you turn. Personally, I love it since I don’t stick out like a sore thumb as I take my pizza out of the restaurant in the middle of winter for better lighting. Ok, well maybe people don’t go to that extreme and I’m still not so covert in my approach, but I’m still going to share some of my best tips for food photography so that you can make all your friends jealous and wish they were there with you.
Light It Up
Good lighting is always a plus no matter what you are photographing and shooting your food is no exception. If possible, I shoot most of my food photography during the day with natural lighting and usually try to request a seat by a window. I’m also known for requesting very early dinner reservations during the winter time when it gets dark early. Obviously not all restaurants have those dreamy large windows with cascading light, but I am happy with even a small window. You also don’t want to have too much light crashing down on your food because then you may run into issues with overexposing it and that can be a post-editing nightmare if you ever try to take it to that level. I always prefer my light source to be at my back so I’m not fighting against the sun, or from the side which can add some shadows if that's the style you’re going for. Lastly, if I am dining at night or in a poorly lit room, I do bring a small portable light that helps assist with getting the shot. The light you find on your smartphone tends to be a bit unnatural or artificial so I recommend natural light or one in which you can change the temperature of your lighting manually with a dial on the device.
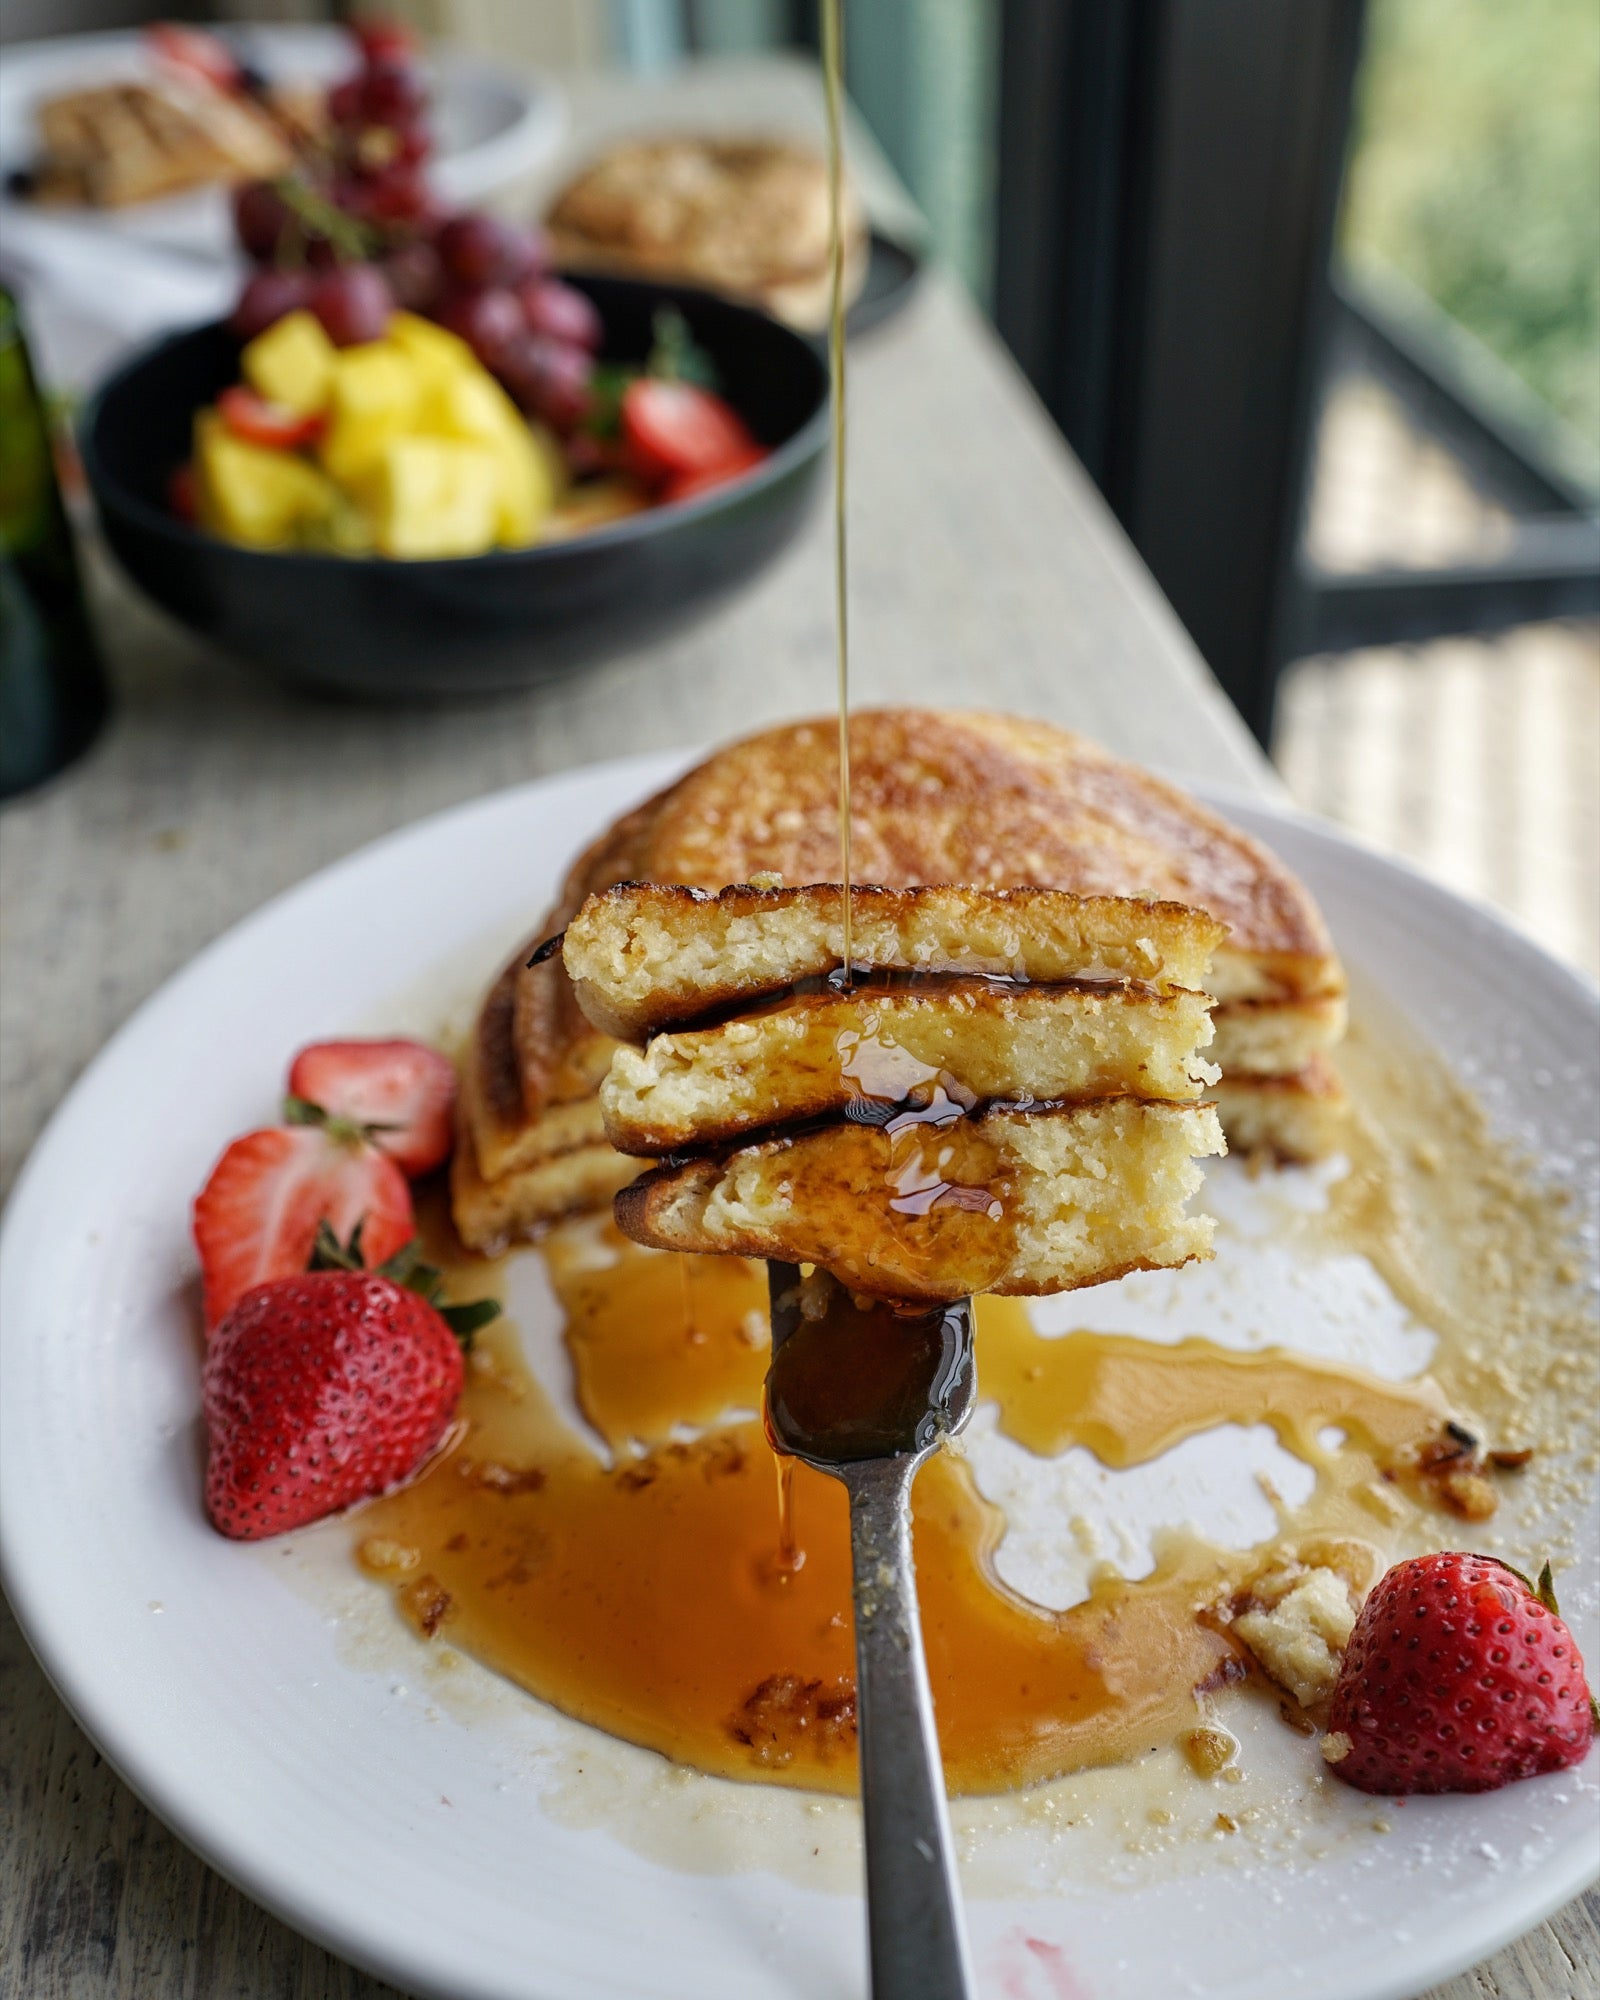
Sony α7R II. Sony 16-35mm f/2.8 G Master lens. 1/160-sec., f/4.0, ISO 125.
Play With Your Food
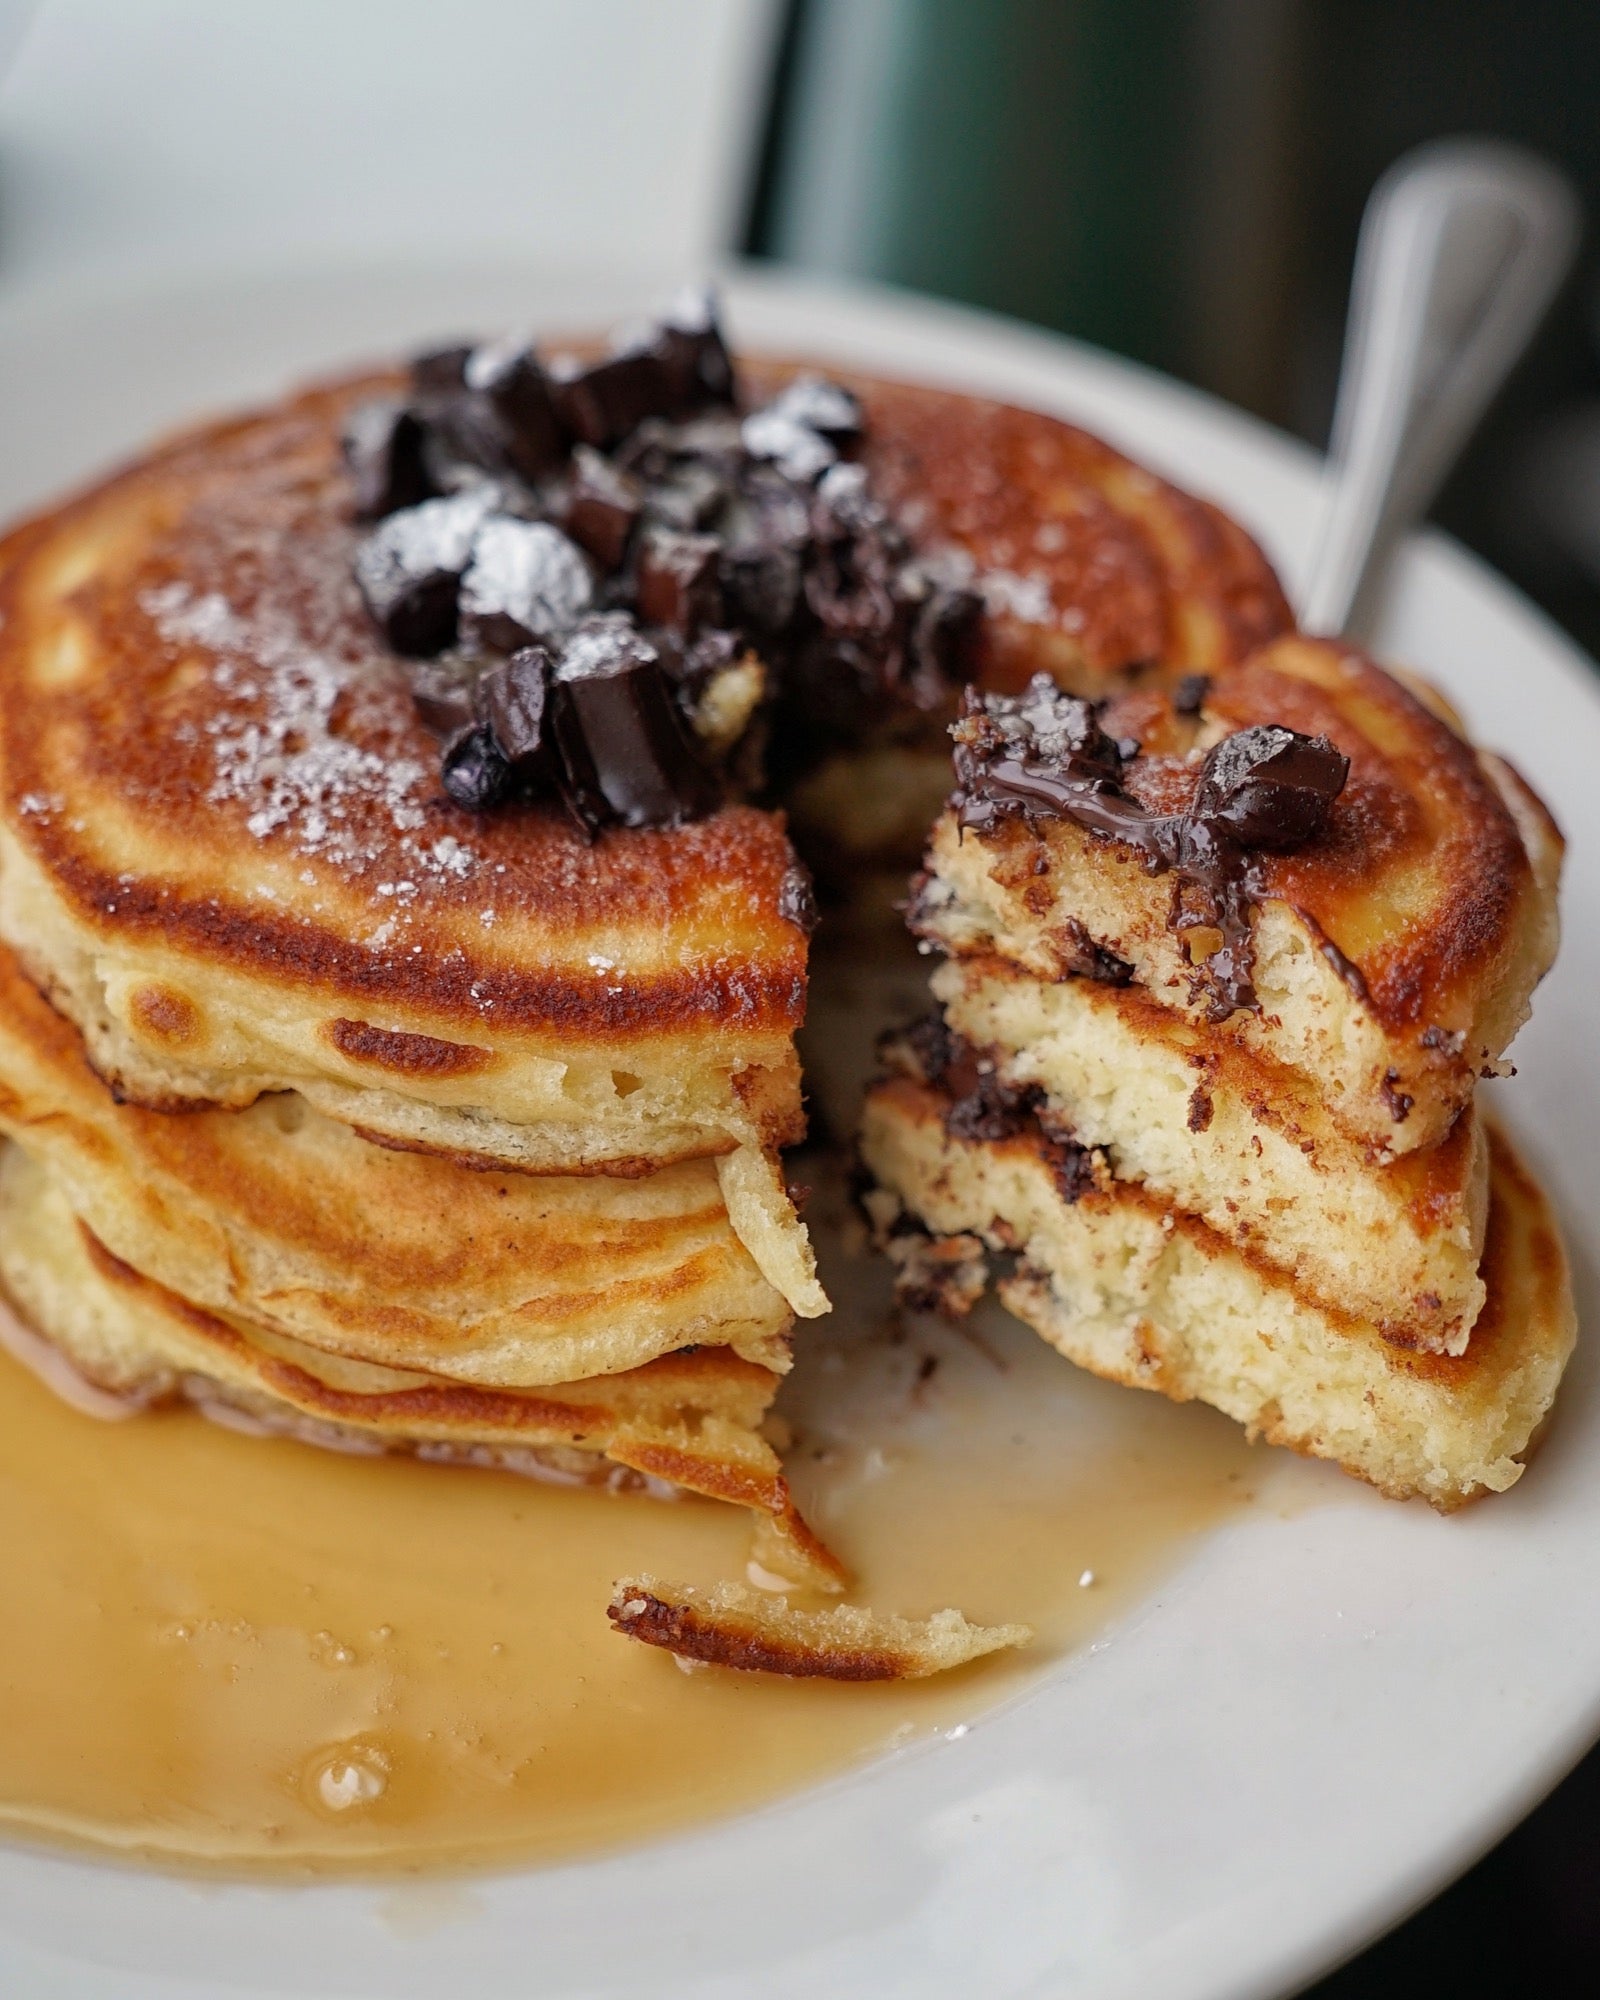
Yep. You heard it right. Forget what your parents taught you. One of my unusual passions is getting to study what’s on a menu. The benefit of this is it helps me prepare for what to expect and get an idea of how I can move the food around to capture the best shot. Personally, I like a little action to have my audience feel like they are in the moment with me, whether that be pouring the syrup down the pancakes or getting that first forkful of pasta. I think it adds dimension to the photo and feels interactive. Be mindful of too much movement and figure out how to best compensate your shutter speed, depth of field and other exposure settings when factoring in motion. I’d advise to do things as slowly as possible as it’s going to be easier for any shooting device to keep up and stay in focus with the movement without having to lose depth of field in place of increasing your ISO which could cause more noise in your work.
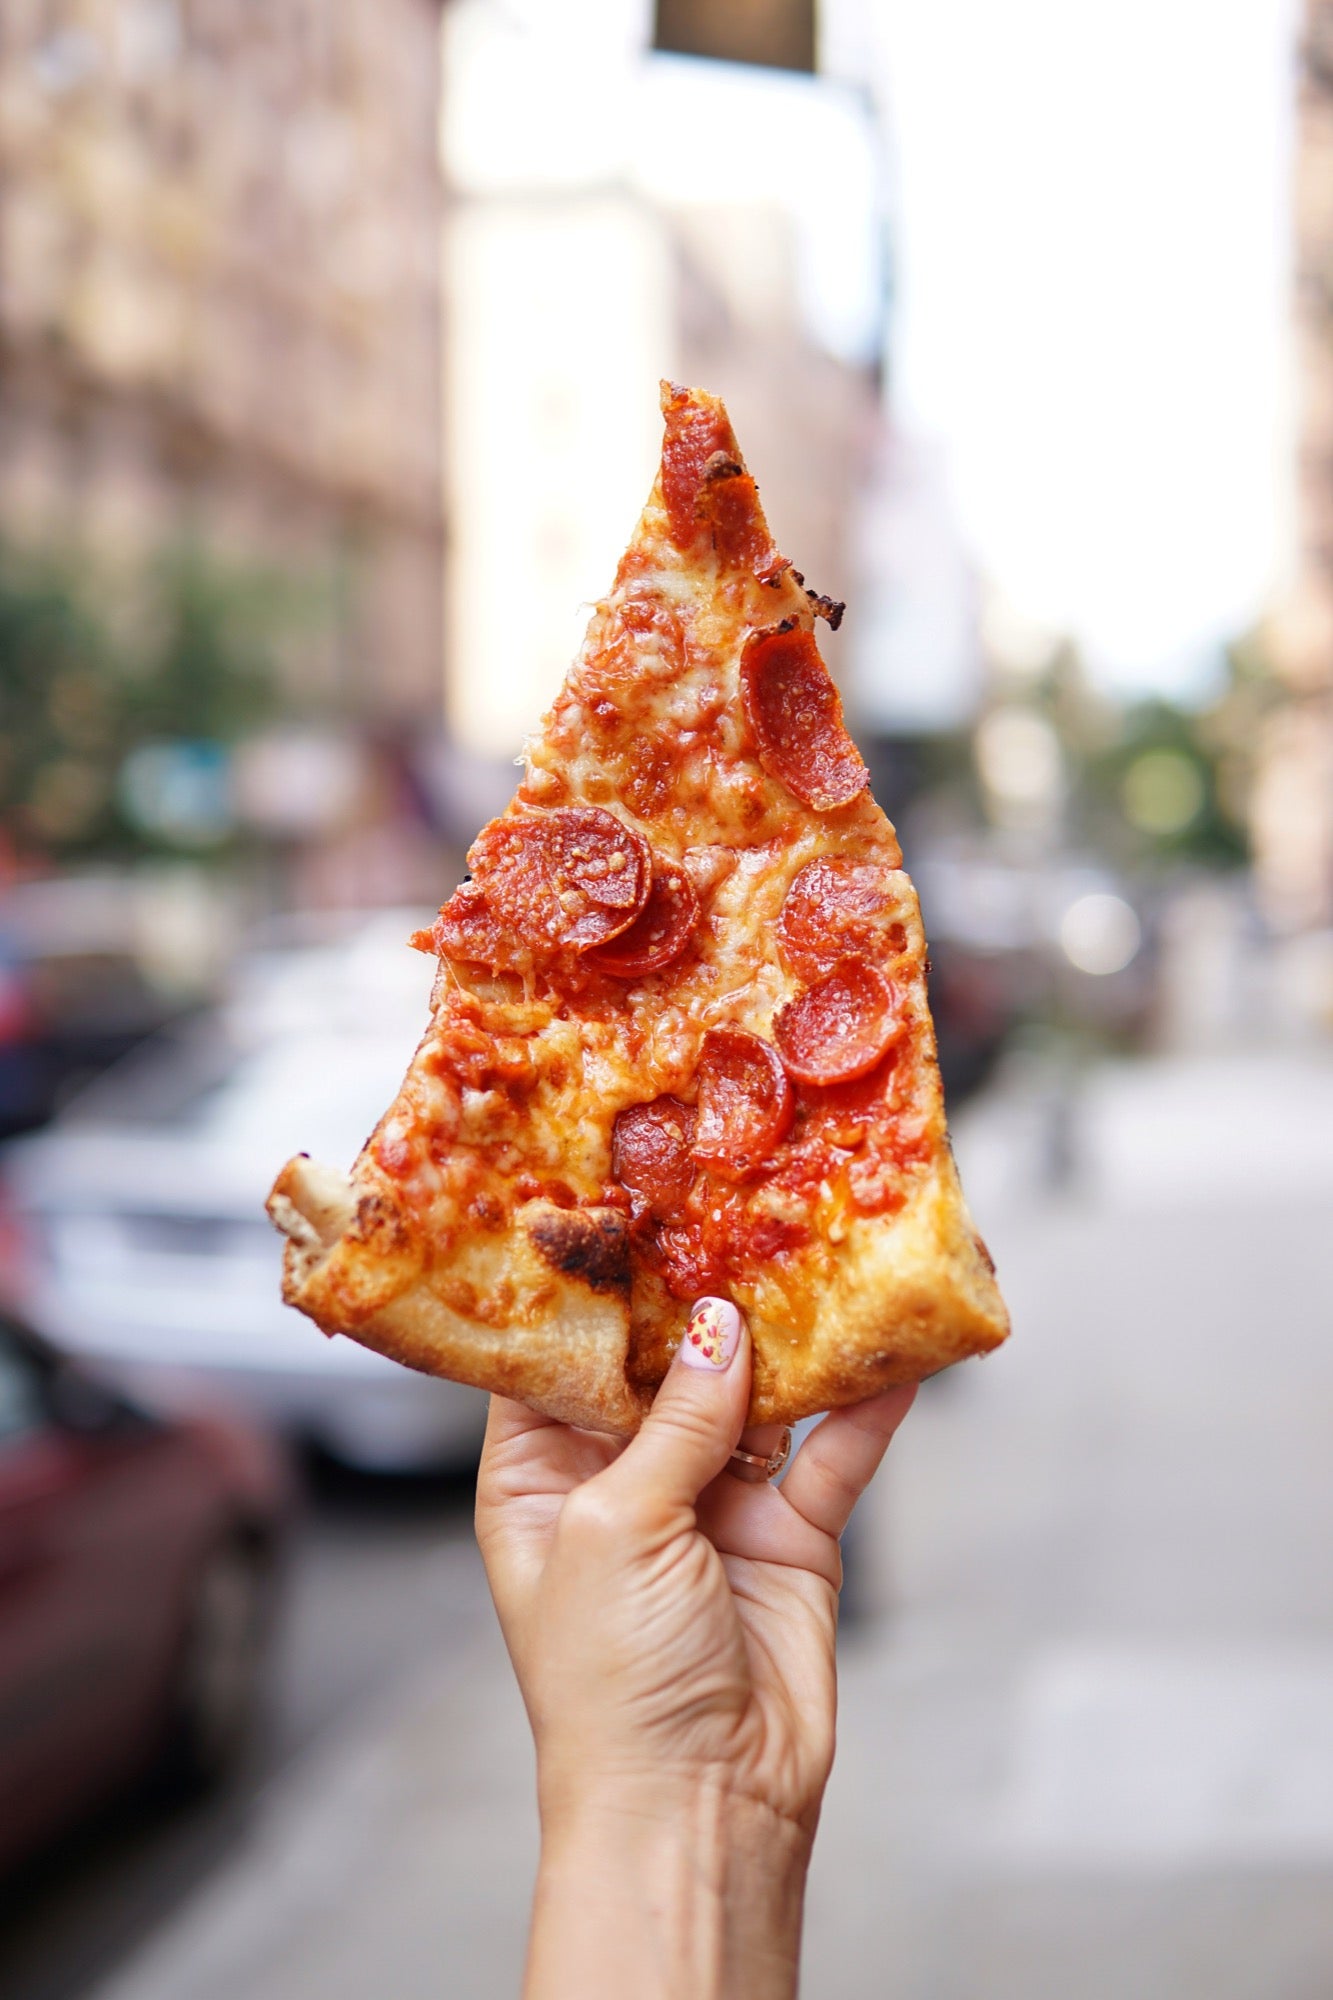
Sony α6000. 30mm f/1.4 lens. 1/400-sec., f/1.7, ISO 100.
Frame With Intention
It’s important that you have the food (or whatever your subject is) be the center of attention and the main focus. You don’t want a lot of distractions in the photo and you want it to be a generally noise-free background so that your audience can have all their attention towards the subject. Personally, I love having little to no dead space in my background. You’ll find with my CheatDayEats shots that they are mostly up close and personal because I want people to feel like they are right up in that dish with me, almost as if they can have a taste of it through their screen.
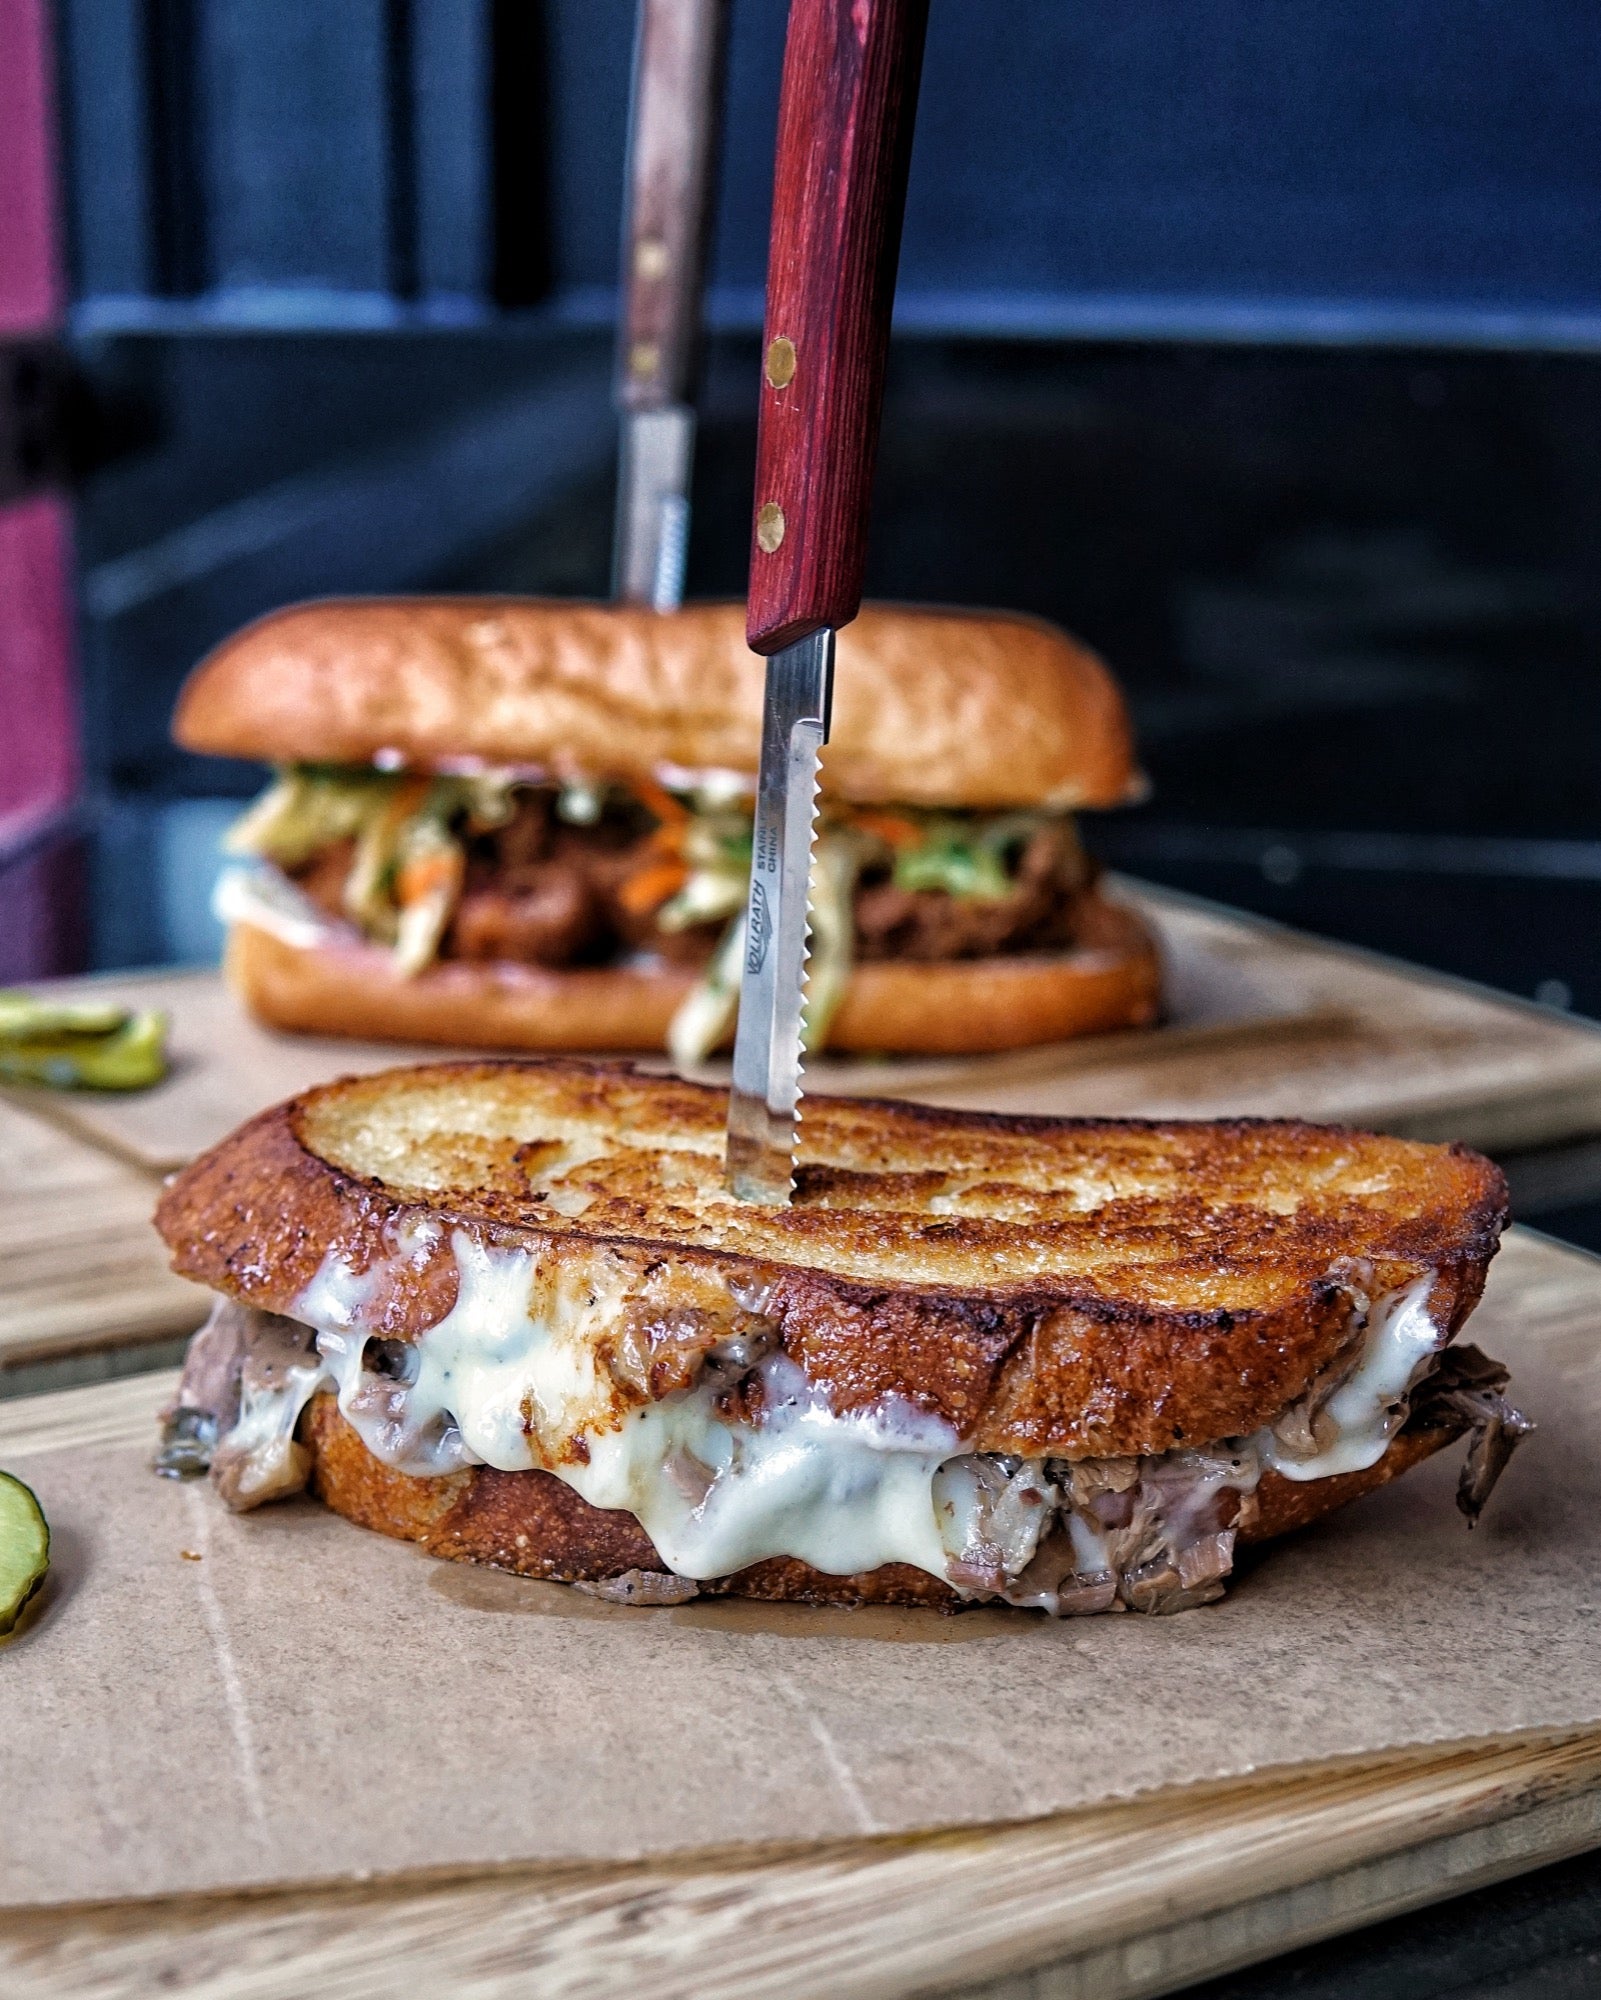
Sony α7R II. 30mm f/1.4 lens. 1/160-sec., f/3.5, ISO 1600.
Bring In The Elements
I love discovering the best places to eat when I travel. When I shoot food in other destinations I hope to inspire someone to visit that destination because of their cuisine. A dish tells so much about a place and whenever possible, I try to bring in the surroundings so people cannot only see the dish but where it is from. You see this often with people placing their food in front of iconic landmarks or including something about the culture of the place they are visiting while trying their food.
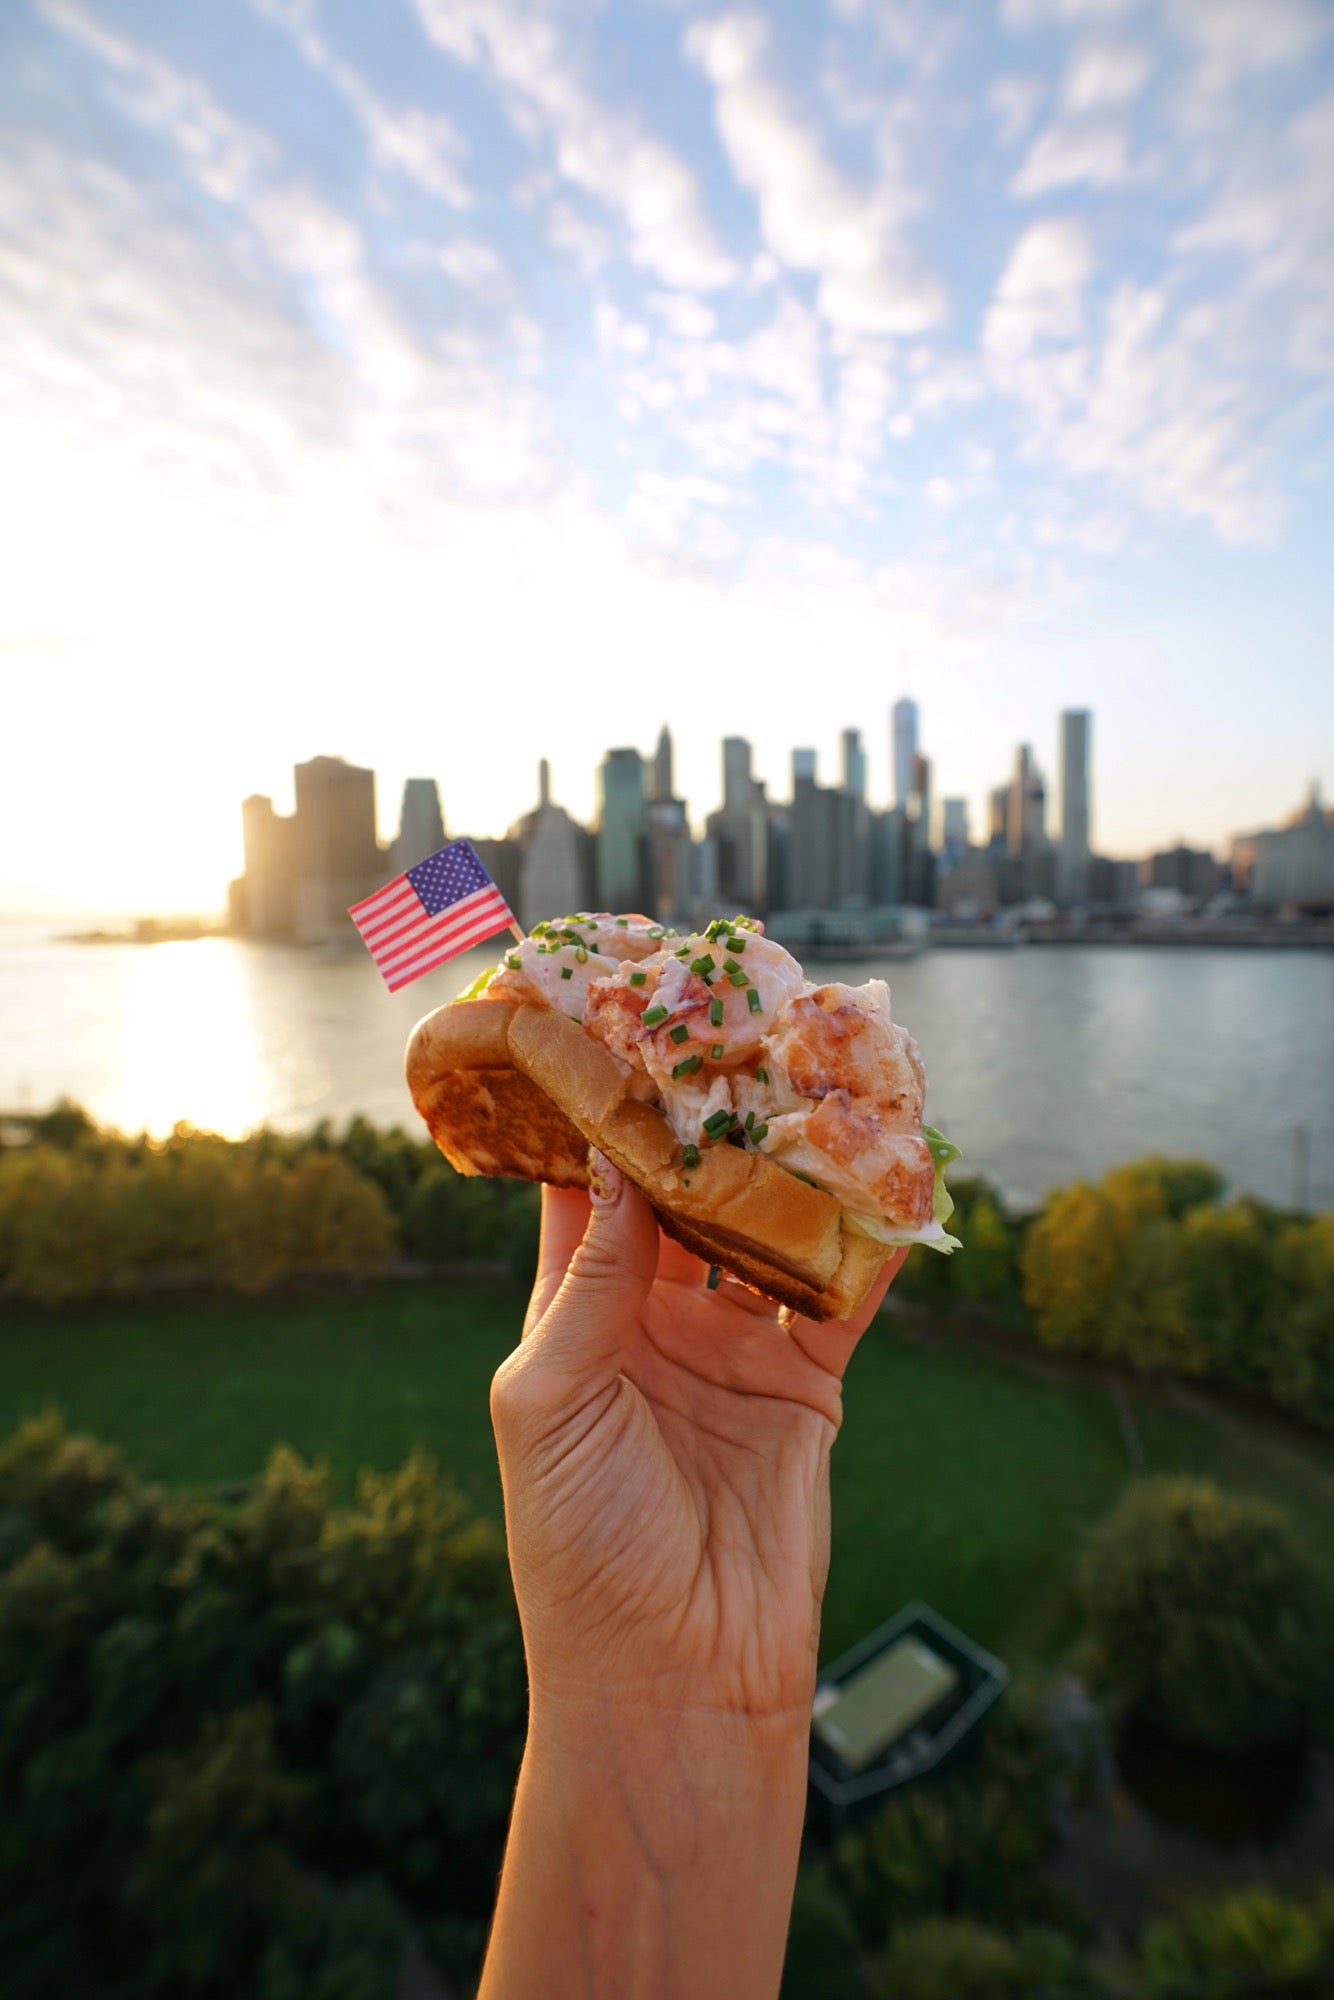
Sony α7R II. Sony 16-35mm f/2.8 G Master lens. 1/100-sec., f/5.0, ISO 100.
The Importance of Proper Lenses
A lot of people underestimate the importance of a good lens. At the very least, they don’t factor in the value of a proper lens for the particular shot you are trying to get. I recommend everyone have at least one decent prime lens and one decent zoom lens. If you want really close-up photos of your subject then I’d recommend a 55mm lens. If you want more of a whole table shot or wide shots then go with a solid 24mm lens. Another thing to consider in your style of shooting is depth of field. Shallow vs. deep preference will help determine your aperture needs from your lenses. If shallow depth of field is not of much importance, then you can save some money on lenses. My go-to lens is Sony’s 24-70mm f/2.8 G-Master.
Sony α7S II. Sony 24-70mm f/2.8 G Master lens. 1/400-sec., f/2.8, ISO 500.
Let’s Get Personal
It is important to add something that people will recognize as your photo. I try to bring something that adds personality to the photo because in the end, people will relate to that and connect to that photo on another level. I often have people from all over who are able to recognize my work just by the photo itself with no other clues as to where it was posted or handle associations. That’s honestly something I’m really proud about and it feels great to be recognized specifically for with my CheatDayEats brand.
Have A Steady Hand
I would encourage the use of a tripod when shooting. Start out with a small portable one that you can carry around easily and also won’t be overwhelming to try to set up in a restaurant. This will allow you to use a lower shutter speed and also for the camera to focus on that exact area you are trying to highlight. Many cameras and lenses have made great advances in stabilizing systems that attempt to balance and counter hand shake and other motion elements. Sony has great bodies that have in-body image stabilization built into them and their focusing systems are second to none. Nothing will work quite as well as a tripod when it’s reasonable to have it in play, so pick up a decent priced and sized tripod and your photos will improve.
If you are looking to make food photography more than a personal hobby (now more than ever), it’s key to have your work be unique. All of the above tips will help with this and having a good technical sense of how your camera works and a clear vision on how you want your food to look are really important. I would encourage anyone taking it seriously to spend some time drawing out a plan on what they feel their style will look like to showcase to an audience, and then going out and shooting content keeping the tips I provided in mind and incorporating them into their style.
Jessica Hirsch is a member of the Alpha Imaging Collective. Follow her on Instagram at @cheatdayeats and @YourRoomService.
Jessica will be teaching at Kando Trip 2.0 in Monterey, CA this May. Learn more about Kando Trip and how to apply!


