An interchangeable lens camera is state of the art when it comes to photography, video and overall content creation, but there are times when it's just not practical (or even possible) to use one. For the times when the phone is camera that you have with you, Miguel Quiles has some advice on how to set yourself up for success. Quiles focuses on the Sony Xperia 1 IV smartphone in his video. It shares a lot of cutting-edge imaging technology found in Sony Alpha cameras. With a wide range of customizable menu options, you can adjust the phone for your specific style of content creation. Quiles has used the Xperia 1 IV for his photography and knows exactly how to set it up for successful imagery. Subscribe to the Alpha Universe YouTube Channel for more.
Xperia 1 IV Setup Guide For Photography – Pro photographer and Sony Artisan Miguel Quiles gives us a step-by-step breakdown of how he uses the Photography Pro App to create incredible imagery.
Basic Mode
He starts by entering the Photography Pro App to pull up its basic mode interface. “The basic mode works just like the basic mode on any other smartphone. It’s going to be something that you use if you just want to take a quick snapshot. It’s going to do everything for you. It’s going to get the settings right. There’s less artistic expression in this. It’s really just going to be something where you take a quick photo.”
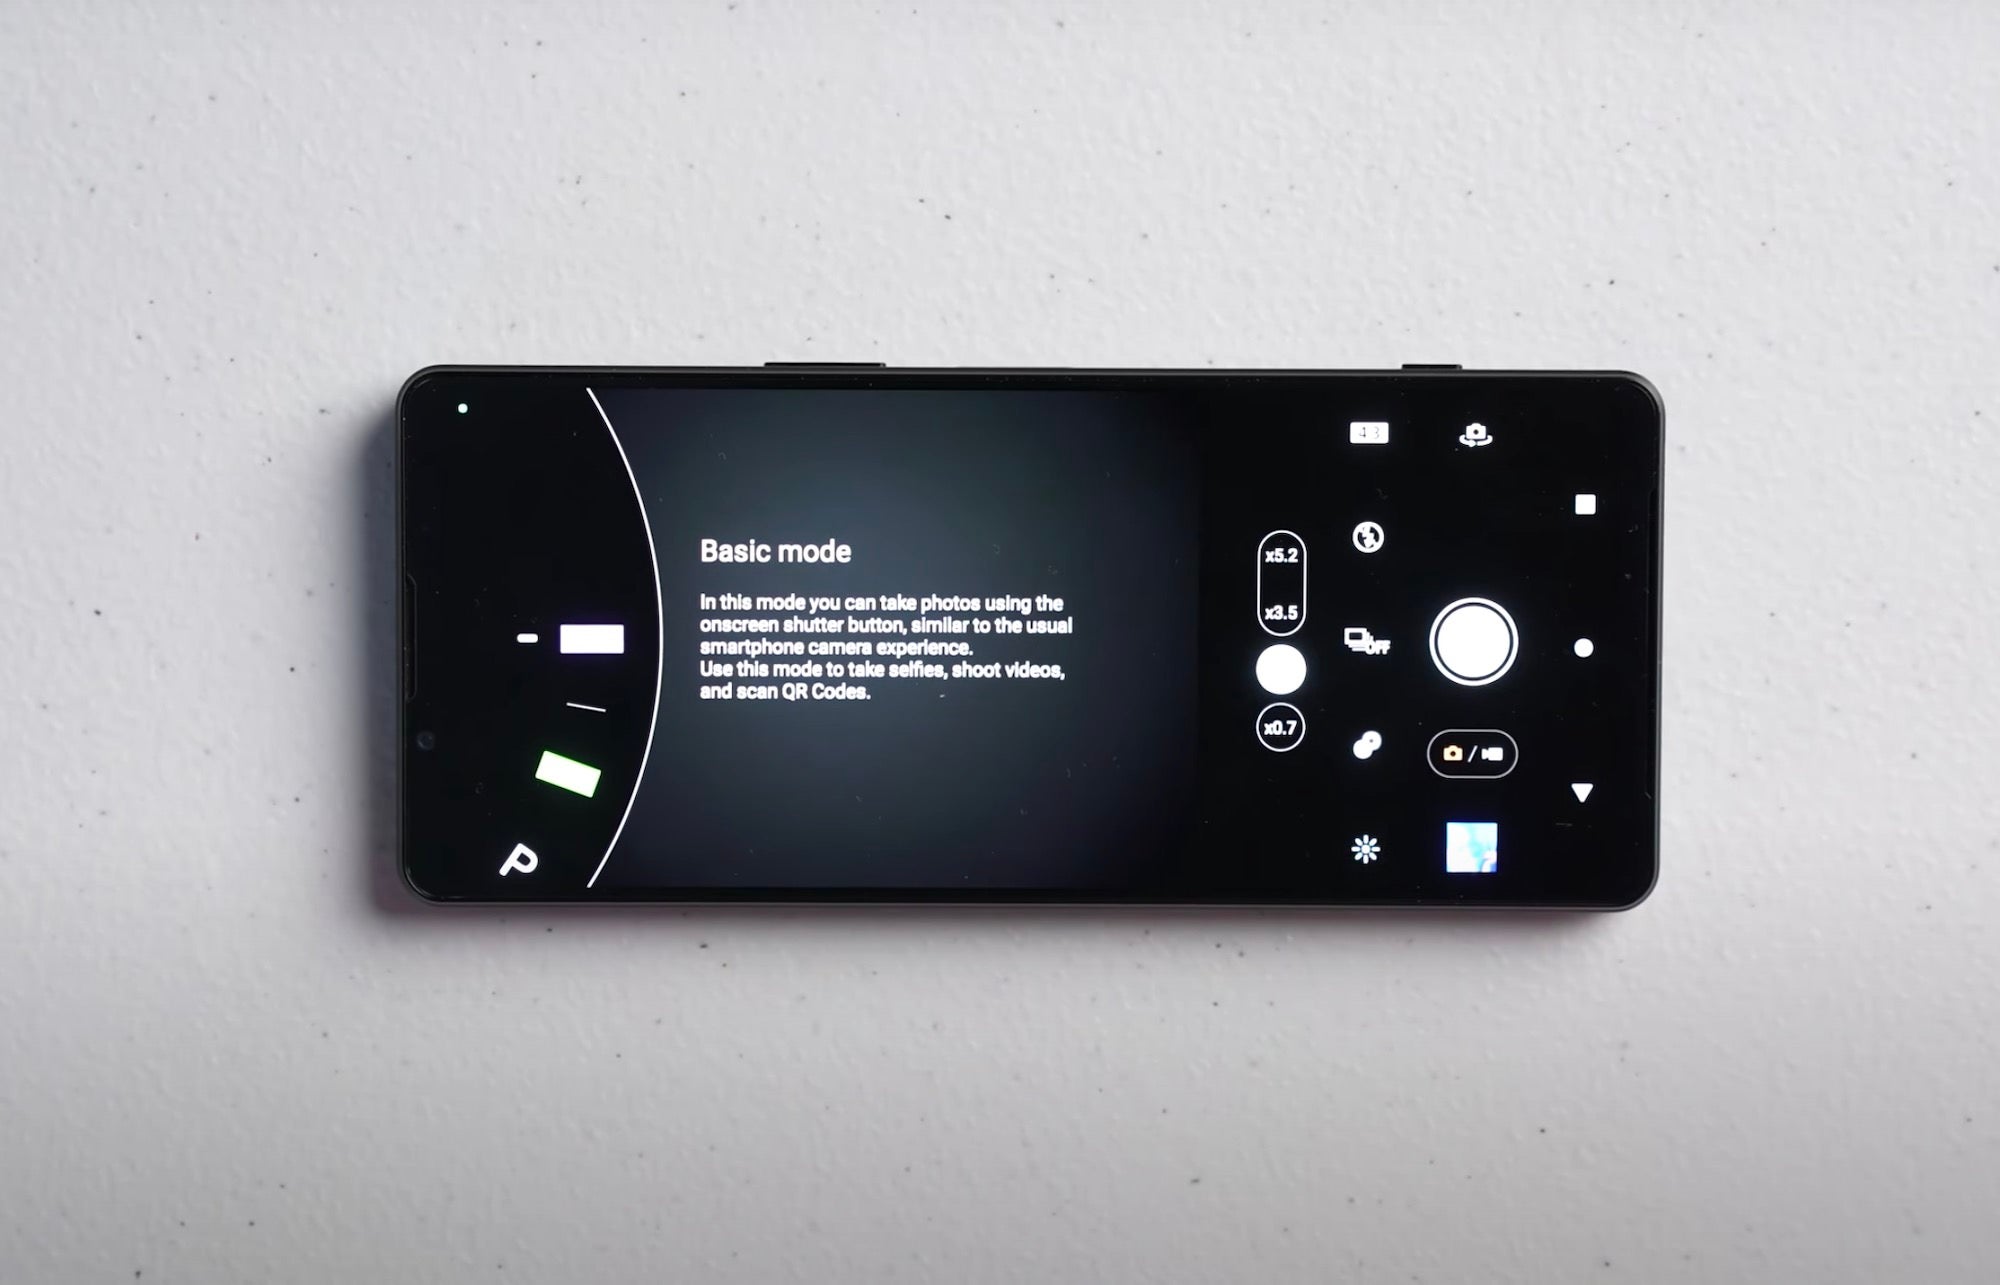
While basic mode is fine, what makes the Sony Xperia 1 IV so special is the features that give you the ability to take your images to the next level. Just as you would use your Sony Alpha photography kit and dial in the settings to create your own artistic impression, the Xperia 1 IV also allows you to go beyond the basic auto mode to create something special.
Manual Exposure Mode
Quiles clicks the Basic Mode option to view the other modes which include: Auto Mode, Program Auto, Shutter Speed Priority, Manual Exposure and Manual Exposure Recall. Because most photographers who are taking great images shoot in manual mode, Quiles sets the phone to Manual Exposure Mode.
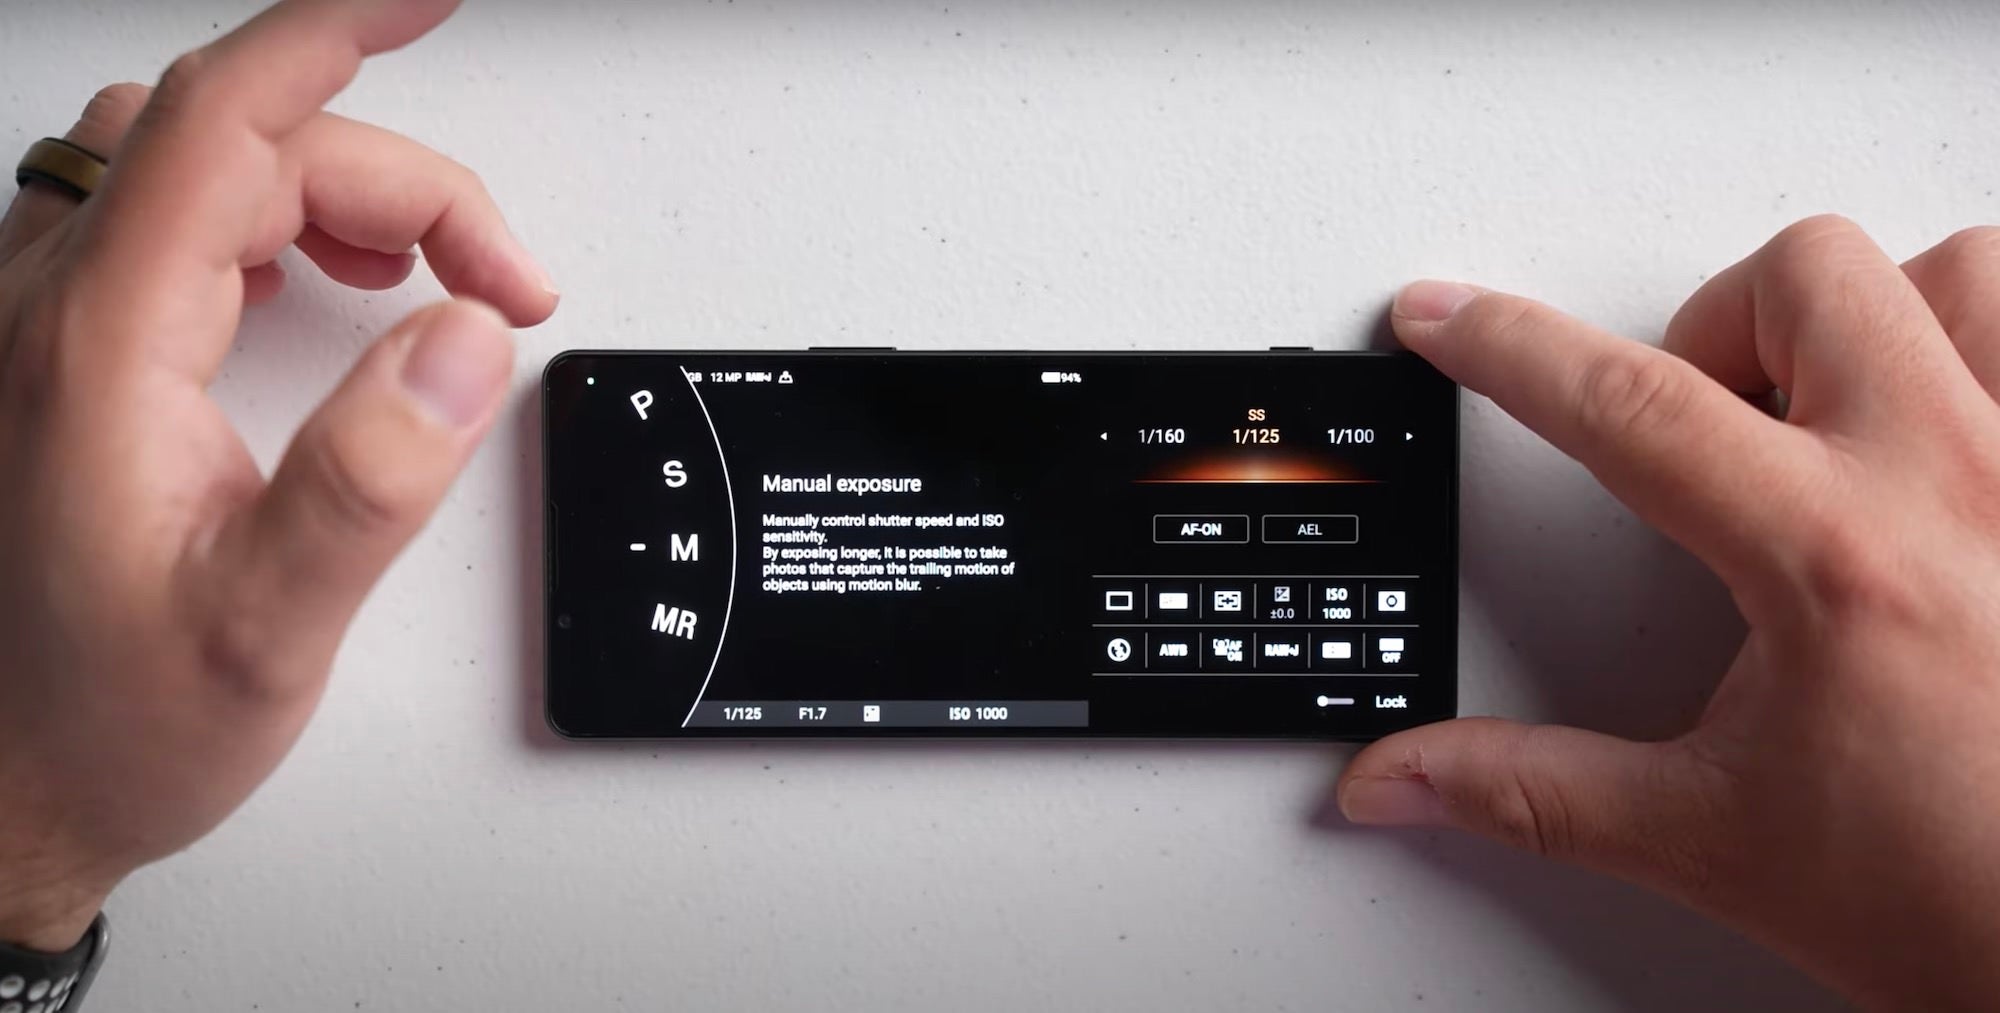
“Now after I’ve selected Manual Exposure you’re going to see that the layout of this device and its user interface looks very similar to a Sony Alpha camera,” says Quiles. “So if you’ve been shooting with Sony Alpha cameras over the years, which I assume if you’re here on the channel you probably do, you’re going to see that a lot of this looks very familiar.”
Lens Options
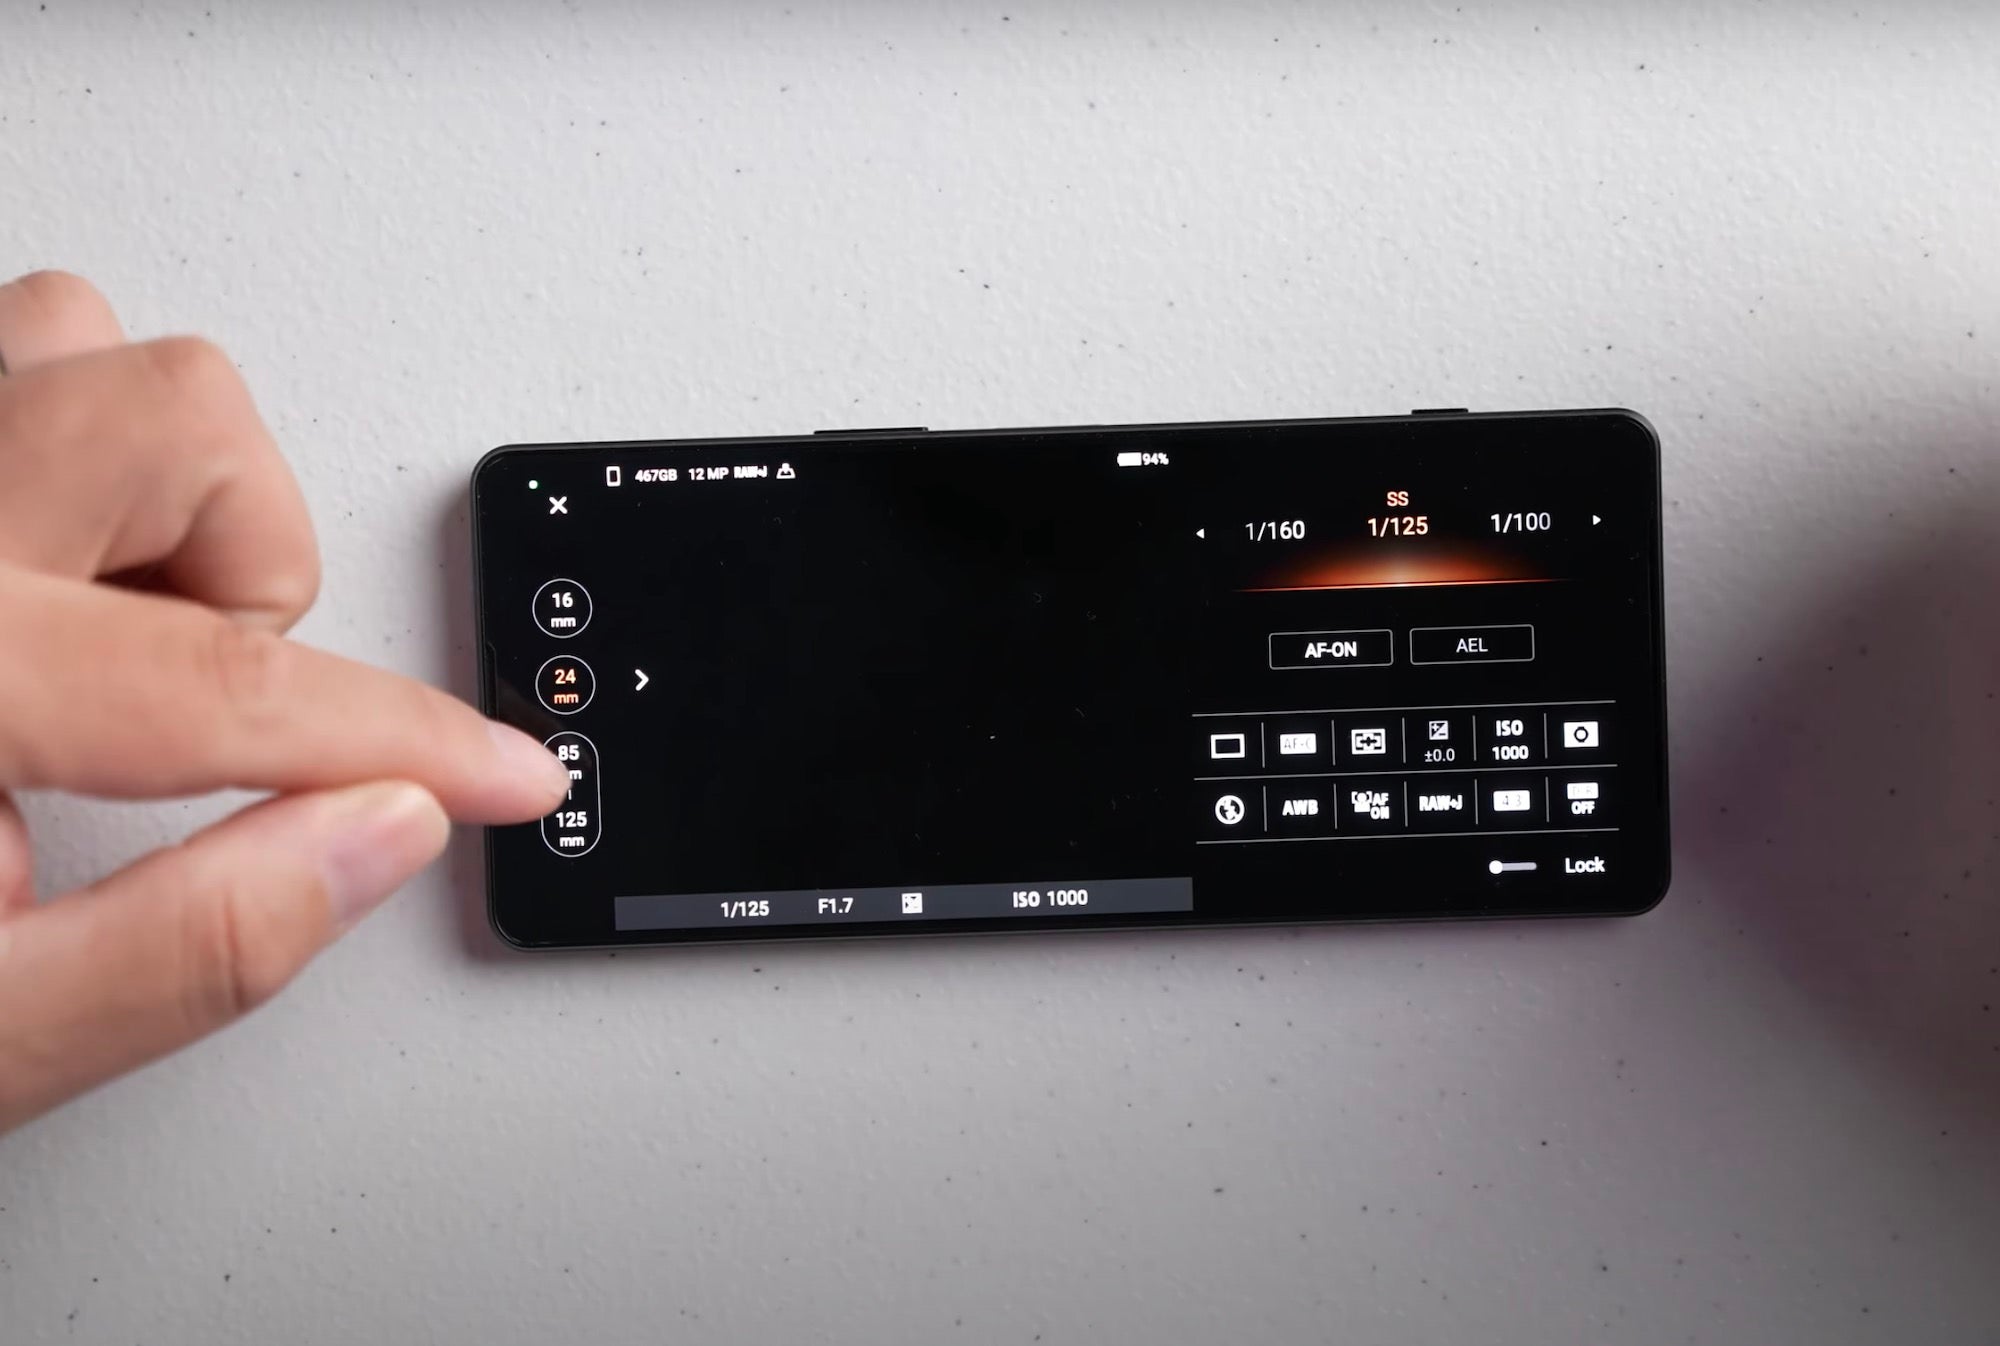
Going through the different menus and displays, Quiles shows how you have a multitude of lenses to choose from when shooting with the Xperia 1 IV. “You have a 16mm lens, 24mm lens and then of course you have your true optical zoom lens, which goes from 85mm up to 125mm. This is going to be a great lens to use if you’re shooting portraits, if you’re doing wildlife, doing sports, whatever the case may be, it’s going to be a great option for you to use.”
Shutter Speed & Autofocus
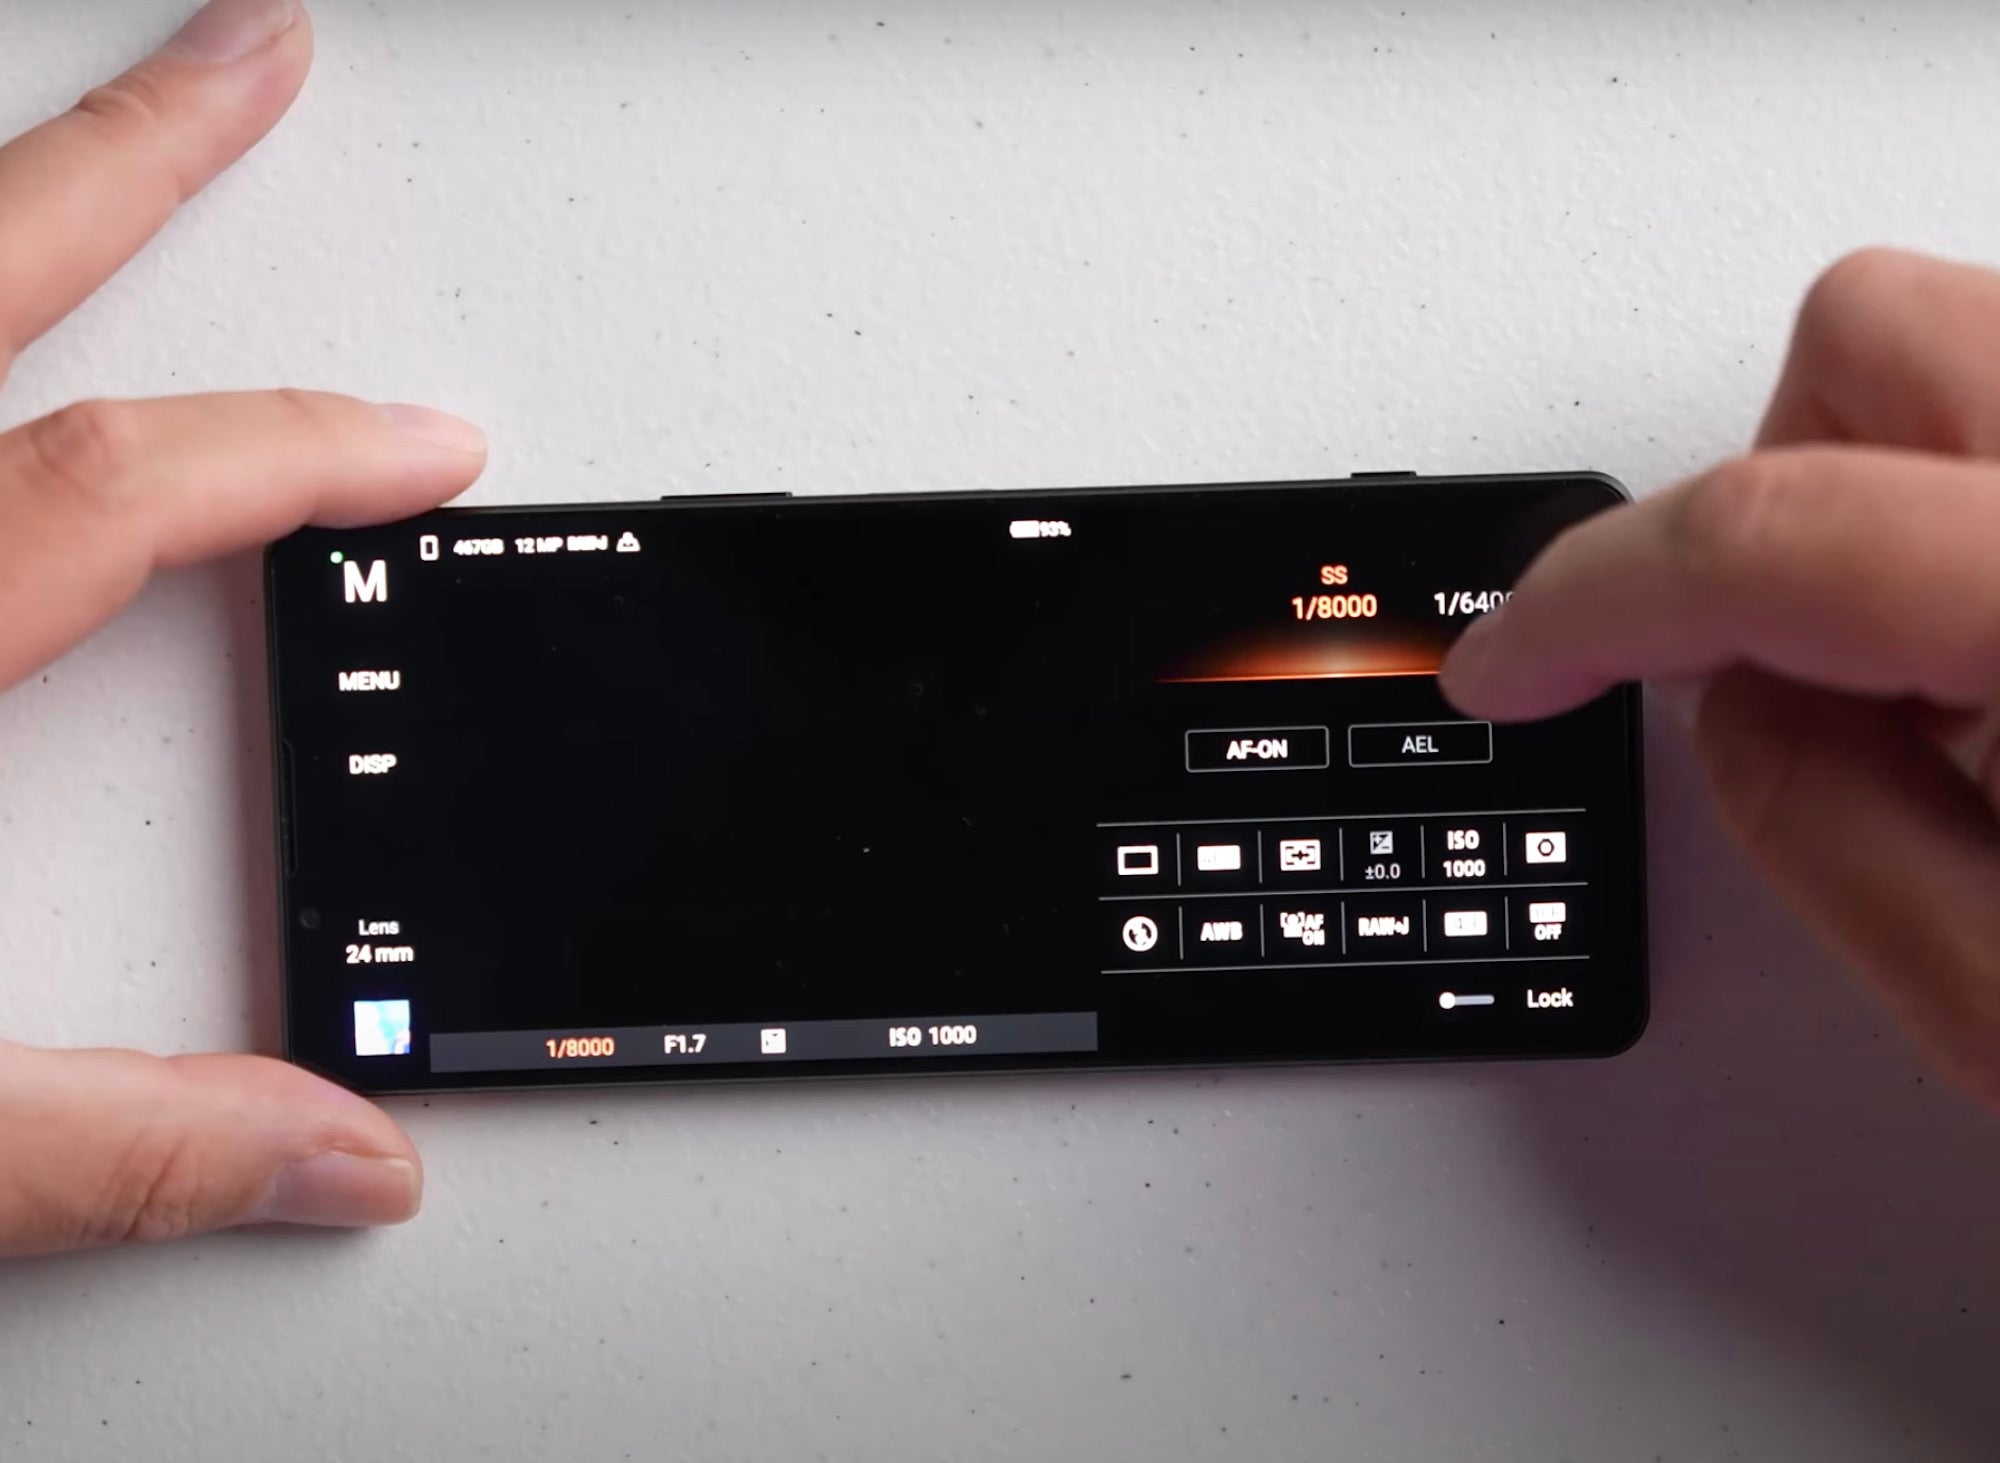
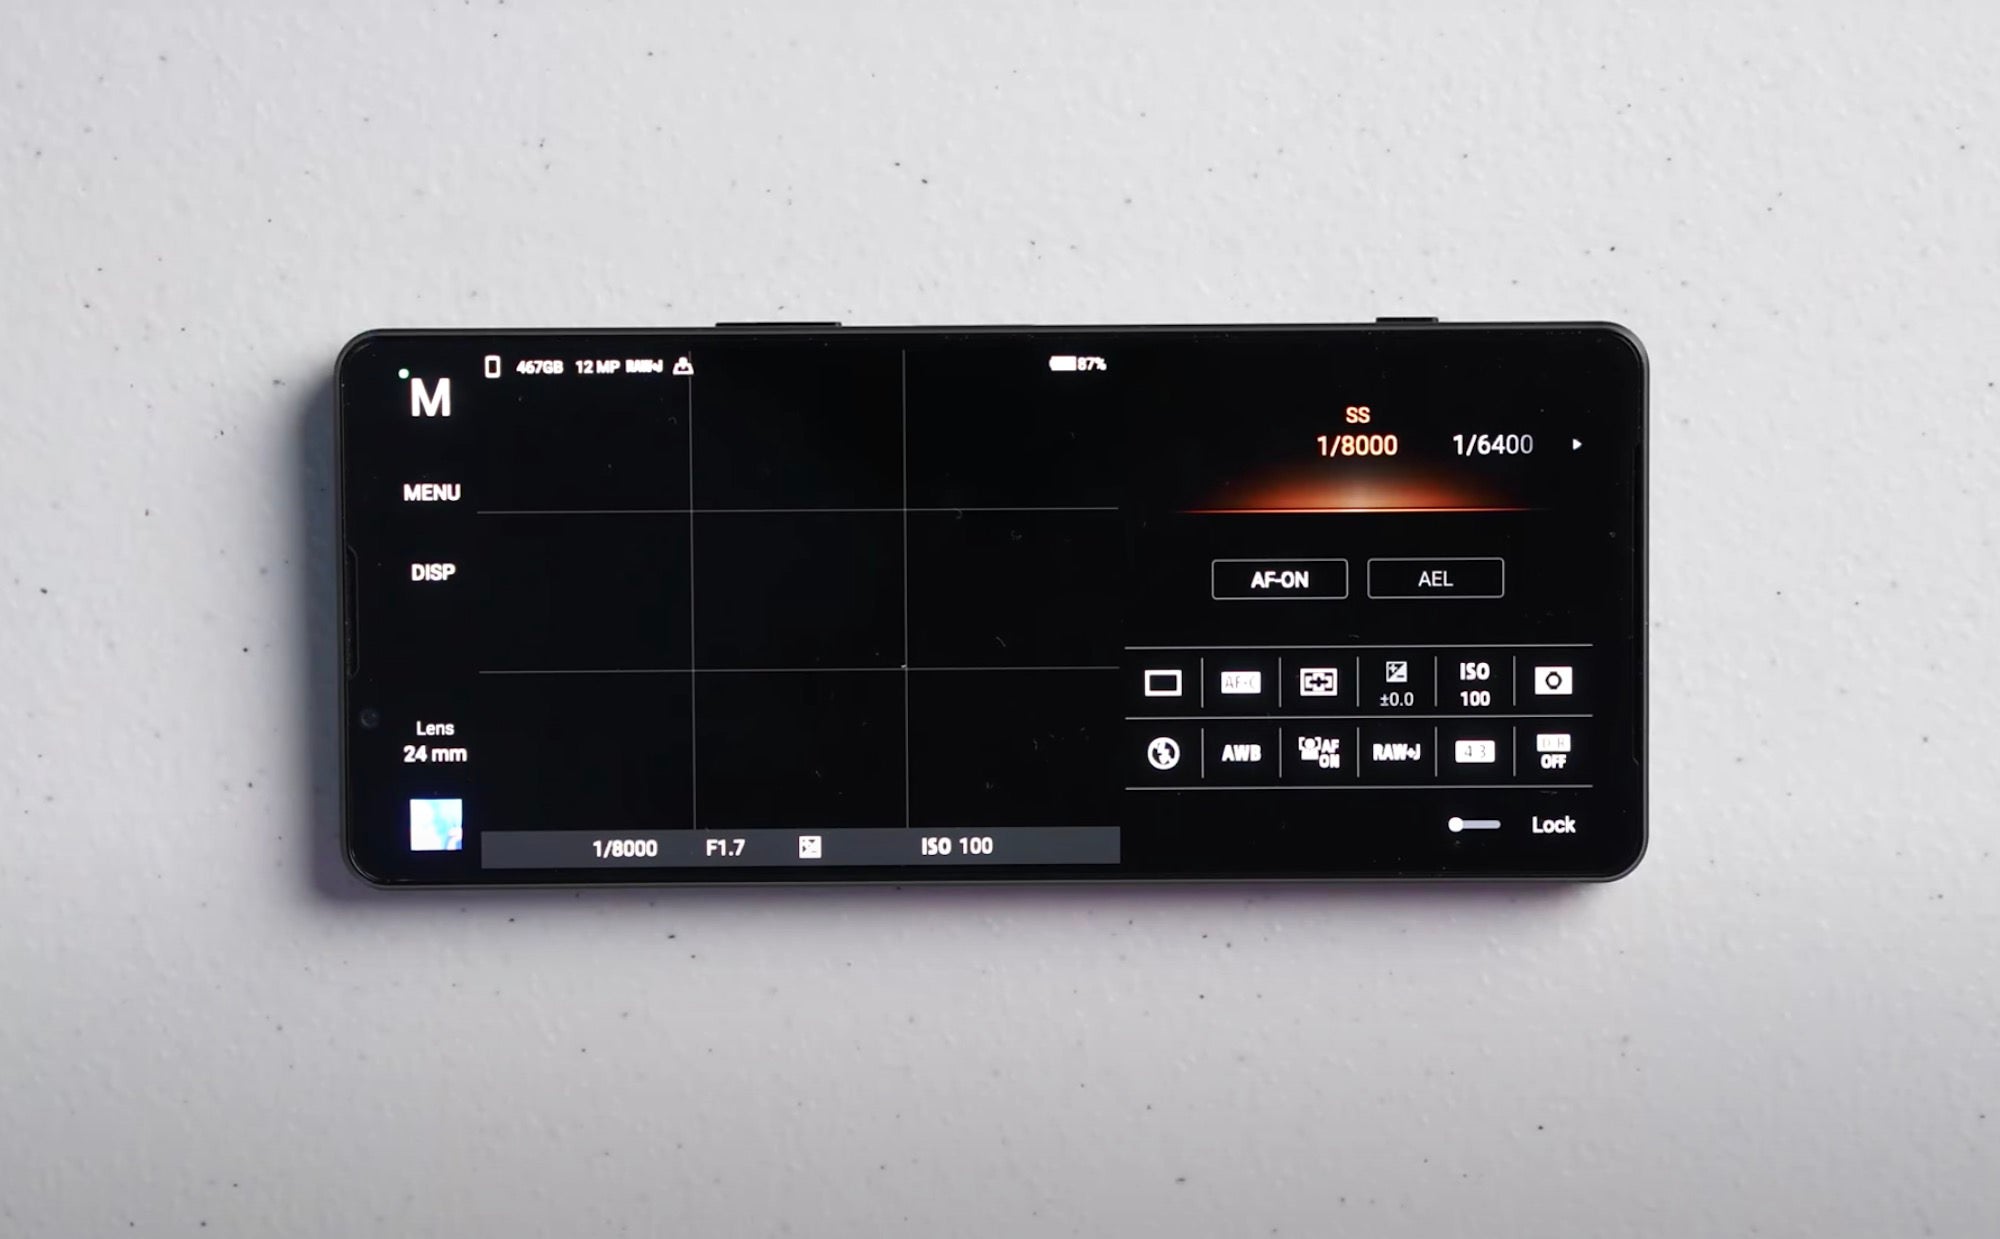
The Xperia 1 IV also allows you to adjust your shutter speed up to 1/8000-sec., just like most Sony Alpha cameras. You also have the option to turn autofocus on using the AF-On button below the shutter speed selection. “If there is something that’s moving through the frame, your device is going to actually see what that moving subject is and it is going to lock on to the focus and track it through the frame. So it’s essentially automatic focus that will find the subject within the frame and it will track and keep that in focus.”
Function Menu – Drive Mode
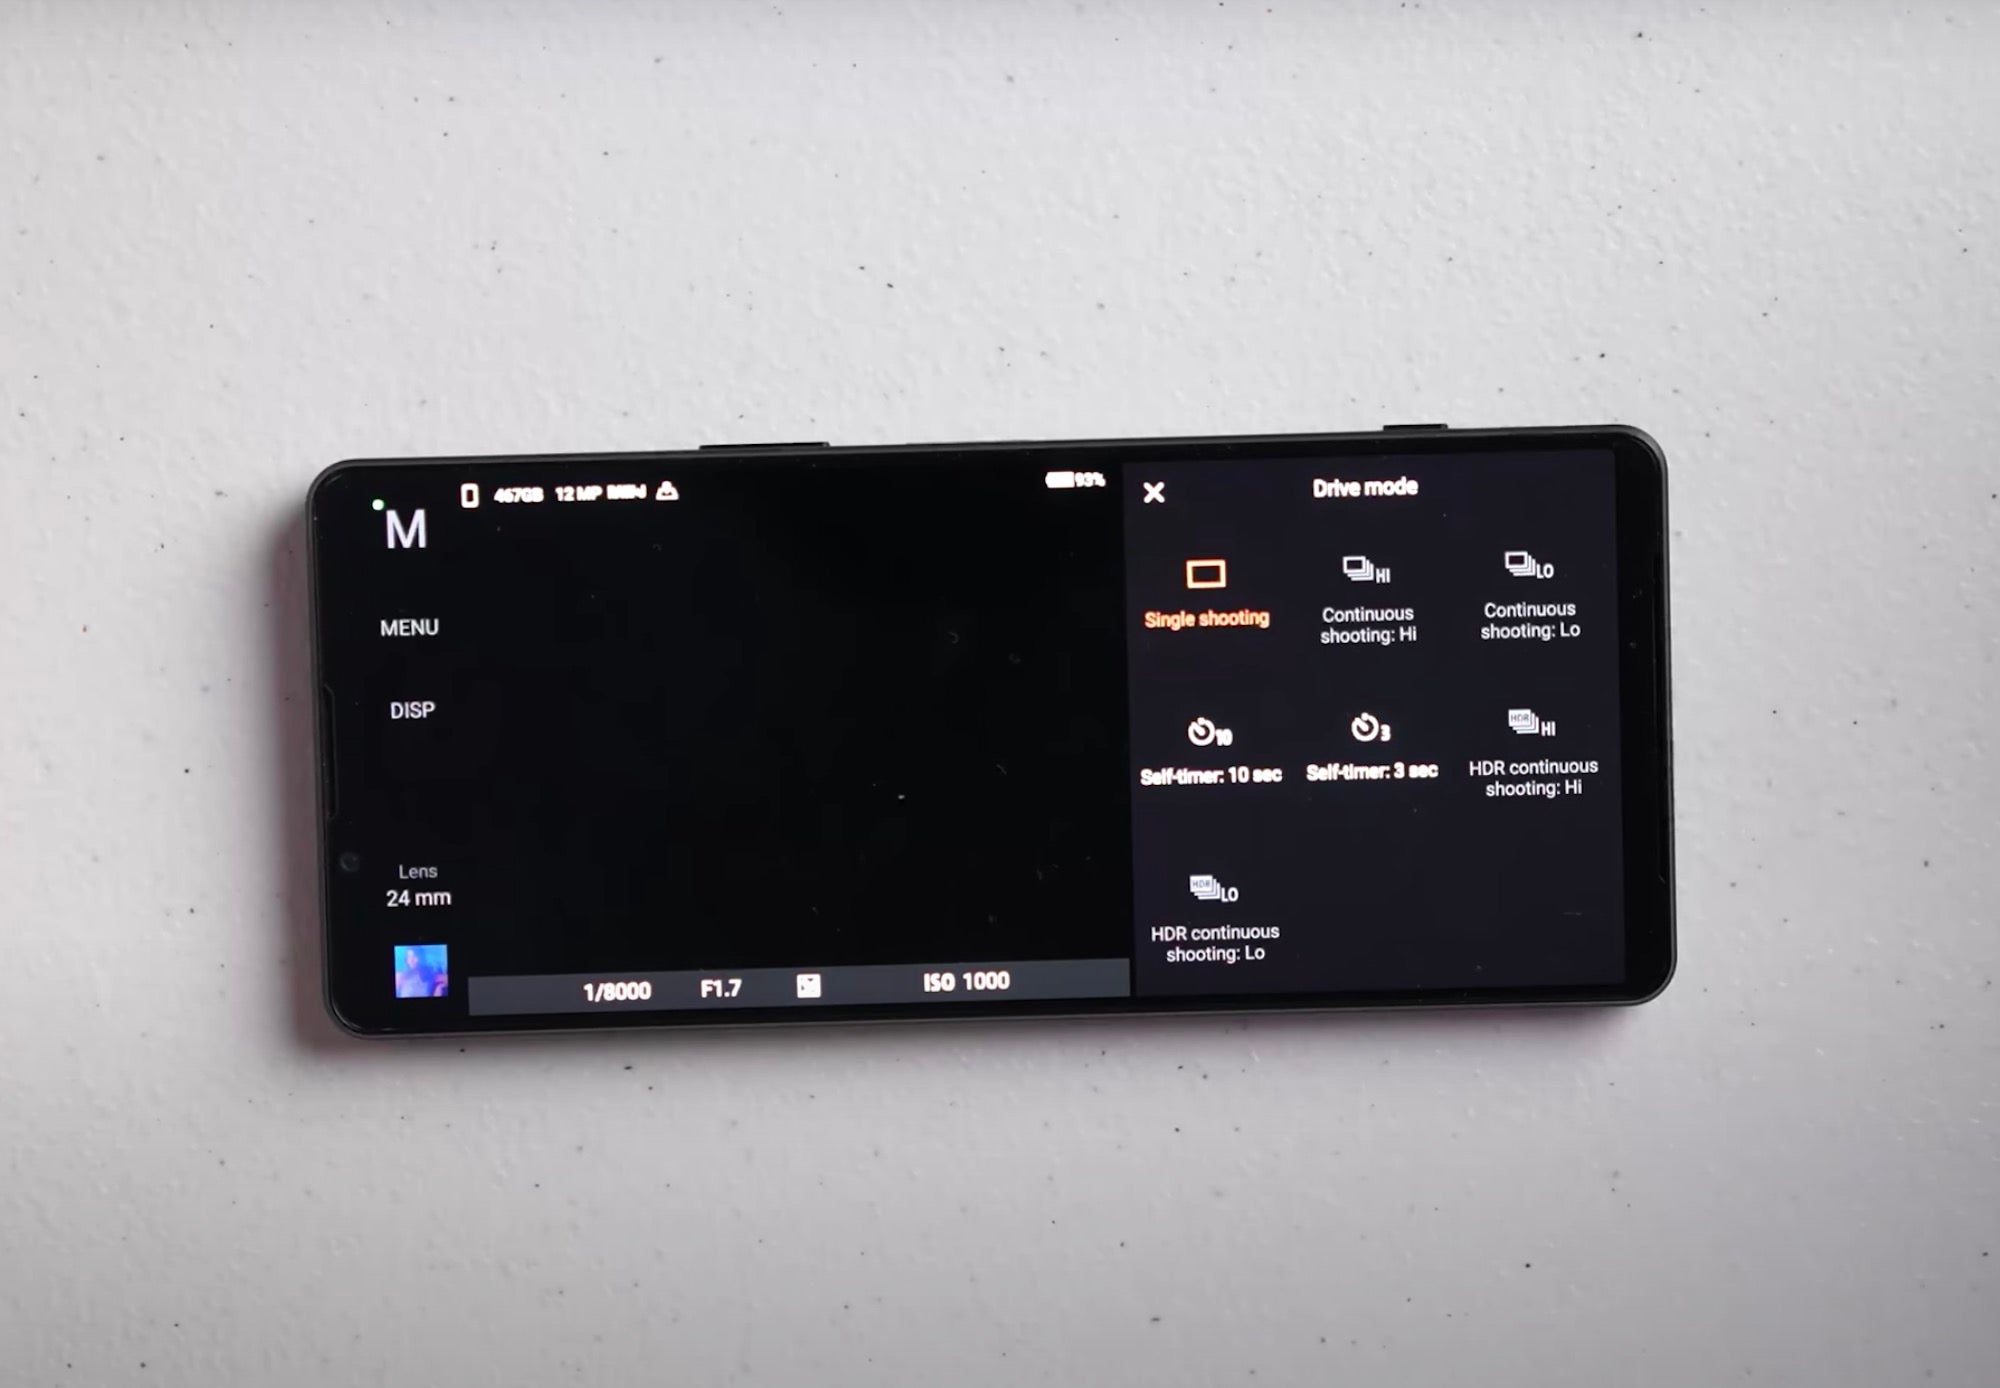
The Function Menu looks very similar to Sony Alpha cameras, and Quiles gives a primer on what the different modes do and what they look like. “The top option here is your Drive Mode. This is what you’re going to select when you want to change your Drive Mode. So when you’re pushing on your shutter, right now it is set to single shooting so it’s going to take a single photo.” The Drive Mode area also has 10 and 3-second timers as well as other options that require you to be in a different mode.
Function Menu – Focus Mode
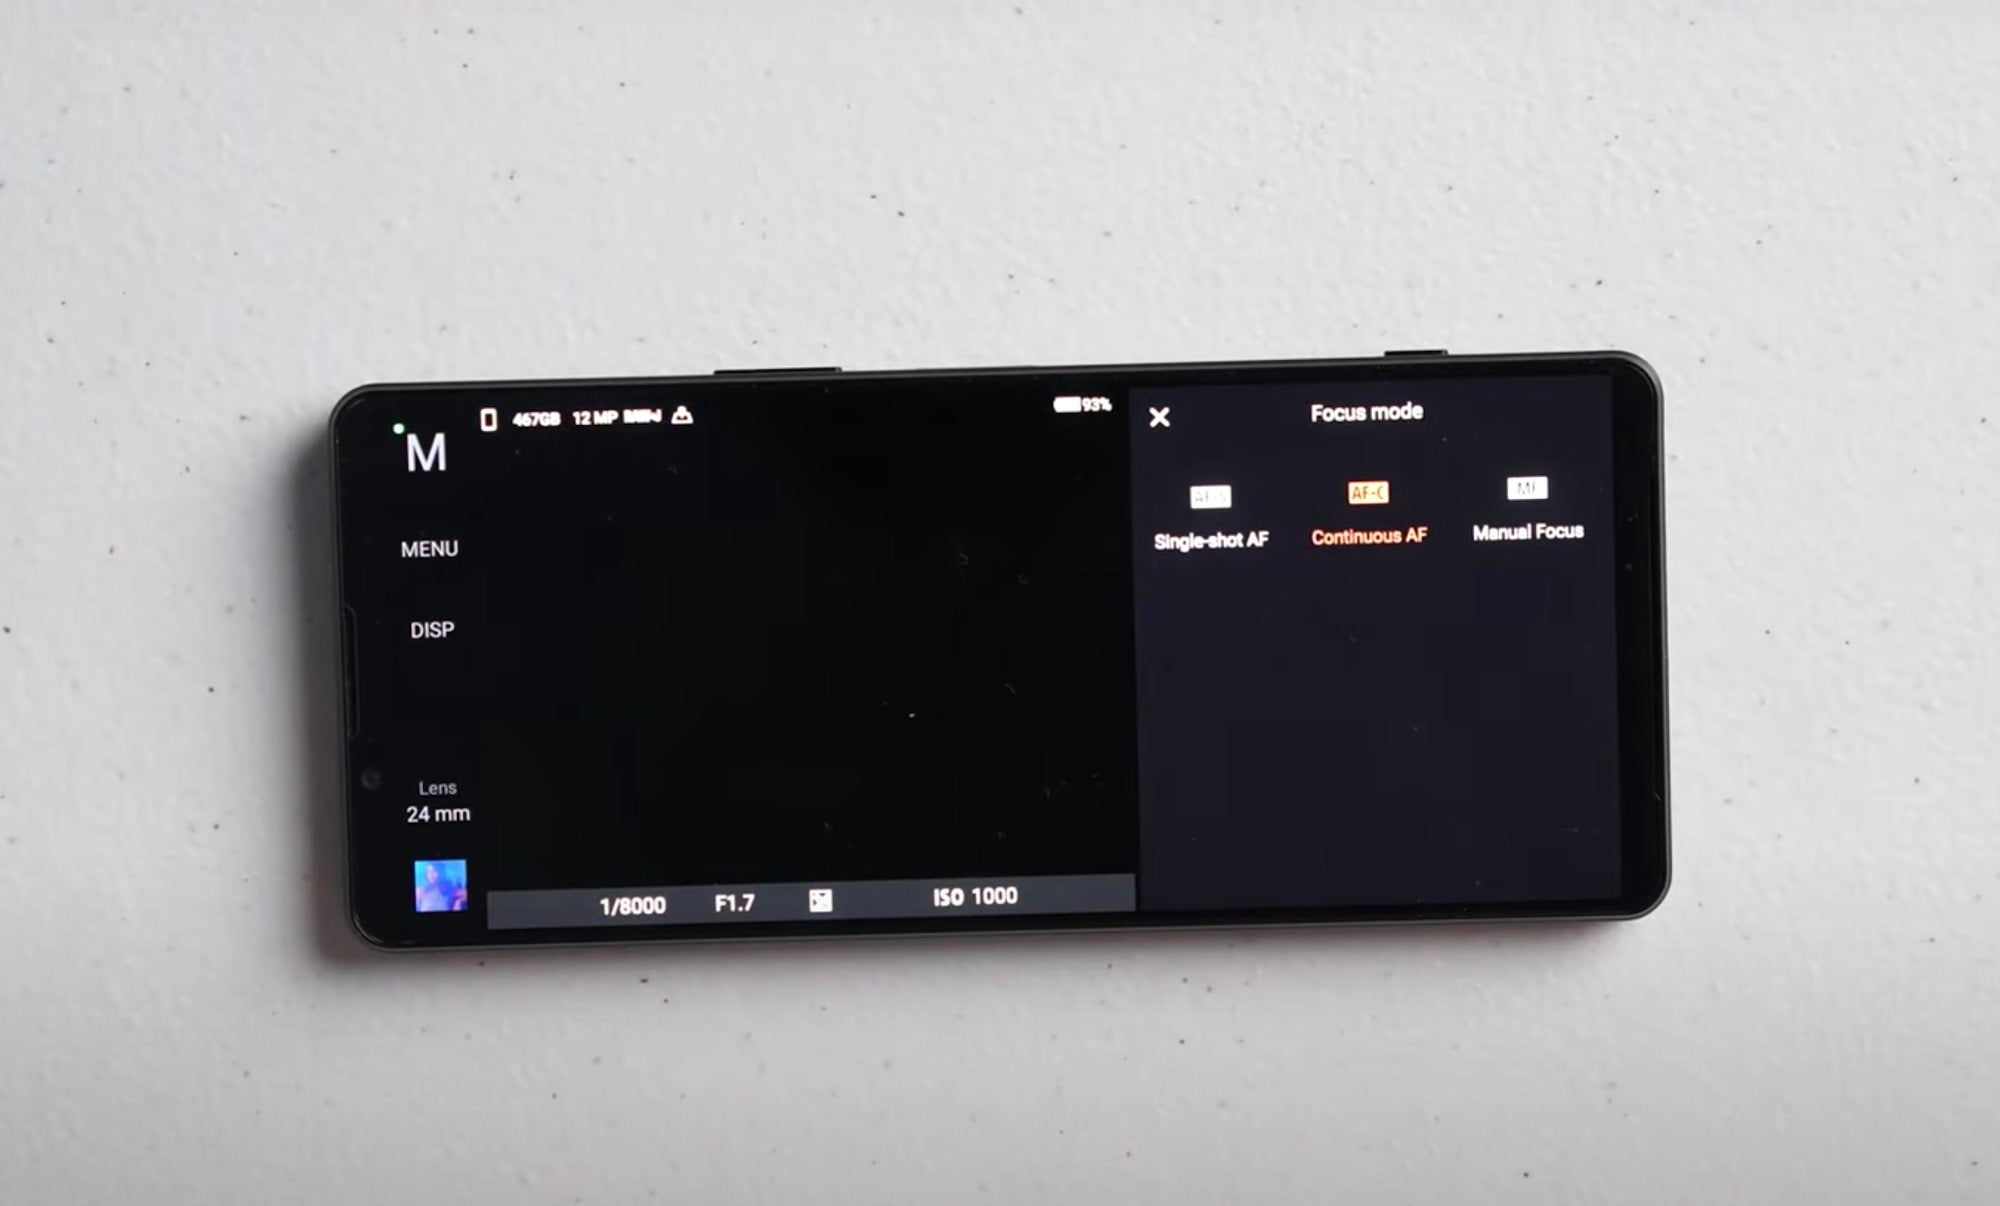
Next Quiles shows your Focus mode options – Single-shot AF, Continuous AF and Manual Focus. “I have mine set to Autofocus Continuous all the time,” says Quiles. “This is the same way that I have my camera set up. I always want to have Continuous Autofocus. Now there are certain situations if you’re shooting portraits and things of that nature where the person isn’t moving that much, you can get away with doing Single-shot Autofocus and that’s perfectly fine. Or you could use Manual Focus, if you’re in a shooting situation where maybe the Autofocus might be having a hard time keeping the specific thing that you’re trying to focus on in focus, then by all means shoot it manually.”
Function Menu – Focus Area
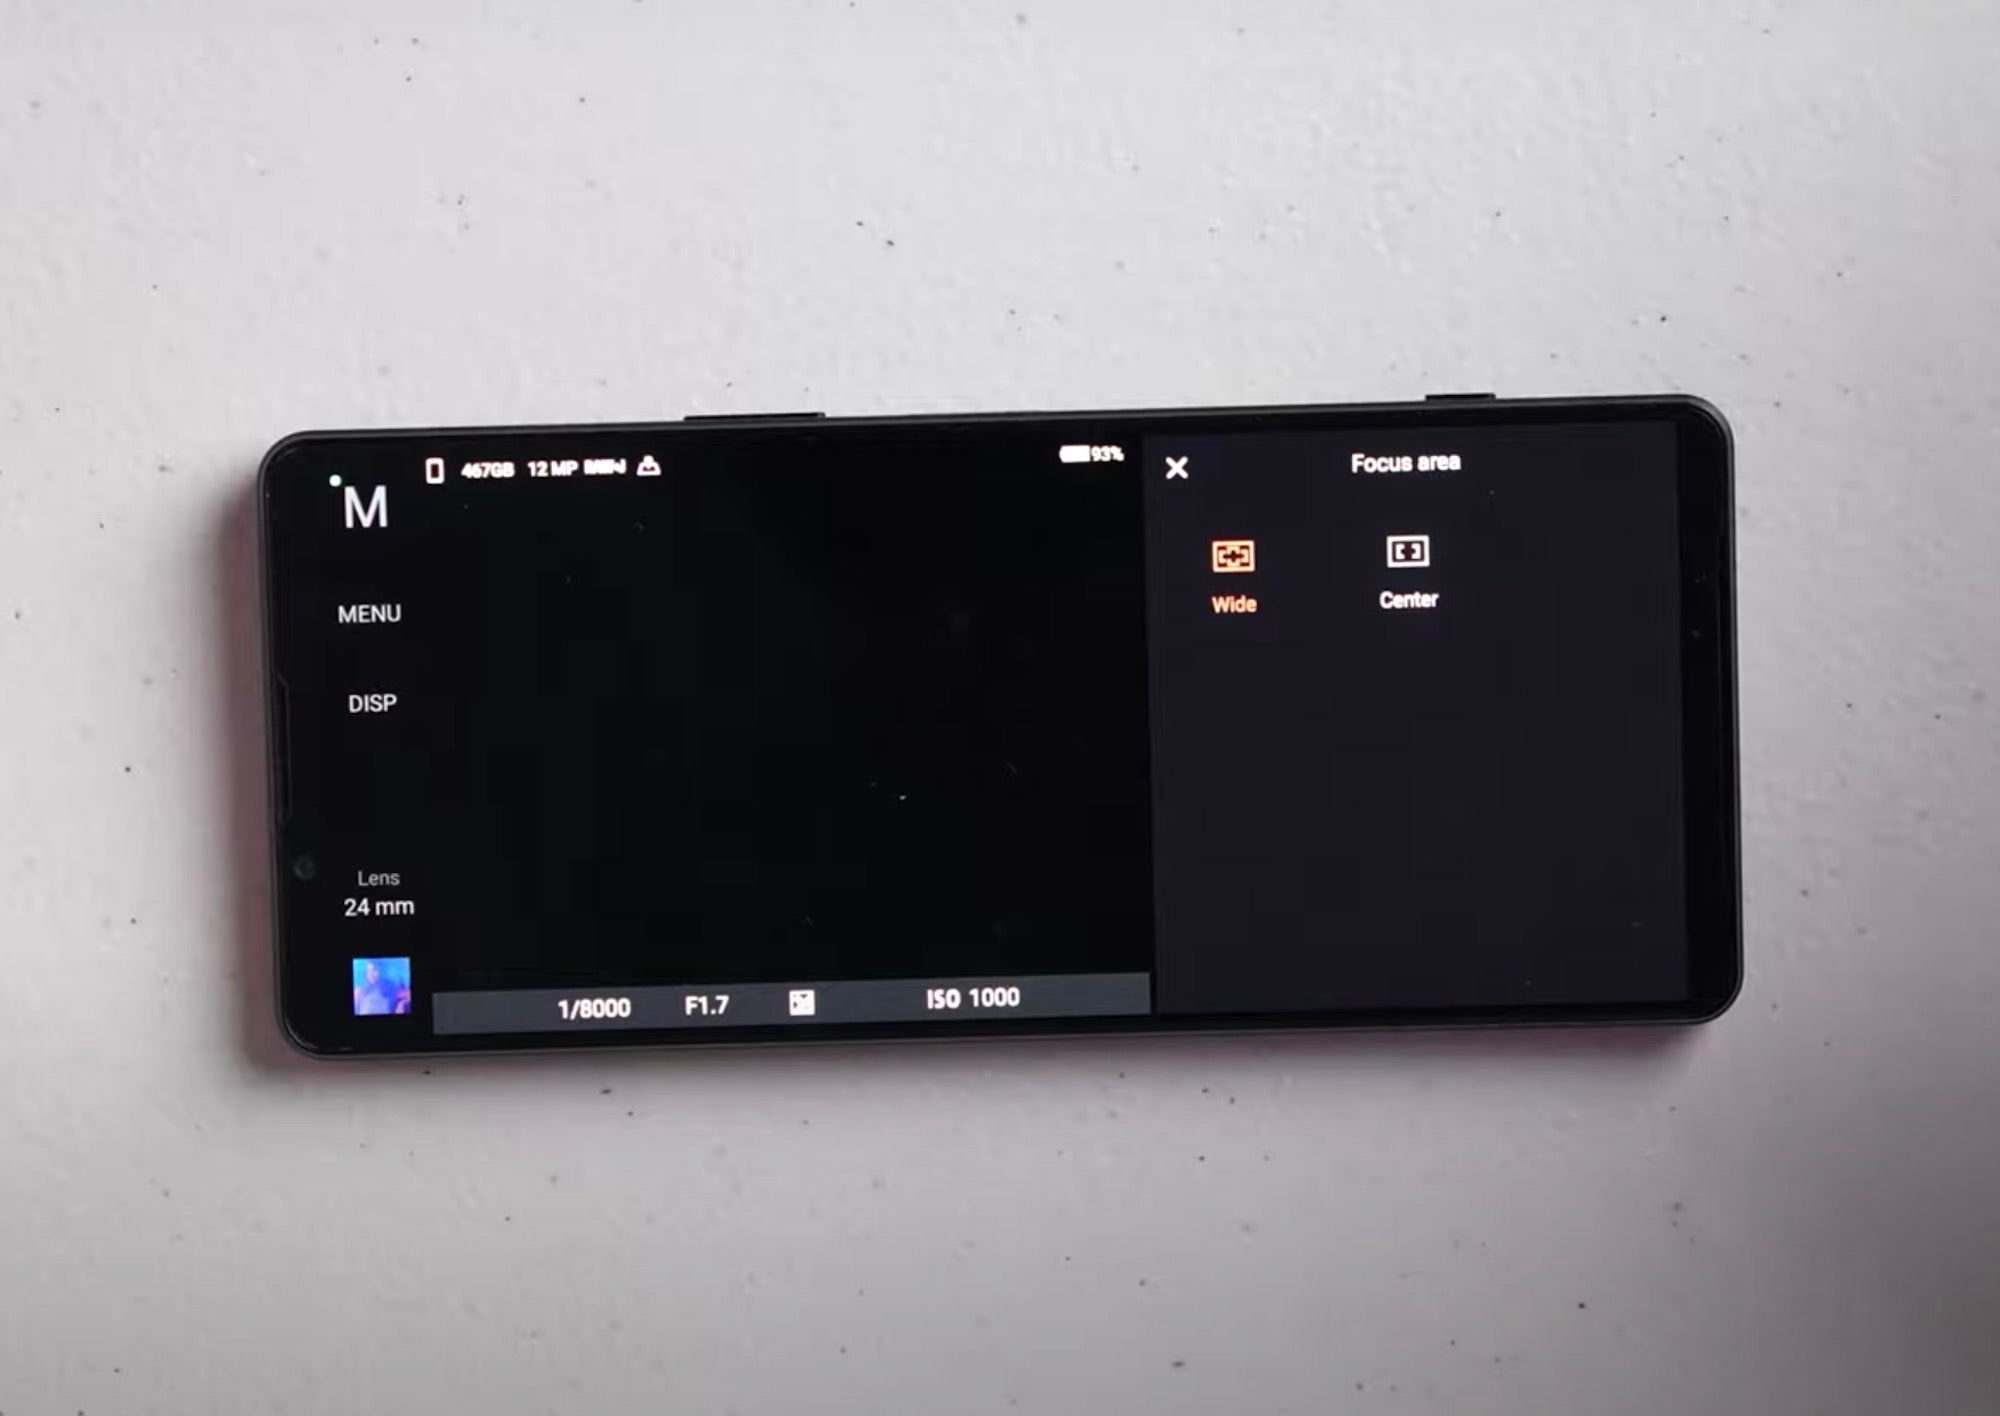
Next up Quiles shows how to select your Focus area – choosing between Wide or Center. “I have mine pretty much always set to Wide Area Focus because I want to be able to kind of evaluate the entire scene and these cameras do a really great job of finding the subject. Say for example if you’re shooting a portrait, it’s going to find the subject in the portrait, whether they’re in the middle of the frame, to the left, to the right – it doesn’t really matter. If I have Wide Area Focus set up, it’s going to find them.”
Function Menu – Exposure Compensation
The Exposure Compensation option in the Function Menu is grayed out since Quiles is set to shoot in manual. “This is going to be available to you if you’re shooting in a program or a Shutter Speed Priority Mode.”
Function Menu – ISO
The Xperia 1 IV also allows you to select your ISO for your photography. “Of course our ISO is going to control the sensitivity of the camera sensor to light,” he says. We have the option of going as high as ISO 6400 and down to ISO 64. So in those really bright lighting conditions, it’s really nice to have that lower ISO value so you don’t have to bring your shutter speed up super high.”
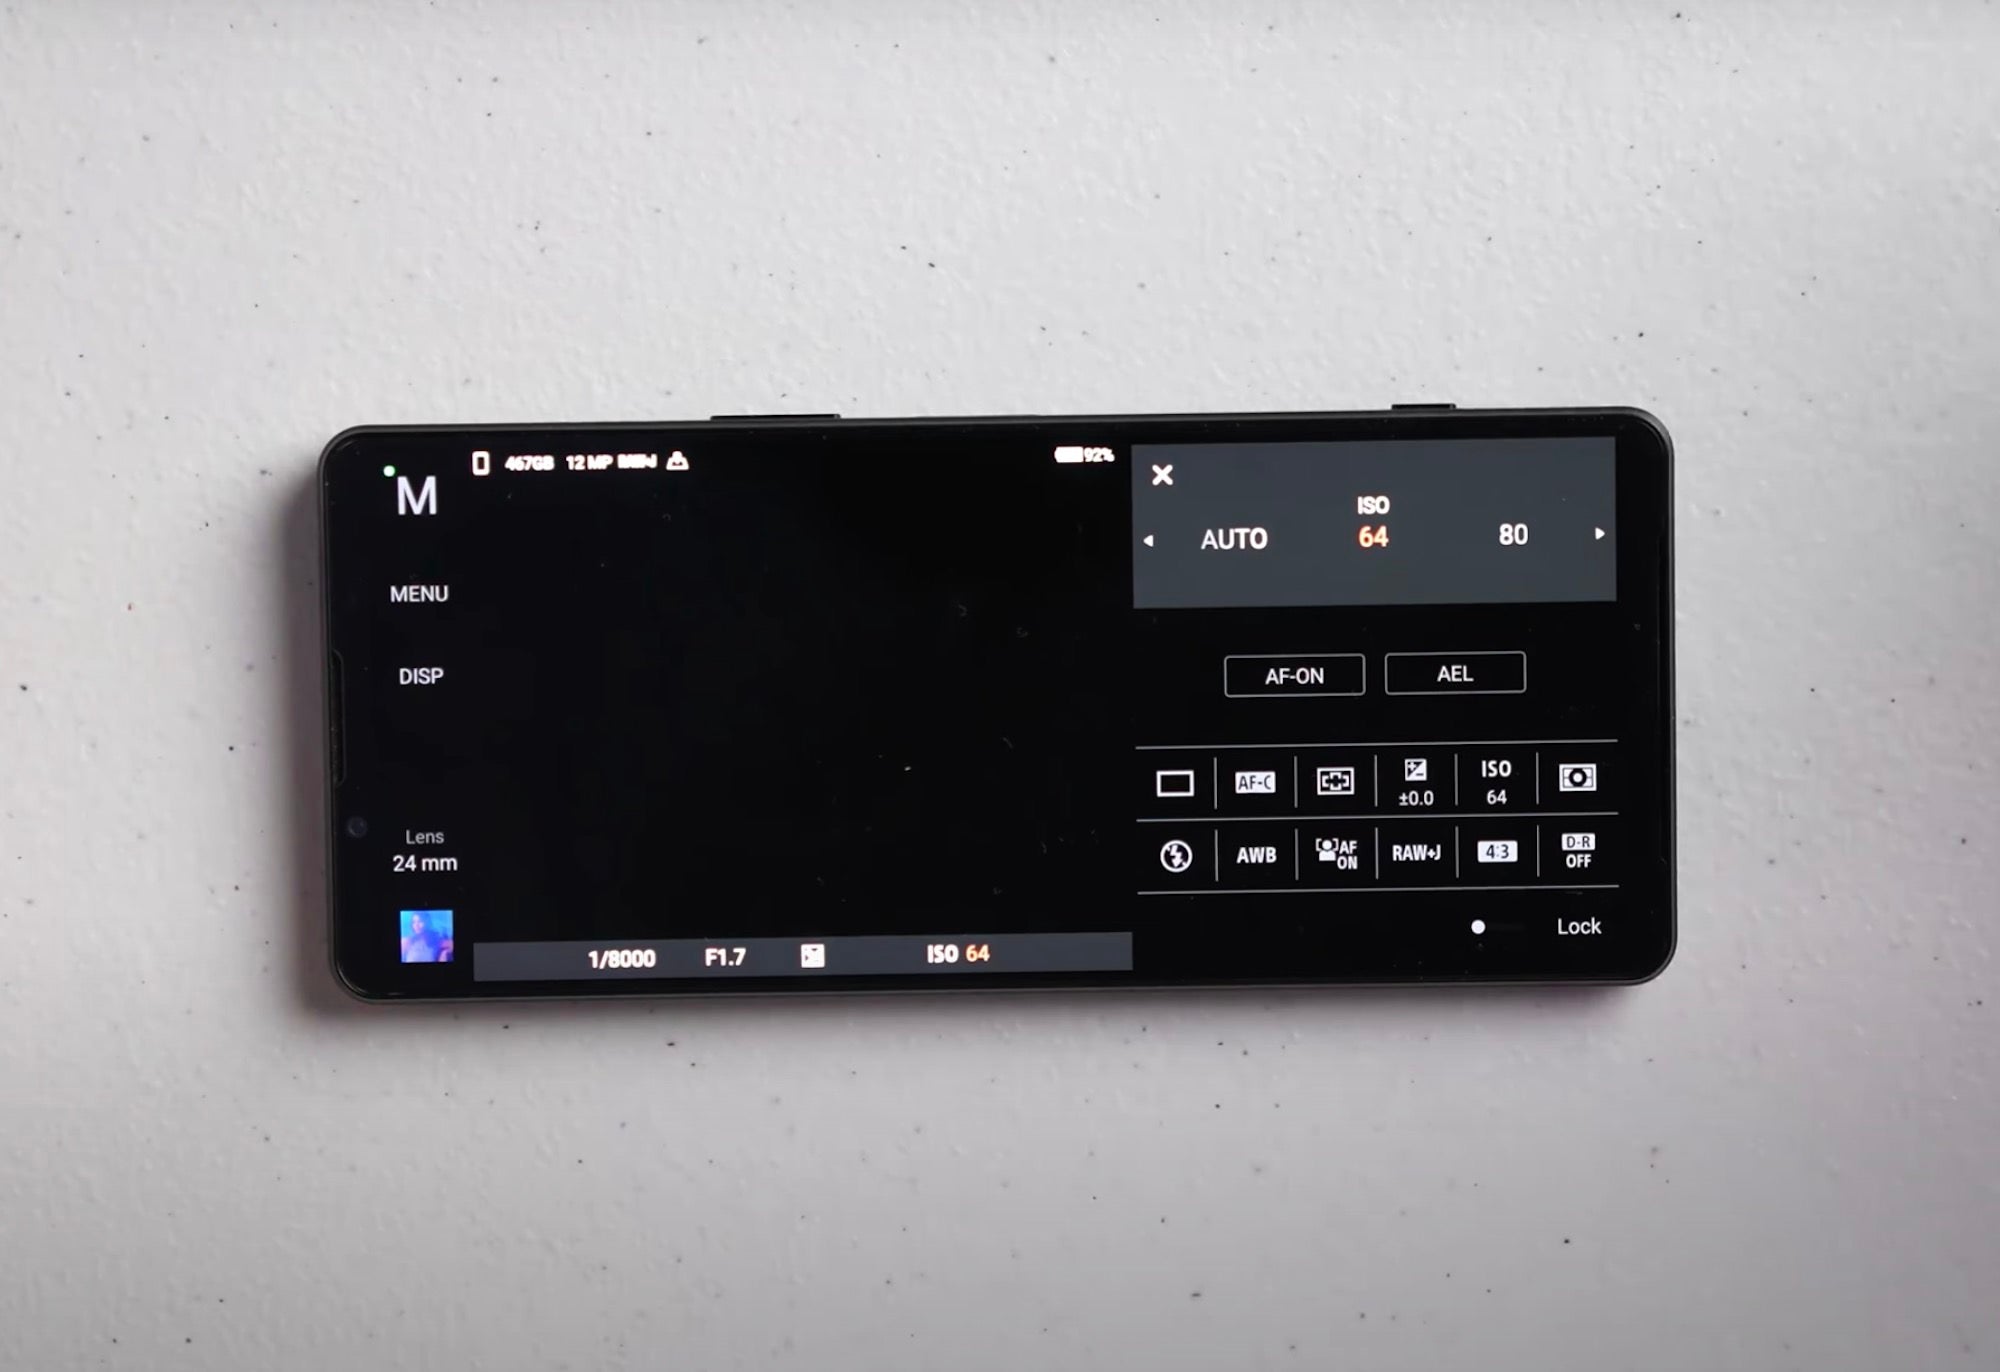
He continues, “Or you could just put in ISO Auto. You could basically shoot in Manual Mode and still have a little bit of an automatic feel and an automatic vibe to the app simply by just placing your ISO to Auto. I tend to basically adjust my ISO based on whatever it is that I’m photographing.”
Function Menu – Metering Mode
The Metering Mode will determine how the camera decides whether your frame is properly exposed or not. “You have Multi-Metering, which basically will look at the majority of the frame and will try to create an 18% gray and give you an even, nice exposure across the entire frame. You can also expose using Center Metering or Spot Metering. These different modes are just like they would be on a professional camera. You can choose to dial in your exposure based on a variety of different Metering Modes. I tend to keep mine on Multi probably 90% of the time.”
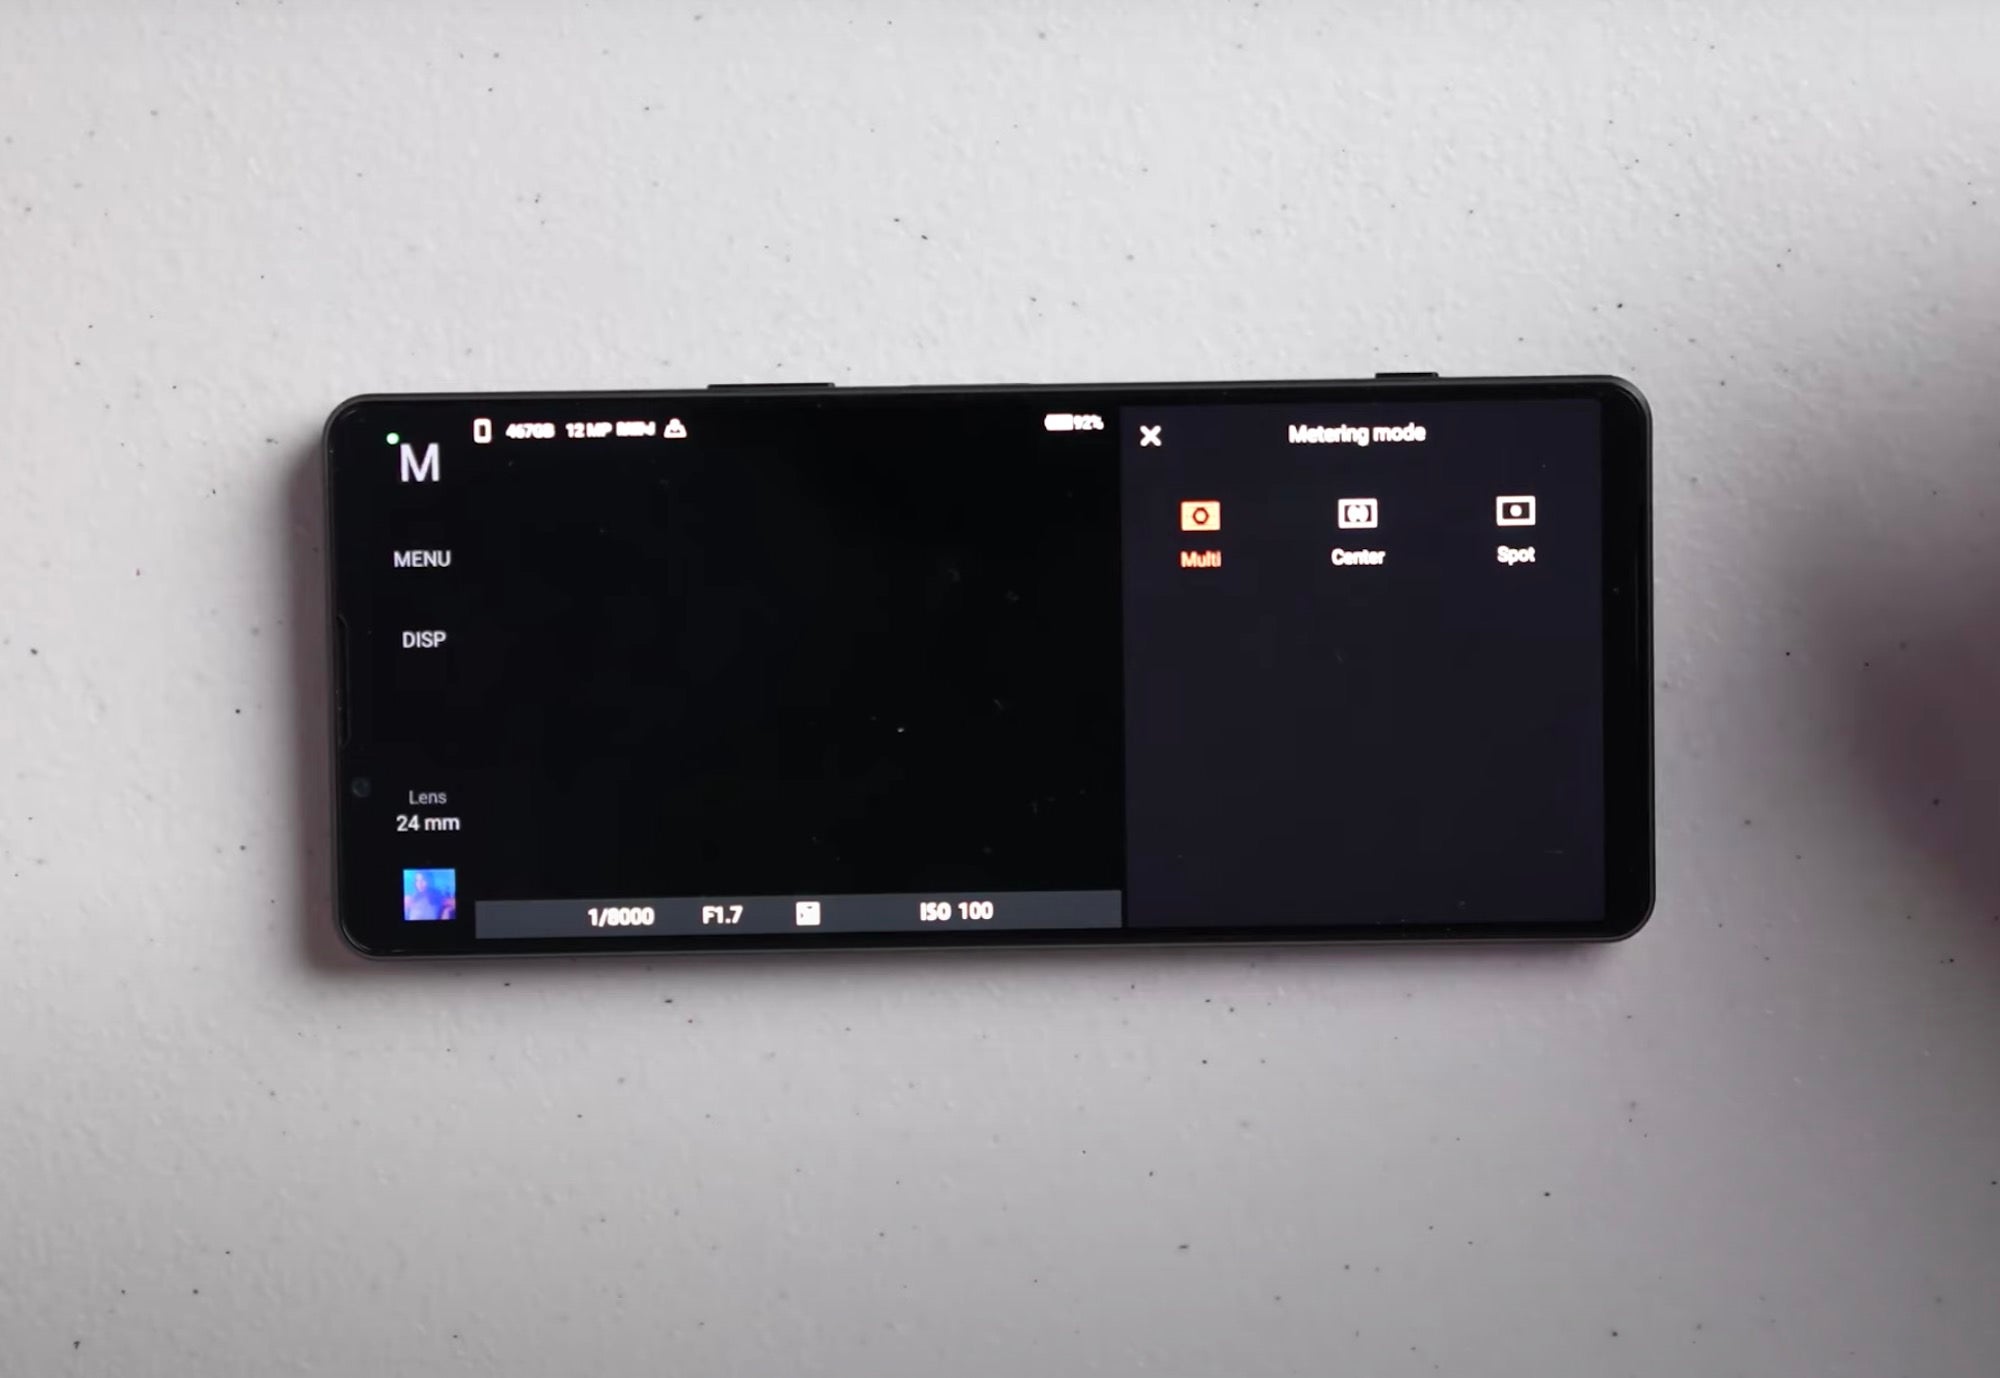
Function Menu – Flash Mode
On the second line of the Function Menu you have your Flash Mode options which can be set to Fill Flash, Red-Eye Reduction, Flashlight and Off. “I tend to want to have the cleanest images possible,” explains Quiles. “So for me I don’t use the flash that’s built into the Xperia 1 IV. If I run into a situation where I need to have some kind of flash or light for my portrait work or still life or whatever it is, I’m using an external light source.”
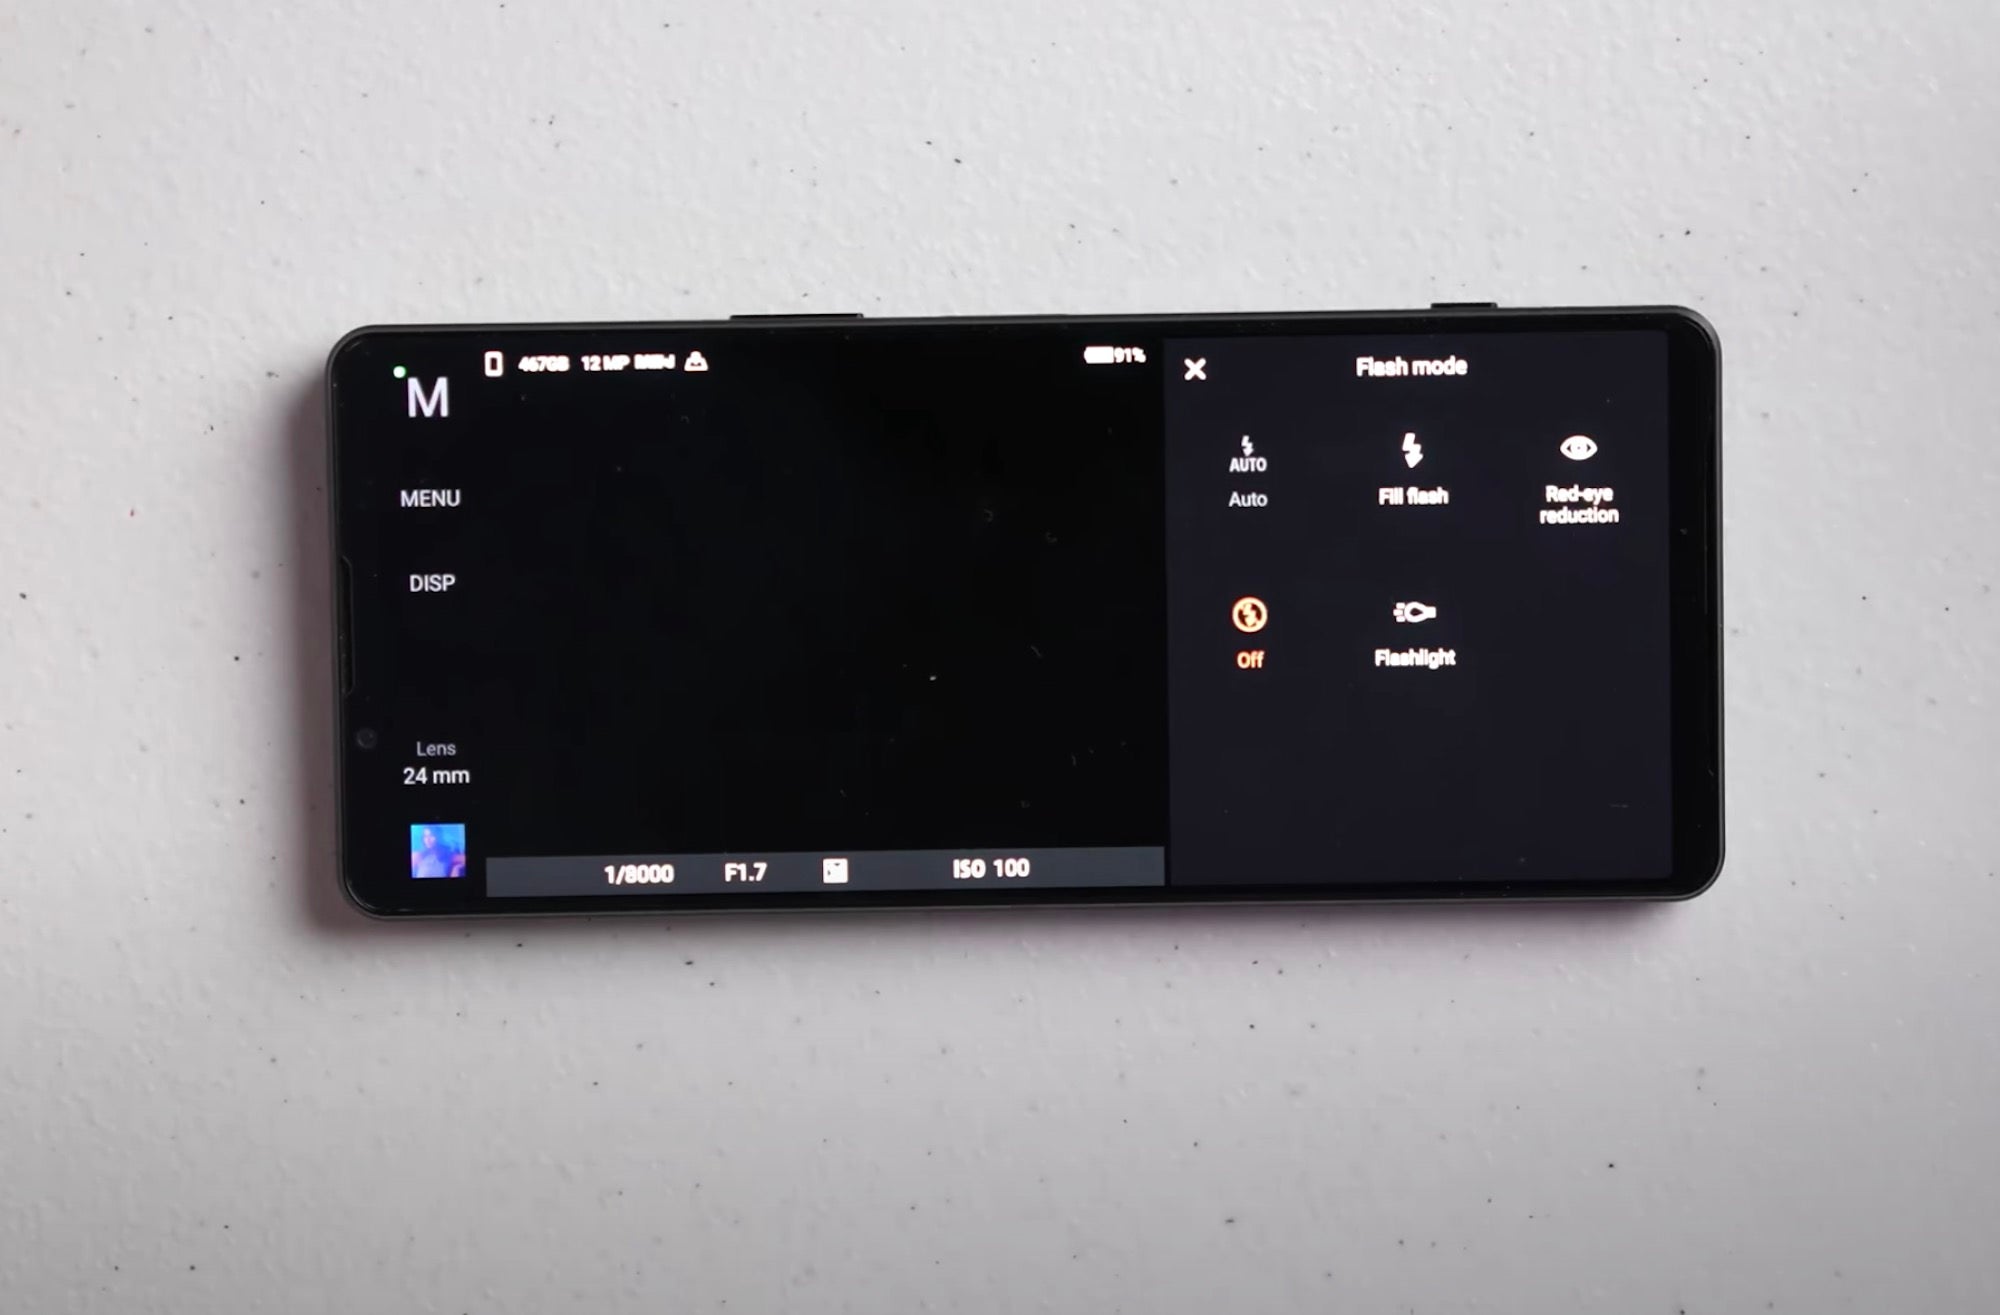
Function Menu – White Balance
The next option is White Balance, and Quiles says that you can keep it simple, especially if you’re shooting in RAW. “You can keep your White Balance on Auto and when you go into post-production you can actually adjust the White Balance to whatever you want.” You also have the option to dial in manual temperature values when it comes to your imagery.
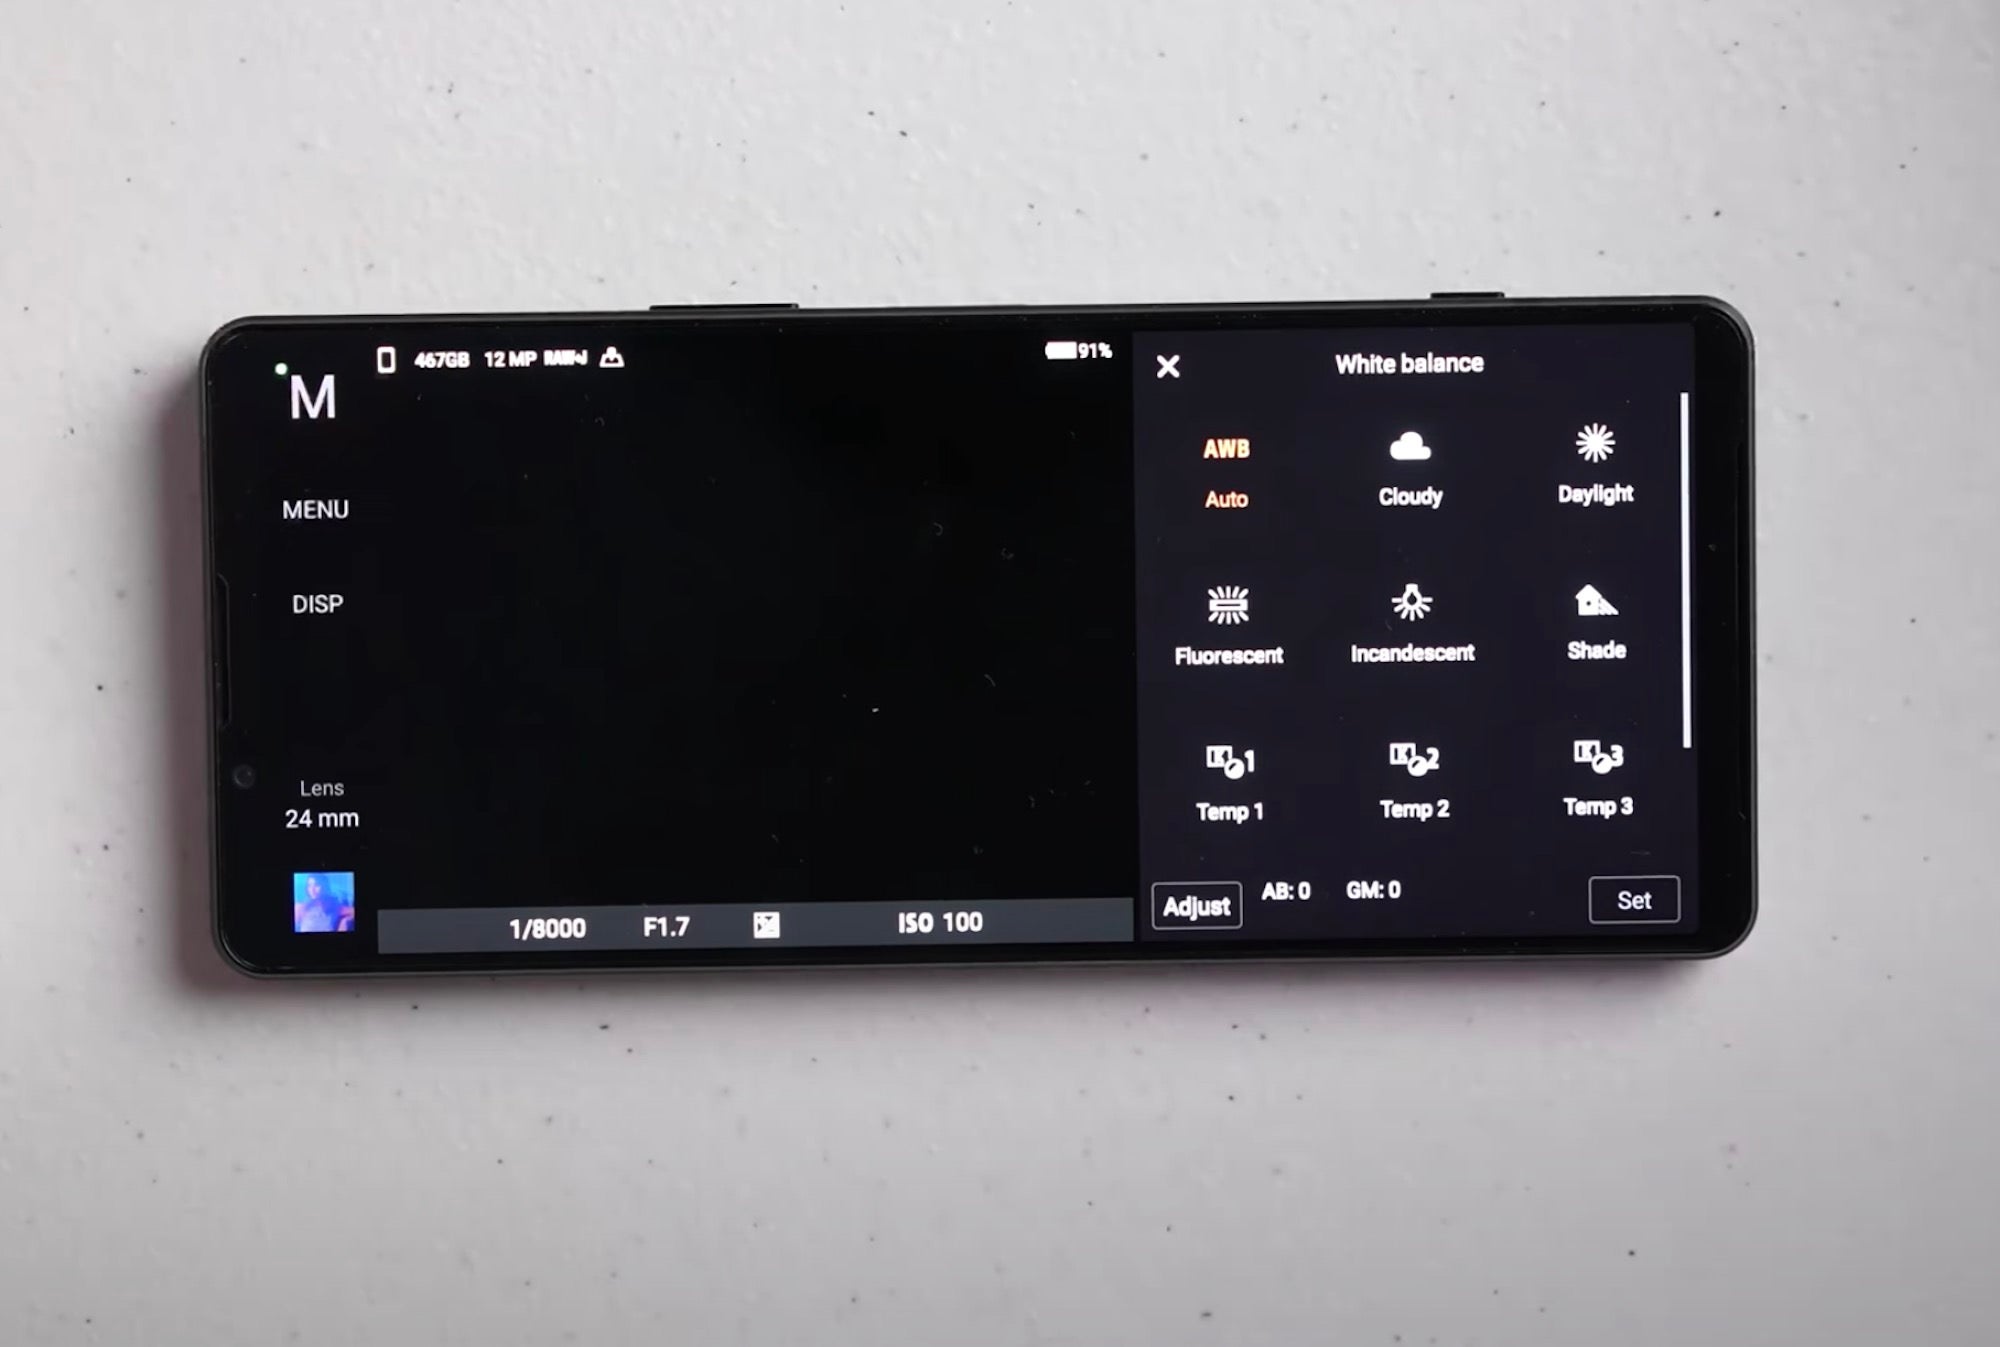
Function Menu – Face/Eye AF
The Xperia 1 IV also has Face/Eye Autofocus technology built in, just like your Sony Alpha camera. Quiles, who is primarily a portrait photographer, has this set to On the majority of the time. “I want to have the face and the eye in focus and I want that to be the primary spot that the phone will hone in on when I’m taking a photo.”
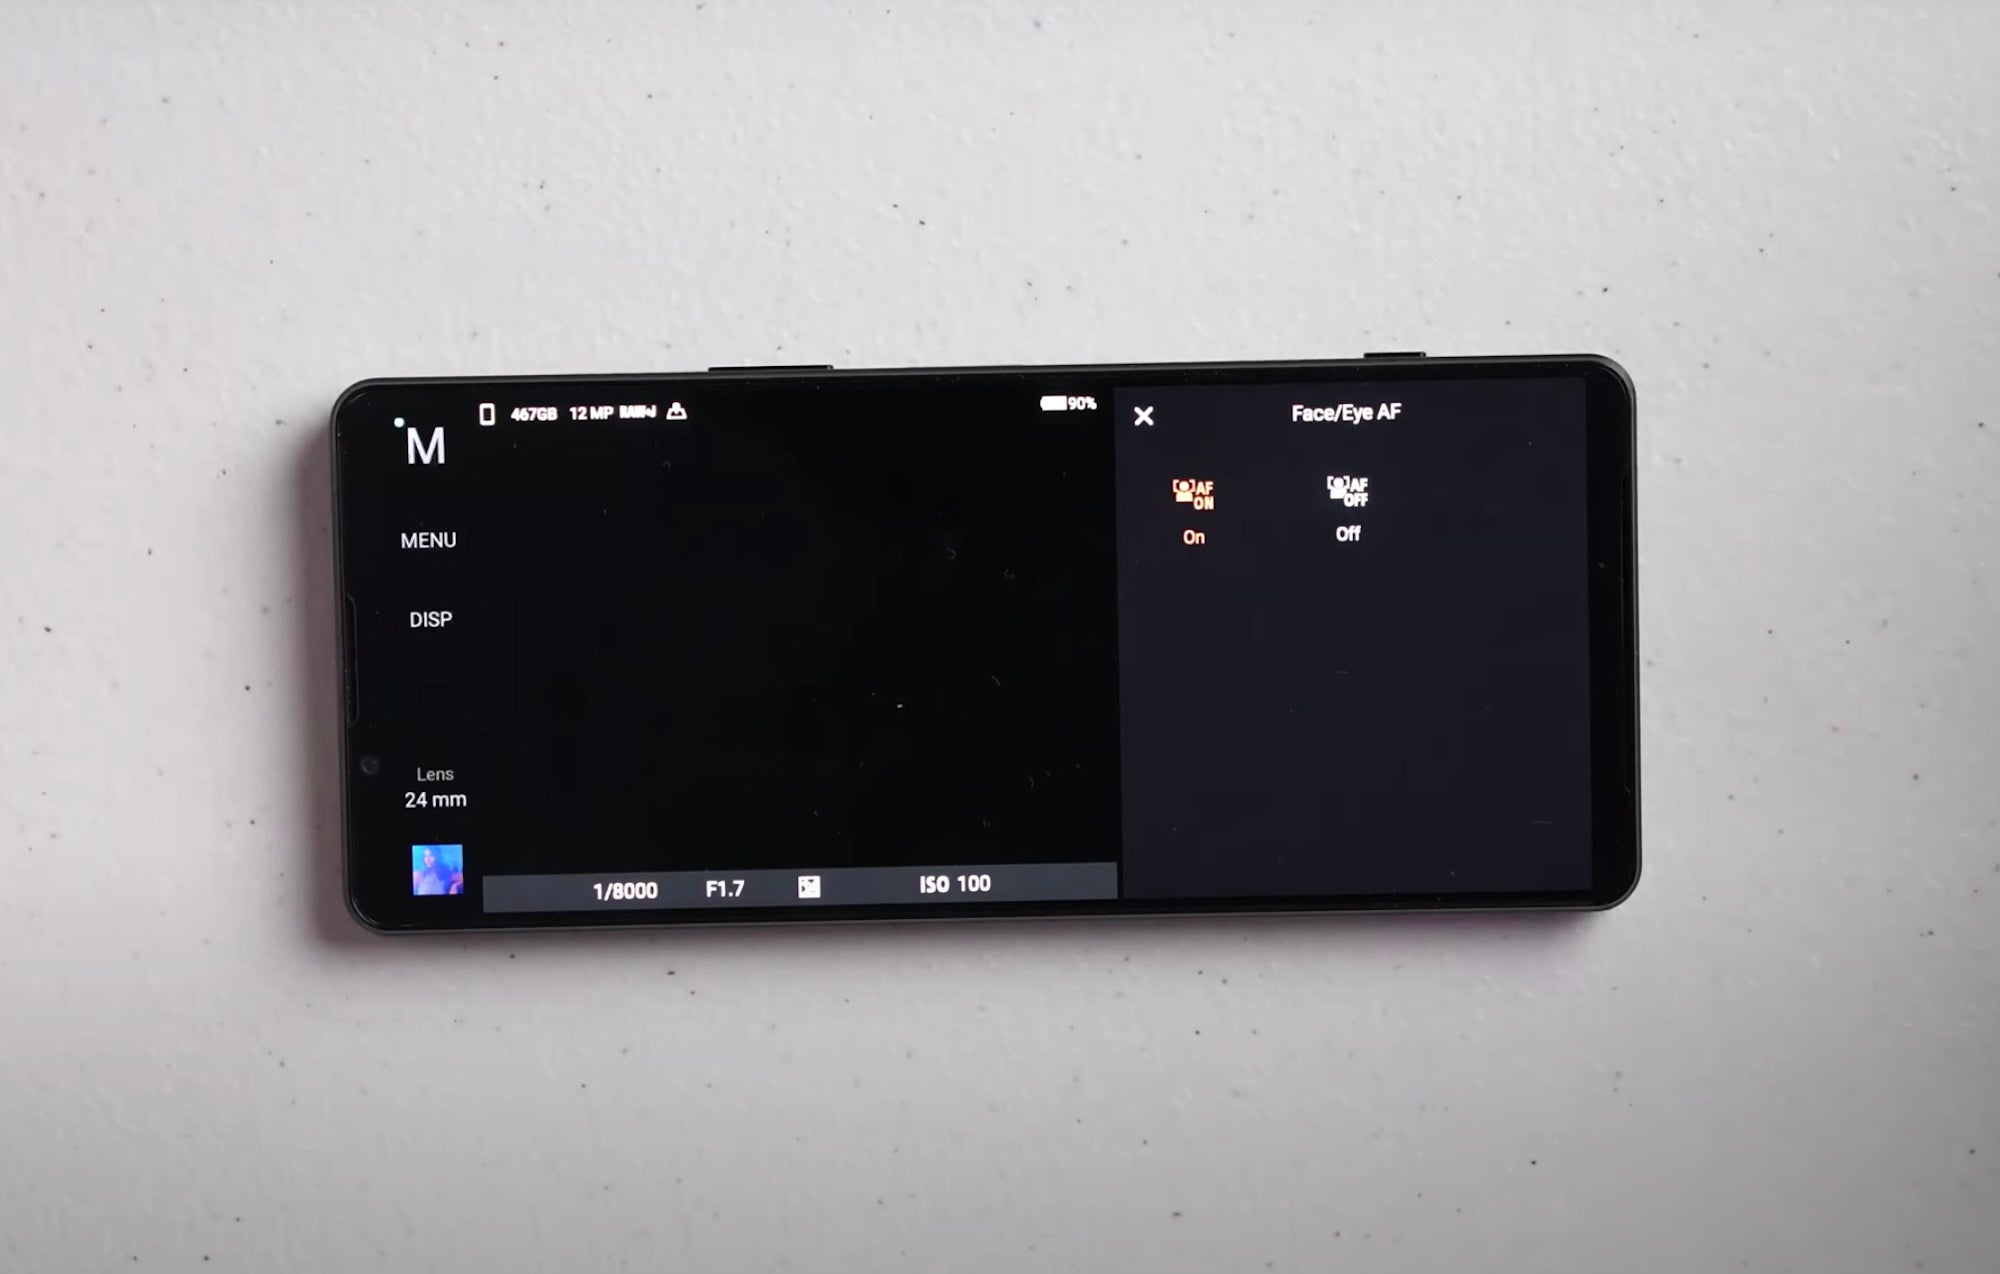
Function Menu – File Format
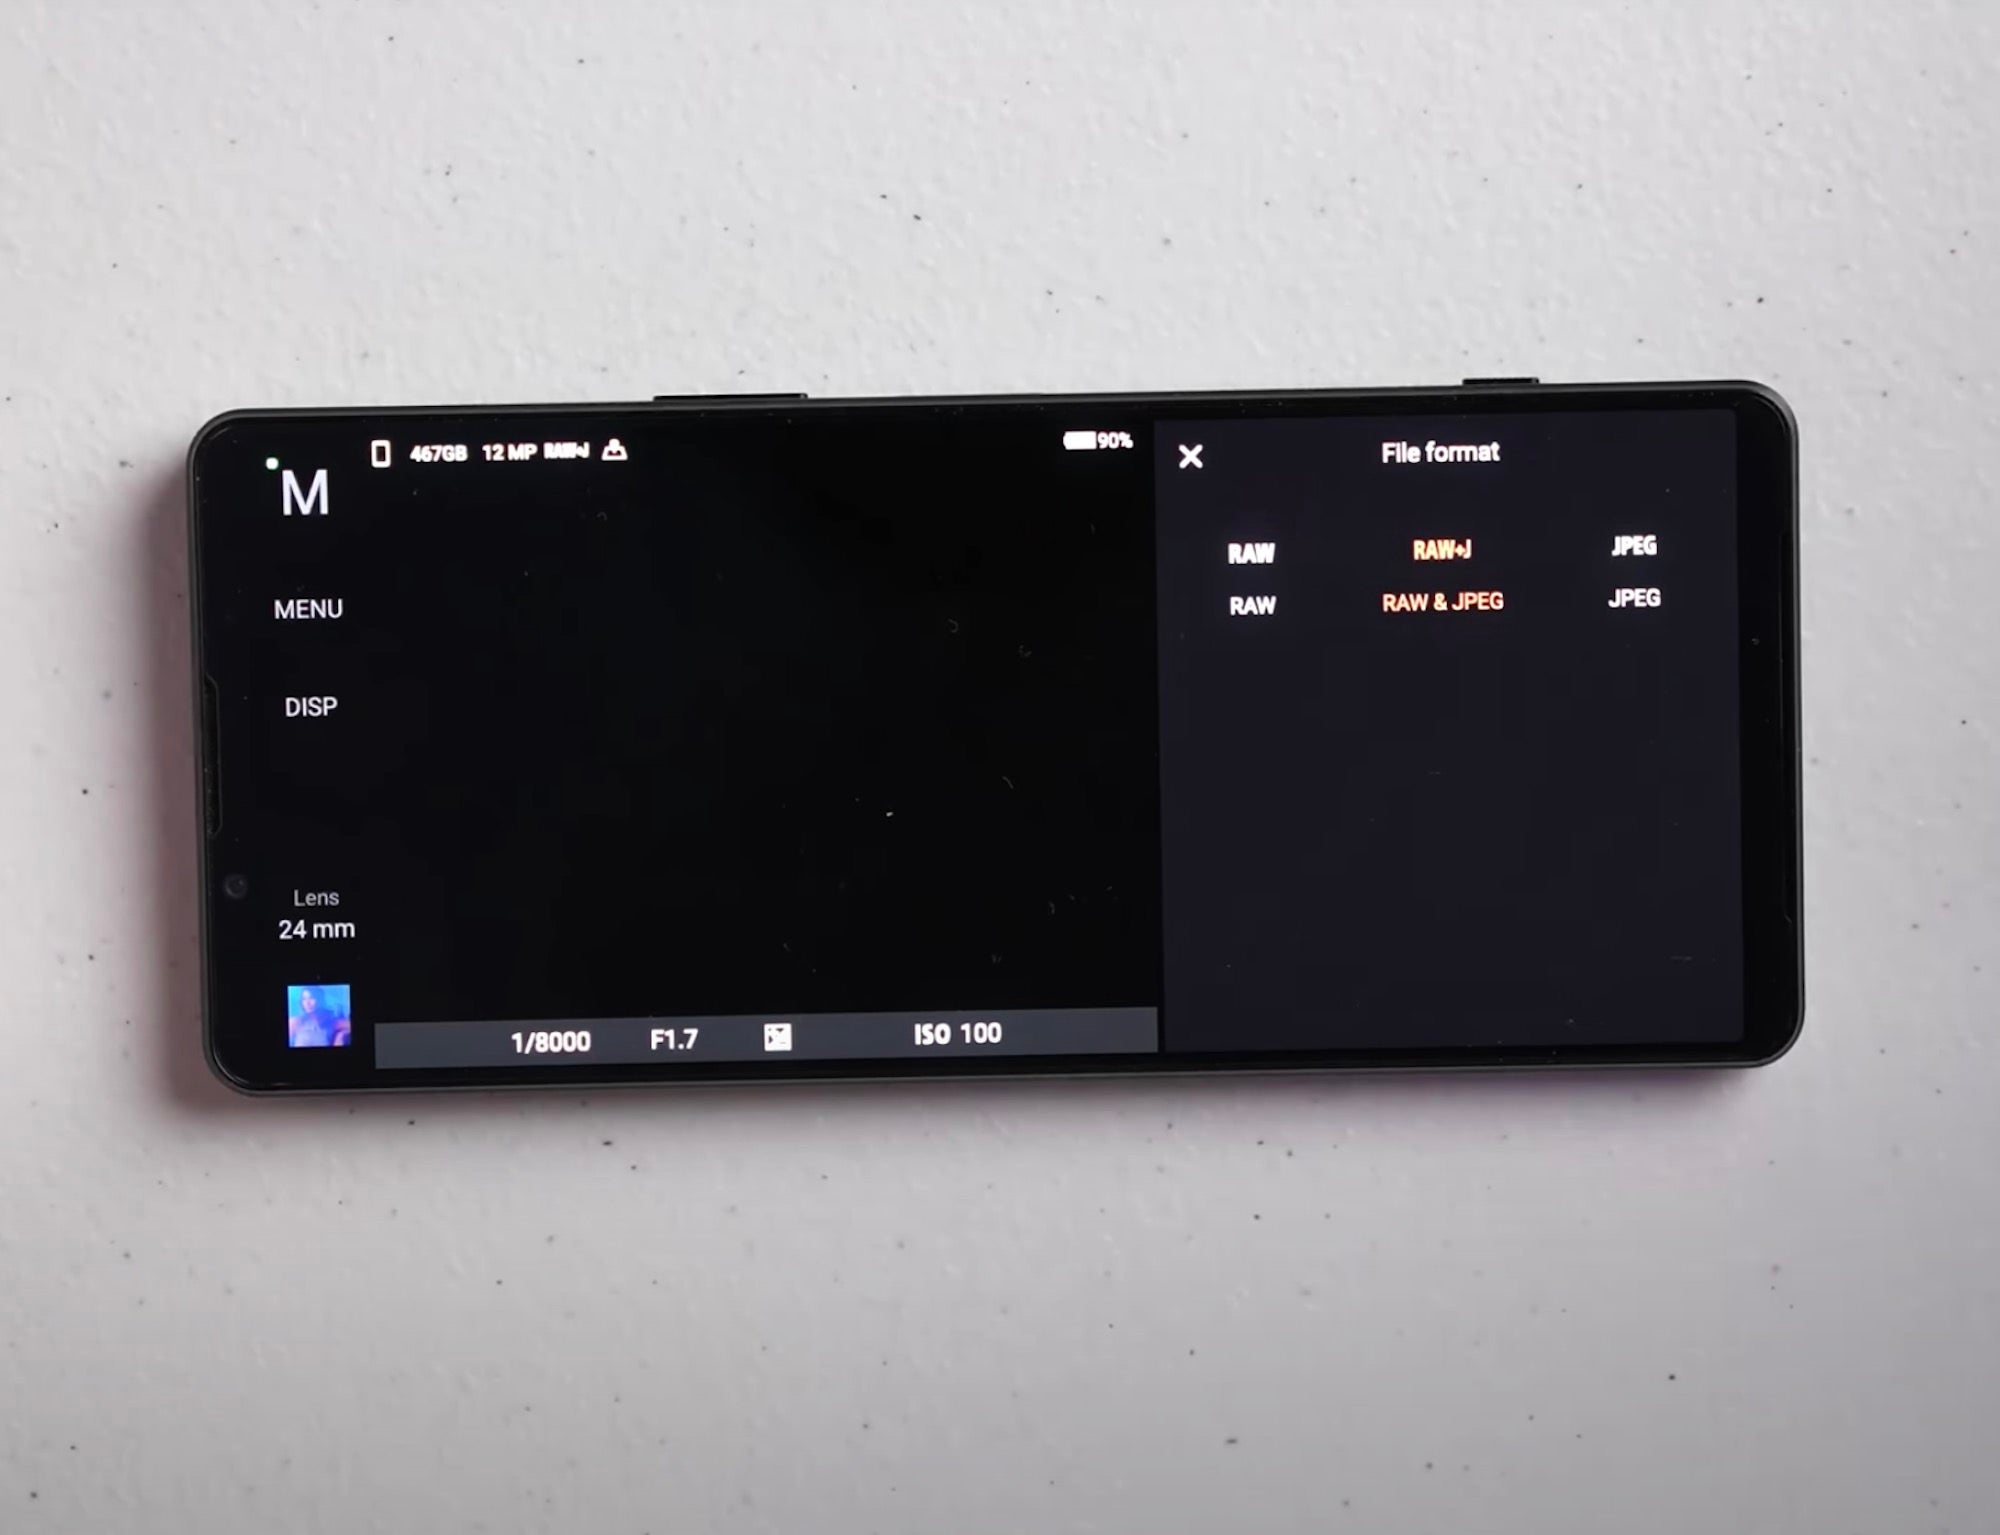
Next on the Function Menu is your File Format options when shooting, which includes shooting RAW+JPEG. “What this means is every time I take a photograph, it’s essentially going to give me a RAW photo and a JPEG photo.” Quiles like to have this set to take both so he can easily share the JPEG version on social media.
Function Menu – Aspect Ratio
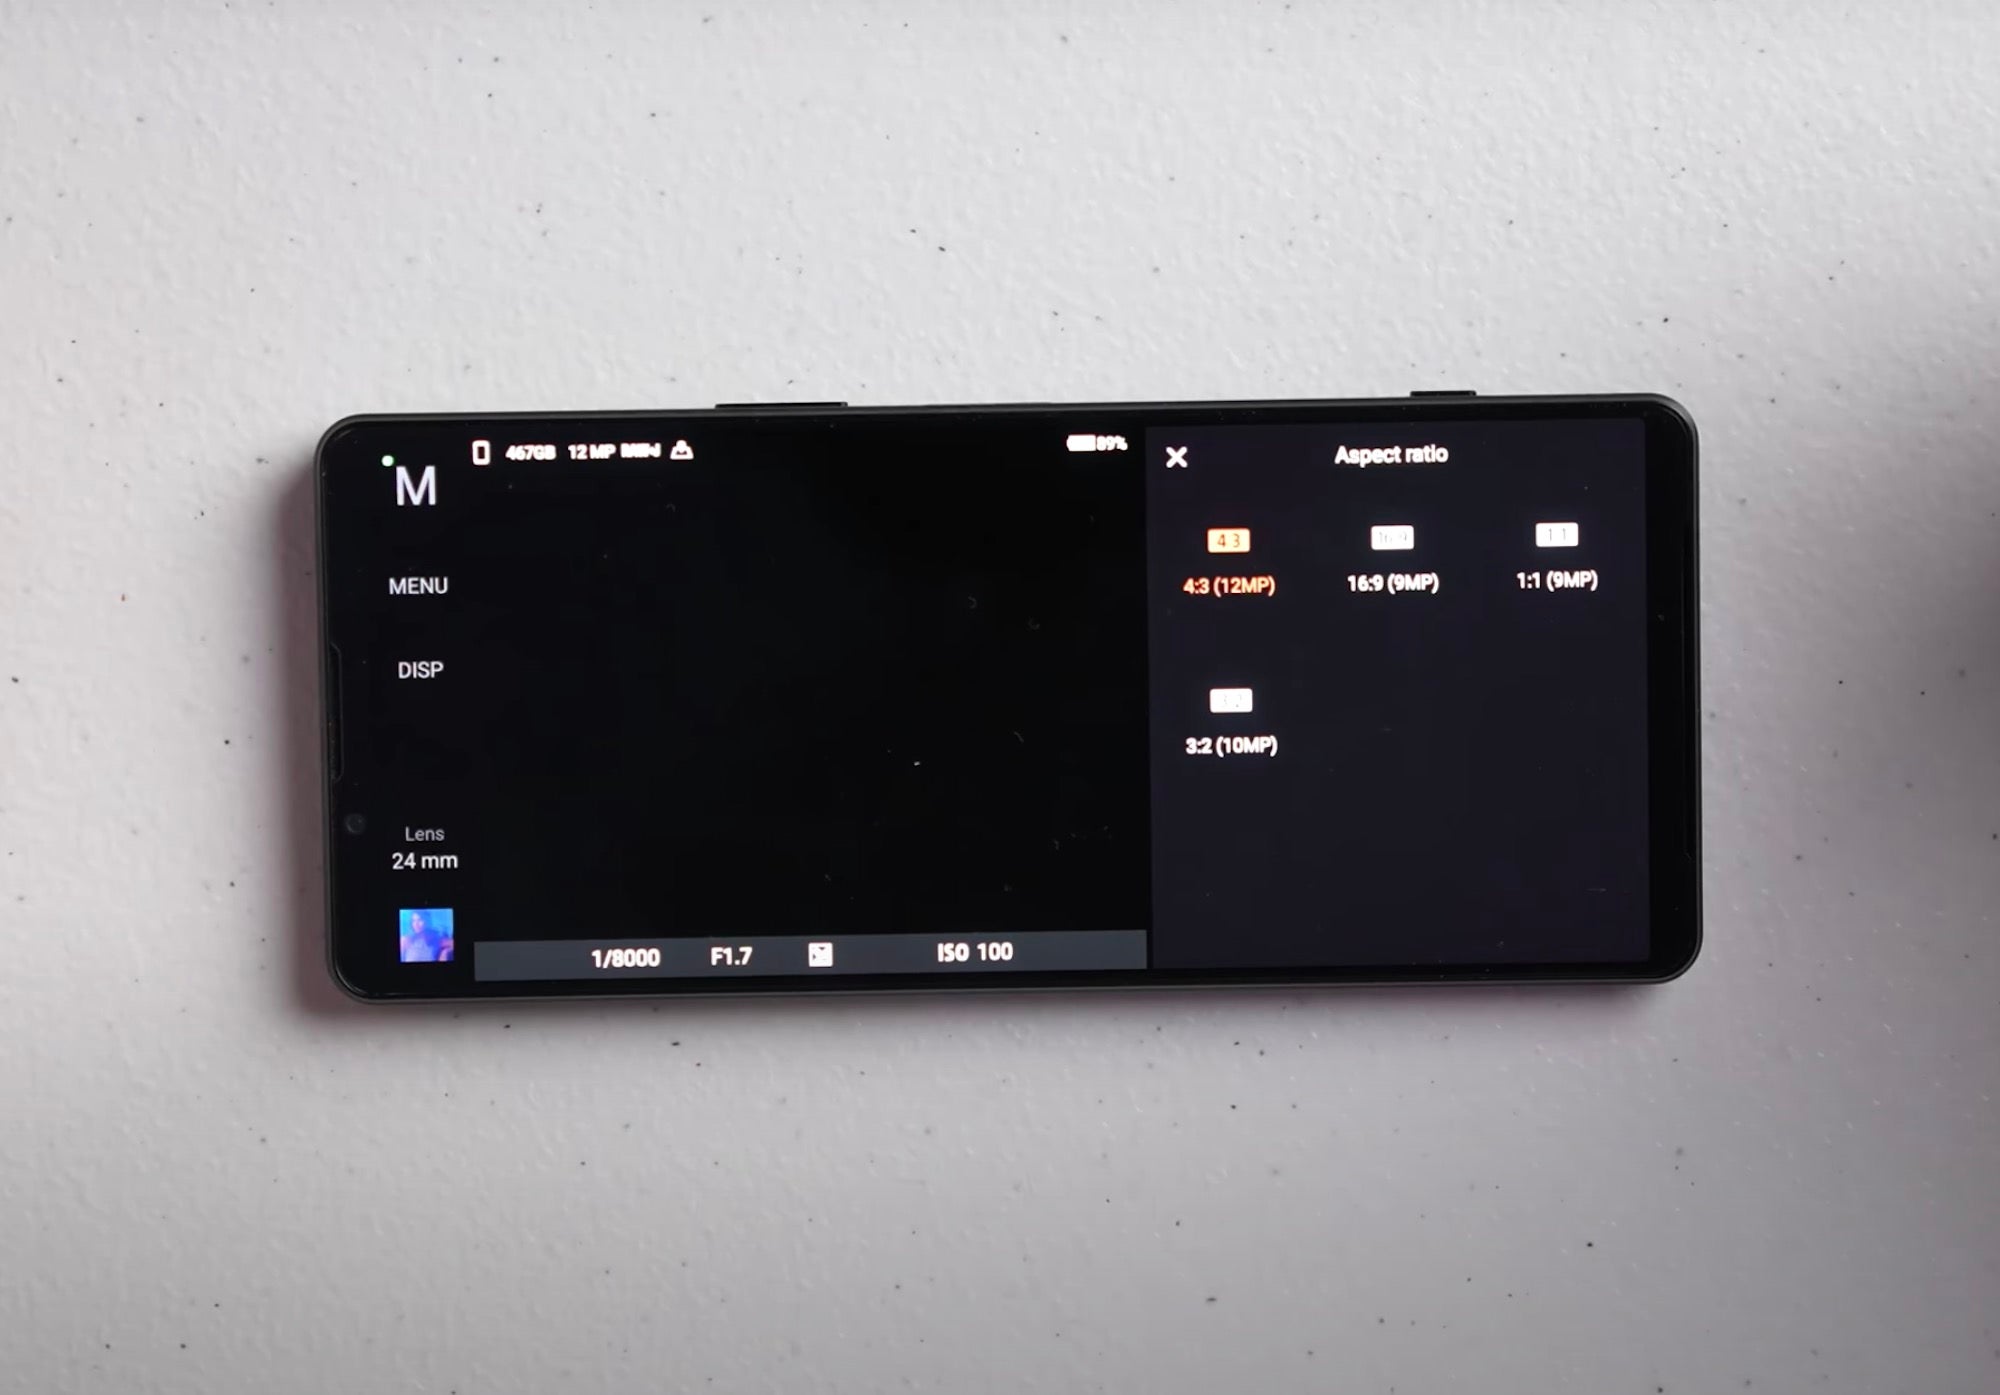
On the Xperia 1 IV, you can choose to set your Aspect Ratio to 4:3, 16:9, 1:1 and 3:2. “I always set mine to 4:3,” explains Quiles, “because that’s going to give me the full resolution that is available to me on this device. Not only that, but you can adjust your aspect ratio in post production.”
Function Menu – Dynamic Range Optimizer (DRO)
The Function Menu also allows you to set your DRO, or Dynamic Range Optimizer. You can have this set to Auto or you can turn it off altogether. “I tend to not use DRO because I’m shooting these things in RAW, I’m shooting all of my photos in RAW,” Quiles says. “Most of my photographs that actually go out into the public have been run through some sort of post-processing whether it be again Lightroom, Capture One, Luminar, Photoshop, Exposure, whatever program. So I basically adjust my dynamic range and do everything to the photo myself in post-production.”
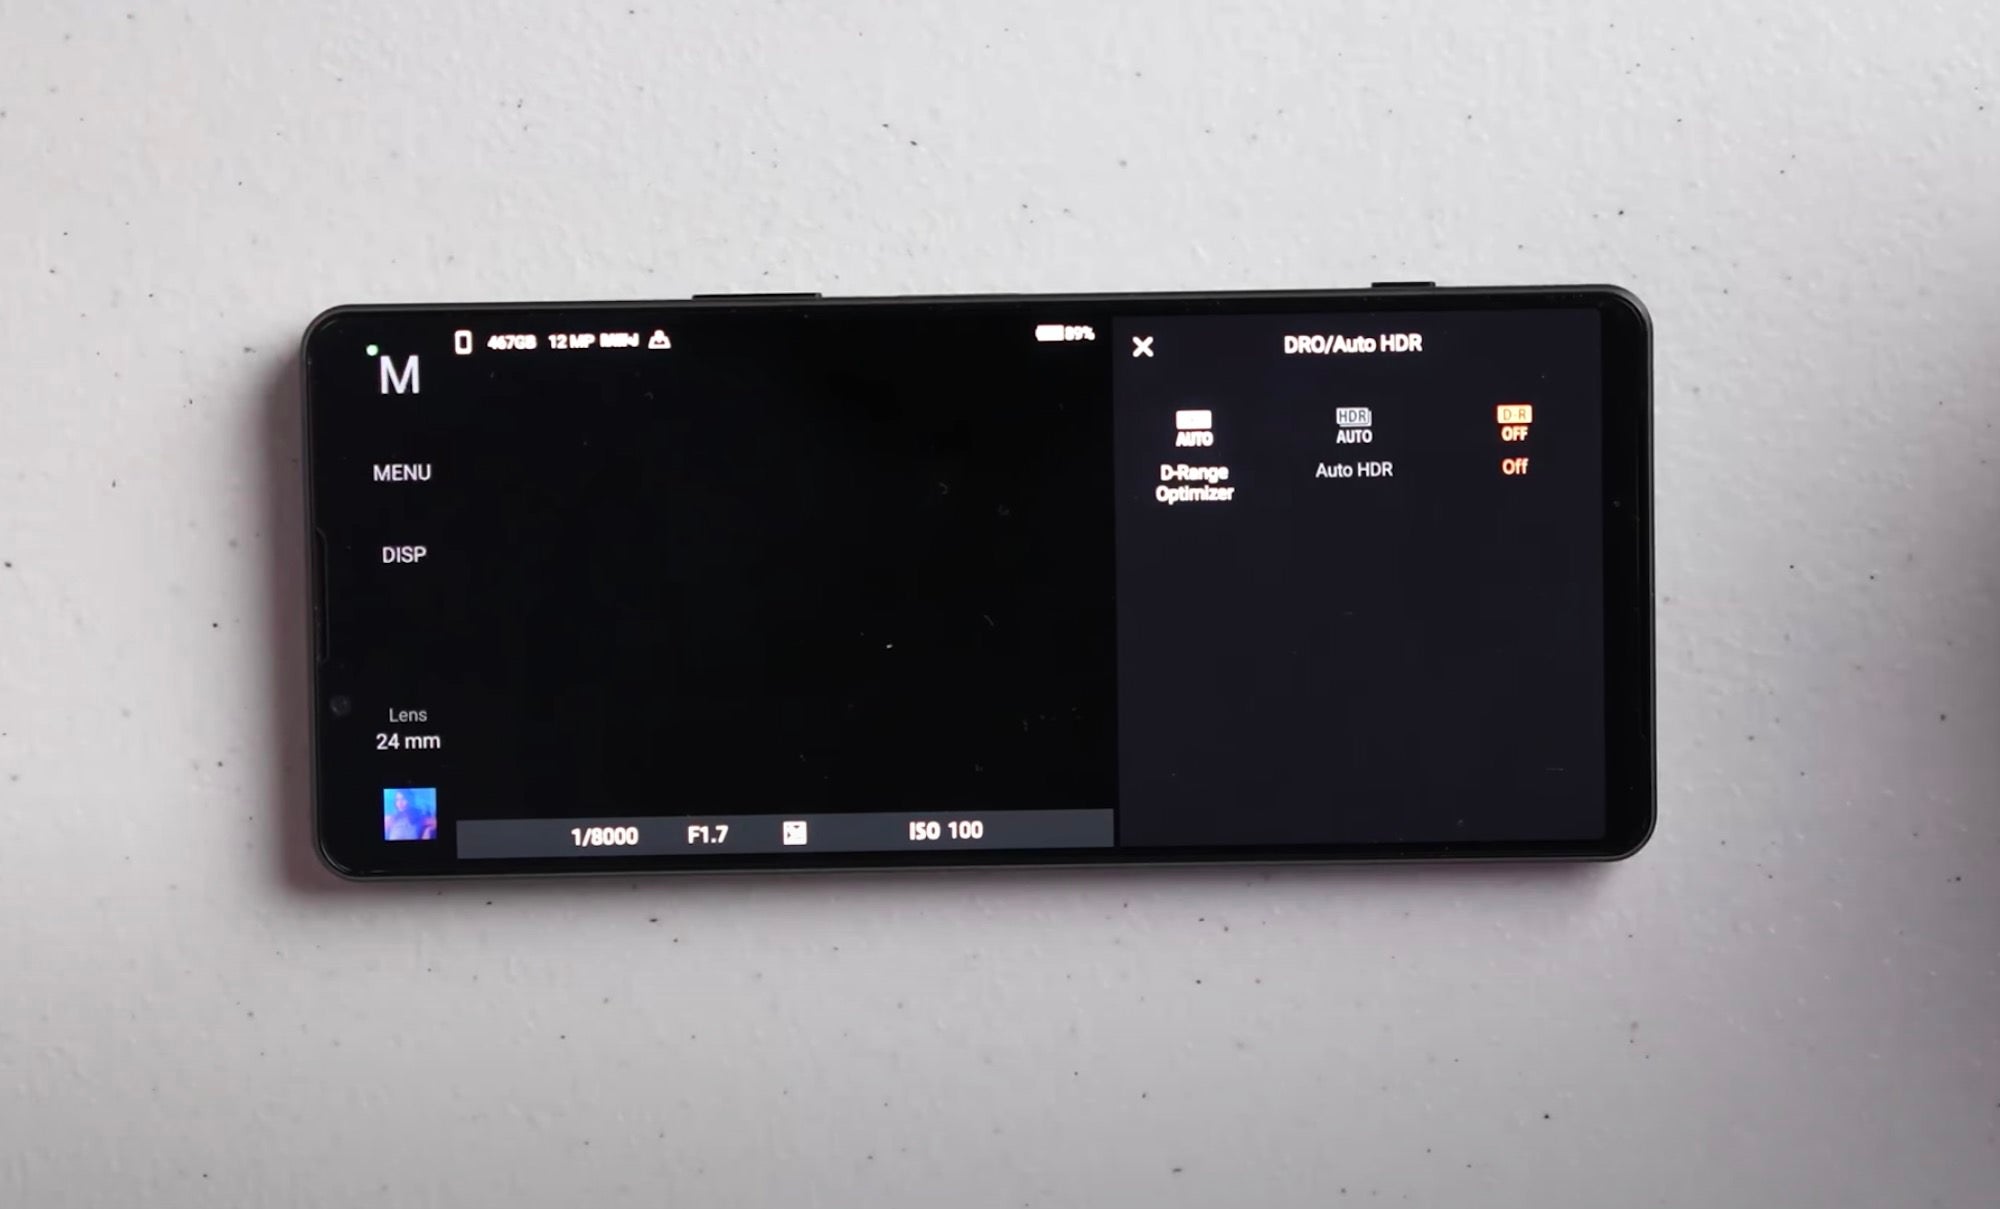
Photo Pro App Main Menu
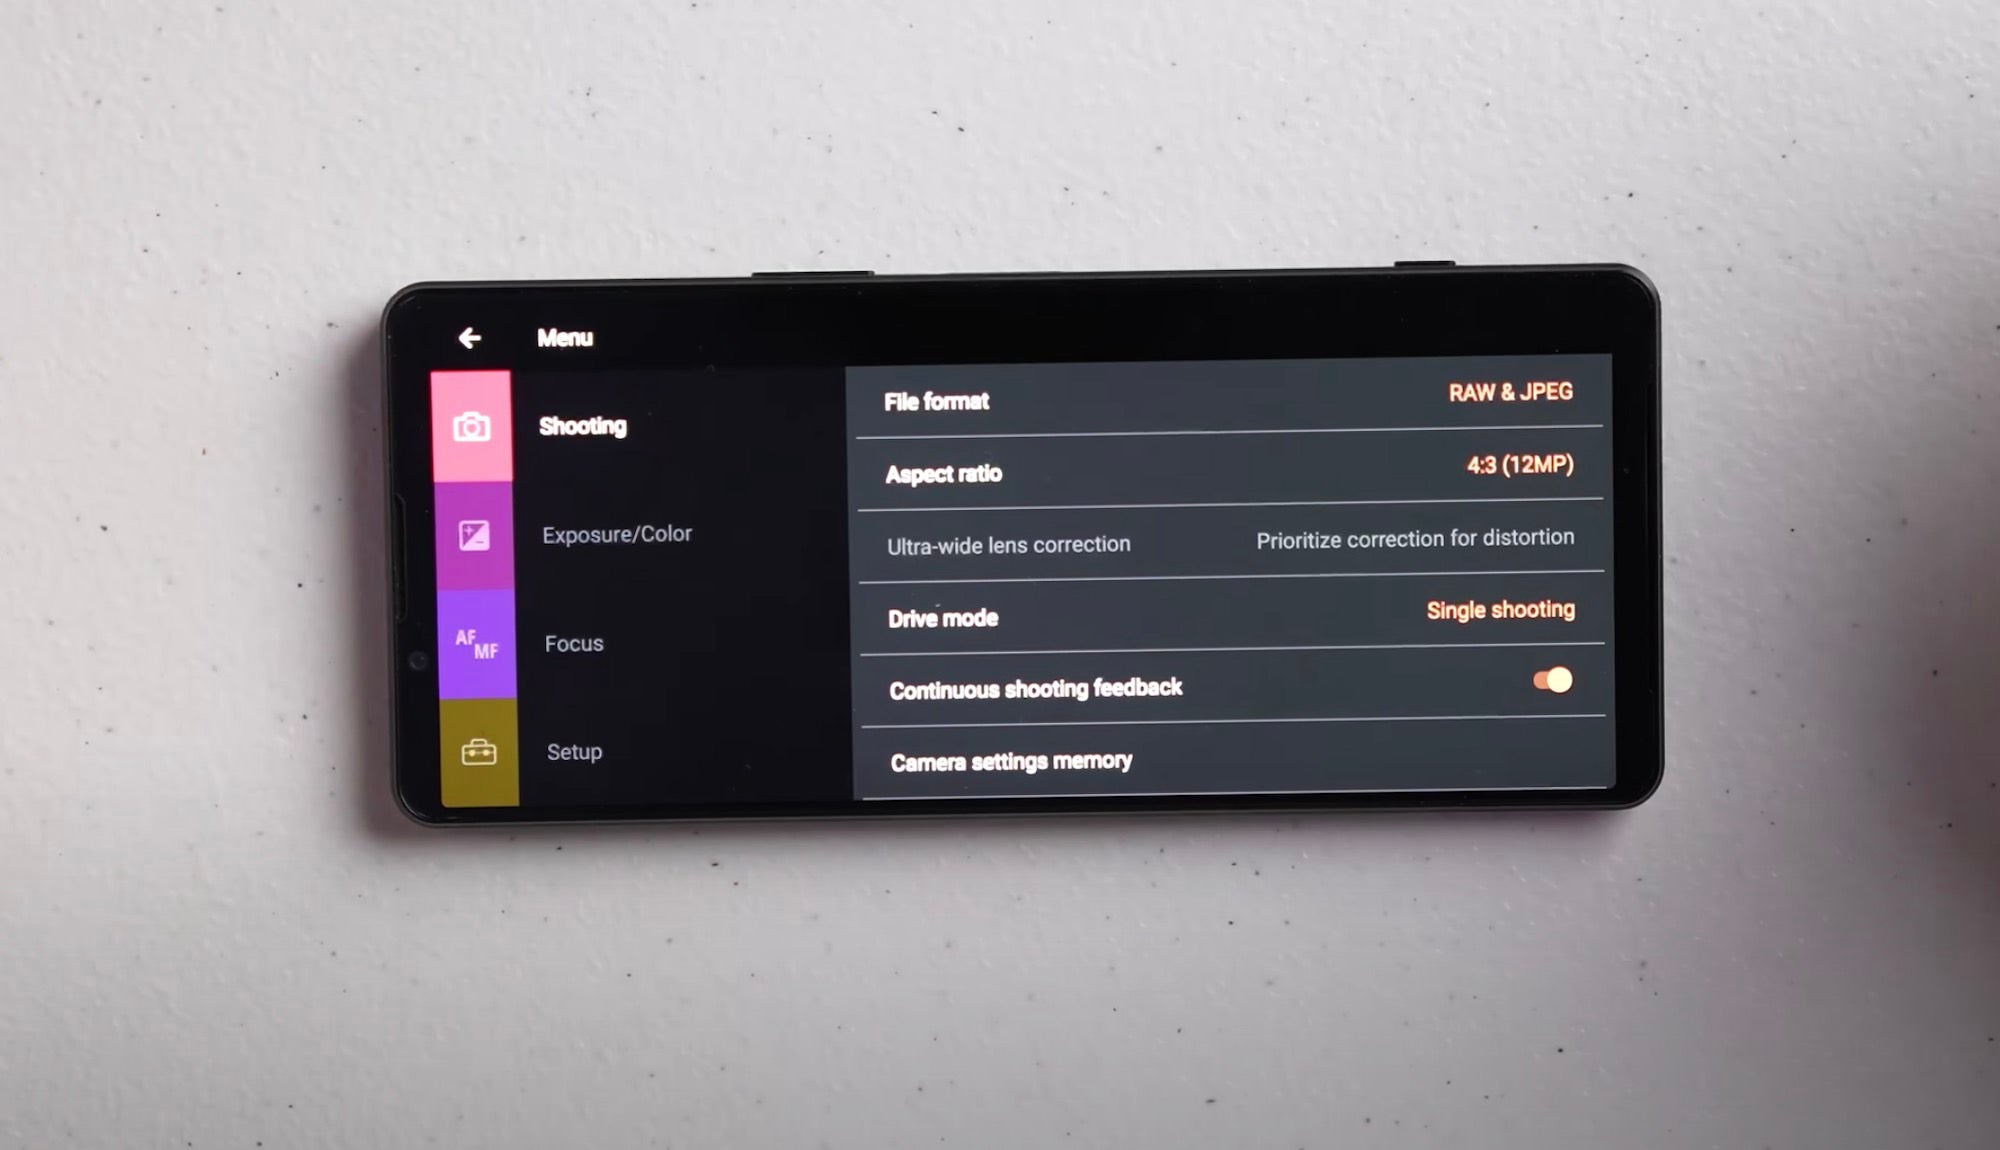
Next Quiles digs a little deeper into the Photography Pro App by selecting the main menu. Many of the options available in this menu are similar to those in the newer Sony Alpha cameras. Some options are also redundant to the Function Menu that Quiles previously went through. “Wherever you feel most comfortable accessing these features, by all means go for it.”
Main Menu – Shooting
As Quiles views the Shooting Menu, you’ll see where it allows you to select File Format, Aspect Ratio, Drive Mode, Continuous Shooting Feedback, Camera Settings Memory and Digital Zoom Settings. All of these can be adjusted based on your needs in the menu. For the Digital Zoom Settings, you have Standard Digital Zoom and AI Super Resolution Zoom. “I use the Standard Digital Zoom. The AI Super Resolution Zoom works really, really well – I just tend to do a lot of that stuff in post-production”
Main Menu – Exposure/Color
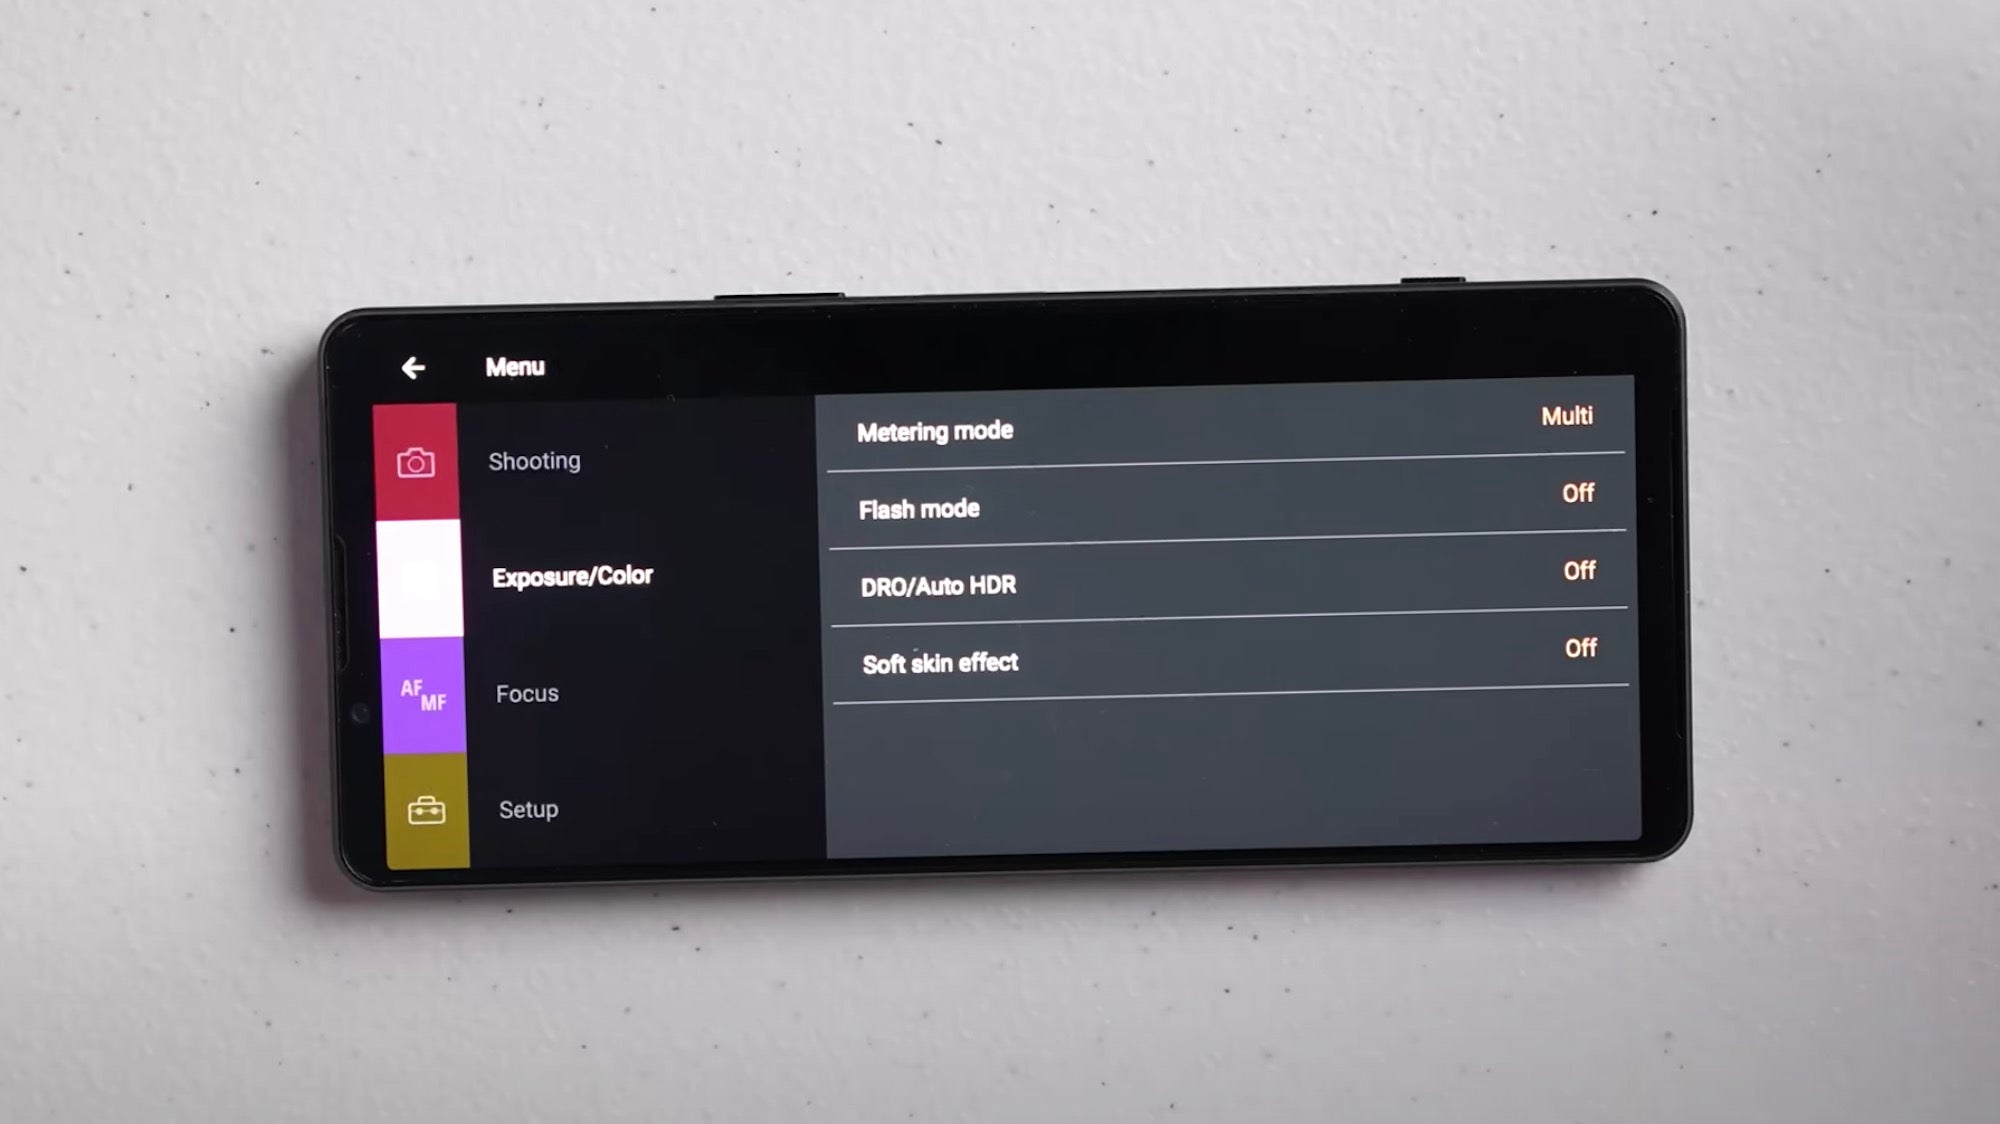
In this part of the Menu you have your Metering Mode, Flash Mode, DRQ/Auto HDR and Soft Skin Effect. Quiles does most of his skin work in post-production, so he tends to have the Soft Skin Effect off.
Main Menu – Focus
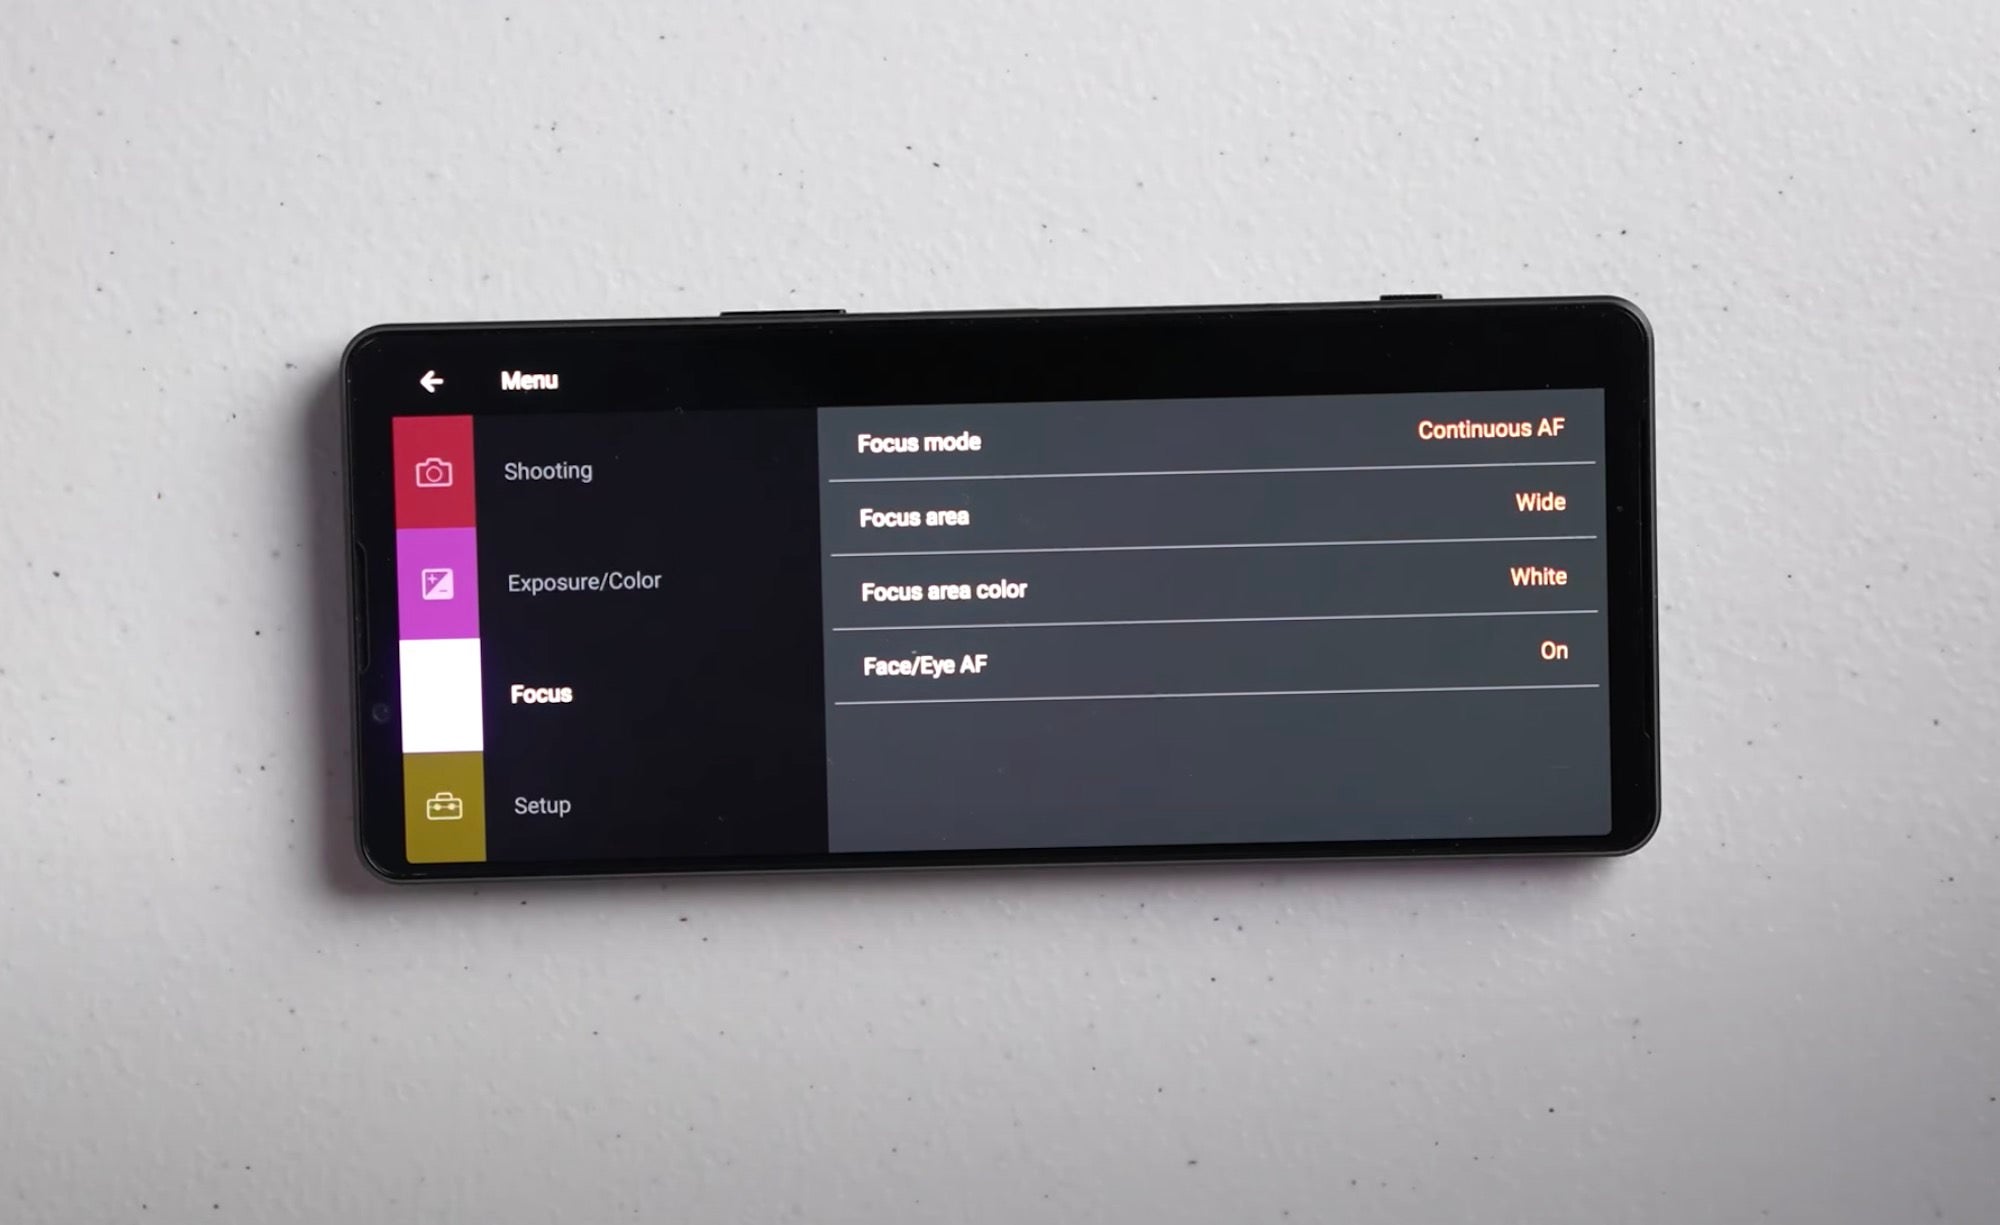
Here you have many of the same options from the Function Menu again: Focus Mode, Focus Area, Focus Area Color and Face/Eye AF. For the most part, Quiles keeps the Focus Area Color White.
Main Menu – Setup
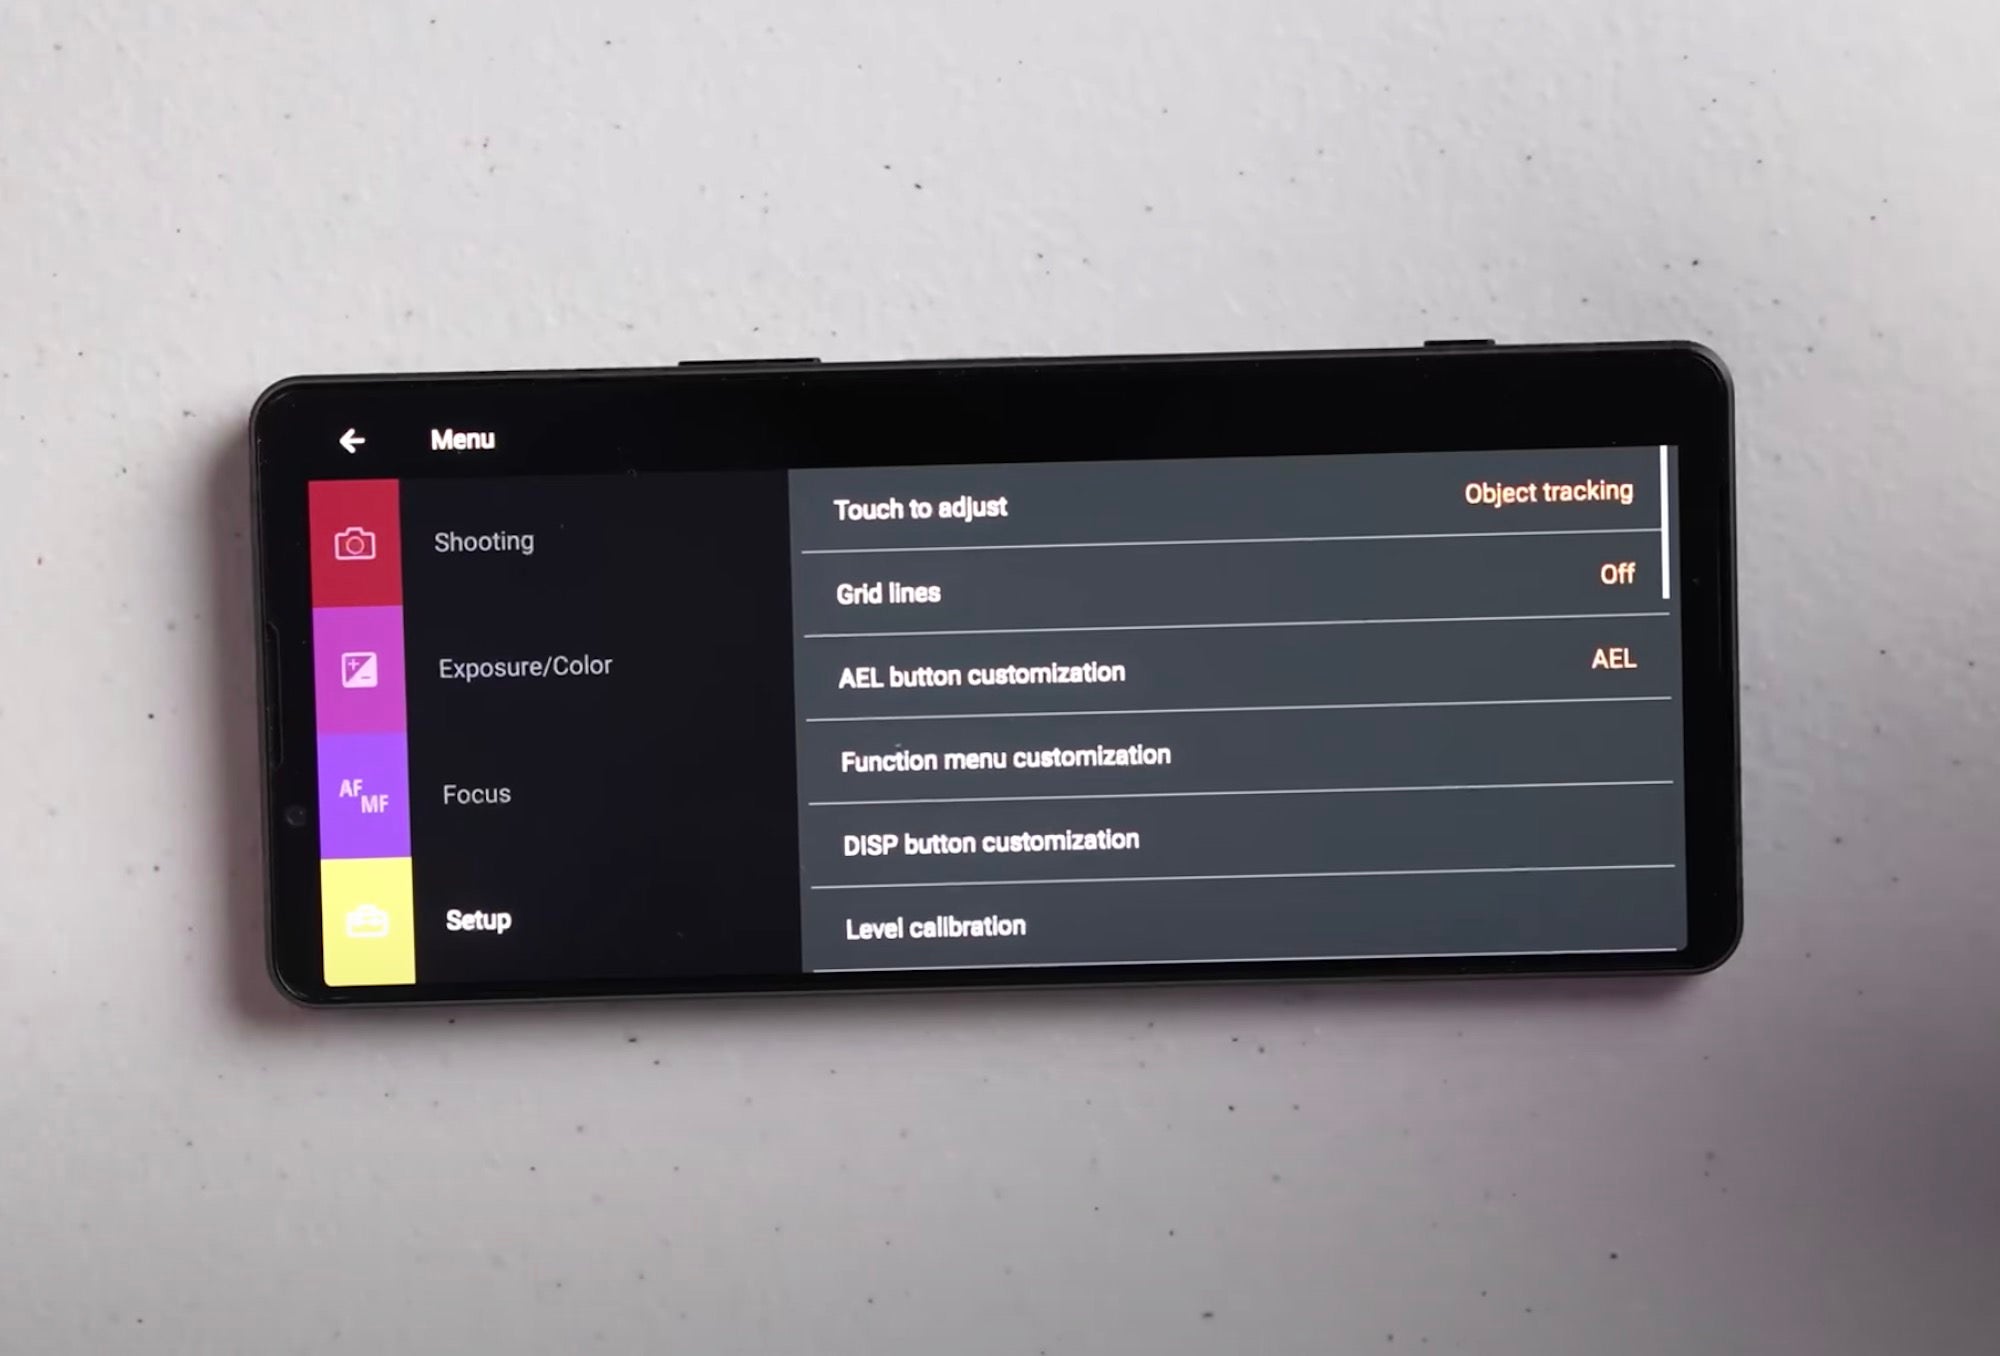
The Setup menu has a lot of options you may want to consider adjusting.
Main Menu – Setup – Touch To Adjust
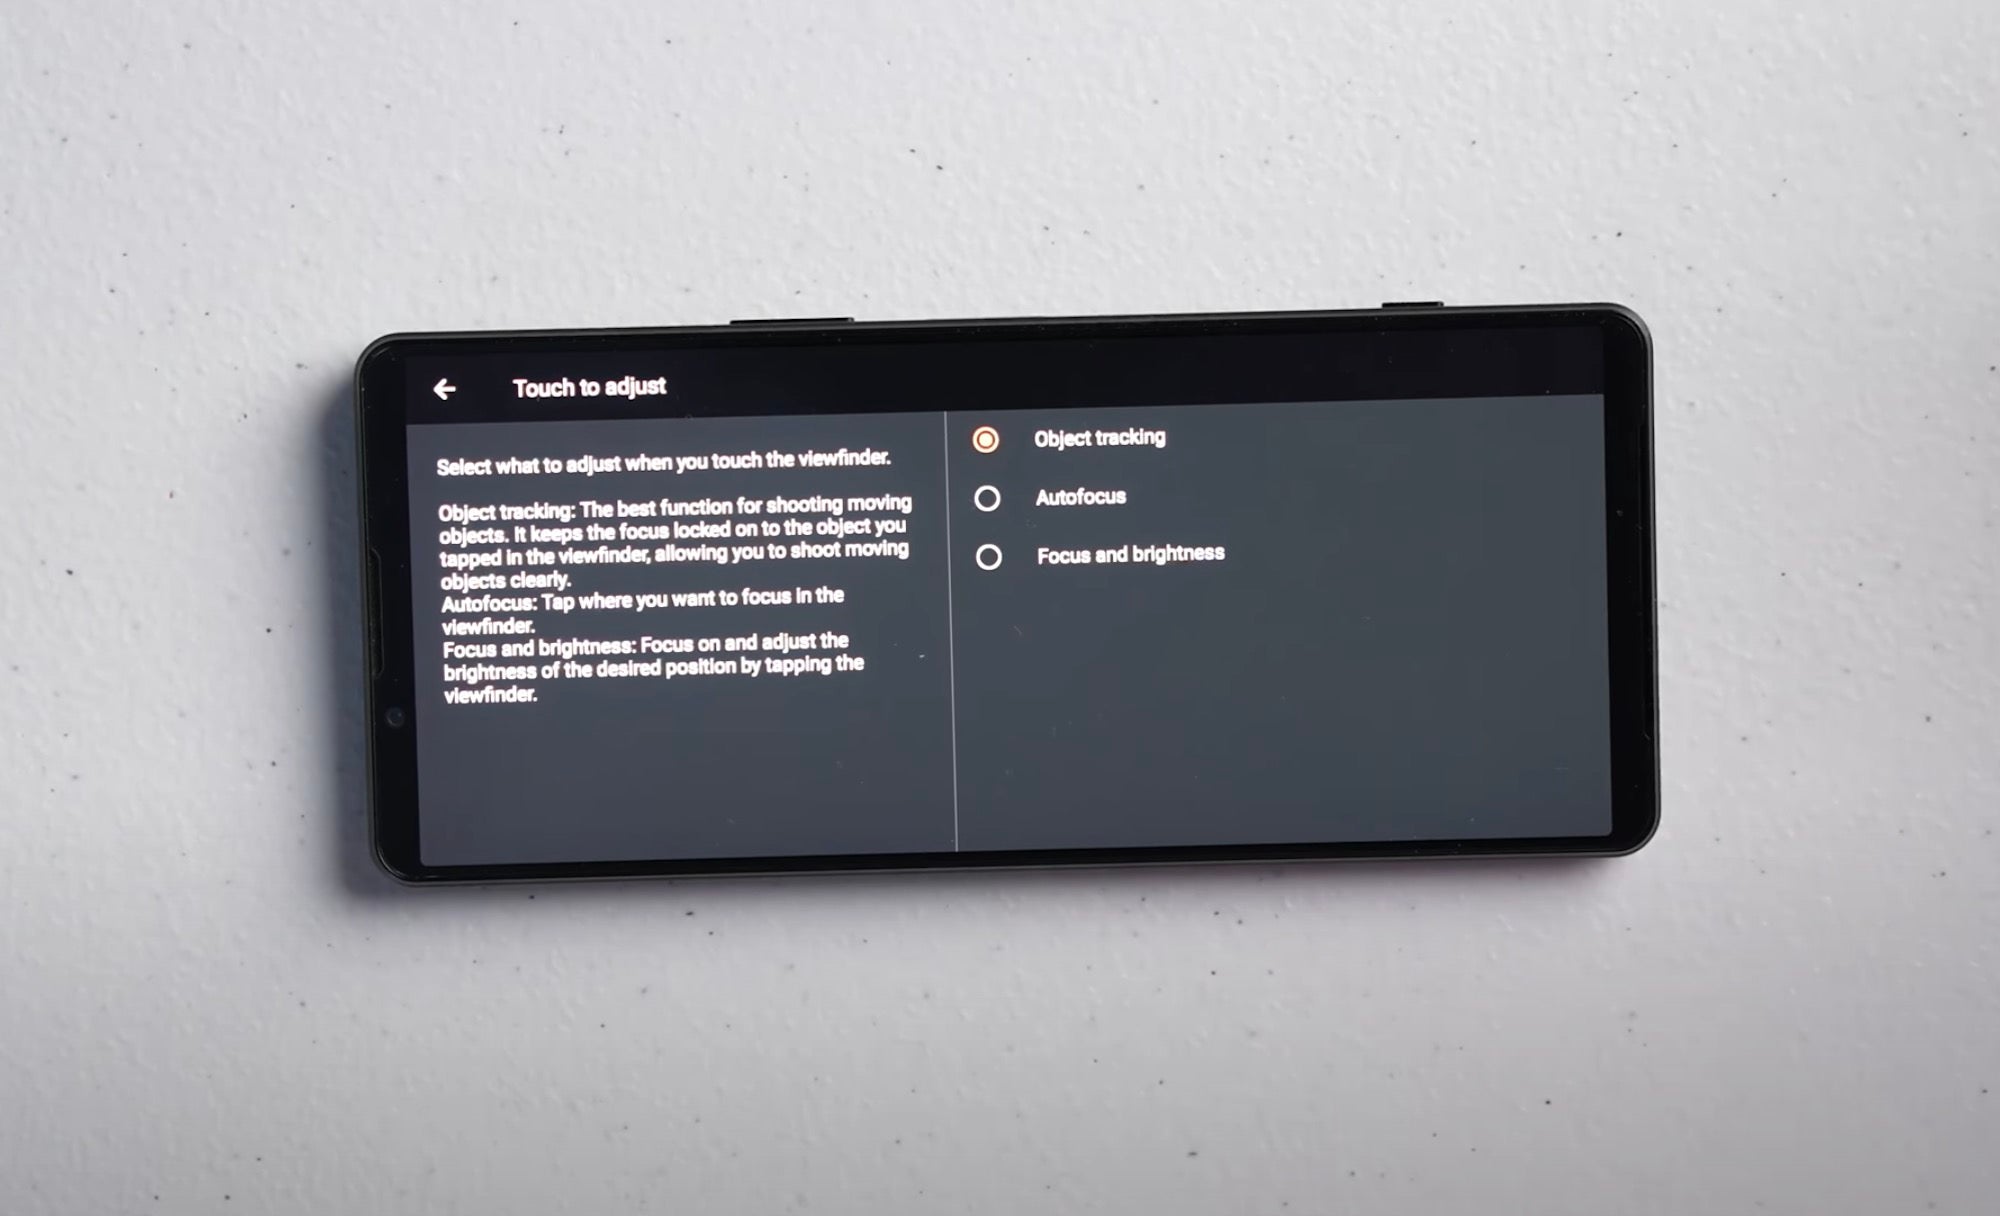
“The first is the ‘Touch To Adjust,’ explains Quiles. “Essentially what this does is, when I tap on the screen, let’s say I’m taking a photo of a person who is running or moving. I could actually touch the screen on the subject and it’s going to track them as they move throughout the frame. You can set that touching gesture to do something totally different. You can set it to just auto focus once. Or you can set it to basically turn the focus on and adjust the brightness of the desired position by tapping on the viewfinder. It almost works in a way like your basic camera mode.”
Main Menu – Setup – Gridlines
Next under the Setup Menu is the option for Gridlines. “This is basically going to give you gridlines that are going to assist you,” Quiles explains. “That’s going to help you with your compositions. You’re able to place the subject in one of these intersecting lines and that’s just going to help you to compose your shots a little bit better.”
Main Menu – Setup – AEL Button Customization
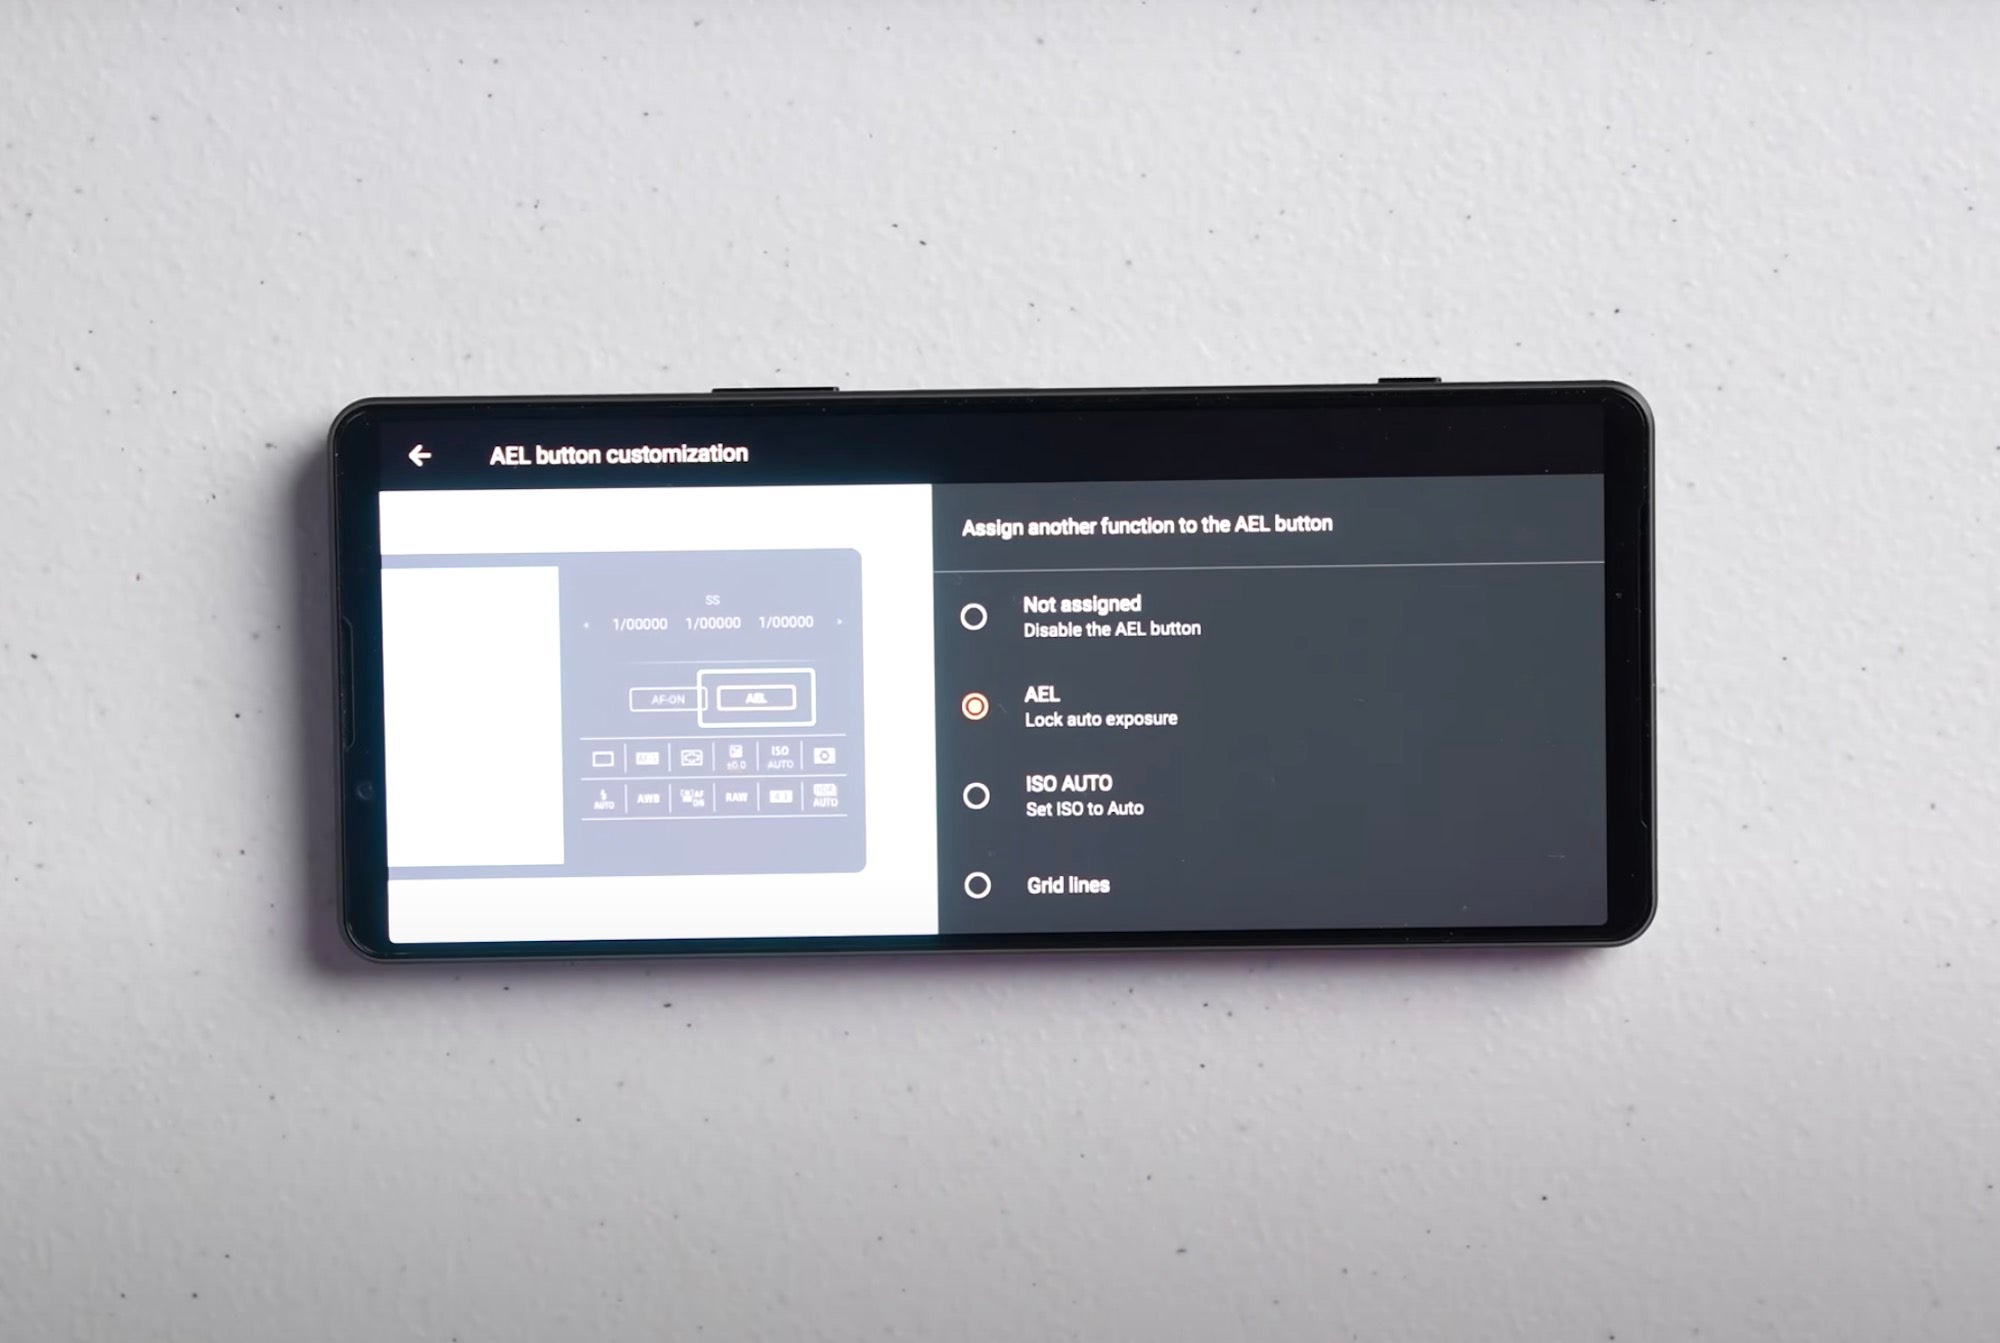
Next in the Setup Menu is the AEL Button Customization option. For this you can almost use it as a custom button to assign it to a number of features like locking your auto exposure, setting your ISO to Auto, turning on your gridlines or using the soft skin effect.
Main Menu – Setup – Function Menu Customization
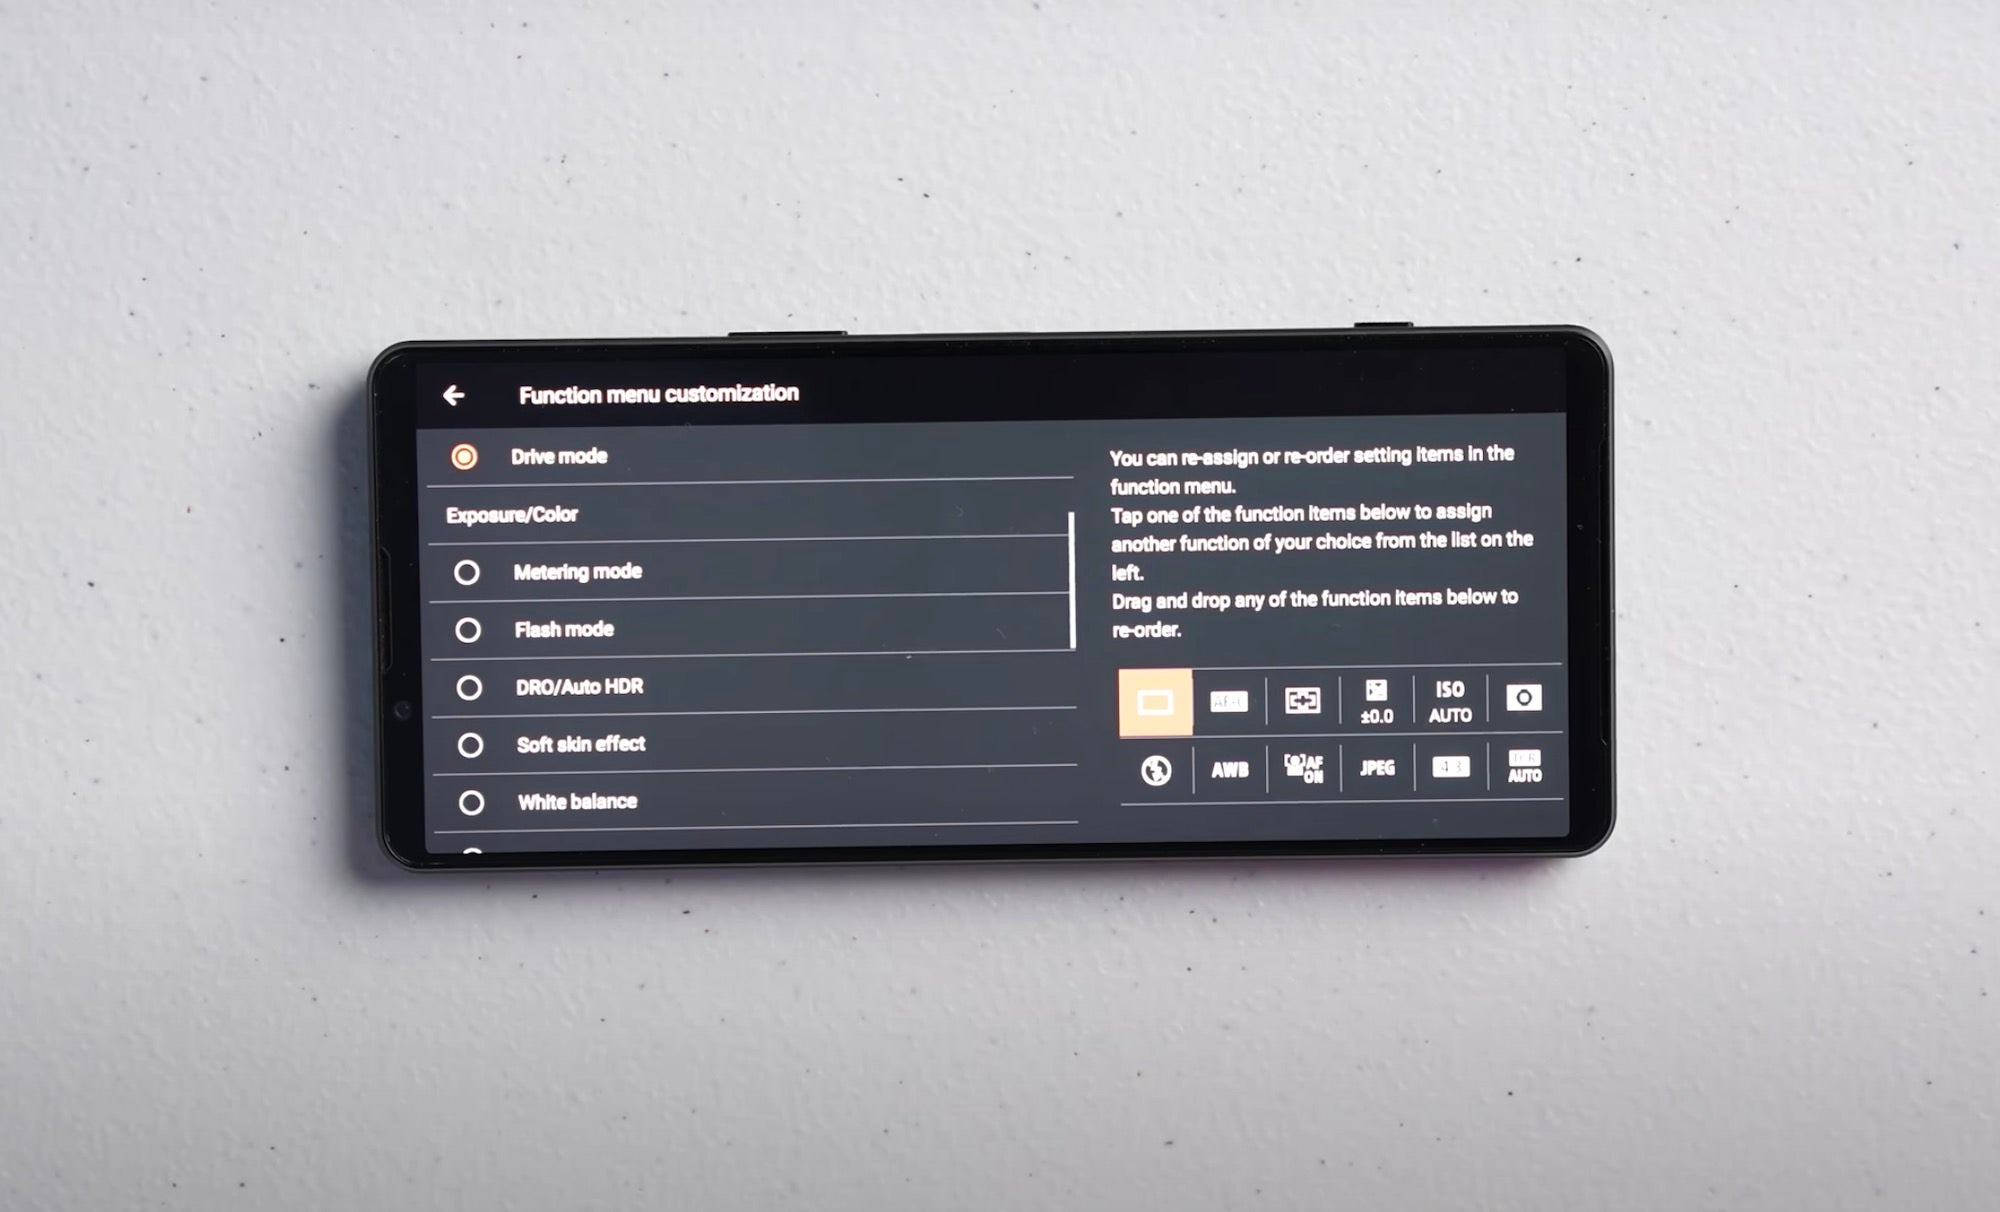
Next is the Function Menu Customization. “This is something you would do on your Sony Alpha camera to personalize your options and your experience with the menu,” says Quiles. The Function Menu shows all of the options Quiles previously went through, but now he shows how you can easily add or remove certain options and orders to make your Xperia 1 IV work best for your style of shooting.
Main Menu – Setup – Display Button Customization
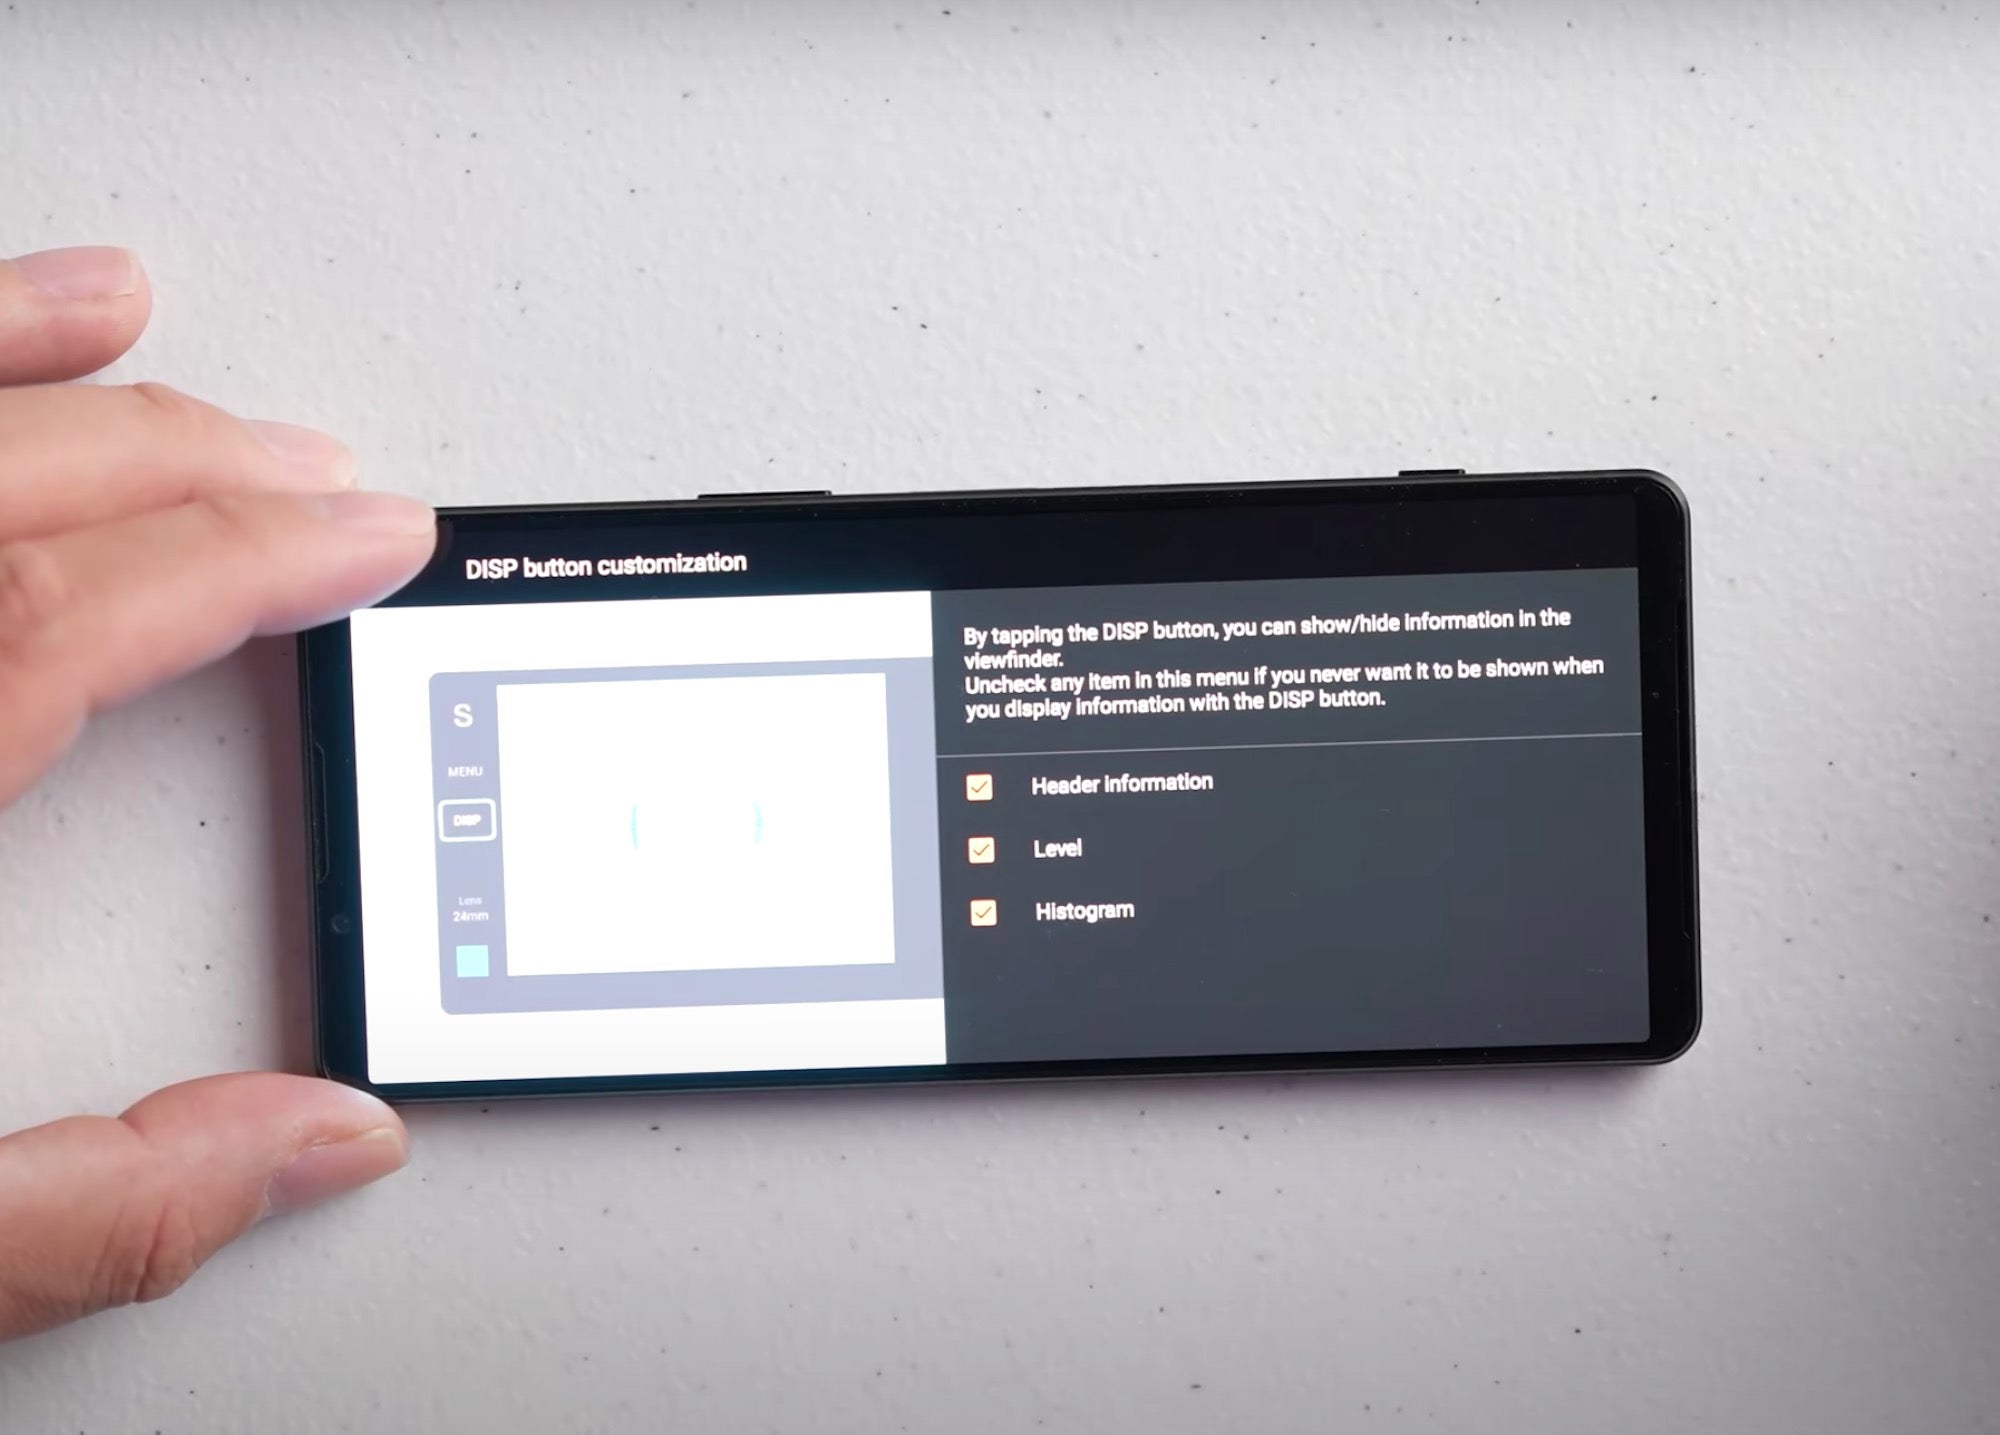
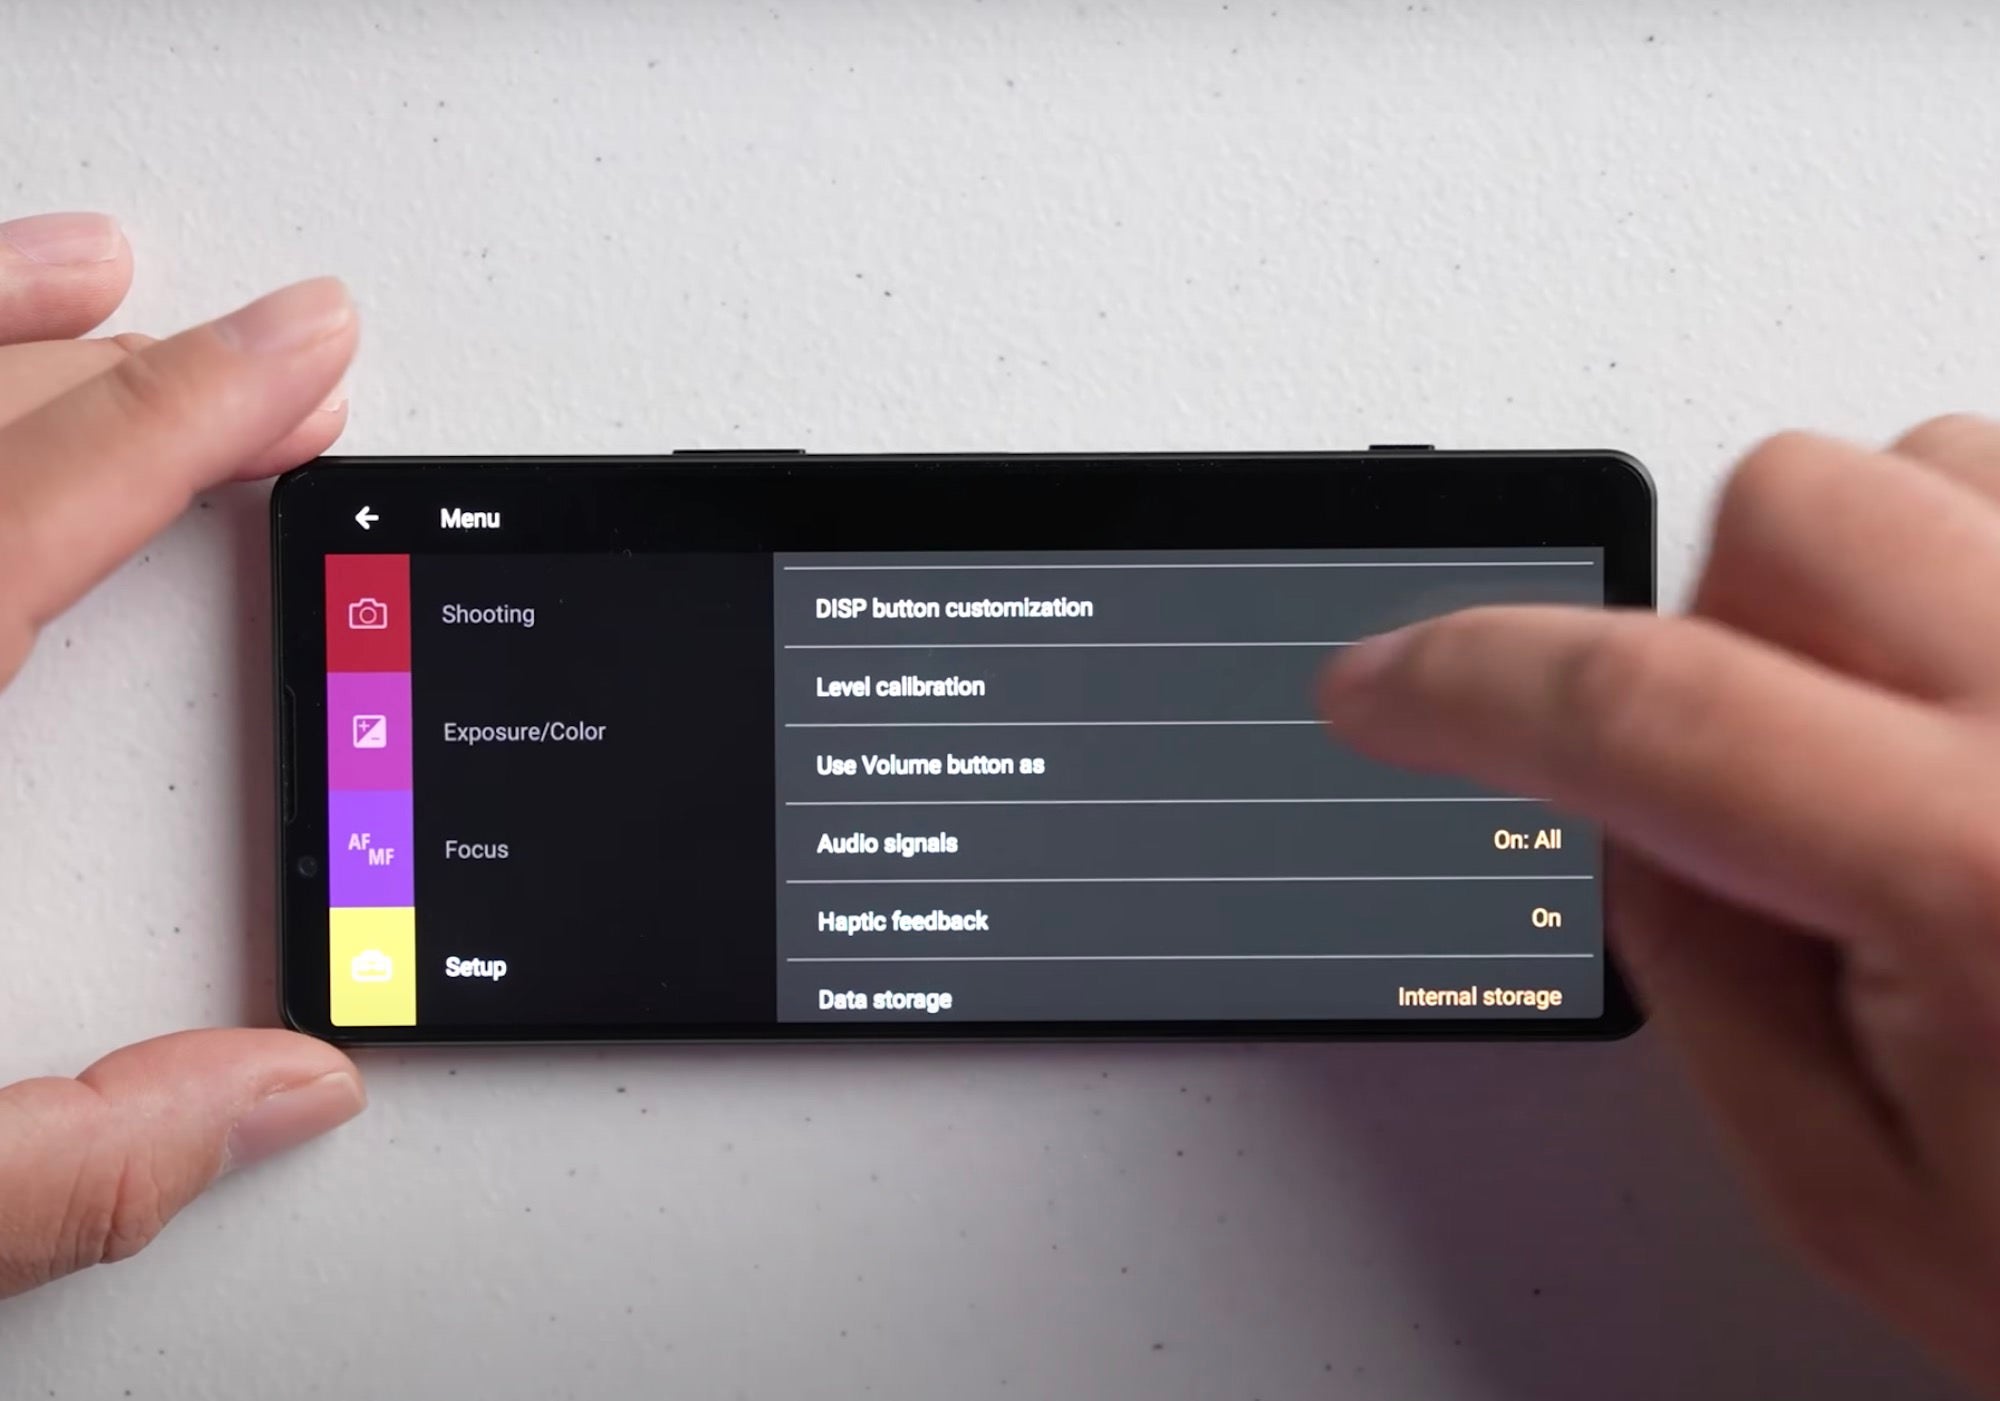
You also have the Display Button Customization option within the Setup Menu. This button can give you the Level, Histogram or Header Information. “You can basically have it to where it shows one, two or all of these features when you press that Display Button.”
Main Menu – Setup – Level Calibration
The next thing you have is Level Calibration. “If you select that you have the ability to calibrate your smartphone to make sure that your level is actually correct.”
Main Menu – Setup – Use Volume Button As
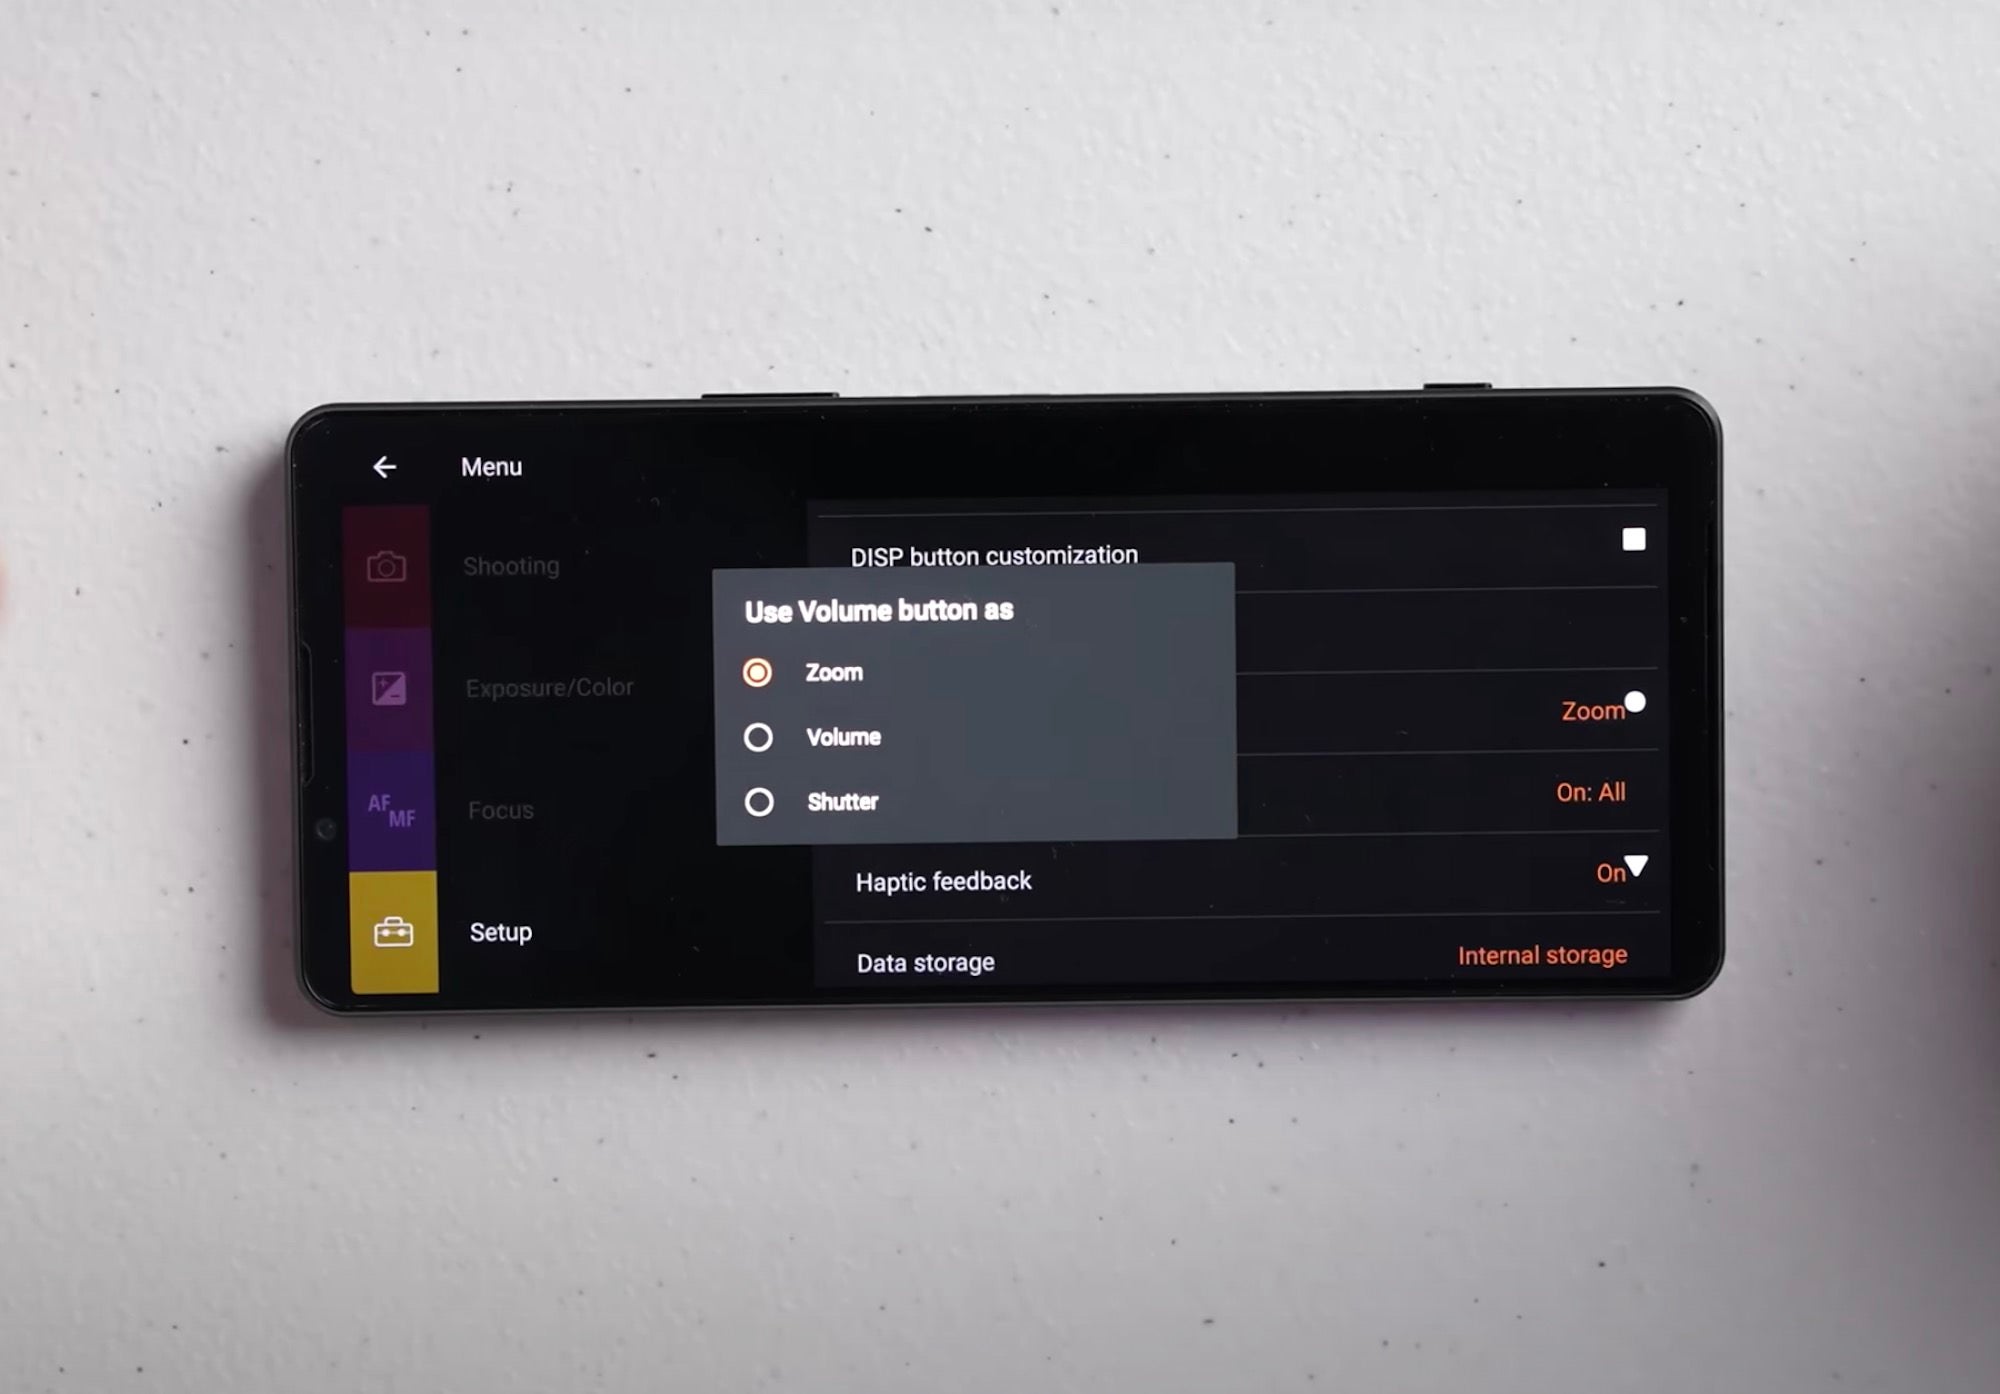
The next option in the menu is the ‘Use Volume Button As,’ option. This is where you can set your Volume Button to do what you want – Zoom, Volume or Shutter. “I leave it on Zoom because I do like the tactile feel of being able to use that zoom rocker to zoom in and out, and then use the shutter button to take the photo,” says Quiles.
Main Menu – Setup – Audio Signals
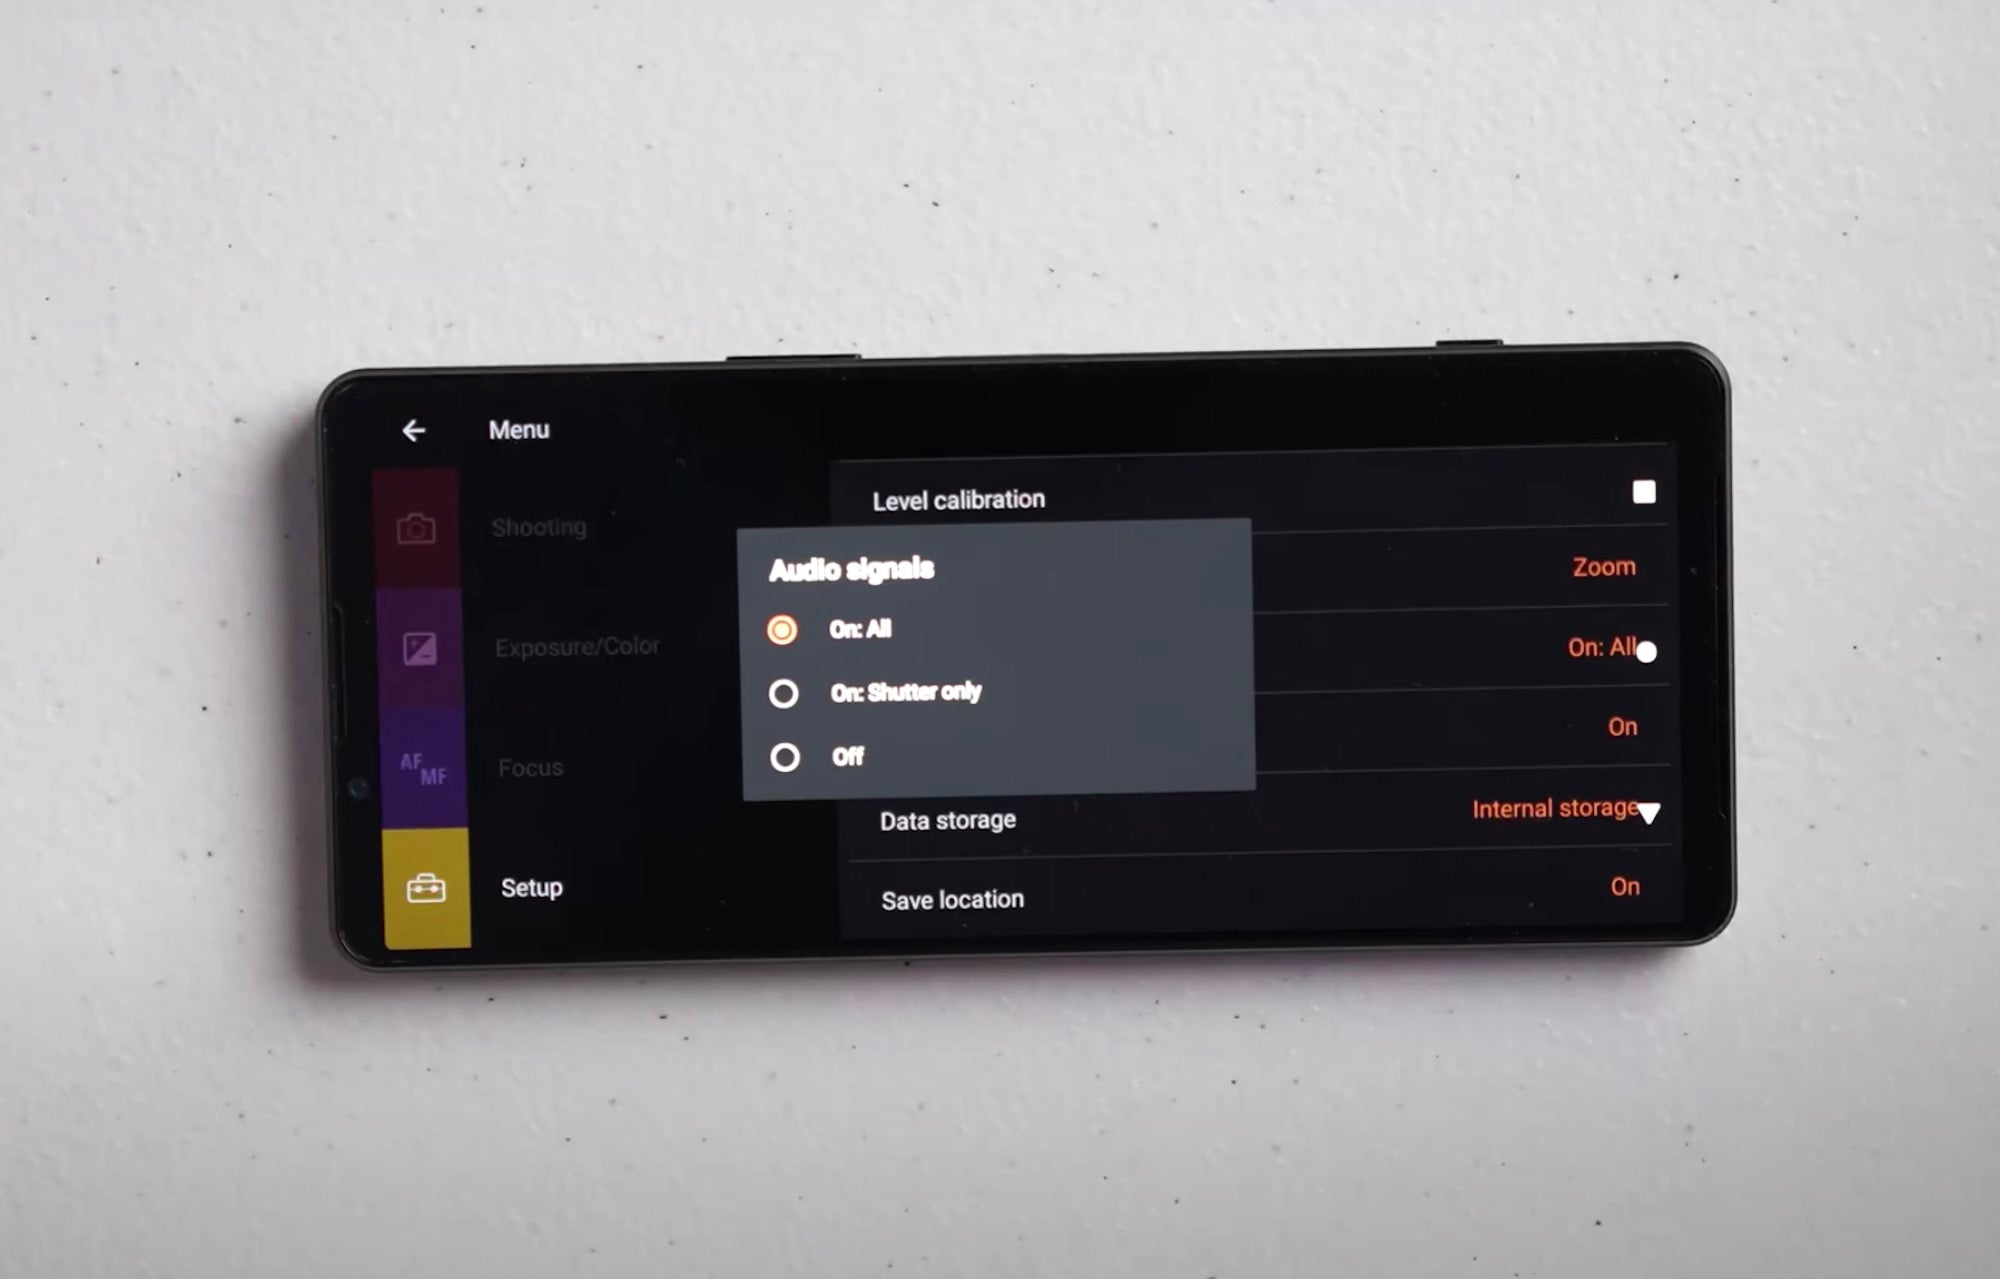
The next option in the Menu Setup is the Audio Signals – these can be set to On: All, On: Shutter Only and Off. Quiles says he tends to just leave it at On: All.
Main Menu – Setup – Haptic Feedback
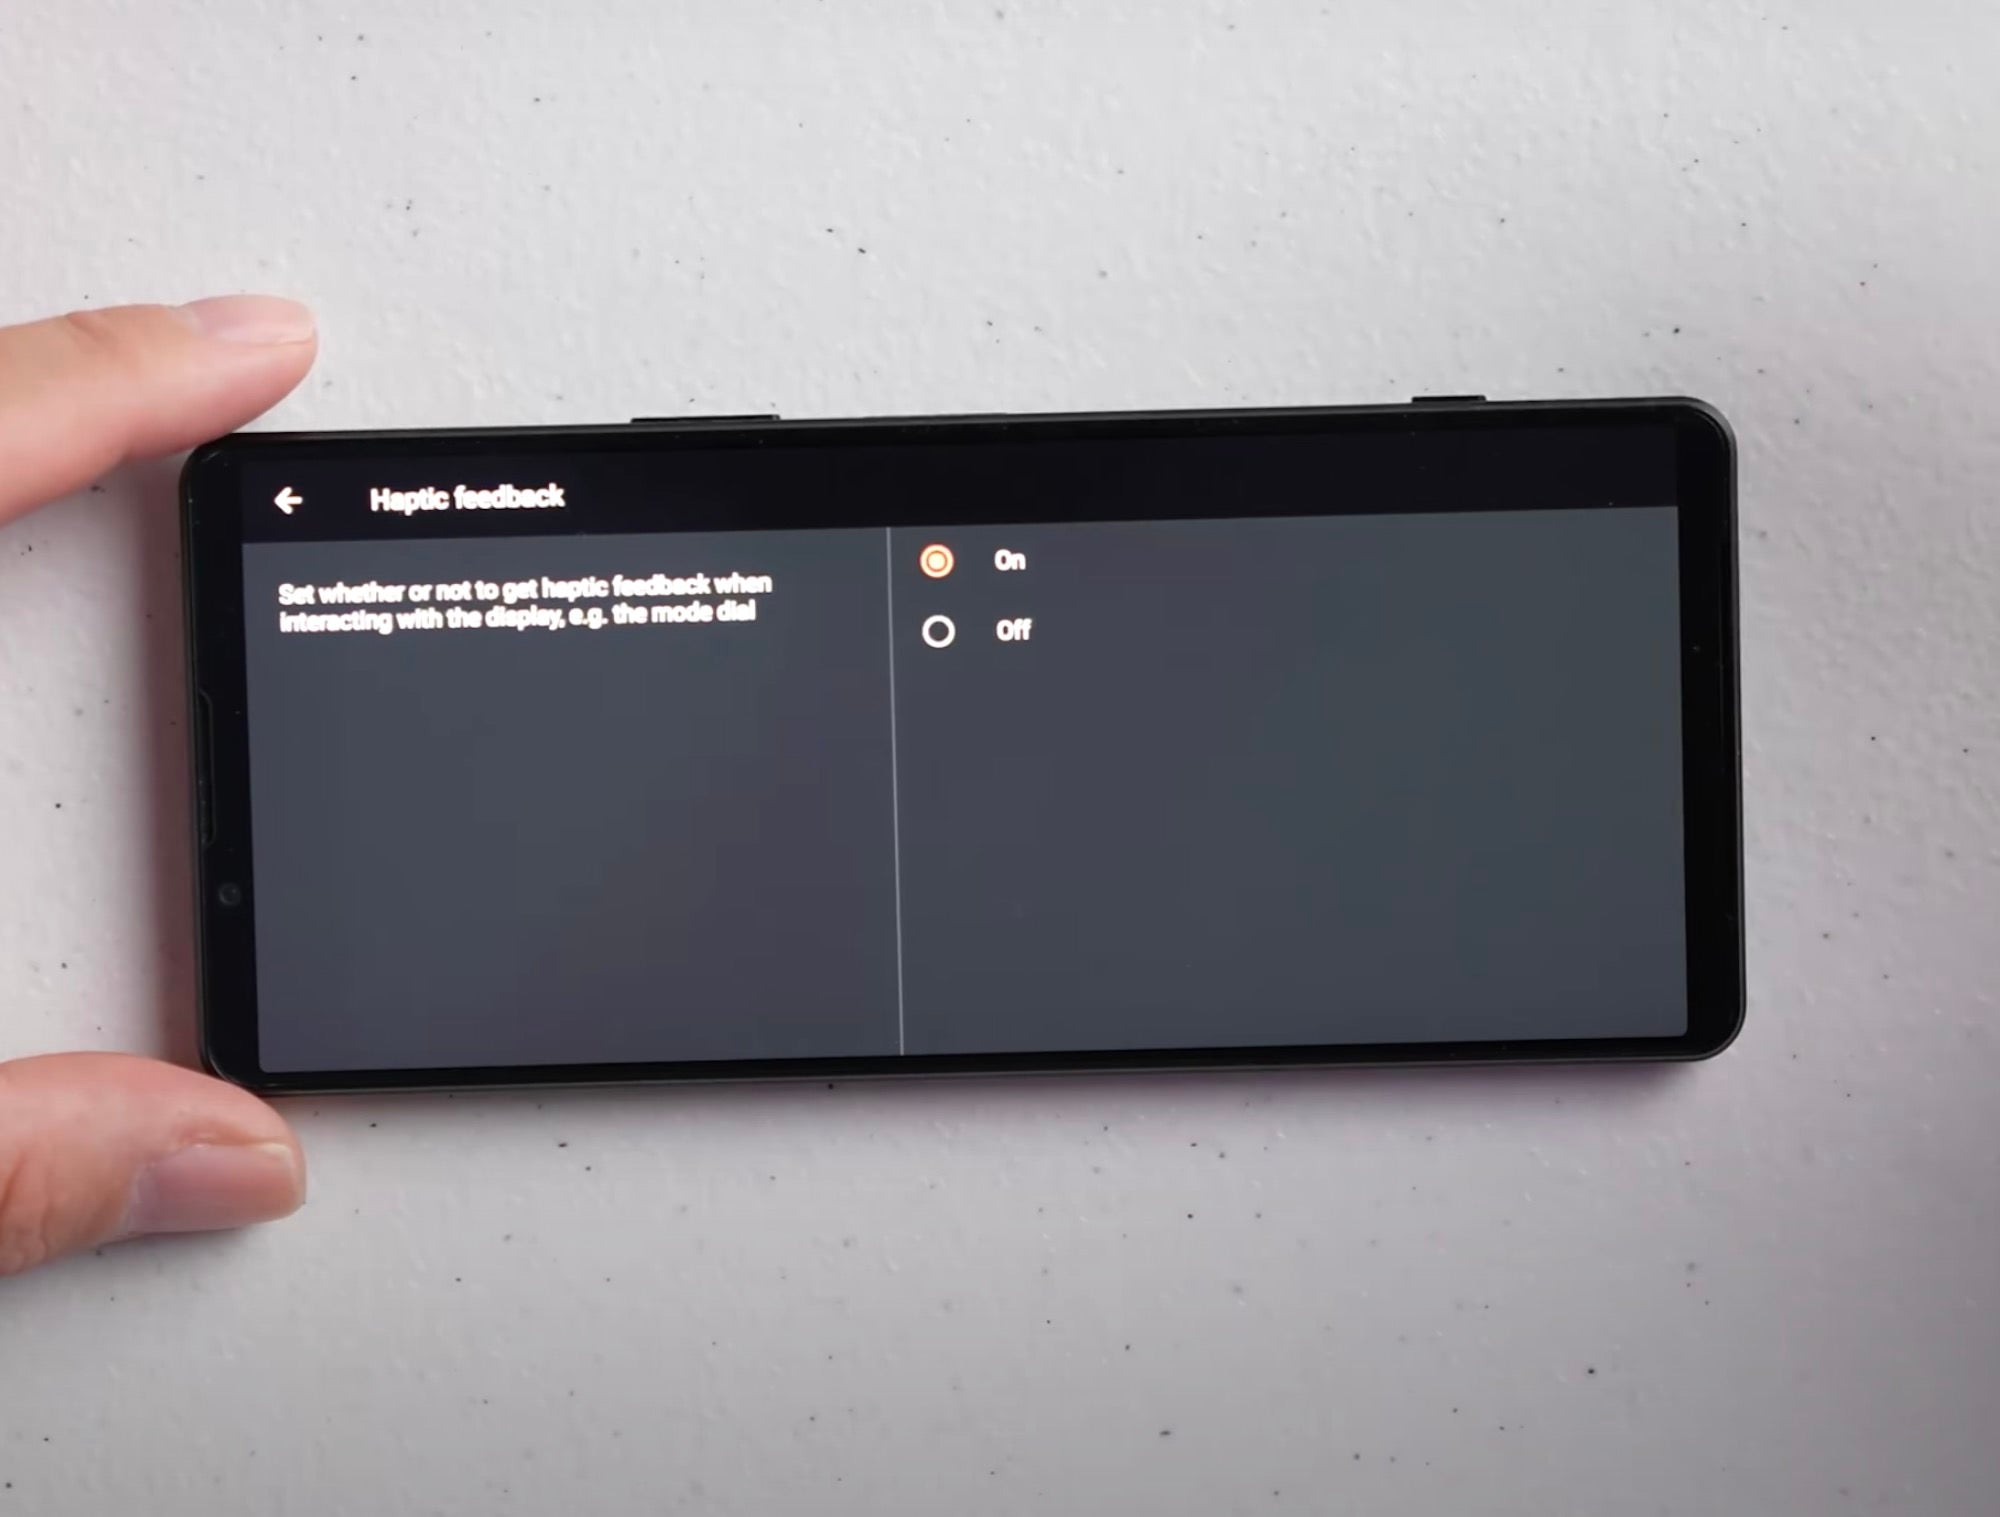
The next option is for Haptic Feedback. “So everytime you take a photograph it’s going to give you that vibration. It does drain the battery a little bit faster so that may be something that you want to turn off. Also if you’re interacting with the screen in any way, pressing options or changing shutter speed, it’s giving you a little vibration every time.”
Main Menu – Setup – Data Storage
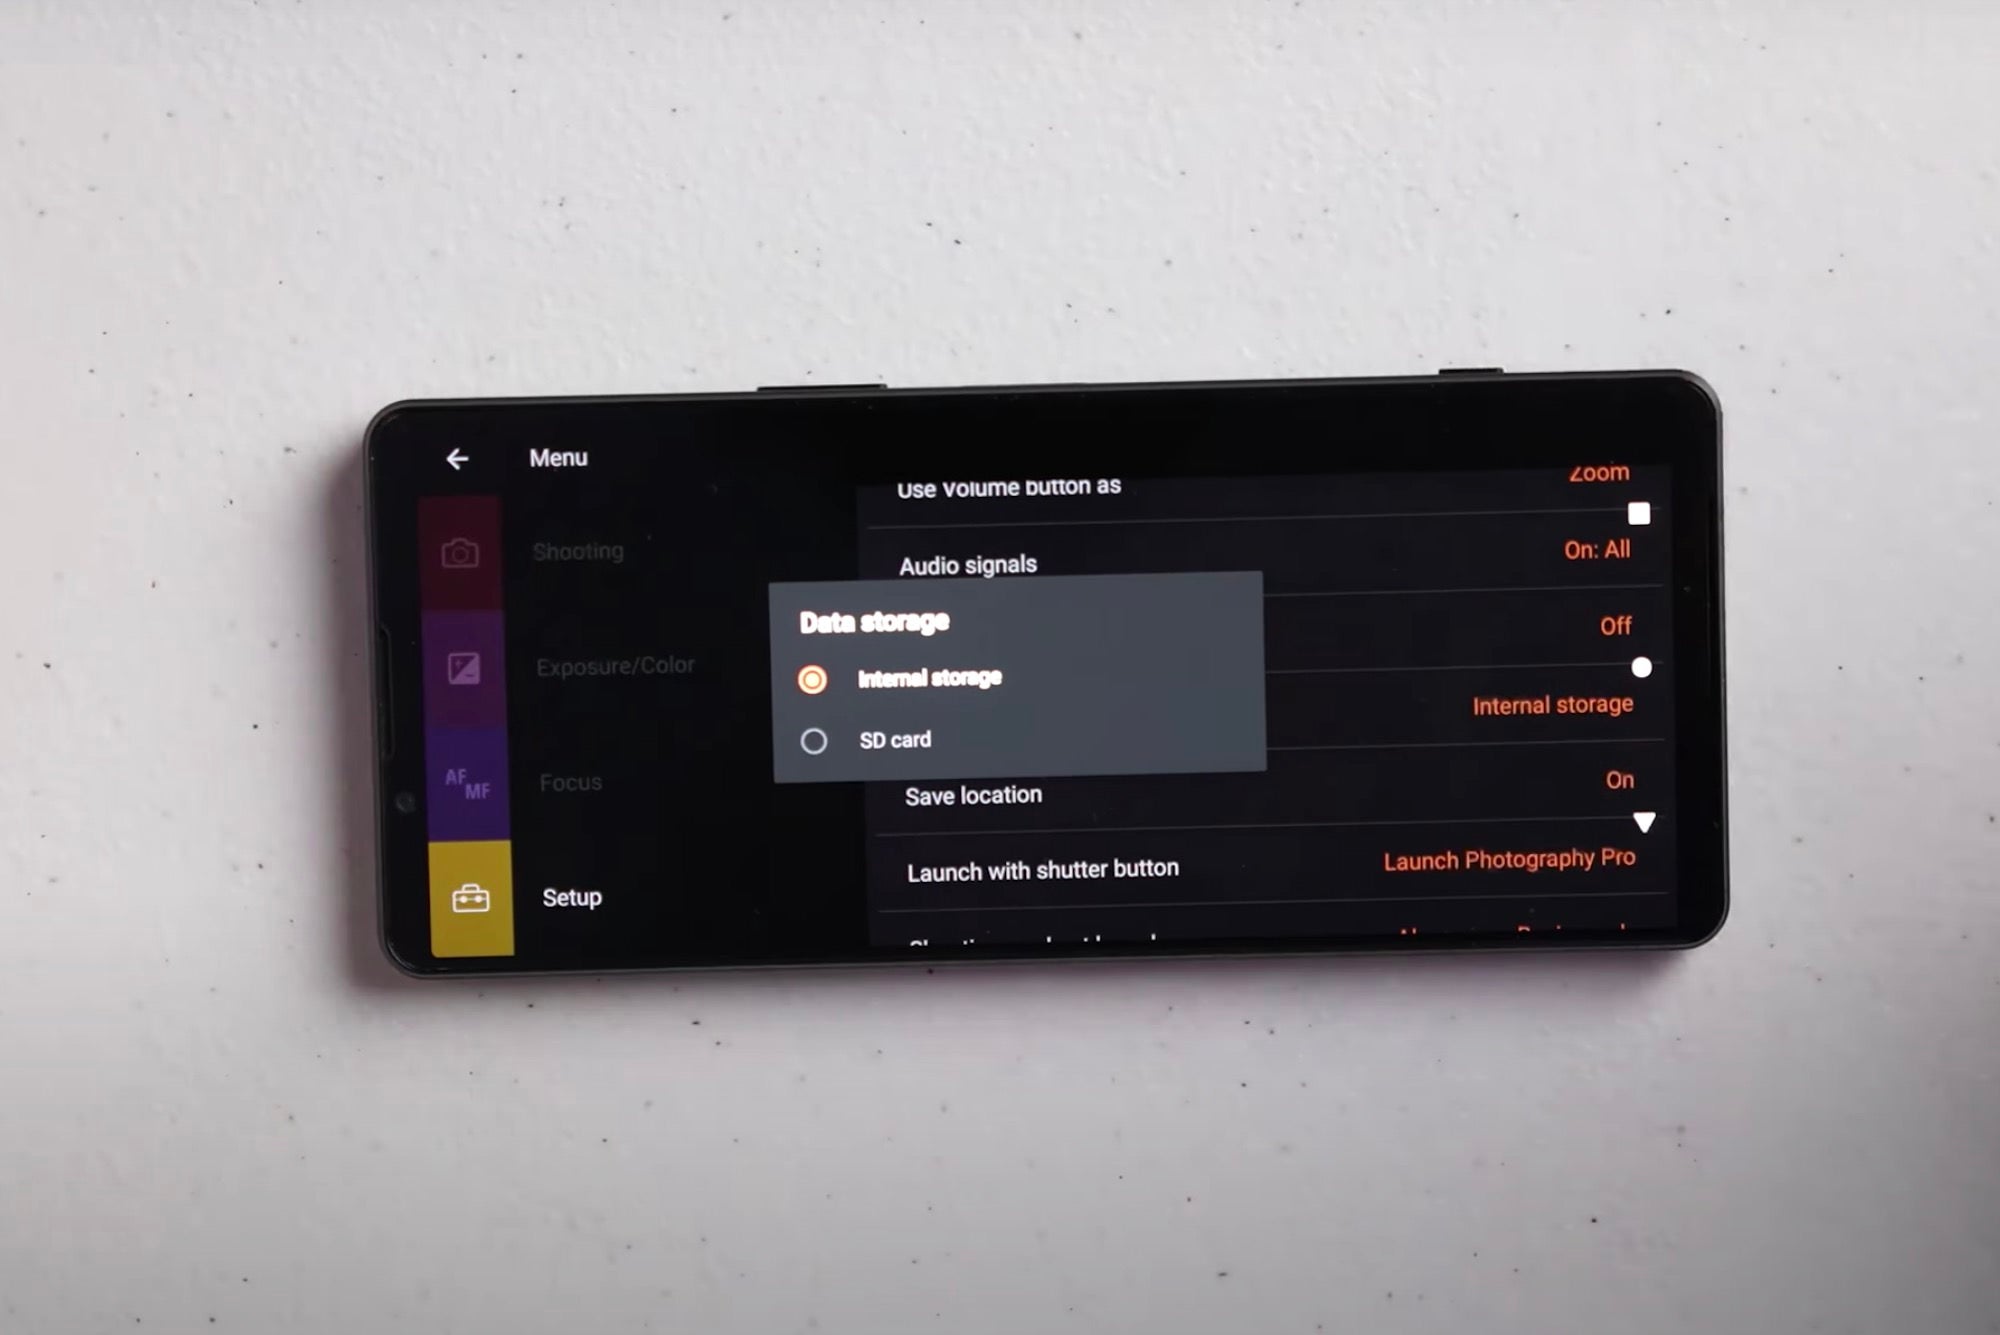
The next thing is Data Storage where you have the option to save to your Internal Storage or SD Card. “This is definitely something that is great because you have the ability to put up to a 1TB for a Micro SD card that you could put in here and save tons of photos. So if you’re worried about that RAW/JPEG option I was talking about earlier and that it’s going to eat up your storage, you don’t have to use the internal storage. You can just have all the photographs saved to that Micro SD card and you’re pretty much good to go.
Main Menu – Setup – Save Location
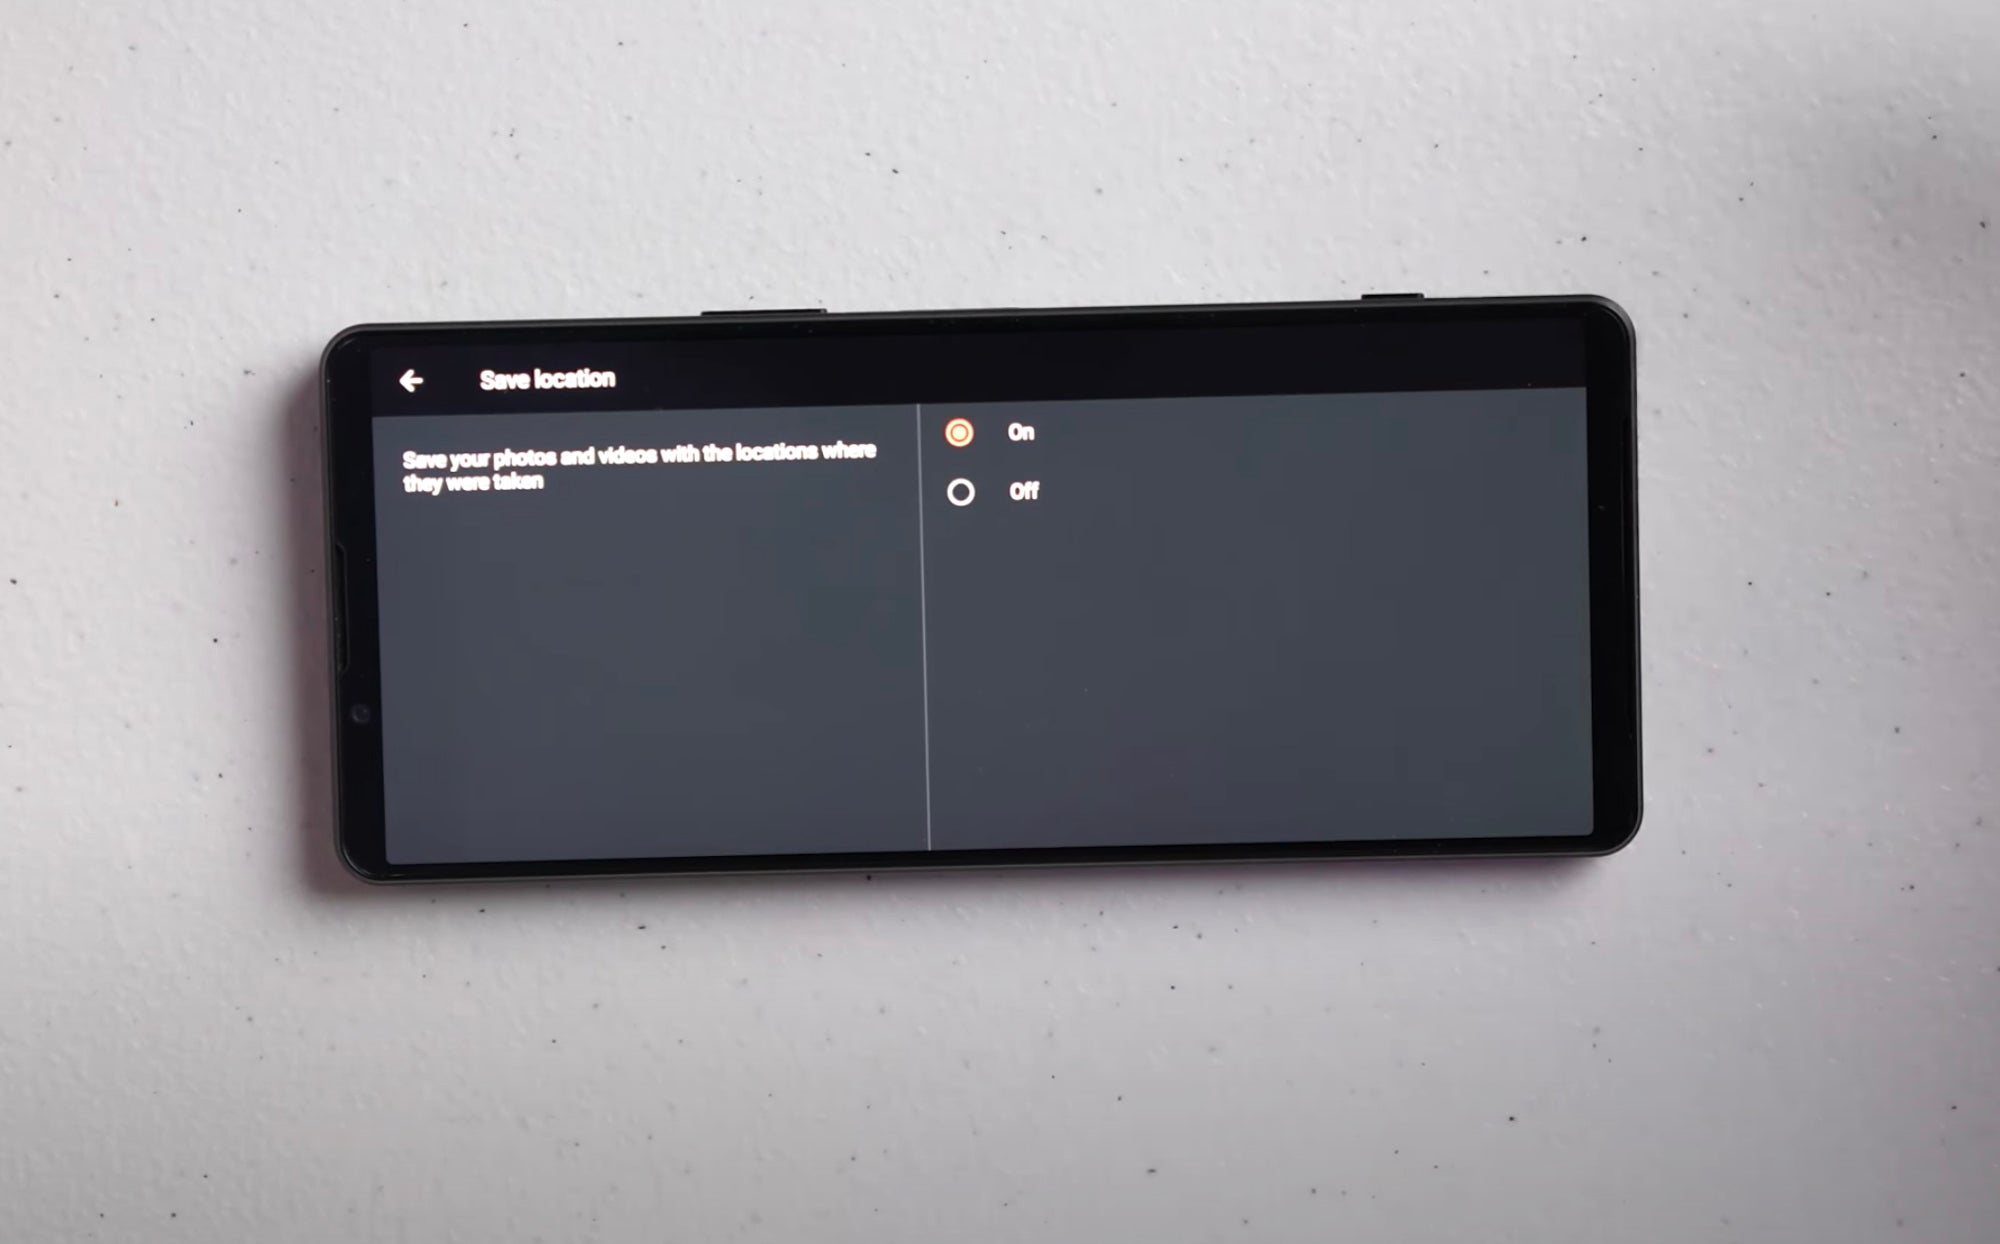
The next option in the Setup Menu is to Save Location where you can save your photos and videos with the location where they were taken. “If you’re doing any kind of travel photography or anything like that and you want to remember where these photos were taken, you can leave Save Location On,” explains Quiles. “I leave it On all the time because there have been times where I’ve wanted to know where I took a photograph and now that information is going to be set on that photo.”
Main Menu – Setup – Launch With Shutter Button
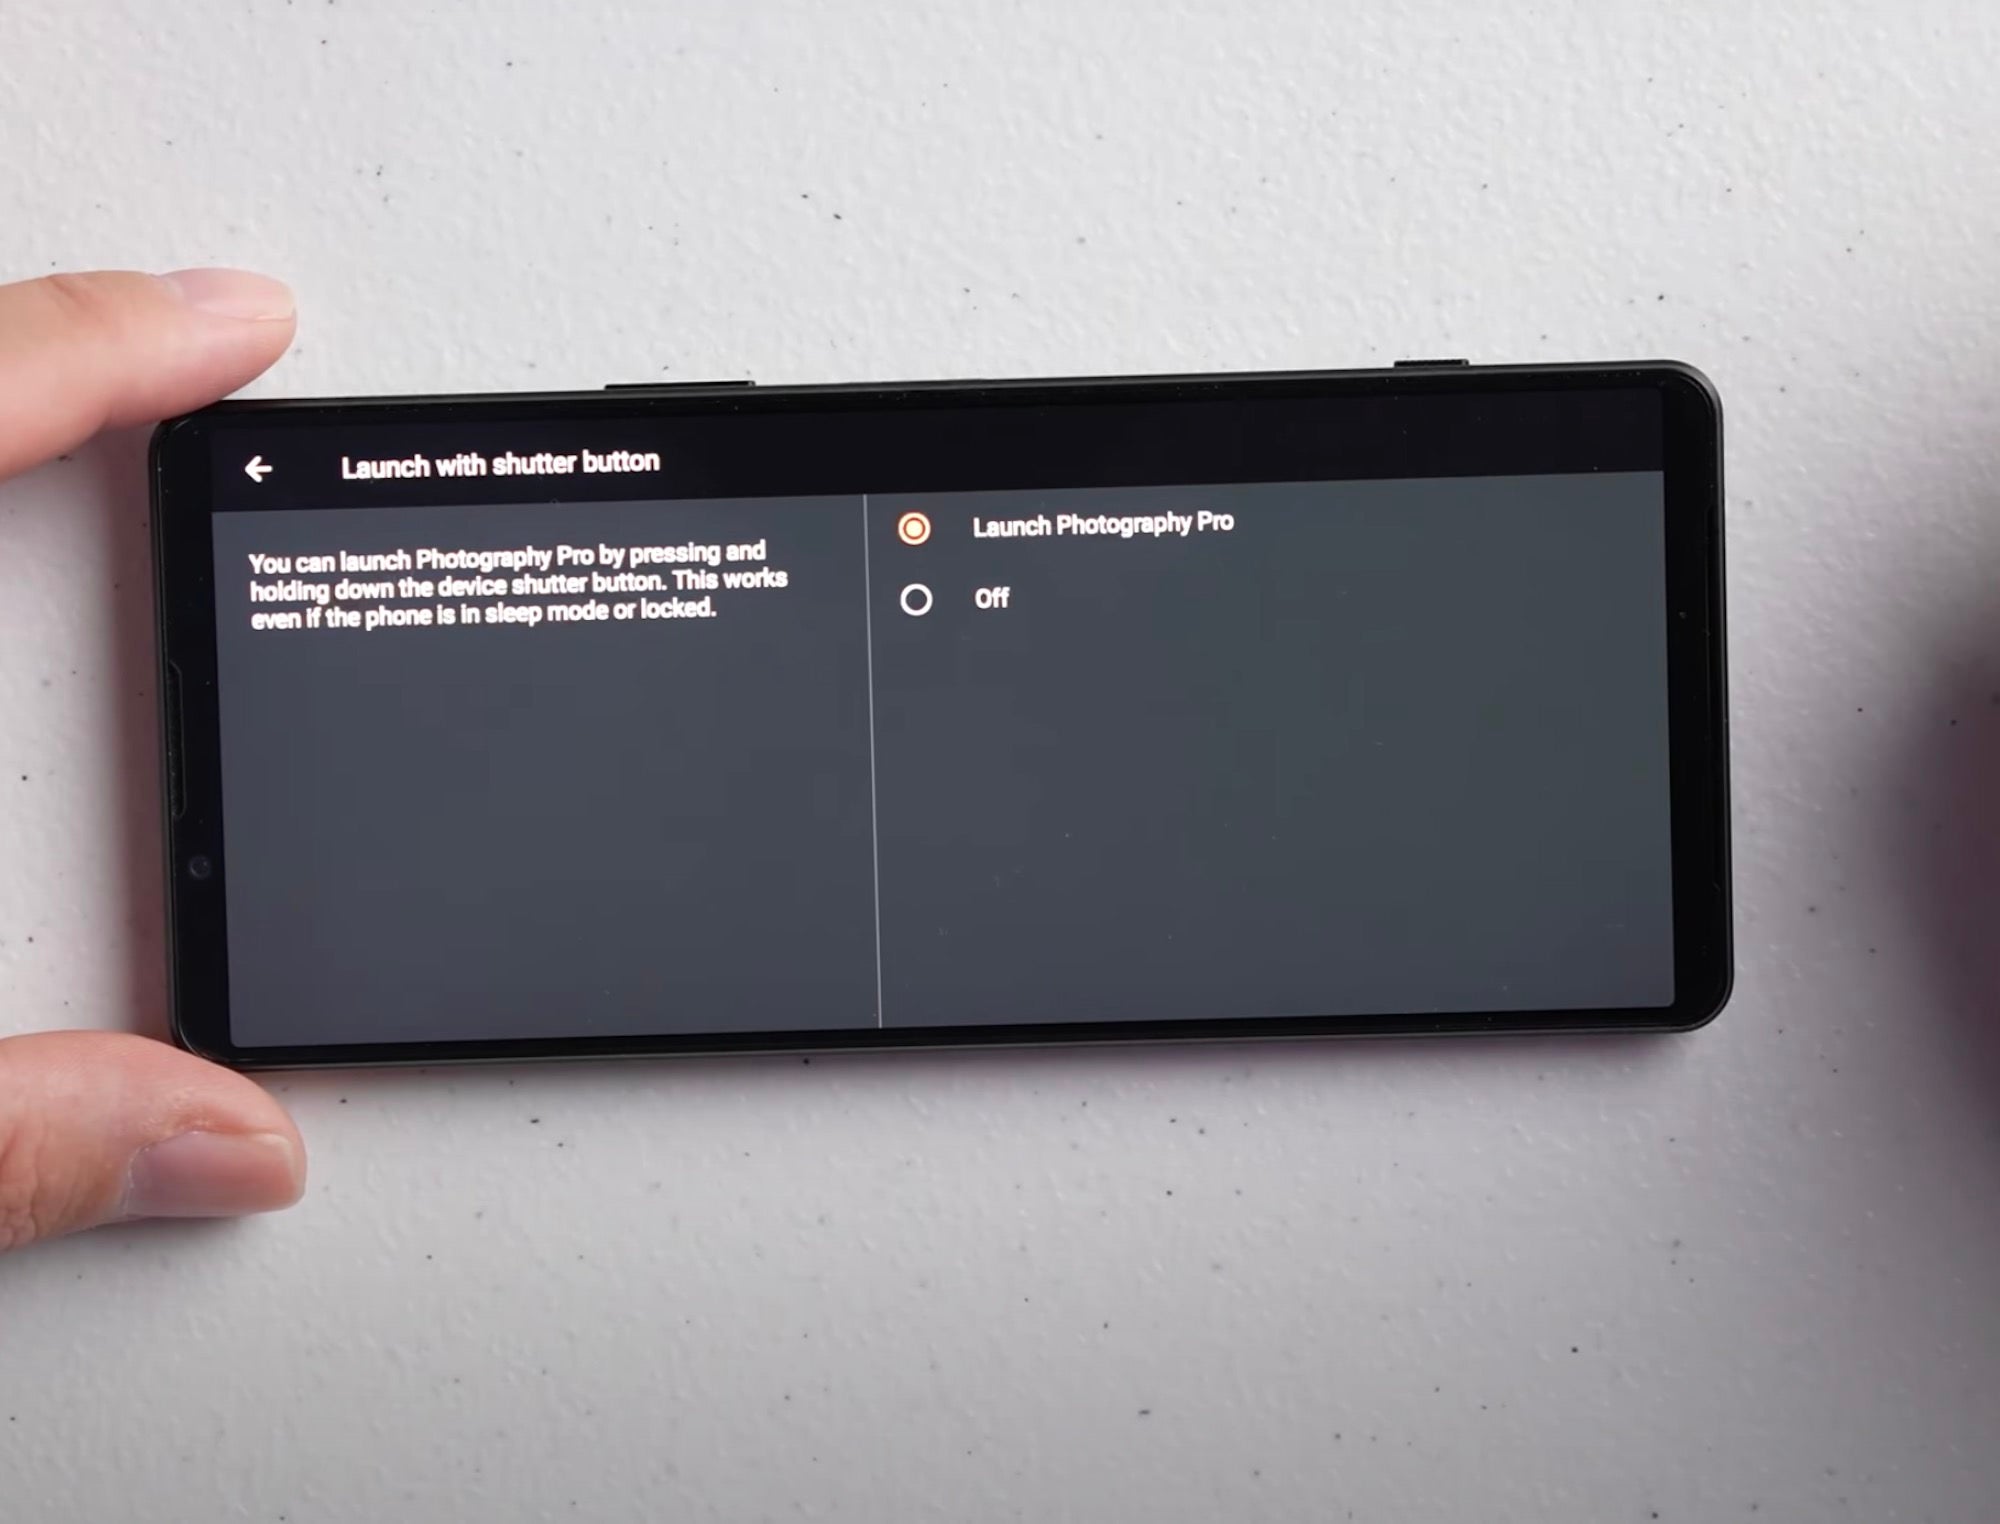
The next thing is the option to Launch With Shutter Button. You can have this set turned Off or set to Launch Photography Pro. Quiles likes to have this set to Launch Photography Pro so he can easily access the camera by pressing the shutter.
Main Menu – Setup – Shooting Mode At Launch
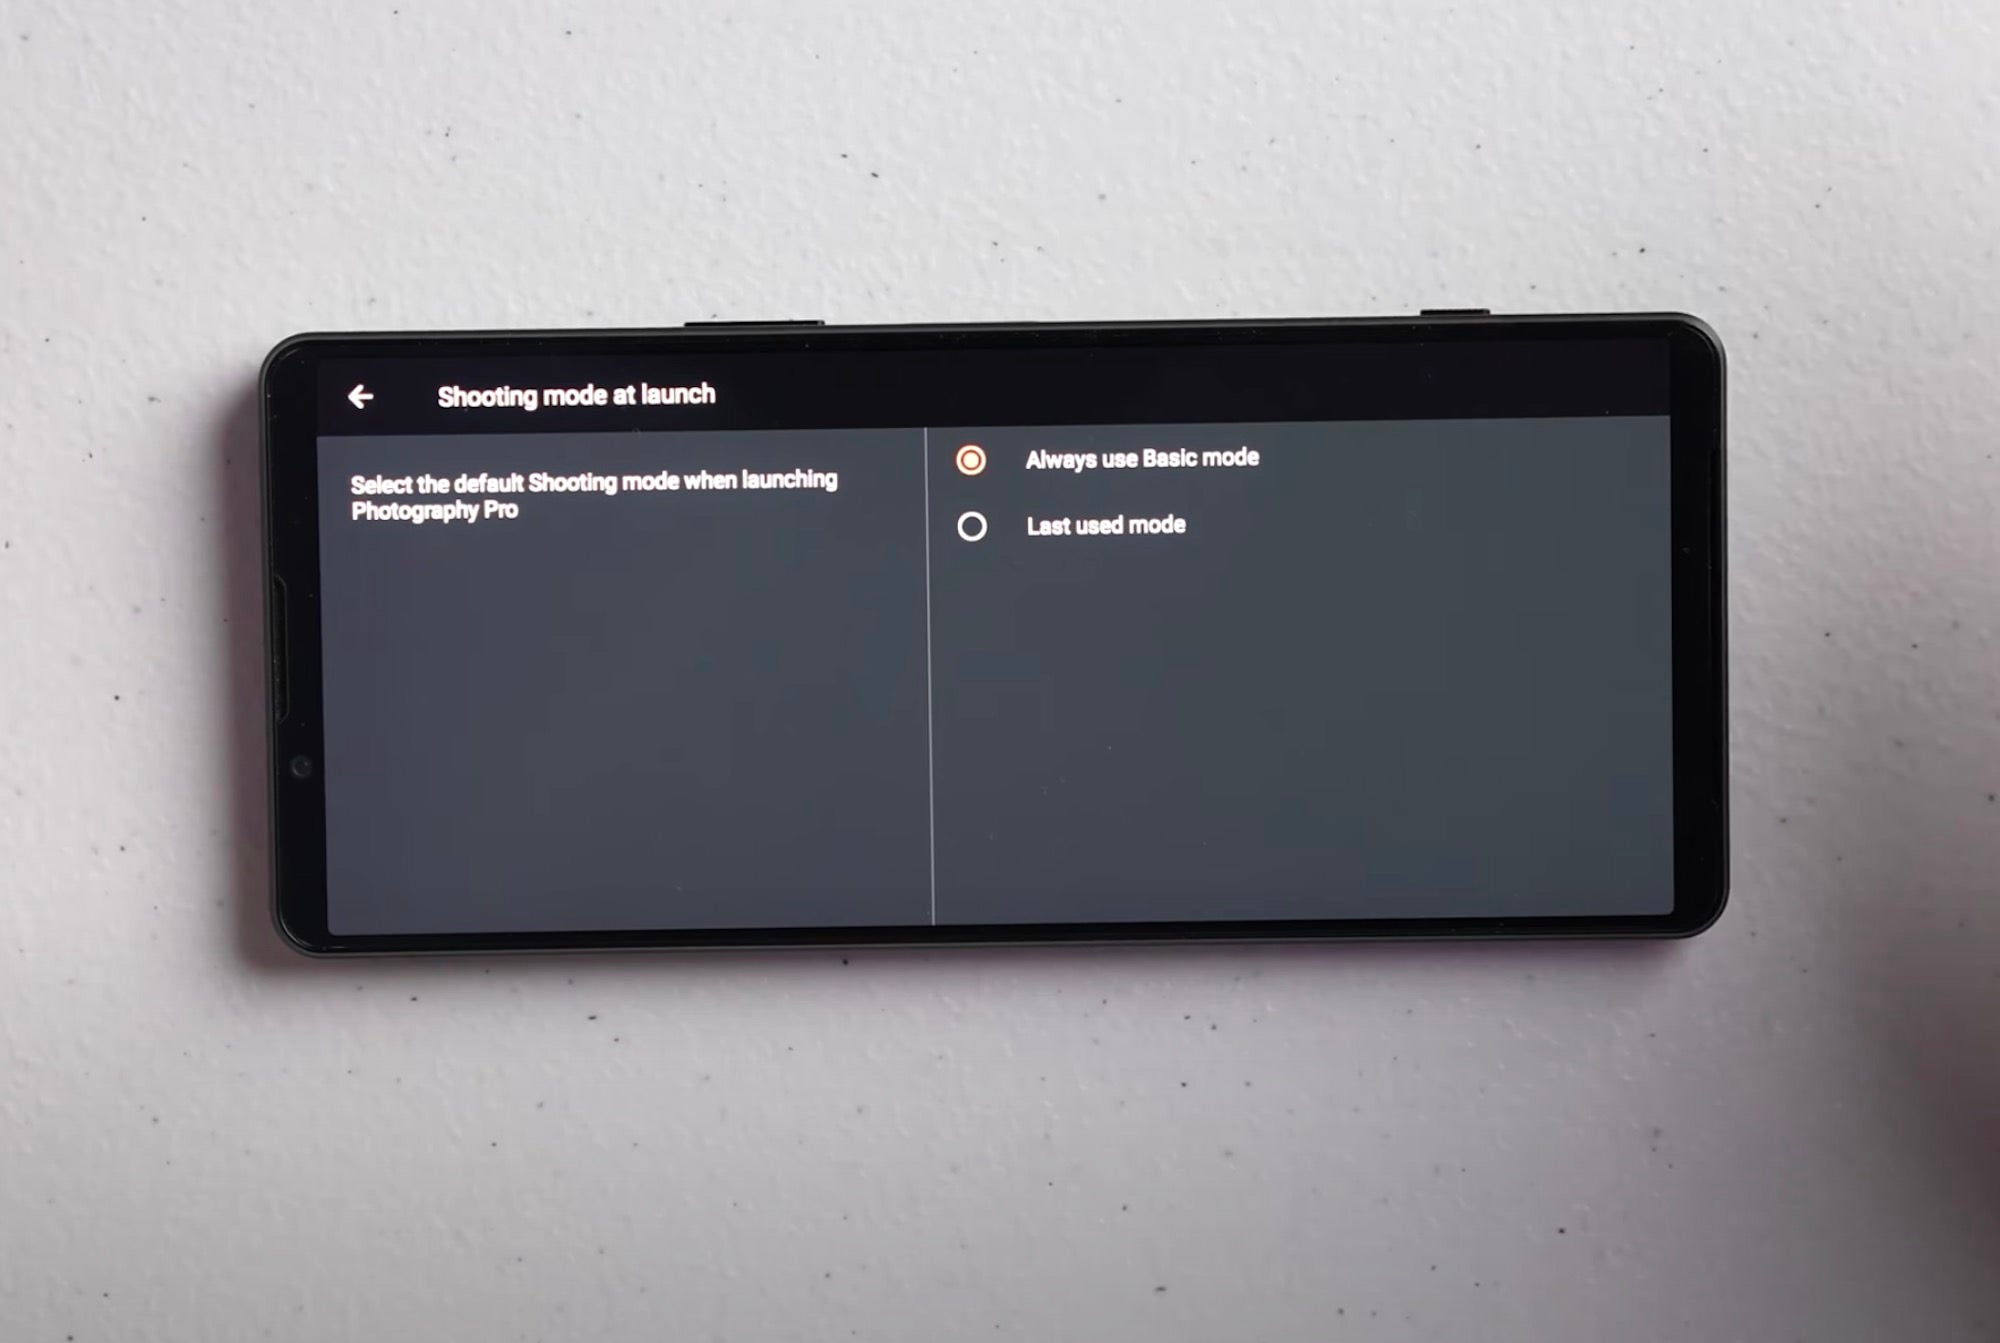
Not only can you set the Shutter Button to Launch Photography Pro, you can also decide which Mode you want it to launch in. You can either set it to Always Use Basic Mode or to the Last Used Mode. If you want it to load into the mode you previously had it in, just set it to go to the Last Used Mode.
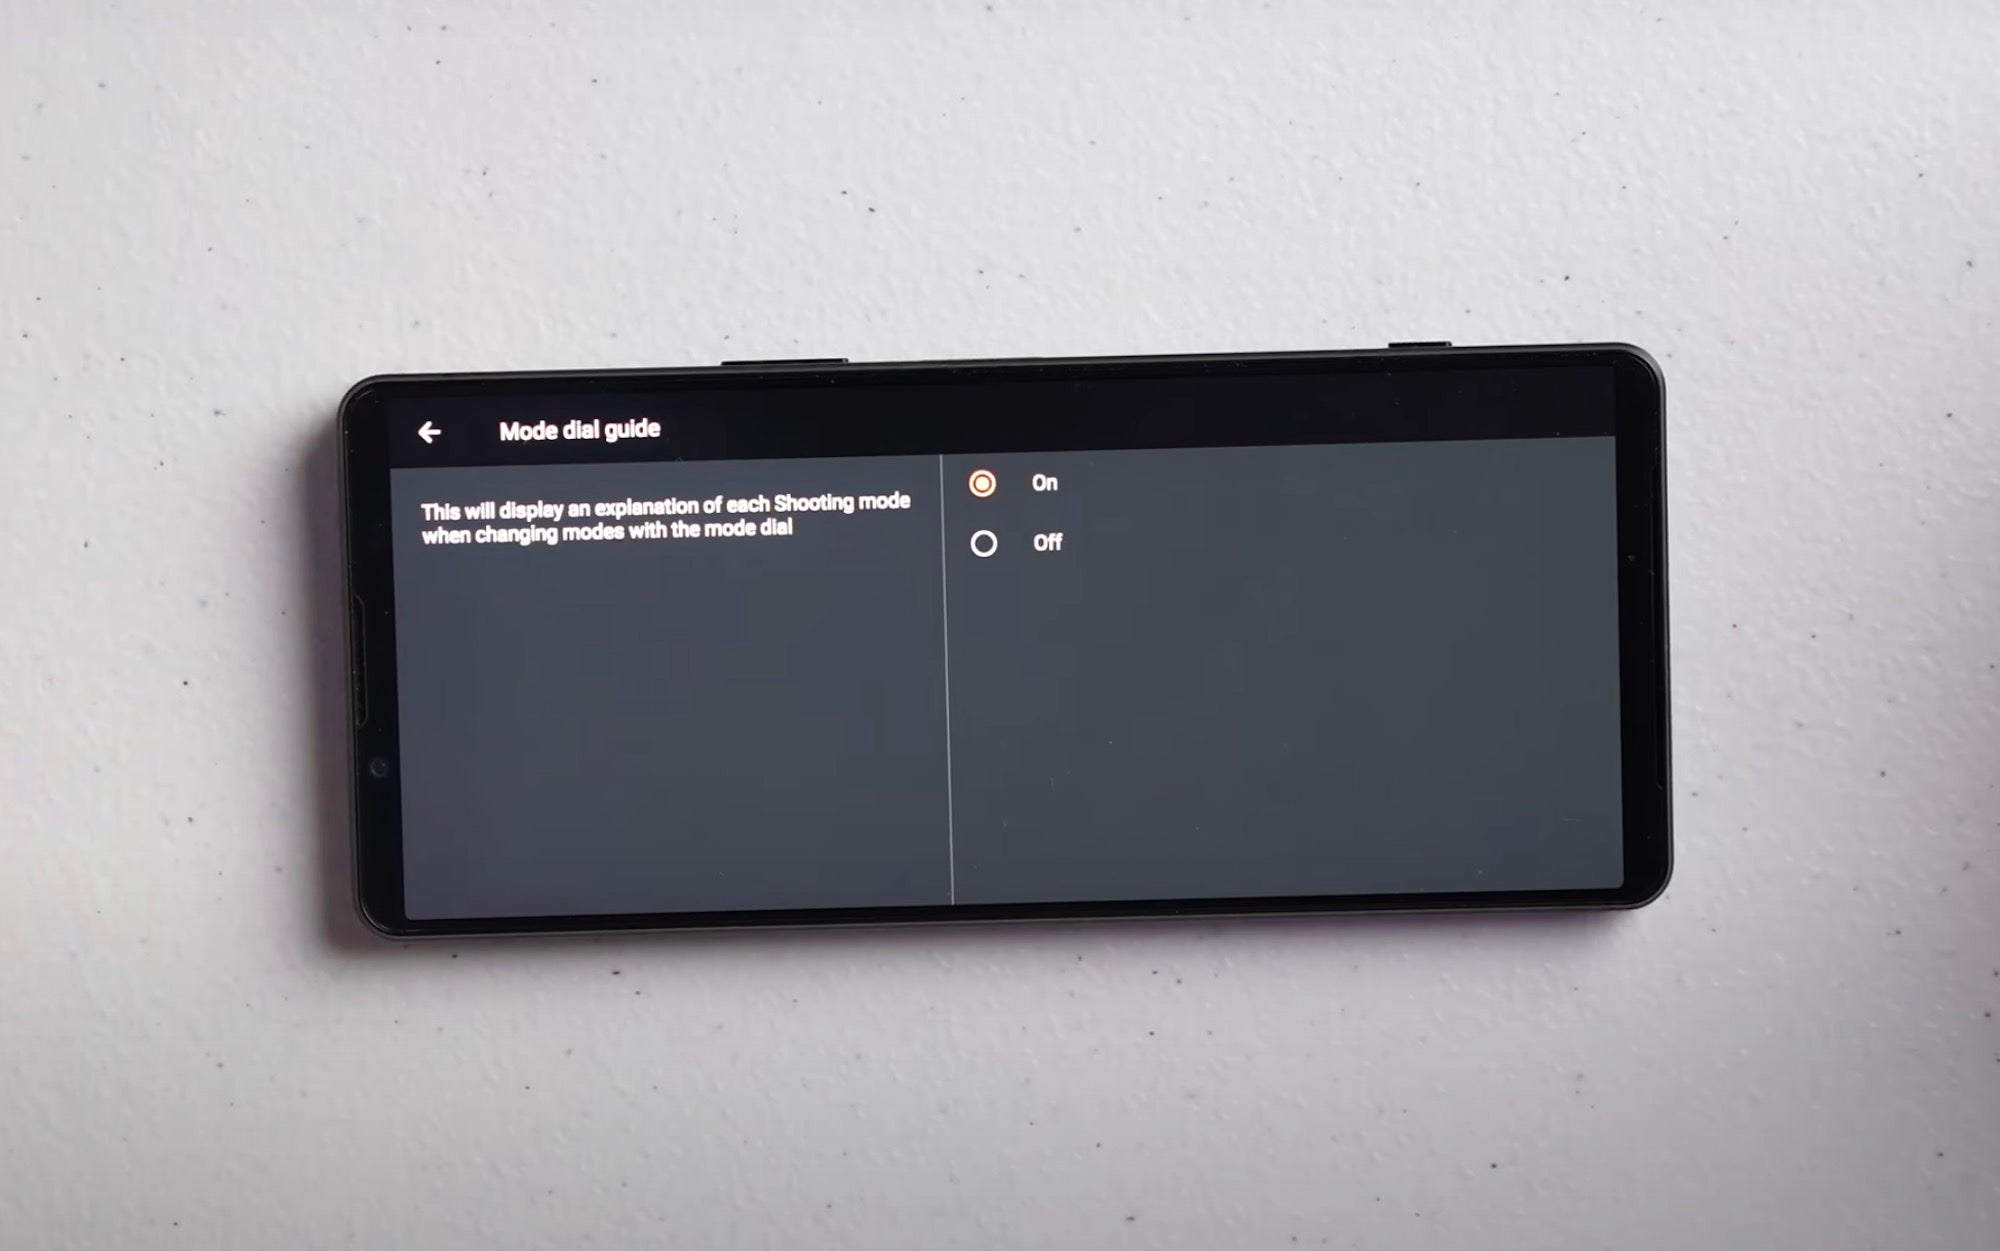
Main Menu – Setup – Mode Dial Guide
If you select this in the Setup Menu, it will display an explanation of each shooting mode when you’re changing modes with the Mode Dial. “I leave it turned on,” says Quiles. “If you know what you’re doing you can leave it turned off.”
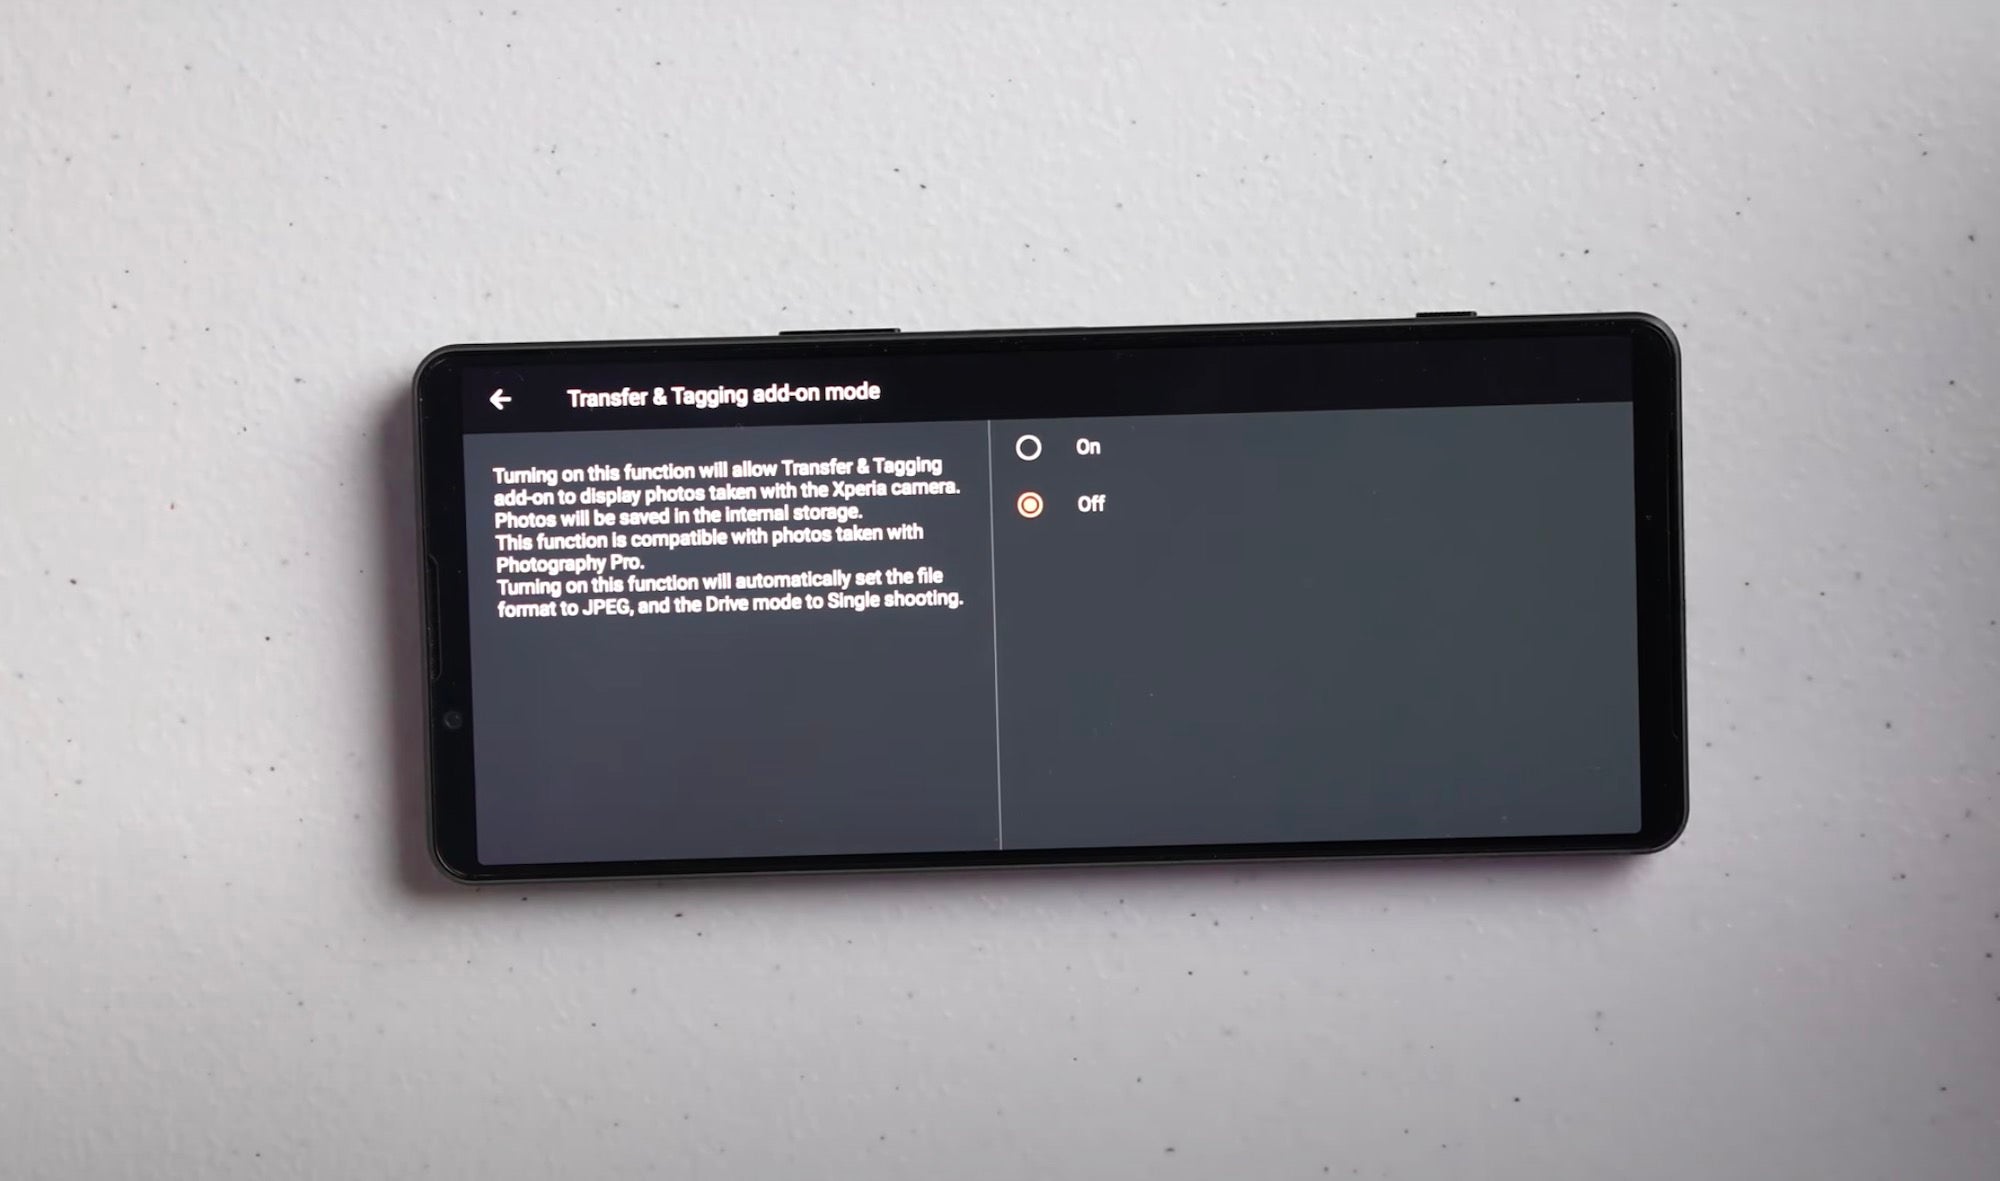
Main Menu – Setup – Transfer & Tagging Add-On Mode
You also have the option to turn on Transfer & Tagging Add-On Mode. “Turning on this function will allow Transfer & Tagging Add-On to display photos taken with the Xperia camera,” explains Quiles. “Photos will be saved in the internal storage. This function is compatible with photos taken with the Photography Pro App. Turning on this function will automatically set the file format to JPEG, and the Drive Mode to Single Shooting. I have it turned off because again I don’t want it to be dialed into JPEG.”
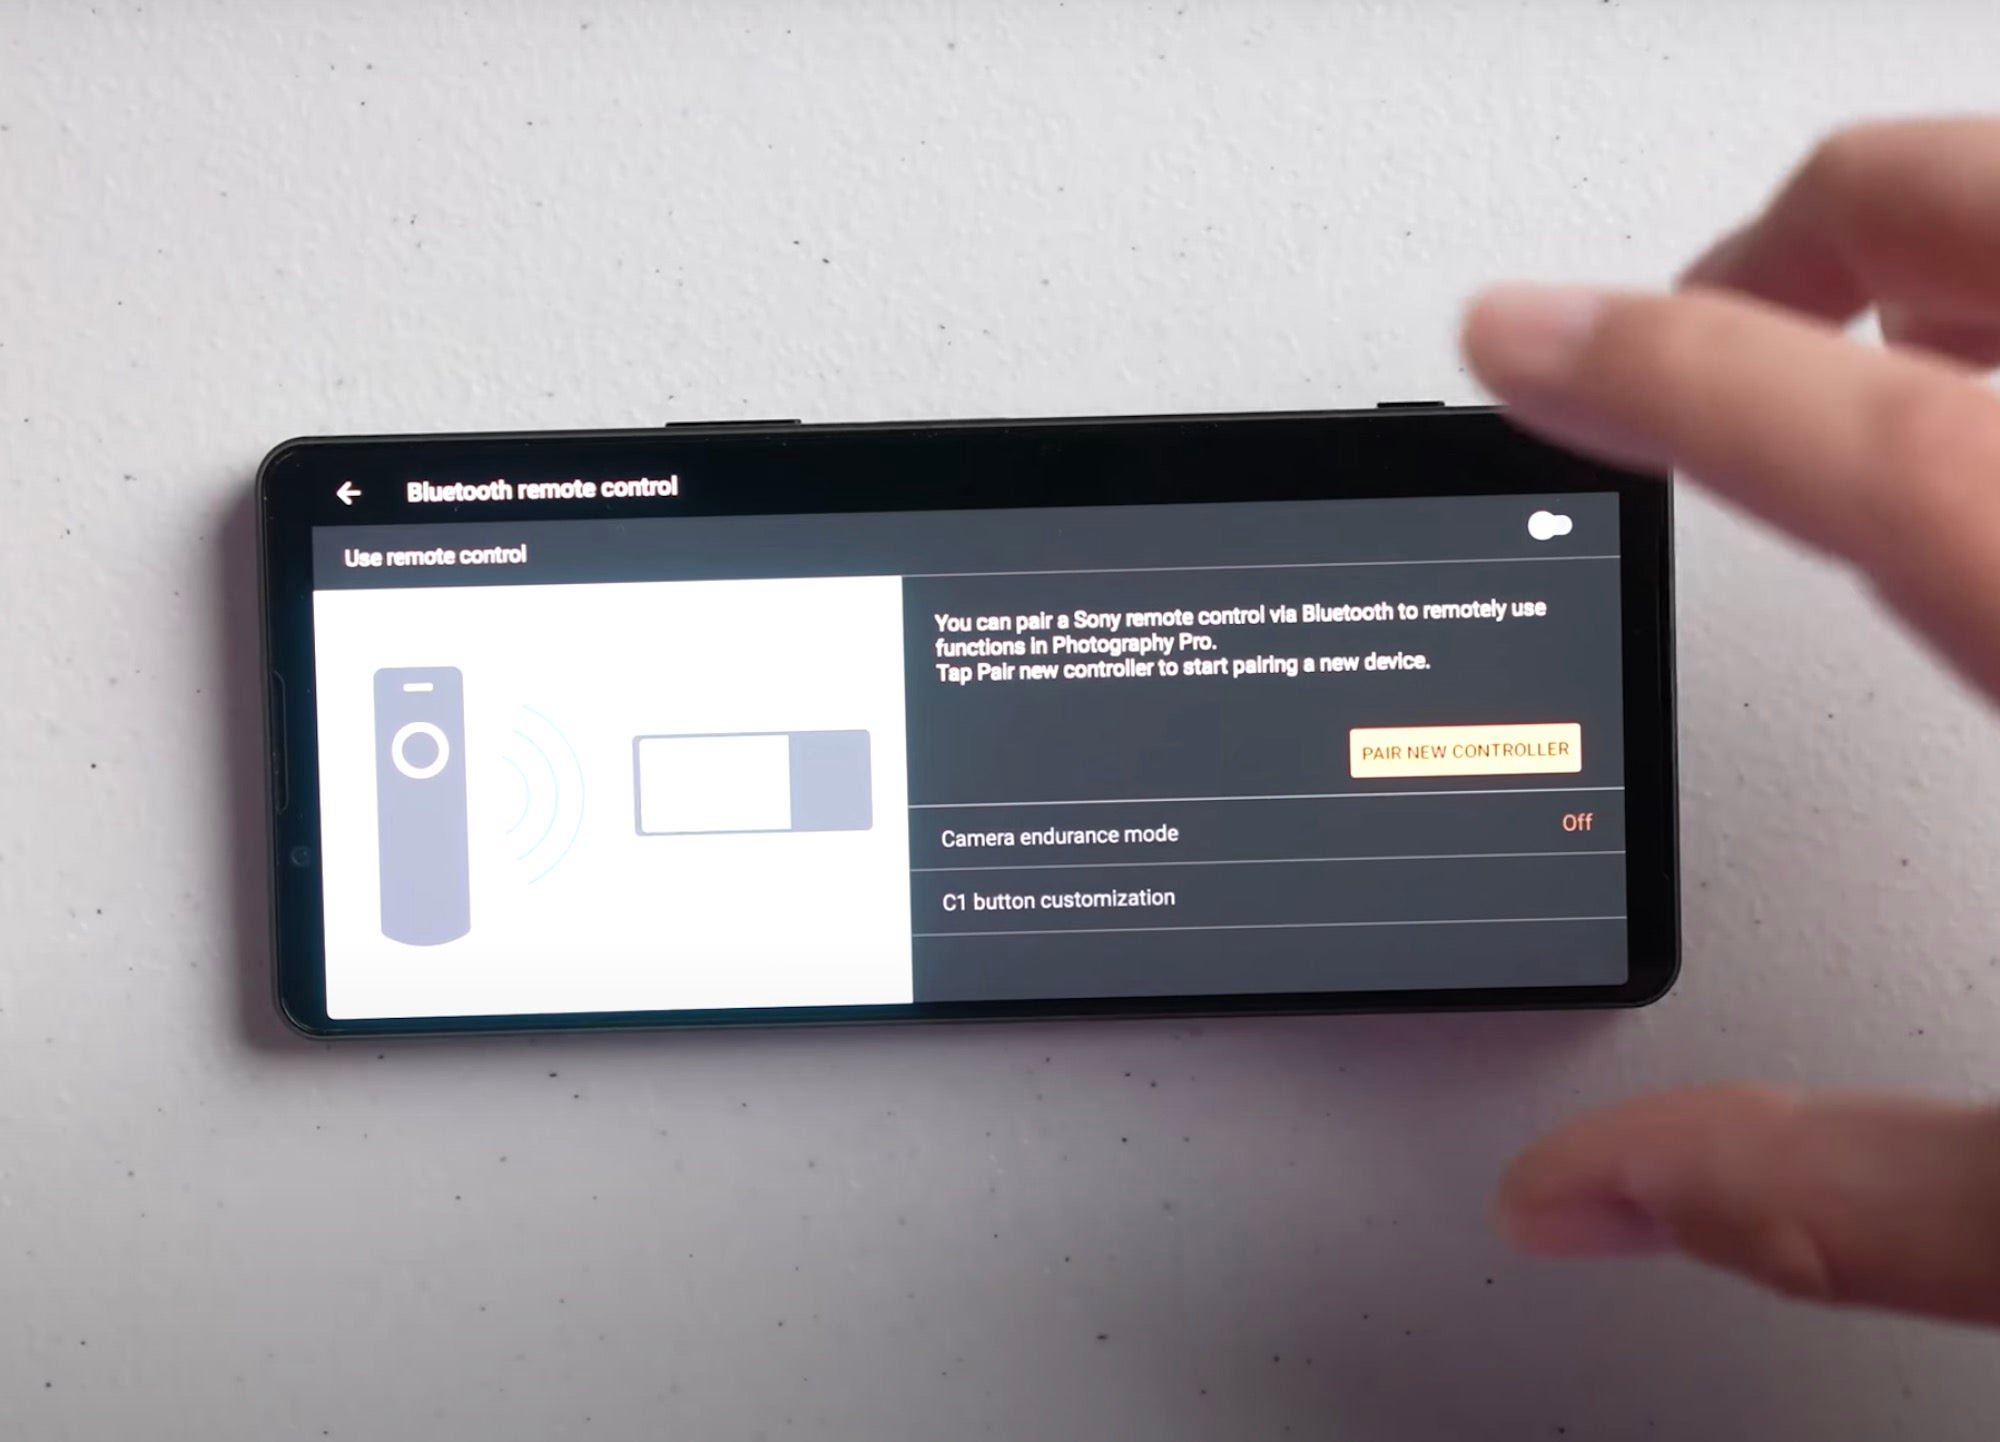
Main Menu – Setup – Bluetooth Remote Control
Next in the menu is something that Quiles says you may or may not use - the ability to pair the phone with other devices via Bluetooth. “You do have the option of using a Bluetooth remote with the Xperia 1 IV.” You also have the external grip that you can use to take photos with.
Subscribe to the Alpha Universe YouTube Channel for more.


