Erick Urgiles (@erickhercules) is a commercial photographer and member of the Alpha Collective based in New York City. He’s known for his "levitation" photos, created without any post-processing sleight of hand, that capture gravity-defying moments in mid-air. Whether it's a product floating among the clouds or a person hovering among the city streets, Erick creates these surreal moments in camera in single frames. He recently worked with the new ultra-wide Sony 14mm f/1.8 G Master lens to shoot a series of photos with dancer Joel Kozik from the W.A.F.F.L.E. crew. We connected with him to learn more about how the project got off the ground.
Photographer and Alpha Collective member Erick Urgiles is known for capturing moments in mid-air. See how he created this levitation image using the Sony 14mm f/1.8 G Master lens and Sony Alpha 7R III.

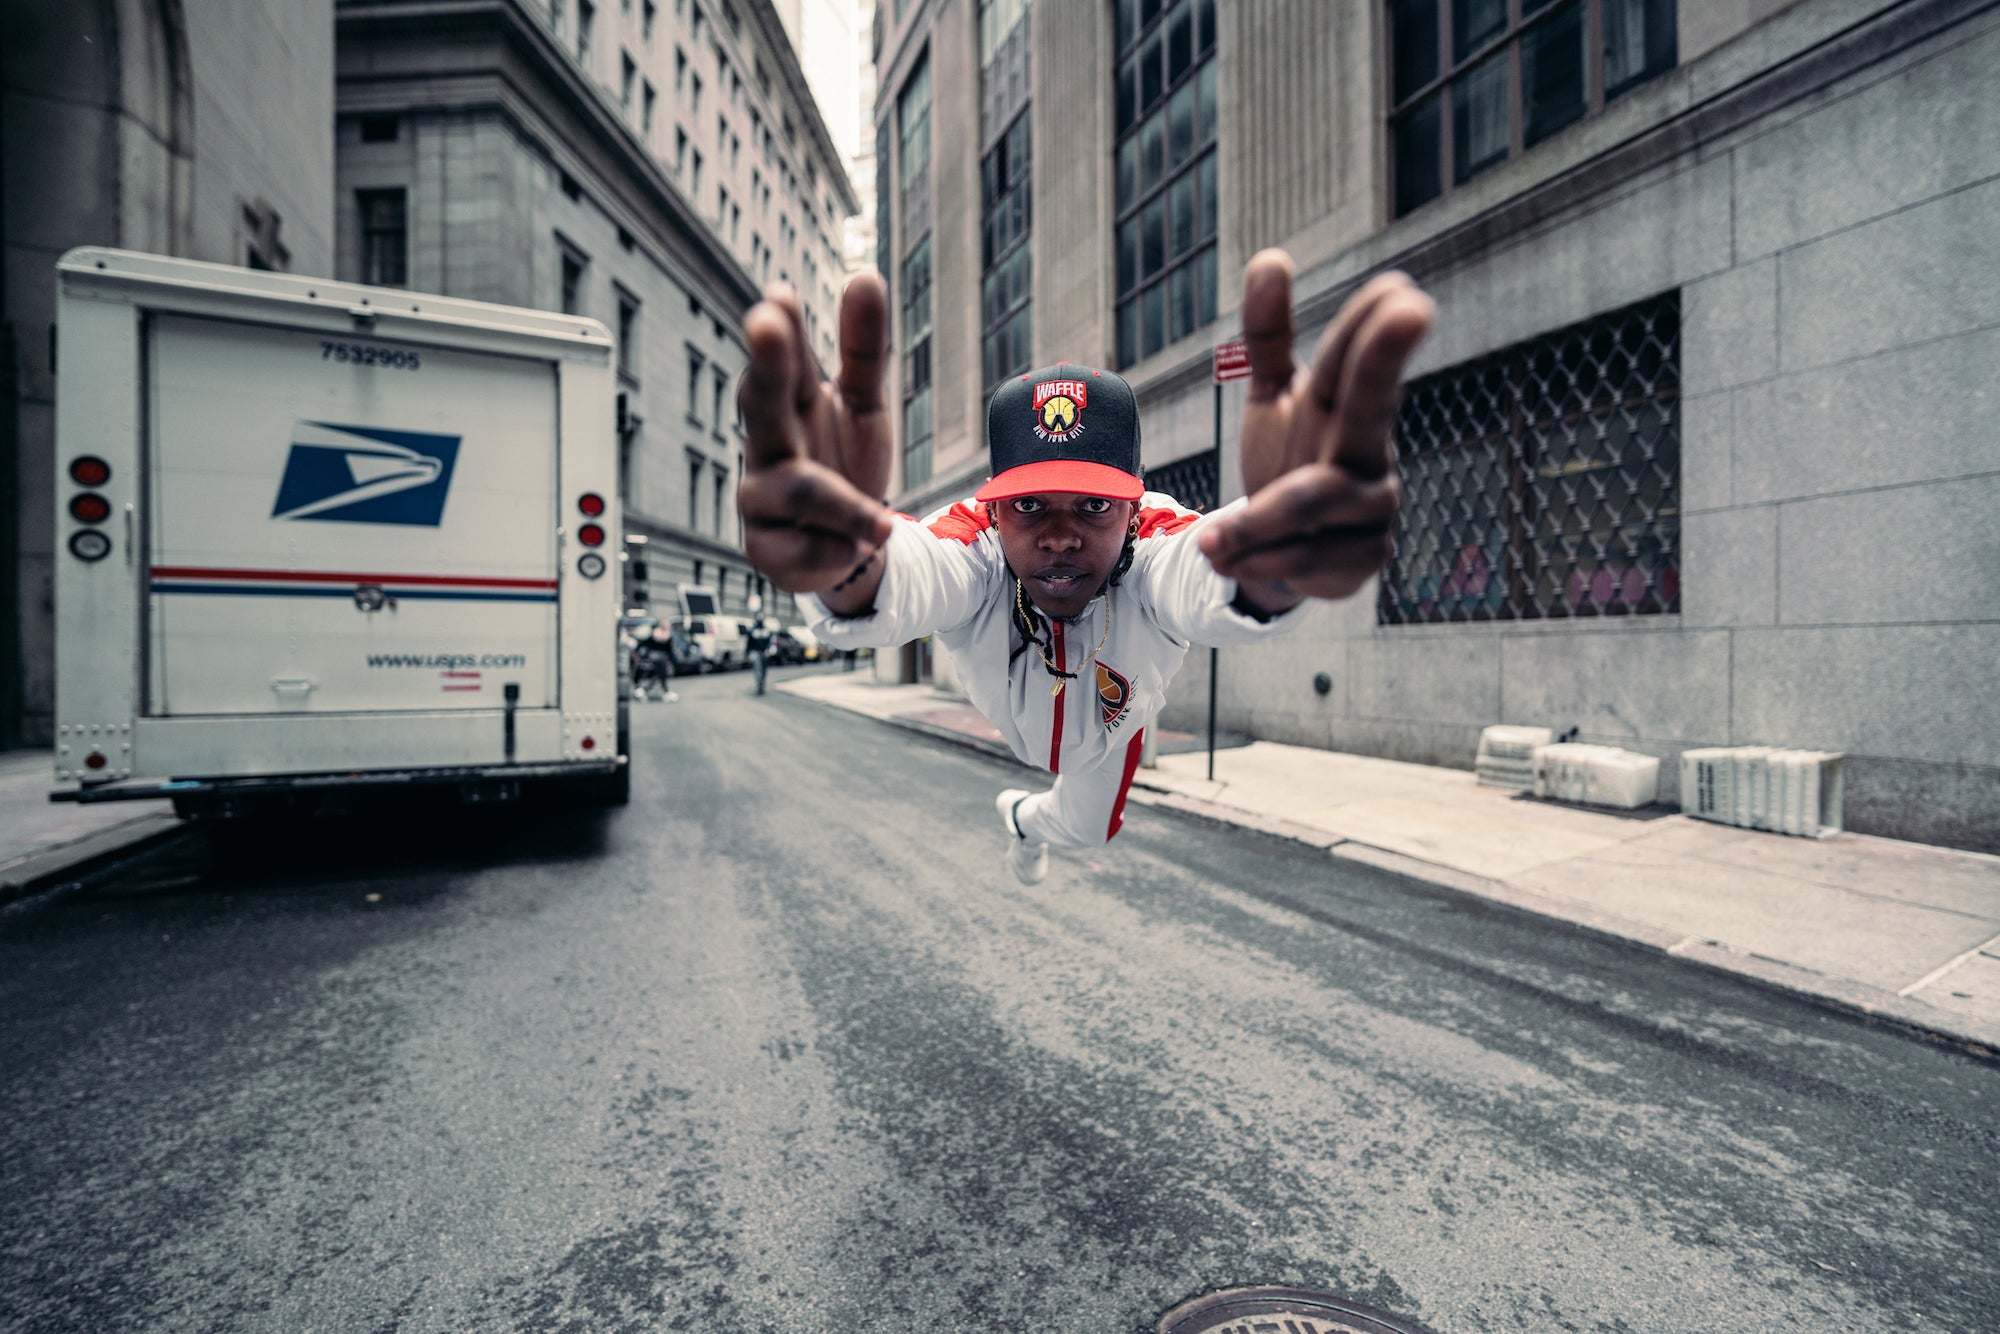
Photo by Erick Urgiles. Sony α7R III. Sony 14mm f/1.8 G Master. 1/800-sec., f/1.8, ISO 320
The Scene
He captured these shots on Wall Street in New York City during a review of the new Sony 14mm f/1.8 G Master lens. “The goal with this shot was to highlight the bokeh of the 14mm f/1.8 G Master lens with a moving subject,” says Urgiles. “Since I am known for my levitation imagery, I wanted to challenge myself and photograph dancer Joel Kozik (@waffle_kozik) from the W.A.F.F.L.E. crew (@WAFFLENyc) in mid-air with the thin 1.8 aperture while encapsulating a balanced architectural composition.”
Capturing Crisp Lines With The New Sony 14mm f/1.8 G Master
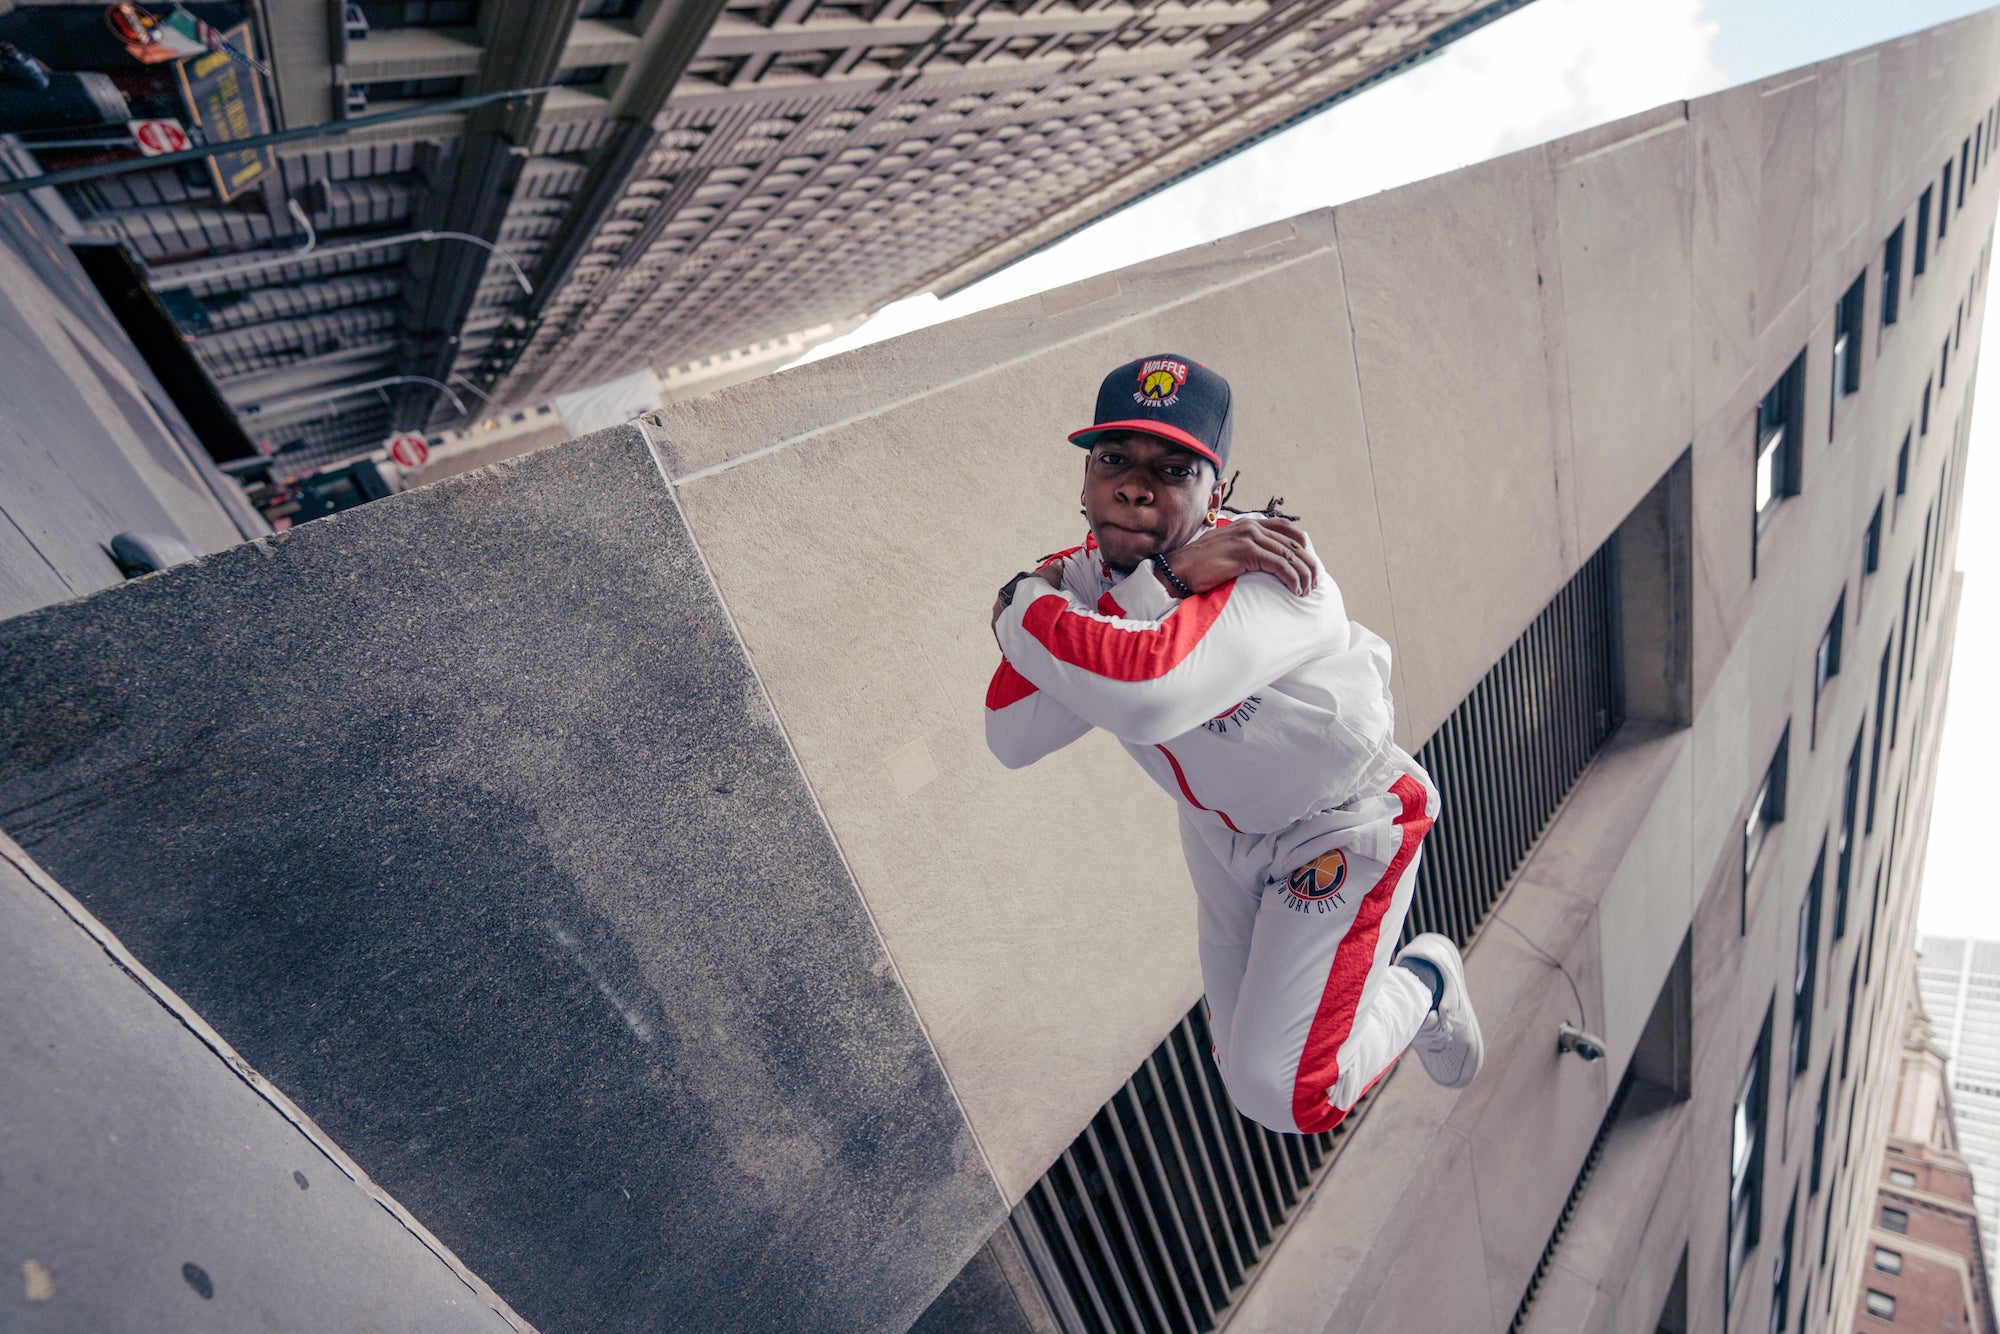
Urgiles likes to combine subject poses with city backgrounds because it helps expand the storytelling of the image. “I used the 14mm f/1.8 G Master because I wanted to showcase a great deal of background while at the same time maximizing the importance of my subject in the middle. This 14mm is awesome because it does not warp the image corners, allowing the architecture to stay crisp and linear, which I LOVED.”

Photo by Erick Urgiles. Sony α7R III. Sony 14mm f/1.8 G Master.
“I used the Sony Alpha 7R III with the 14mm f/1.8 G master lens. The Alpha 7R III was used for this shot because I've gotten extremely used to the "click" of "when" the photo is taken. I don't use burst mode for my imagery, and this feeling of the click is very important to me. I used Eye Autofocus so that the camera would always lock focus on the subject's face. This is obviously important because of the moving subject.”
The Two Most Important Elements In Levitation Photography
If you ever want to try "levitation" photography, Urgiles says two things are incredibly important, timing and light. “Timing because the subject needs to be captured perfectly in the air,” he explains, “and light, because without it, the fast shutter and/or ISO needed for this technique will be greatly affected. I recommend using at least 1/800-sec shutter speed for a sharp image (important!) and enough aperture to guarantee a focused subject (2.8 or above for a large subject). “
“I was using an aperture of f/1.8. This was done on purpose as I wanted to see how much bokeh I would get with this wide angle lens, and also, how sharp my subject's face would be, because he would be extremely close to me. Normally, however, I'd recommend using a smaller aperture (higher f/stop). Here we were lucky to have found ourselves in a soft light environment, which helped the background appear super soft. However, that also made for a darker space than I wanted, so I raised the ISO to 320 to help balance any dark shadows.”
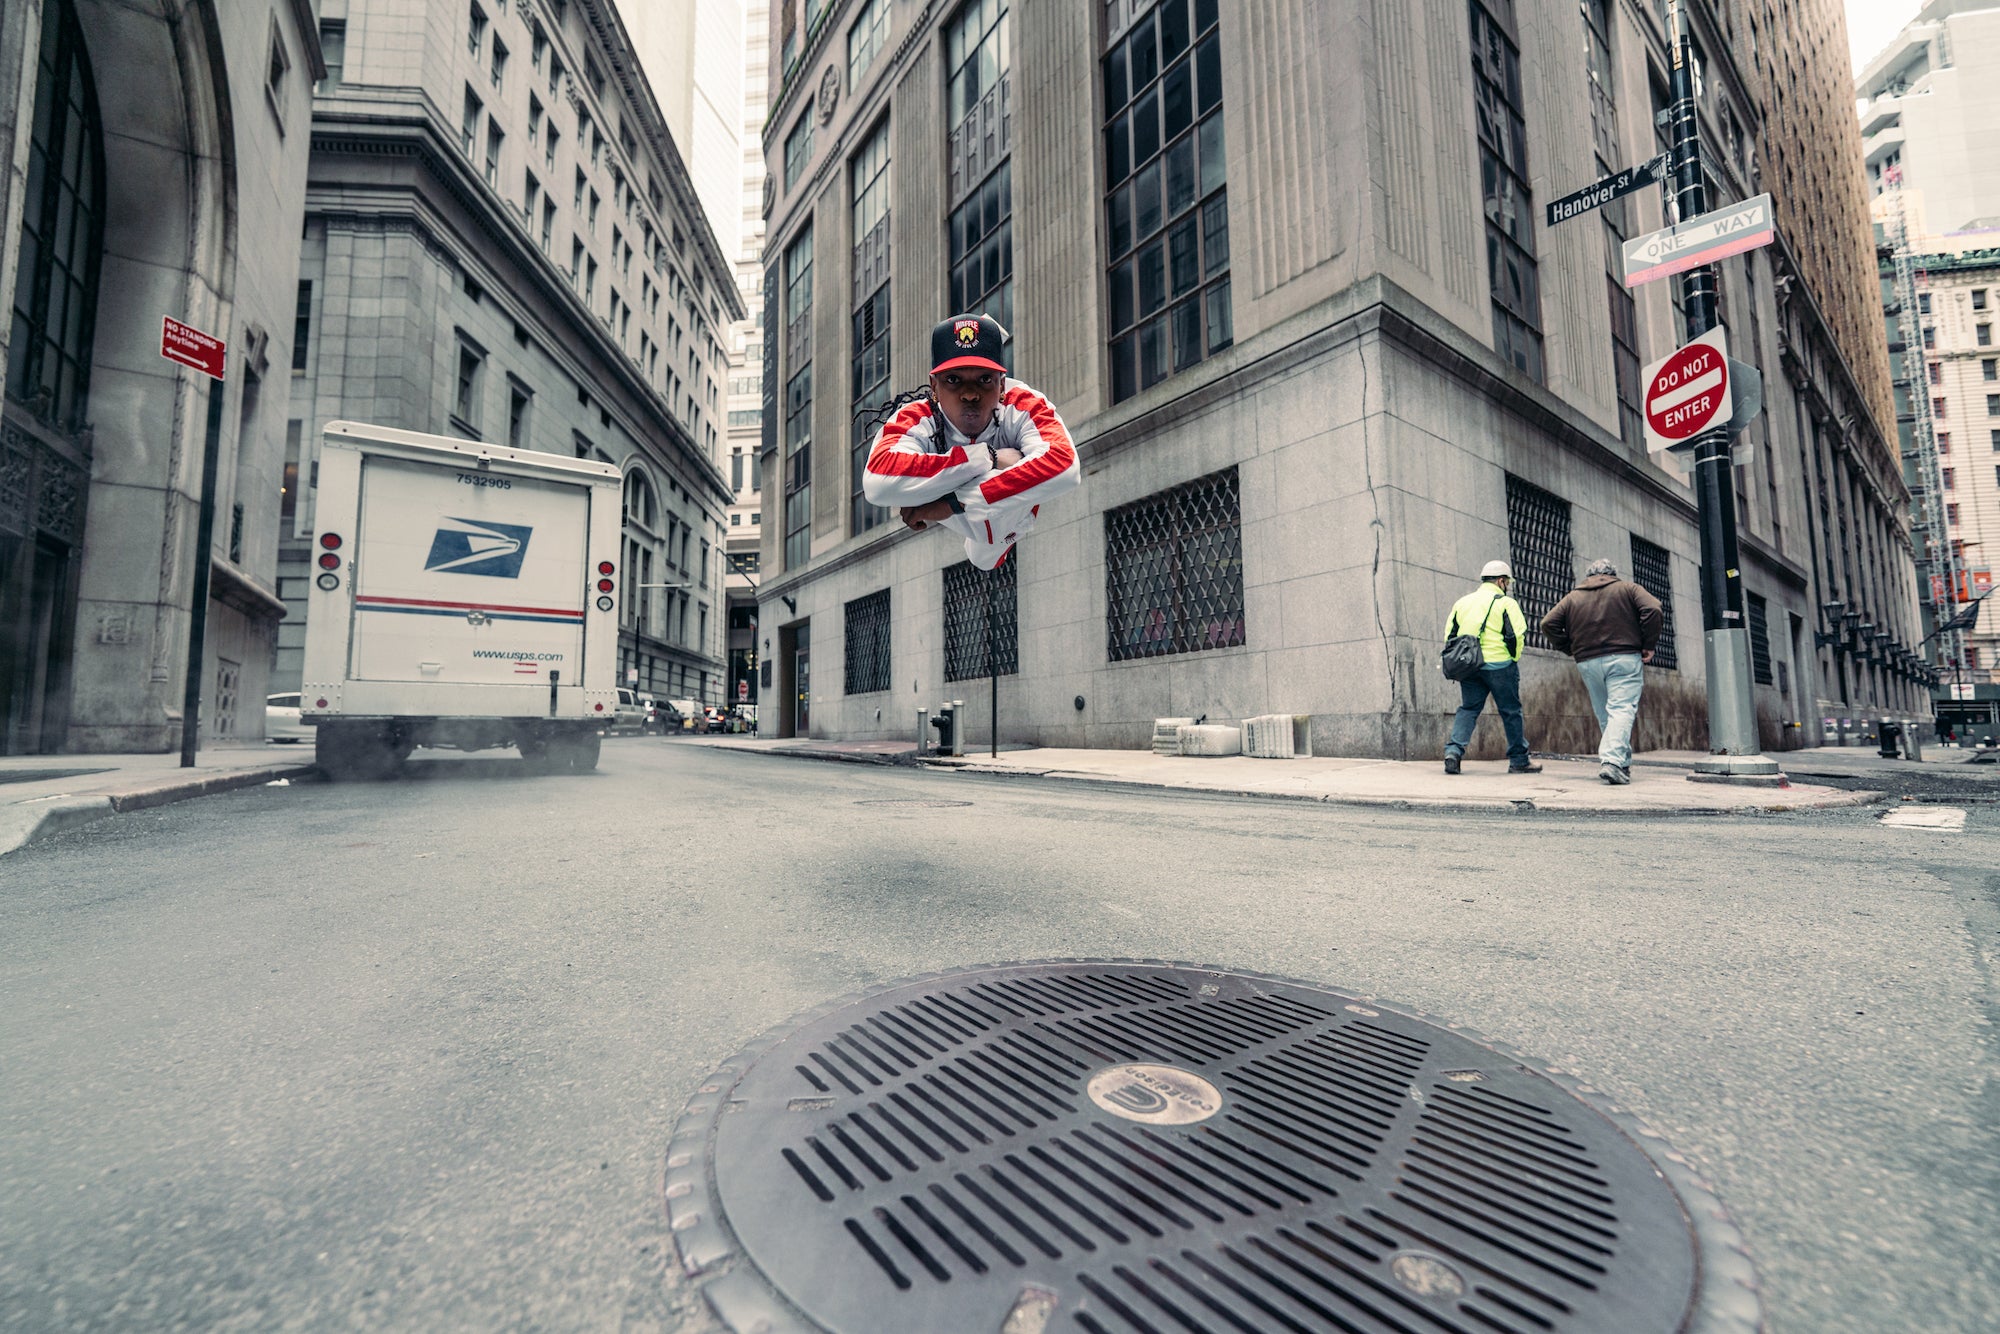
Once all of his settings were calculated, he focused on framing his image. “I saw the USPS truck in the back, and figured we can create a story centering between the truck and the right wall, with the subject in the middle. Since my goal was to test the lens to its limits, I framed the picture in a way that highlighted the lines on all corners. Normally a lens this wide would have easily warped those lines, but in this image, they came out perfectly straight!”

Photo by Erick Urgiles. Sony α7R III. Sony 14mm f/1.8 G Master.
“We got this shot after about four tries.”
Since Urgiles doesn’t Photoshop his edits, after he captures the image he wants in camera, the rest is a fairly easy process. “I sharpened the image just a tad to bring out the pop, and added some shadow correction to make sure the balance was correct. Then I ended by adding my blue filter because is has this 'movie' kind of vibe to it. That's one of my favorite filters. And voila! All done."
See more of his work on Instagram @erickhercules.


