Rob Phillips (@rob.phillips.photography) is a landscape and travel photographer currently based in Vail, Colorado. “My father was a professional photojournalist growing up so I was fortunate to be able to know my way around a dark room by the age of 5," he explains, "but the photography bug didn't take hold until I moved from Florida to Grand Teton National Park in the summer of 2007.” Ever since then, he has been addicted to traveling the Western United States searching for interesting scenes that tell the story of the beauty of our world. We recently caught up with him to learn more about how he captured this setting sun star with his Sony Alpha 7R III and Sony 24-105mm f/4 G.

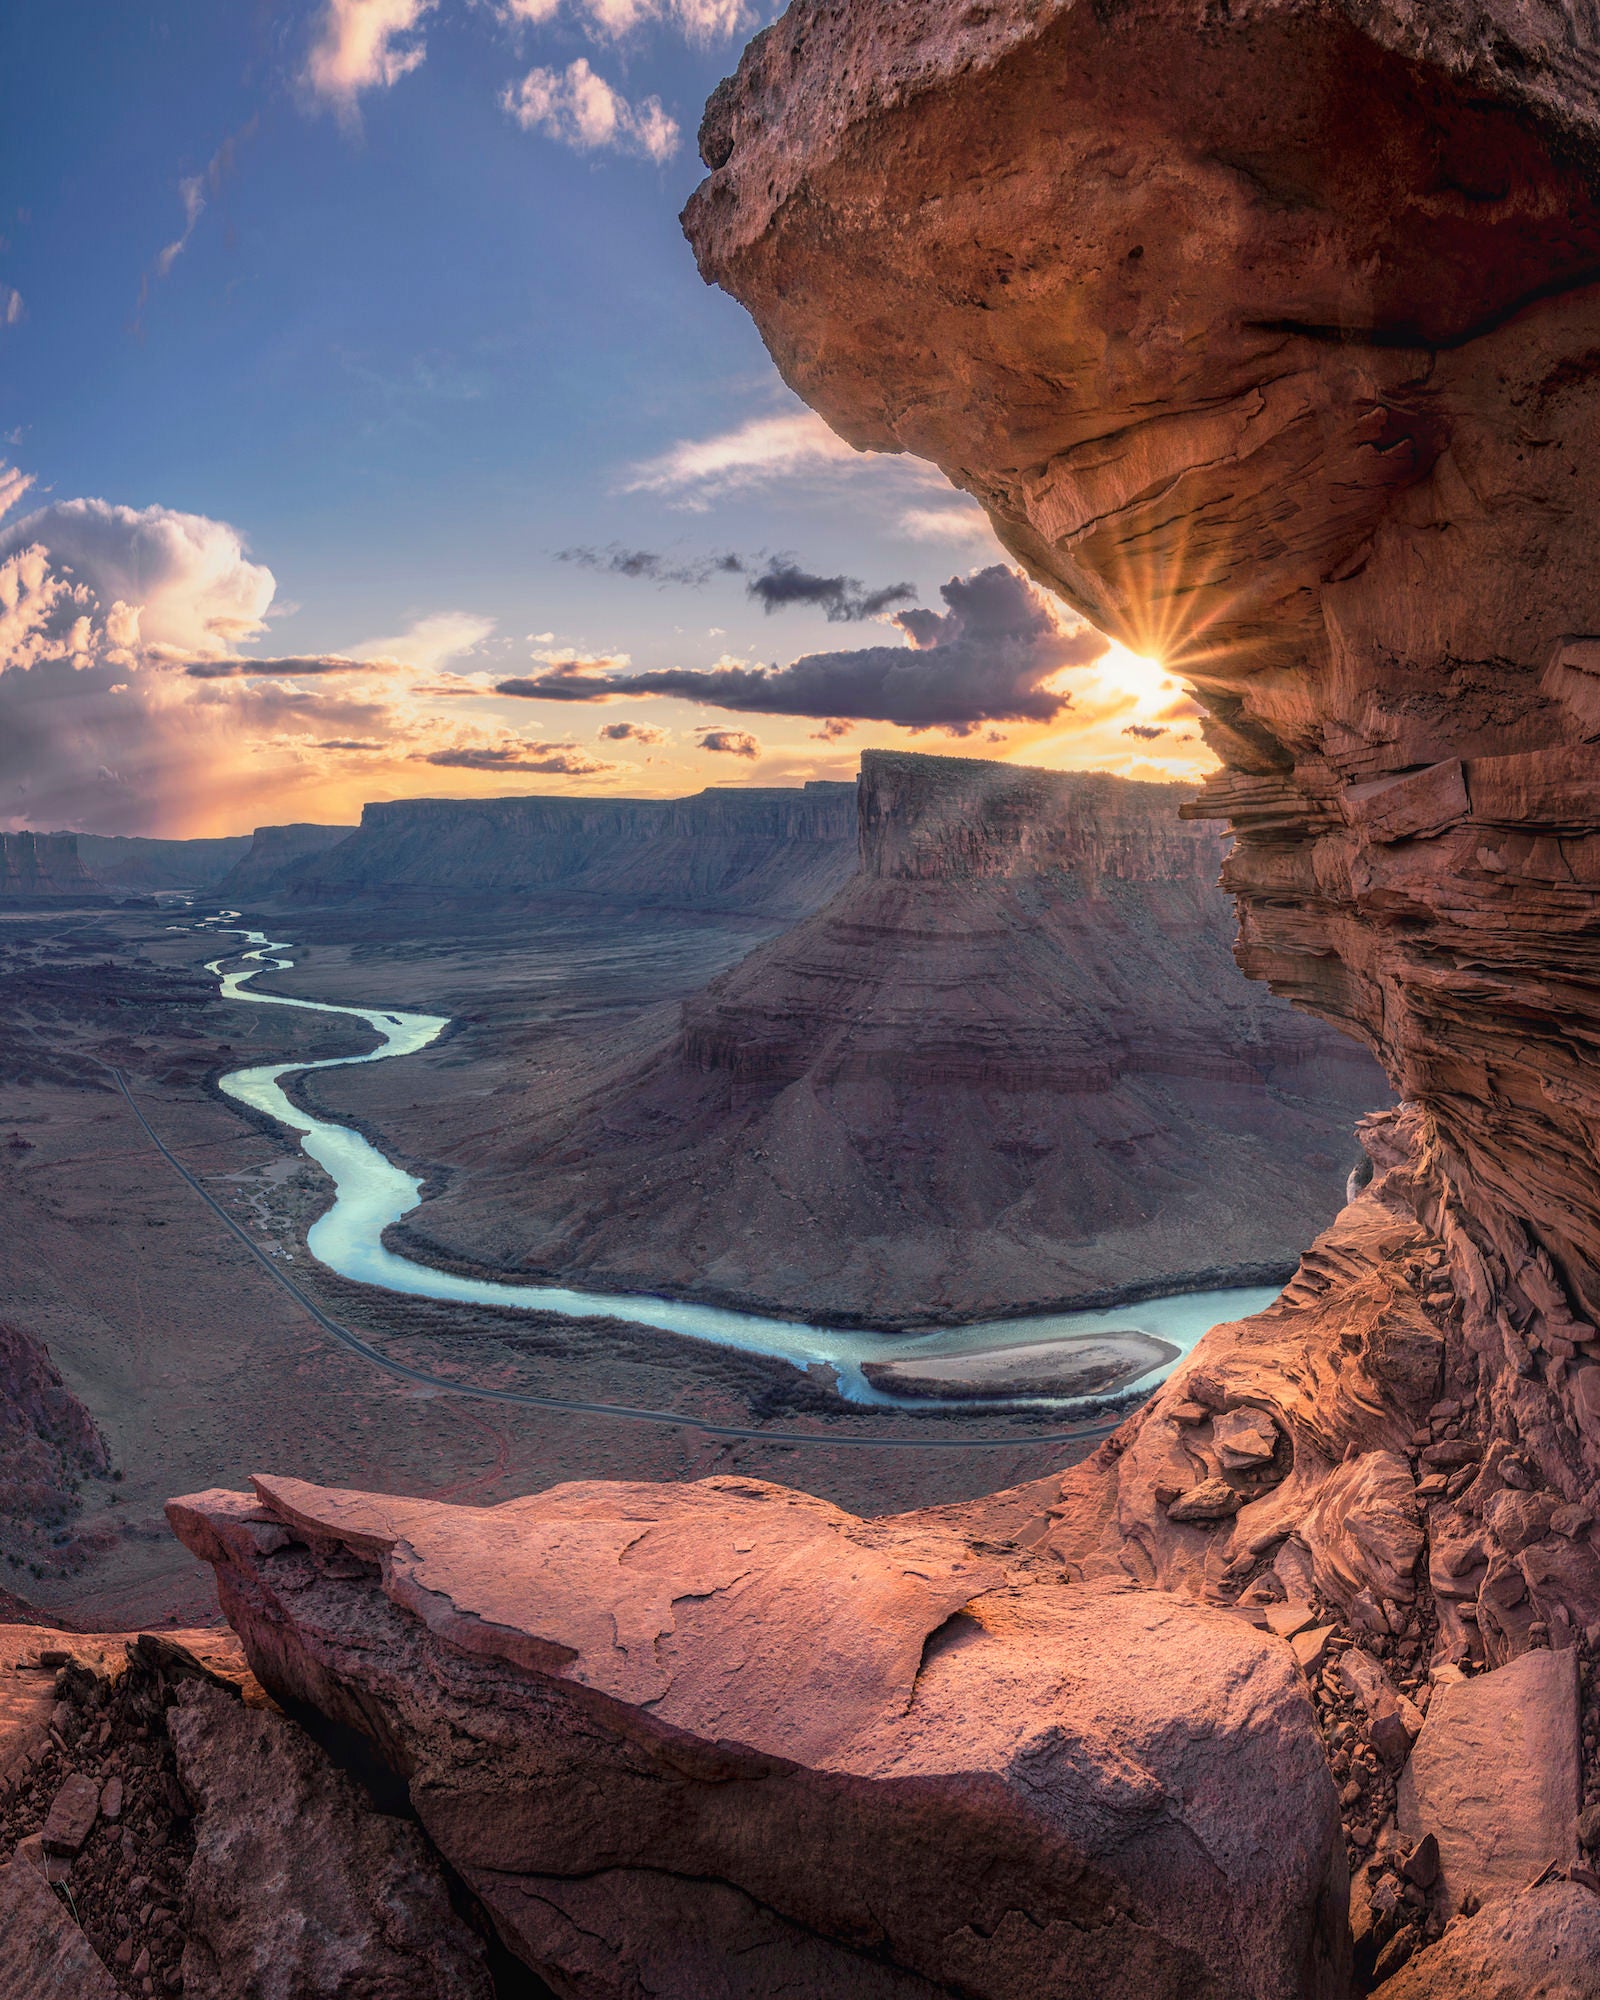
Photo by Rob Phillips. Sony Alpha 7R III. Sony 24-105mm f/4 G. 1/8-sec., f/16, ISO 50
Landscape and travel photographer Rob Phillips shares the techniques that helped him create this image and that all landscape photographers should have in their arsenal.
The Scene
The Moab area has acted as a second home for me over the years to help balance out the amount of high alpine images in my portfolio but finding unique views and compositions outside the parks has become a focus over the past year. Google Earth pre-planning led me to this difficult to access, off the beaten path overlook of Pole Canyon Rim. I arrived early to ensure plenty of time to explore and plan for golden hour attempting to stack as many interesting elements as possible into a composition along the rim. Mother Nature graciously provided me with a beautiful rock overhang that perfectly framed the Colorado River, Dome Plateau, and a perfect little setting sun star.
The Gear
I captured this photo with the Sony Alpha 7R III and Sony 24-105mm f/4 G. The Alpha 7R III provides incredible dynamic range with high resolution results and the 24-105mm f/4 is the perfect do-it-all landscape lens that retains smooth, constant aperture and sharp images. Bracketing five images per shutter click allows me to have confidence in capturing the full dynamic range of a shot, even though the Alpha 7R III almost always manages it in a single shot. Also the intuitive joystick focus point selection ensures I am able to produce clean front to back sharpness in deep scenes that require post production focus stacking. Sony's advanced IBIS and OSS features produce razor sharp images when tripod use is not an option during low light conditions.

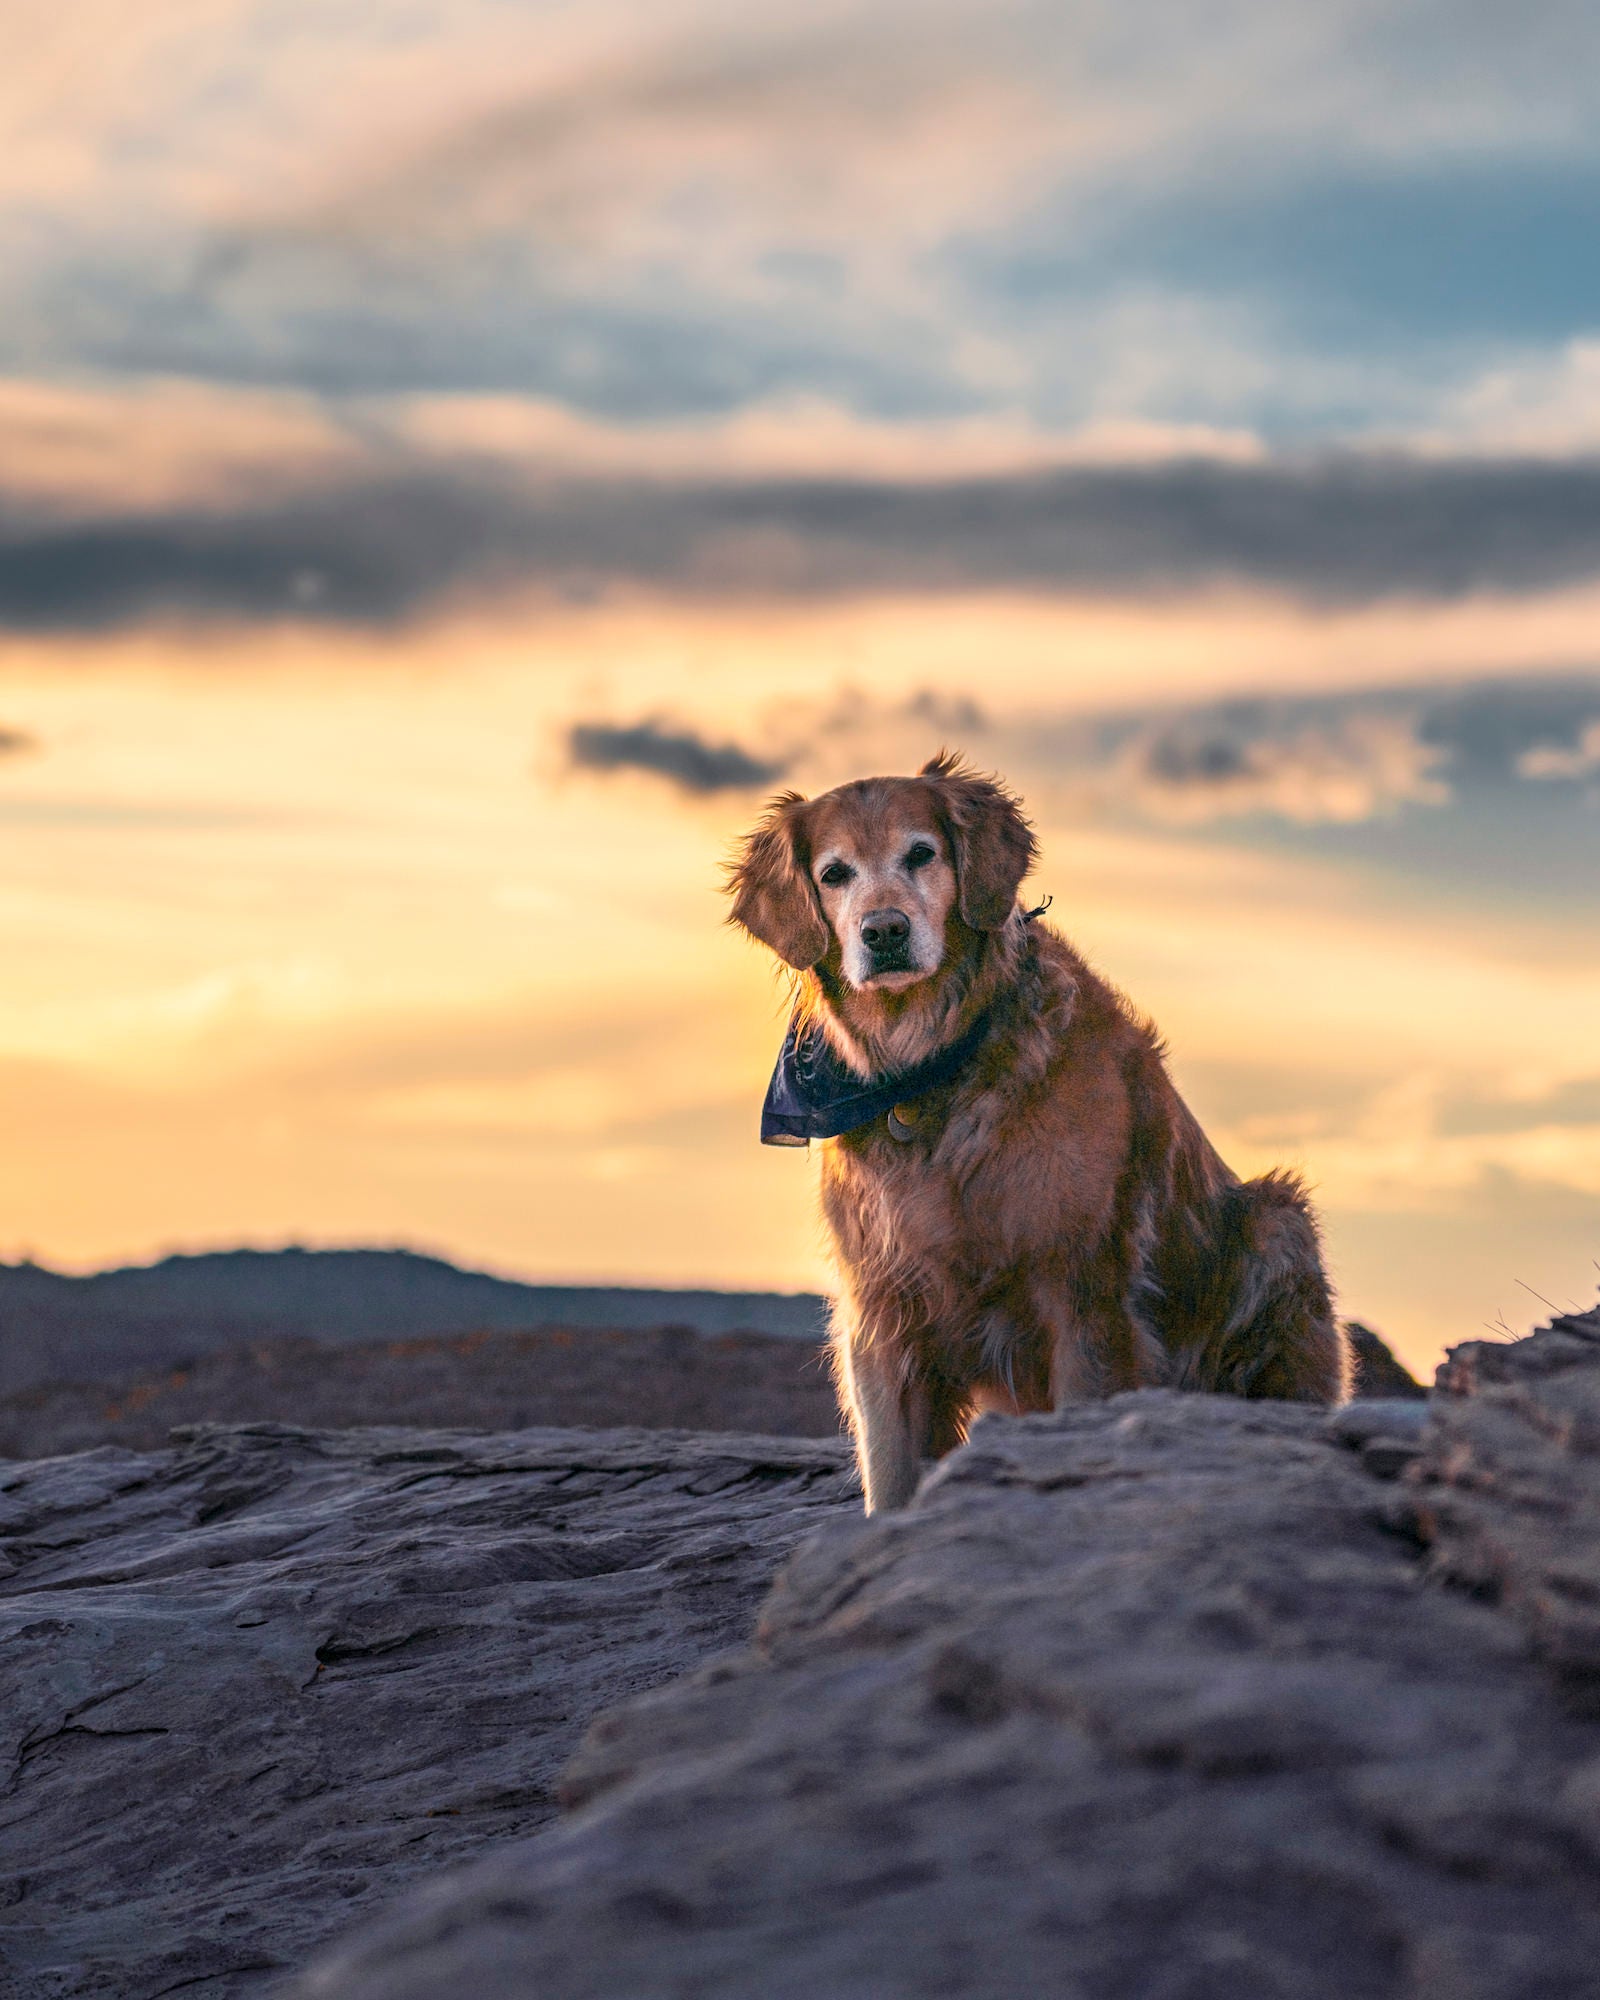
BTS image from that night of my photographer's assistant, aka Aspen the Golden Retriever.
How I Got The Shot Using 4 Techniques
This composition required four field techniques that all landscape photographers should have in their arsenal.
- Panorama shooting for wide scenes
- Focus stacking for front to back sharpness with close foreground elements
- Bracketing for exposure blending to increase dynamic range
- Low aperture for enhanced sun stars.
This culminated in two left to right sweeps of three total shutter clicks for a total of 30 images to work with in post-processing. The first sweep focused on the foreground elements and the 2nd focused on the distant ridge and river.
Since this was a tight spot on the edge of a cliff and the sun was setting fast I needed to shoot handheld to line up all elements quickly while remaining steady enough to avoid motion blur. Selected images for the three-frame pano were 1/30 sec and ⅛-sec, f/16, ISO 50 at 24mm.
The Edit
Post-processing is where my vision in the field becomes reality. I use a combination of Adobe Camera Raw, Adobe Photoshop, Raya Pro 5.0, Nik Color Efex 4 Pro, and Luminar 4 to process my images using techniques like focus stacking, panorama stitching, exposure blending, local adjustments, dodge and burn, orton effect, luminosity masks, and output sharpening.
See more of Rob Phillips' work on Instagram (@rob.phillips.photography).


