We connect with LEGO ambassador and LEGO toy photographer Anna Bitanga (@fourbrickstall) to learn more about her process for creating scenes with LEGO minifigures and capturing them with her Sony camera and lens.
Anna Bitanga (@fourbrickstall) is a LEGO ambassador and LEGO toy photographer. She’s also the community manager for @brickcentral, a recognized LEGO photography community. She creates compelling scenes with LEGO minifigures and captures them with her Sony Alpha cameras. We connected with her to go behind-the-scenes of how she created and captured this fun scene. Keep reading as she explains more about her process and what she calls this “quirky niche of toy photography.”
LEGO ambassador and photographer Anna Bitanga gives us a behind-the-scenes look at how she sets up and shoots minifigures with her Sony cameras.
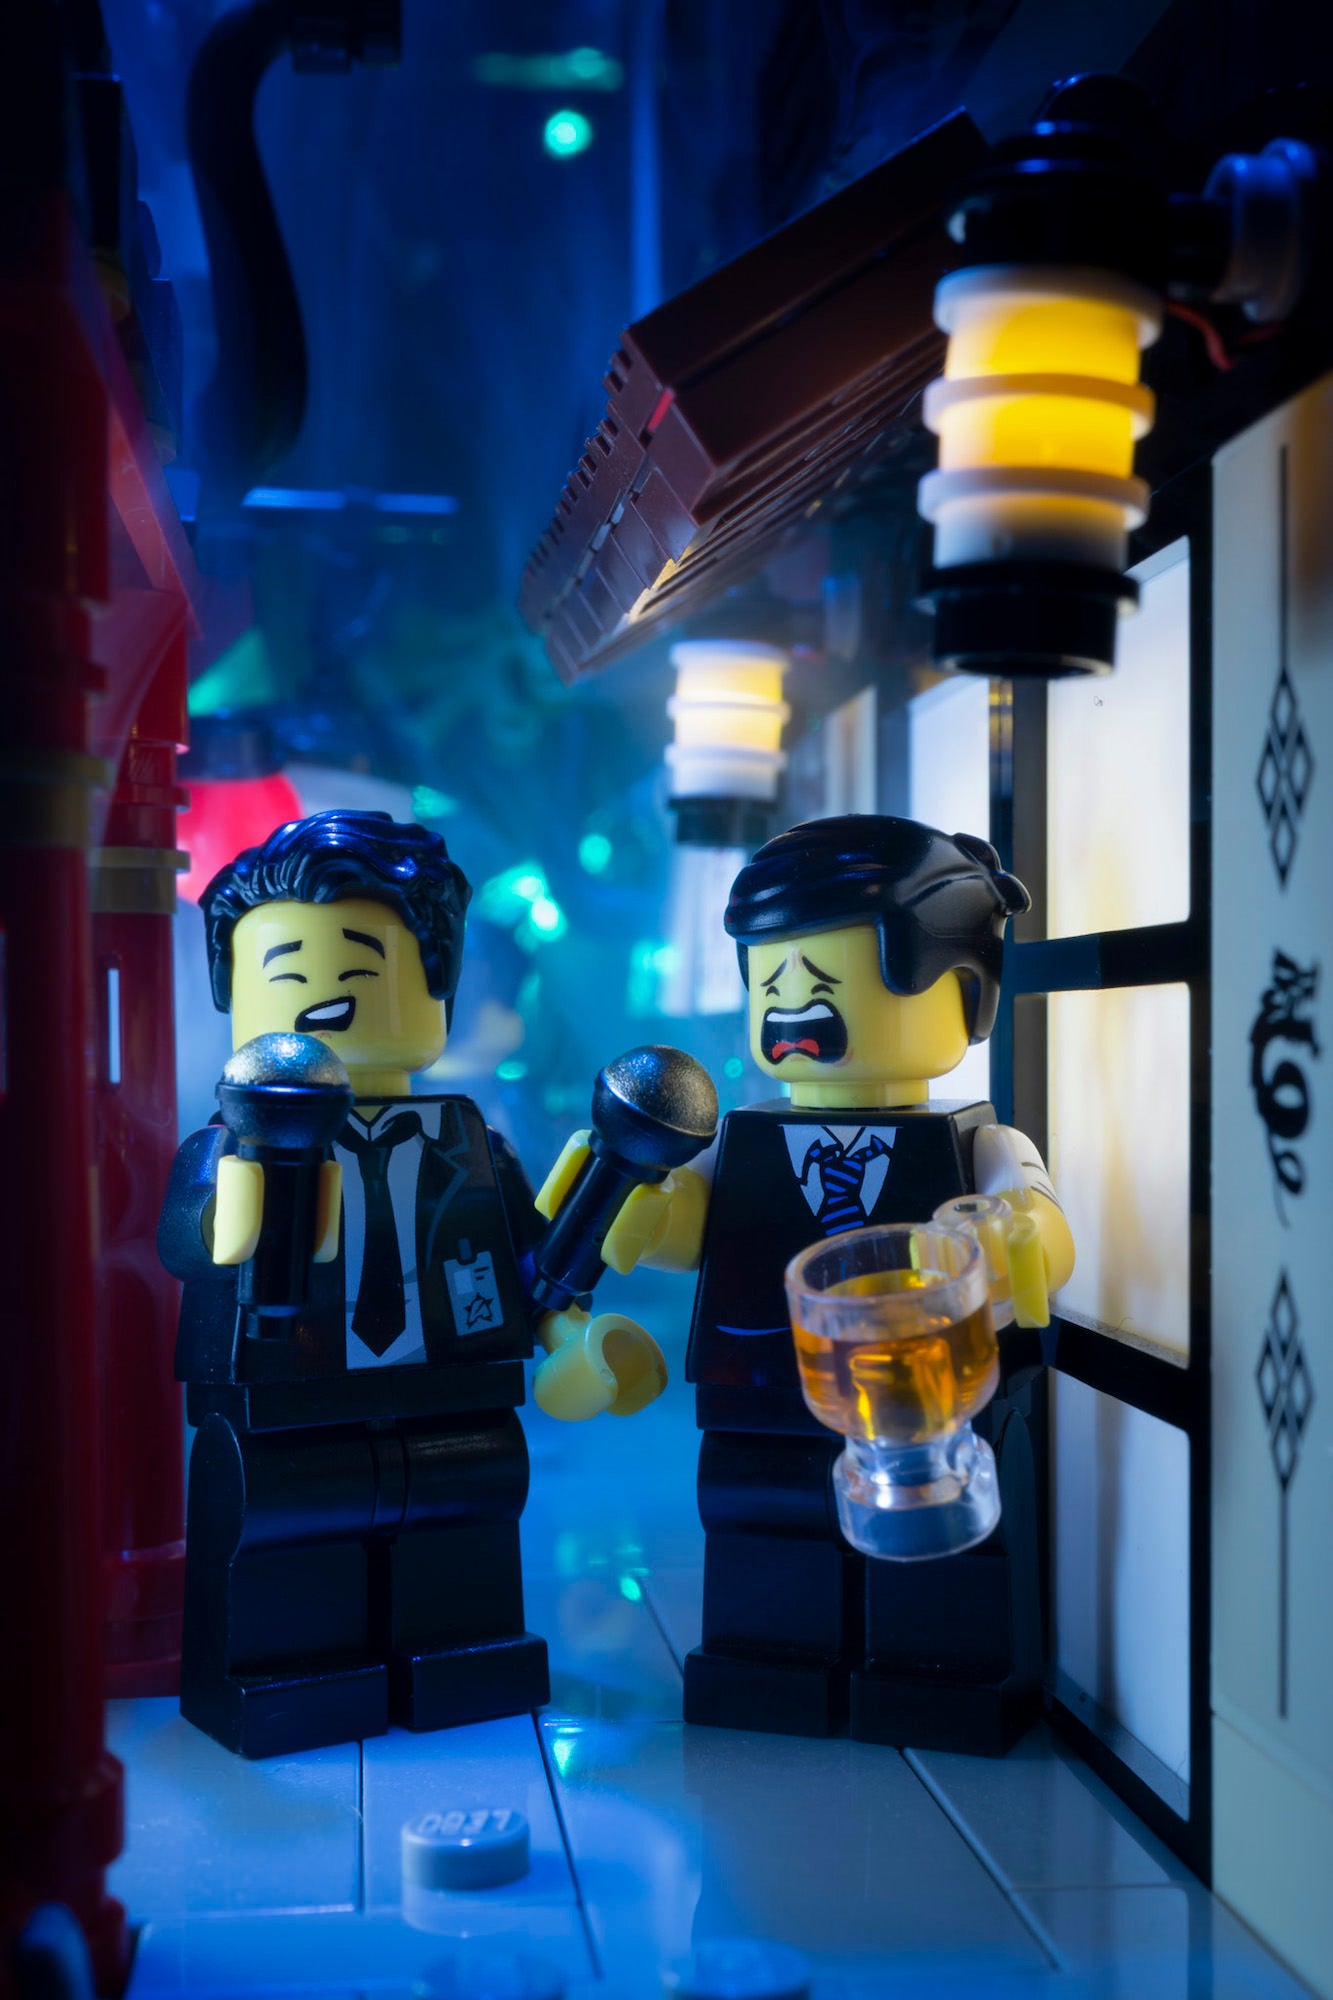
Photo by Anna Bitanga. Sony Alpha 6000. Sony 30mm f/2.5 Macro. 2-sec,f/16, ISO 100
The Scene
I had built a very narrow Japanese alley out of LEGO bricks to sit in between my books a couple of years ago and during the pandemic, I challenged myself to shoot slices of life in it. It was a great way to revisit the memories and the feeling of traveling again while stuck at home.
The scene I built was inspired by Omoide Yokocho, an alley lined with yakitori stalls, bright lanterns, and fake cherry blossoms in Tokyo’s Shinjuku area that really comes alive at night. I have hundreds of LEGO minifig parts so I played around with ideas and created characters to fit my story. From fashionistas to ninja to geisha, I’ve shot it all in there!

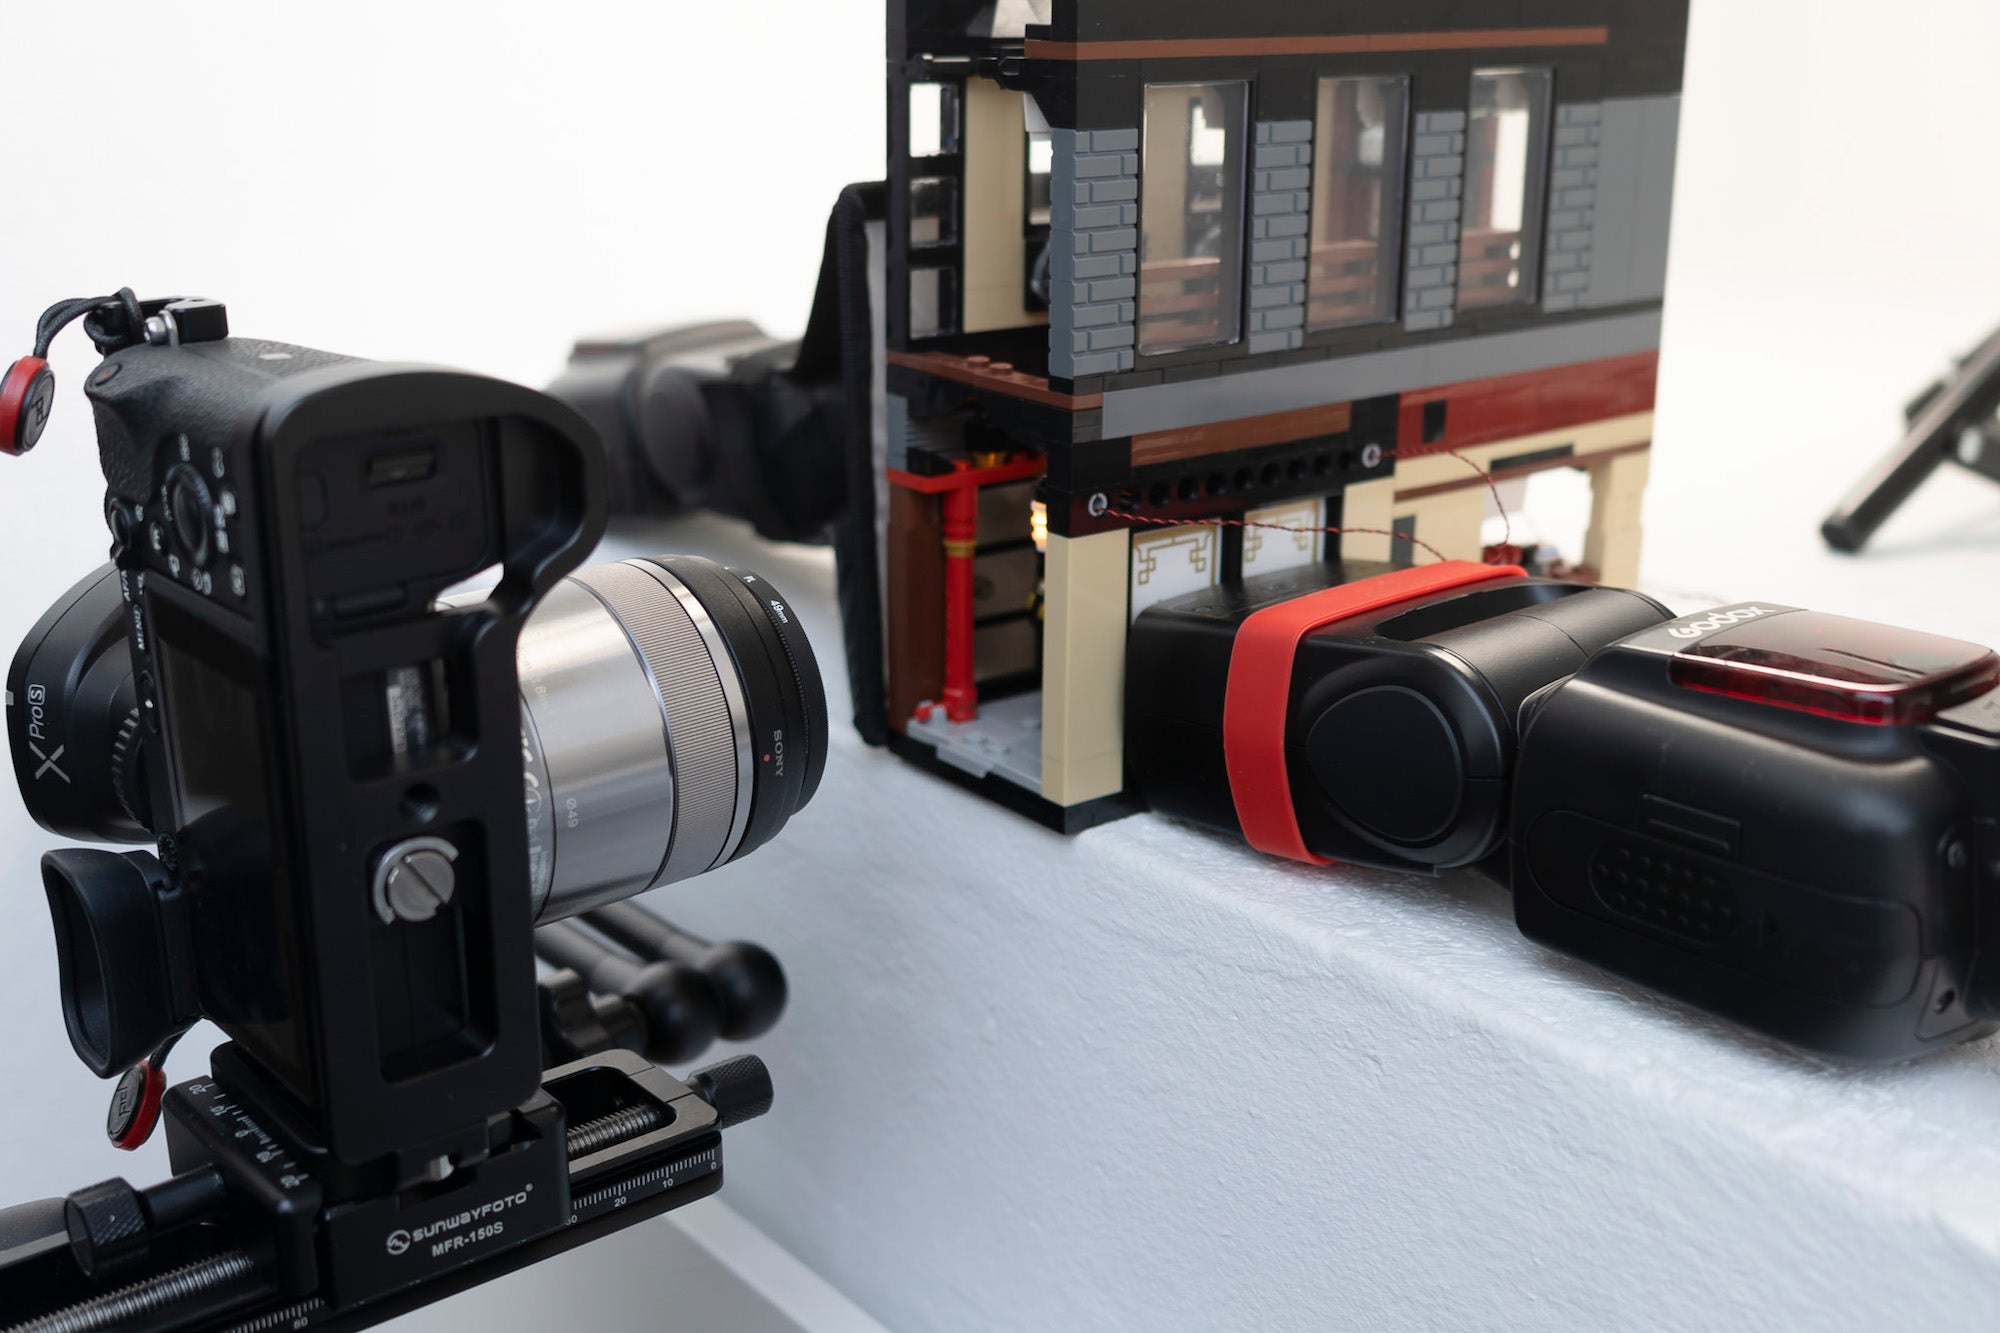
Behind the scenes of Bitanga's process for photographing LEGO minifigures
The Gear
This image was shot on my Alpha 6000 with the Sony 30mm f/3.5 Macro lens. I switch Sony bodies and lenses quite a bit, but I absolutely love the Sony 30mm f/3.5 Macro lens on either my Alpha 6000, my older Alpha 6000, or my Alpha 7 III on APS-C mode when I am shooting inside these narrow book nooks I’ve built out of LEGO bricks.
It’s such a great focal length for a macro lens because it really opens up these brick-built Japanese alleys and allows the viewer to see more of the detail in the buildings while filling the frame with such a tiny subject. Anything longer would make my already very tight space look even more narrow and lose a lot of the environment. There’s no distortion on photos shot with the Sony 30mm f3.5 Macro lens either, which is really important because all of my LEGO models are made of bricks with lots of straight lines. It’s the best lens for LEGO toy photography.

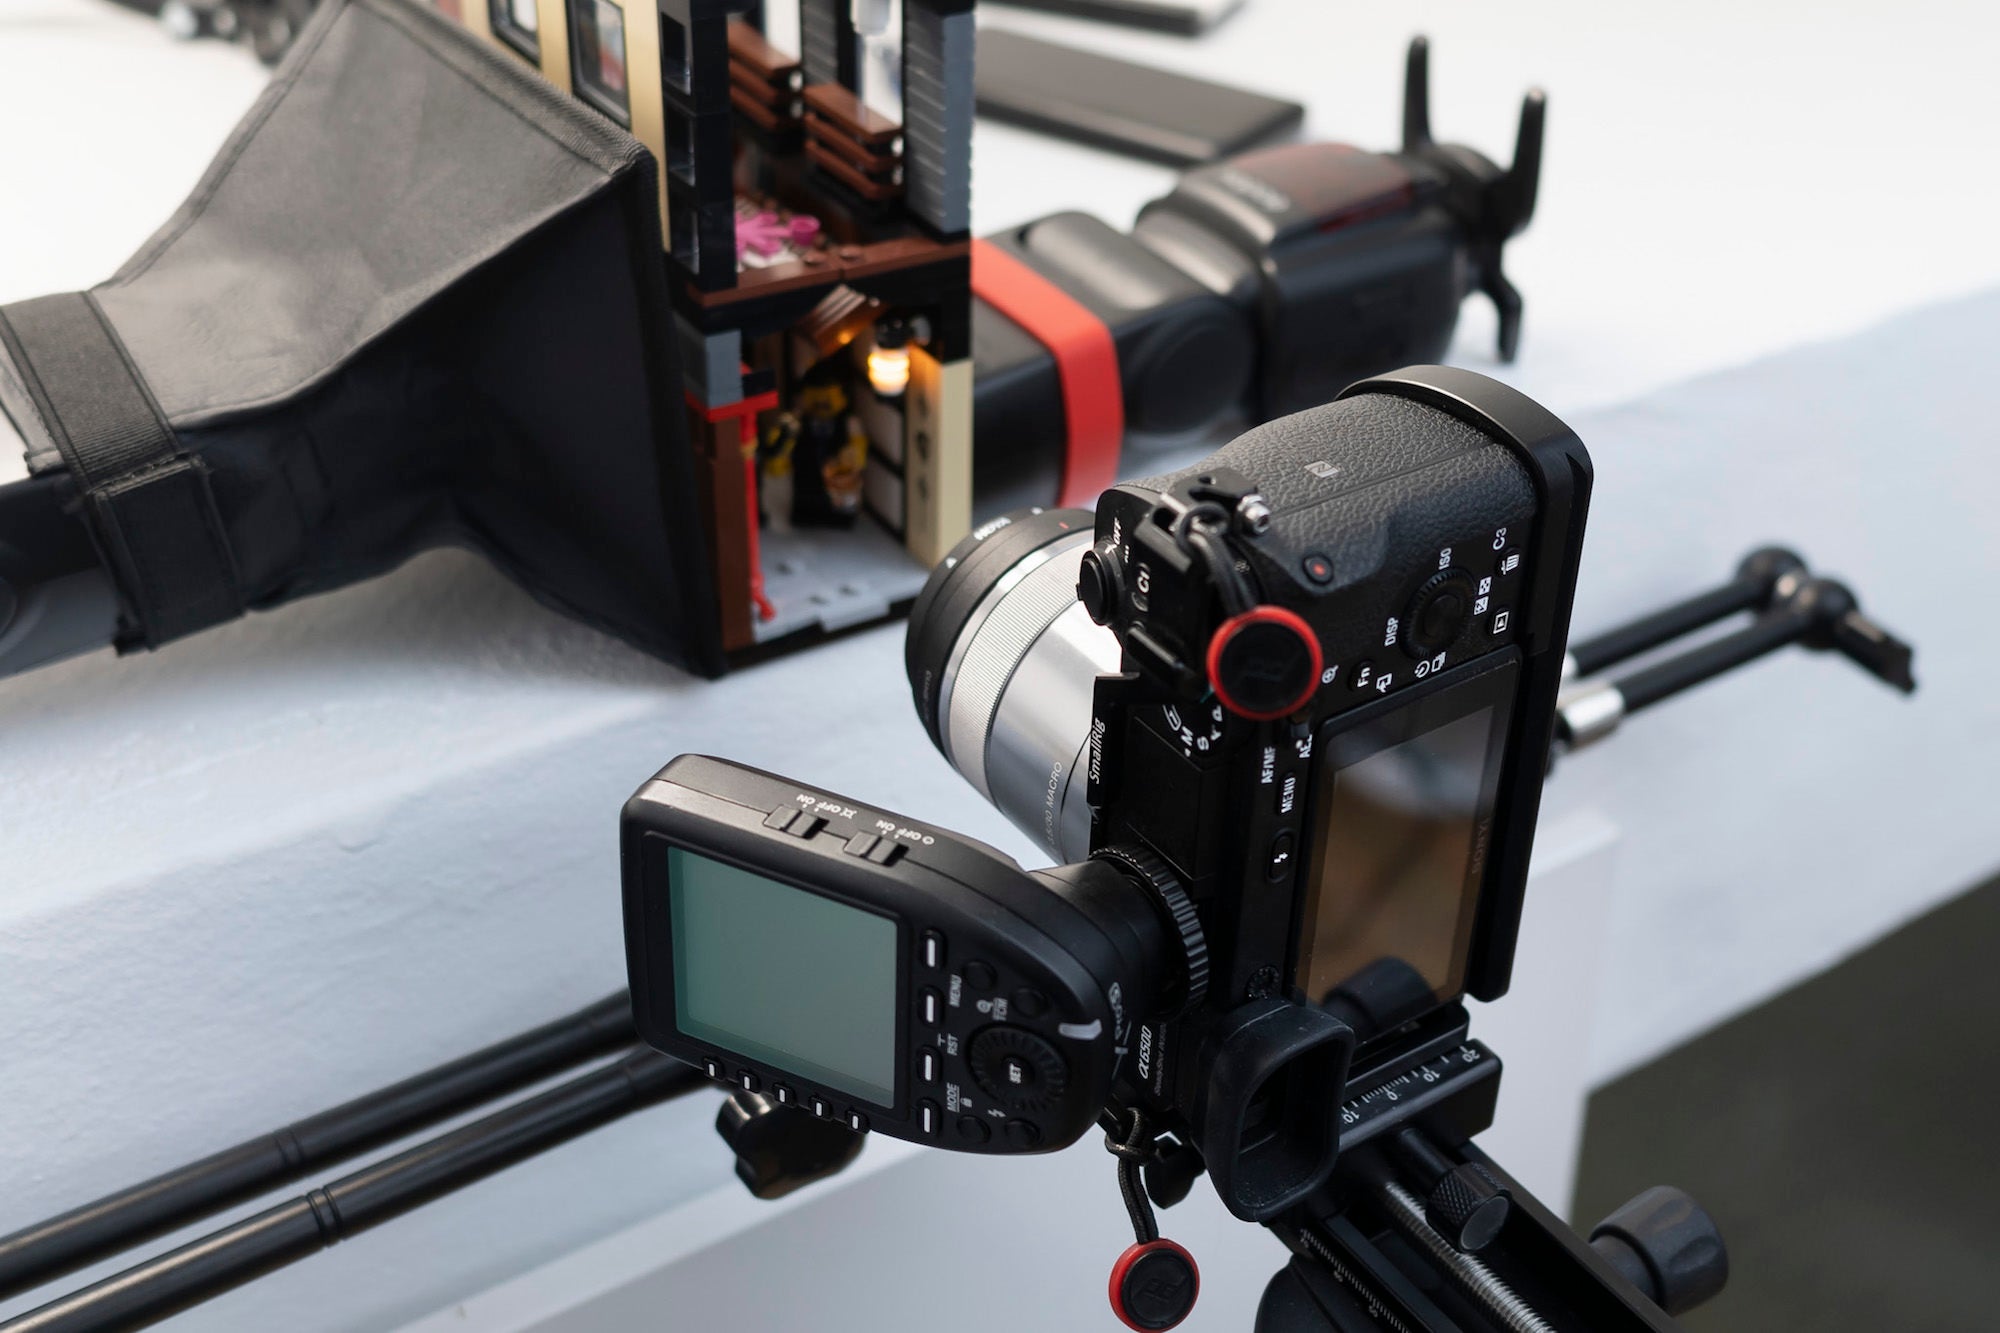
Behind the scenes of Bitanga's process for photographing LEGO minifigures
For lighting, I tucked micro LEDs into the lanterns and mixed in some flash. The lanterns were just practical lights that don’t really give off much illumination so the flash did all the work. I built these book nooks with lighting in mind, so there are plenty of doors and windows on the sides where I can shine light through. The top also comes off so I can position lights overhead.
The Shot
Since I was working with these weak practical lights and needed a long exposure, I made sure that it was dark in my studio. I either shoot at night or with the blackout shades pulled down on the windows so no ambient light contaminates my scene. These book nook shots are typically night scenes, when the alley gets very busy with customers, like these two businessmen winding down after hours with some karaoke and beer.
I locked down my Alpha 6000 on my tripod in a portrait orientation so I could get more of the alley in the shot and I set my aperture to f/16 to get them both in focus. I always manually focus when I am shooting LEGO minifigs in the studio and the precision of the 30mm f/3.5 Macro lens lets me get exactly what I want in focus. With my camera set to manual and ISO at 100, I exposed for the ambient with just the practical lights on and decided on a 2-3 second exposure.

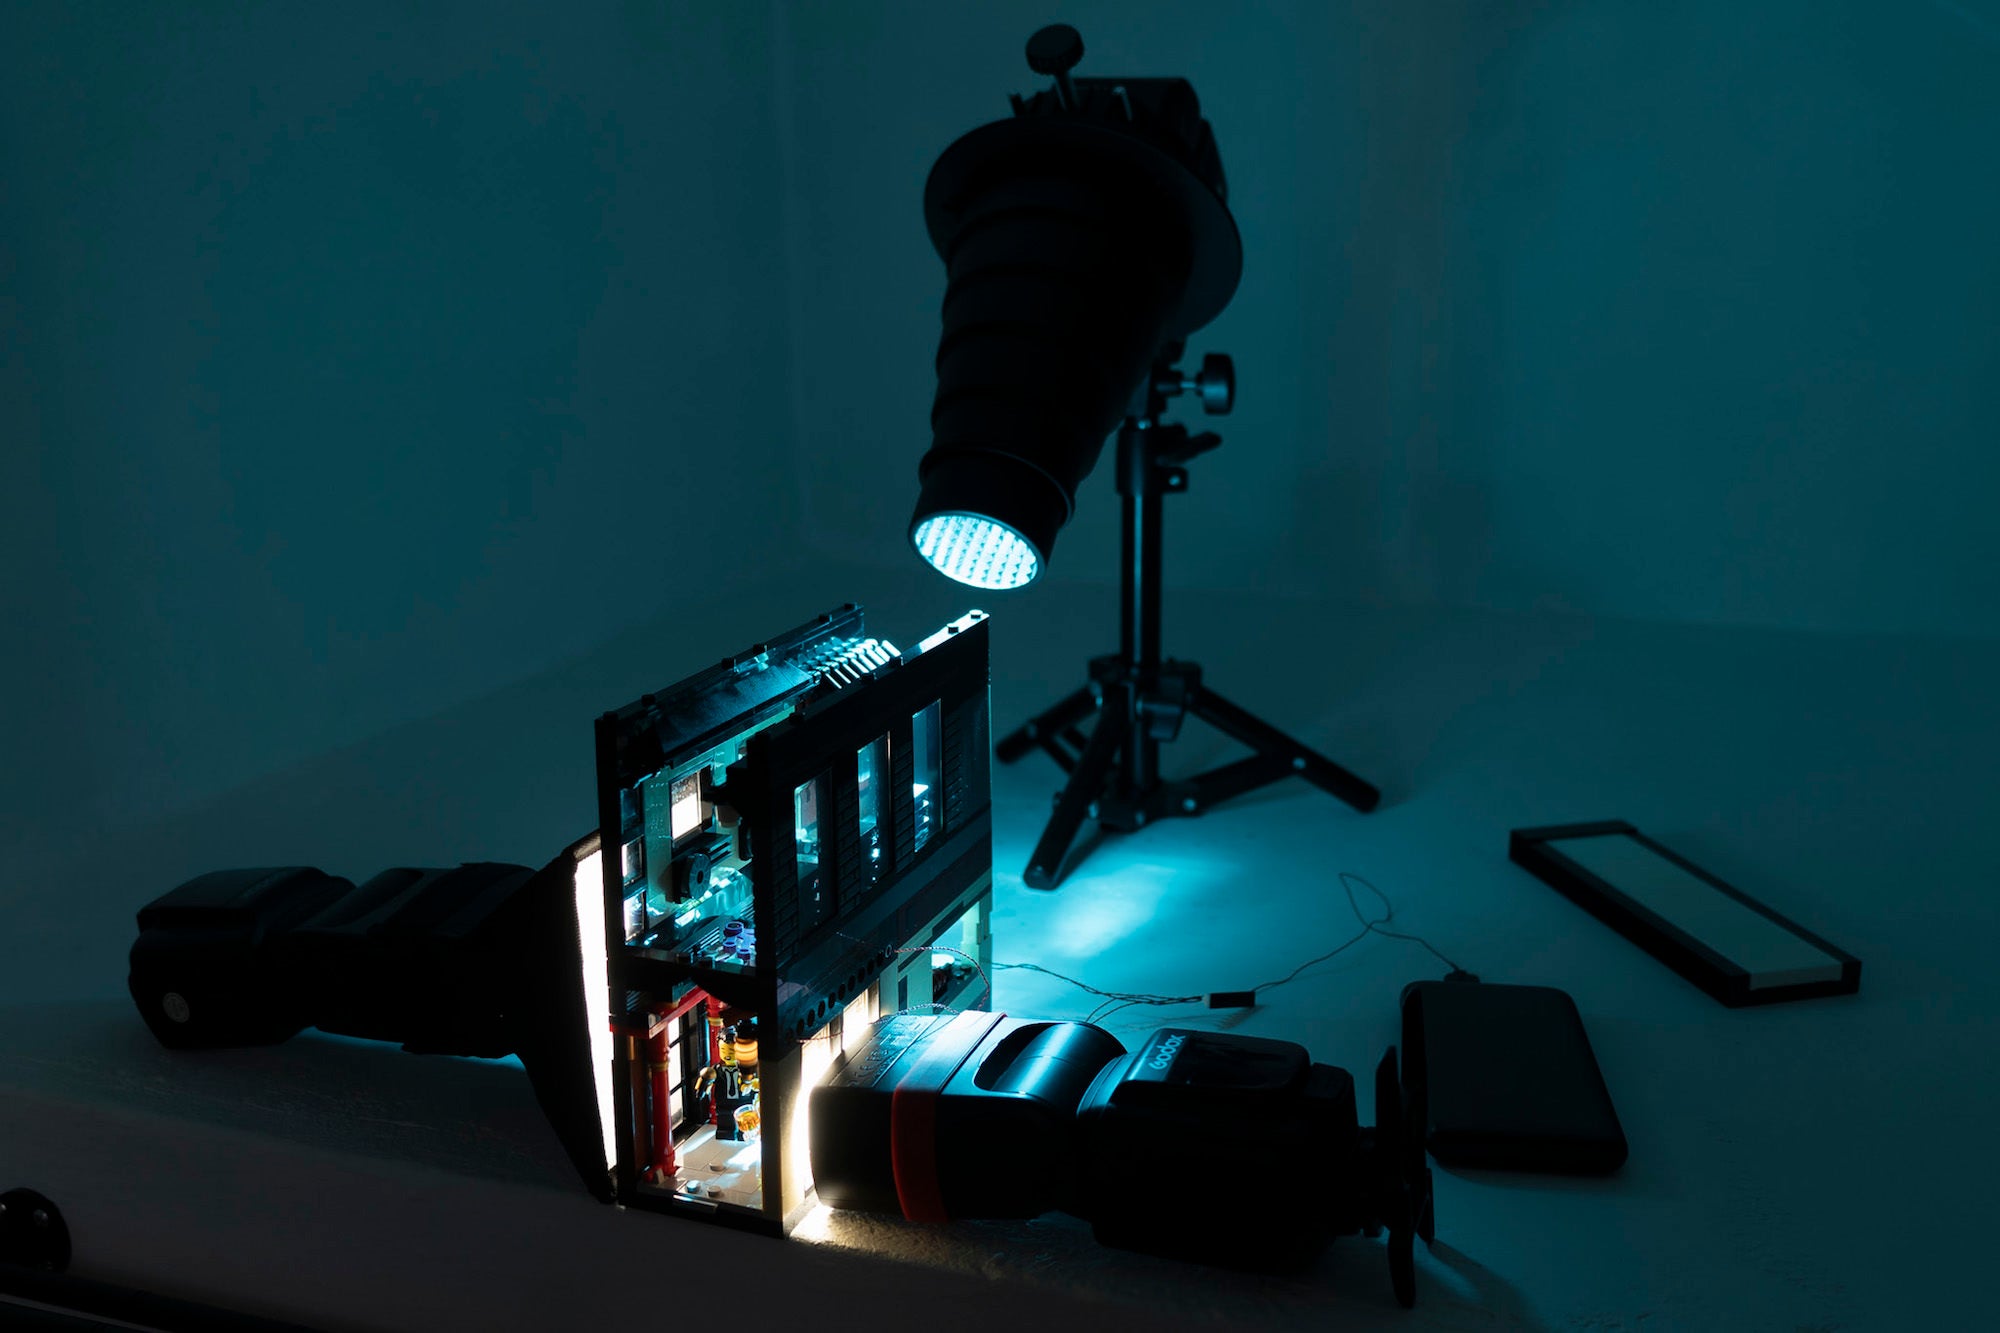
Behind the scenes of Bitanga's process for photographing LEGO minifigures
Then I set up flashes on either side of the book nook to light up my subjects. One side had a clear door so I diffused the flash with a small softbox. On the other side were white screen doors so I placed a bare flash behind that, relying on the LEGO elements to soften that light.
I also like to introduce some atmosphere in my LEGO scenes like rain or mist to carry the light into areas I can’t get to and to add depth. I also appreciate that it reduces contrast and sharpness, which I feel gives my plastic subjects a little bit more realism. In this scene, I used some fog from a Micro Fogger 2 to simulate some yakitori grill smoke wafting through the alley. I had another flash with a snoot and blue gel pointing downwards at about 45 degrees from behind to backlight the smoke.
The Edit
In Lightroom, I changed the white balance to make it cooler like the night. I pulled up the curve just a little bit to bring up the shadows and also added a little bit more haze with the Dehaze slider. I try to eliminate glare in-camera by using a circular polarizer on my lens but since I have so many light sources and limited angles for them in such a tight space, I can’t get them all.
LEGO elements are also highly reflective. So I do a little bit of touch up in Photoshop to remove only the most distracting reflections, especially on faces. I don’t want to eliminate them all either because I still want some flaws in my LEGO toy photos to distinguish them from renders.
See more of Anna Bitanga’s work on Instagram @fourbrickstall.


