Petri Mäkitalo (@petri_makitalo) is a professional video editor and passionate wildlife photographer who began his career as a videographer in the early 2000s and transitioned into video editing. Over the past 20+ years, he’s edited award-winning series including reality shows, international formats, commercials and documentaries. In addition, he produces music for major labels. He’s also produced his own music. As you can see, Petri is an artist all around. We recently heard about his epic encounter with an elusive lynx and sat down with Petri to learn more about the interaction, the story, and the unique combination of self-timer and high-speed busrsts he used to get the photographs. Learn more about the gear he uses for his photography in his What’s In My Bag article.
Product Preview – In This Article You’ll Find:
–Sony Alpha 1
–Sony 400mm f/2.8 G Master
–Sony 160GB CFexpress Tough Type A Memory Cards
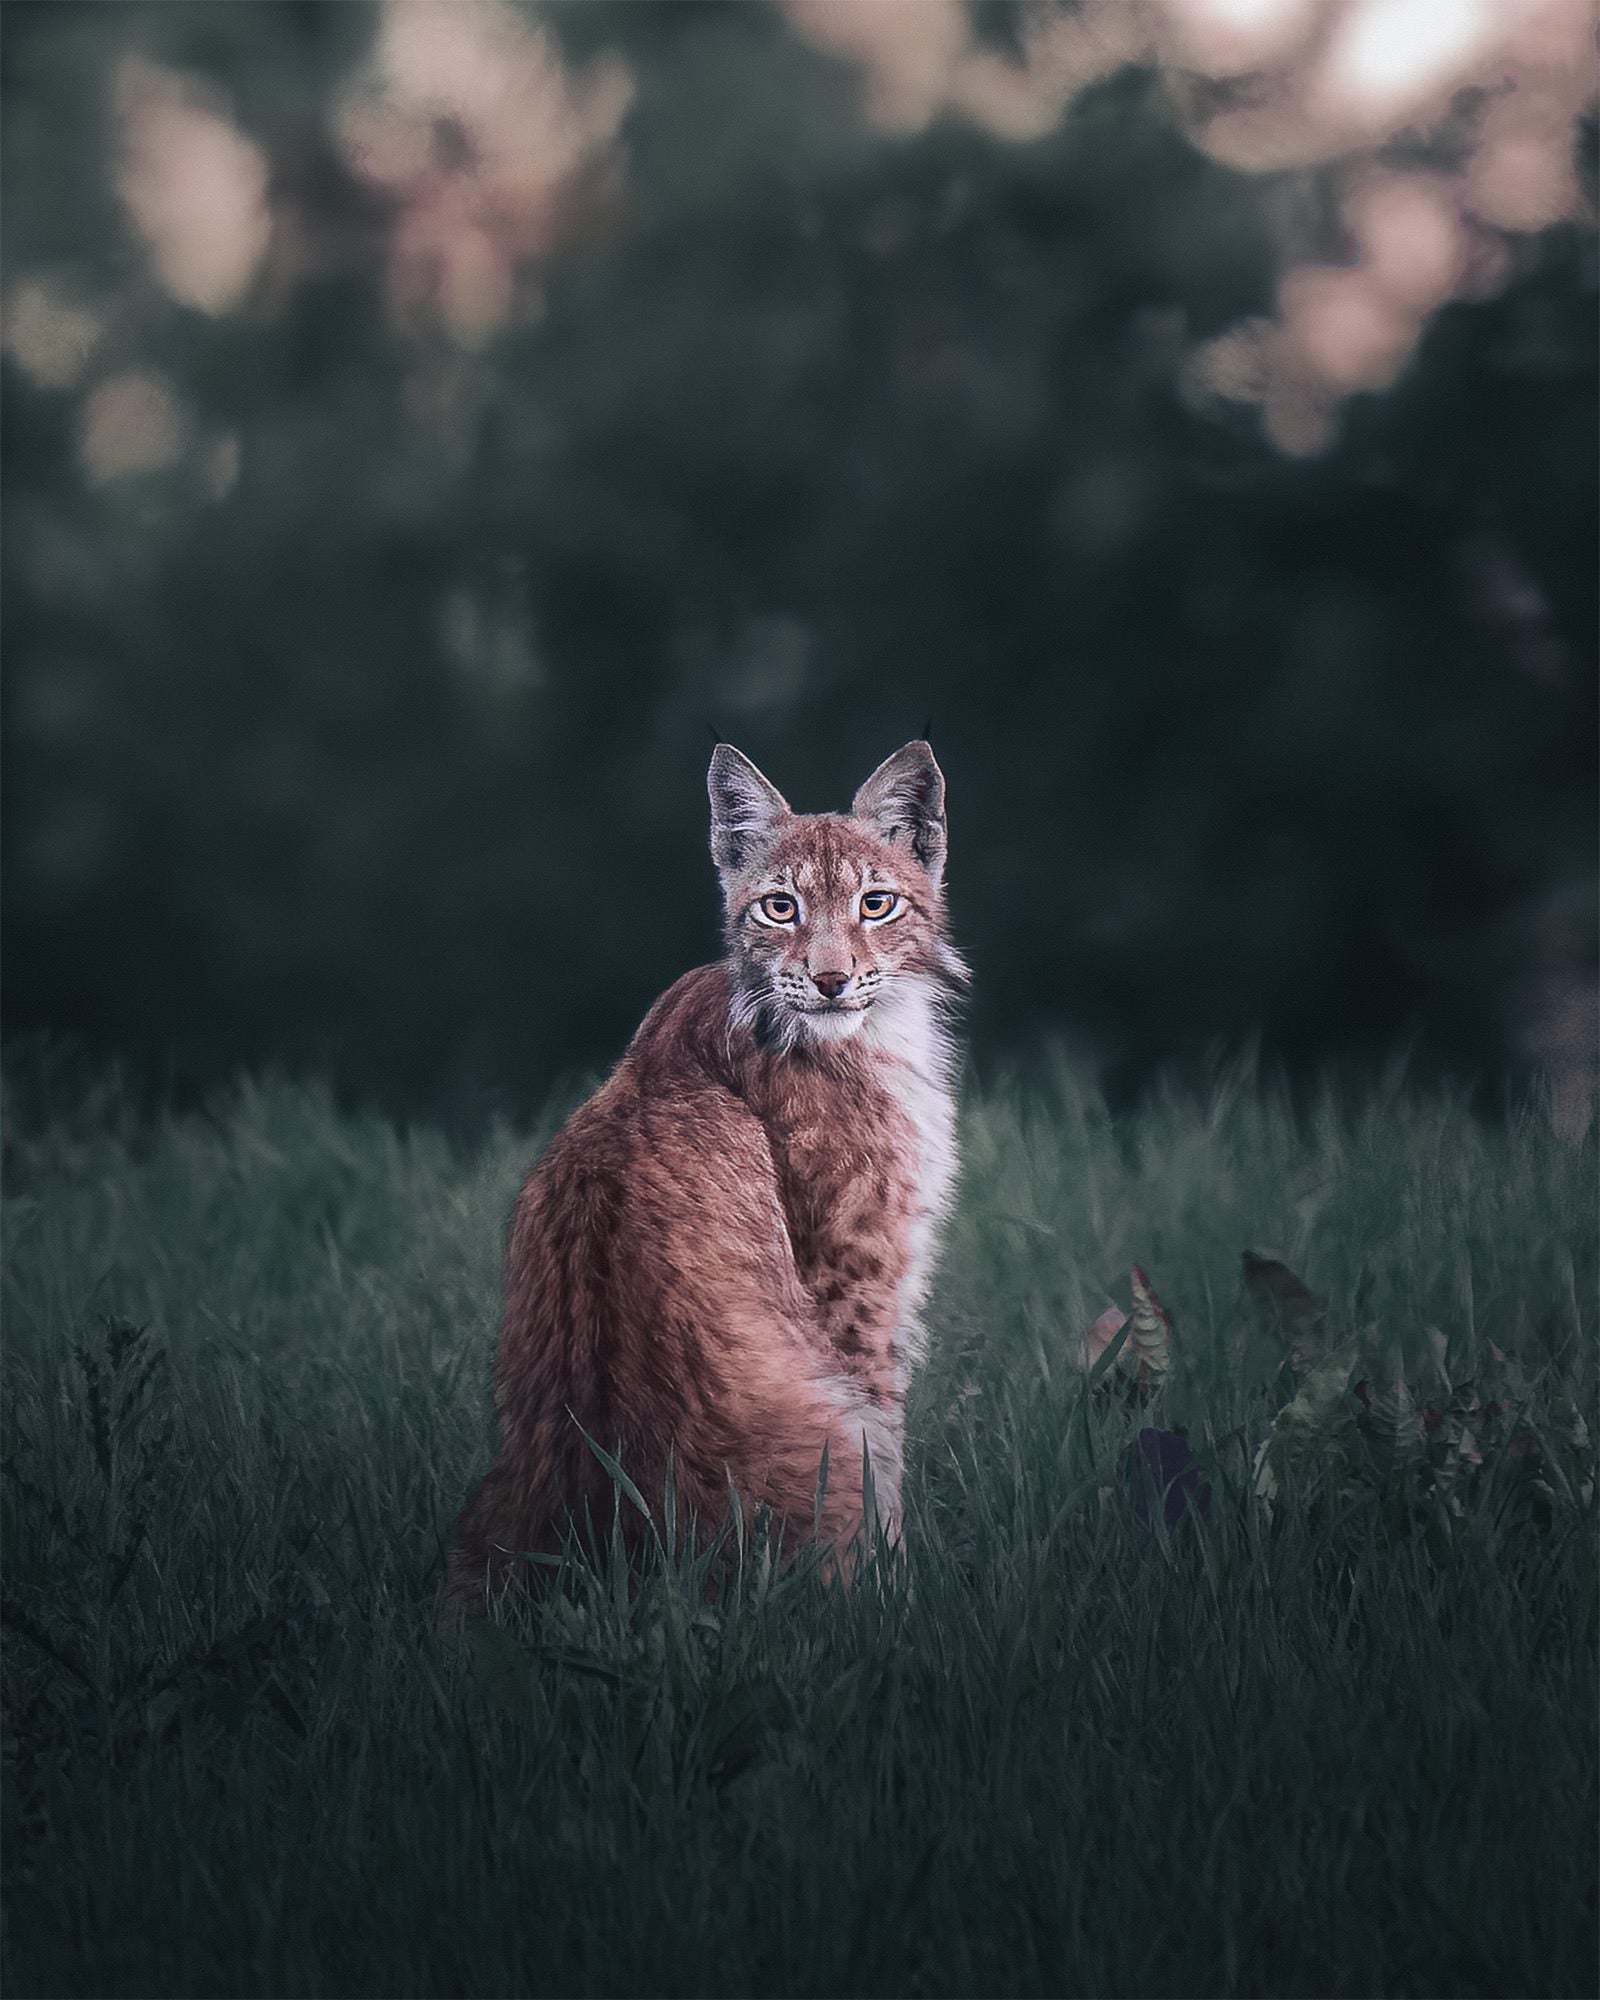
Photo by Petri Mäkitalo. Sony Alpha 1. Sony 400mm f/2.8 G Master. 1/100-sec., f/2.8, ISO 4000
As a photographer, my primary focus is wildlife, which is my true passion. Working with fairly artistic professions naturally influences my wildlife photography. I wish to present nature and animals as beautiful art. My mission is to create an artistic gateway to nature through my photographs. And that’s what it is all about - helping people to see the beauty of nature and also to give nature the appreciation it deserves.
An Unexpected Encounter With An Elusive Lynx
I had been trying to capture a fox family in photos for the entire week and part of the previous week. Unfortunately, they had moved their den, so I couldn't find them. However, I had several sightings of them in the same field throughout the week, but for some reason, the fox and my camera never crossed paths for good pictures.
After the unsuccessful attempts at photographing foxes, I decided to try a different place. I had been in the hide for about 30 minutes when a tractor arrived to spread fertilizer on the fields. Unfortunately, that photo opportunity was ruined as well. Little did I know what I was to encounter later.
My intuition urged me to go to a spot where I had captured an image of a lynx on a game camera near the badger den I was observing last winter, and there were also lynx tracks nearby. After driving for a couple of kilometers, I could see that my instincts were spot on. As soon as I arrived at the location, while driving, I initially thought there was a large hare in the field. After driving for about a hundred meters, it occurred to me: could it really be...?!
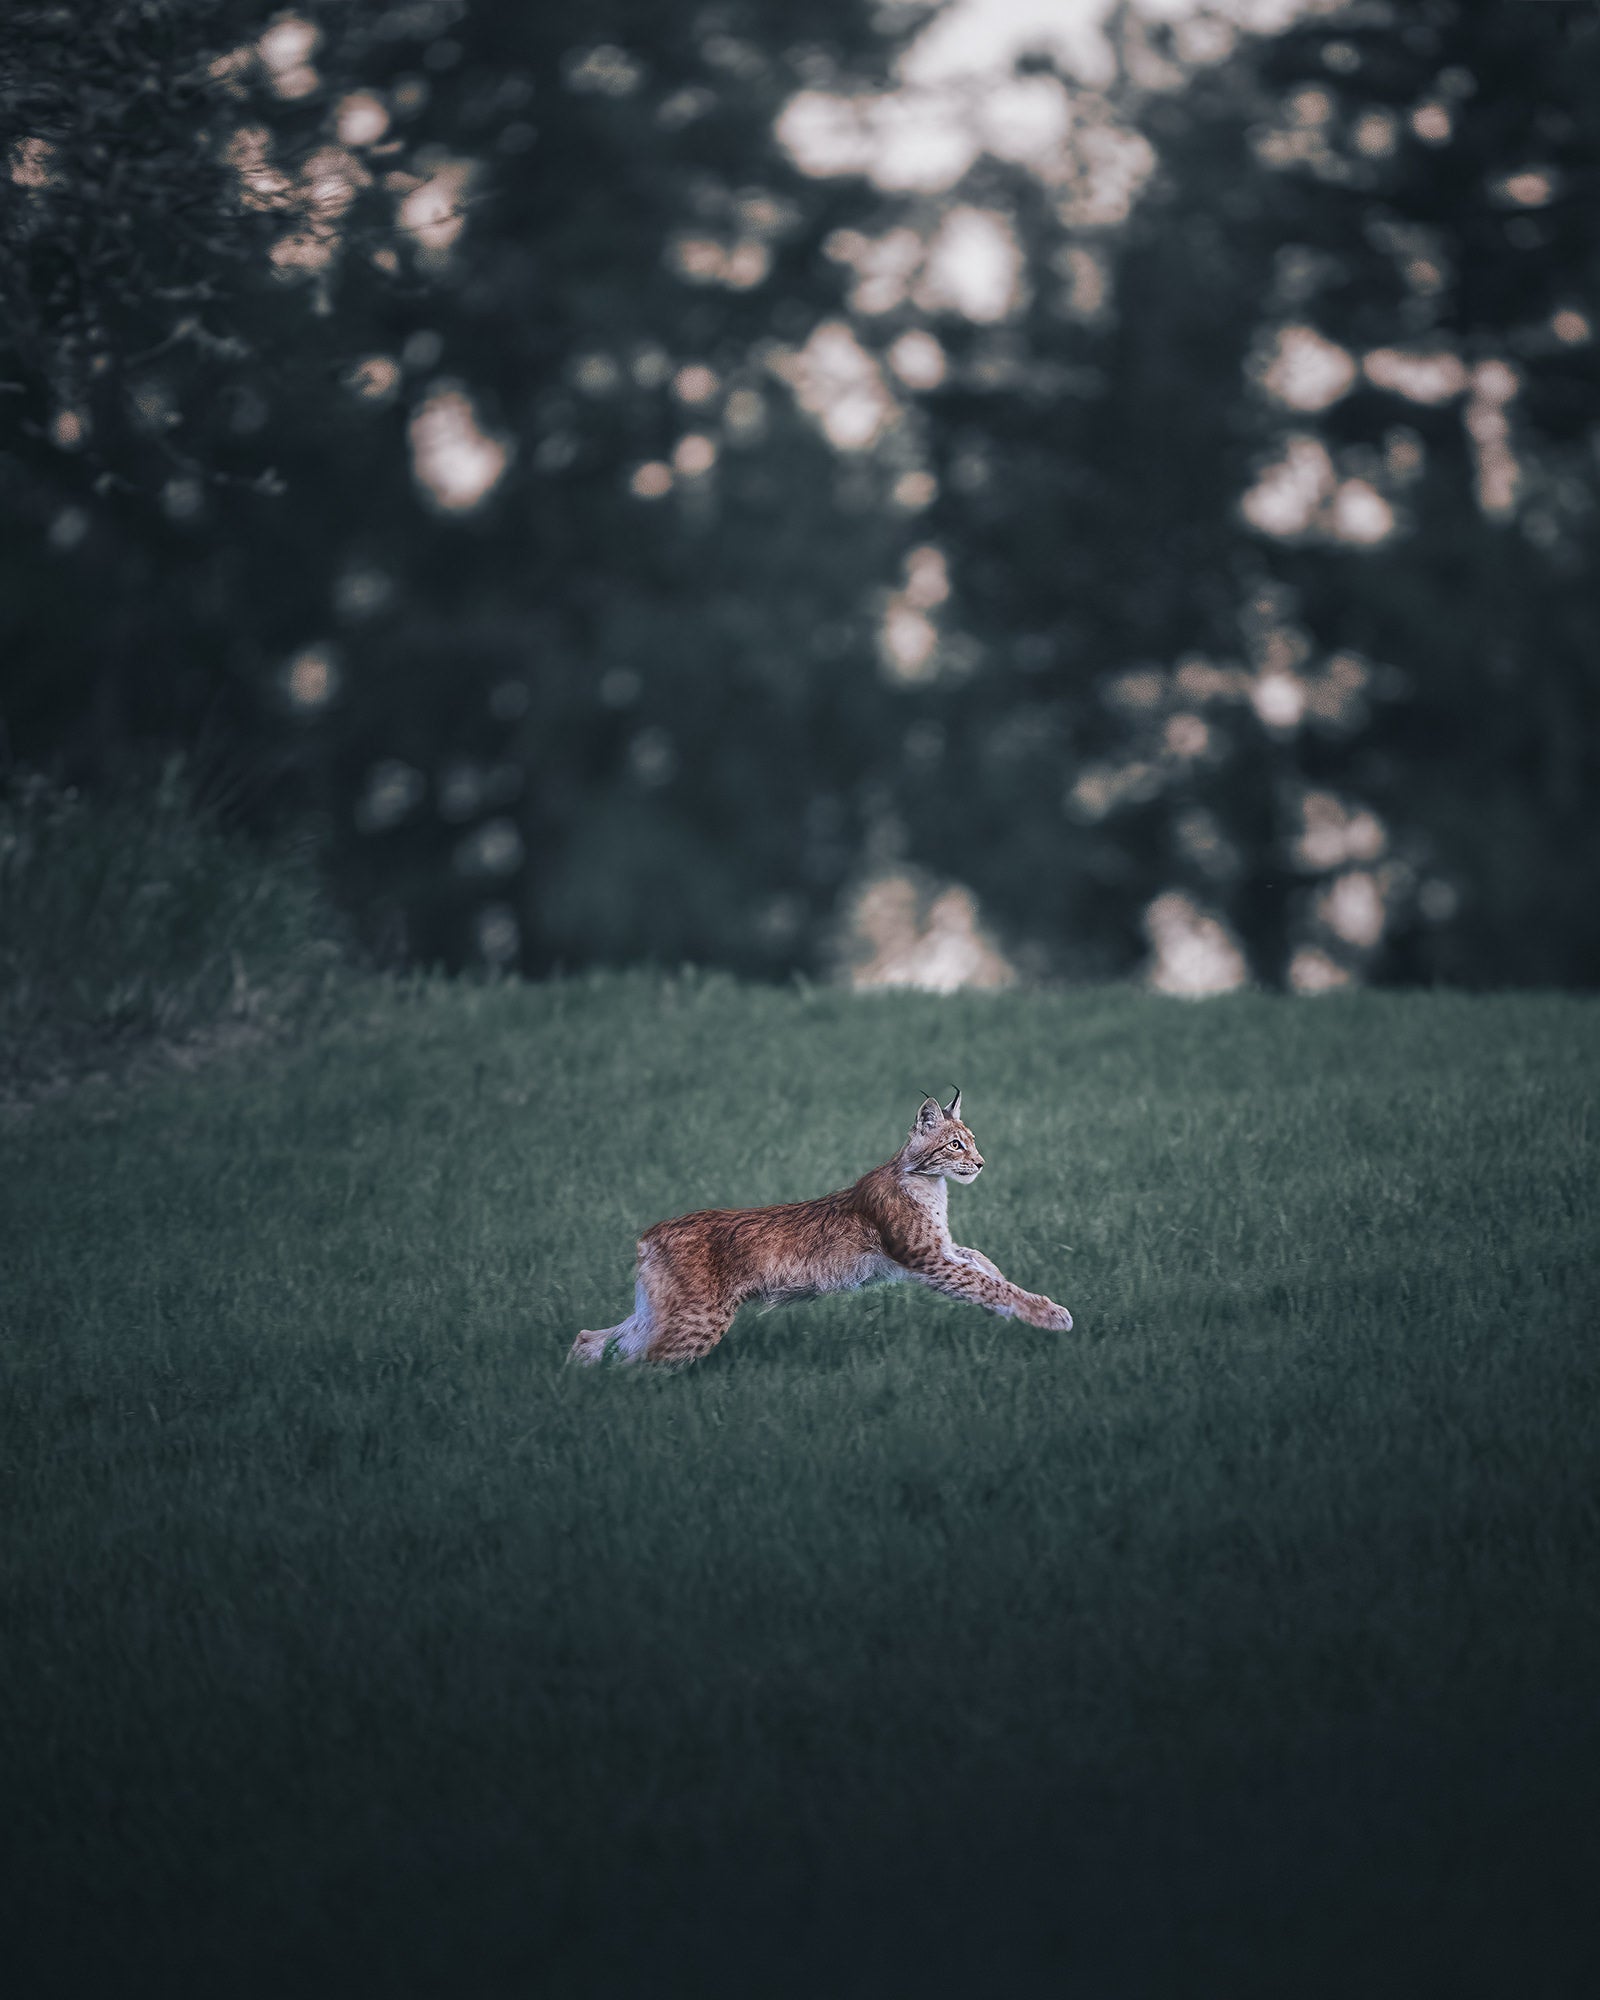
Photo by Petri Mäkitalo. Sony Alpha 1. Sony 400mm f/2.8 G Master. 1/400-sec., f/2.8, ISO 5000
I turned the car around, drove back, lowered the window, and took the first series of photos at the end of the field where this creature was. An adrenaline rush took over me; it truly was a lynx.
I admit, it was a combination of luck and gut feeling. But that's how it goes sometimes with wildlife photography—you can plan as much as you like and nothing happens. And sometimes it's the opposite. What I believe is that you increase your chances of being lucky if you just step outside of your home and go photographing. If you repeat that enough times, luck comes to you.
And after going out for a straight 1.5 weeks with nothing spectacular in my hands, oh boy, it felt good to see a lynx in the field and to have my Sony 400mm f/2.8 G Master and Sony Alpha 1 by my side at that moment.
Gear Petri Used For The Photographs
Usually, when I go out to photograph wildlife, I use my trusted Sony Alpha 1 and Sony 400mm f/2.8 G Master lens. The combination is unbeatable. Both the lens and the camera are perfect for photographing in challenging low-light situations. This time was no exception.
Because I mainly photograph mammals in low light, using a tripod is also important to me. The tripod I use is the GITZO GT3543LS Systematic Series 3, which is lightweight, weighing 2.03kg. Along with it, I use a Gitzo Fluid Gimbal Tripod Head GHFG1, which enables smooth motion for big telephoto lenses like the 400mm f/2.8. It also provides excellent support. The combination of the tripod, fluid head, lens, and camera is easily portable and can be carried on the shoulders.
I also had a pair of Sony 160GB CFexpress Tough Type A Memory Cards inside the camera, ready to capture some burst mode action.
Respecting The Animal & Trying Out Techniques
Usually, I camouflage both my camera and myself from head to toe, but this time was different. Wearing camo felt irrelevant because the lynx saw me driving into the scene. After confirming it was a lynx in the field, I stepped out of the car slowly on the other side, quickly and quietly attaching the camera to the tripod to avoid disturbing the lynx with any noise. I feel that the car posed less danger to the lynx than a standing human, so the most critical moment came when I stepped out from behind the car, exposing my presence to the lynx.
I crossed a small ditch and went down to the ground slowly, without making any sudden movements, so as not to startle the lynx. Wildlife is always my top priority, I feel it is more important to make sure I disturb the animals as little as possible, than to get a great shot.
At this point, the distance between me and the lynx was about 45 meters. And then, as the lynx started moving, I captured a series of photos of its movements. I'm a fan of back-button focus, so I utilized it along with continuous autofocus to capture a burst of images, freezing the lynx in motion. In these situations, I usually rely on auto ISO as it takes away one thing to worry about, allowing me to focus on composing and capturing the moment.
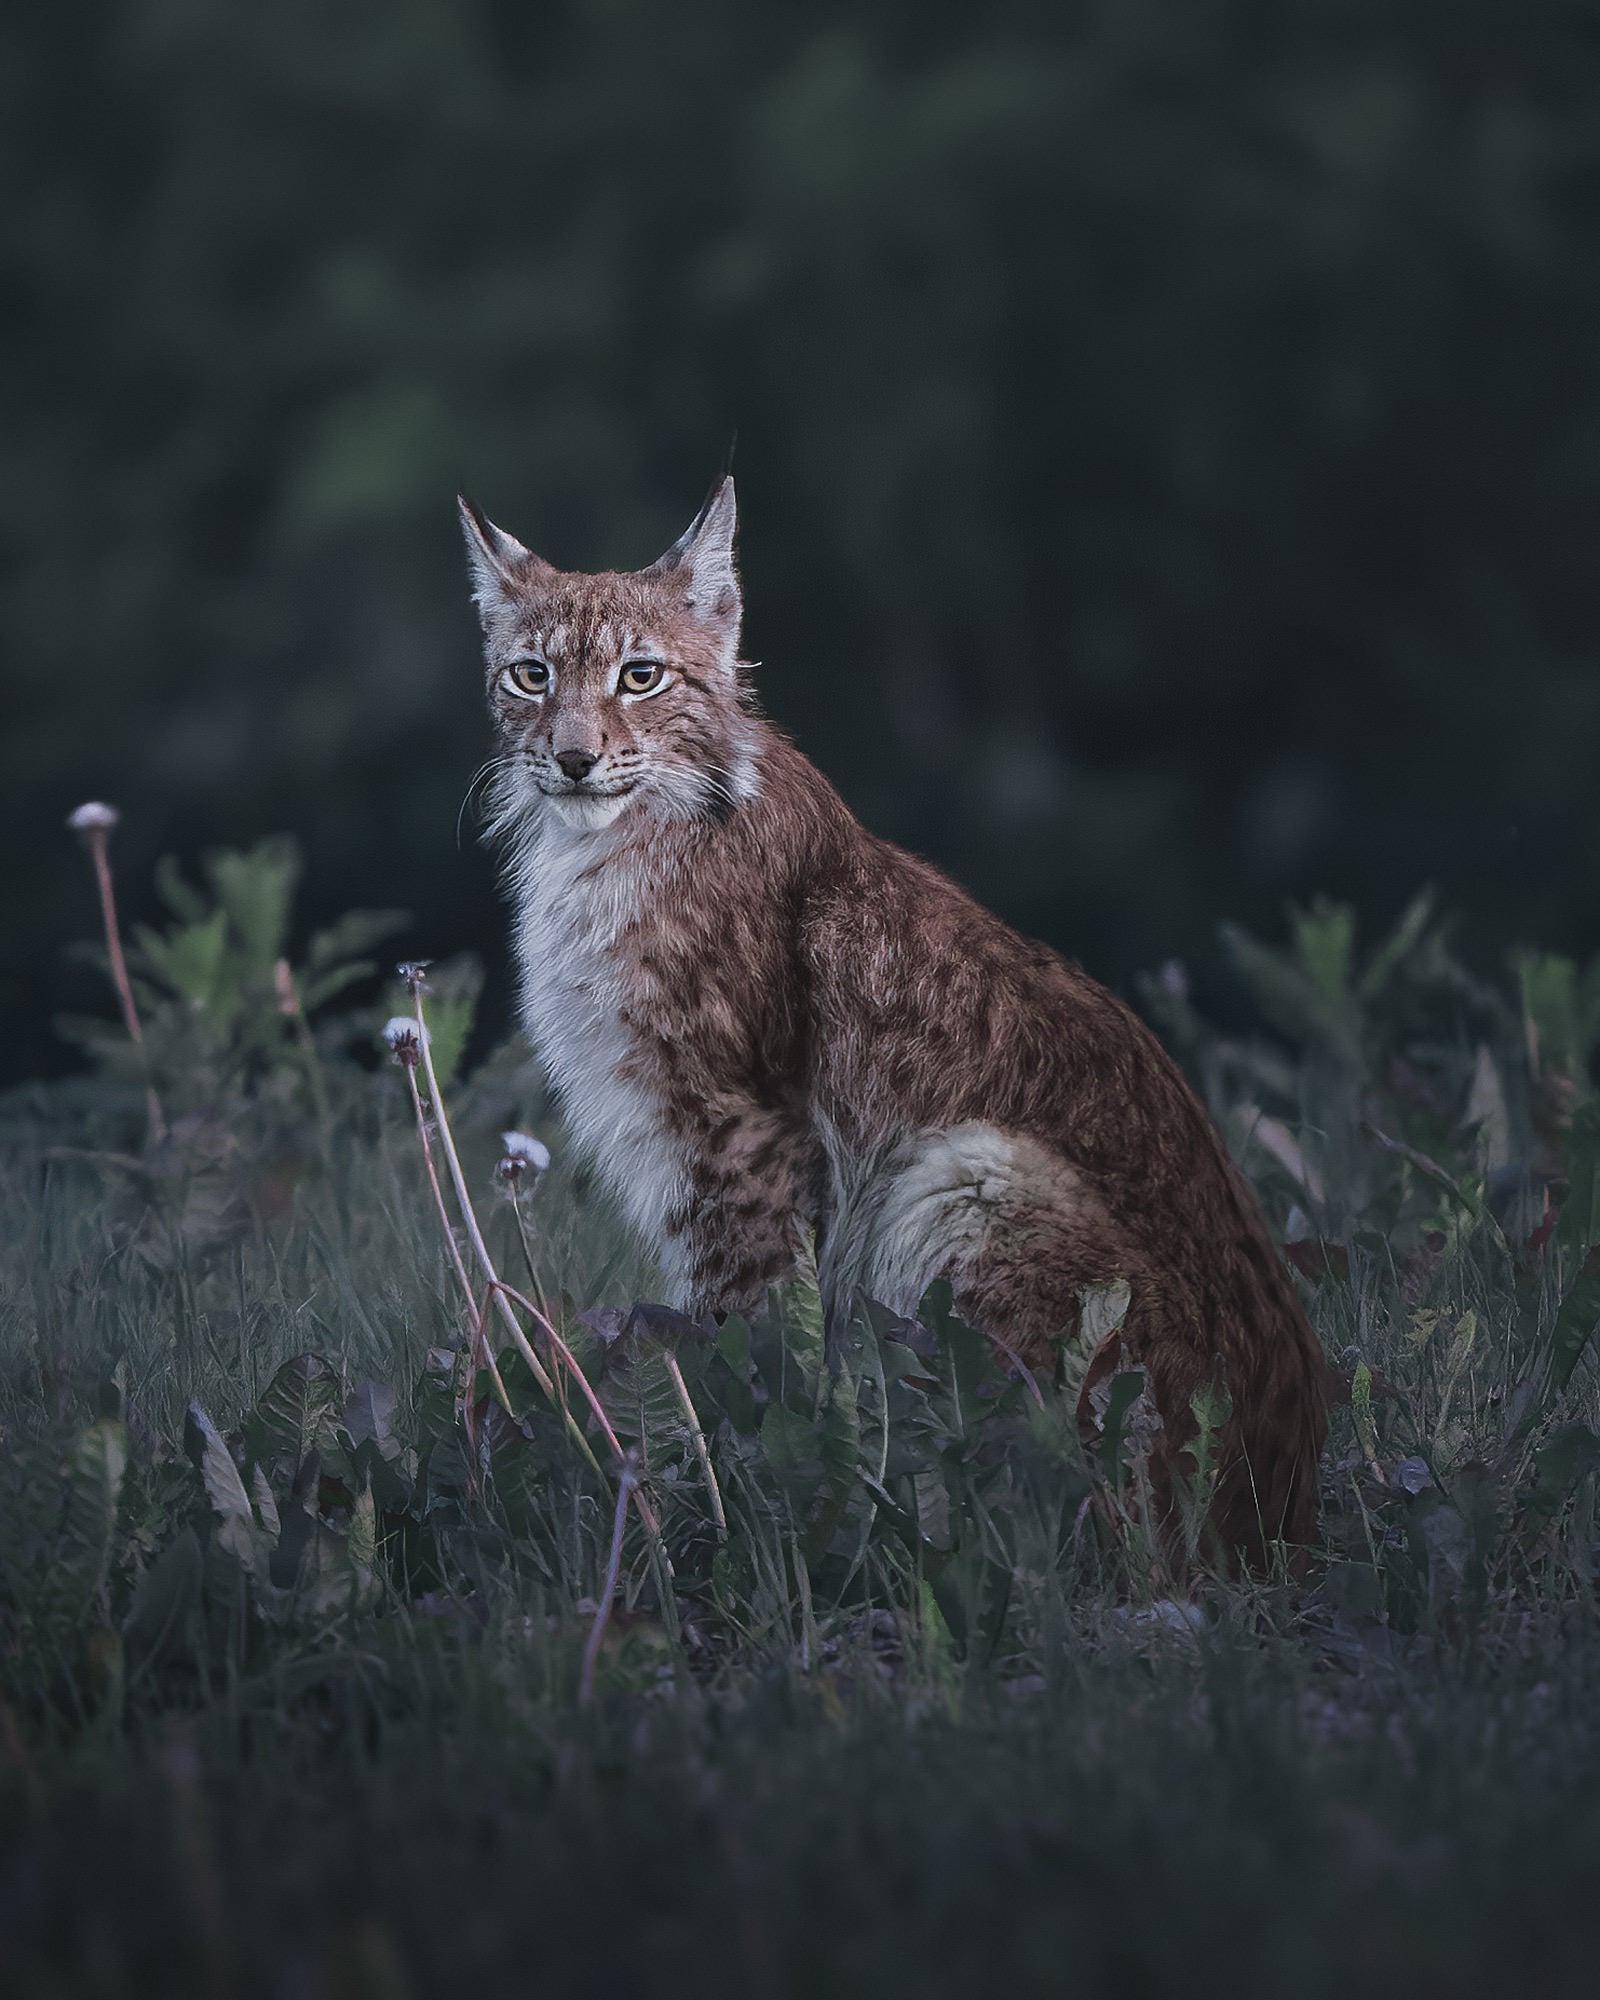
Photo by Petri Mäkitalo. Sony Alpha 1. Sony 400mm f/2.8 G Master. 1/30-sec., f/2.8, ISO 4000
It didn't take long for me to notice something incredible. The lynx didn't care about me at all, but it was more interested in its evening menu which included rabbits. I took advantage of this and slowly approached the lynx. Occasionally, it glanced in my direction but quickly shifted its attention back to hunting. It might have been born last year because typically, when a lynx even senses human presence, it is long gone. Its behavior was in no way timid. It even closed its eyes and seemed to take a short nap right in front of me. The closest distance was 15-20 meters.
I also noticed that the lynx's movements were attentive and slow, as it didn't want to reveal itself to the rabbits. This gave me the idea to use the self-timer function for capturing photos and achieve even lower shutter speeds. I set the self-timer to take a photo after a 2-second delay, triggering a burst of three images. Typically, at least the last photo is sharp, and I don't have to worry about any tripod vibrations. With this technique, I was able to go as low as 1/8-sec. exposure. It's incredible to have the opportunity to test different techniques peacefully, especially with a lynx.
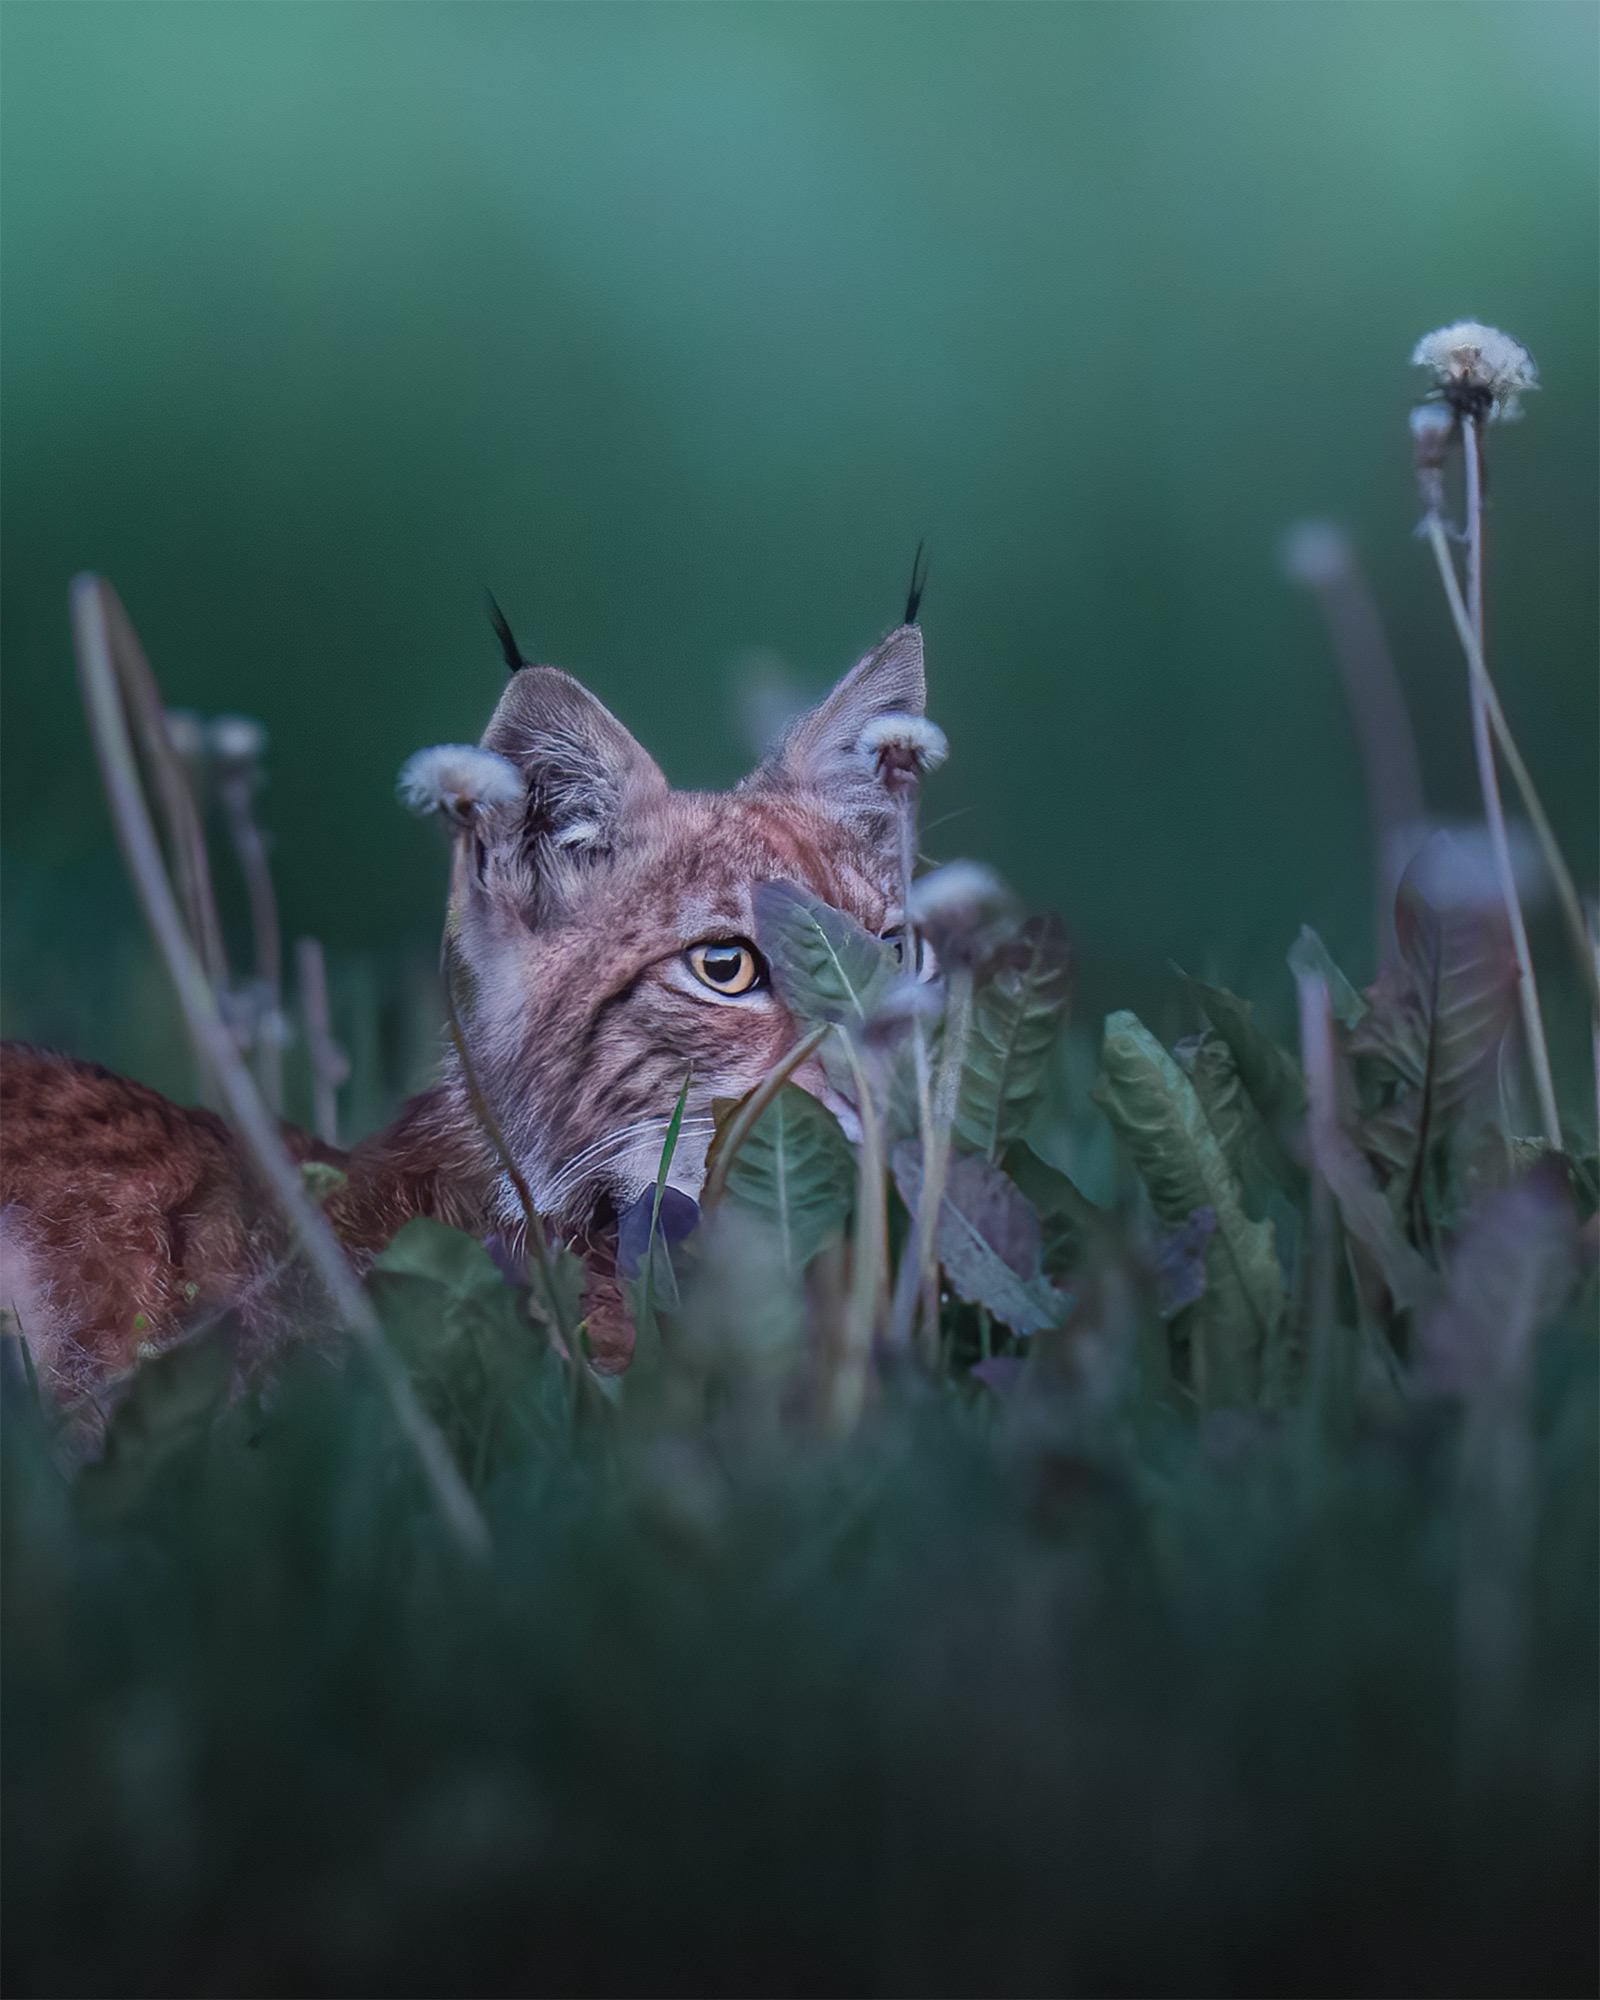
Photo by Petri Mäkitalo. Sony Alpha 1. Sony 400mm f/2.8 G Master. 1/8-sec., f/2.8, ISO 1600
The first photo was taken at 22:56, and the last one at 00:42, giving me a generous couple of hours of shooting time with this elusive lynx. In Finland, during summertime, the northern parts of the country experience the phenomenon of the midnight sun, where the sun doesn't set for several weeks. Even in the southern parts where I live, there are a few hours of dim light during the night. This provides opportunities for photography and videography. Most of the time, the lynx was lying on the ground, but occasionally it would get up. What a magnificent animal it was!
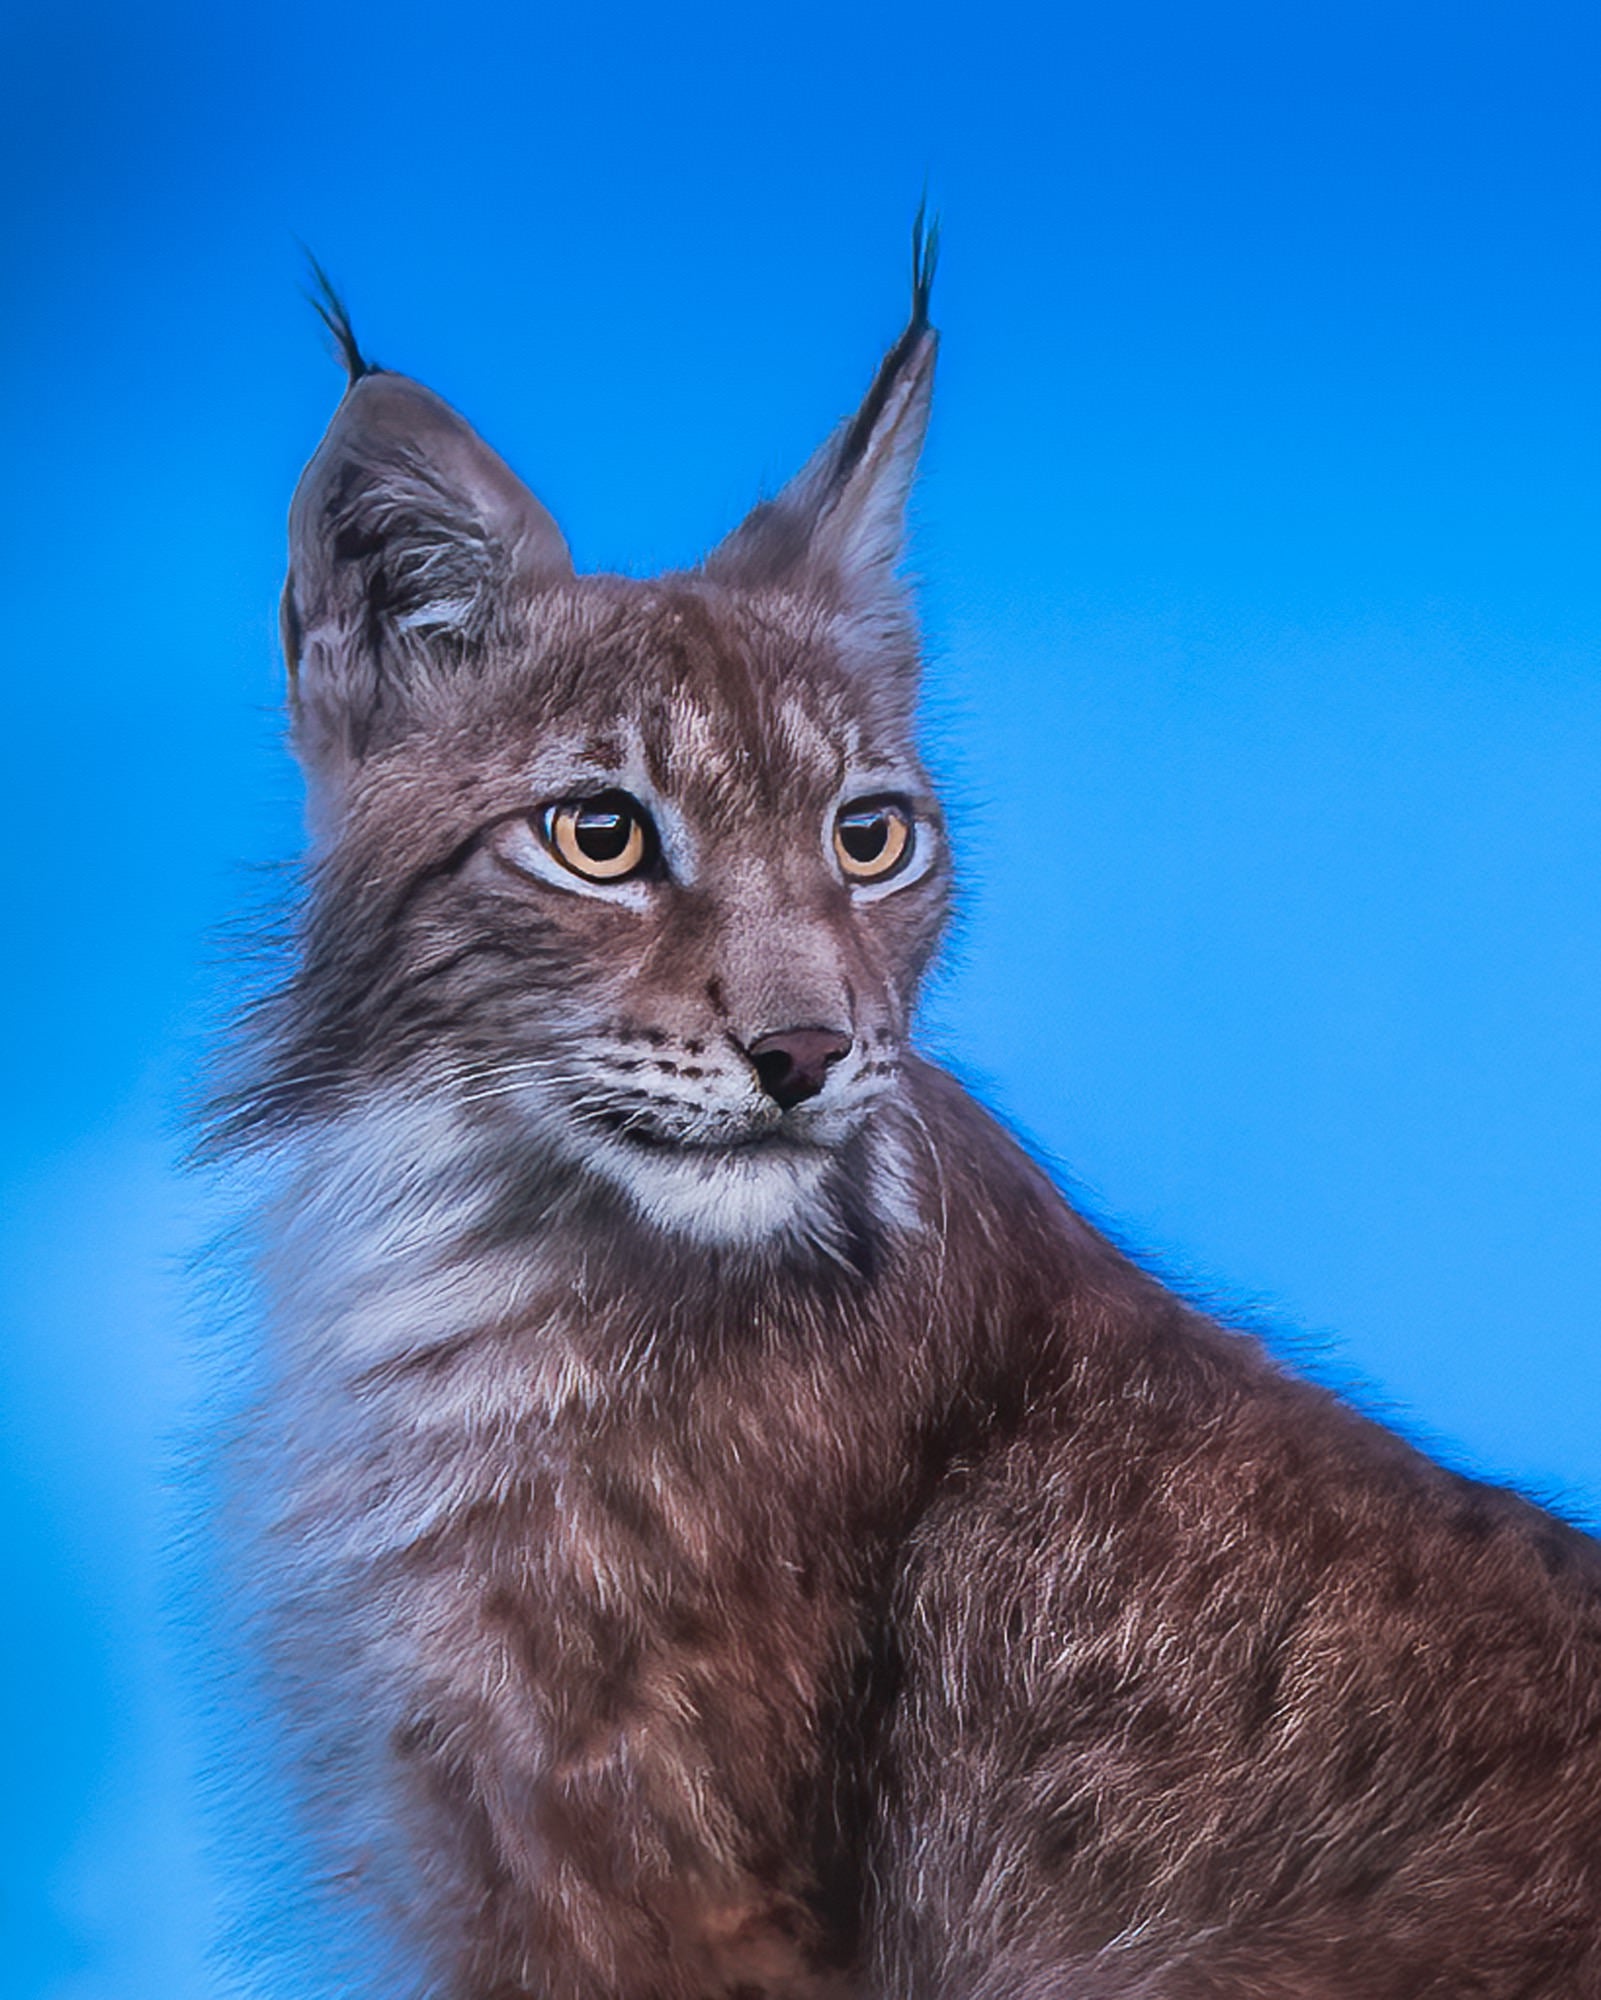
Photo by Petri Mäkitalo. Sony Alpha 1. Sony 400mm f/2.8 G Master. 1/8-sec., f/2.8, ISO 1250
A Detailed Edit To Finish The Image
After the shoot, I usually make copies of the memory cards. In this instance, I made several copies during the late night or early morning hours, simply to reassure myself that what had just happened was not a dream.
In my photo processing workflow, I use multiple software applications and switch between them as needed. The lynx photos were made with this similar workflow. After selecting the image I want to process in Adobe Bridge, I open it in Camera Raw. Next, I adjust the white balance and make basic adjustments such as exposure and contrast. Once I have revealed the details in the highlights and shadows, I don't immediately start adjusting the color saturation. Instead, I switch to Photoshop using the "Open as Object" function. Nowadays, Adobe also offers good noise reduction with Noise AI, but I prefer to use Topaz Denoise for my workflow.
After that, I might also use Topaz Sharpen. However, I try to use these tools sparingly, only applying them to specific areas where they can enhance the image without being overly noticeable. I aim to maintain the natural look of the photograph while subtly enhancing its key aspects.
At this point, when the lynx photos had balanced exposure, sharpness, and were free of noise, I used the spot healing brush to remove any unwanted branches or distractions in the undergrowth that caught my attention in the images.The next step was to convert the picture to smart object and go back to Camera Raw filter and give the photo a specific look.
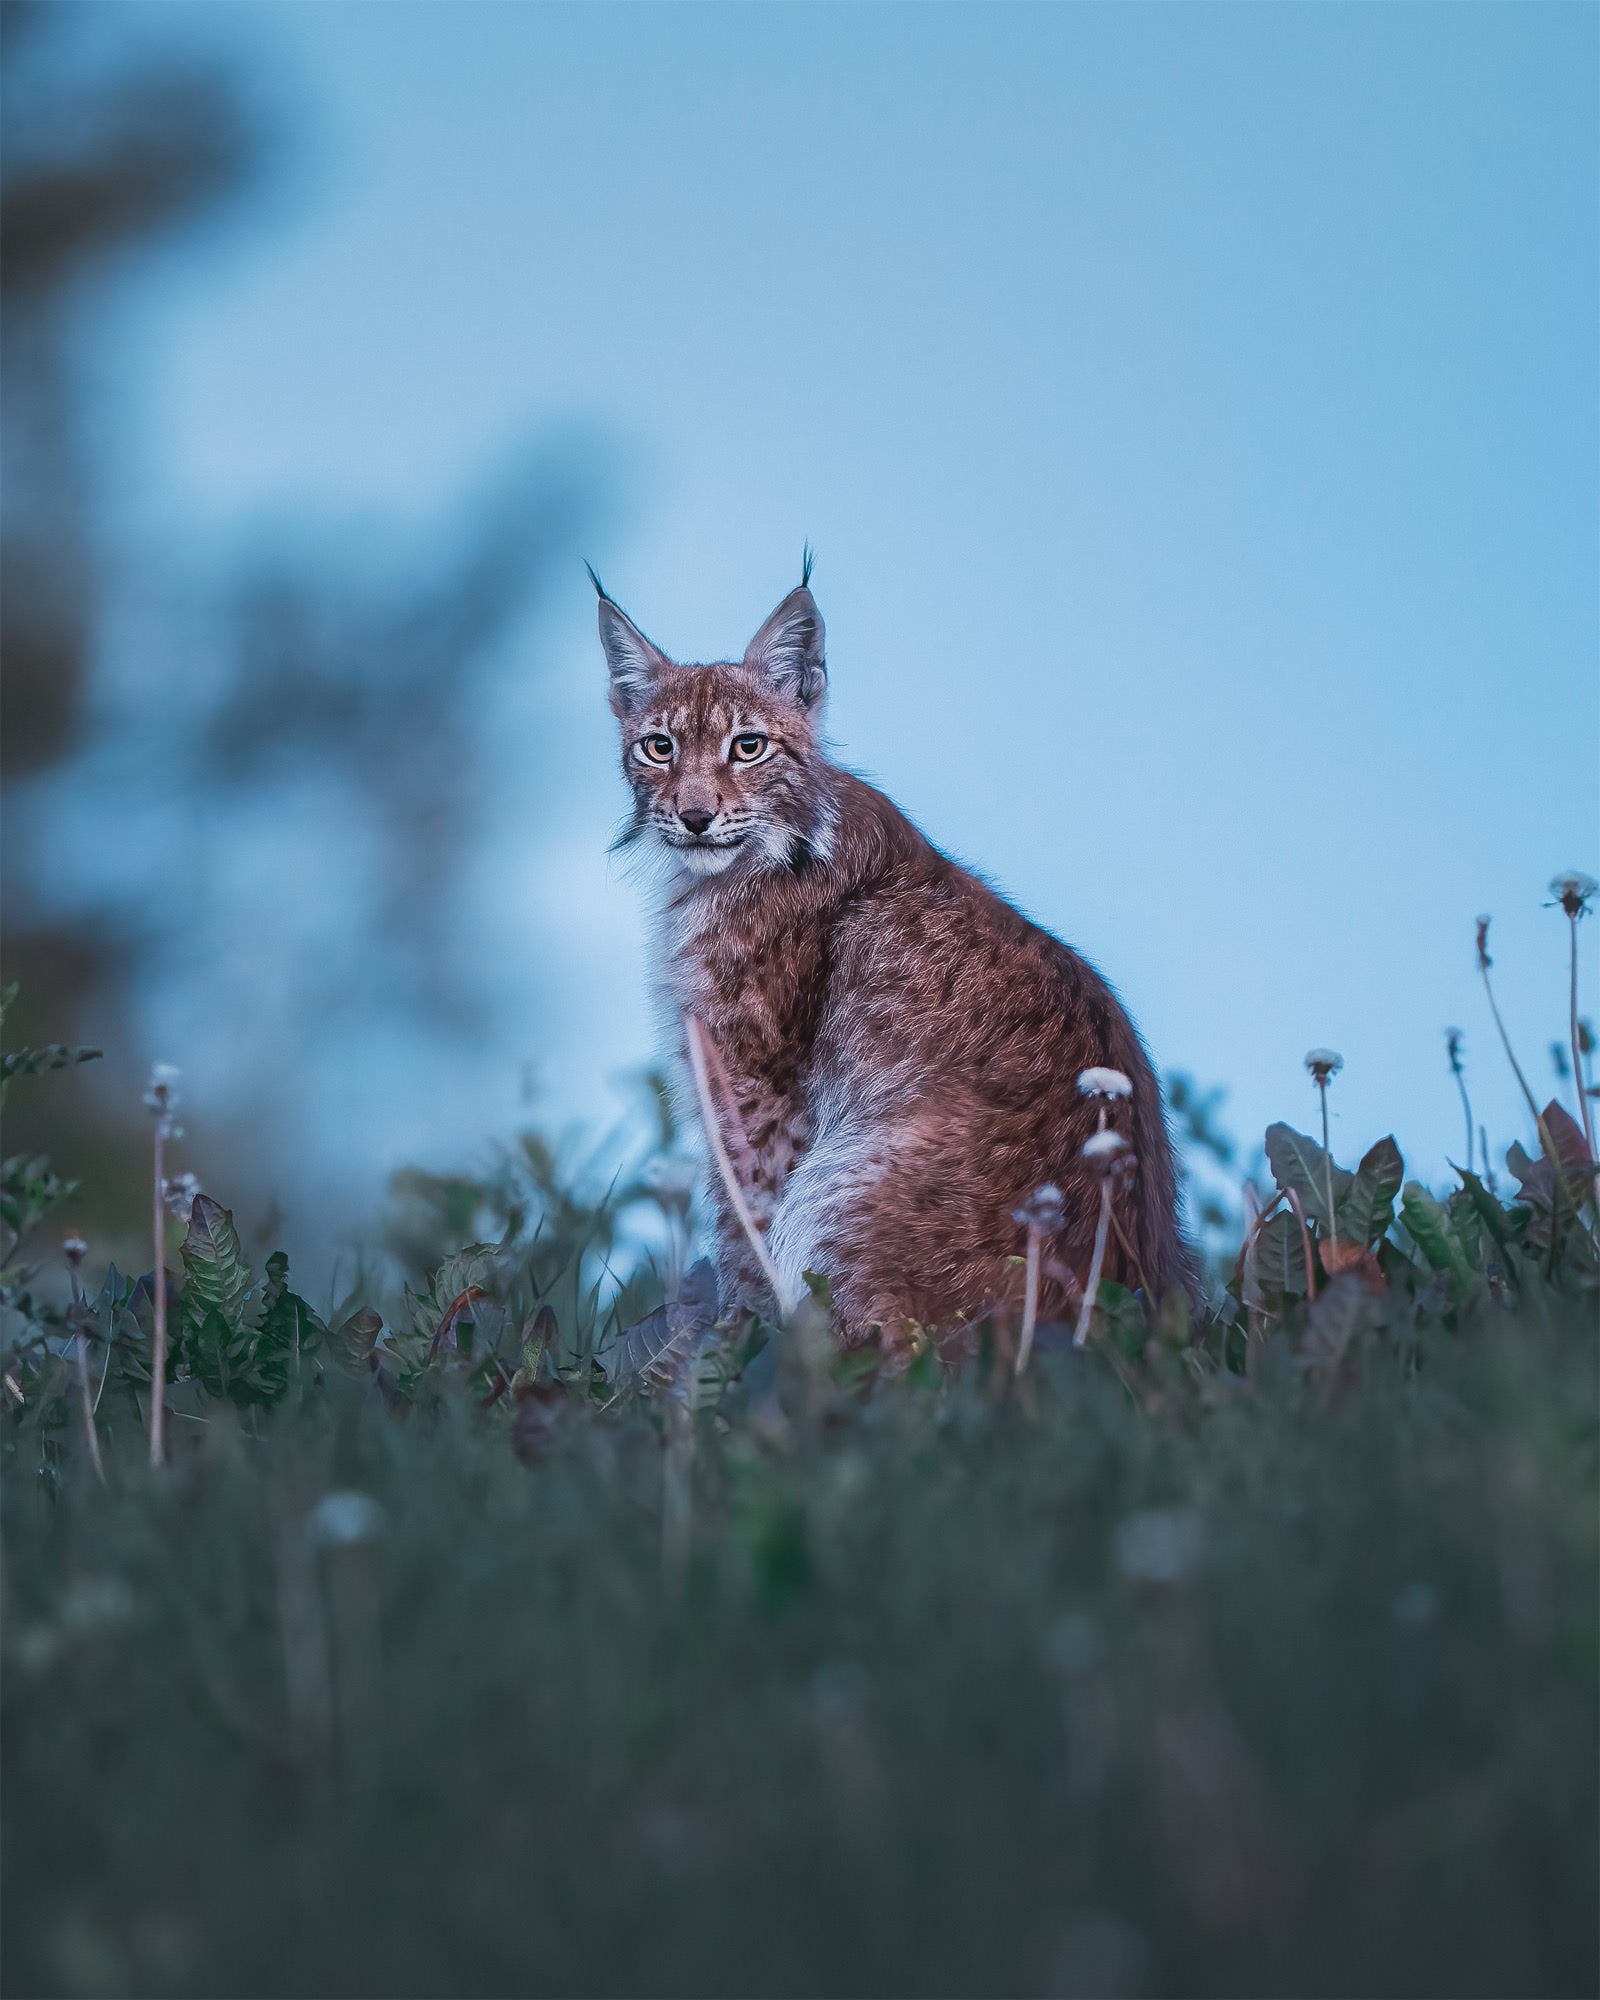
Photo by Petri Mäkitalo. Sony Alpha 1. Sony 400mm f/2.8 G Master. 1/13-sec., f/2.8, ISO 2000
After increasing the vibrance by a maximum of +12 and adjusting the saturation to a range of 1-5+, I applied an S-curve to enhance the black tones and create a muted look. In the detail section, I selectively increased the details using a mask created with Ctrl and Alt keys, ensuring that the details tool only affected the lynx. Using the color mixer, I aimed to create a muted look in the image. If necessary, I applied the adjustments outside of the lynx to maintain its natural colors. I was careful not to overly alter the natural colors of the animals.
In the color grading section, I focused on adding a touch of blue to the highlights and a hint of purple to the shadows. The important thing was to avoid overdoing any of the settings in these programs. Each adjustment contributes to the final result, so it's crucial to maintain a balanced approach. Certainly, there are times when you may intentionally aim for a highly processed Instagram look in your photos.
After the grading process, I like to enhance the overall look of the image using masks. I often use a radial mask to isolate the main subject and apply specific adjustments to it. Sometimes, I invert the mask to affect only the other elements such as the background. Additionally, I find the gradient tool to be quite useful as it allows me to process large areas of the picture and create a more specific vibe or effect in the background. With the camera raw calibration tool I can affect the overall hues to give the photo the main look.
At least at this stage if not earlier, I use dodge and burn techniques to enhance the subject's appearance. It involves selectively lightening and darkening specific areas of the image to bring out details and create a more dynamic look. By adjusting the exposure in certain regions, I can make the subject stand out. Once I am satisfied with the grading and overall look of the image, I return to Photoshop to continue my editing process.
Now it's time for the final touches on the pictures. To speed up the process, I use John Weatherby's Pro Panel, which provides action commands for efficient editing. In the end, I often apply the Orton effect to the image. Essentially, it means duplicating the image, applying Gaussian blur and adjusting the lighting to create an ethereal feel when blending these two images together. The last thing I do is go once again back to Camera Raw and give it a bit of noise back to give a more natural look on the picture. In the export process, I’ll add extra sharpness for web use.
Follow Petri (@petri_makitalo) on Instagram to stay up to date on his incredible wildlife encounters!


