Magnus Winbjörk (@winbjorkphoto) is wildlife and nature photographer based in the northern part of Sweden, in Swedish Lapland. “My great passion is capturing all the beauty that Mother Nature has to offer in photographs,” he shares. “I am also deeply committed to achieving technically perfect shots, always striving for the highest possible image quality in every situation, which is why I place very high demands on my equipment, as I constantly push it to the limit." Winbjörk also hosts photography tours in northern Sweden catering to photographers from all over the world who want to see and experience the unique landscapes and wildlife the area has to offer. We came across this beautifully detailed image of a puffin he posted to Instagram and had to learn more. Keep reading as he shares the story behind the shot.
Product Preview – In This Article You’ll Find:
–Sony Alpha 1
–Sony 300mm f/2.8 G Master

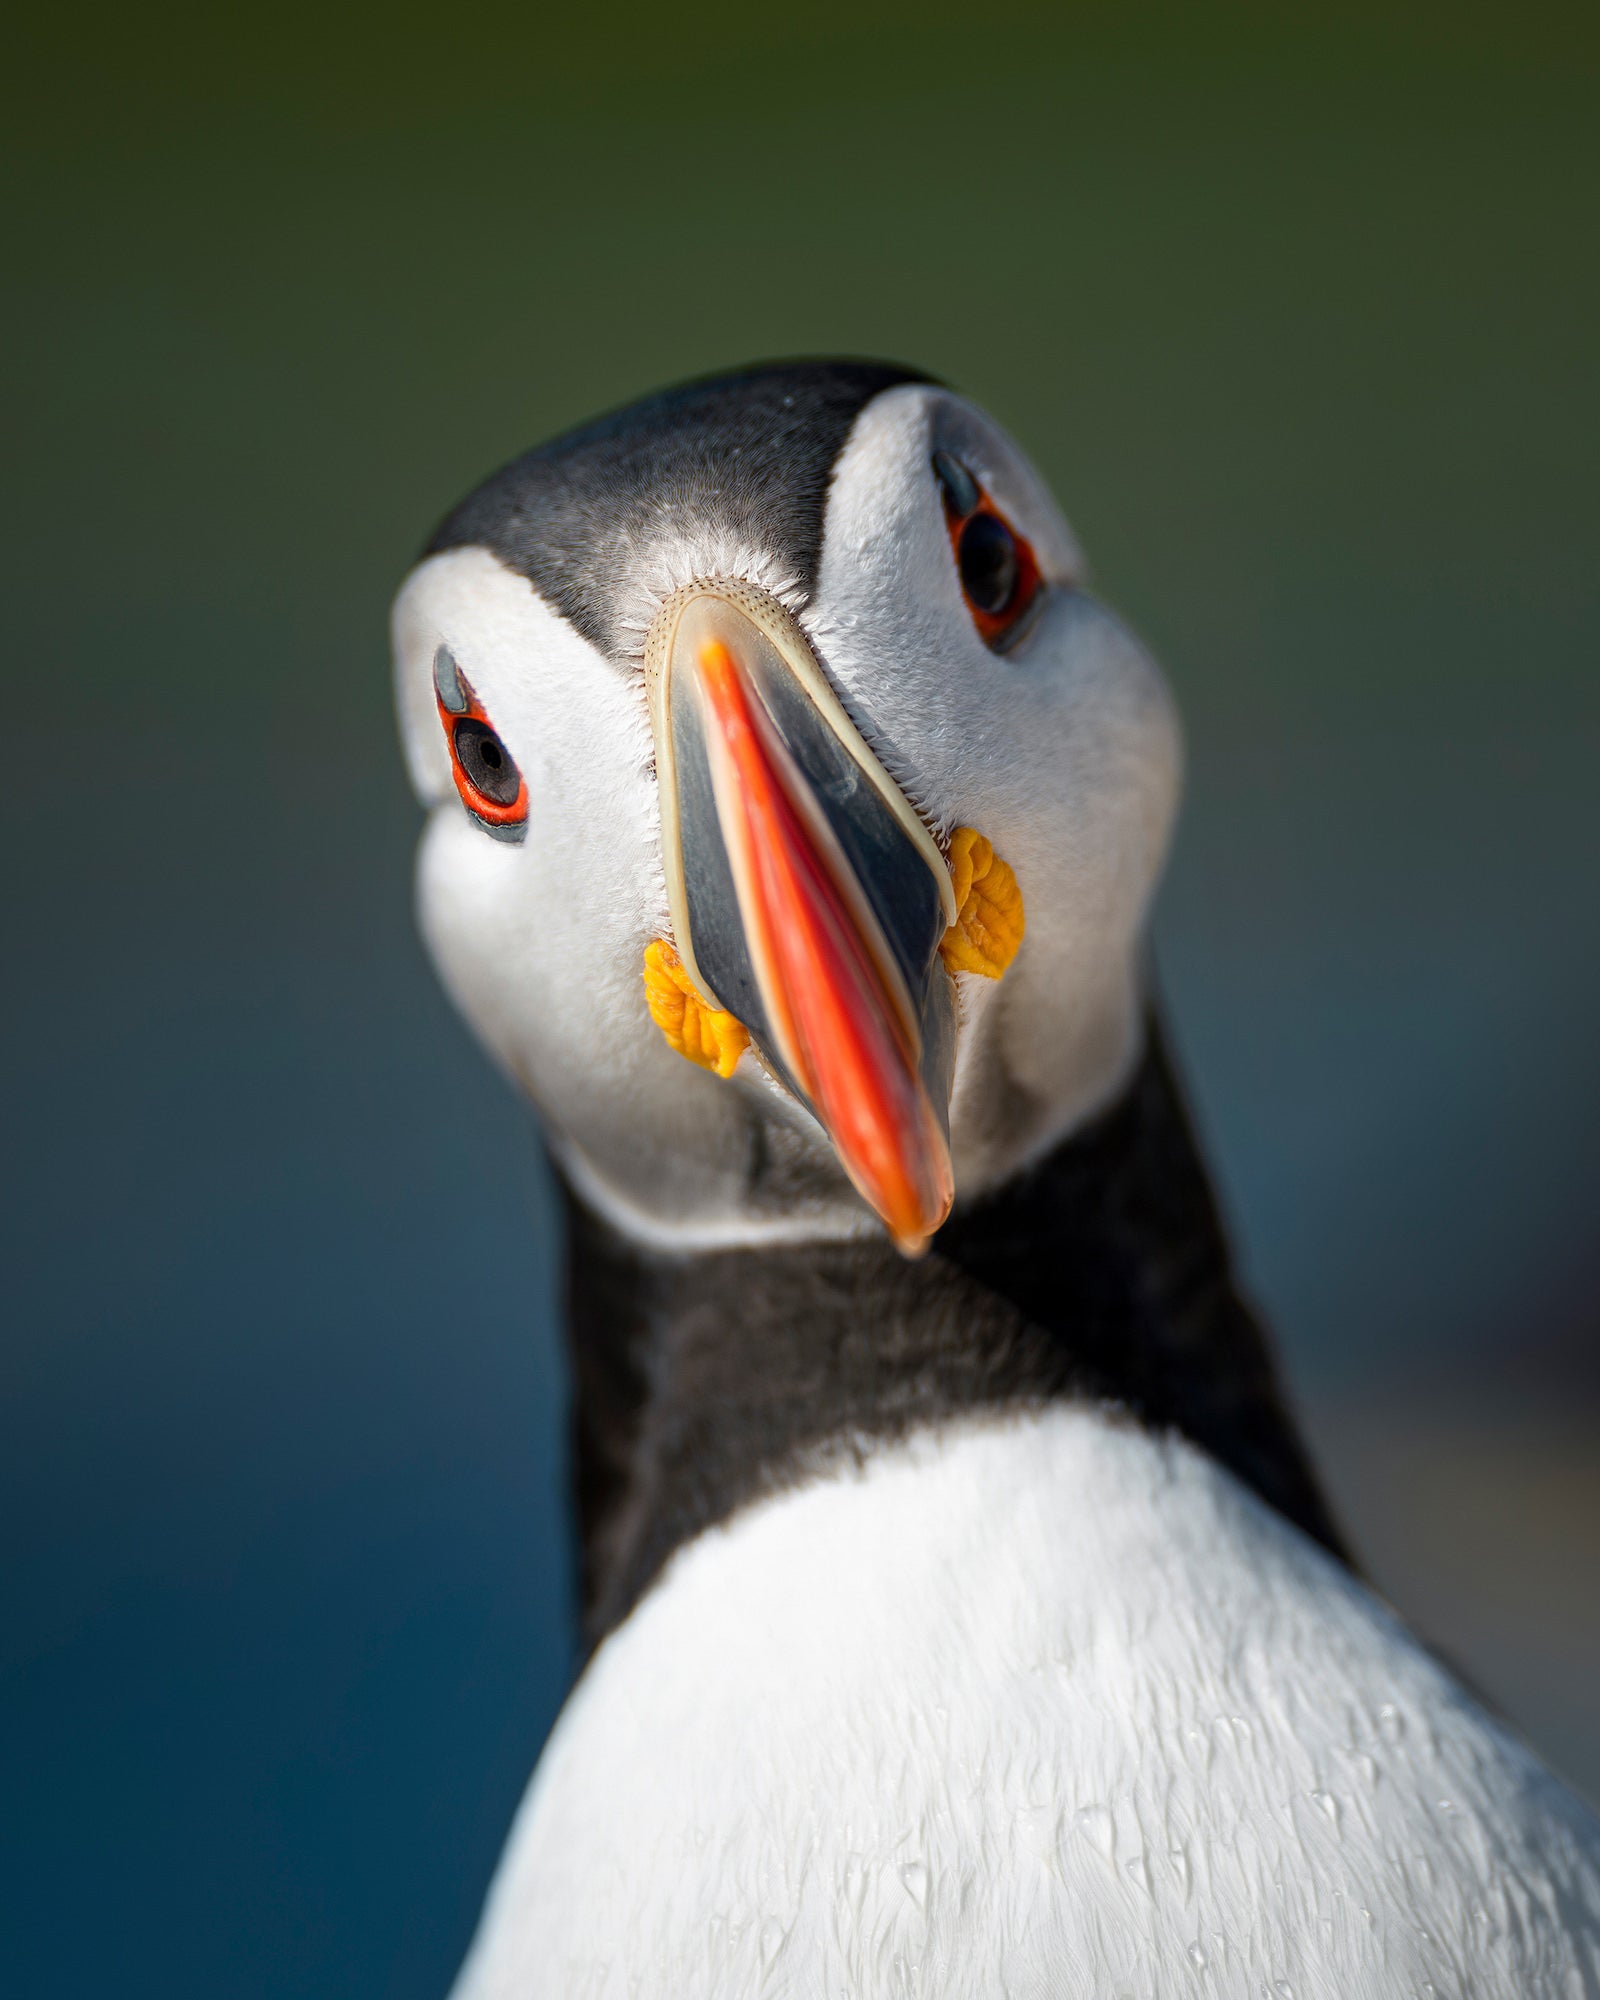
Photo by Magnus Winbjörk. Sony Alpha 1. Sony 300mm f/2.8 G Master. 1/2500-sec., f/2.8, ISO 100
The Unique & Charming Puffins Of Northern Norway
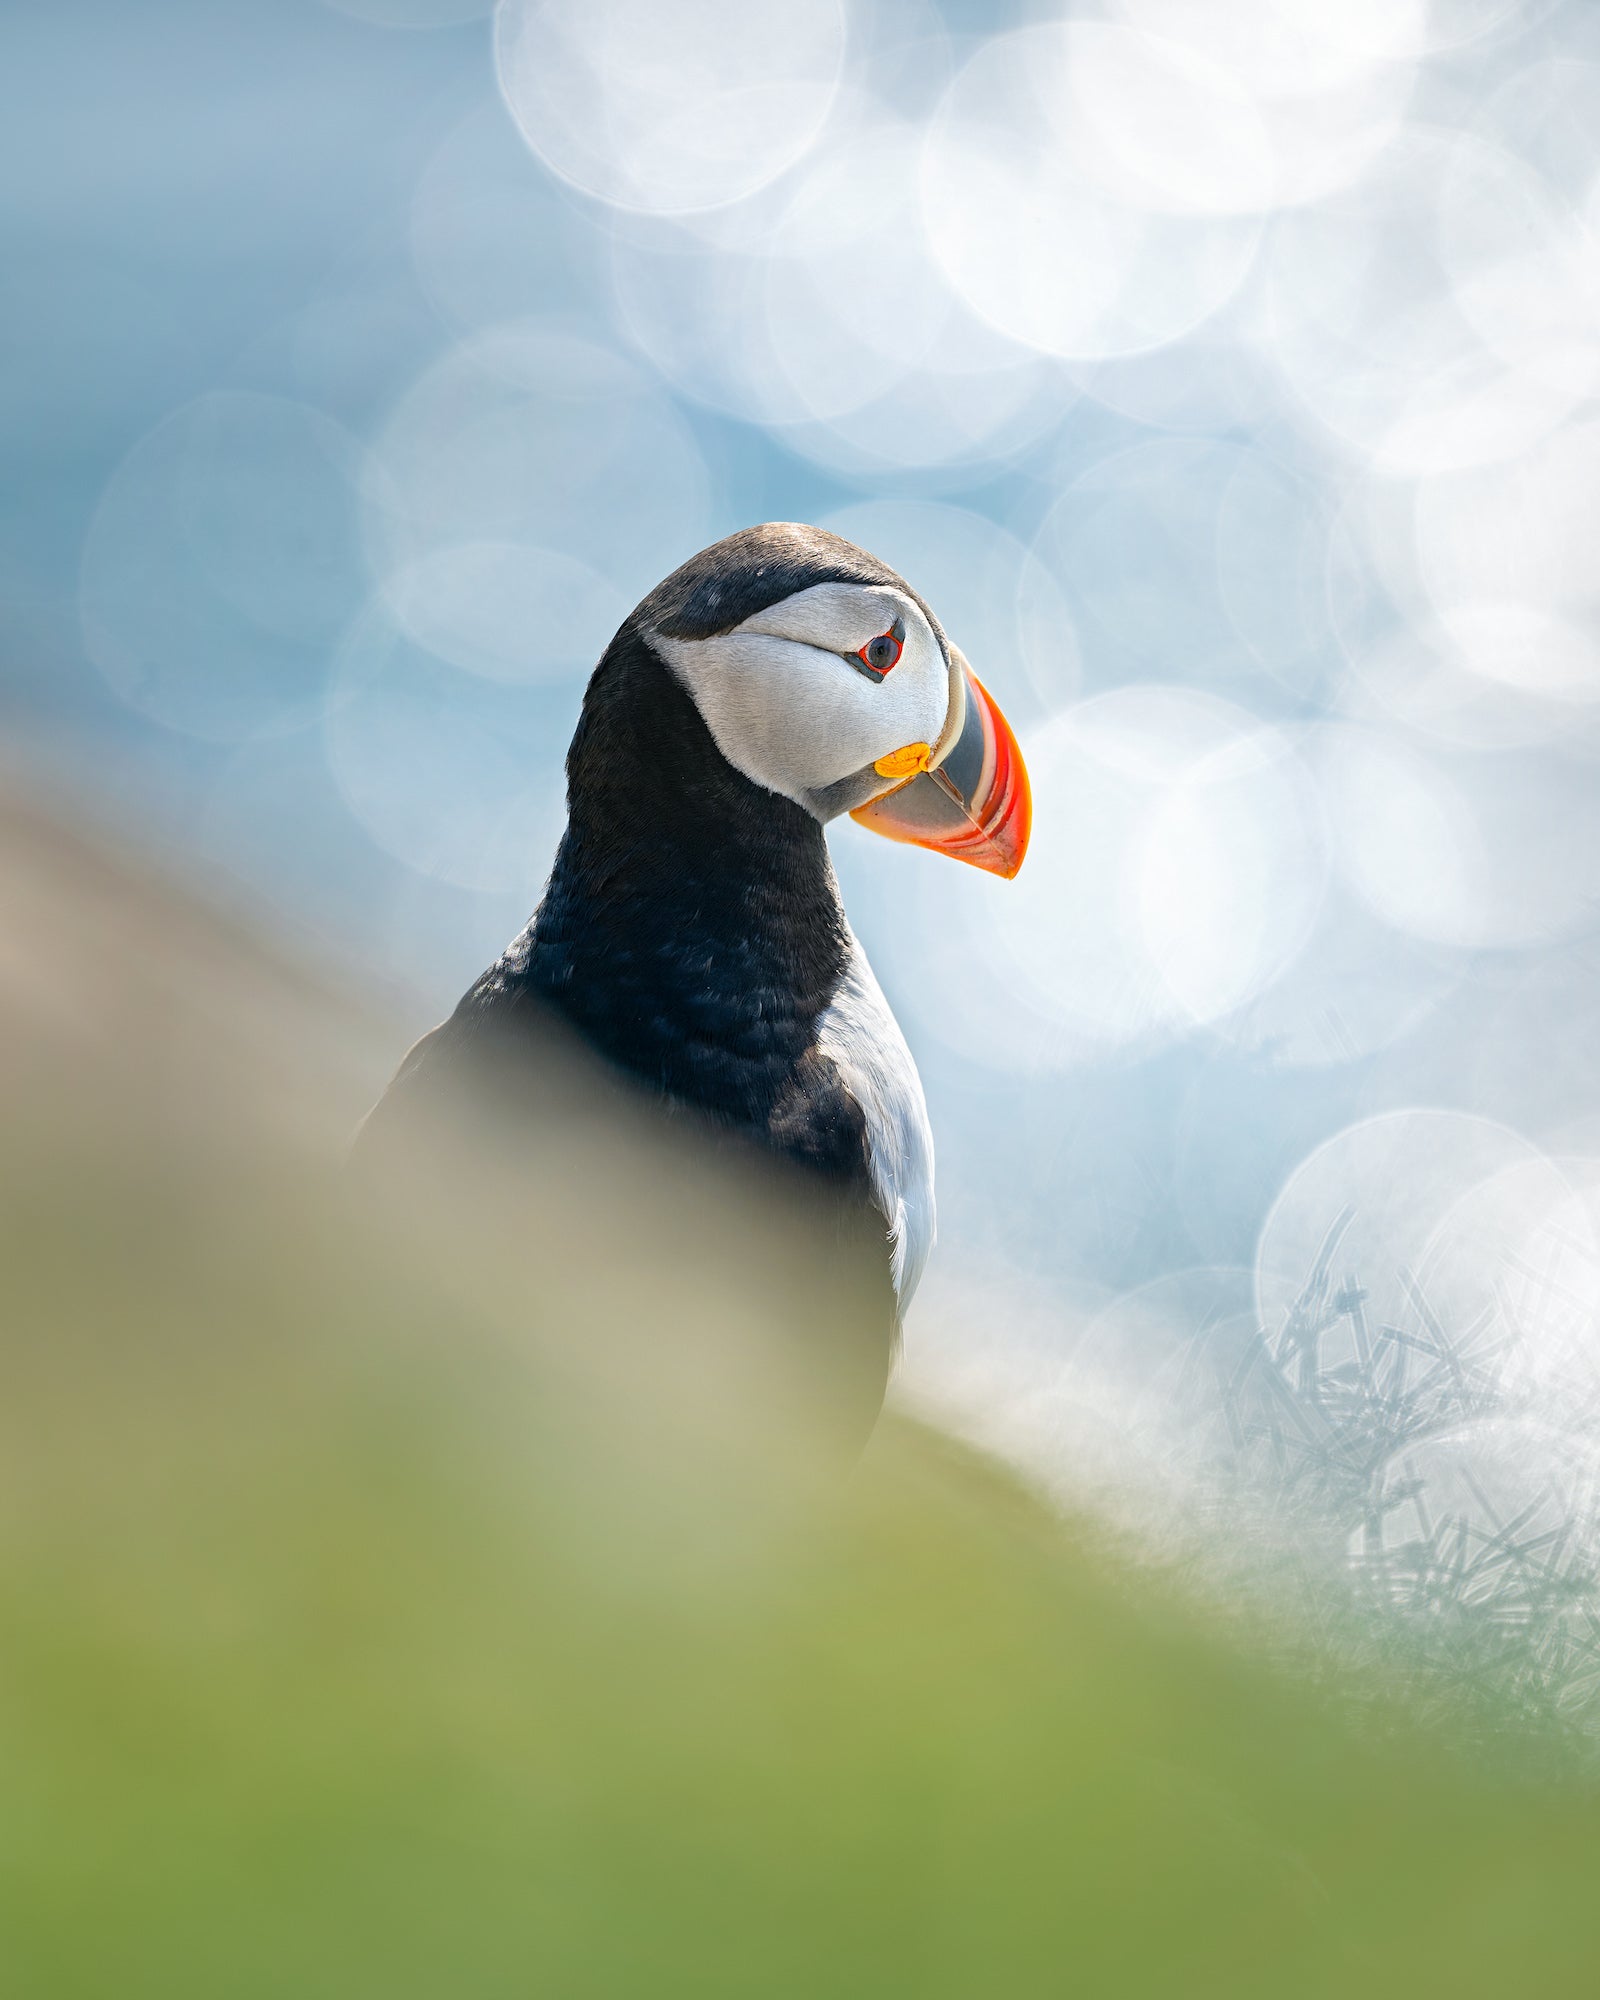
A slightly longer photography tour with guests had just concluded, and I had a few days off for myself. When I have time off, being out in nature and photographing alone is my way of recharging and preparing for the next tour. On short notice and without any prior planning, I started checking weather forecasts to spontaneously plan a short trip for photography. Normally, the mountain areas in the northern part of Sweden are my usual work area, but according to the weather forecasts, rain and storms were expected throughout the region in the coming days. However, there was a small hope for better weather in the far north of Norway, around the Varanger area, so I spontaneously decided to pack the car and embark on a 9-hour drive up to the Varanger Peninsula. That part of northern Norway has a rich birdlife, and puffins are one of my favorite birds. Puffins have such a unique character that I find incredibly interesting and charming, and I really enjoy trying to capture their expressions and mannerisms in a way that conveys the feeling they give me.

Photo by Magnus Winbjörk. Sony Alpha 1. Sony 300mm f/2.8 G Master. 1/400-sec., f/3.5, ISO 100
A No-Nonsense Combination For Next-Level Wildlife Photography
The choice of camera body for the task was an obvious one for me. I’ve been using the Sony Alpha 1 as my primary camera for wildlife ever since it was released. It’s an absolutely phenomenal combination of speed and resolution. Even after years of use, this camera continues to impress me. The autofocus is incredibly accurate, and you rarely have to worry about missing a moment. And when the focus locks in and you get what you were looking for, you’re rewarded with incredibly high-resolution and beautiful RAW files to work with.
For wildlife photography, my lens choice is usually one of Sony's longer telephoto options, and both the Sony 400mm f/2.8 G Master and Sony 600mm f/4 G Master have been heavily used over the years. But since the release of the new Sony 300mm f/2.8 G Master, I’ve started to think a bit differently and have adopted a slightly different approach to my photography. The Sony 300mm f/2.8 G Master is, without a doubt, the lens that has surprised me the most, and initially, I had the most skepticism and doubts about it. The day I unpacked it and saw how small and light it was, it really felt like a “too good to be true” moment. For a long time, I couldn’t fully relax and found myself consciously looking for flaws and weaknesses because that feeling was so strong. But now, after almost a year of using it, I can confidently say that it’s true—the size and weight are not a compromise for anything else. The sharpness, autofocus speed and everything about this lens is truly unique.

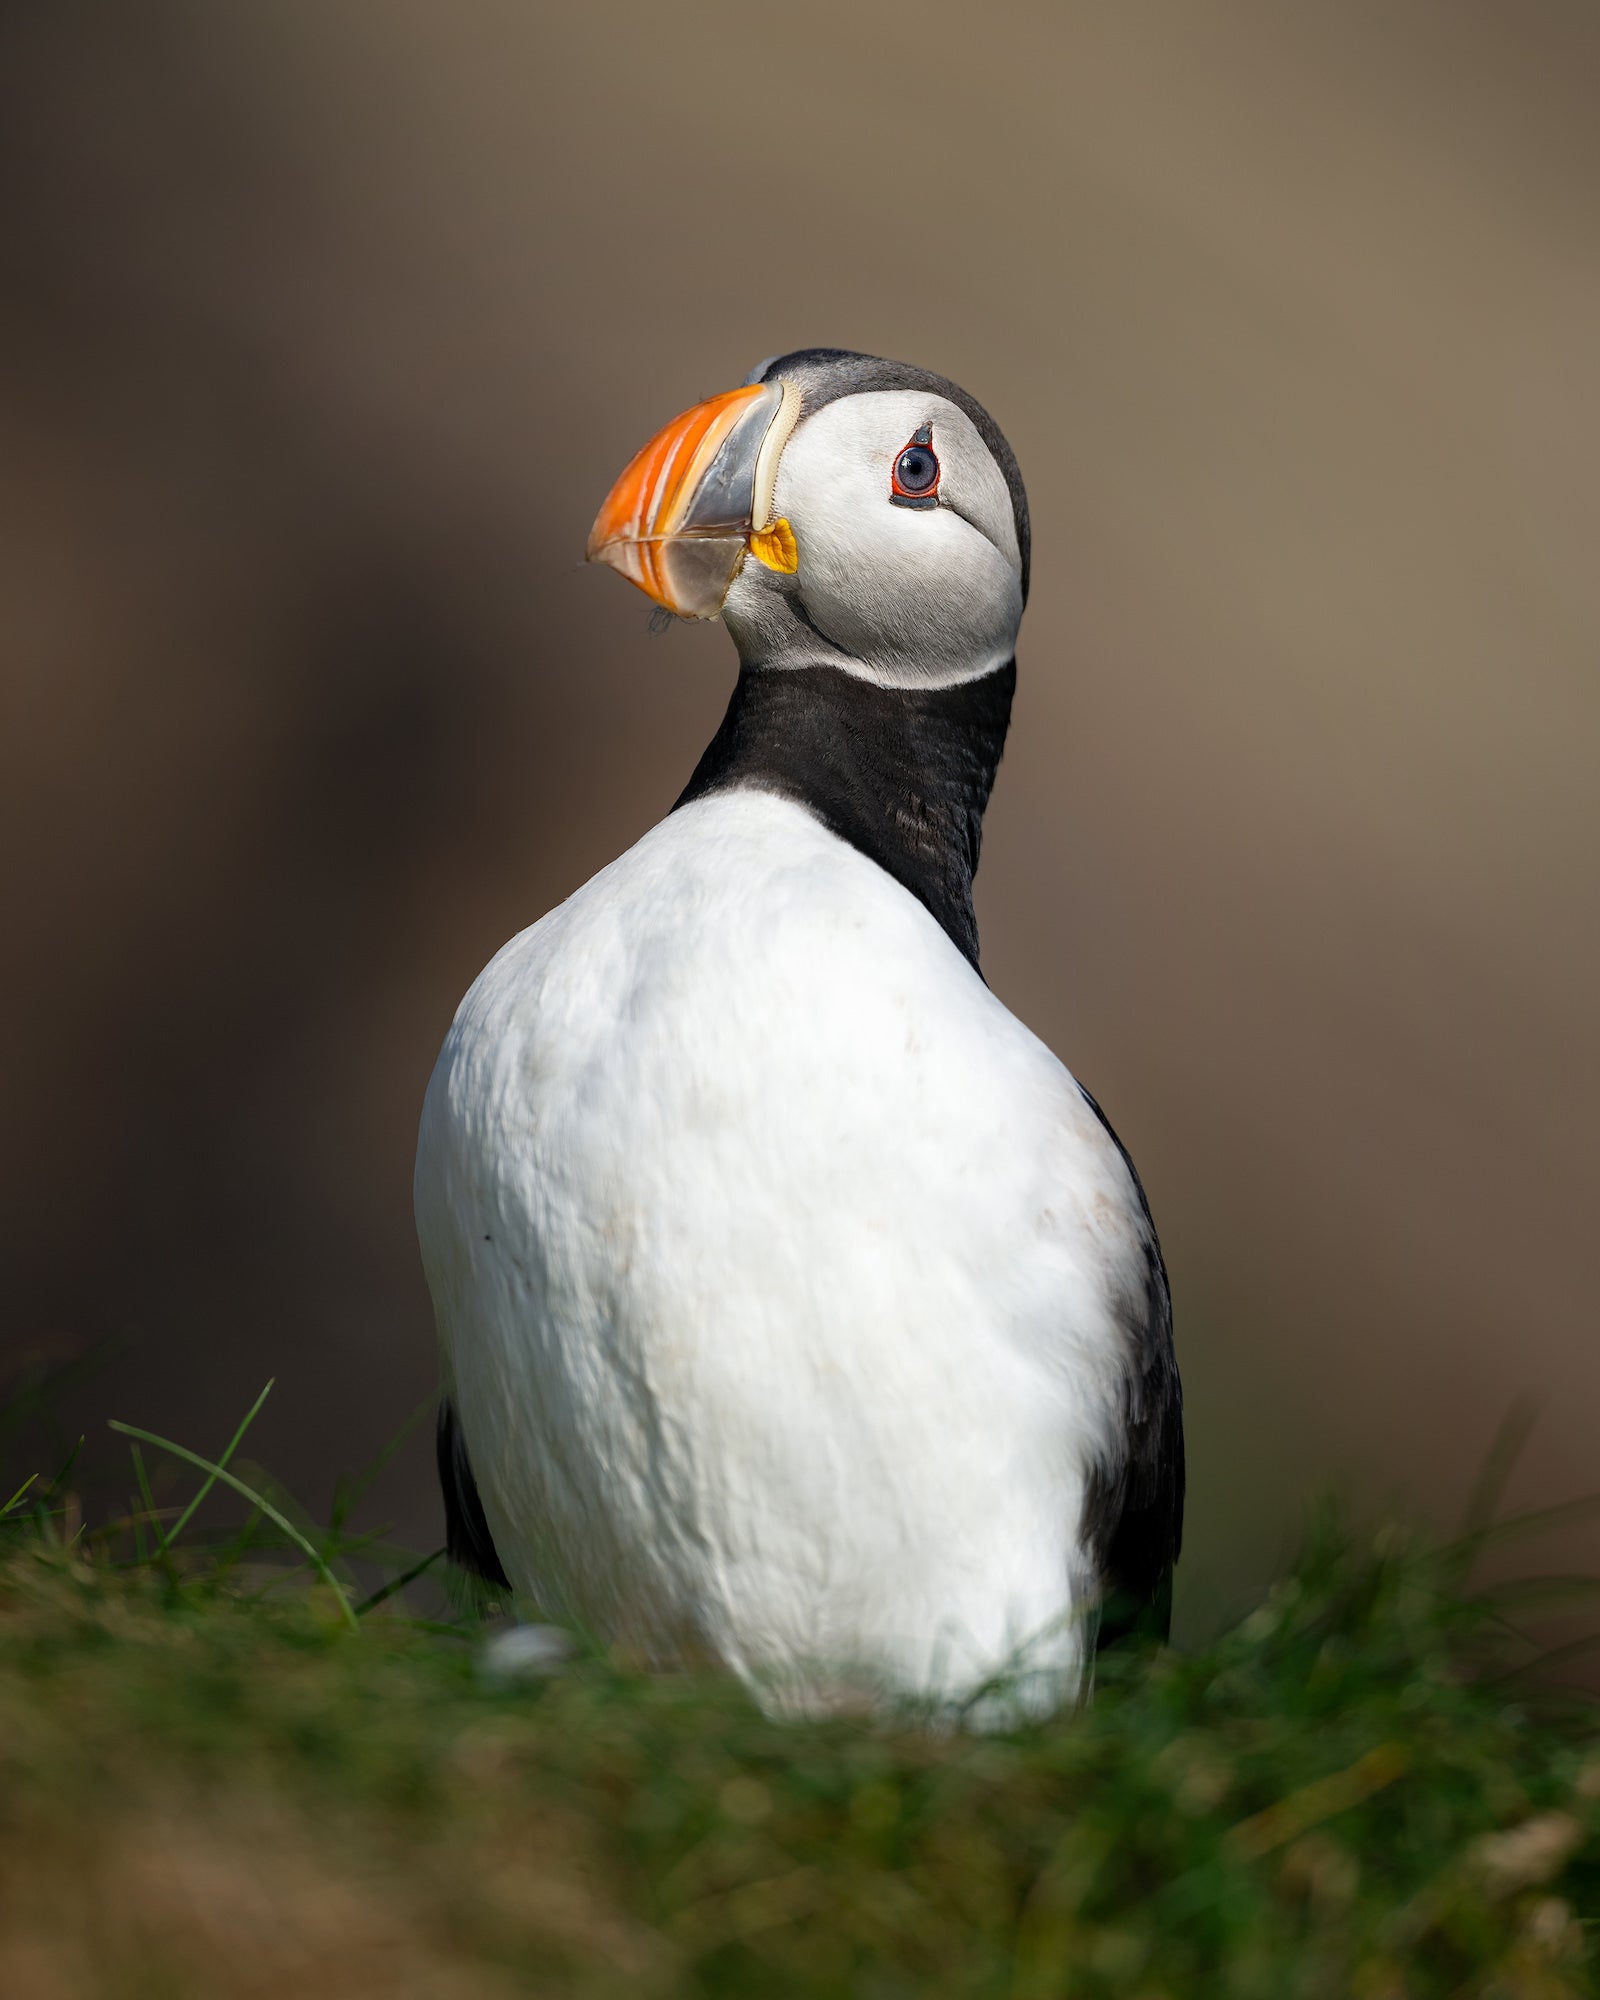
Photo by Magnus Winbjörk. Sony Alpha 1. Sony 300mm f/2.8 G Master. 1/2500-sec., f/2.8, ISO 100
These days, the new Sony 300mm f/2.8 G Master is the lens I most often bring with me when shooting wildlife. It’s so good that it’s hard to choose anything else for the job. You might think that 300mm is sometimes a bit short, and yes, that can be the case, but paired with a high-resolution camera body, the cropping possibilities are endless. It’s amazing what you can achieve while still maintaining excellent image quality and resolution, enough even for large prints, etc. Generally, I always prioritize aperture over focal length. I ask myself, "What aperture do I need for the job?" For example, if I’m photographing wildlife in low light, I get significantly better quality in the final image by choosing the right aperture, which allows for proper shutter speeds, avoids unnecessarily high ISO, and prevents compromising too much and risking motion blur, etc. If 300mm turns out to be a bit short, the quality still ends up better by cropping the image to match a longer lens, rather than using a longer lens with a smaller aperture and being forced to compromise on shutter speed and ISO.
So, the Sony 300mm f/2.8 G Master has become my absolute favorite lens and the one I take out with me most often. And the sharpness and detail that this lens combined with the Sony Alpha 1 delivers are absolutely mind-blowing—you can’t help but smile every time you open a RAW file.
Using The Camera’s Zebra Function & Continuous Autofocus With Focus Tracking
At first glance, it may not be obvious how much thought went into this image, but there is actually quite a bit of planning behind it. The biggest challenge that day was the harsh sunlight—not a cloud in the sky, and the sun was really intense, making it difficult to work with. I decided to search for a spot where I could find birds lit on one side by the sun, but with water on the opposite side of the bird, so that I could use the sun's reflections in the water to bring a bit more light onto the bird's shadowed side. Since puffins are largely black and white, the conditions were far from ideal for this kind of lighting.
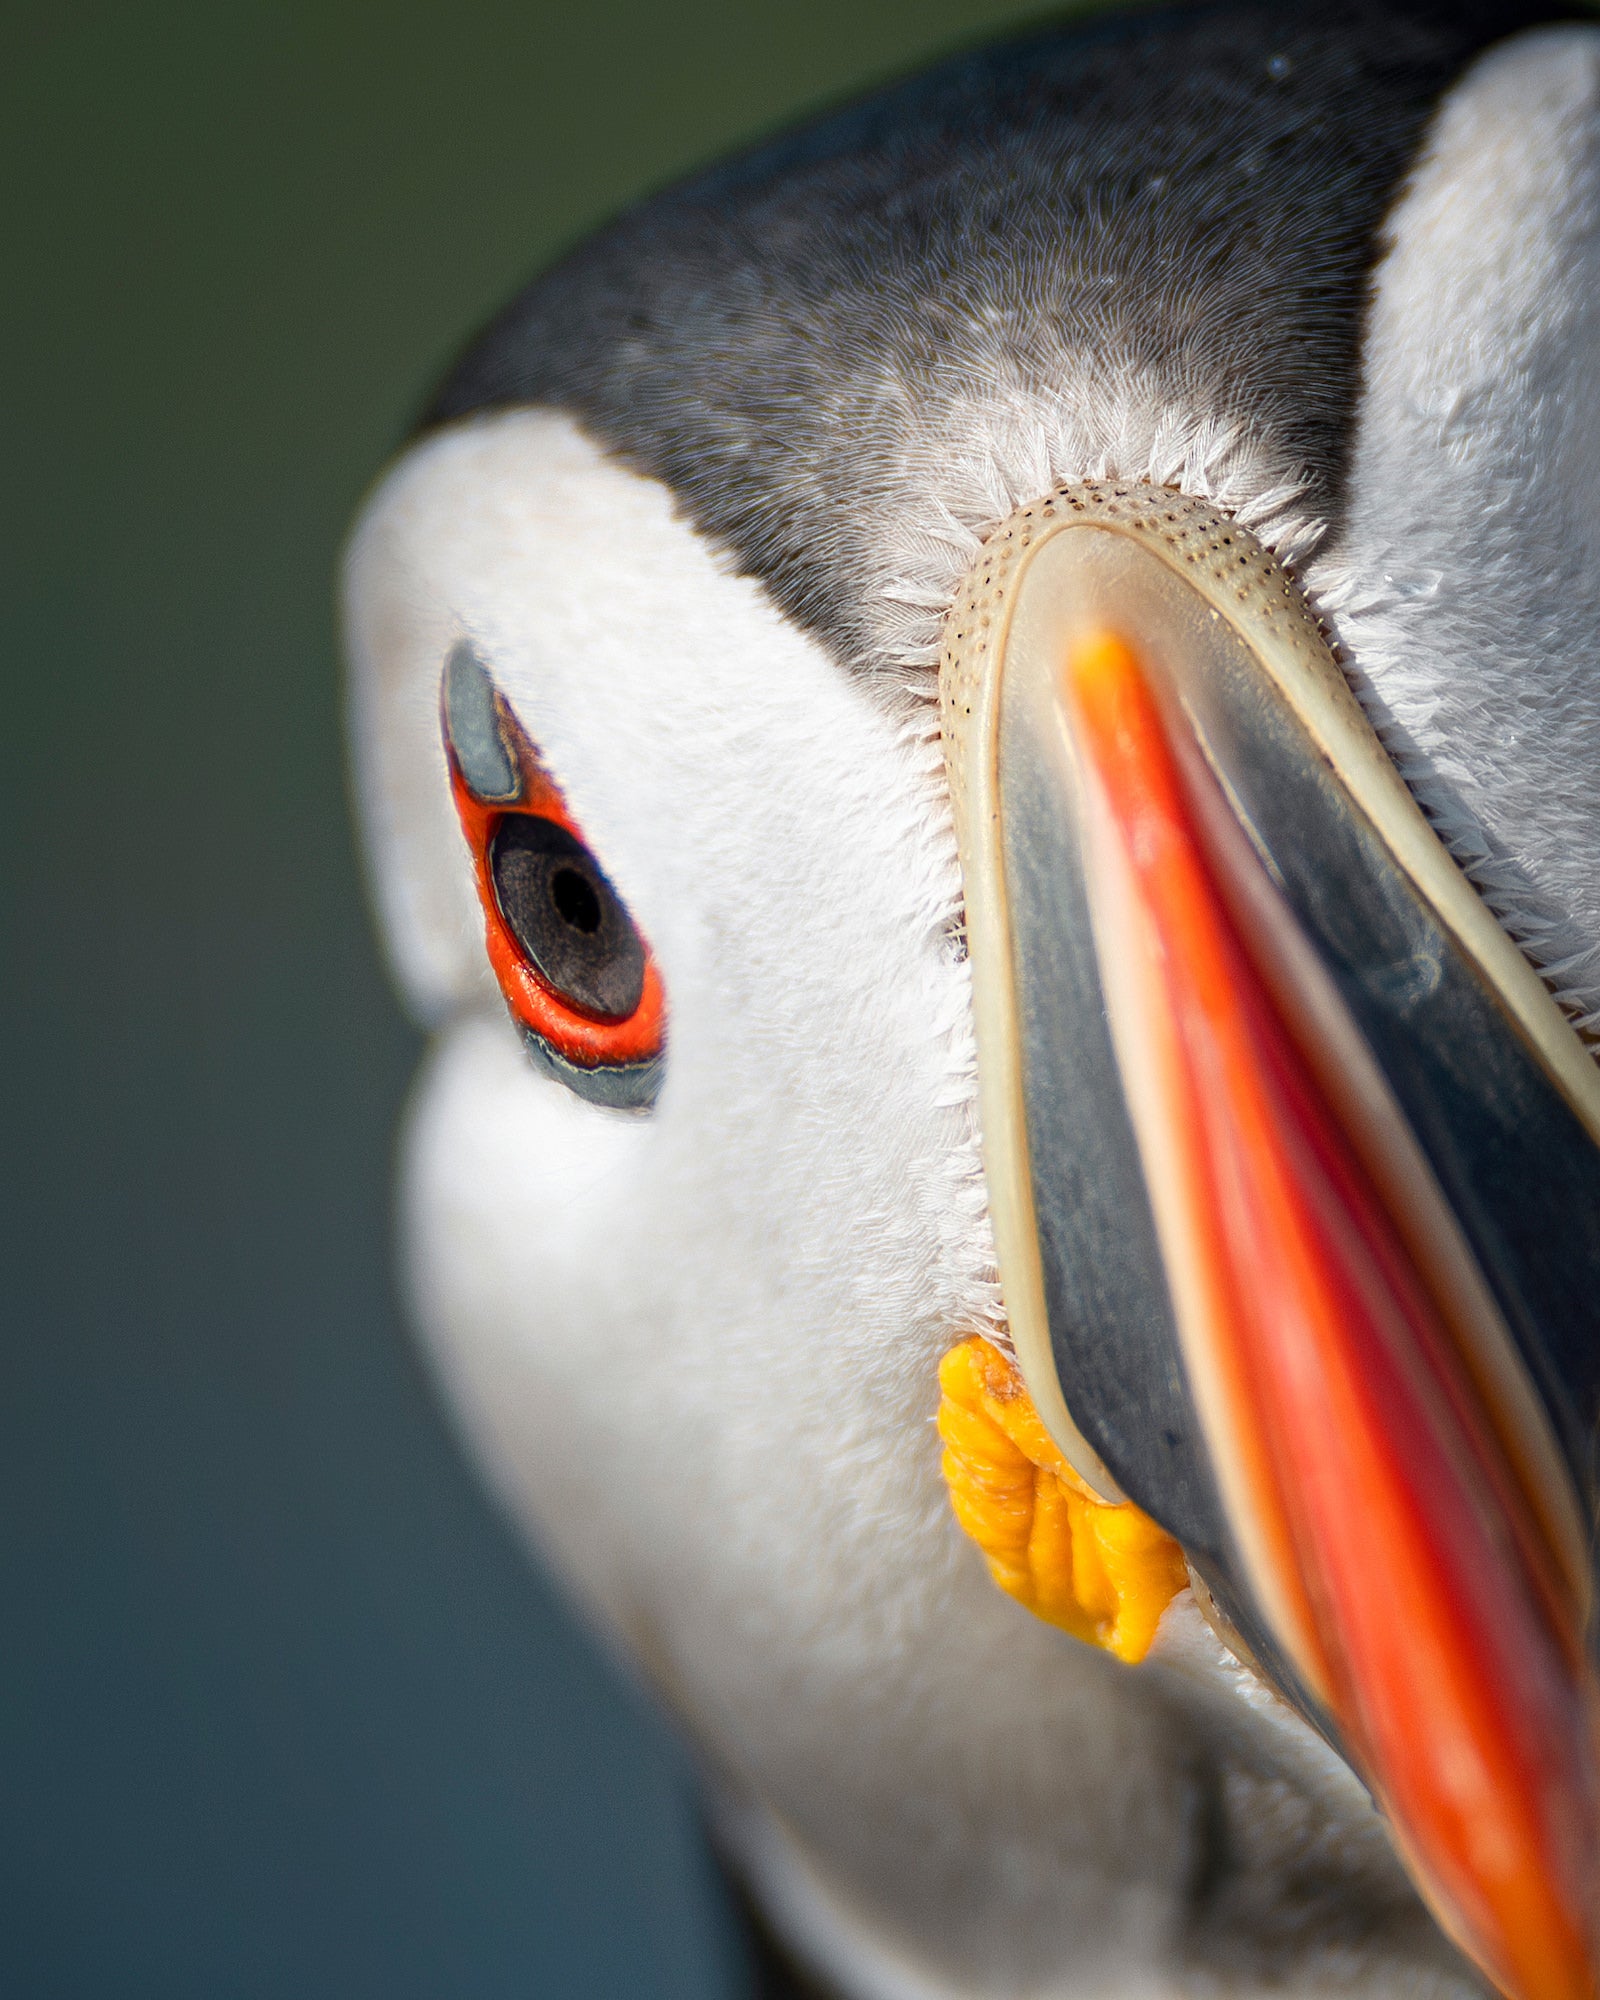
After some searching, I found a location where I could line up the birds perfectly. There was also water and greenery in the background, so I knew I could achieve a beautiful background gradient from green to blue. The only thing missing was the birds themselves, so a lot of waiting was required before everything fell into place. When a few birds finally showed up, I had to think fast. It’s important to quickly position yourself so that the bird in the frame is presented in the most appealing way, then carefully adjust your distance to the bird and fine-tune your vertical positioning to get that nice green-to-blue gradient exactly where you want it behind the bird. I often prefer to have the color transition slightly below the bird's upper body or at eye level, which I find the most visually pleasing. Then it was just a matter of waiting for the right moment to capture the expression and demeanor I was looking for.

Photo by Magnus Winbjörk. Sony Alpha 1. Sony 300mm f/2.8 G Master. 1/400-sec., f/3.5, ISO 100
In terms of camera settings, the biggest challenge in this situation is that the highlights will be overexposed while the shadows will be underexposed—there's no way around it. This is where it’s crucial to know your camera well, so you can position the exposure just right, balancing it so that you can recover the highlights later while also brightening the dark areas without losing details. I often use the camera's zebra function and have learned exactly how many clicks I can continue increasing the exposure after the zebra warnings appear before the information in the highlights is lost. I highly recommend this approach.
In this situation, and most of the time otherwise, I use AF-C with focus tracking enabled. I then choose a small spot to get the best control over where the camera begins searching for focus. I have a habit of never moving the small focus point; I always keep it in the center of the frame and then move the camera to position the point near the animal's eye. I focus using my thumb on the rear focus button, holding it down constantly—I never take my thumb off the button. This way, I can move slightly, tilt the camera, and so on, to find the perfect composition while keeping the focus locked.
When the animal makes the pose I want, I can quickly press the shutter. Even after taking some shots, I still don’t release my thumb from the rear focus button. This ensures that focus remains locked on the subject so I can quickly take a few more shots without losing focus. If you focus by pressing the shutter halfway, it’s easy to accidentally release the button after taking the shot, causing you to lose focus and having to refocus again. Sure, with a camera like the Sony Alpha 1, it finds focus incredibly fast, but when you're working with small margins to get the shot you want, it's important to think of everything and minimize anything that could make you miss the shot.
Simple Editing For Wildlife Photography
When it comes to editing, I always keep it very simple. I try to get everything as correct and perfect as possible at the moment I press the shutter. For this image, what I’ve done is significantly brighten the shadows, which is a delight with the RAW files the Sony Alpha 1 produces. It’s incredible how much you can lift the shadows without losing quality. I’ve also reduced the highlights and fine-tuned the white balance and color tones—that's it. This image hasn’t been processed with any AI software for sharpening, background blur, or anything like that. So, the post-processing is very minimal and simple.
See more of Magnus Winbjörk’s work on Instagram @winbjorkphoto.


