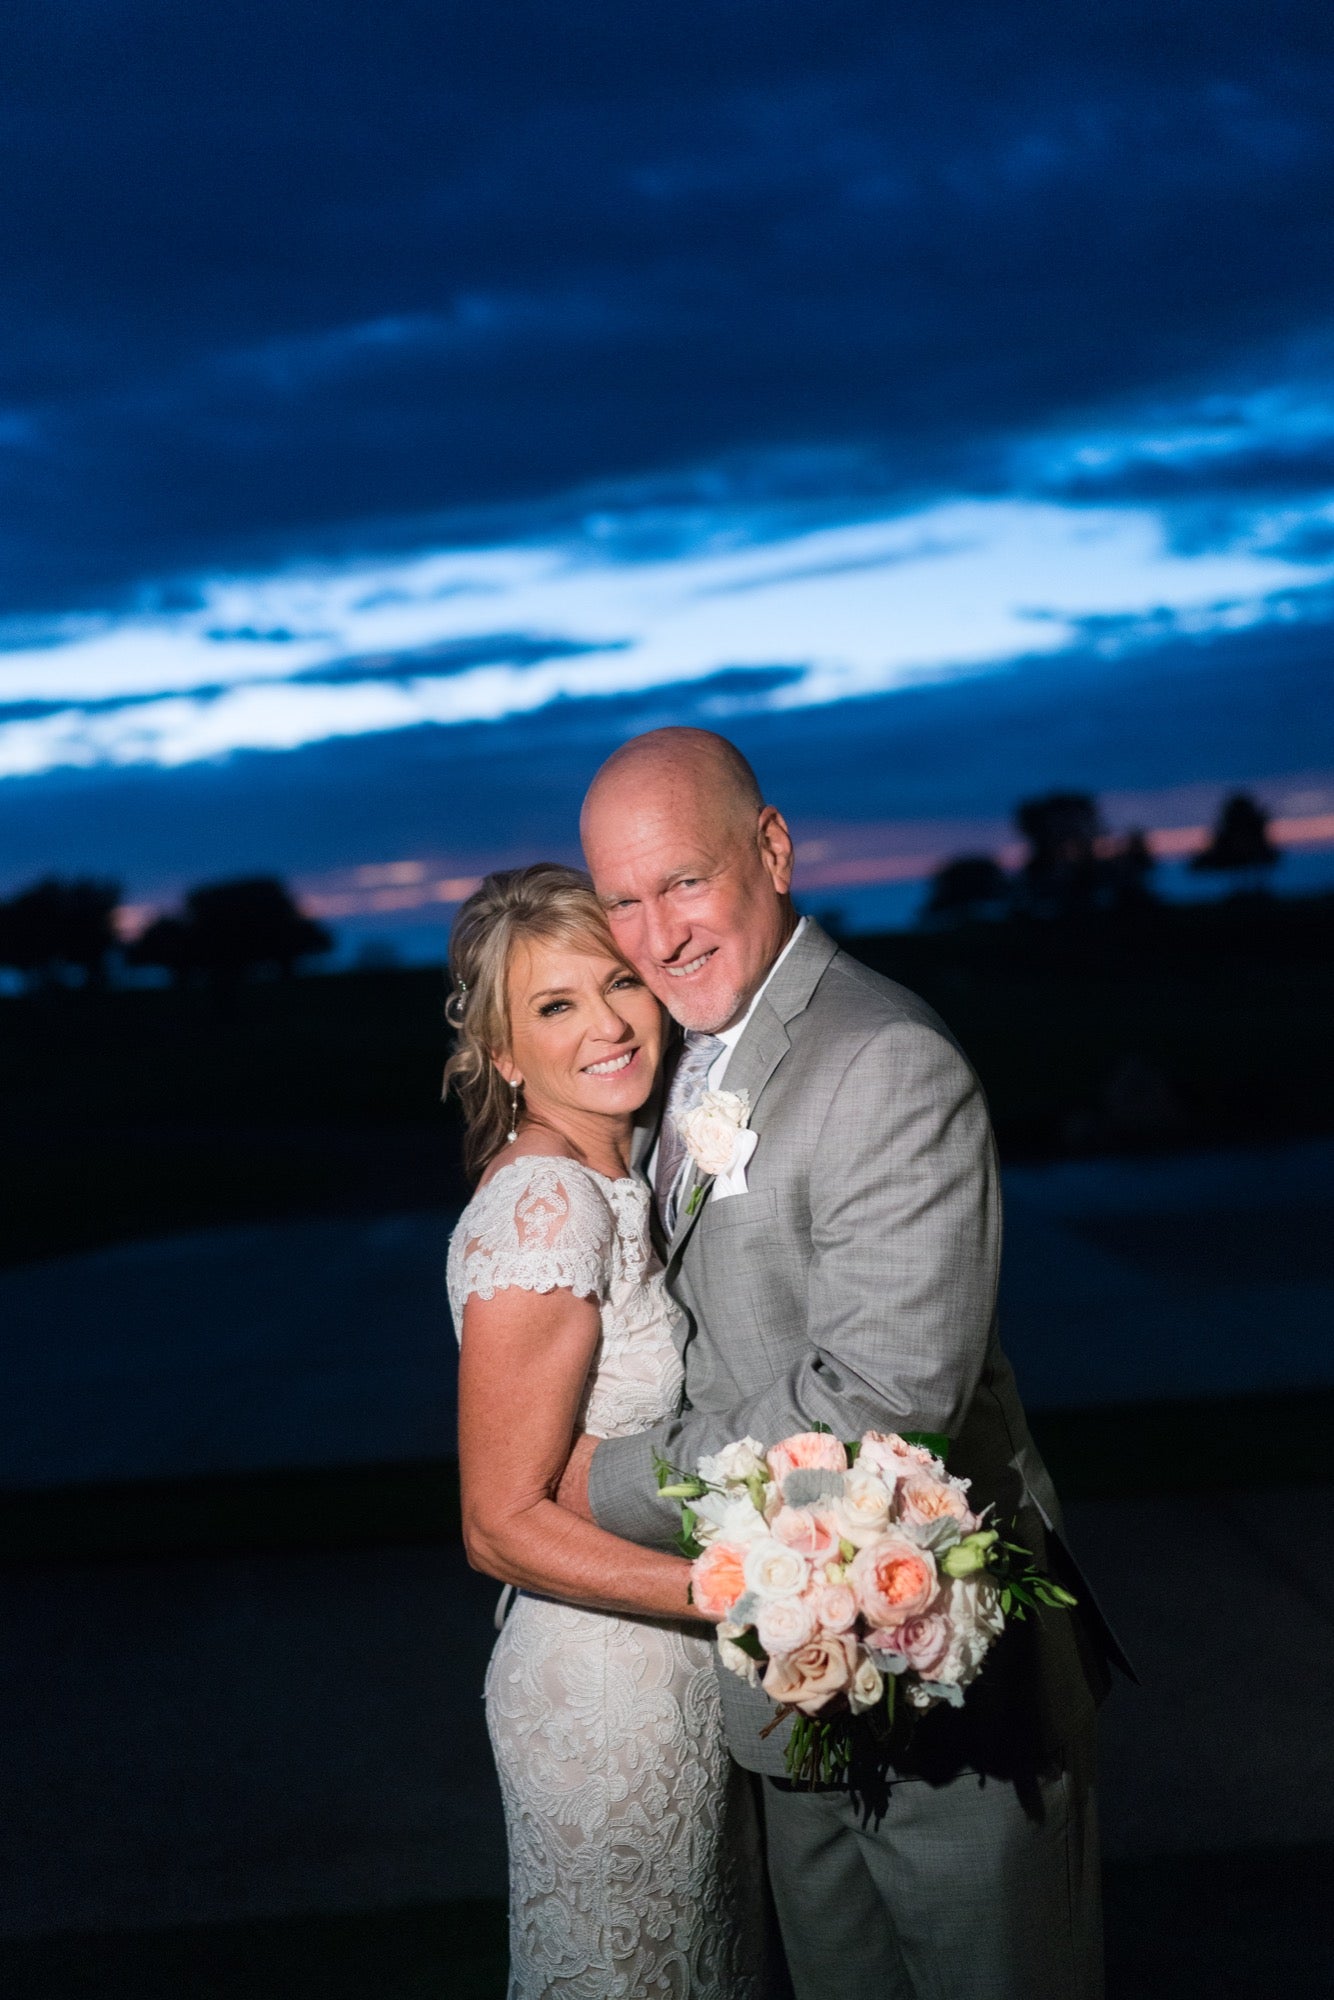
Add a new look to your wedding photography this season by adopting Blue Light. While everyone's familiar with Magic Hour, Blue Light is both less well known and it can create really strong images of the wedding party. Using a combination of artificial and ambient light and your camera’s white balance, you can create gorgeous skin tones with a tinge of warmth that contrasts with the deep blue post-sunset sky.
The technique isn’t difficult to master. To learn more, we connected with A-List wedding photographer Sara France. France relies on Blue Light to give her clients a special, dramatic look as part of the overall wedding album.

“Blue Light is basically a time between daylight and night when you can mix tungsten light into the ambient light to create an unusual outcome,” France explains. “It's about 15 to 20 minutes after sunset, when the sky is transitioning from pale blue to darker blue. Everything has a cool cast from the blue sky. It only lasts for about 10 minutes.”
The Setup
She continues, “If you want to understand the concept, do a practice run. Turn your camera’s white balance to tungsten, wait until about 20 minutes after sunset, take a photo of a person or a couple, and change the exposure until you get the background to look the way you want it to look. Everything will look very blue, including the people. That’s ok. The scene is being lit by the fading blue light from the sky and it’s being accentuated by the tungsten white balance setting. At this point, lock in your exposure. People typically either don't wait long enough to get the nice deep blue, or they wait too long and then they can't get any blue in the sky because there's no light left.”
With the exposure set, the next step is to bring in the artificial light. “Now, bring in a tungsten light source. We use small video lights because they're light and they're compact, but any tungsten light will work. There are even tungsten-balanced LEDs that will work. You’re just looking for something with that tungsten color temperature of around 3200K. You don’t necessarily need the most powerful lights. Ours are only 20 watts, but they do the job well.”

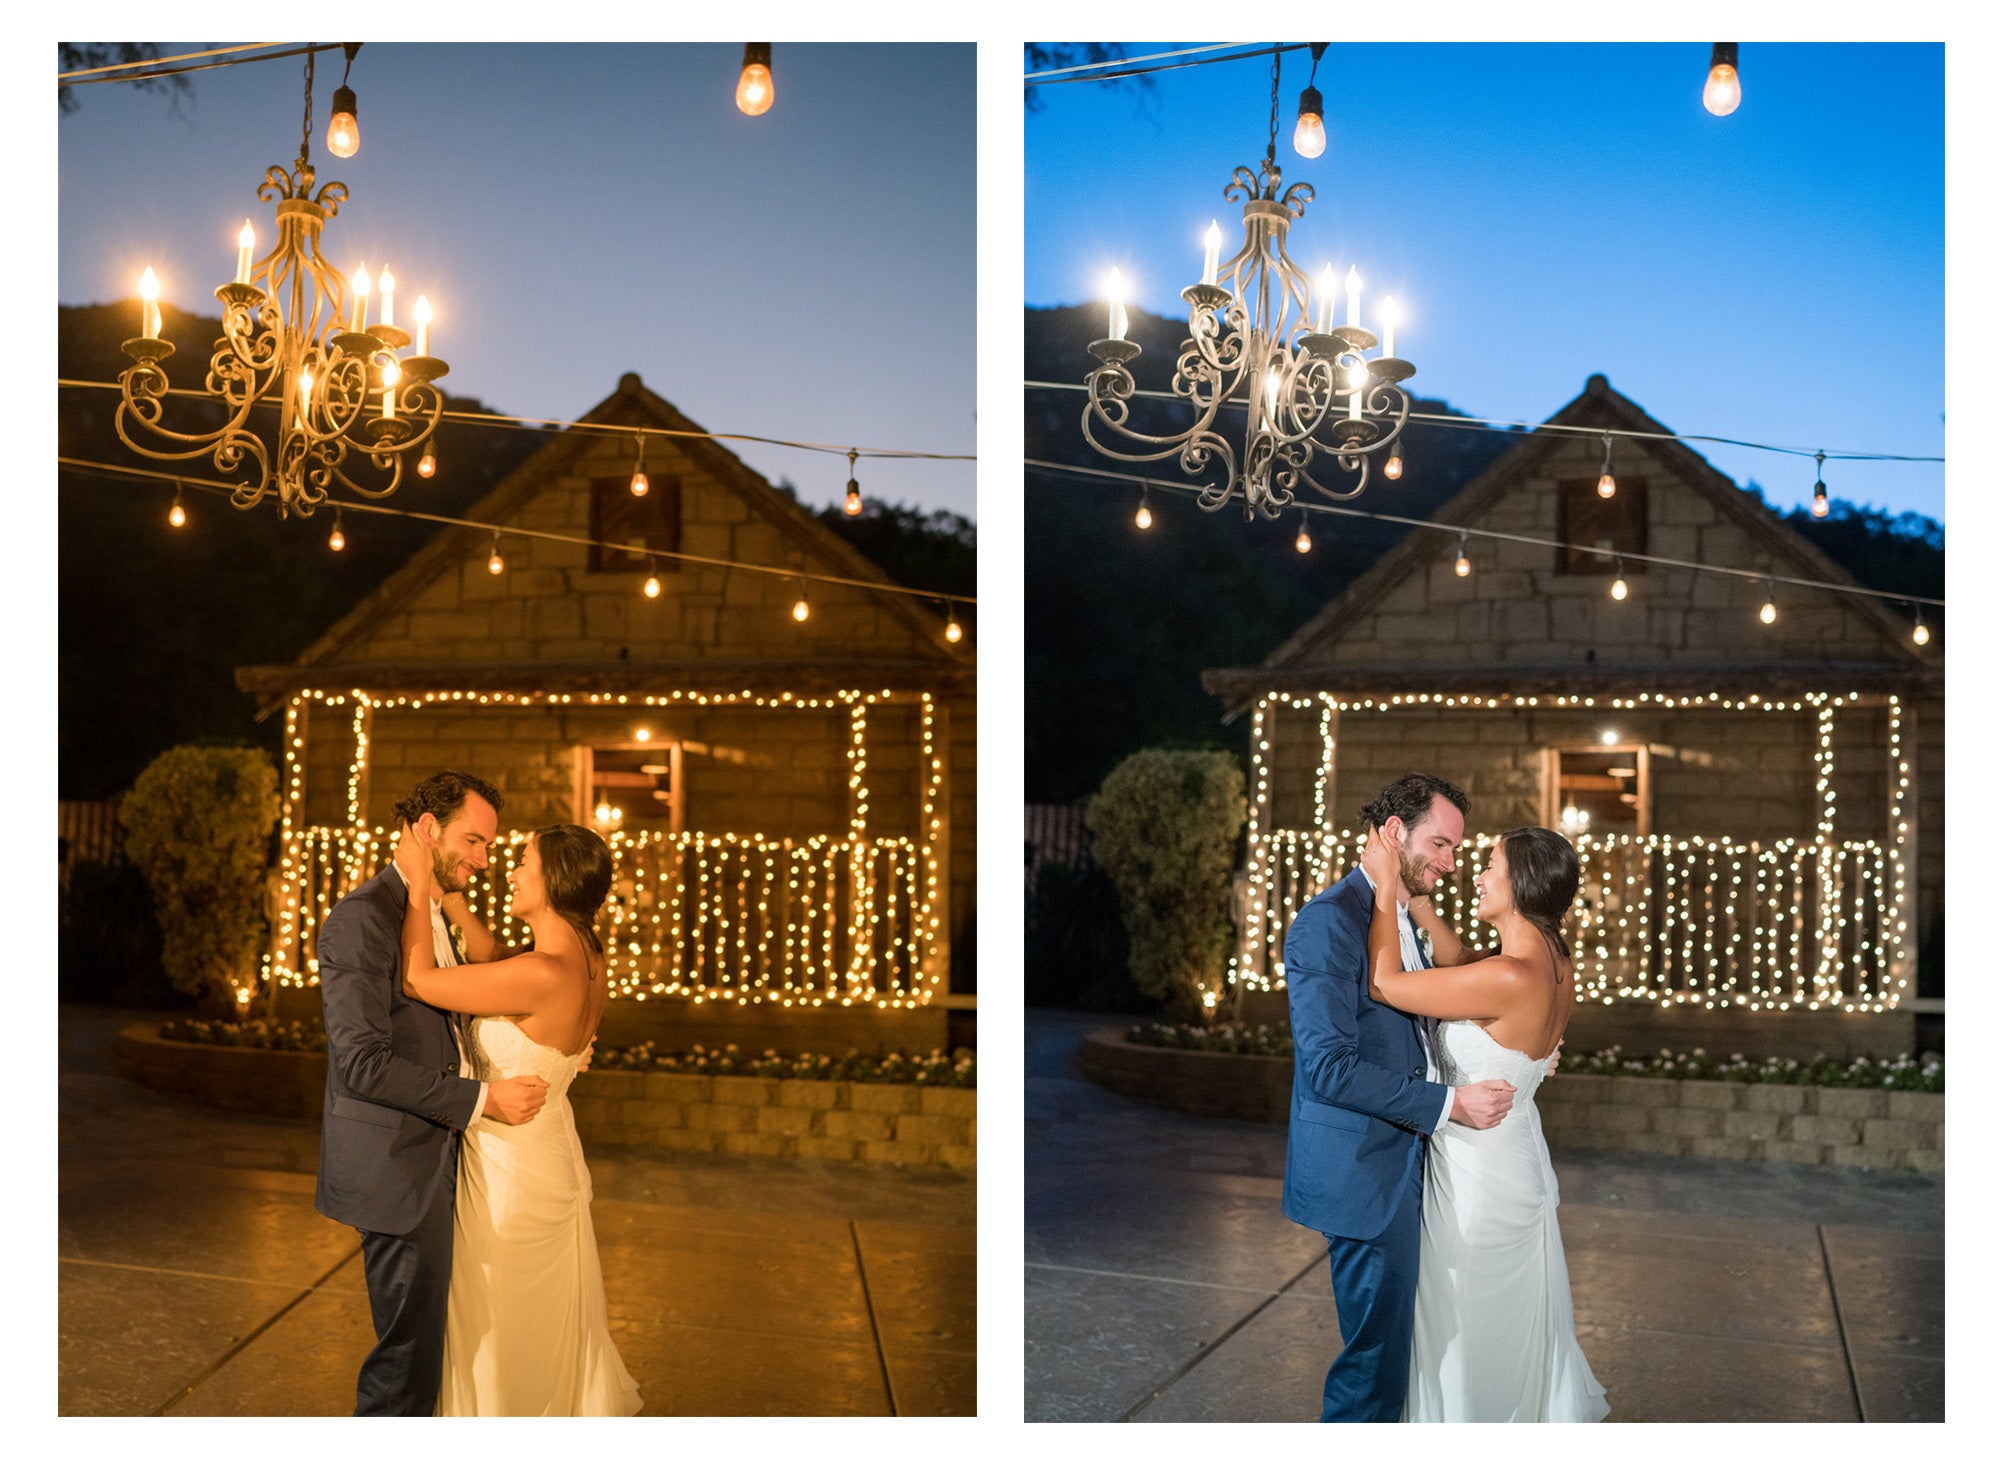
To get the Blue Light look right, be sure to have your white balance set correctly for tungsten (and be using tungsten-balanced lights). In the image on the left, the camera was set for daylight. The image on the right was correctly set for tungsten.
You’re going to use the lights to light the people. Without changing the exposure that you’ve set to give your background that rich blue look, bring in your tungsten-balanced lights to light the people. This is what’s going to make their skin tones look great and the whole shot will pop. France says, “As soon as you introduce the tungsten light to the subject, and you have the white balance set for tungsten, the sky will be electric blue… a really amazing blue color. It still looks natural, just a better version of natural. And then anything that's lit with tungsten in the scene looks neutral. It just makes for a really dynamic, beautiful image.”
You’ll find that you can get your cameras setting dialed in pretty well with just a little practice. The goal is let the artificial light add to the scene without being too overbearing. France explains, “It's so soft in the evening. I love the fall off and the softness of video light, which is why we use it instead of flash. My settings are always almost the same. Usually between 800 and 1600 ISO. I'm shooting with prime lenses, typically my 35mm, 24mm, or 50mm. Because I want to get the sky, I usually want to have a little bit wider lens. I shoot it at f/2.0 to f/1.6 and I shoot with the α7R II's shutter around 1/125- or 1/160-sec. You can go even lower as long as the subject's not moving.”
Plan Ahead
As France notes, Blue Light is fleeting so you have to plan for it and make sure everyone is ready for the shot. If you’re trying to locate the bride and groom when the sun has dropped below the horizon, you’re going to miss it. “We actually work with the couple to schedule the Blue Light shots into their day. We tell them exactly when that's going to be and they work their toasts and all of that around the Blue Light. It's usually during dinner, right before toast happens, or sometimes it's right before they go into the reception. It varies with the time of the year and everybody's timing for their wedding can be a little bit different.”
You should know exactly the photo you want to get and have your lights setup and ready as the sun is going down. As the primary shooter, this is going to be a busy time so the more you can have set up in advance, the better.
To take maximum advantage of the light, France looks for a setting that will create a really special photo. “Well first, you need to be able to see some sky,” she explains. “We also really like something that has some drama. We'll look for something like a shape of a tree, or a lot of times we’ll use their reception space if it’s an especially interesting structure and we're able to see it as a frame in the background”
The results speak for themselves. Of all the photos from the wedding, the Blue Light shots are the ones most likely to adorn the bride and groom’s album and to be shared on social media. Add it to your repertoire this season.
See more of Sara France's wedding photography at sarafrance.com


