How many times have you seen some amazing and creative light painting on social media that makes you wonder, “How did they get that shot?” Well, I’m going to show you. Here are some quick recommendations to inspire you to get started with light painting. These suggestions come from my own experience shooting nighttime photography including my trip to Arizona with the Alpha Imaging Collective.
Essential Gear
To get started with light painting, you don’t need a ton of specialized equipment, but there are a few items that are pretty much required. Starting with the camera, I use Sony full-frame Alpha mirrorless cameras for their low-light performance, overall image quality and for some of the menu options that make it easier to work in the dark (more on that later).
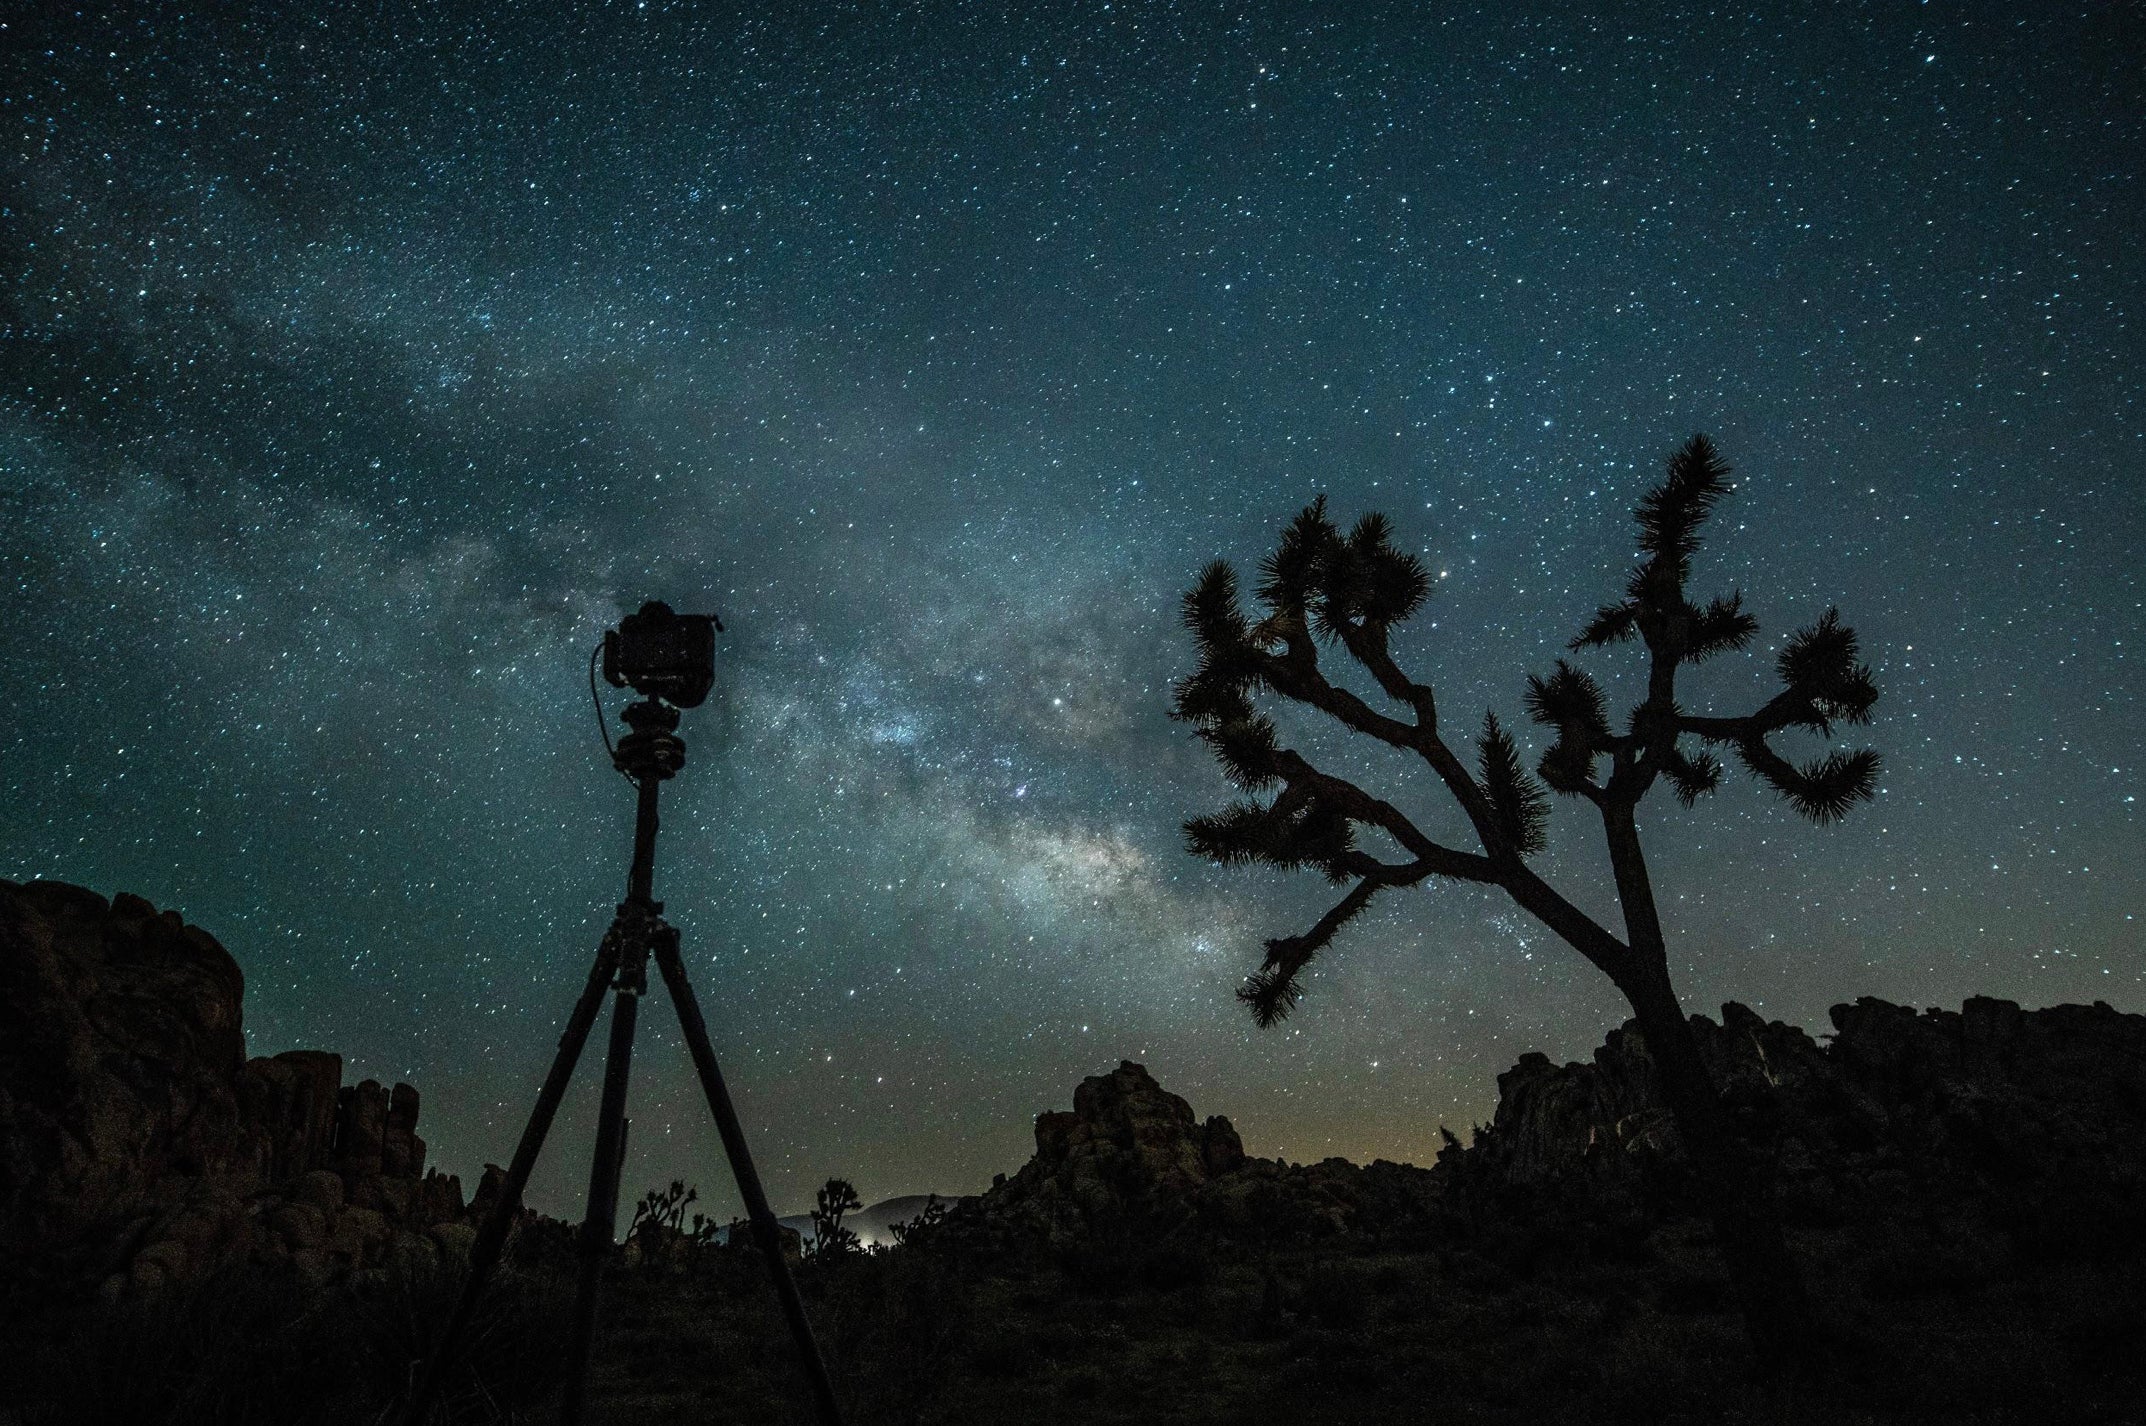
Fast Lens: When working in low light conditions I suggest you use a lens that can grab as much light as possible. Try a lens with an aperture of f/2.8 or faster. Also, you'll be working mostly to paint subjects that are fairly close and I've found I'm usually working with a wide-angle prime or zoom.
Pro Tip: Use a native E-mount lens that you can focus manually and has depth of field and distance indicators featured directly on the lens barrel.
What I use: Sony FE 16-35mm f/2.8 G Master, Sony FE 24-70mm f/2.8 G Master, Sony 12-24mm f/4 G (although this is an f/4 lens, it's pretty awesome for creating amazing light painting images), Tokina FiRIN 20mm f/2, Zeiss Batis 18mm f/2.8, Zeiss Loxia 21mm f/2.8. (Note, these are all native E-mount lenses. Whenever possible, not having to use an adapter is superior to adopting a lens made for a DSLR mount.)
Tripod: You are going to need a strong, sturdy tripod and ballhead to mount your camera. This will ensure there is no blur in your image foreground from camera shake.
Pro Tip: You don’t want an ultra-lightweight, rickety tripod that’s designed for point-and-shoot selfies. A bit of weight helps ensure your tripod is grounded and won’t move so easily with an accidental kick or gust of wind. Find the perfect option that’s not too light and not too heavy. Look for a model that’s between 3-5 pounds.
What I use: Manfrotto Befree Advanced
Remote trigger: Pushing your shutter button with your finger can cause enough camera shake to blur your image. Save yourself the frustration and use a remote. This can be wired or wireless.
Pro Tip: In a pinch, you can use your camera’s built-in 2/10-second timer without a remote.
What I use: Sony RM-VPR1 Remote
Flashlights: Technically, any light will do from a simple flashlight or color LED to a car’s headlights or a headlamp. Look for a light that has brightness settings so you can adjust it to your liking and you’re not stuck with one level of power. Many lights have three brightness levels with some even having up to 99 levels.
Pro Tip: Look for a flashlight or headlamp with a red setting. When in really dark conditions the red light is not as harsh on the eyes.
What I use: LUMEcube, Vulta Volcano Flashlight, Luxli Viola 5” LED, Coast NP5R, LuminAID Packlite.
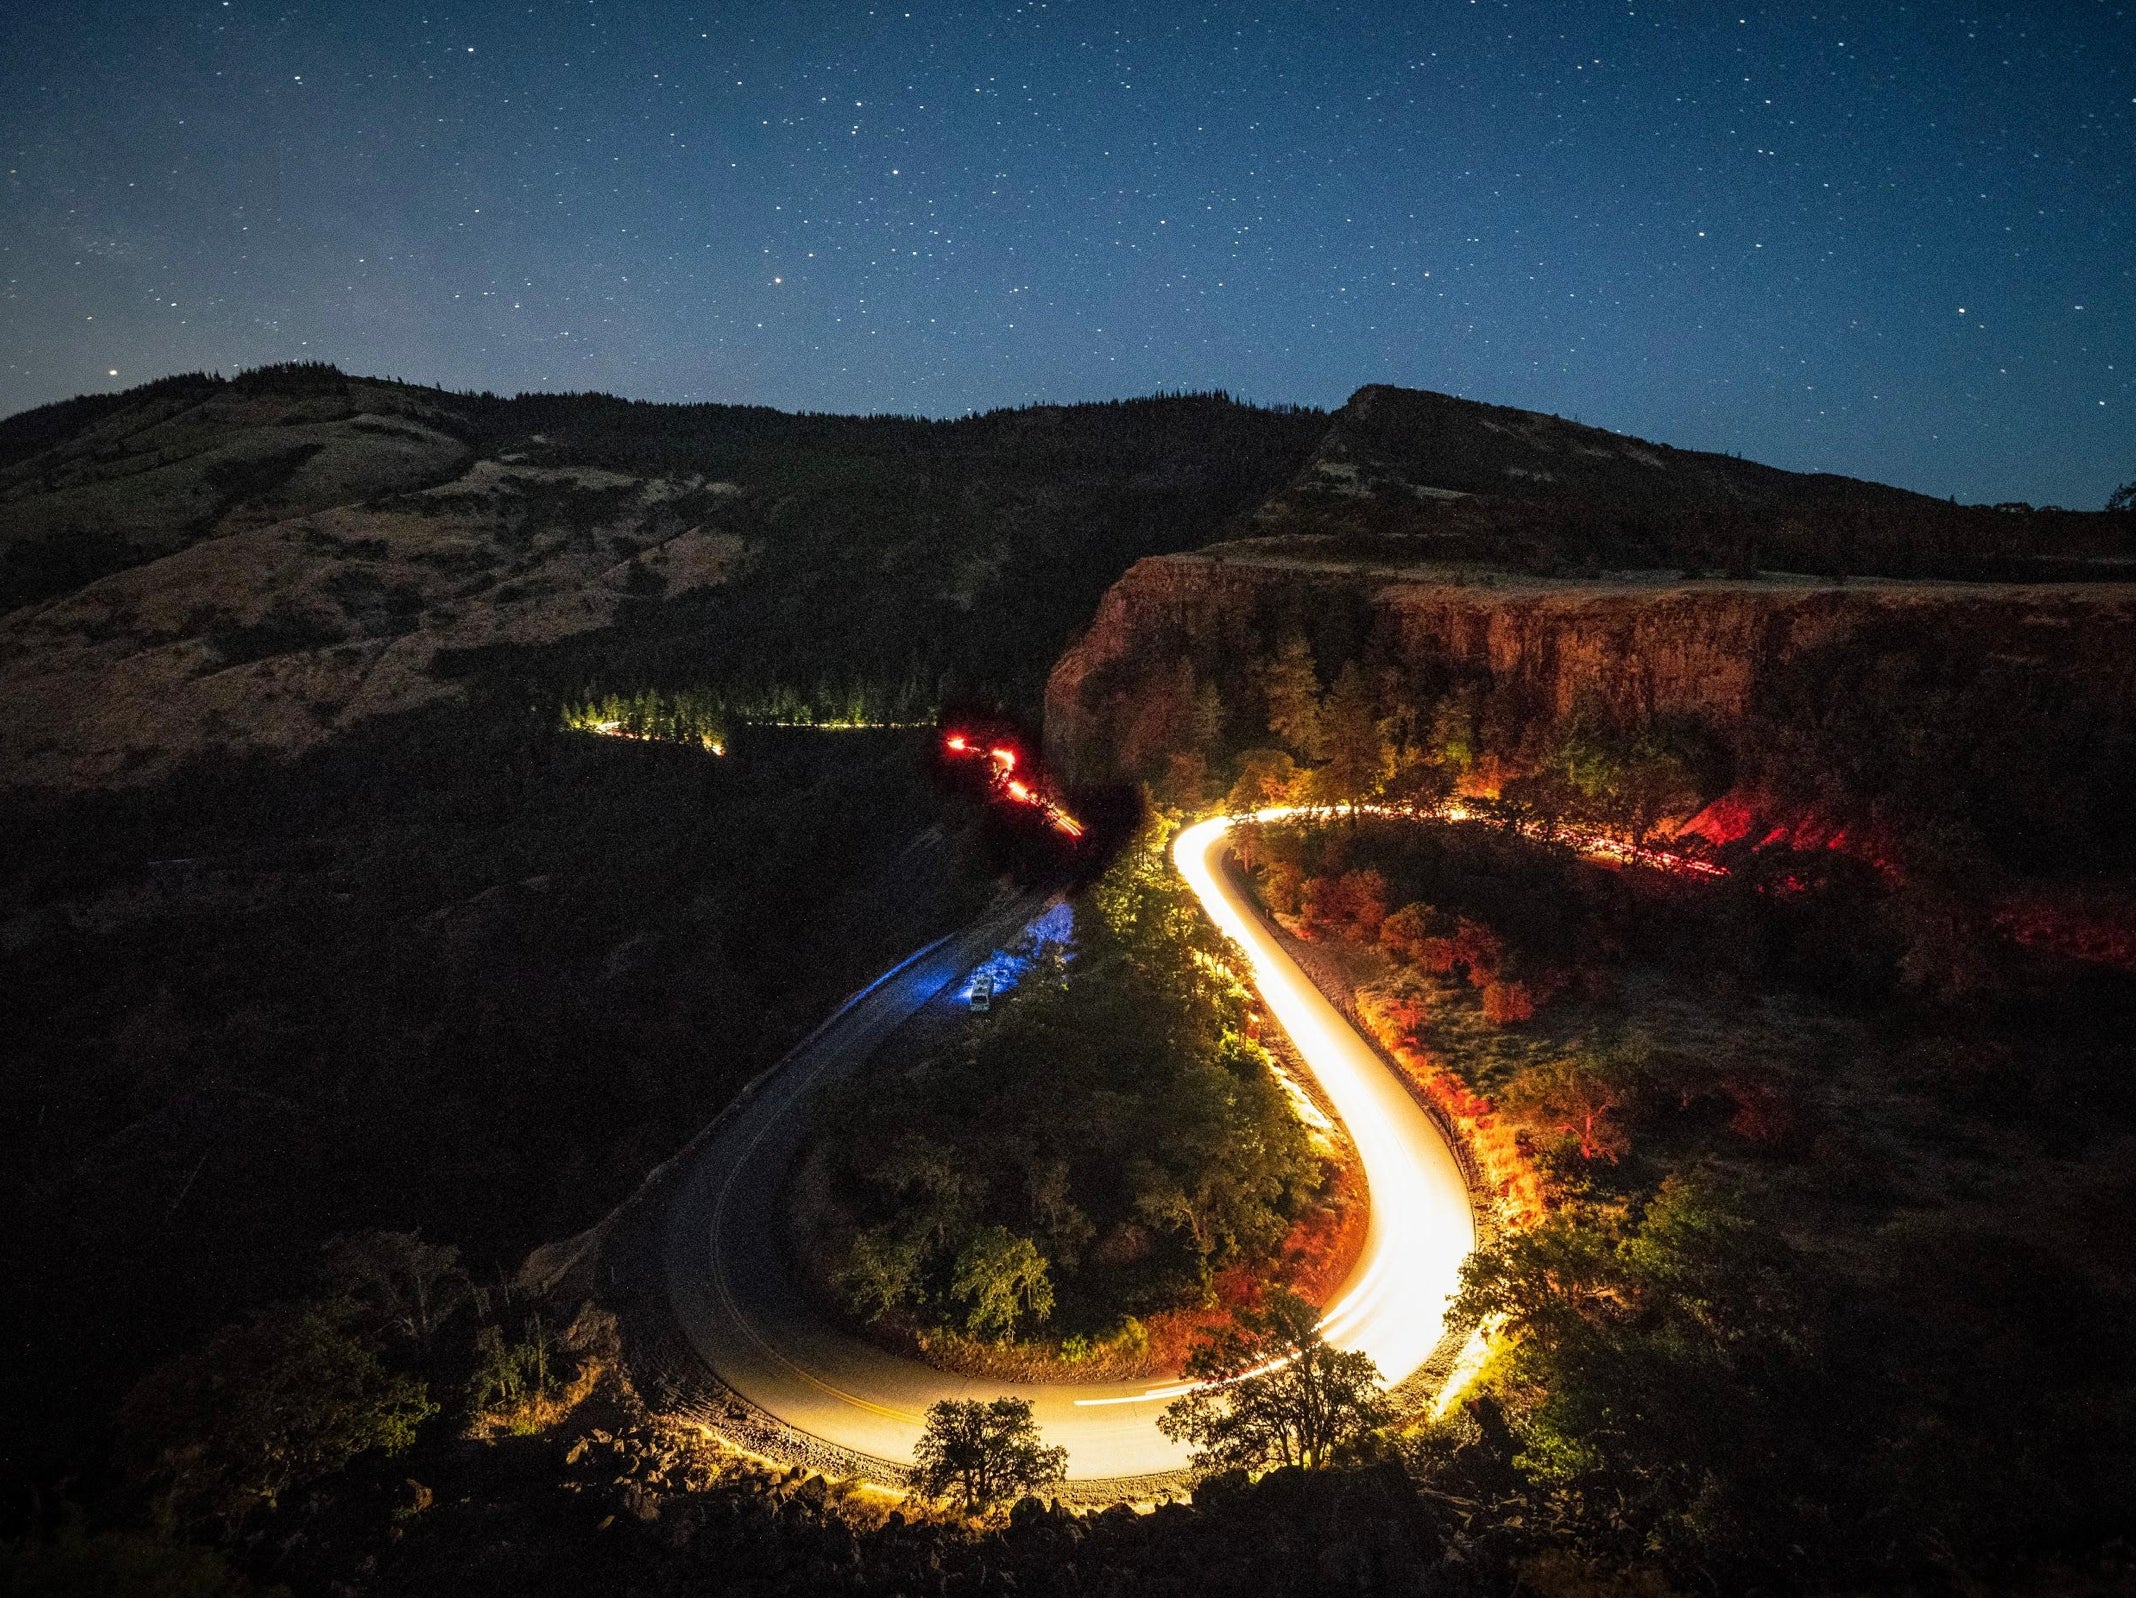
Rowena Crest, Oregon, Sony α7R III. Sony FE 12-24mm f/4 G lens.
The Set Up & Establishing Focus
First and foremost, know your gear! Any messing around in the dark, searching for settings in the camera or knobs on the tripod, will open the risk of changing something unintentionally. As you become more experienced you should take note of any previous fumbles and learn from them. Experience is really a great teacher here.
Familiarize yourself with your location and surroundings during the daylight. Scout ahead of time and return to the location before dark. Keep an eye out for any buildings, parking lots or street lamps that may be in the area as those can be detrimental to your scene. For astroscapes, look for dark skies with minimal light pollution. If you can’t find dark skies, check out this resource that I use: www.lightpollutionmap.info. When you just can't avoid light pollution, embrace it! Use that ambient light to your advantage to light up your scene.
Set up the tripod and mount your camera. Get everything set and stable and begin working on your composition. Once you have your composition, it's time to find your focus. Finding focus can be tricky at first, but with practice you’ll develop a workflow and improve.
Sometimes you may have luck using Autofocus by finding a bright area in the frame or by lighting an object in your foreground with a flashlight. That’s always worth a try and if it works, immediately switch to Manual Focus to lock it in. Take a test shot to ensure your subject is sharp.
If AF isn’t working, don’t panic. Here is a Manual Focus workflow to help find focus in the dark:
While in Manual Focus mode, rotate the focus ring to infinity. There are two ways to do this. Most manual focus lenses show a focus ring with number indicators on the lens barrel, turn it to the infinity symbol. If your lens doesn’t have those indicators, the camera LCD will show a bar scale as soon as you start focusing manually. Rotate it until you see the infinity symbol on the right.
Once you have infinity you’re not in the clear just yet. Just because the camera or lens says infinity, it’s not guaranteed that your subjects will be tack sharp. There are plenty of other factors in play here like your aperture, lens choice and distance to your subject. We can go on and on about how you can use a depth of field scale and a tape measure, but these aren’t the film days. There’s a much easier and foolproof solution. With a Sony camera, you can use the Live View Display Setting Effect Off and essentially see in the dark on the LCD screen or the EVF. Then you can check focus right on the screen. Or, you can simply take a photo and punch into the shot as you review it to check focus. Repeat until you’re certain your subject is sharp.
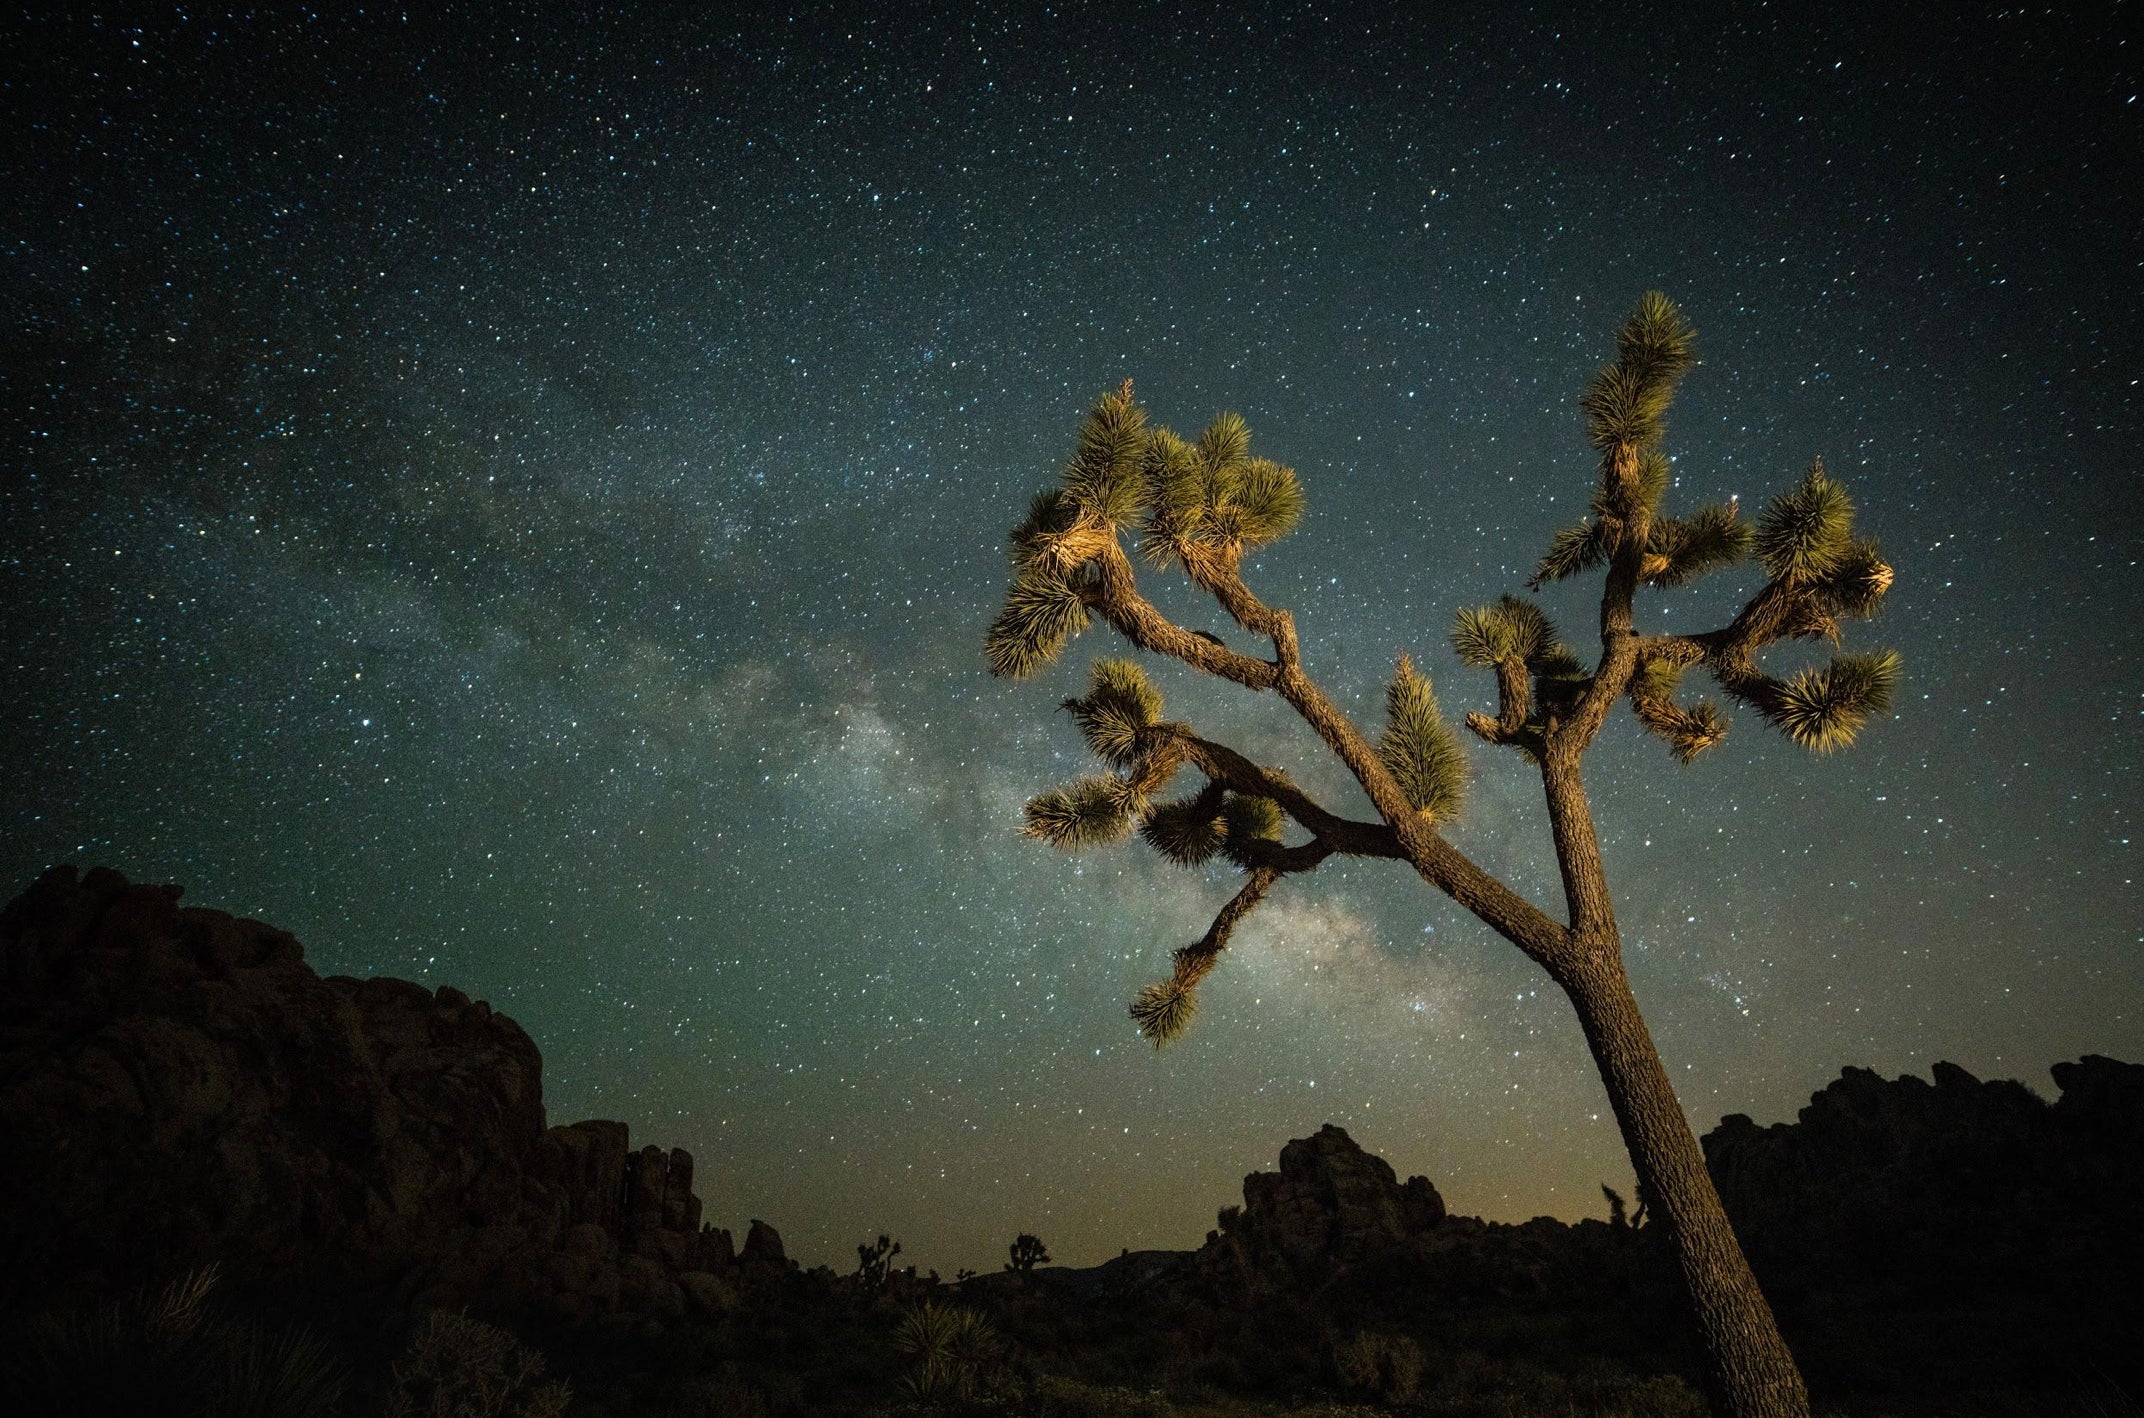
Joshua Tree National Park: Sony α7R II. Zeiss Batis 18mm lens. Luxli Viola 5” LED.
Lighting Tips
Have your light source off to the side of the camera. When lighting your subject directly or from behind the camera, it will look very flat. When lighting from off camera, you create some depth to the separation in highlights and shadows.
Pan your light source evenly from one side to the other. The longer your light source sits in one place, the brighter that spot will appear. Whether you’re painting only part or the entire frame, use even pans.
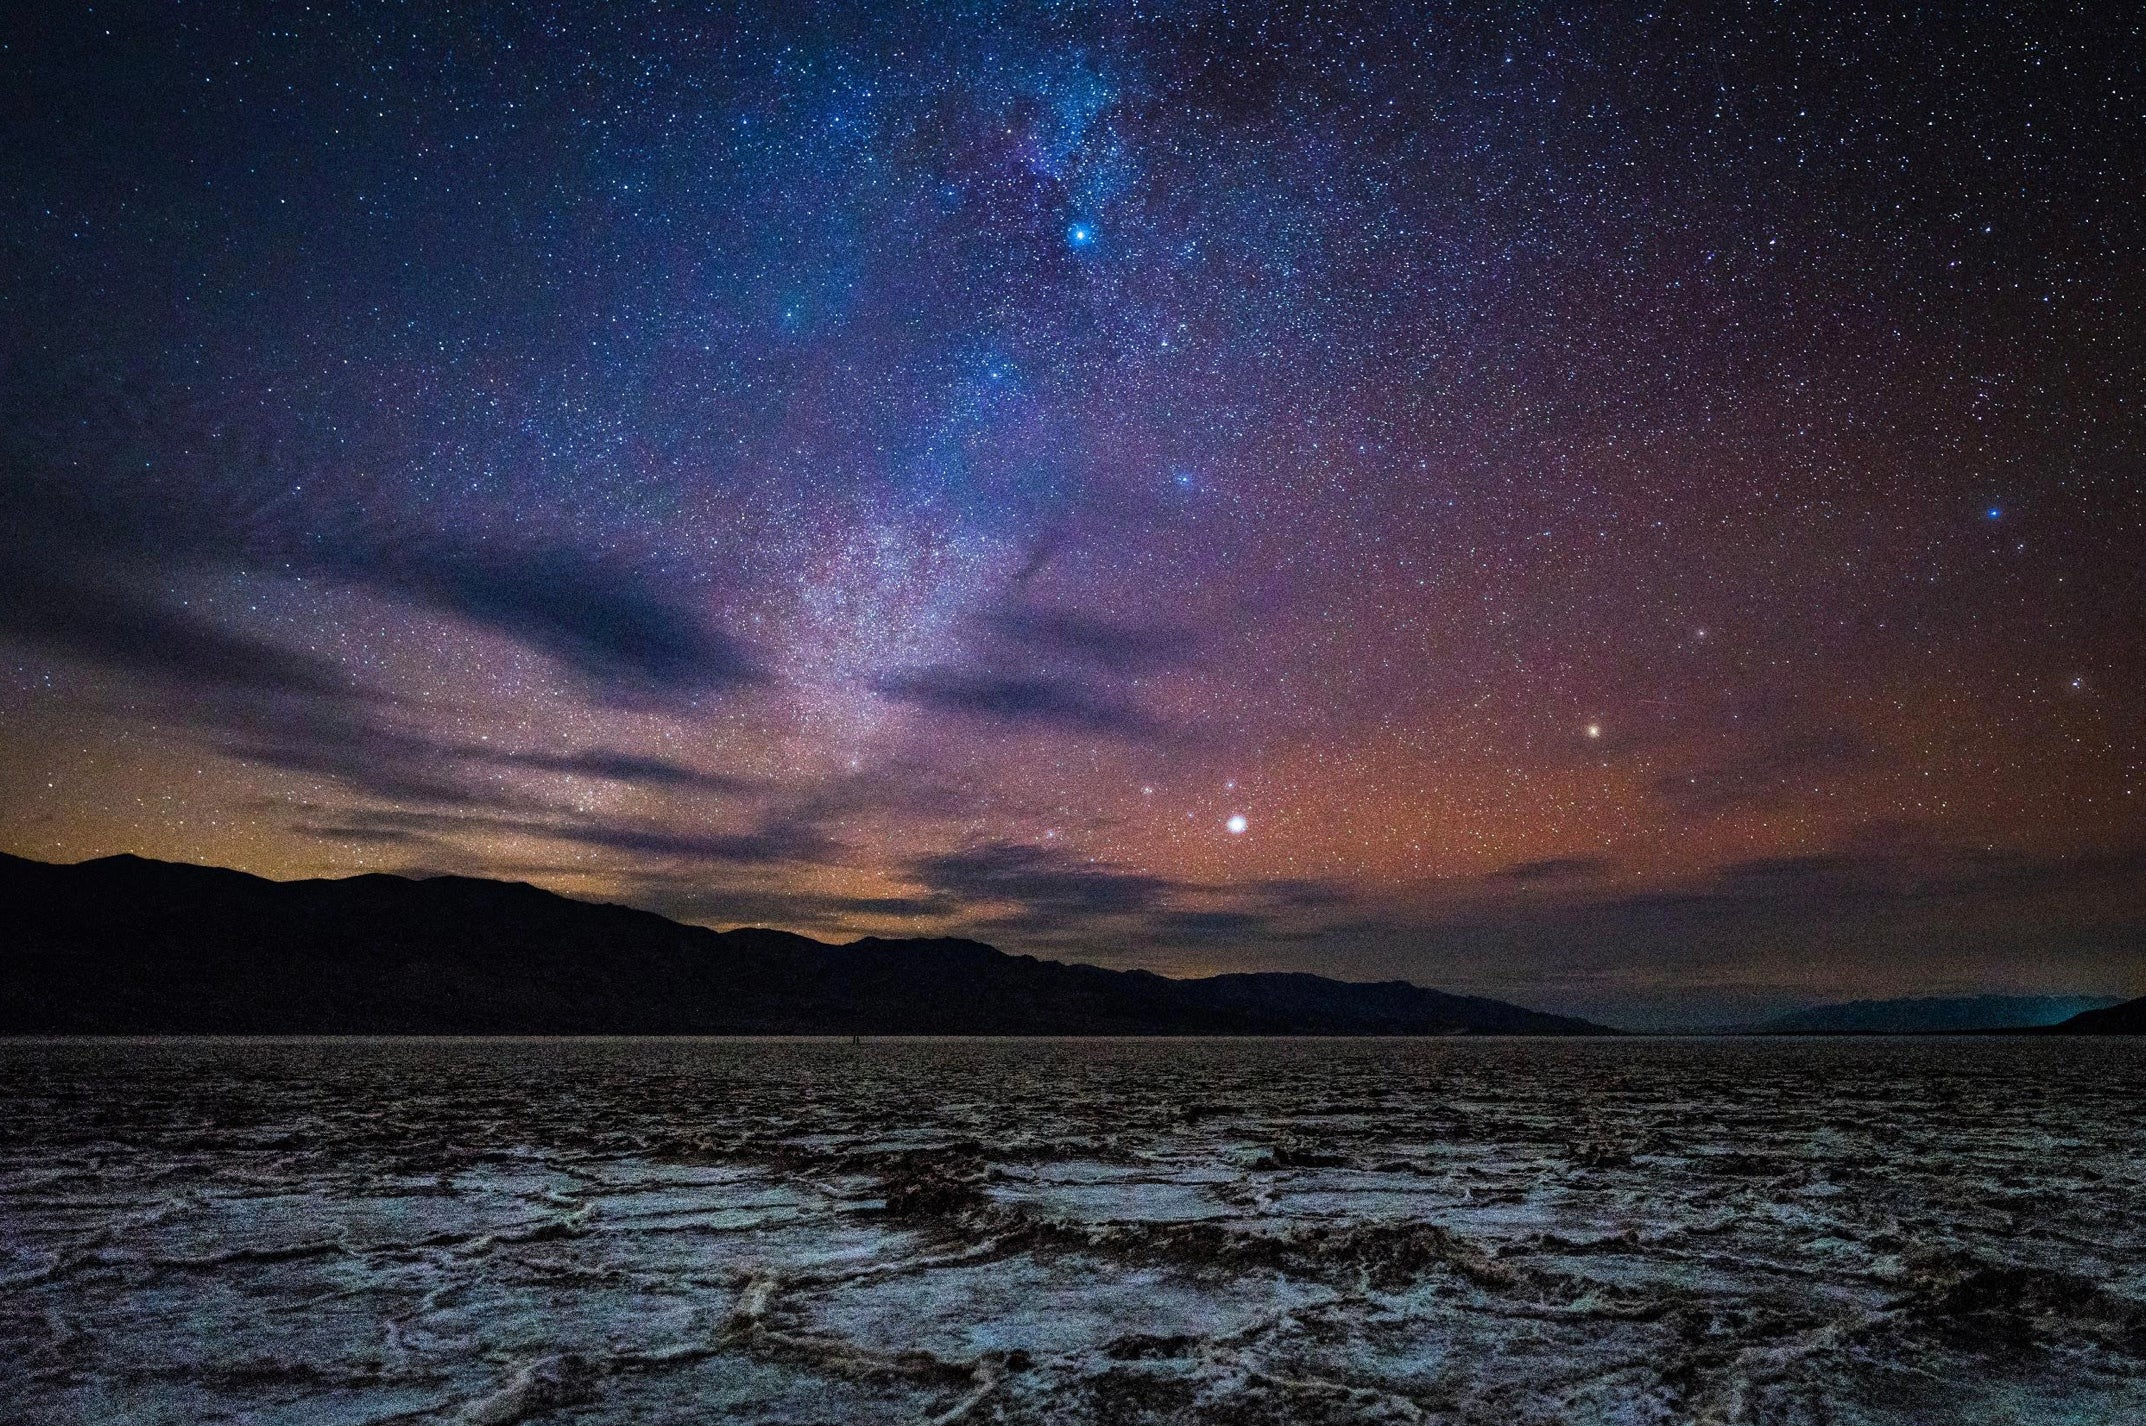
Death Valley National Park: α7R II. Tokina FiRIN 20mm f/2 lens. Foreground lighting with Luxli Viola 5” LED.
For a straight light beam photo, the key is to use a really bright flashlight that doesn't have a very wide spray. I like flashlights that have a narrow distribution like the Vulta Volcano or the Coast NP5R.
Final Thoughts
Night photography is at its best when it’s part of a collaboration. I highly recommend bringing a photo buddy along on your next adventure and experimenting with light painting together. One person paints while the other shoots. Then switch. Constantly review your images and adapt your strategy. Failed shots are your biggest asset. Use them to learn and adjust. Compare those shots and really pinpoint the “why” as they improve. All this learning and experience will stick with you in the future as you master the art of light painting!
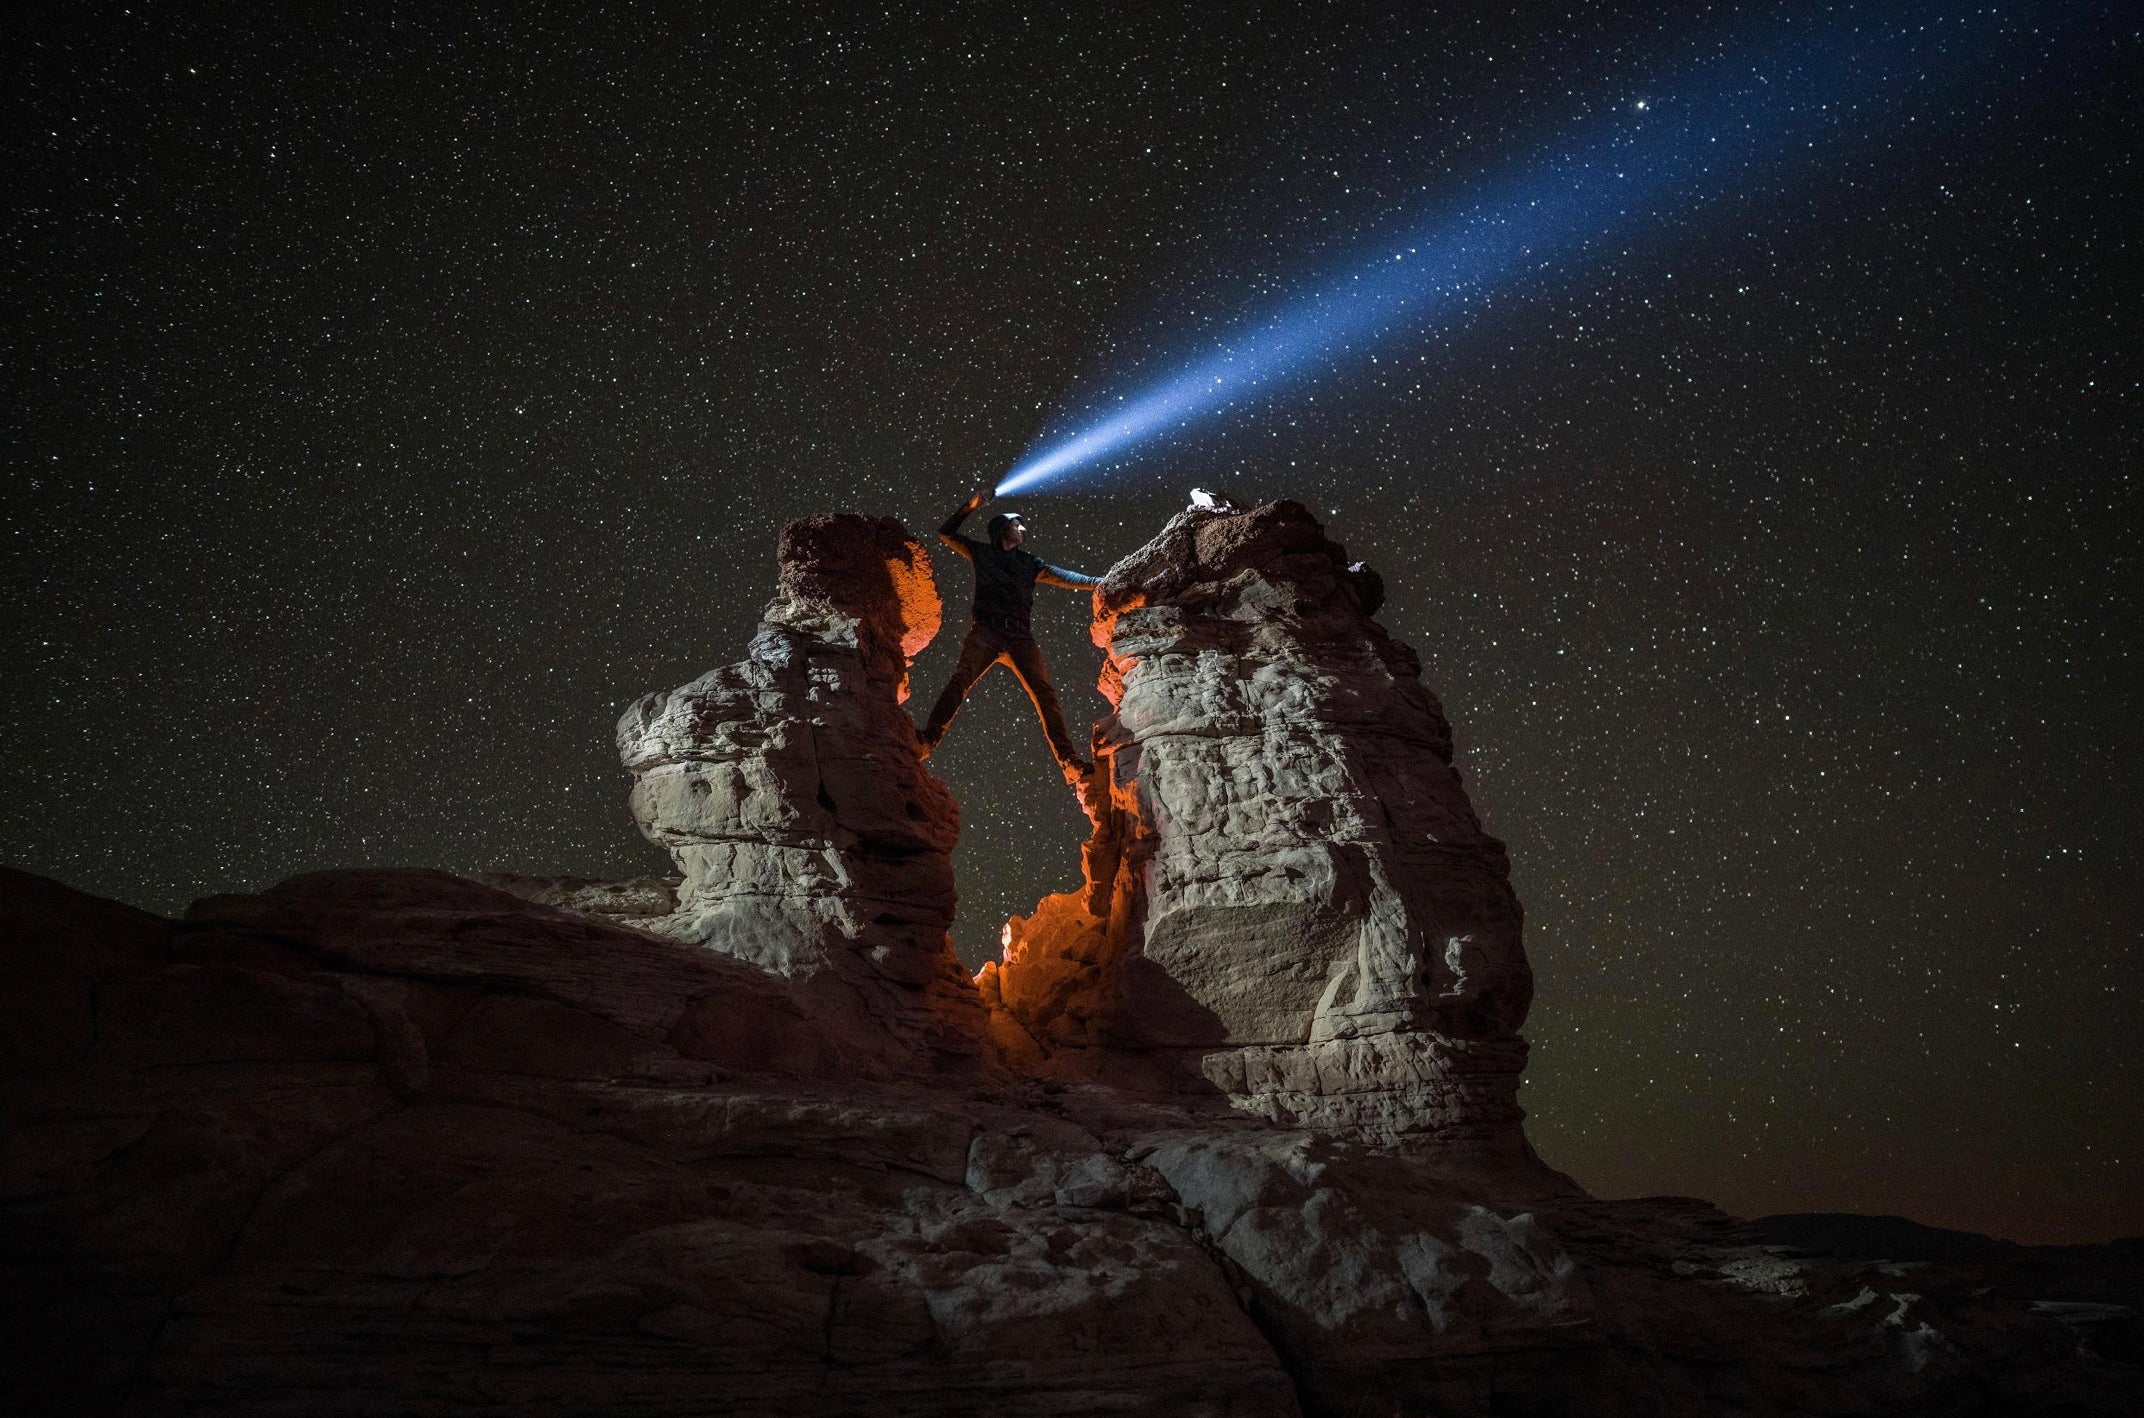
Alstrom Point: Sony α7R III. Tokina FiRIN 20mm f/2 lens. Vulta Volcano (beam), LuminAID (Red).
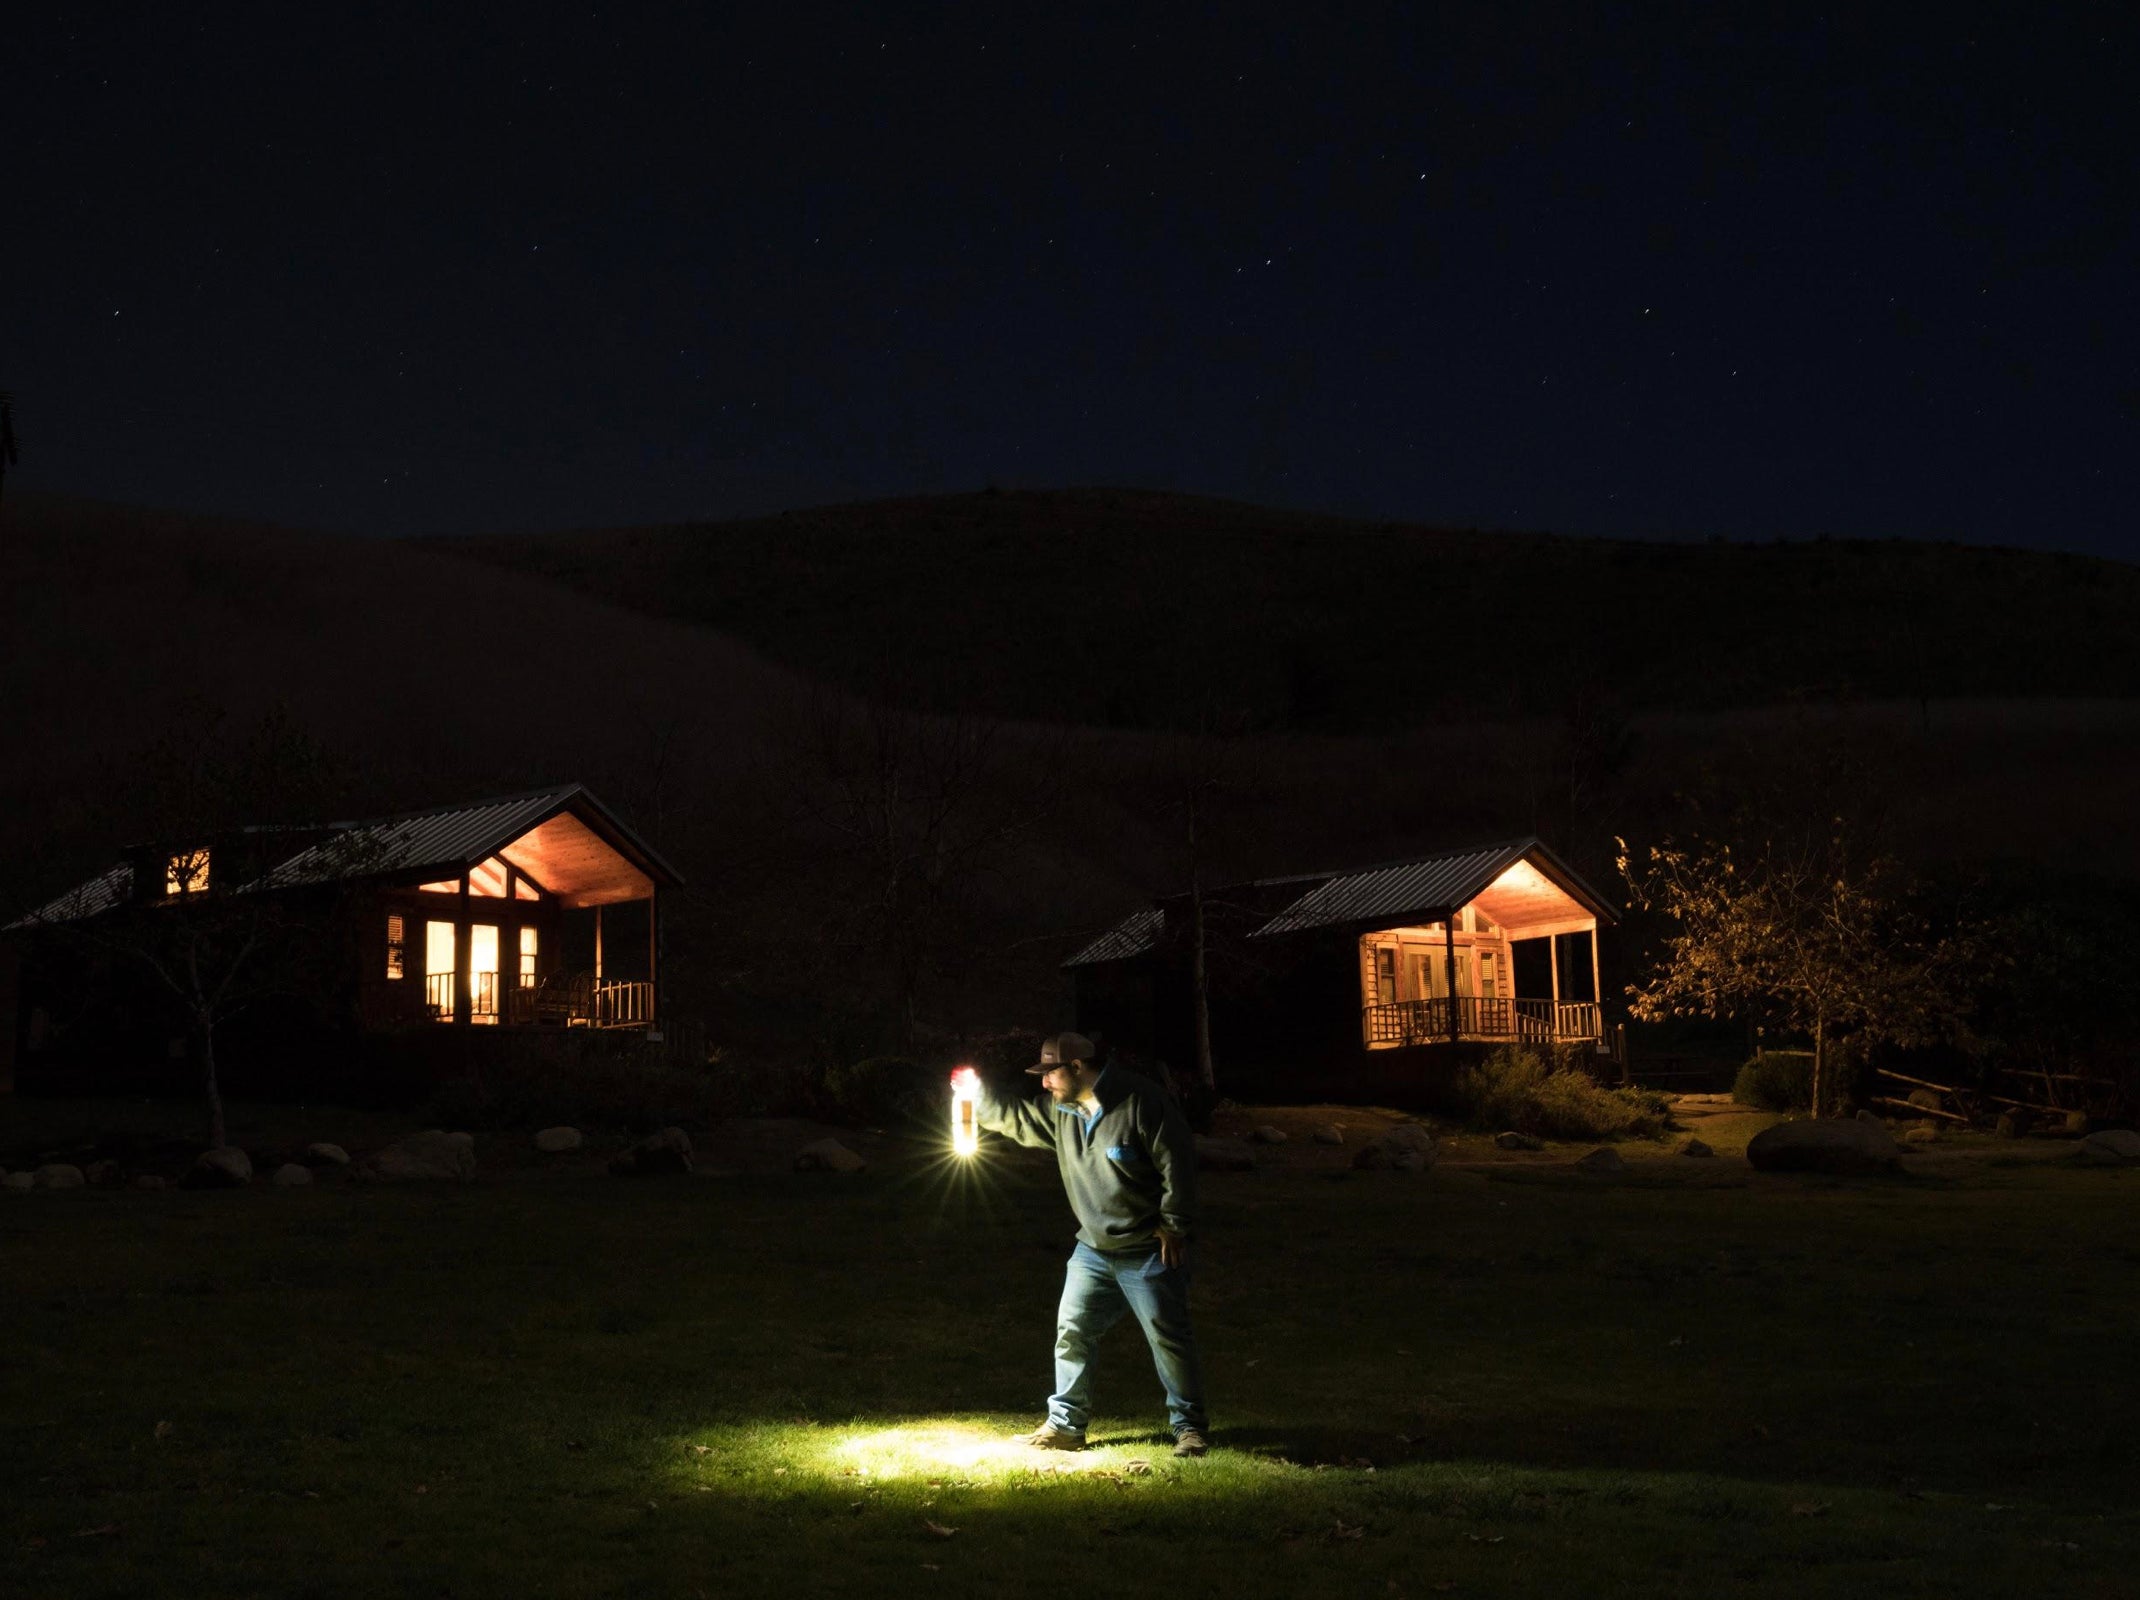
Sony α7R III. Sony FE 24-70mm f/2.8 G Master lens. Coast NP5R & Empty Bottle.
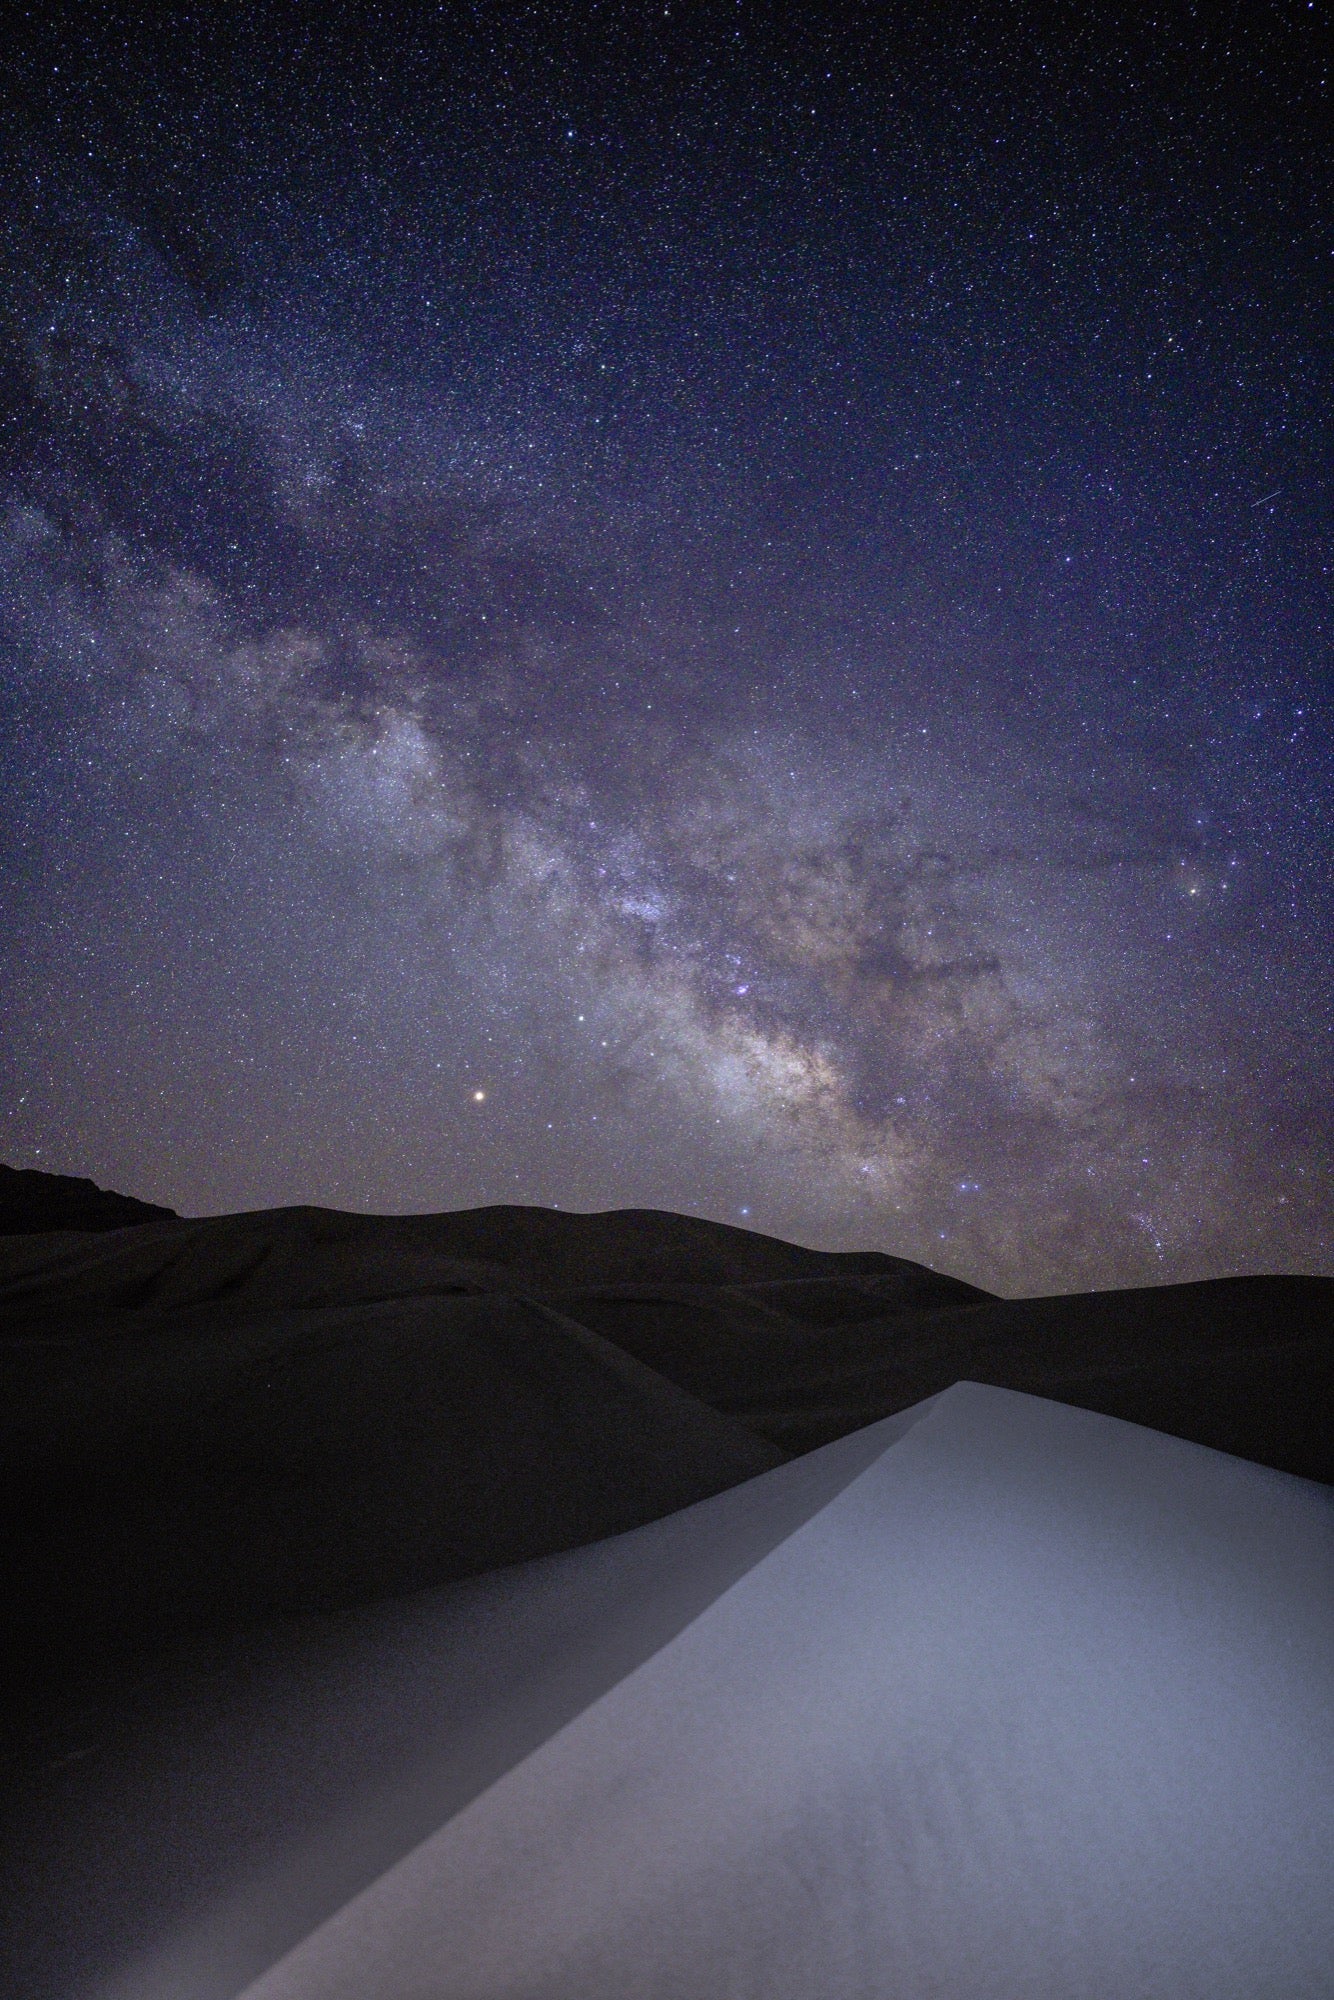
Sony α7R III. Tokina FiRIN 20mm f/2 lens, Vulta Volcano (dune).
See more of Michael Hollender's photos from his adventure to Arizona (#AICdoesArizona) at @mrhollender.


