Jordan Griffith-Brown (@griffie.visuals) began his journey into the world of photography during the Summer of 2017. “While I was out taking some photos on my Sony Xperia, a close friend suggested that I should invest in a camera for photography,” he says. “Following her advice I purchased a DSLR camera. Since then, I've continued to grow and further my knowledge in photography and my portfolio mainly consists of cityscape and urban photos.” For his urban photography, Griffith-Brown likes to use a Sony Alpha 9 II with the Sony 16-35mm f/2.8 G Master, and we recently caught up with him to learn more about several images he captured using that camera and lens combination. He shares more on his process below.
Photographer Jordan Griffith-Brown explains how he captures the essence of speed and light in urban photography.
The Gear
I used the Sony Alpha 9 II with the Sony 16-35mm f/2.8 G Master to capture these images. I chose this combination due to the incredibly sharp quality of the 16-35mm G Master lens. I also use the Alpha 9 II for its extremely fast focusing speed and its ability to shoot multiple frames in rapid succession, ensuring that I always get the desired shot.
The Images
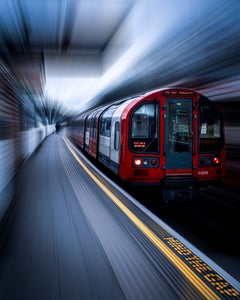
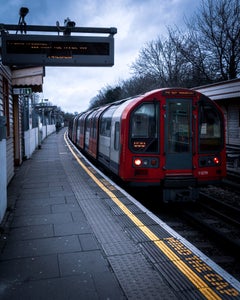
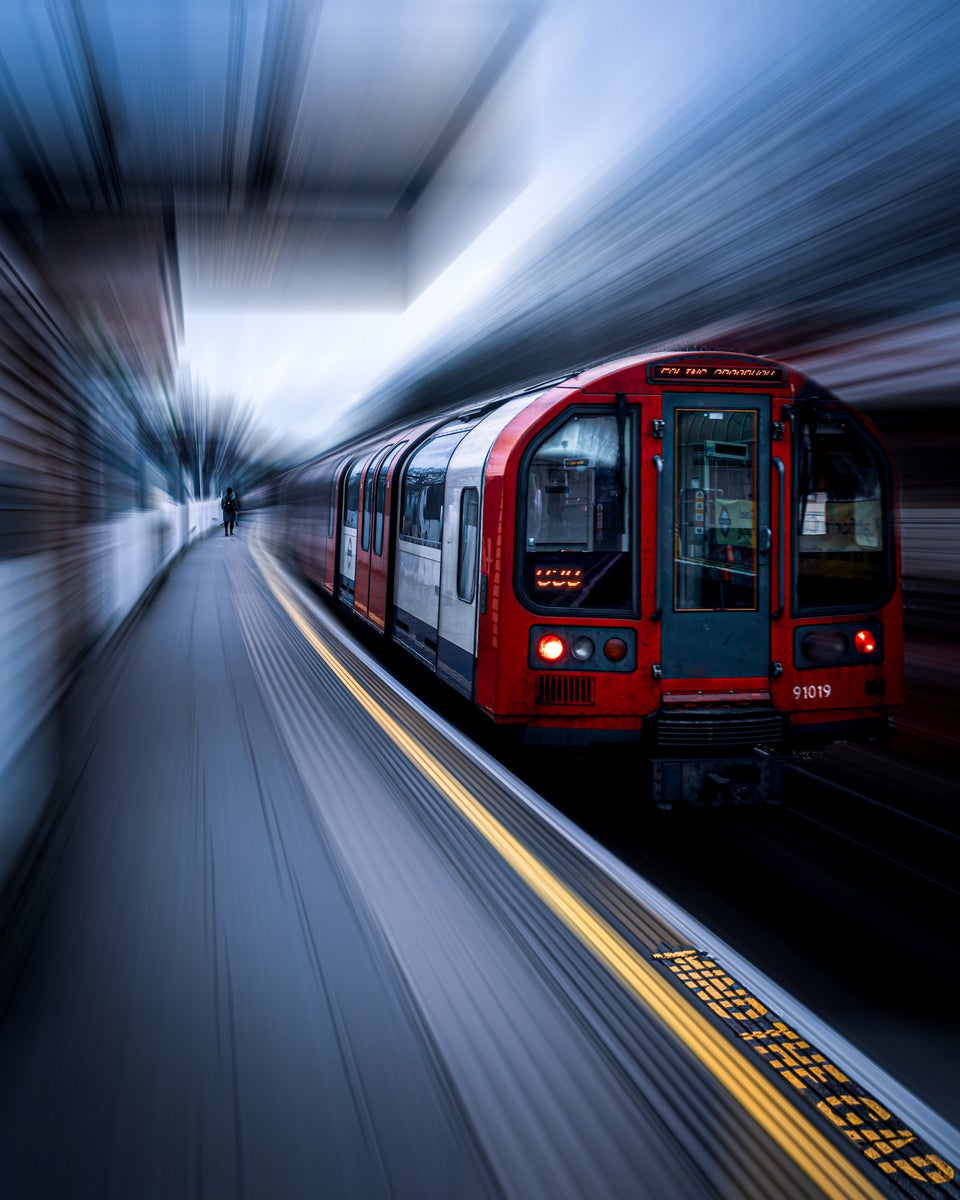
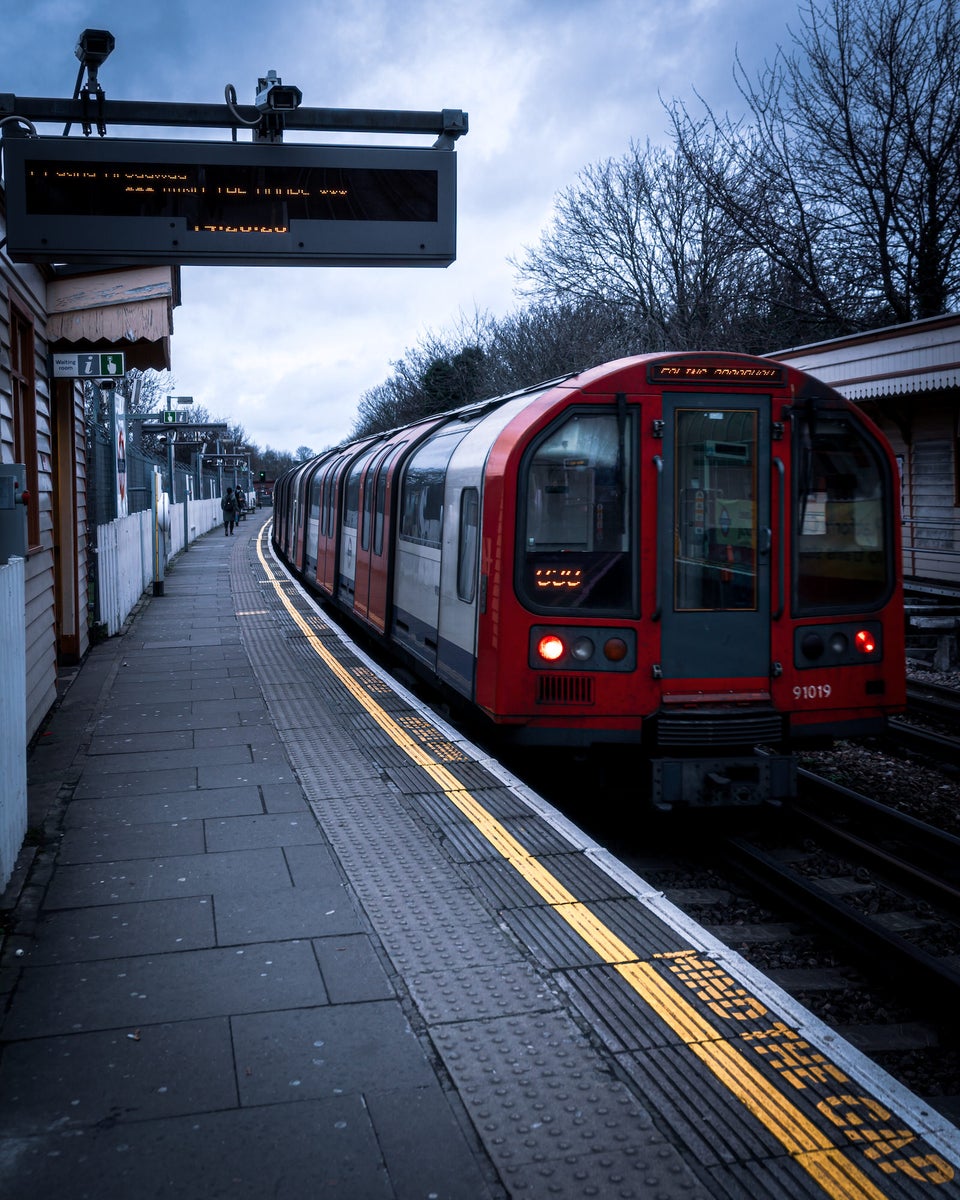
Whenever I go out to take photos, I tend to use one lens at a time and adapt to the location and setting to obtain my ideal photo. For the first photo, I went to East Acton Station on the London Underground. My aim for this photo was to capture the element of speed on this mode of public transport.
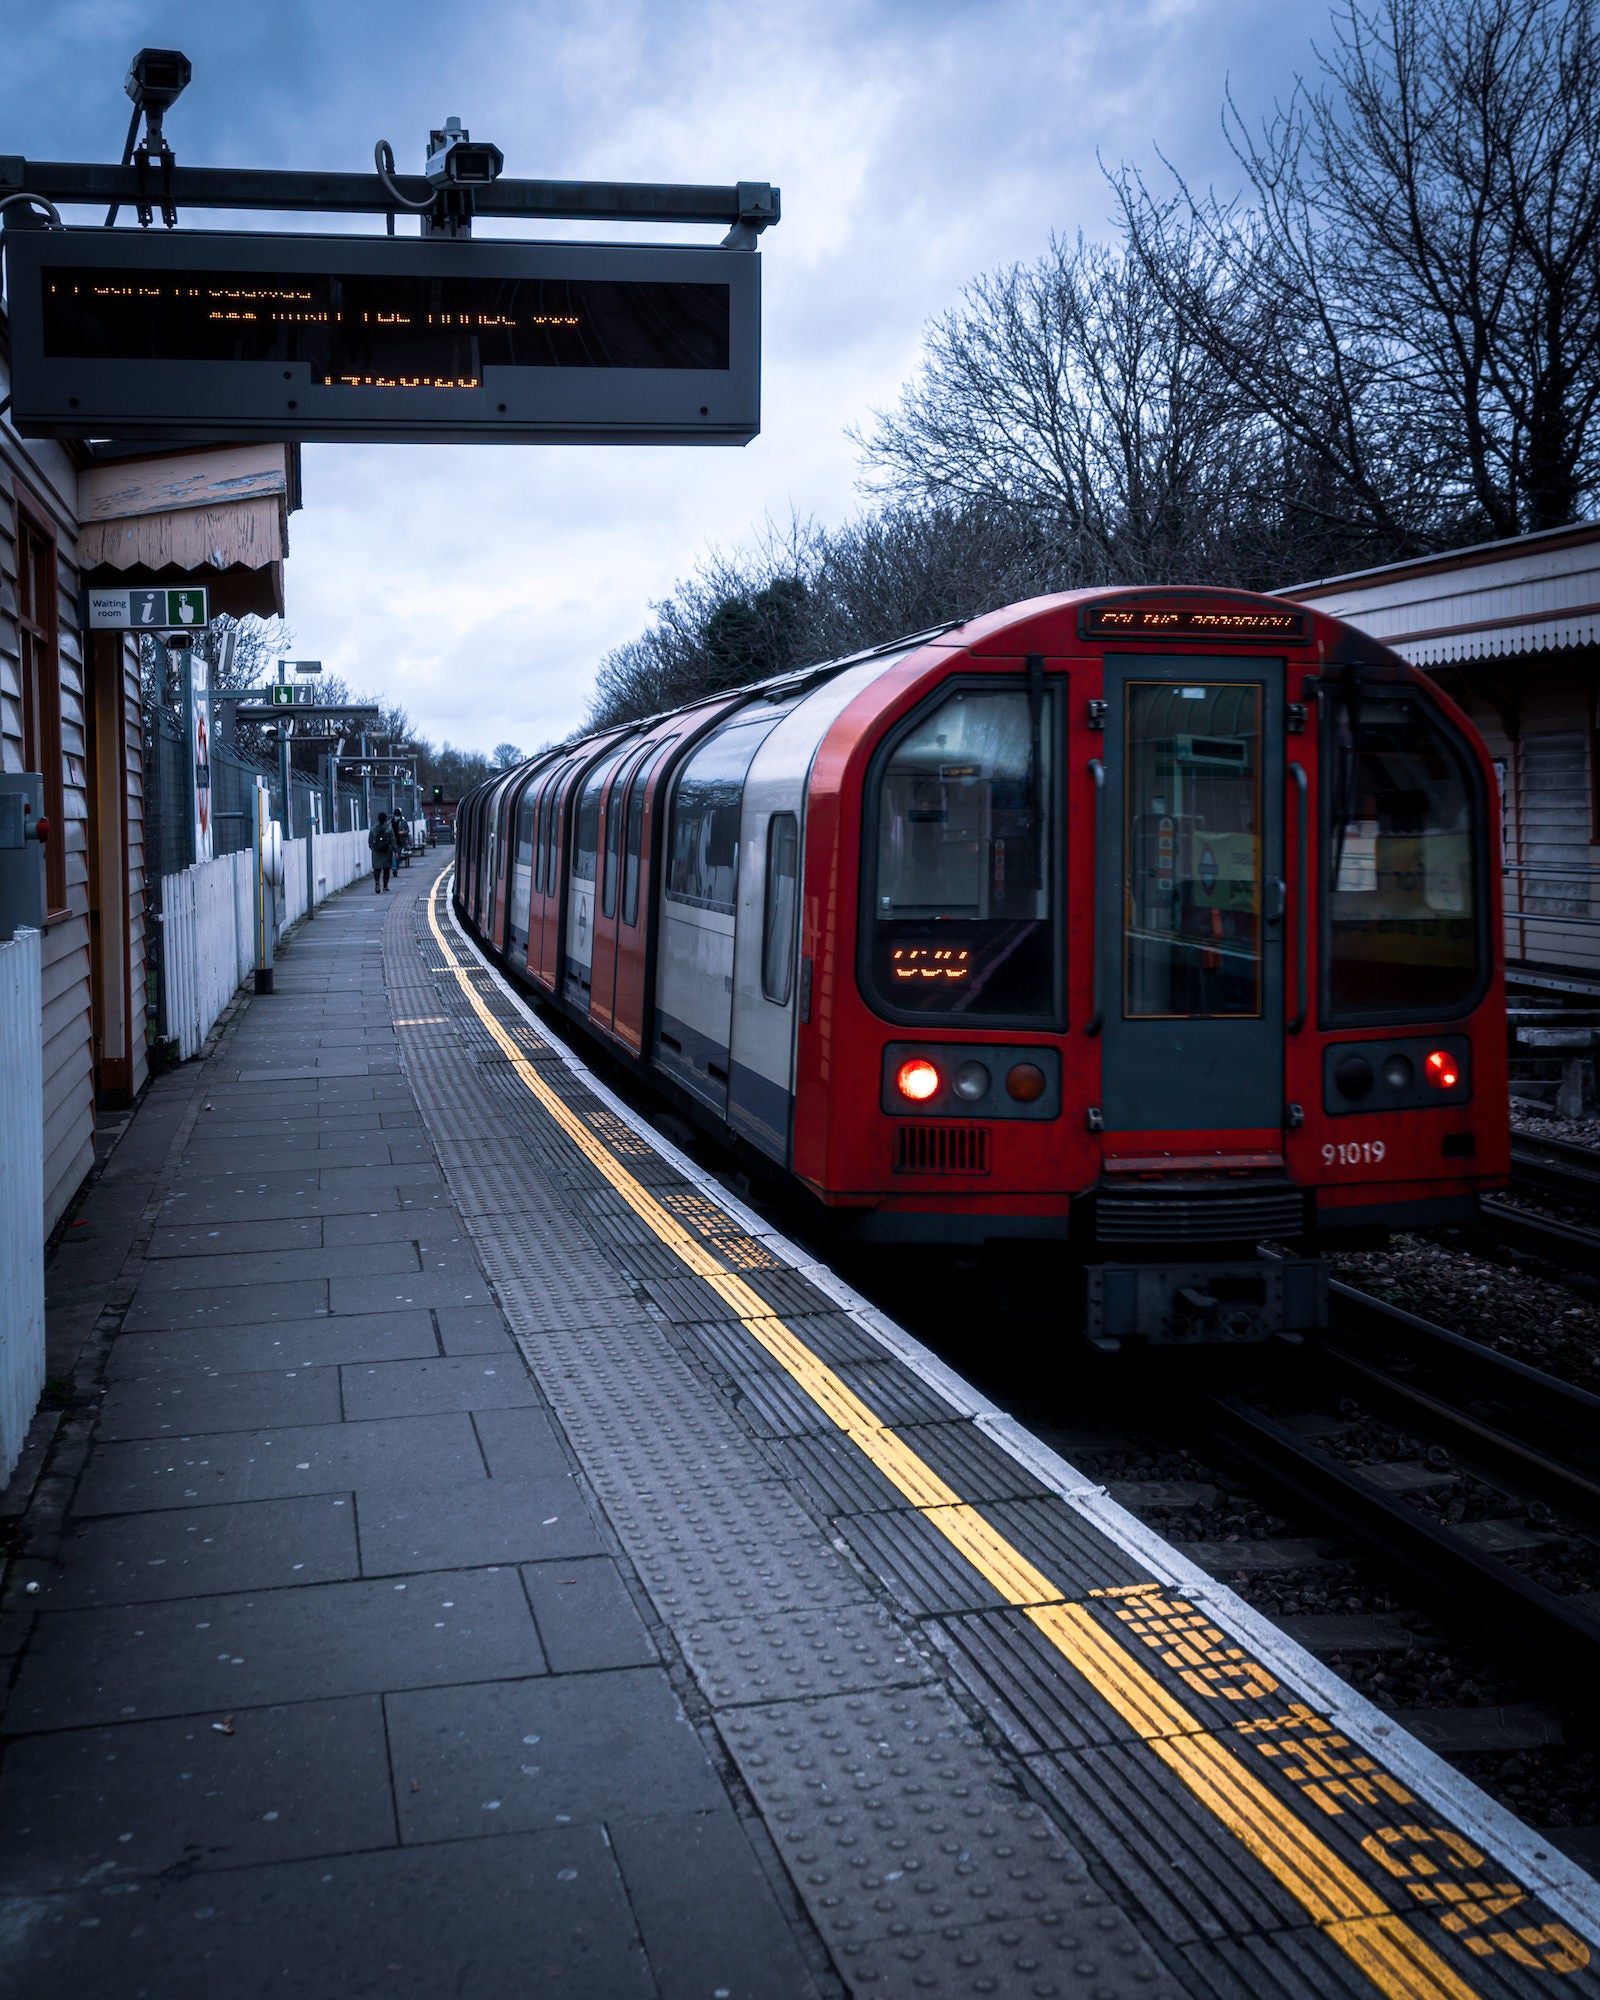
Photo by Jordan Griffith Brown. Sony Alpha 9 II. Sony 16-35mm f/2.8 G Master. 1/200-sec., f/4, ISO 100
I stood on the platform looking for leading lines and a passenger on the platform, I then awaited the moment for a train to pull into the station. In the final image, I was able to capture an image of a passenger getting off the train and walking towards the exit. Additionally at this point, the train began to depart. My focal length was 34mm and my settings were 1/200-sec., f/4 and ISO 100.
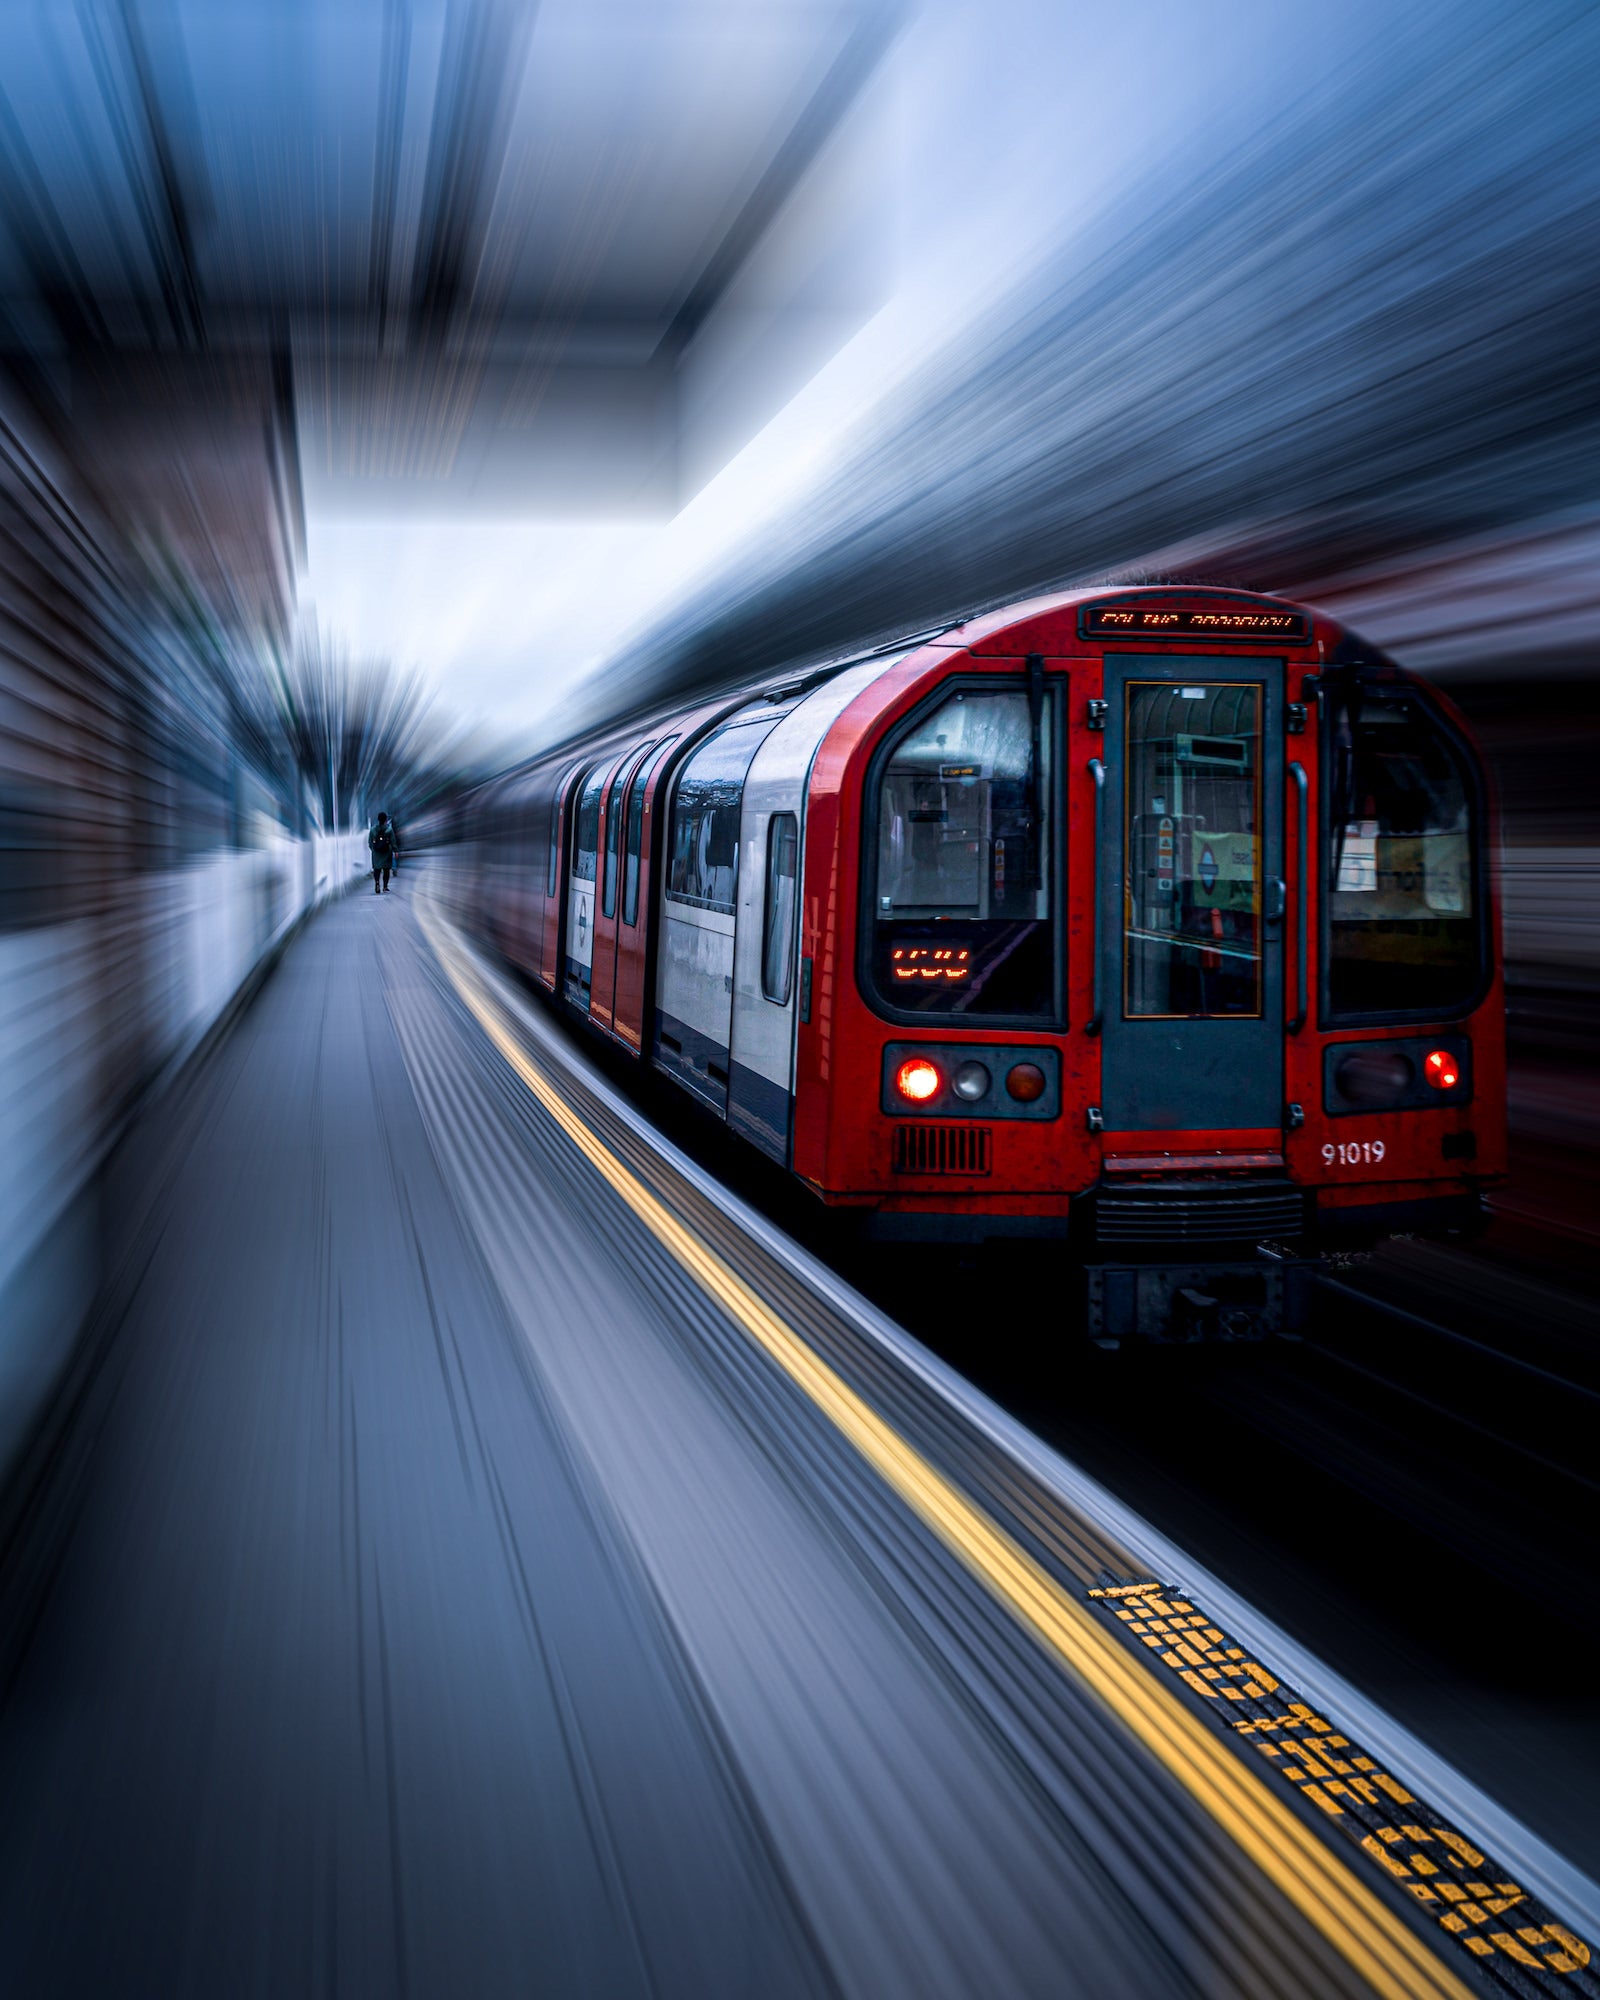
Photo by Jordan Griffith Brown (with blur effect). Sony Alpha 9 II. Sony 16-35mm f/2.8 G Master. 1/200-sec., f/4, ISO 100
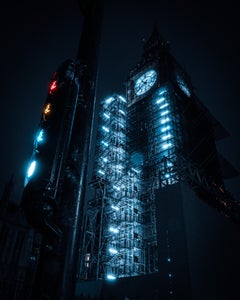
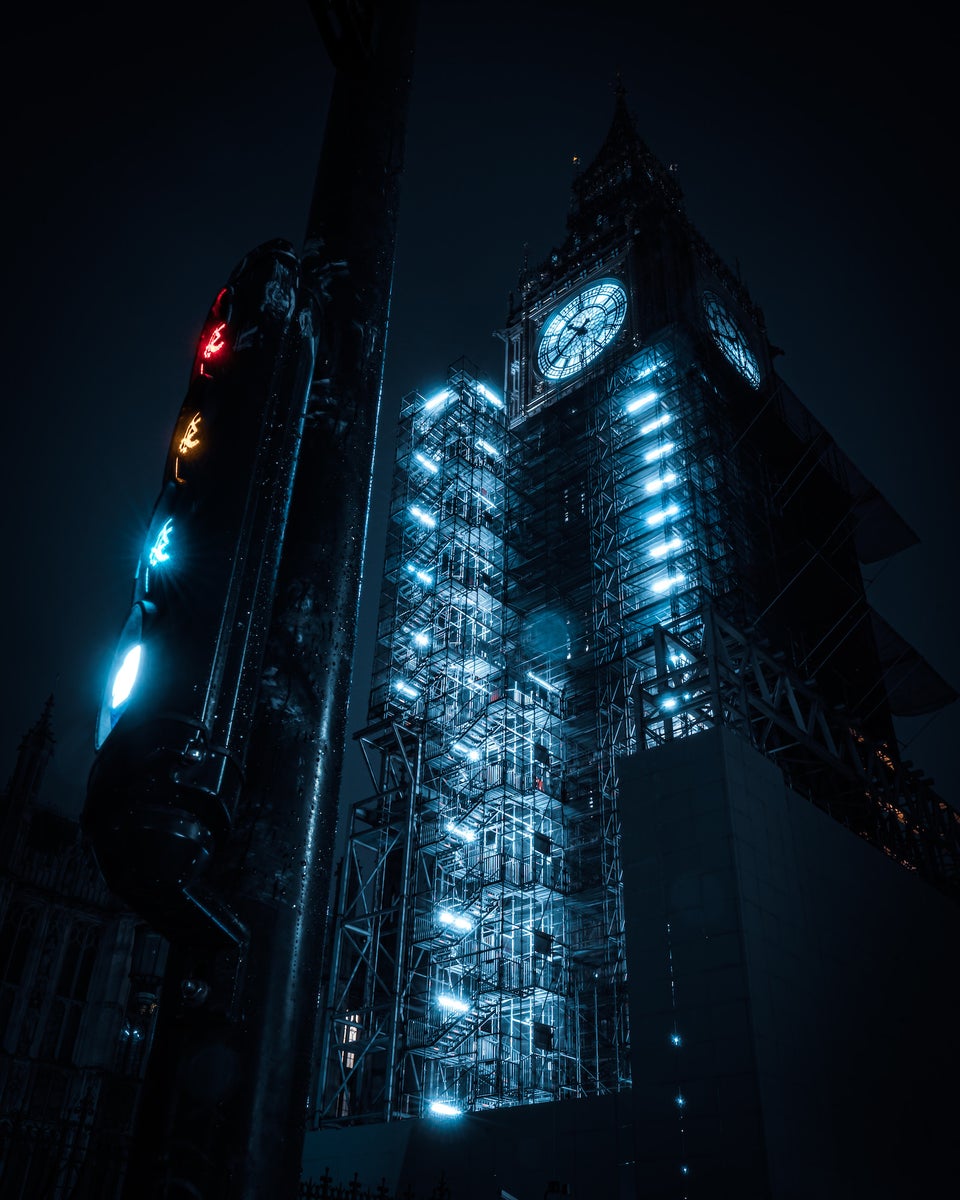
For the second photo, I went to the Elizabeth Tower, aka Big Ben. Since I began photography back in 2017, I always wanted to get an iconic photo of this location. As the renovation works draw to a close, I took the opportunity to get some photos as the scaffolding disappears as it is highly unlikely that scaffolding on this scale will be placed around the tower again.
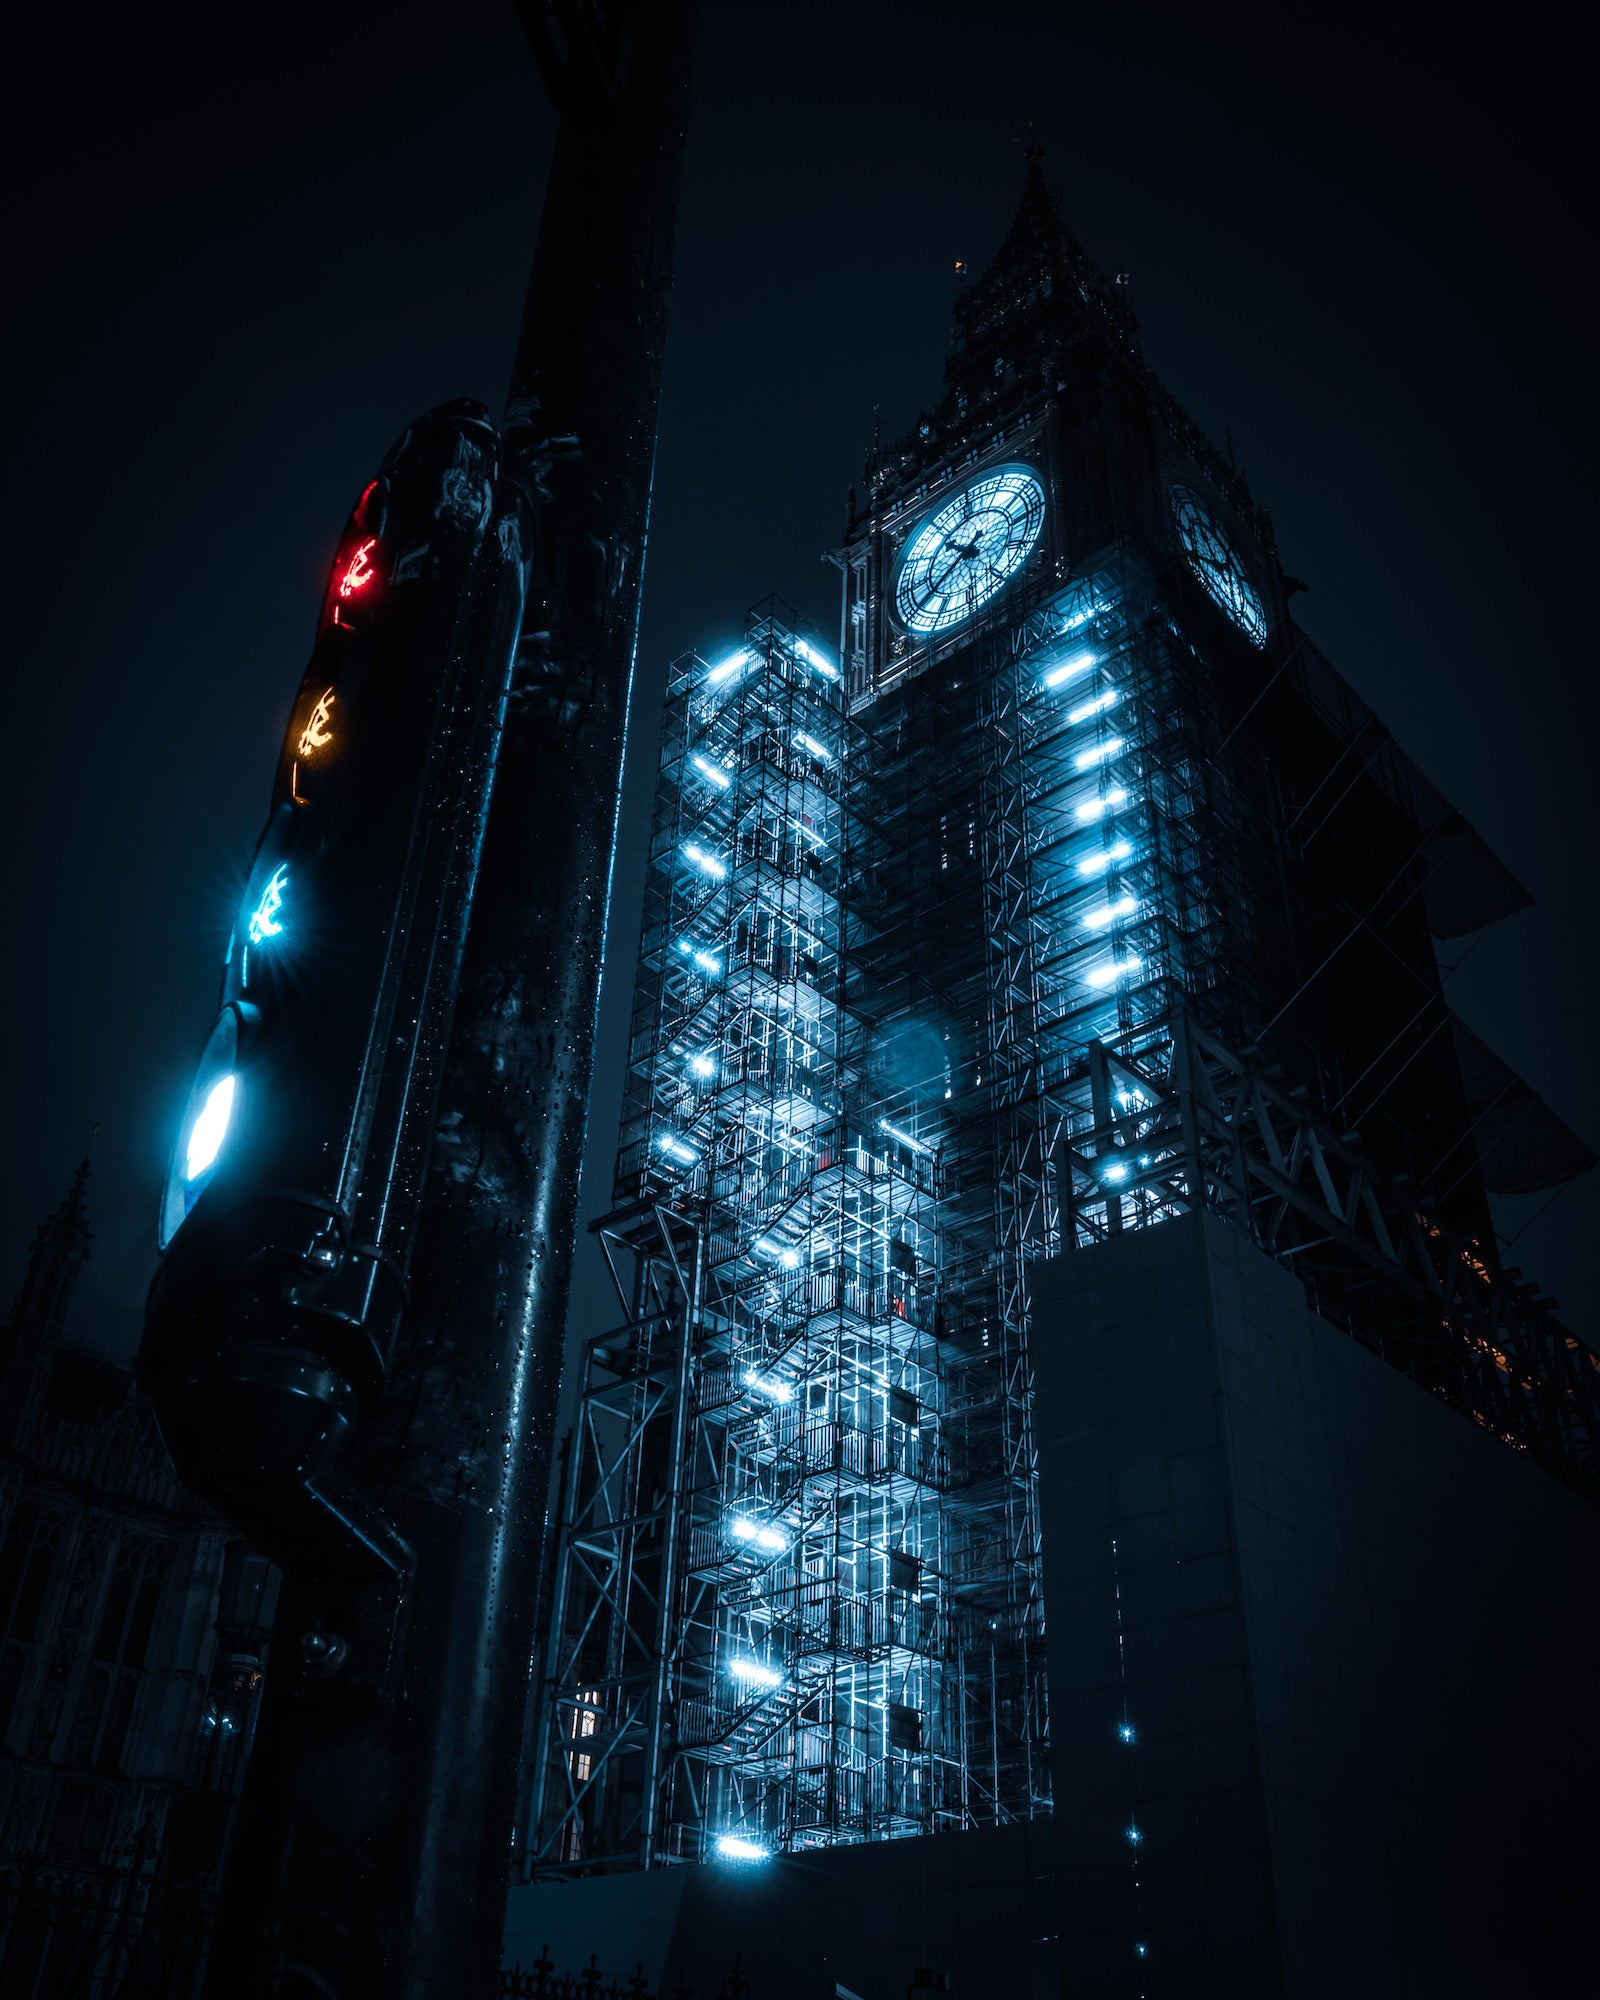
Photo by Jordan Griffith Brown (with blur effect). Sony Alpha 9 II. Sony 16-35mm f/2.8 G Master. 1/160-sec., f/3.5, ISO 250
For the photo of the Elizabeth Tower, I used a tripod, with the angle aimed towards a traffic light, with this photo, I used the self-timer (continuous) feature with the settings of a two second delay with five images, by using this setting, I was able to capture five back-to-back images, out of the five images, there was a photo with all three lights lit as a result of the long exposure, the following settings were used for the final image: 34mm, 1/200-sec., f/4 and ISO 100.
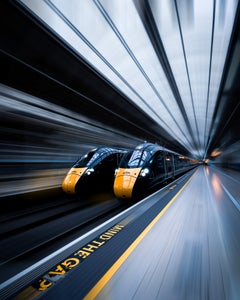
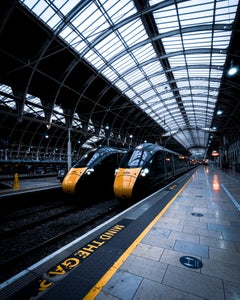
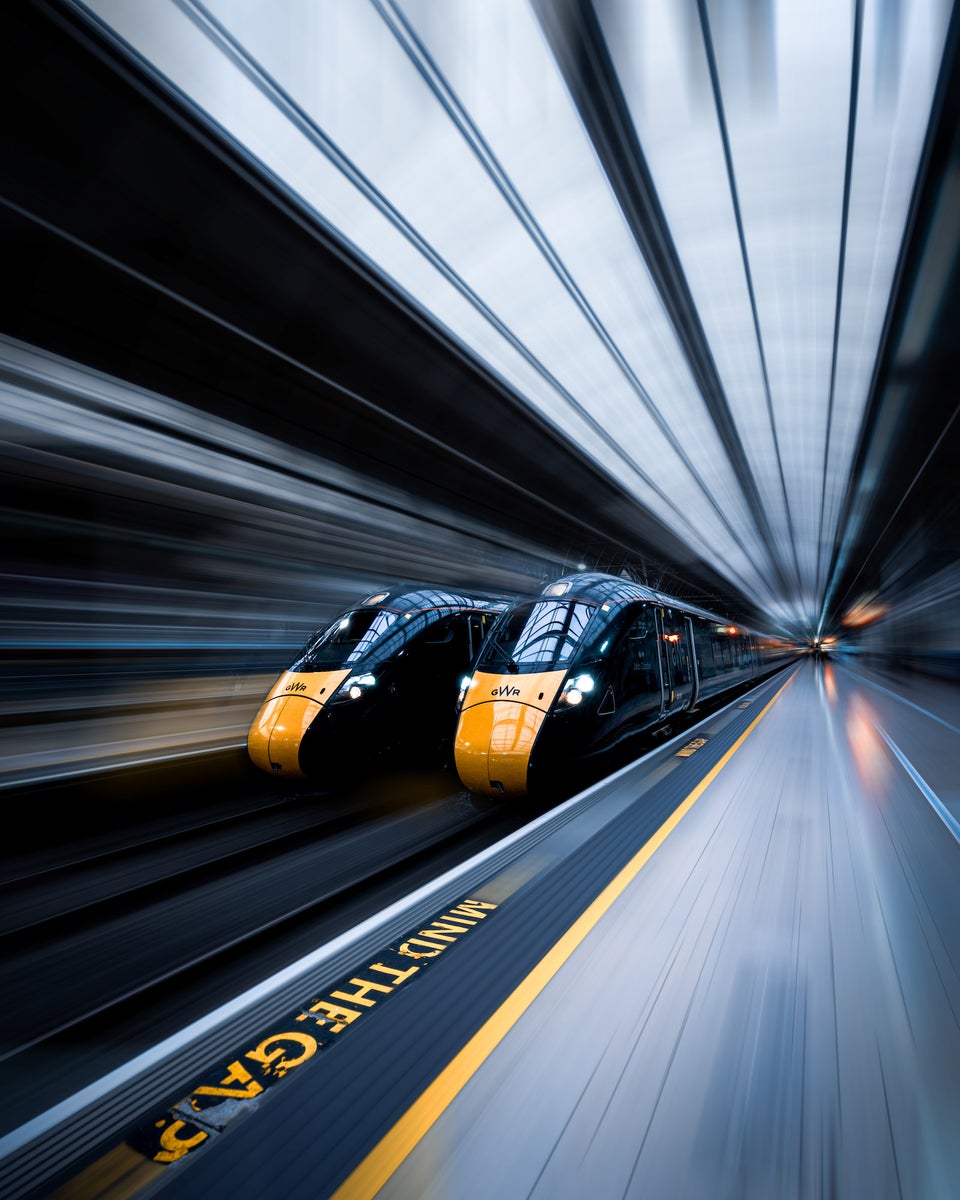
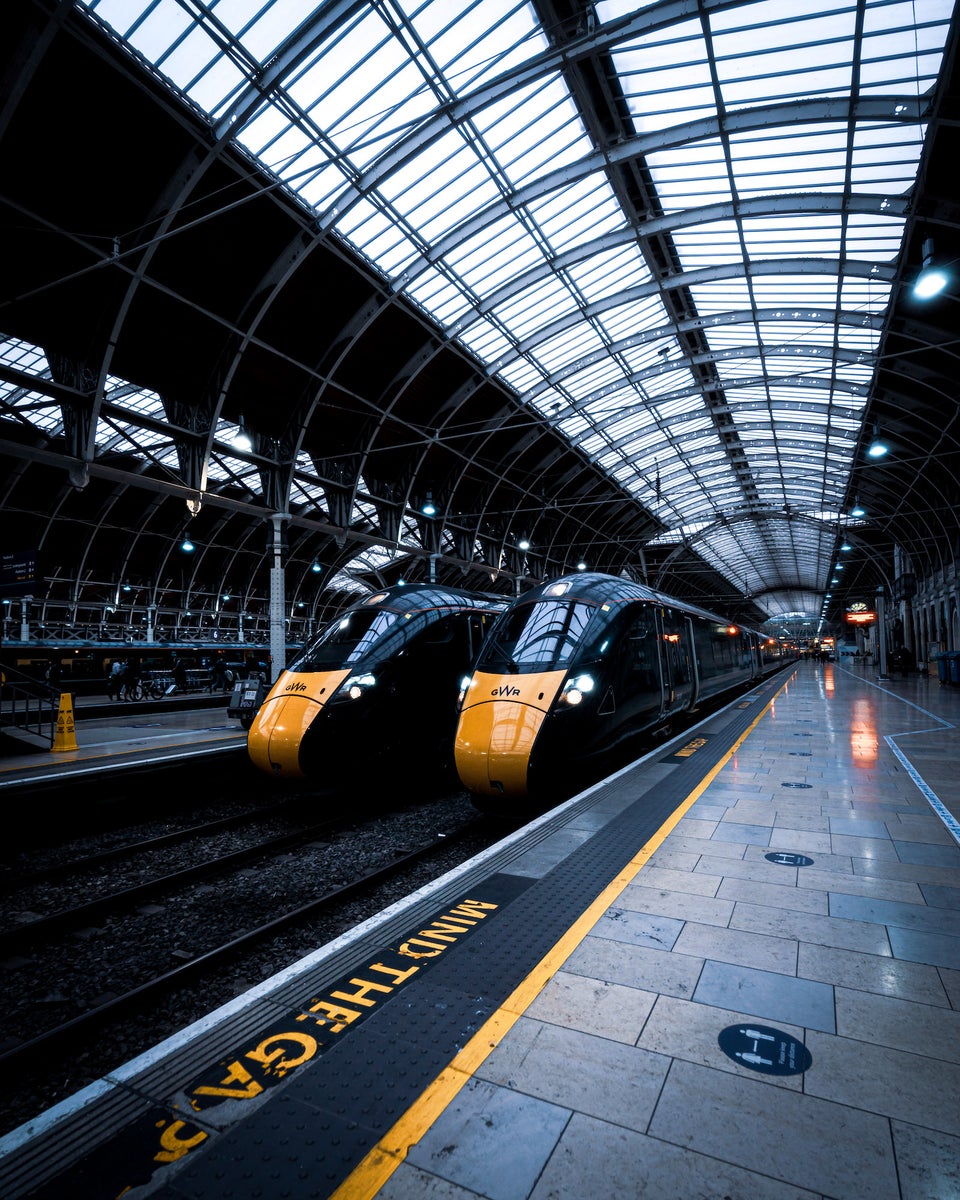
For the third and final photo, I visited London Paddington Station. For this photo, I wanted to capture an image that would display the wide leading lines of the station. I also wanted to capture an image which used the widest possible focal length to display the sheer size of this location.
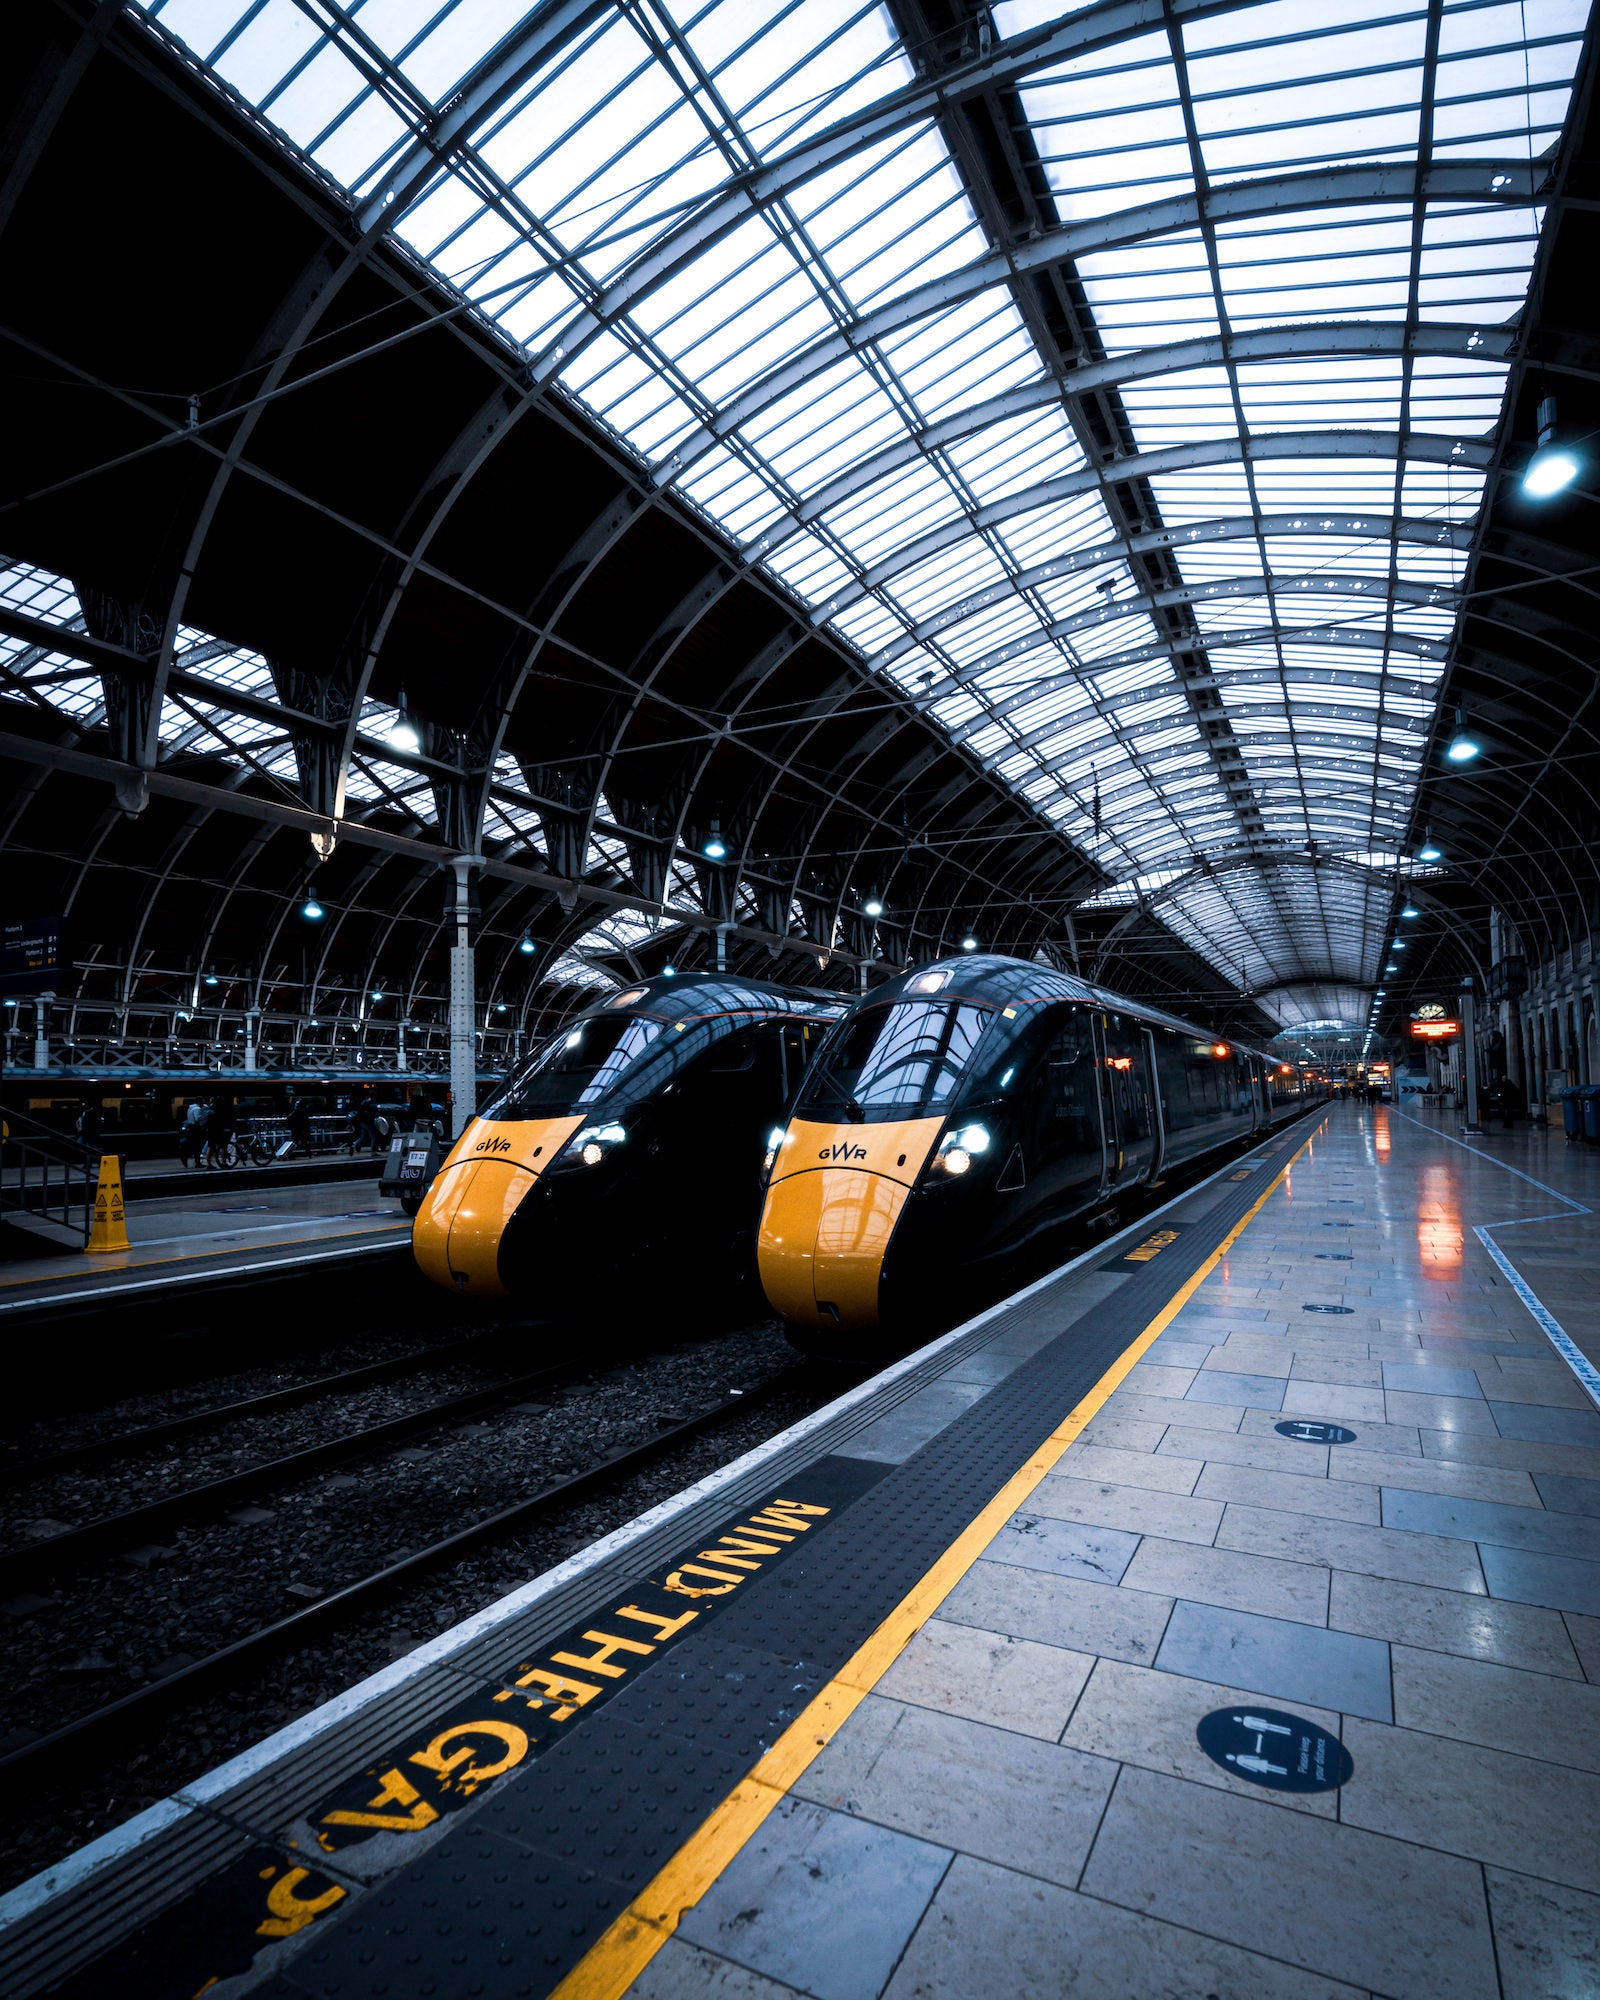
Photo by Jordan Griffith Brown. Sony Alpha 9 II. Sony 16-35mm f/2.8 G Master. 1/200-sec., f/4, ISO 100
For this image, similar to the previous station photo, I positioned myself in a spot where the leading lines would have a pleasing effect. I captured the image with a focal length of 16mm and the following settings: 1/160-sec., f/3.5, ISO 250.
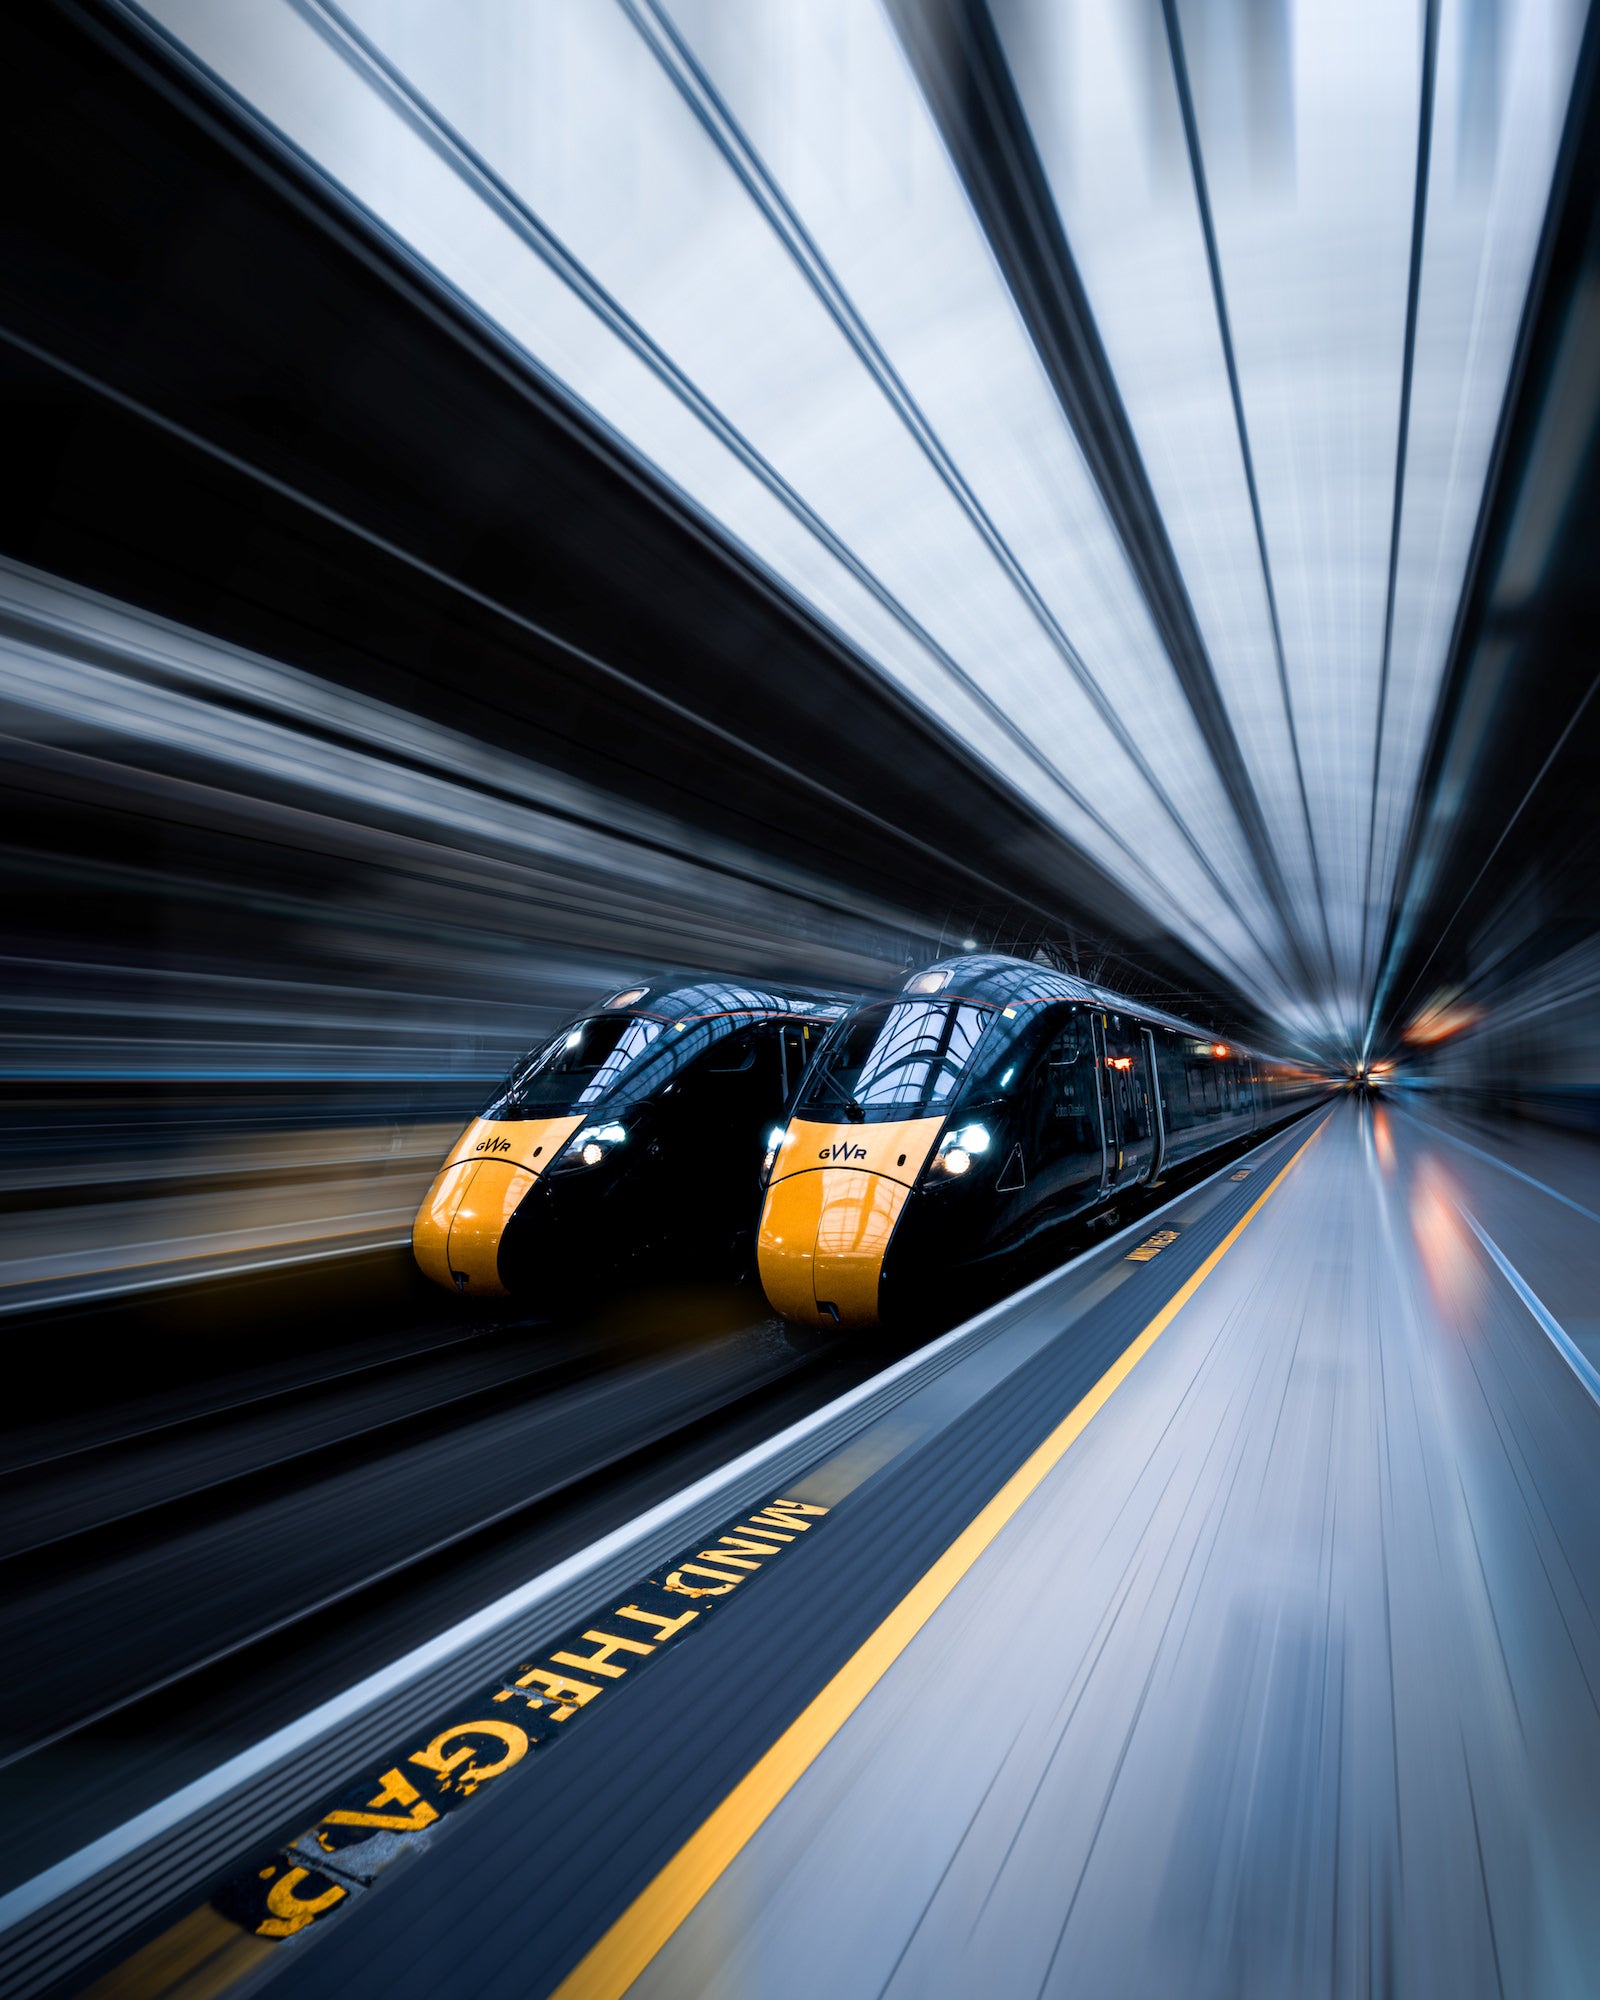
Photo by Jordan Griffith Brown (with blur effect). Sony Alpha 9 II. Sony 16-35mm f/2.8 G Master. 1/200-sec., f/4, ISO 100
The Edit
For the post-processing of these images, I used Adobe Lightroom Classic and Photoshop. With Lightroom I used presets that I developed for myself personally and made slight adjustments where necessary. I find that presets speed up my workflow and allow the color and tones to remain consistent throughout my images.
I was able to create the blur effect using PS, when applying this effect I always look out for the leading lines within my image that will create a satisfying effect to look at. I additionally remove the effect from specific areas within the image in order to draw attention to that specific area in the frame. I always aim to remove this effect on an object such as a train, a person or even words on a person.
The final results of these images never cease to amaze me, I always set myself the challenging task of looking for ways to exceed my own skills on a day to day basis, in order to improve my work for myself and the audience who view my content.
See more of Jordan Griffith-Brown’s work on Instagram @griffie.visuals.
