If you’ve ever gazed at silky waterfalls, dreamy cloud trails or dazzling city lights and wondered how to capture those moments, you’re in the right spot. Long exposure photography lets you play with time, creating images that reveal movements and patterns invisible to the naked eye. Here’s a friendly guide to help you get started, complete with some pointers on gear, settings and more.
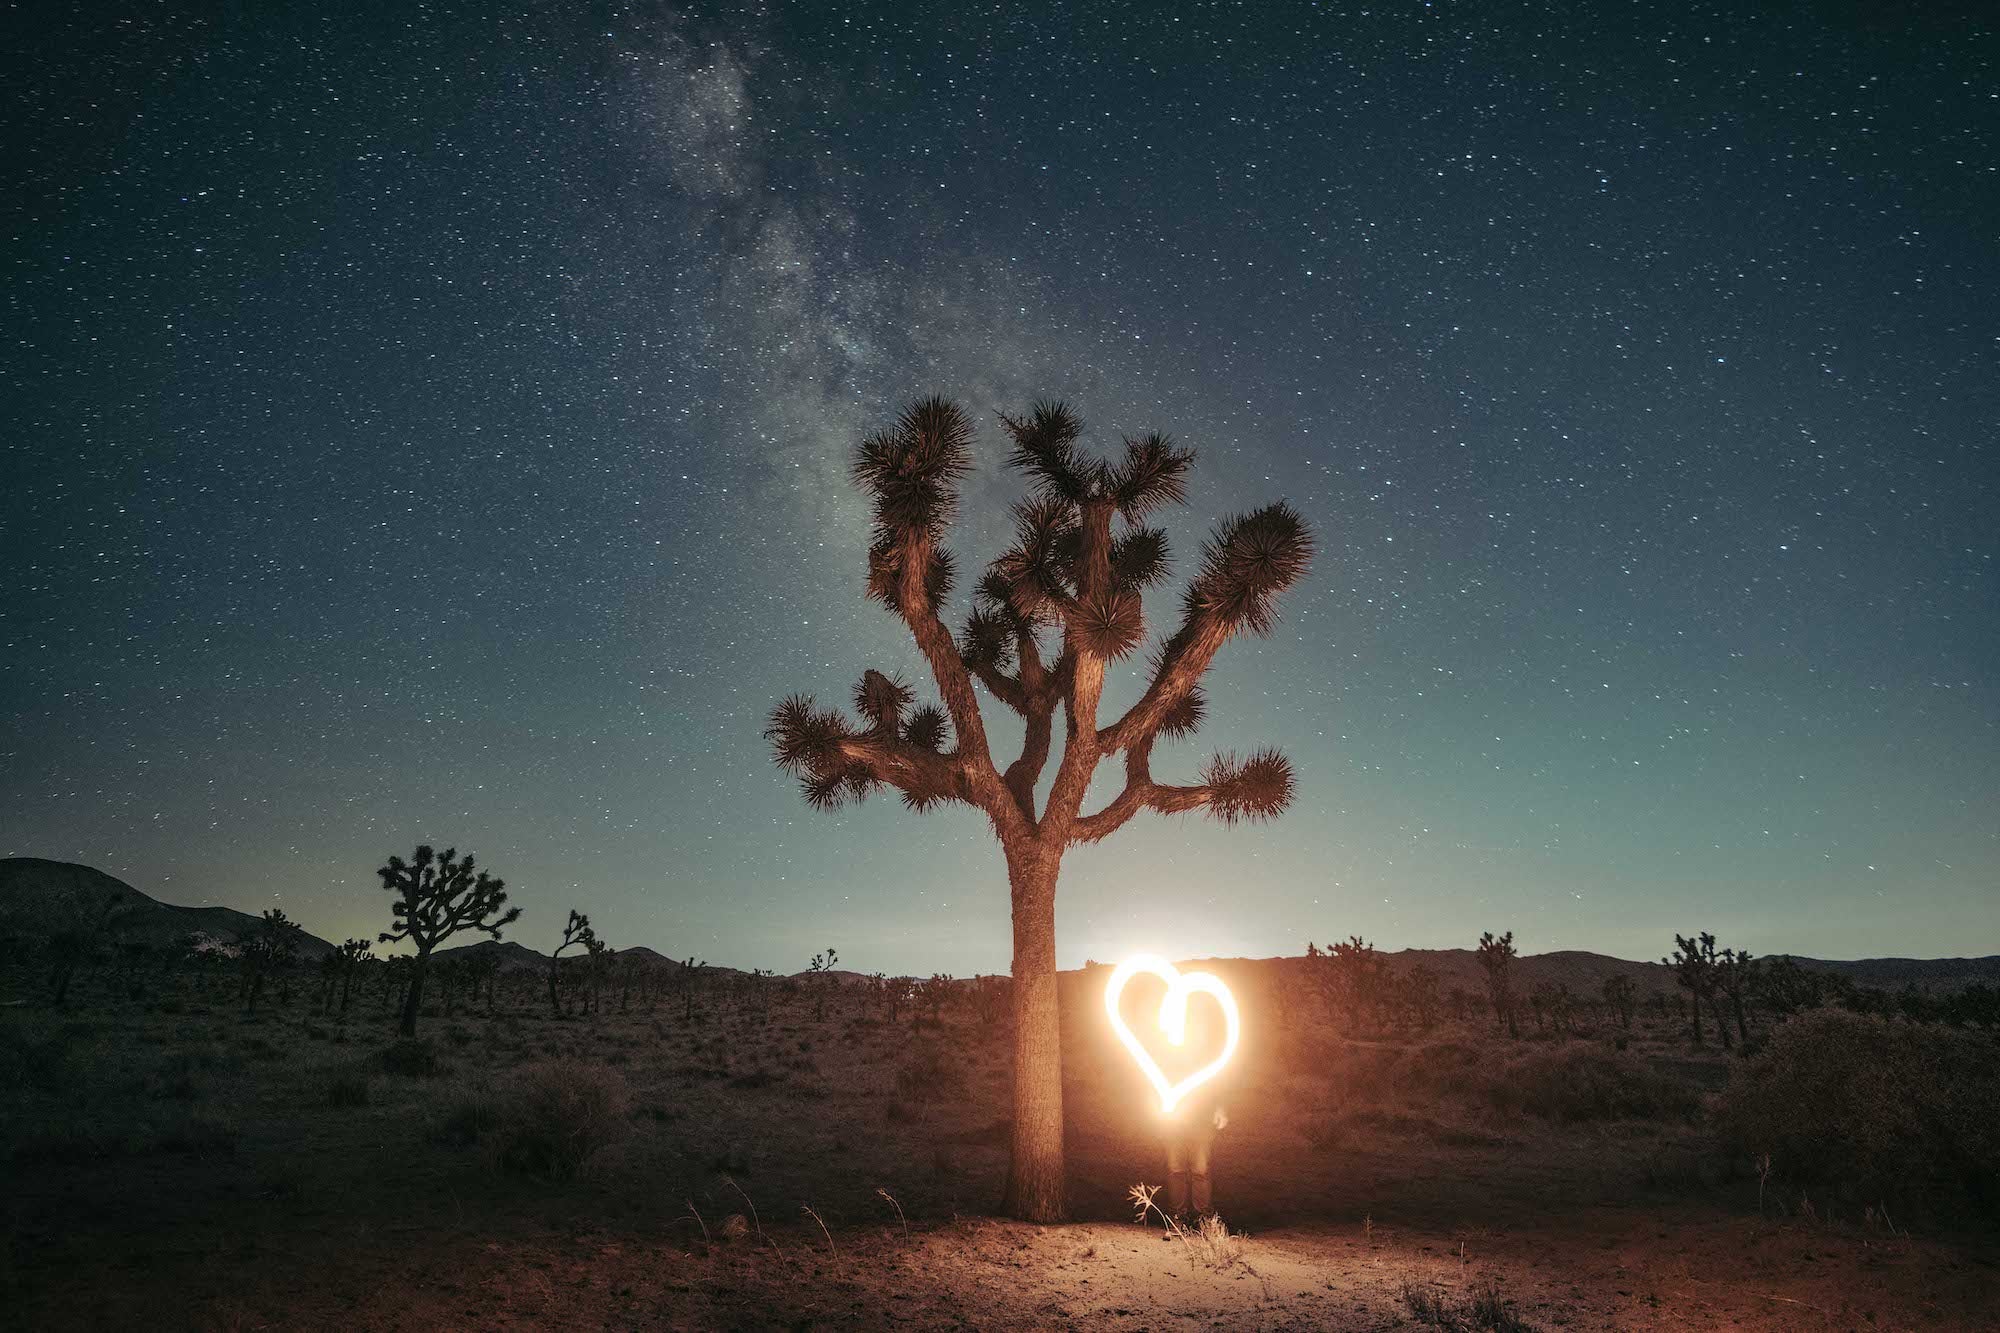
Photo by Jude Allen. Sony Alpha 1. Sony 16-35mm f/2.8 G Master. 30-sec., f/2.8, ISO 4000
1. Gear Up for Success
Let’s talk gear first, because starting with the right tools makes all the difference. A sturdy tripod is your best friend in long exposure photography. We’re talking about keeping your Sony Alpha camera rock-steady during those extended shutter times, so make sure your tripod can handle a bit of wind without a wobble.
Consider investing in a remote shutter release or using your Sony Alpha camera’s built-in timer to avoid any shake from pressing the button. Photographer Susan Brudd (@twodognite) likes to use the Sony RMT-P1BT Wireless Remote Commander. “This remote is great for when I need to be both the photographer and the model at the same time. It’s incredibly easy to use and small enough to conceal in my hand. I also use it for astrophotography so that I can press the shutter without shaking my camera during a long exposure.”
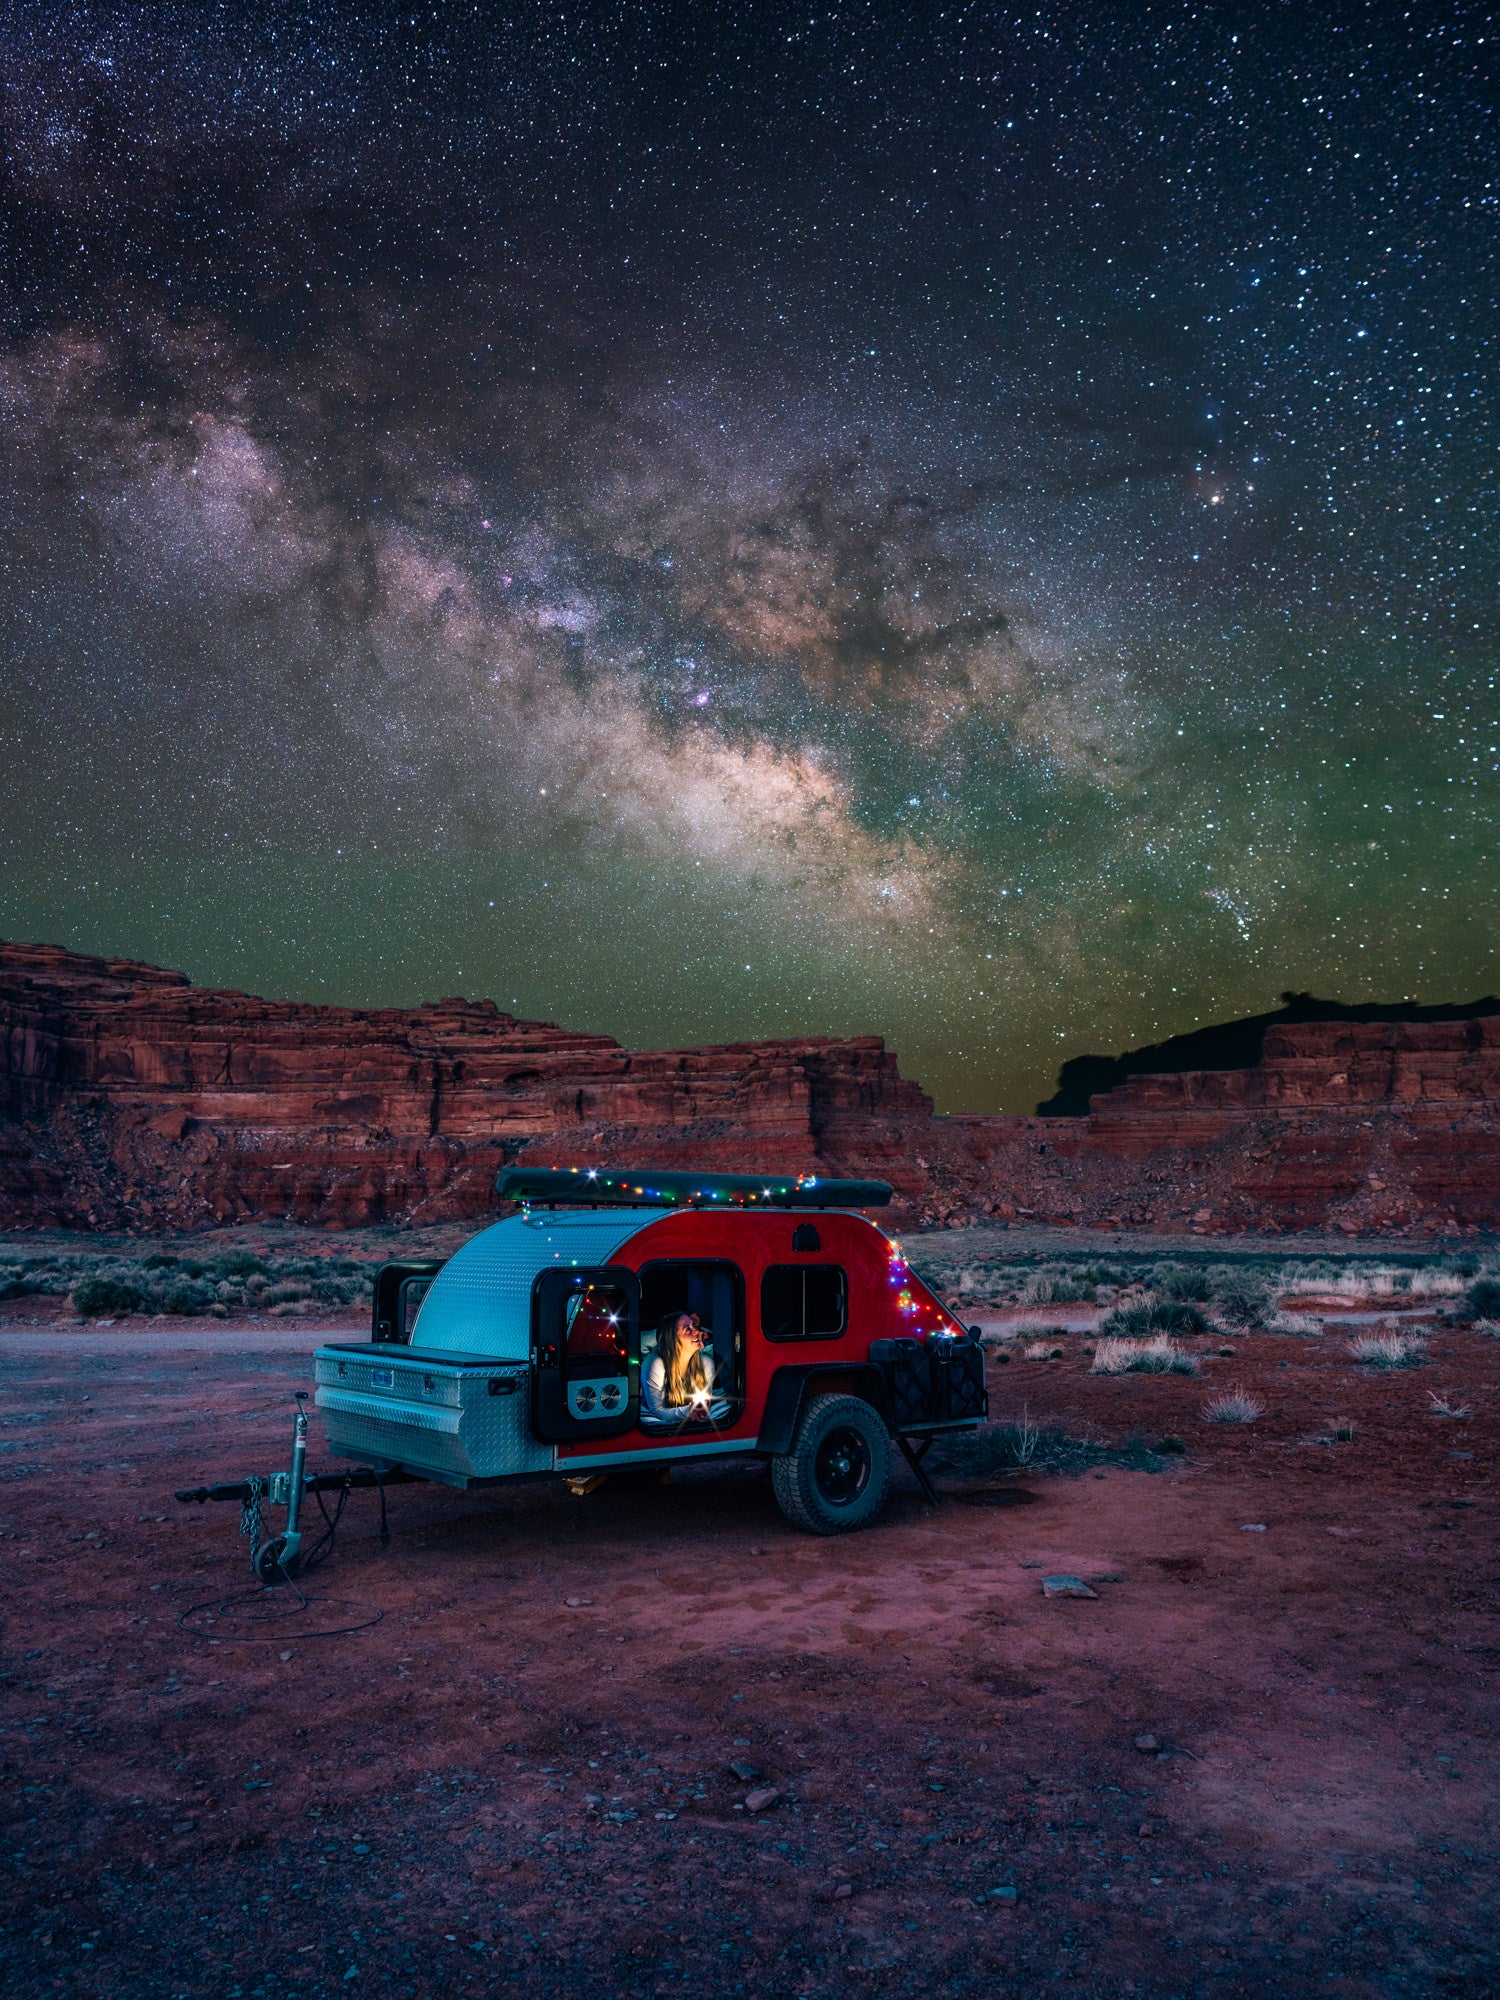
Photo by Susan Brudd. Sony Alpha 7R IV. Sony 24mm f/1.4 G Master. 1/20-sec., f/6.3, ISO 500
Photographer Ryan Ditch (@ryanditchphoto) also includes the Sony RMT-P1BT Wireless Remote Commander in his long exposure photography kit. He says, “Anytime I am shooting long exposure photos I use my Sony RMT-P1BT Wireless Remote Commander. This helps eliminate any shake from manually pressing the shutter button, and also allows me additional freedom from your standard cable release. For this specific shoot it was critical since I was also flying my drone while taking photos.” See his image below and learn more about it in Behind The Shot: Creating A One Tree Hill Feeling.
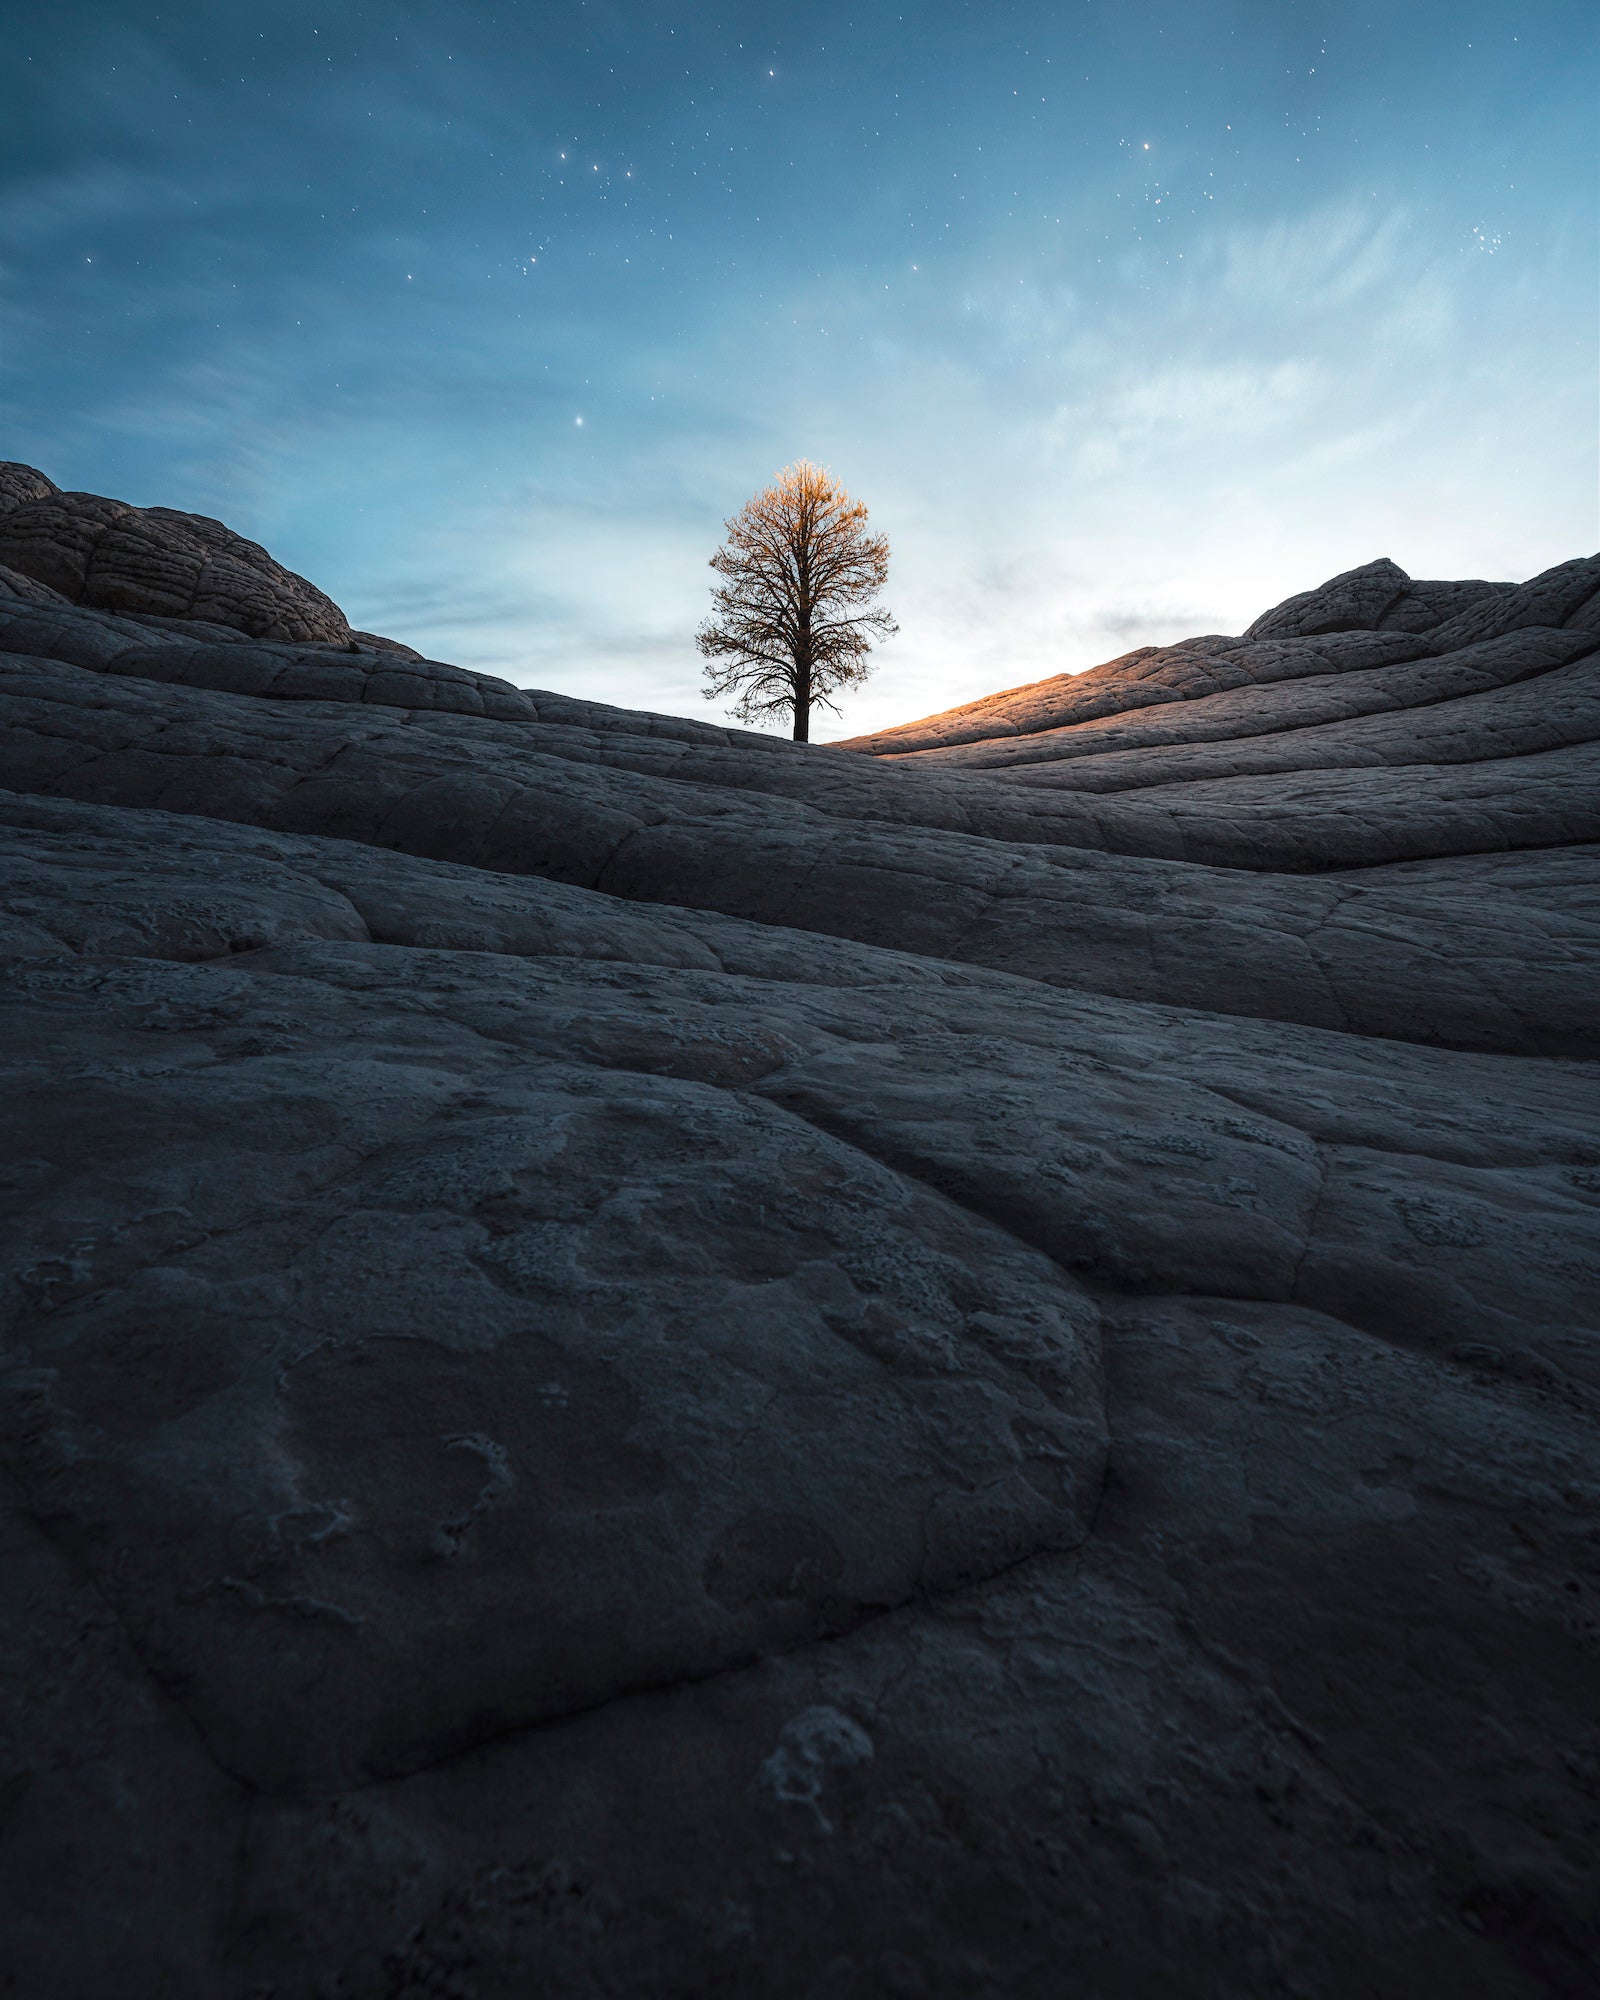
Photo by Ryan Ditch. Sony Alpha 7R IV. Sony 16-35mm f/2.8 G Master. 15-sec., f/2.8, ISO 800
Lastly, an ND filter is worth adding to your kit if you’re shooting in bright conditions. It’s like sunglasses for your camera, allowing for longer exposure times without overexposing your image.
2. Experiment With Your Settings
Now that we’re all set up, let’s dive into camera settings. Shutter speed is the star of the show here. Depending on the effect you’re going for, experiment with slower speeds. Want smooth water in a stream? Try 1-2 seconds. Looking to capture those dreamy cloud movements? Push it to 30 seconds (or even longer) like in the image below created by Alpha Collective member Mike Meyers with his Sony Alpha 1 and Sony 24-70mm f/2.8 G Master II.
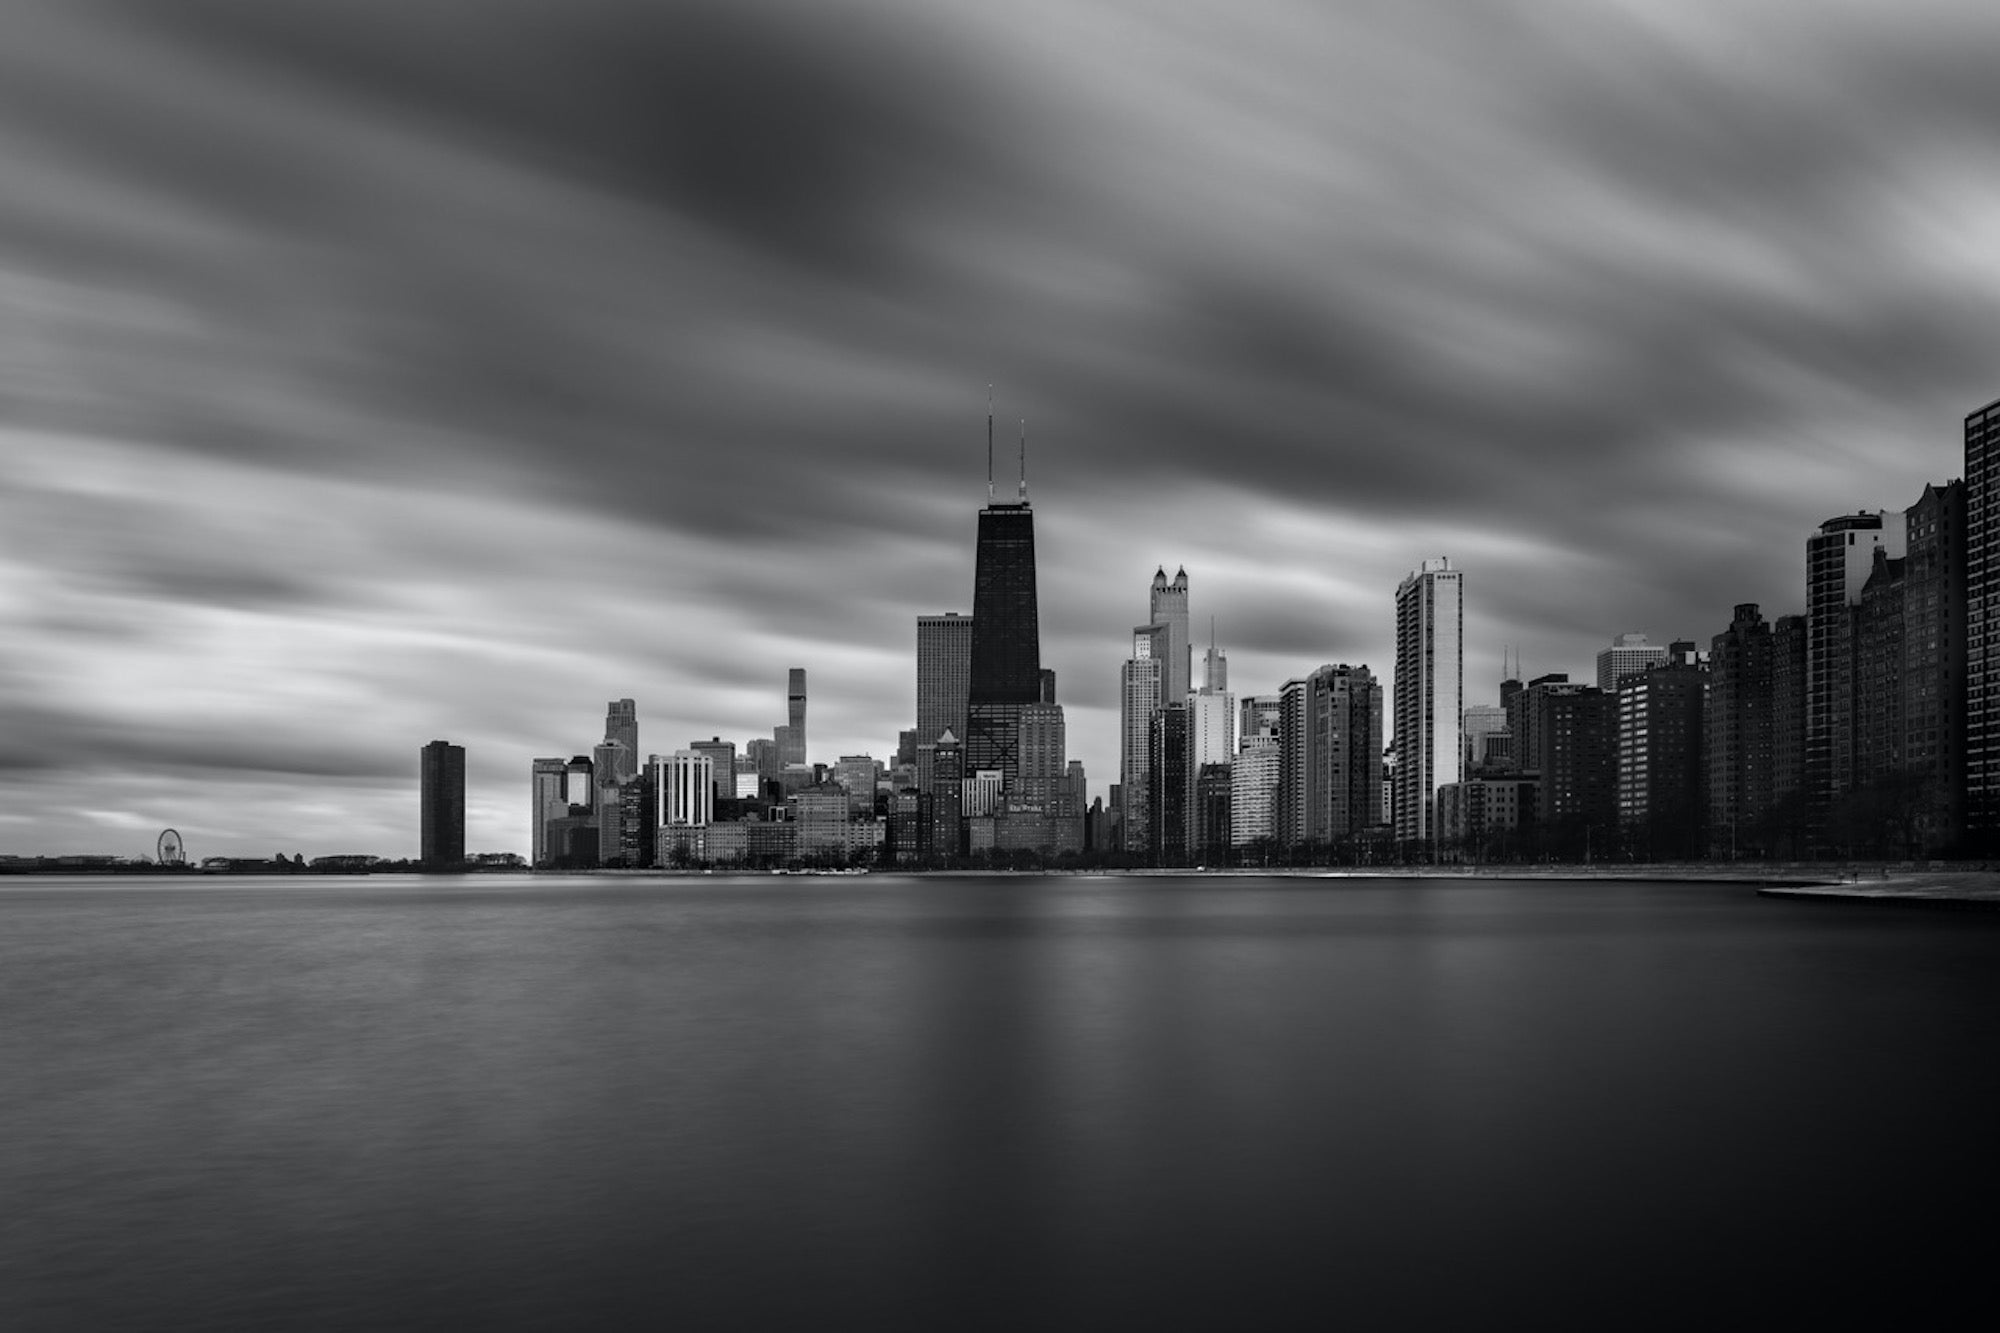
Photo by Mike Meyers. Sony Alpha 1. Sony 24-70mm f/2.8 G Master II. 30-sec., f/8, ISO 50
Your other settings will depend on what you’re shooting, but we recommend using a small aperture (high f-stop number) to ensure a broad depth of field, and keeping your ISO as low as possible to minimize noise.
3. Find Your Focus
Composition is crucial in long exposure photography. With all this movement, you’ll need a strong focal point to anchor your image. Look for lines and shapes that guide the viewer’s eye through the frame. Leading lines, like roads or rivers, are perfect for telling a story in your photograph. Just look at Alpha Collective member Stan Moniz’s epic long exposure light trail image below that he created with the Sony Alpha 1 and Sony 14mm f/1.8 G Master.
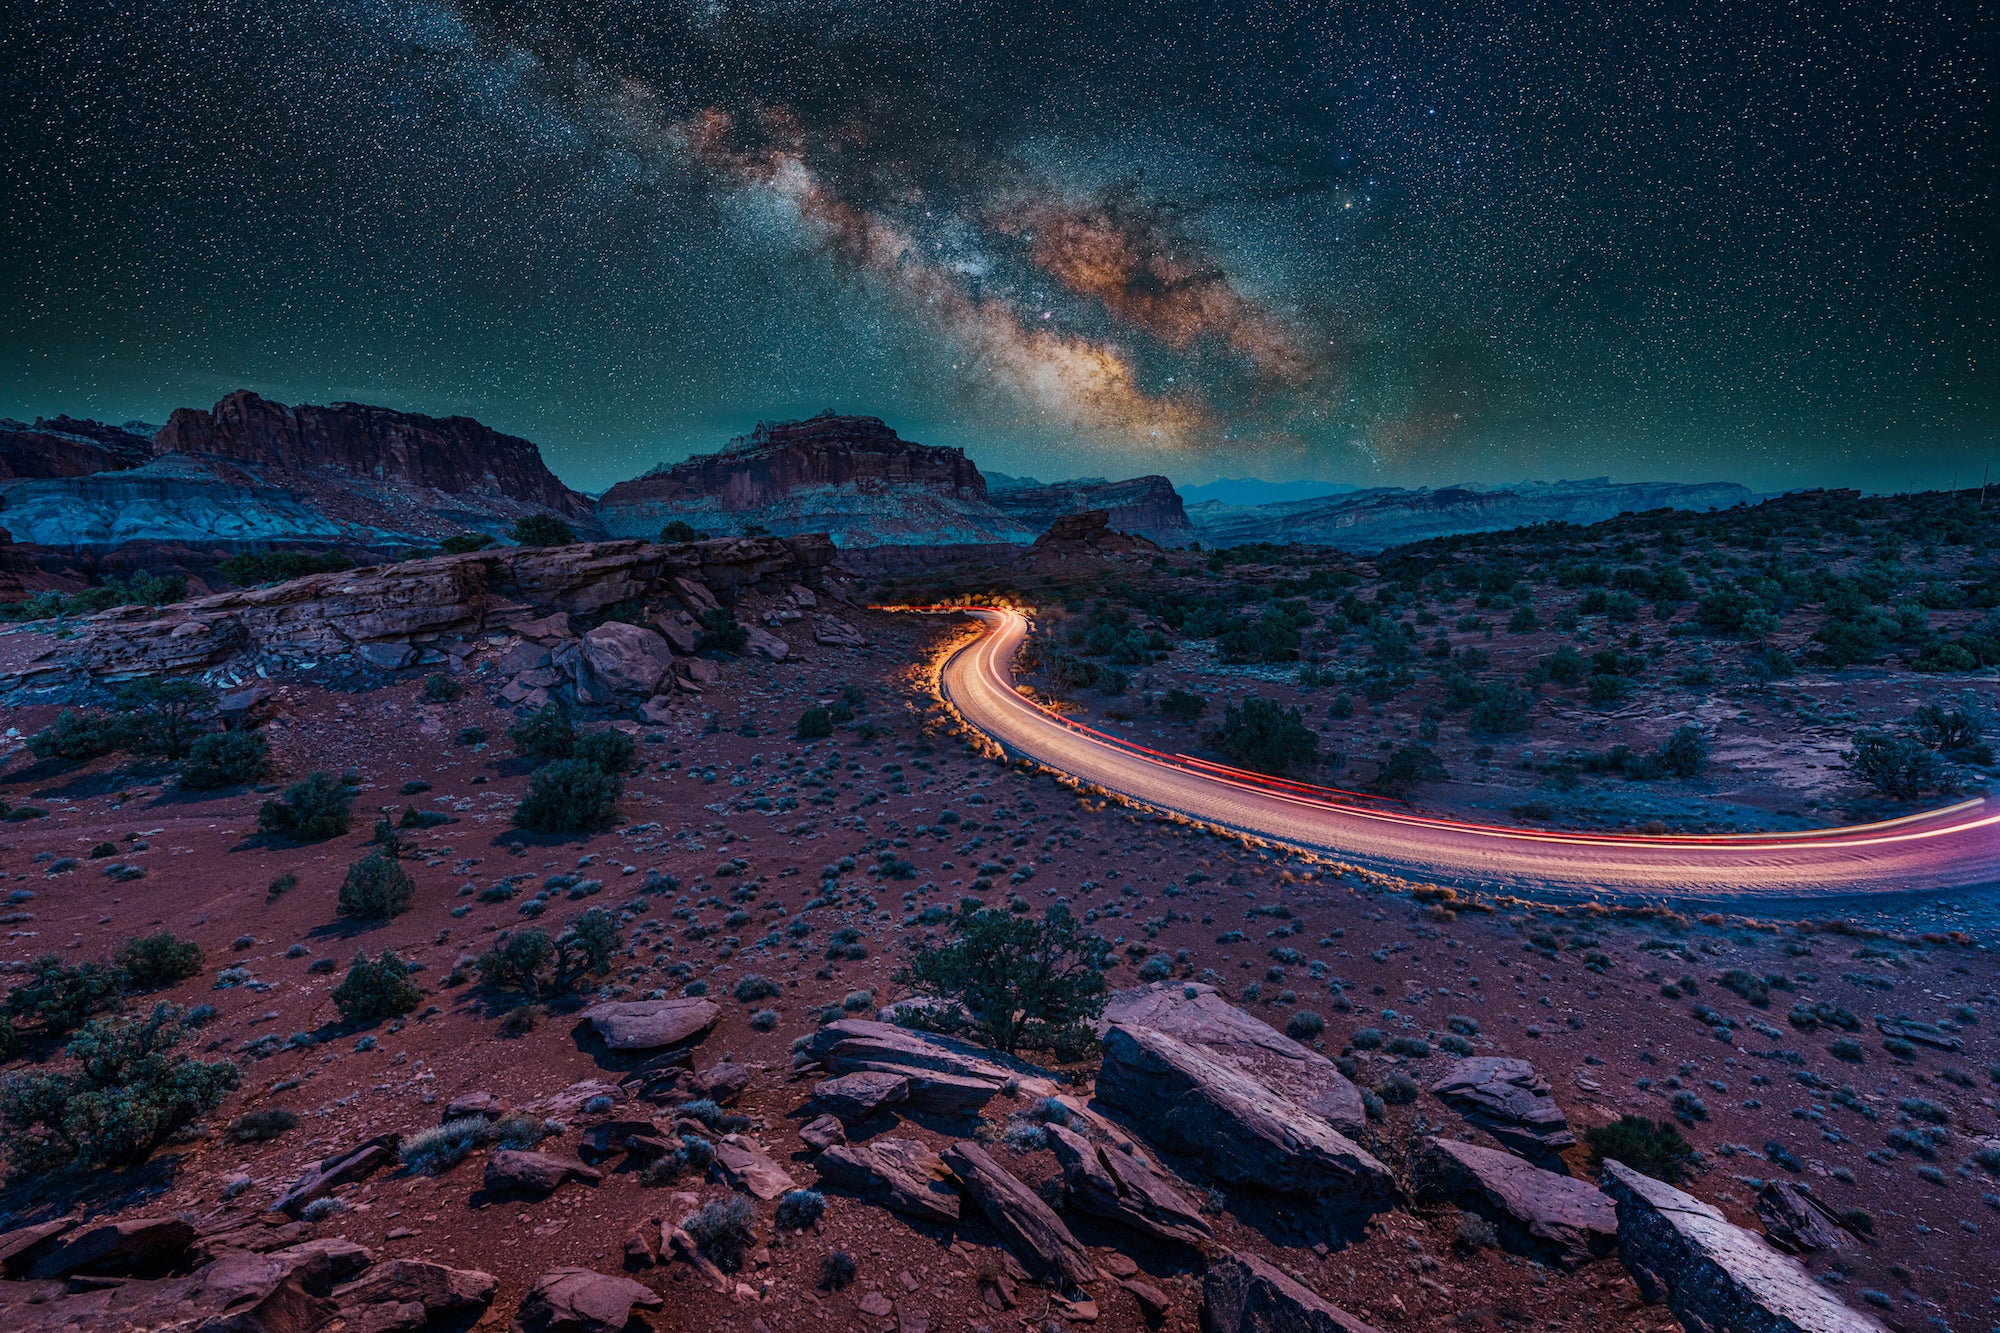
Photo by Stan Moniz. Sony Alpha 1. Sony 14mm f/1.8 G Master.
Don’t forget about the rule of thirds—placing your subject off-center can add interest and balance. And remember, it’s all about experimentation. Try different angles and perspectives to see what works best for each scene.
4. Chase The Light
Lighting is everything in photography, and long exposures are no exception. The golden hours around sunrise and sunset offer soft, beautiful lighting that elevates your images. That being said, don’t shy away from shooting at night. Cityscapes with glowing lights or starry skies can create stunning results when combined with long exposures. Keep an eye on the weather, too. Cloudy days can add drama to your skies, while clear nights are perfect for capturing star trails. Be patient and wait for the right moment—the results will be worth it!
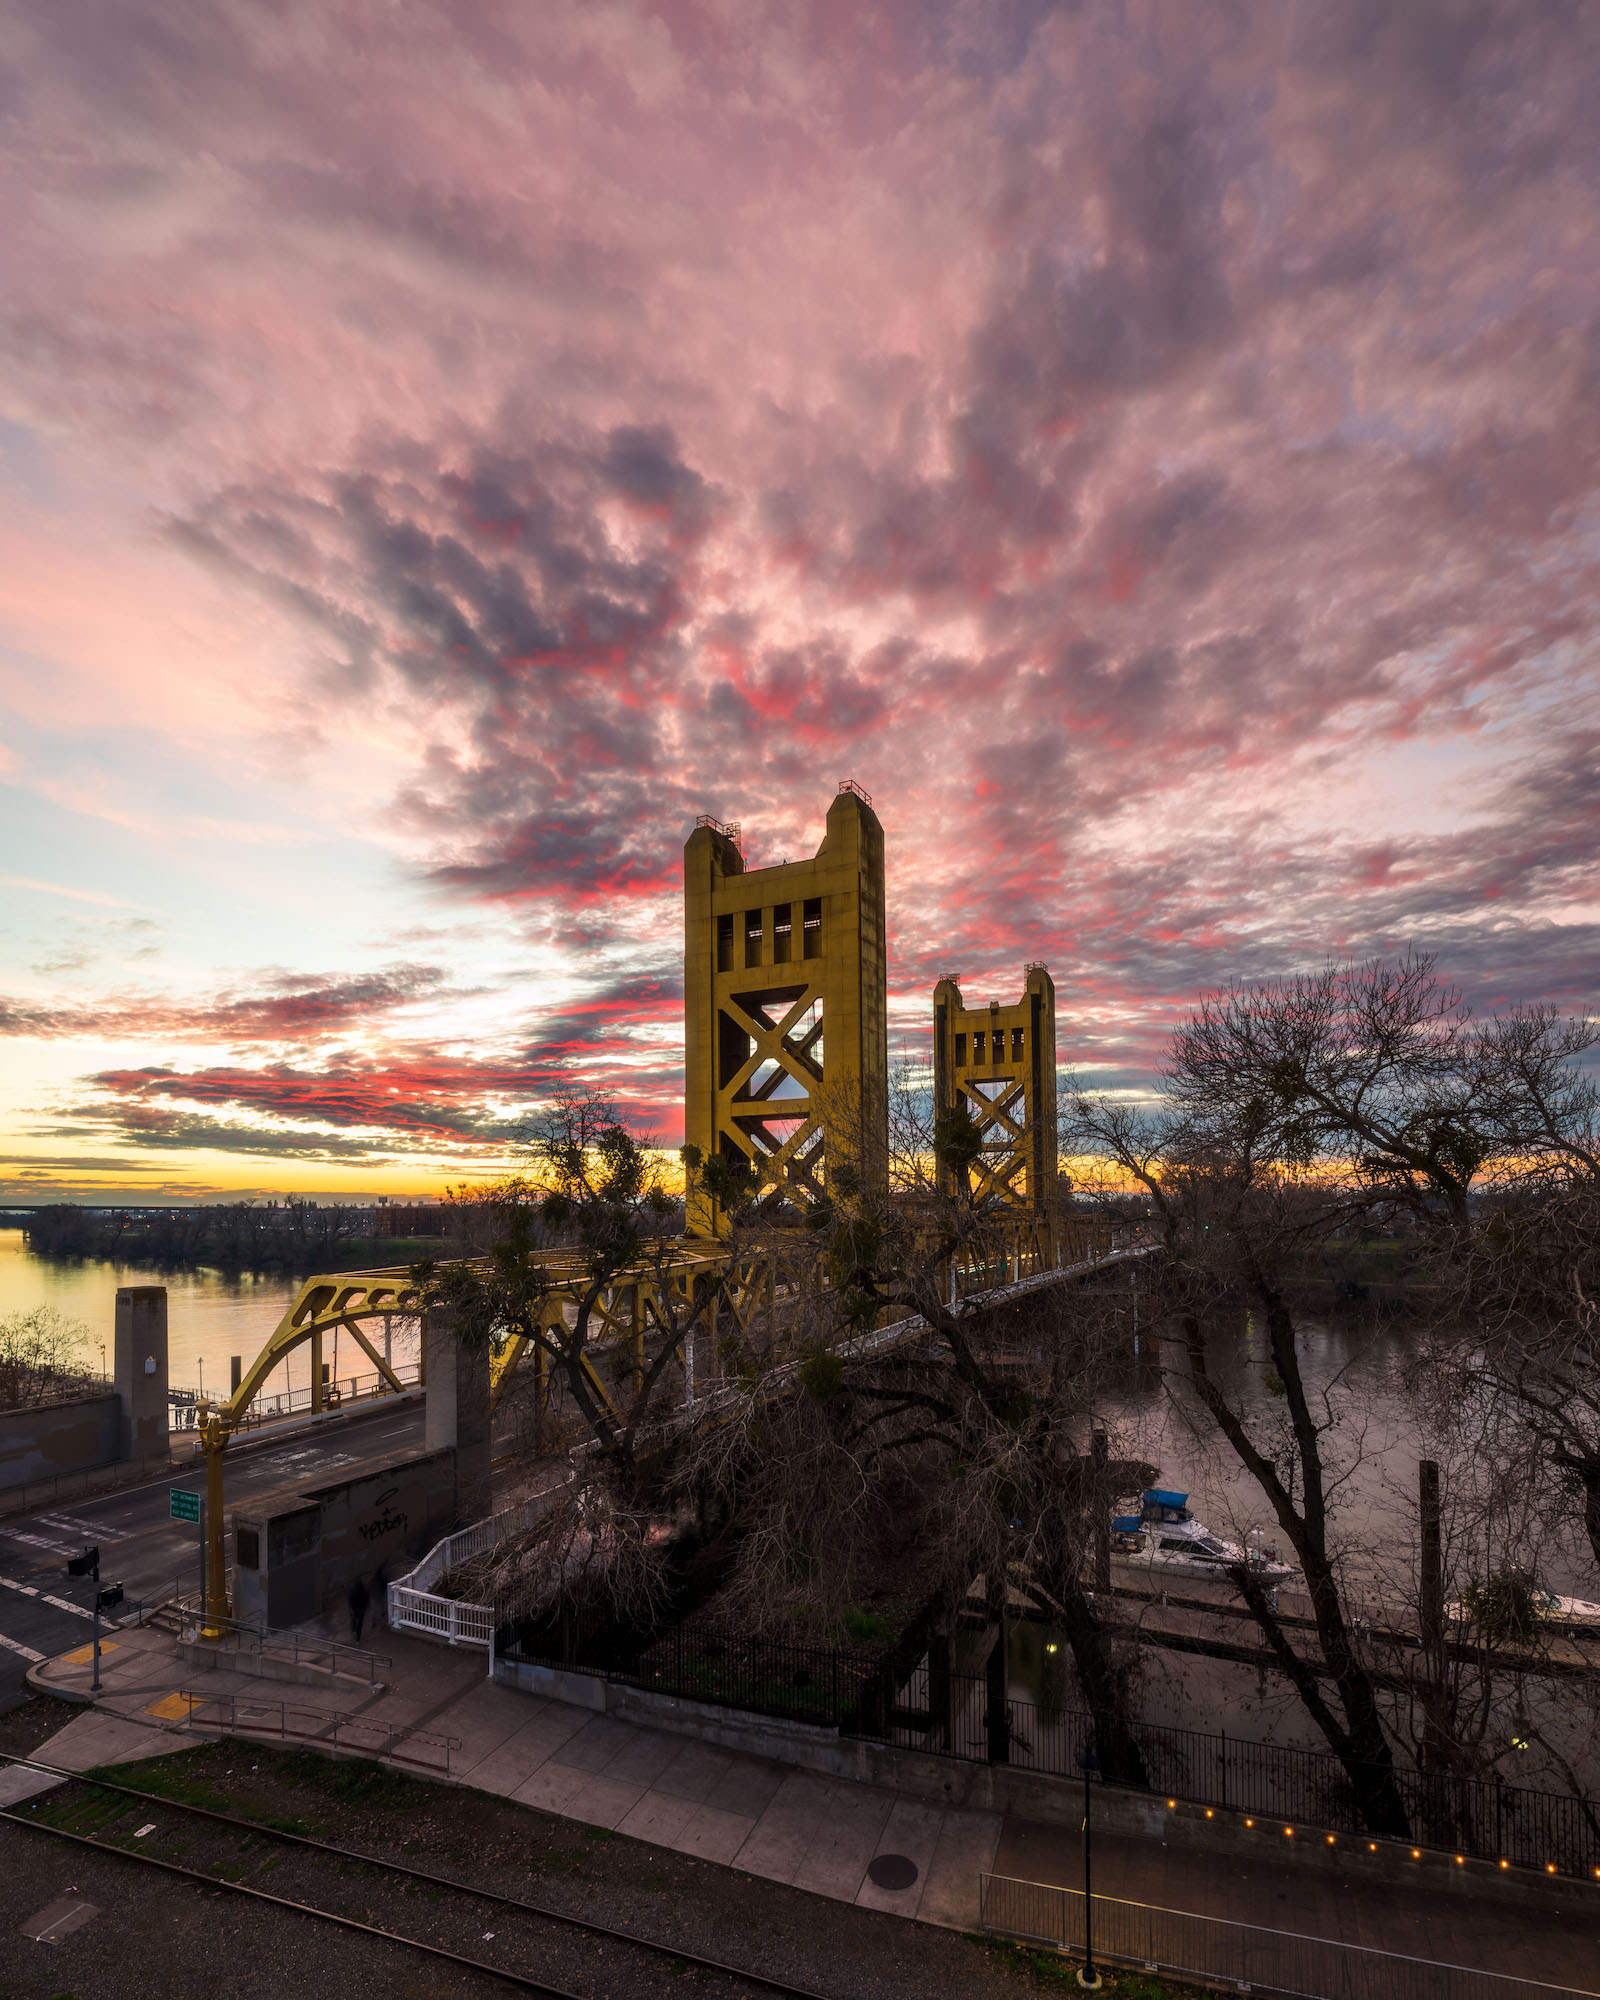
Photo by Andrew Eggers. Sony Alpha 1. Sony 12-24mm f/2.8 G Master. 1-sec., f/16, ISO 50
5. Embrace The Edit
Once you’ve captured your shots, it’s time to bring them to life in post-processing. Software like Adobe Lightroom or Capture One Pro can help enhance contrast, adjust exposure, and fine-tune colors. Use these tools to highlight the movement and mood you envisioned. Don’t be afraid to add a bit of clarity or sharpening to bring out details, and play with the highlights and shadows to find that perfect balance. Each image is unique, so tailor your editing to match the story you want to tell.
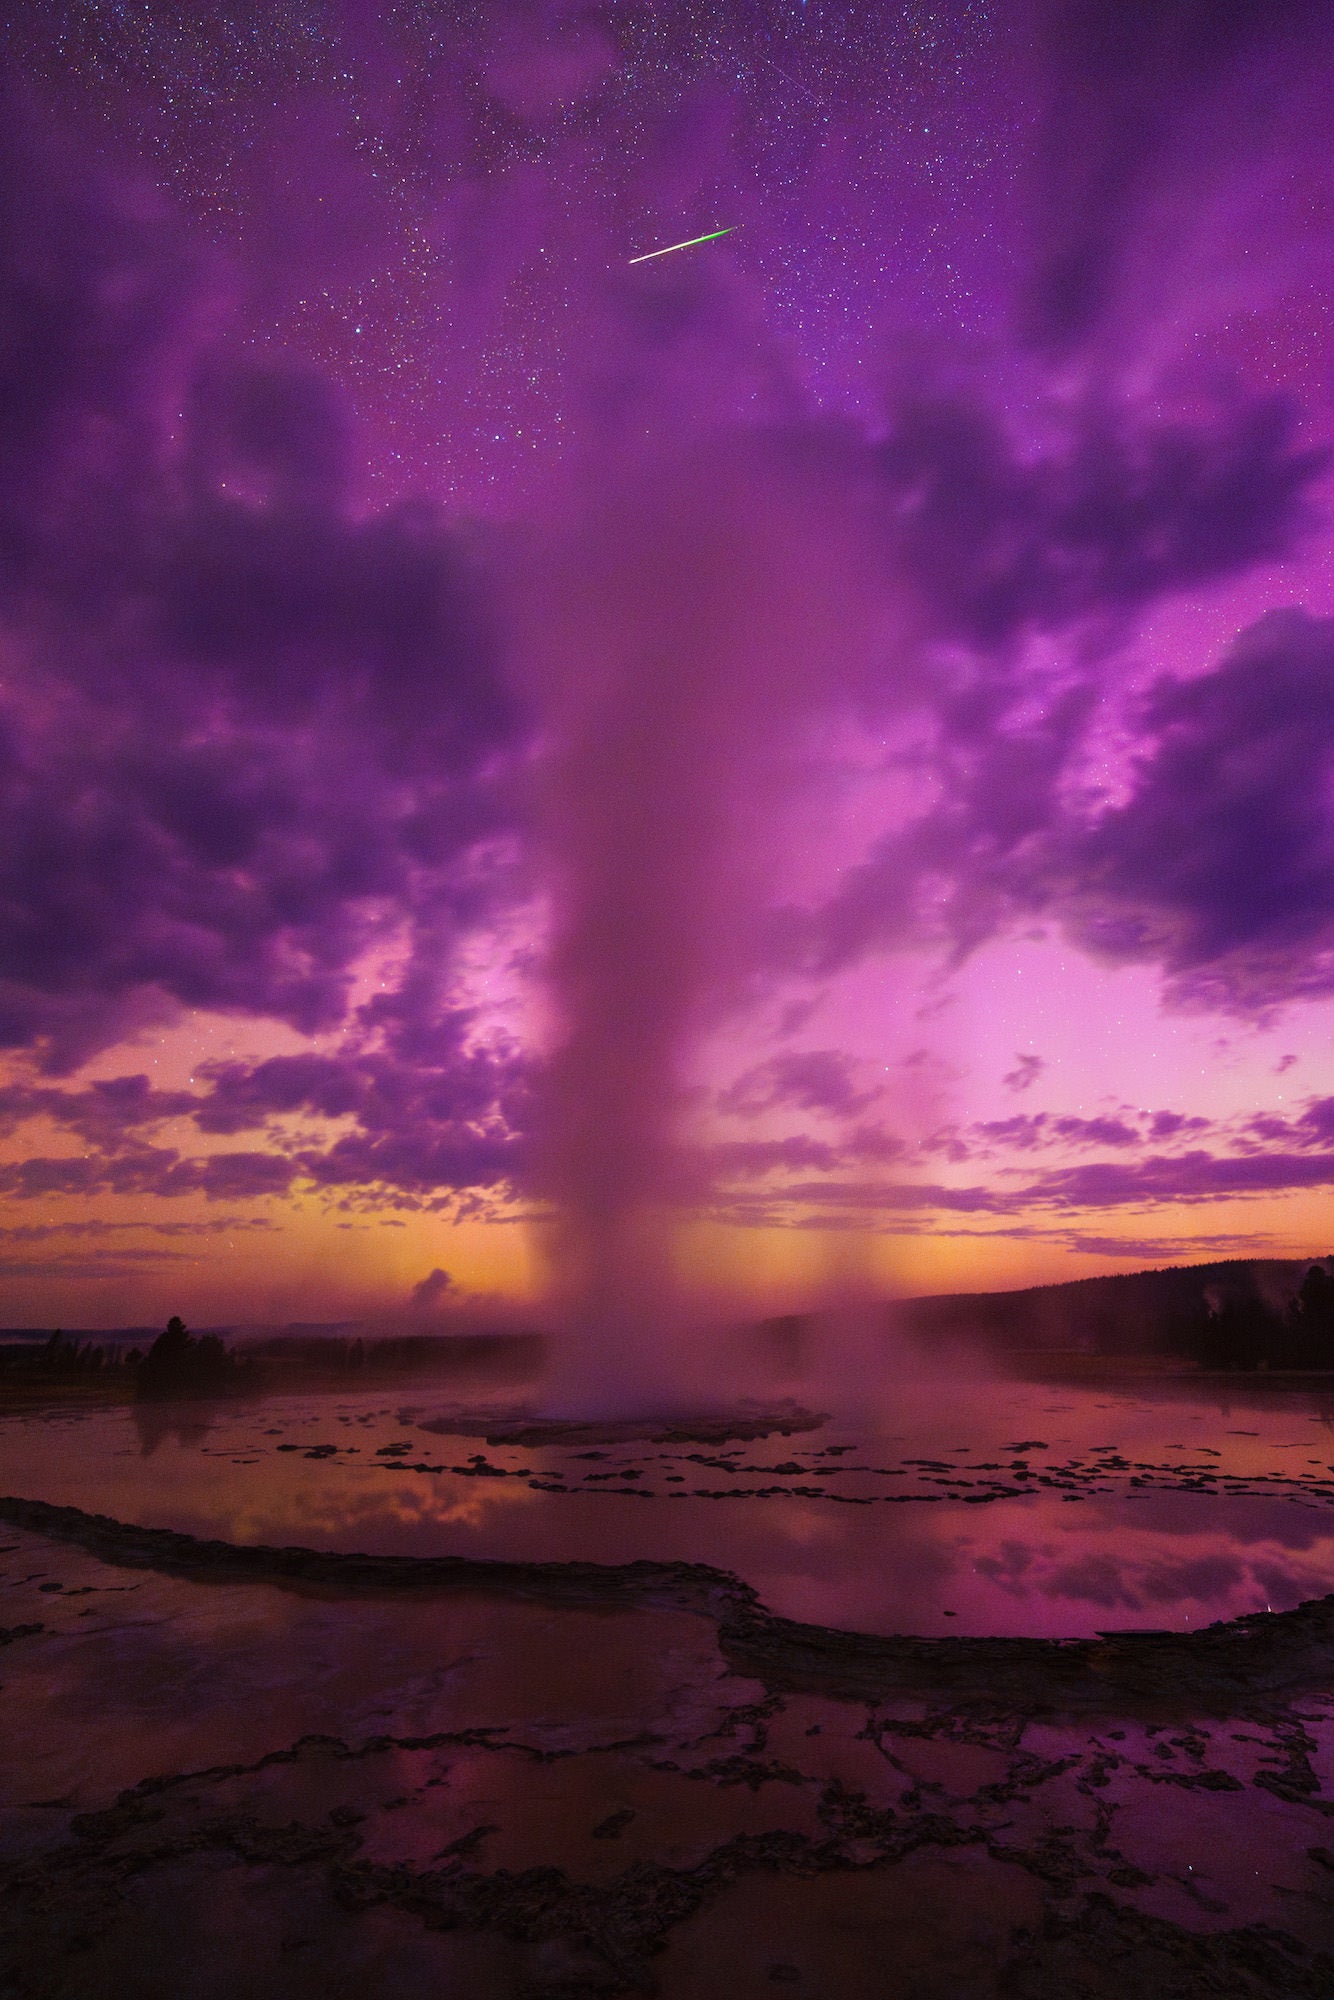
From Behind The Shot: A Perfectly-Timed Perseid Meteor, Geyser Steam Plume & Aurora In One Frame. Photo by Evan Lobeto. Sony Alpha 7R III. Sony 14mm f/1.8 G Master. 6-sec., f/1.8, ISO 2000
With the right gear, settings, and a bit of creative vision, you’ll be capturing breathtaking scenes that are as unique as your perspective. So grab your gear, head out, and start experimenting. The world is full of motion, and you’re ready to capture it one stunning image at a time. Search AlphaUniverse.com for other articles to keep your long exposure photography journey moving full speed ahead.


