Fall colors can present new creative possibilities into your landscape photography. In this article, Sony Artisan Gary Hart gives his tips for making the most out of them.
Professional landscape photographer and Sony Artisan Gary Hart calls autumn his favorite season for creative photography. "For photographers armed with an understanding of light and visual relationships, and the ability to control exposure, depth, and motion with their camera’s exposure variables, fall color possibilities are virtually unlimited." He has led many landscape photography workshops during the fall, and there are a few tips he always gives to help photographers make the most out of the colors of the season. See some of his top tips for capturing fall color below.

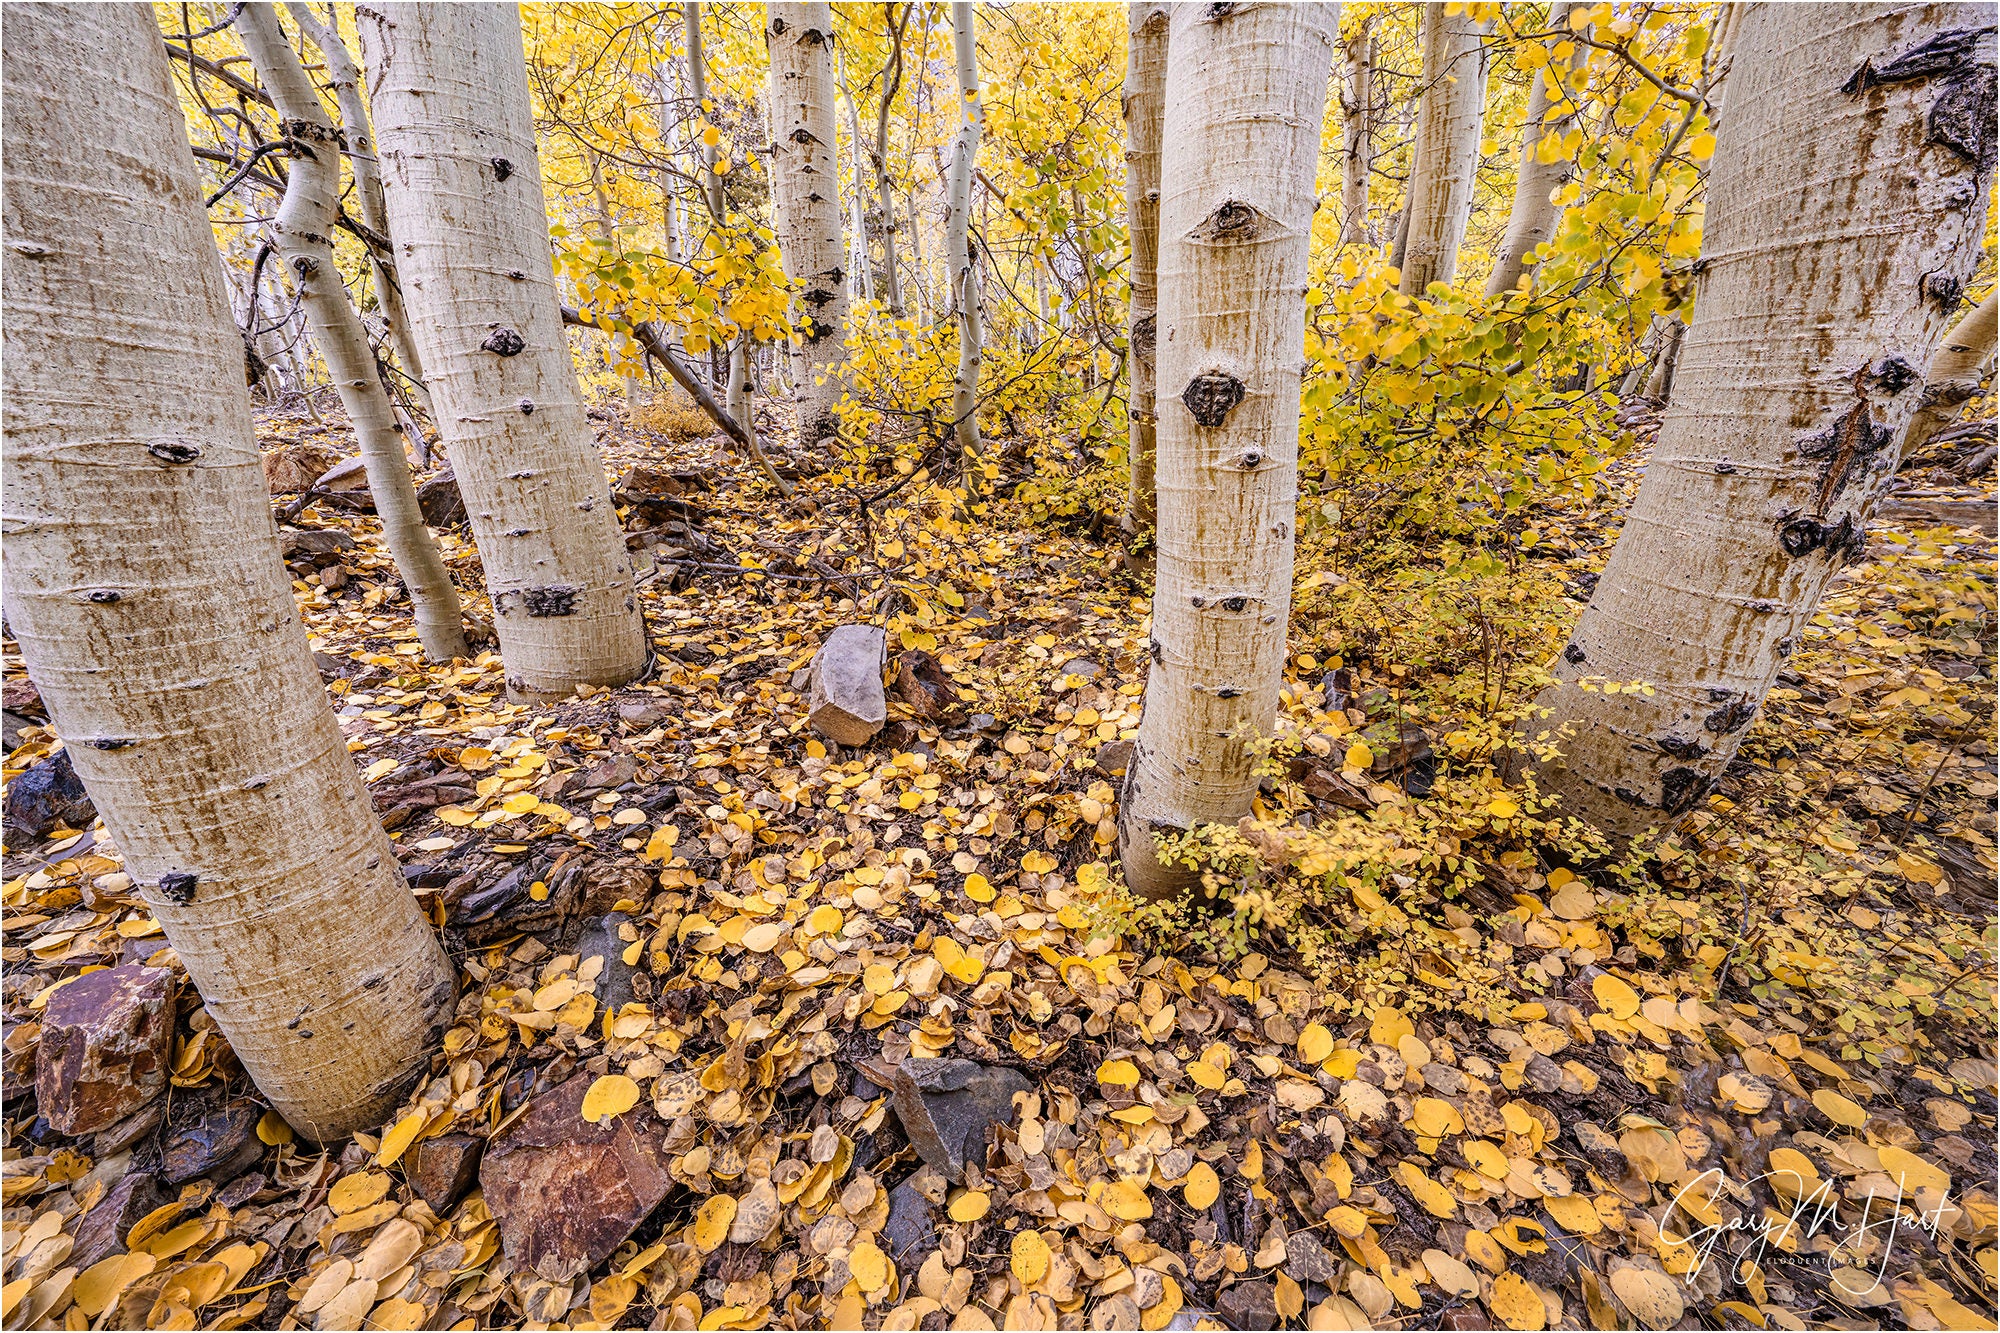
Photo by Gary Hart. Sony Alpha 7R IV. Sony 12-24mm f/2.8 G Master. 1/8-sec., f/11, ISO 800
Fall colors can present new creative possibilities into your landscape photography. Sony Artisan Gary Hart gives his tips for making the most out of them.
Use Creative Selective Focus
Hart explains that when shooting fall color, selective depth of field is a great way to emphasize or deemphasize elements in a scene. “What I try to do when I shoot fall color,” he explains, “I call it creative selective focus. I like to go with a sharp subject, for example a foreground leaf or branch, and a soft background. And I want that background to be as soft as possible, it's all about minimal depth of field. Let's say there’s a colorful leaf that is hanging from a branch that I can isolate from its surroundings. I move around until I like what’s juxtaposed against that leaf in the background. Sometimes I’m just looking for a dark shadow that I can turn black with the right exposure, or sometimes it’s just other leaves that create color, but they're going to be soft as opposed to distinct shapes.” Hart uses fast lenses (he used the Sony 12-24mm f/2.8 G Master and 16-35mm f/2.8 G Master lenses for the photographs in this article) which give him maximum control over the depth of field.
Look For Backlight
When composing a fall scene, Hart says to look for backlight to really make the leaves shine. “I'm always looking for backlight,” he says. “This applies to flowers, leaves, whether it's fall color or even just green leaves. Leaves have two sides. One of the sides is receiving light, and the other side isn't receiving light. I always try to shoot the side that isn’t getting the direct light because it glows. Leaves have a reflective sheen that creates glare and can actually rob them of their color. But if you get around to shoot the other side that’s not getting the direct light, it has a translucent look so the light is actually going through it instead of reflecting back.”
Isolate Subjects
Everyone loves a big, wide fall landscape scene, but that’s not the only way to capture the season, Hart explains. “Big fall color scenes are great, but isolating your subject with a telephoto, and/or by moving closer, enables you to highlight and emphasize specific elements and relationships.” He says to train your eye to find leaves or branches that stand out from the scene or against a contrasting background. Zoom close and use the edges of the frame to eliminate distractions and frame subjects, but don’t concentrate so much on your primary subject that you miss complementary background or foreground elements that can balance the frame and provide an appealing canvas for your primary subject."

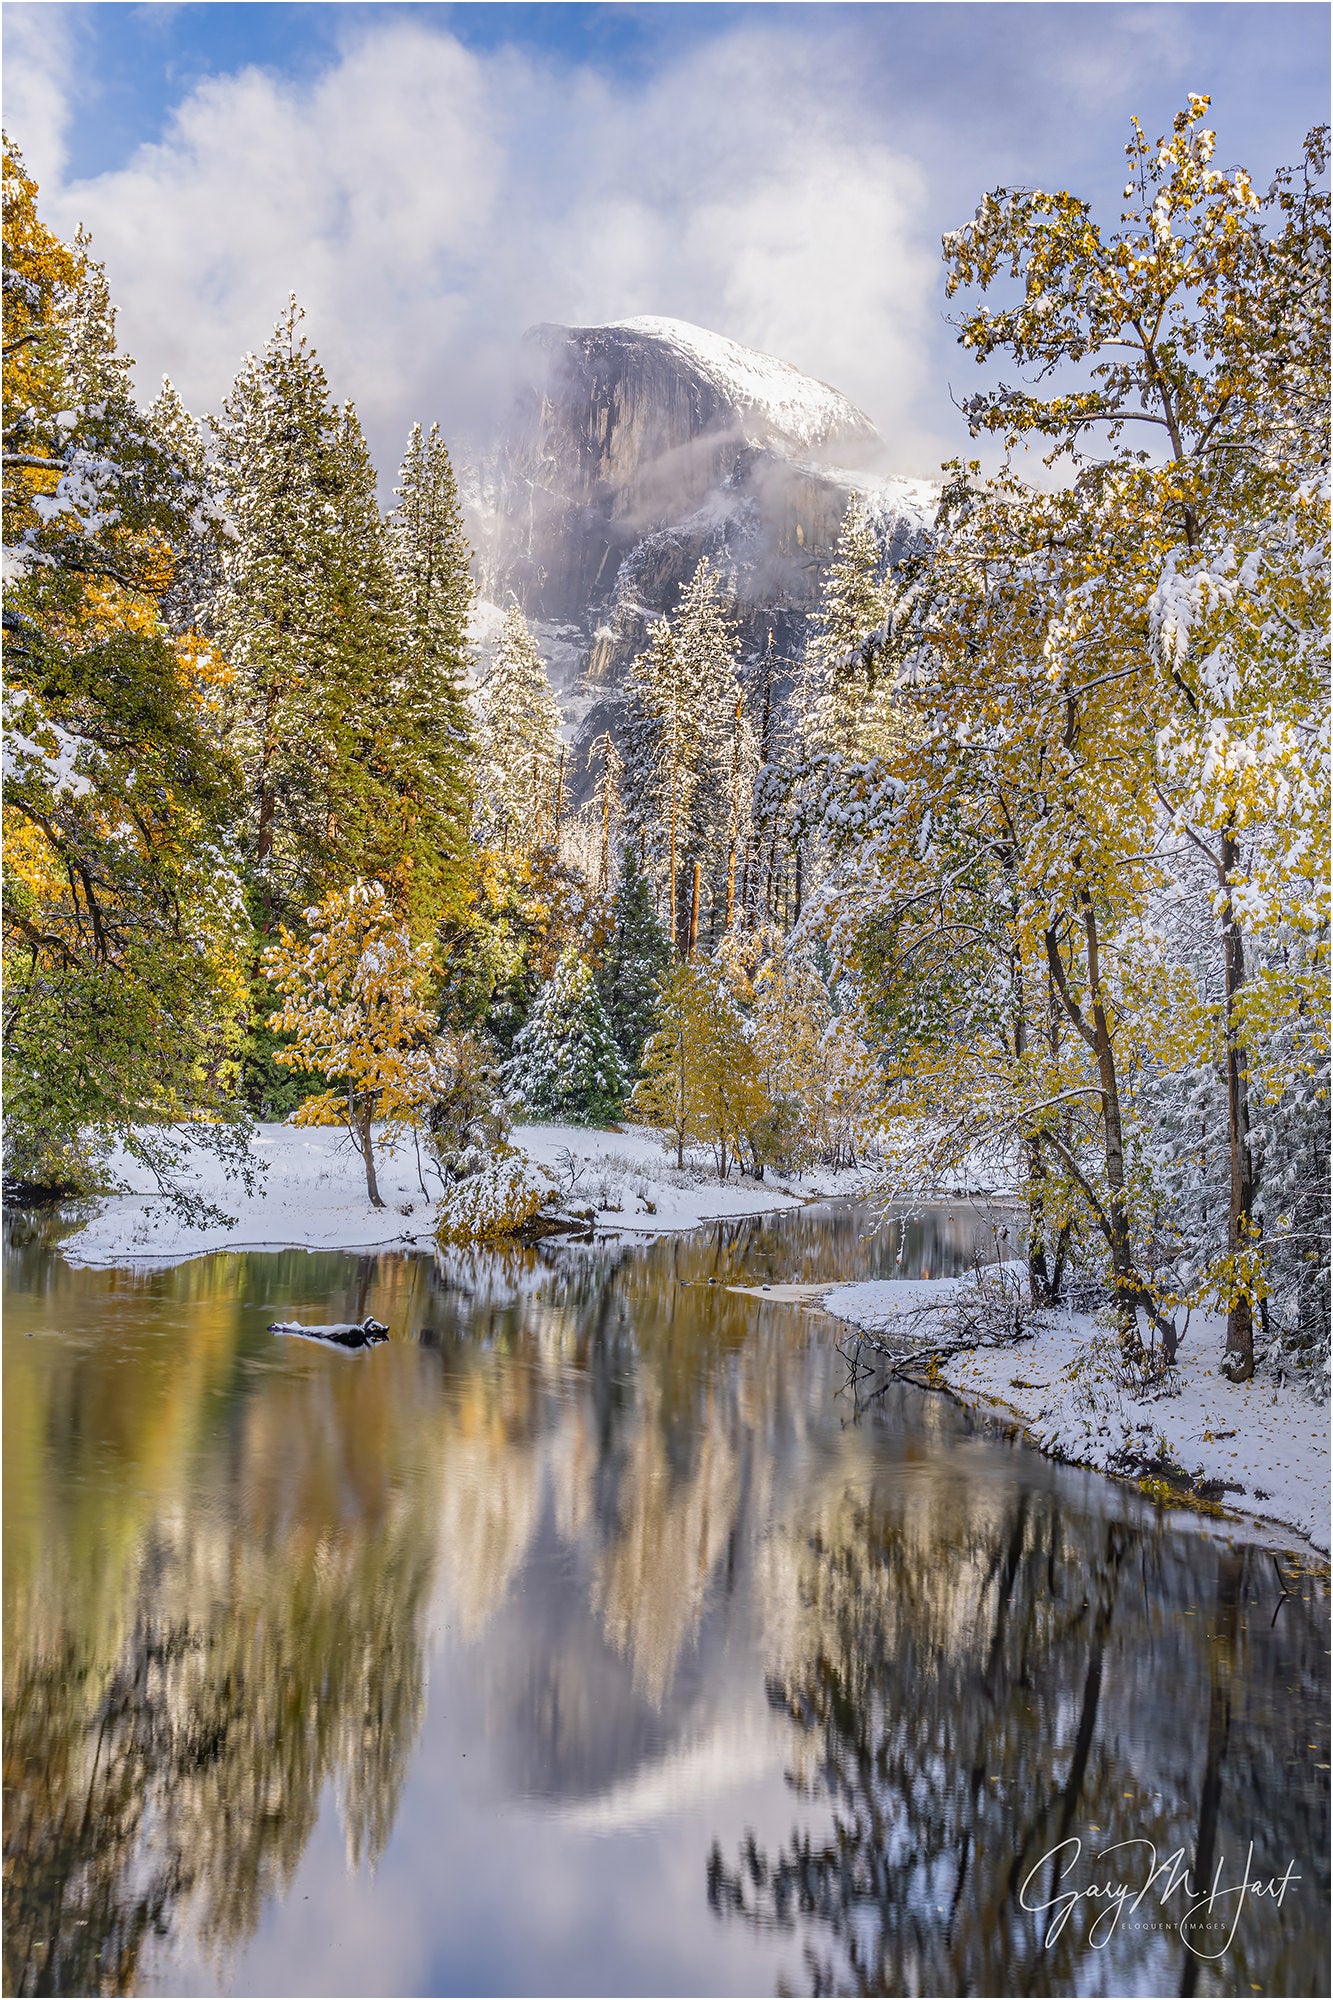
Photo by Gary Hart. Sony Alpha 7R IV. Sony 12-24mm f/2.8 G Master. 2.5-secs., f/16, ISO 50
Incorporate Reflections
What better way to add color to your landscape than by reflecting it off of water? Hart says it’s an excellent way to step up your fall color photos and add more to the scene. “Adding a reflection to your autumn scene can double the color, and also add a sense of tranquility. The recipe for a reflection is still water, sunlit reflection subjects, and shaded reflective surface. When photographing leaves floating atop a reflection, it’s important to know that the focus point for the reflection is the focus point of the reflective subject, not the reflective surface. This seems counterintuitive, but try it yourself—focus on the leaves with a wide aperture and watch the reflection go soft; then focus on the reflection and watch the leaves go soft.”
Add A Sunstar
Sometimes when you’re shooting those backlit leaves, the sunlight can be extreme. Hart has a great way to incorporate it into your fall color images. “If you’re going to be shooting backlit leaves, you’ll often find yourself fighting the sun,” he says. “Rather than trying to overcome it, turn the sun into an ally by hiding it behind a tree. A small aperture (f/16 or smaller is my general rule) with a small sliver of the sun’s disk visible creates a brilliant sunstar that becomes the focal-point of your scene. Unlike photographing a sunstar on the horizon, hiding the sun behind a terrestrial object like a tree or rock enables you to move with the sun.”
See more tips on Hart's blog HERE.


