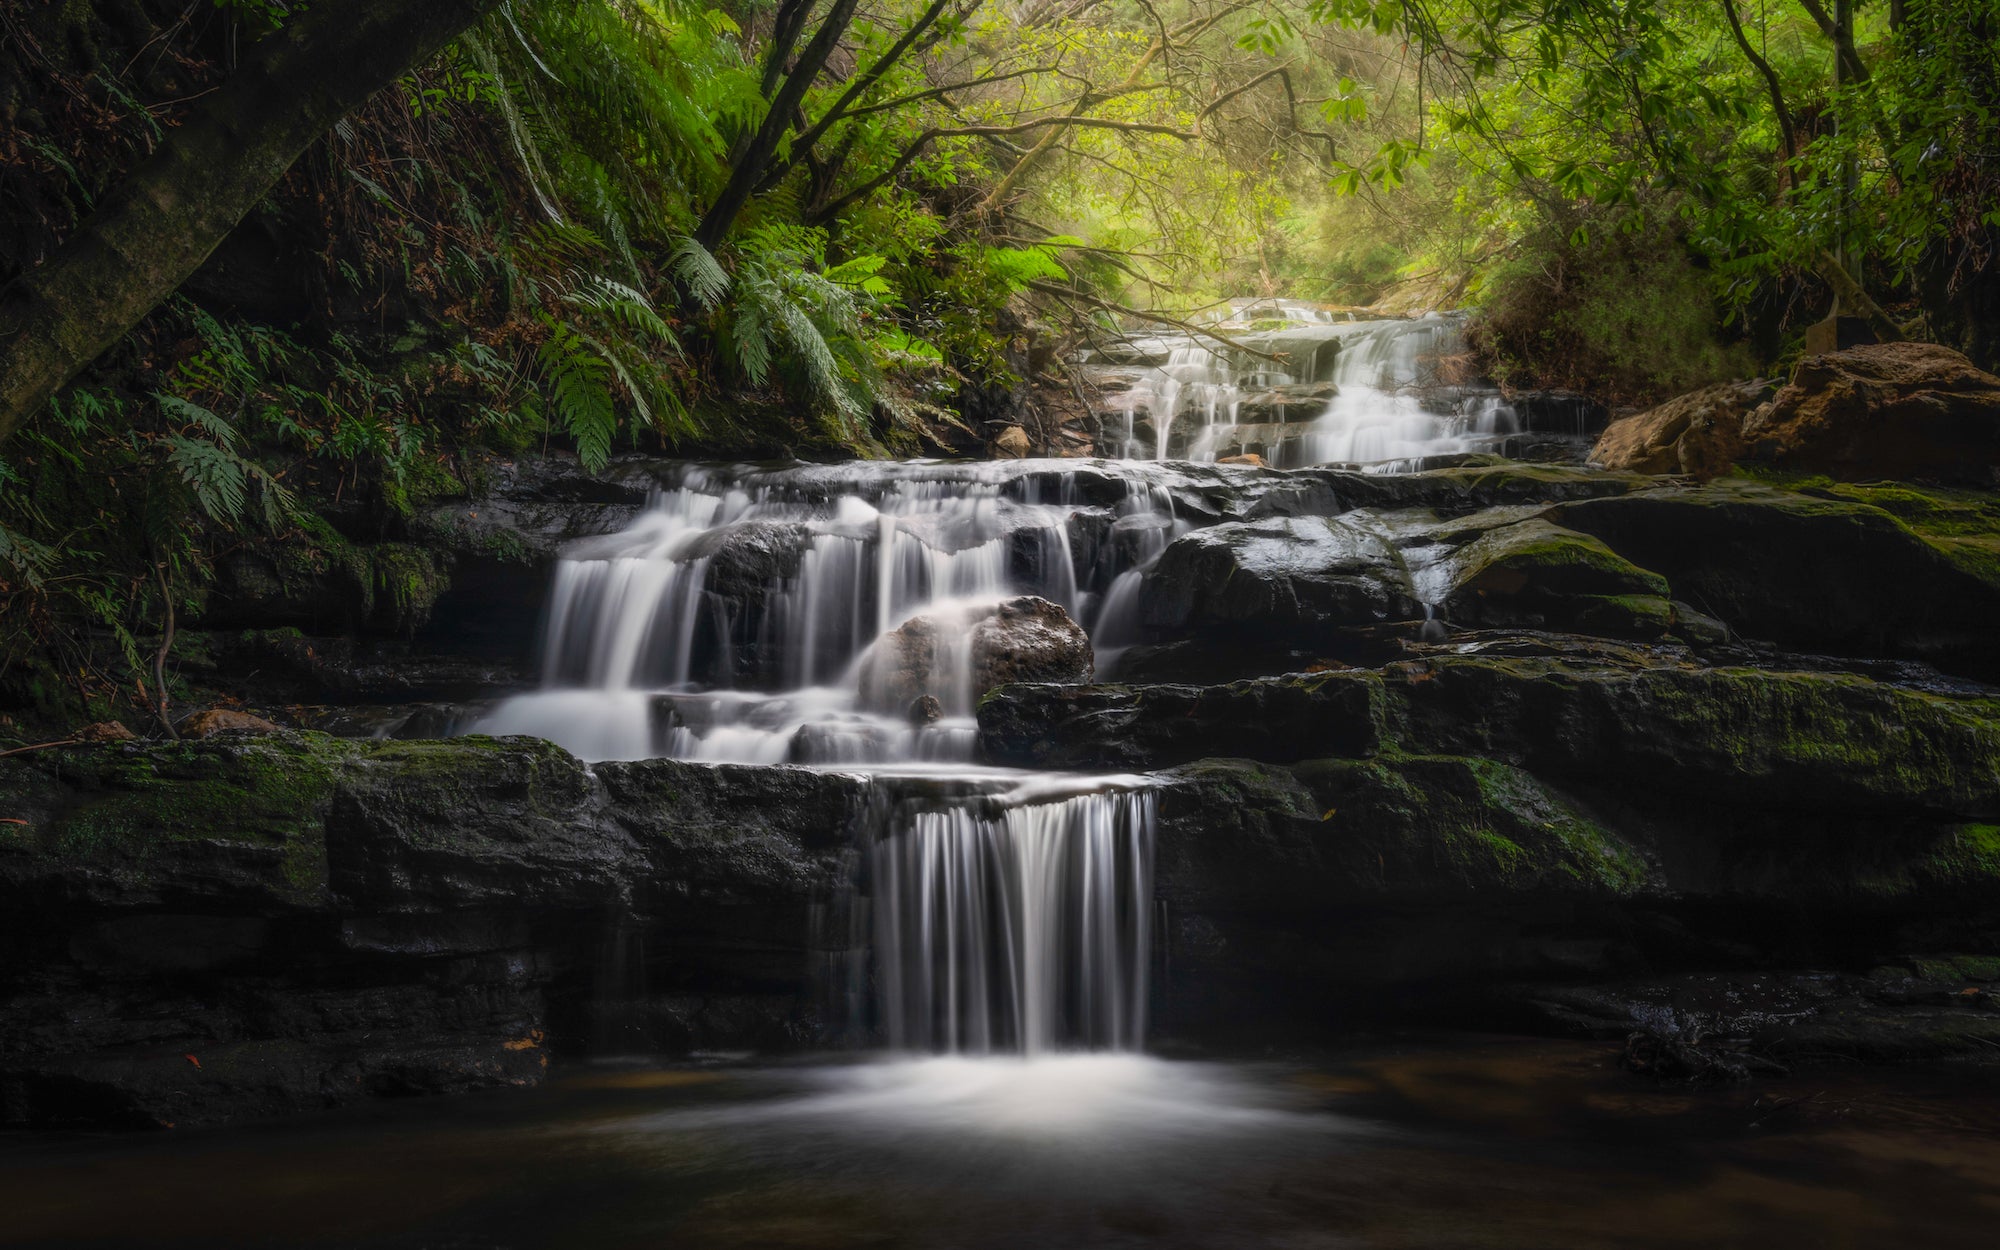
Ian Hollis (@ianhollisphotography) is a 21-year old Australian photographer with a passion for nature photography. He's constantly seeking out and exploring natural wonders to find and capturing unique compositions with his camera. Although he's only been a serious photo enthusiast for a few years, he regularly creates stunning landscape imagery shooting with his Sony Alpha α7 III "I have been lucky enough to visit some incredible places," he says, "and to be able to capture them has quickly become very special to me." We saw this long-exposure waterfall image he made and we were intrigued to find out how he finessed the combination of flowing water, rich shadow detail and the subtle glow effect at the base of the cascading water without blowing out the exposure in the background. We connected with Ian to get the story behind the shot.

Photo by Ian Hollis. Sony α7 III. Sony 16-35mm f/4. 6-secs., f/14, ISO 50
Inspiration
This particular image was inspired from my love of exploring. After some decent rainfall, I made the trip out to the Blue Mountains in the early hours of the morning, where the conditions were perfect. Called Leura Cascades, this fall is one of the most I had visited this fall previously; however, it was just trickle. This made it even more special when everything aligned this time. I remember going to these places with my family when I was much younger, which definitely inspires me to get back to them in the hope of experiencing and capturing something amazing.
Camera & Lens Combination
For this image, I utilized my Sony α7 III with the Sony 16-35mm f/4. Using this wide-angle lens allowed me to capture the entire scene, including the cascades and their relationship with the light which I felt was important to emphasise. Additionally, the α7 III is perfect for scenes like this as the incredible dynamic range allows the shadow detail to be expressed where required. Overall, this combination of camera and lens is perfect for landscape photography as it displays an entire scene with a sharp and detailed image.
How I Got The Shot – Planning & Camera Settings
Capturing this image started with the planning to ensure there had been enough rainfall to allow the water to consistently flow down the cascades as this was a key aspect of the scene. In terms of actually getting to the fall, there is a carpark at the top of Leura Cascades where a short walk will take you alongside the cascades and to other falls as well.
Once I arrived at the location, I set up my camera on a tripod to use a longer exposure to show the movement in the water. After I was set up and ready to go, I waited for the right moment as the light began to shine through. The shot was captured with a shutter speed of six seconds accompanied with an aperture of f/11 and at an ISO of 100.
I used my 16-35mm lens at a focal length of 16mm so that I could frame up the entire scene. Then in order to effectively capture this long exposure and to minimize any glare, I used an ND Polarizer. Since the scene was naturally quite dark, the image didn’t require me to use any additional filters.
Post-Processing
When post-processing a RAW image, I will always try and express the feelings and perspectives I had from the same moment the image was captured. Utilizing Lightroom, Camera Raw and Photoshop, I lifted some of the shadow details where appropriate and applied a graduated filter over the cascade to draw the eye through the image. I also added some contrast and vibrance to give the image more of a ‘pop.’ I then removed some distracting elements from the image in Photoshop where I then finished it off with a subtle Orton Effect to add drama and atmosphere.


