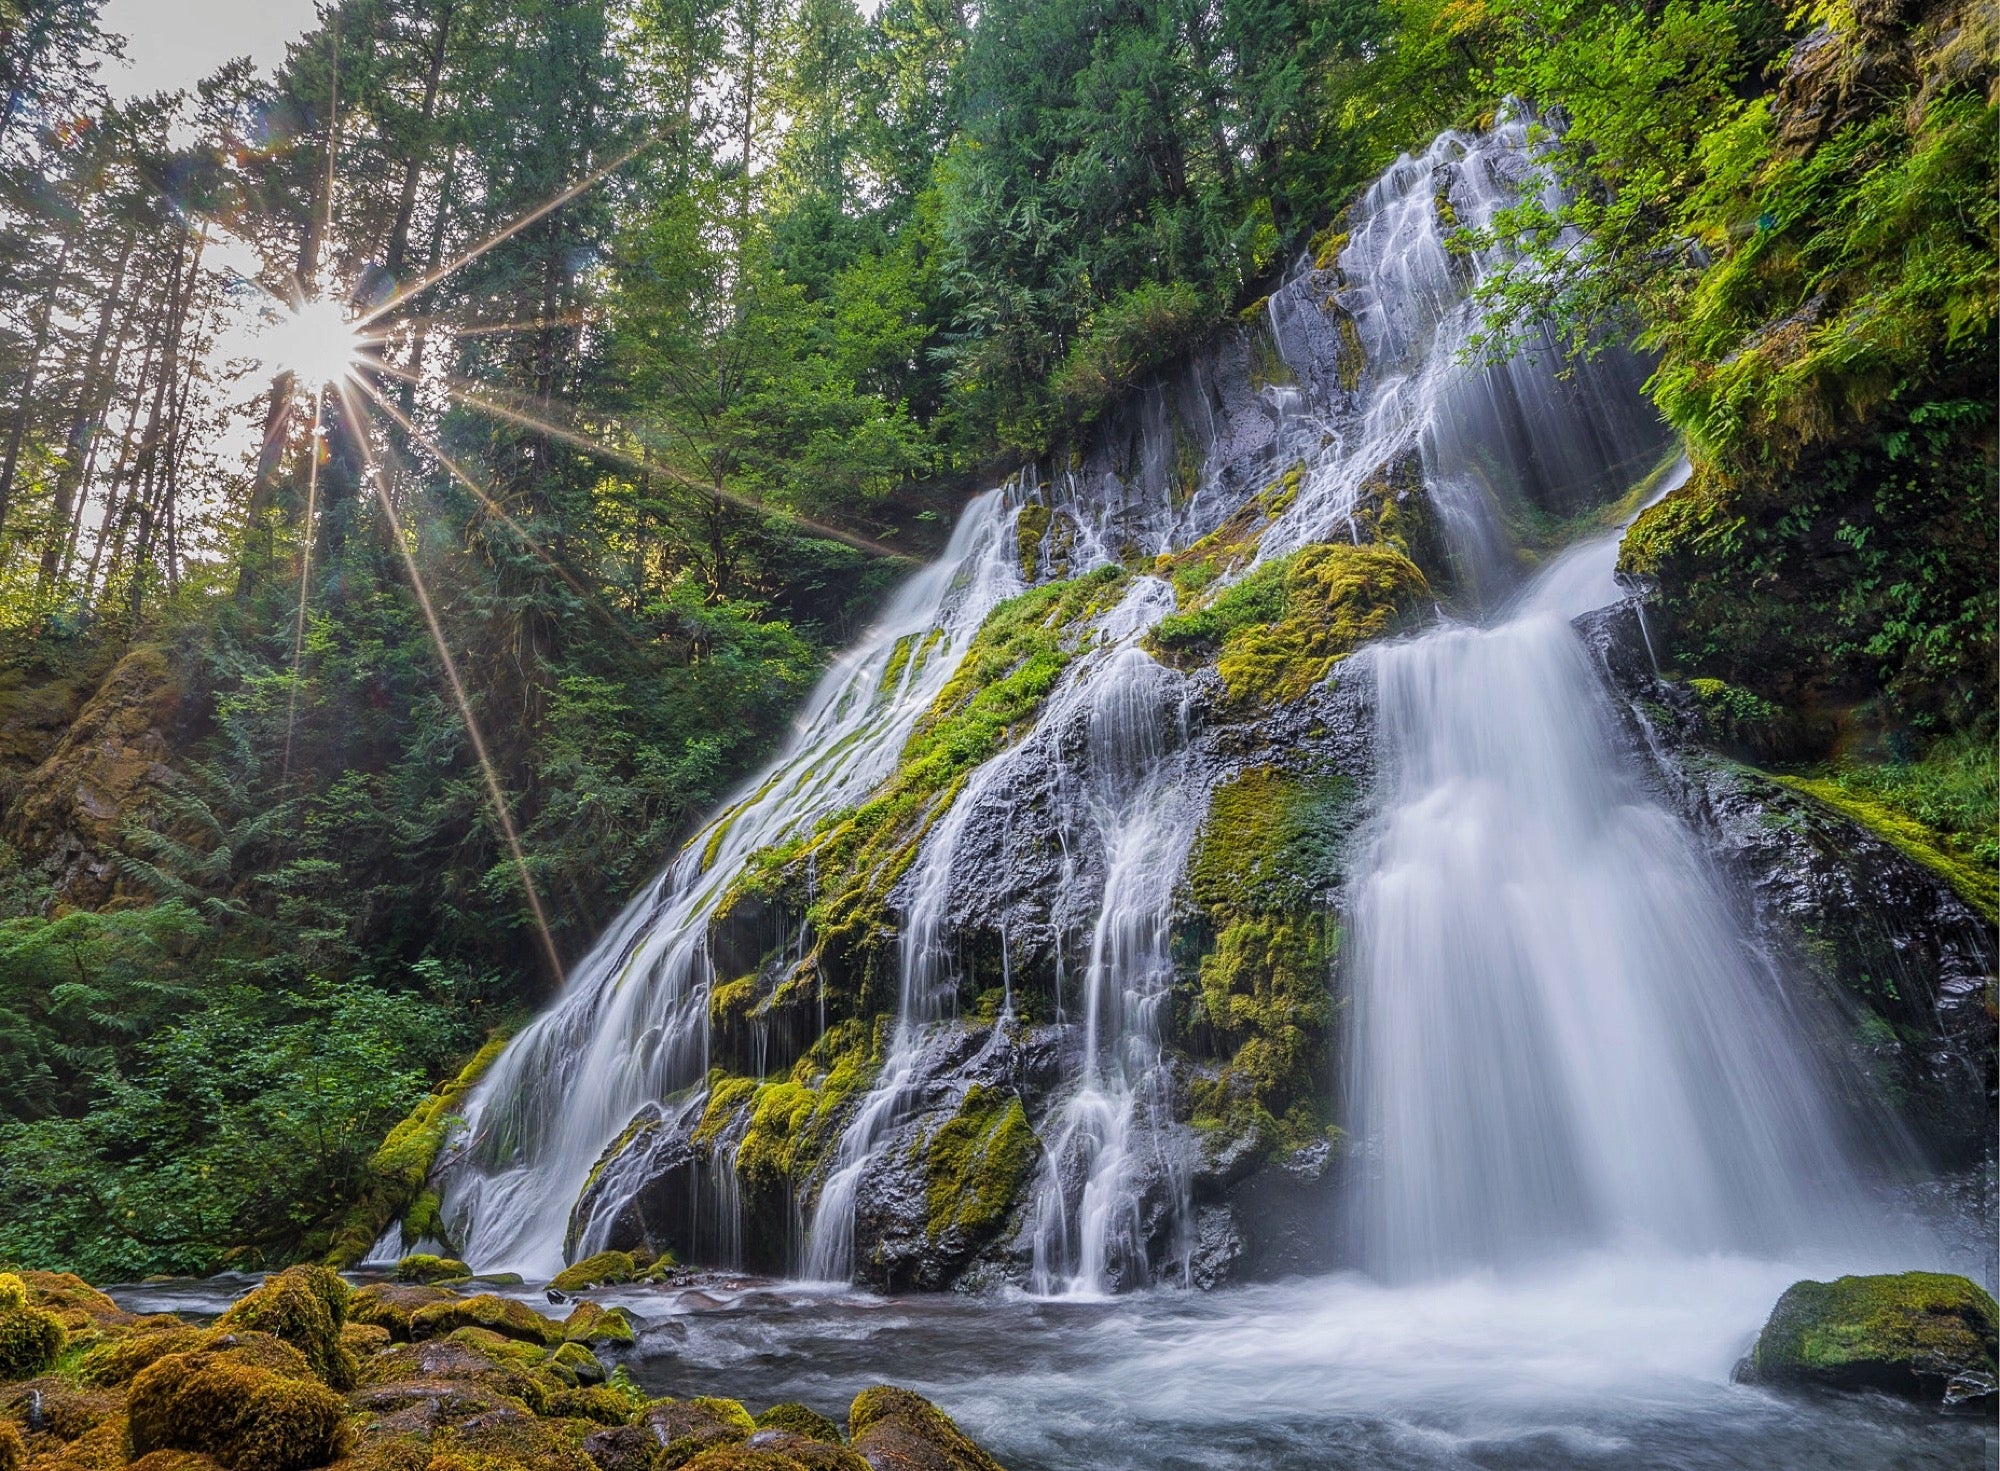
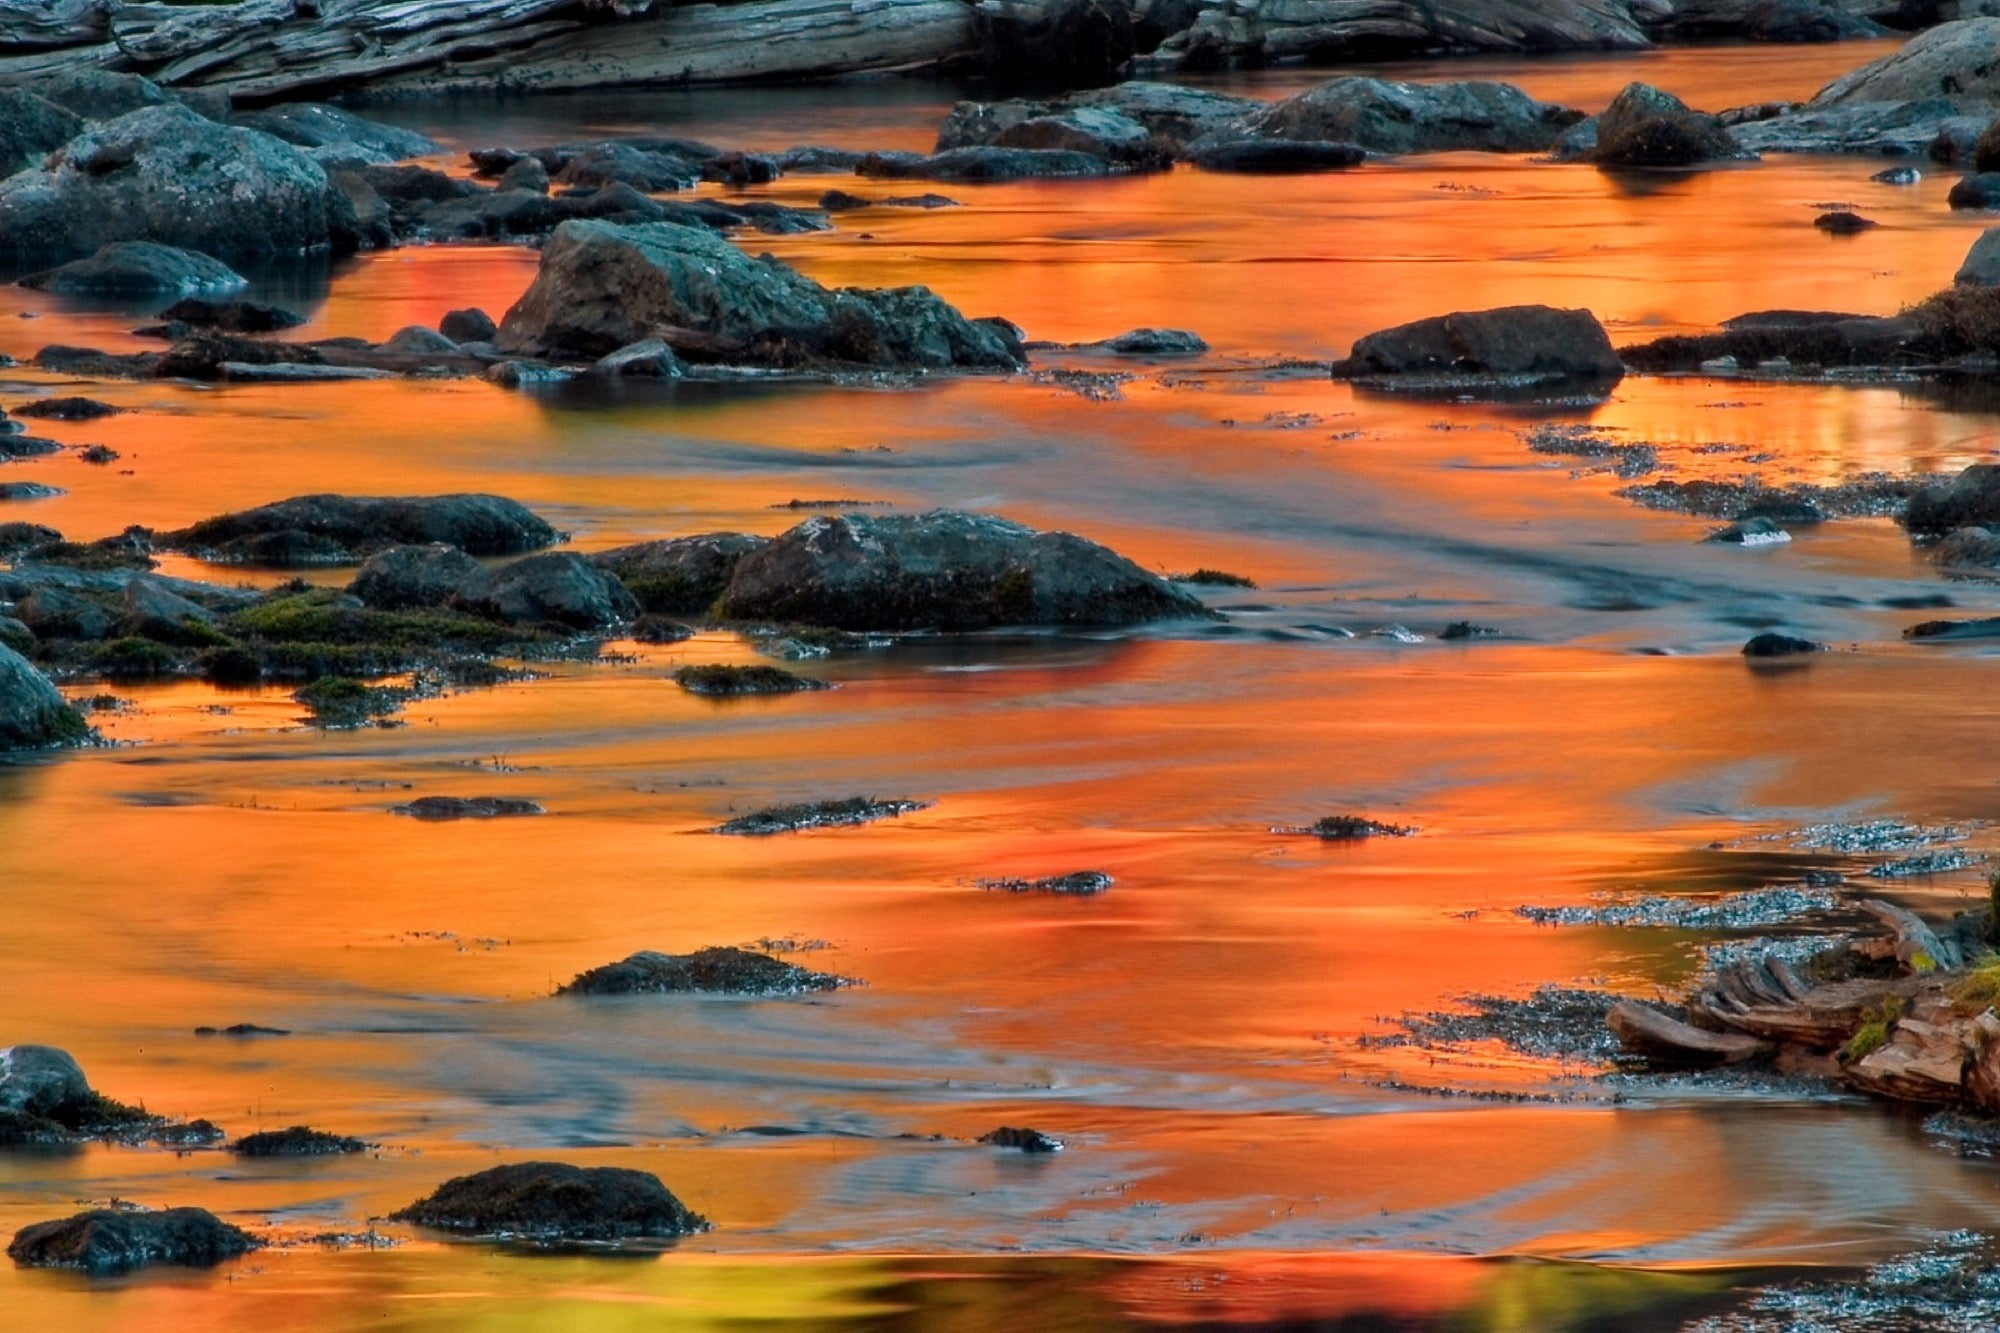
Mastering the art of long exposure is one of the essential skills in nature and landscape photography. If you want to demonstrate cloud drama, capture distant starts, or show motion of flowing water, you must first learn the fundamentals of long exposure photography. Living in the pacific northwest, I’ve had extensive experience photographing cascades and waterfalls. In this article, I’ll show you my approach to waterfalls, including techniques which may be applied to other subjects that require extended shutter speeds. The discussion will focus on gear, camera settings, and in-field advice. I use Sony Alpha mirrorless cameras and lenses and the gear and tips in this article will be the same ones that I’ll be using in Iceland where we’ll visit some of the most beautiful waterfalls in the world with the Alpha Imaging Collective.
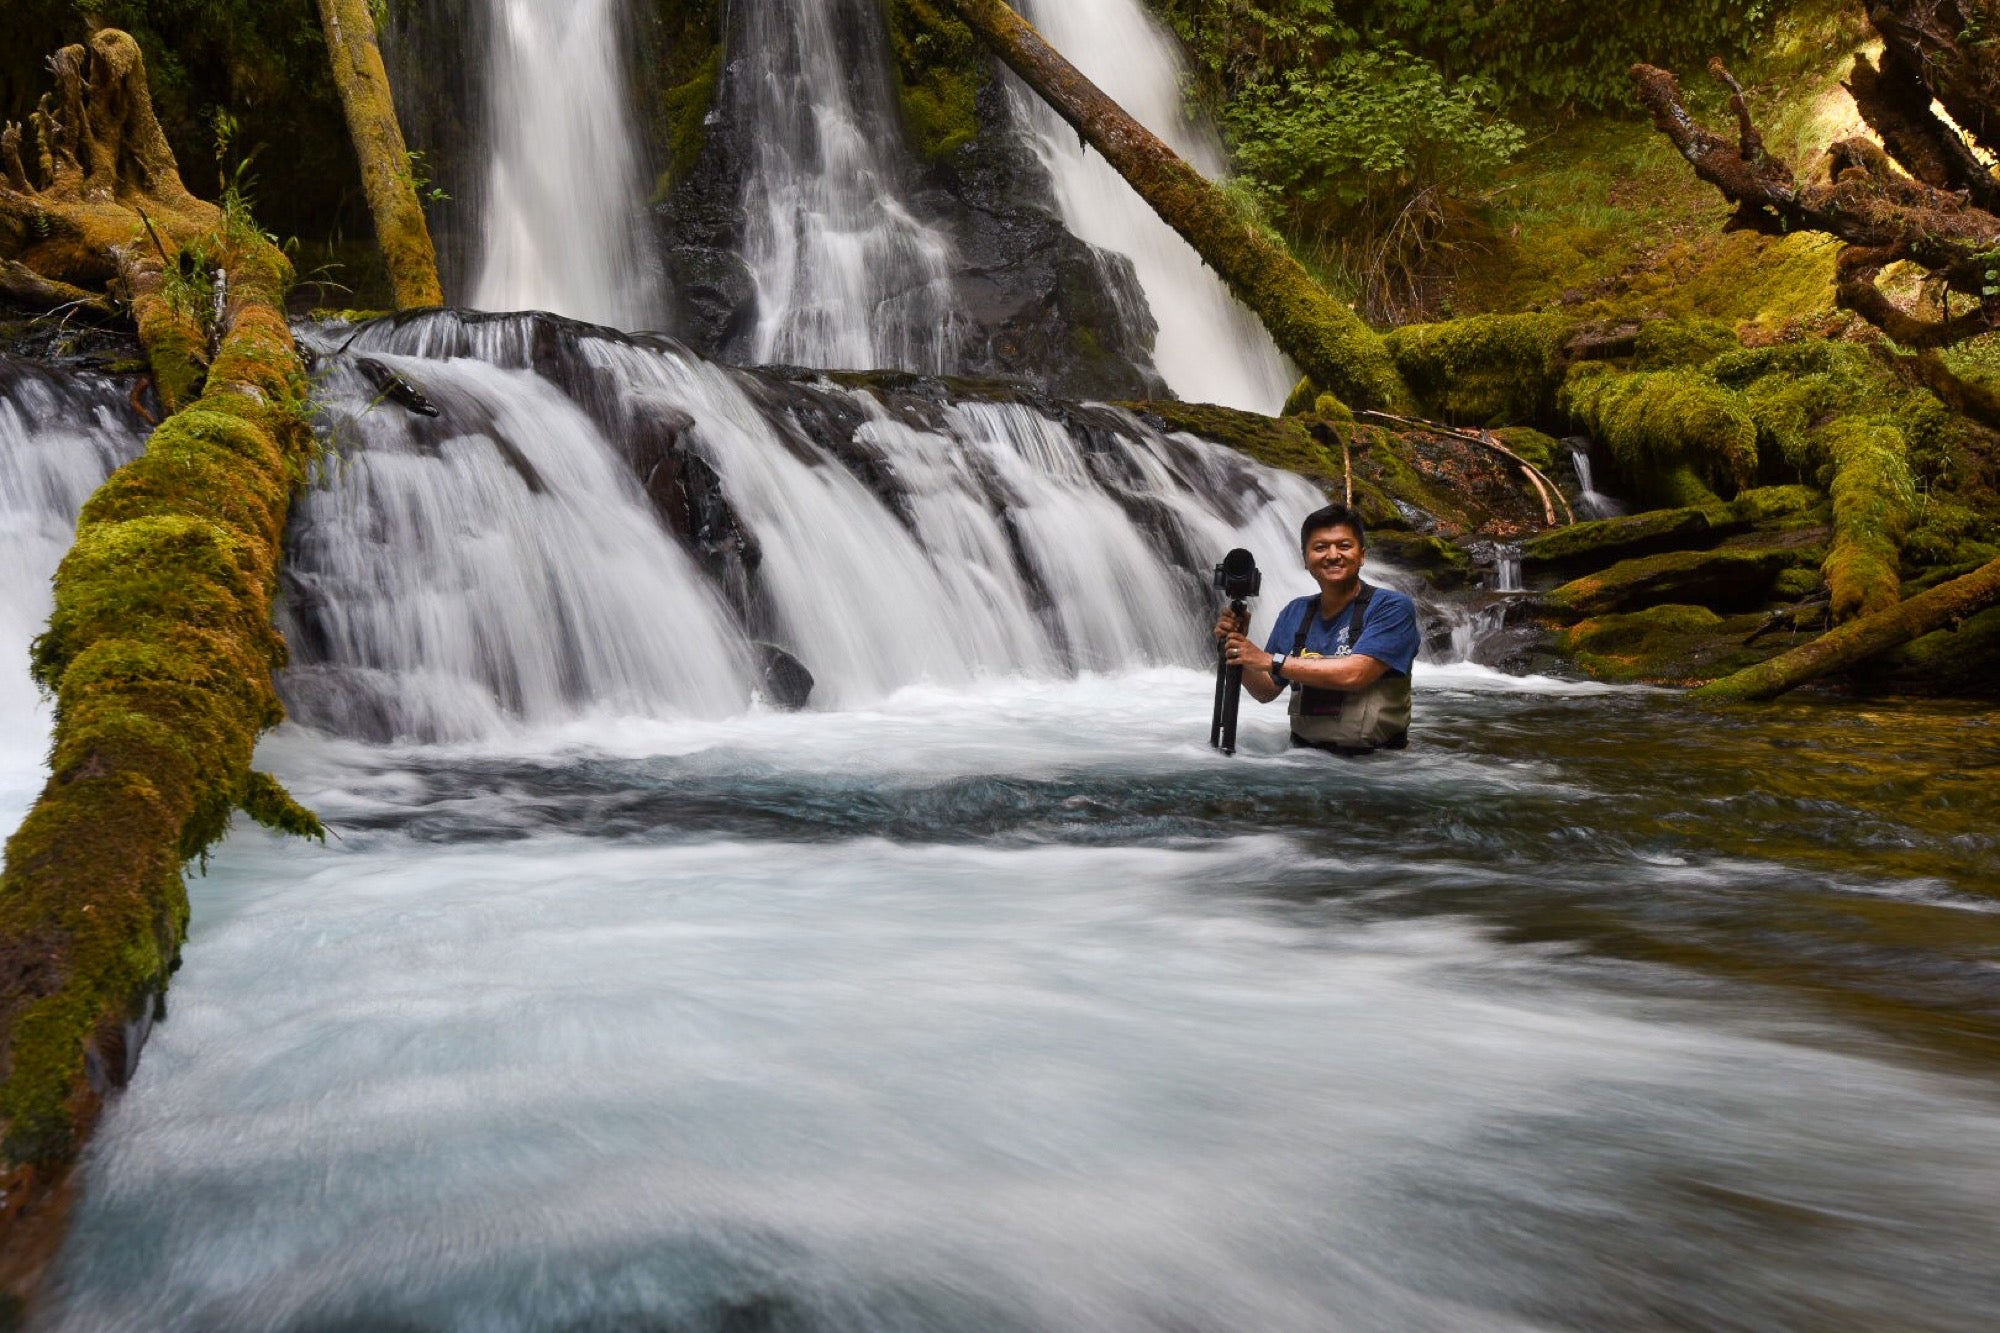
Alpha Collective member Mahesh Thapa (@starvingphotographer) shows his gear and camera setup for long exposures of moving water.
Sony α7R II. Sony 16-35mm f/4. 1 sec., f/22, ISO 100
The Gear I Use
Photographing flowing water is easy; capturing its beauty is extremely difficult. Using proper gear is the first step. It’s not just about the camera and lenses. We must protect for ourselves and our equipment; use filters to control light; and employ accessories to minimize potential frustrations. My main camera will be the Sony α7R IV. The lenses I intend to carry are 16-35mm f/2.8 GM, 24-70mm f/2.8 GM, and 100-400mm f/4.5 – 5.6 GM. I will use the ultrawide lens to capture the vastness of tall waterfalls and surrounding majestic landscapes, while the standard and telephotos lenses will allow me to photograph more intimate scenes including reflections and abstract patterns.
I have always carried a polarizer and neutral density filters when I know I’ll be photographing water. For the first time, I have decided to take a combination polarizer and neutral density filter. This unusual but extremely helpful combination is made by Breakthrough Photography. The neutral density strengths are three and six stops. Having a single filter pulling double duty means minimal vignetting on my ultra-wide lens, no chance of stacked filters “sticking” together; and no condensation between filters.
My sturdy but lightweight Gitzo traveler tripod and Sony wireless remote shutter release will ensure rock-solid performance with virtually no chance of soft images due to camera shake. I recommend wireless over wired remote triggers because, when you’re in a wet environment, it’s best to keep the doors closed on your camera ports. Be sure to take a spare remote, just in case.
Some of my best compositions have come from inside a stream. It’s a good idea to carry water shoes, at the very least. I usually also take chest-high waders with neoprene booties and dedicated water shoes which allow me to stay in cold water longer.
Sony α7R II. Sony 24-70mm f/2.8 G Master. 1/4 sec., f/8, ISO 100
You may want to get very close to the water surface or waterfall. In such positions, water spray on the front element of your lens can be problematic. I recommend carrying a strong umbrella and plenty of microfiber cloths. Don’t take the tiny ones for your lenses or sunglasses. There are bigger, more absorbent ones in the automotive section of most stores (e.g., Costco). Those are the ones you want. Finally, protect your camera and lens from inclement weather. I find a big, clear shower cap (like the ones you get for free at hotel rooms) does the trick quite well. If you’re apprehensive about trusting your expensive gear to a flimsy piece of plastic, then companies like Peak Design and Think Tank have dedicated protective gear.
To edit my images on the road, I use a 15” MacBook Pro. However, in the field I backup my SD cards onto a 1TB Gnarbox 2.0 SSD device. It is extremely rugged and allows me to perform backups without a laptop, phone, or tablet. I have the option of using a USB 3.0 Type-C port or its built-in SD card reader.
The older I get and the more equipment I carry, the more I rely on solid hiking poles. They help ease pressure off your knees, provide stability when crossing slippery terrain, and even serve as makeshift tent poles! Here’s a pro tip: Wrap some duct tape around your hiking poles. I can’t tell you how many times duct tape has saved me. It’s great for putting on a “hot spot” before a blister develops, wrap around a twisted ankle, or just fixing stuff like a ripped tent.
Make sure the camera bag you are carrying is sturdy and protects your gear from rain. I plan to take the Lowepro Whistler 450 AW II. It has convenient straps to carry my hiking poles and a separate, completely isolated compartment to put my wet clothes.
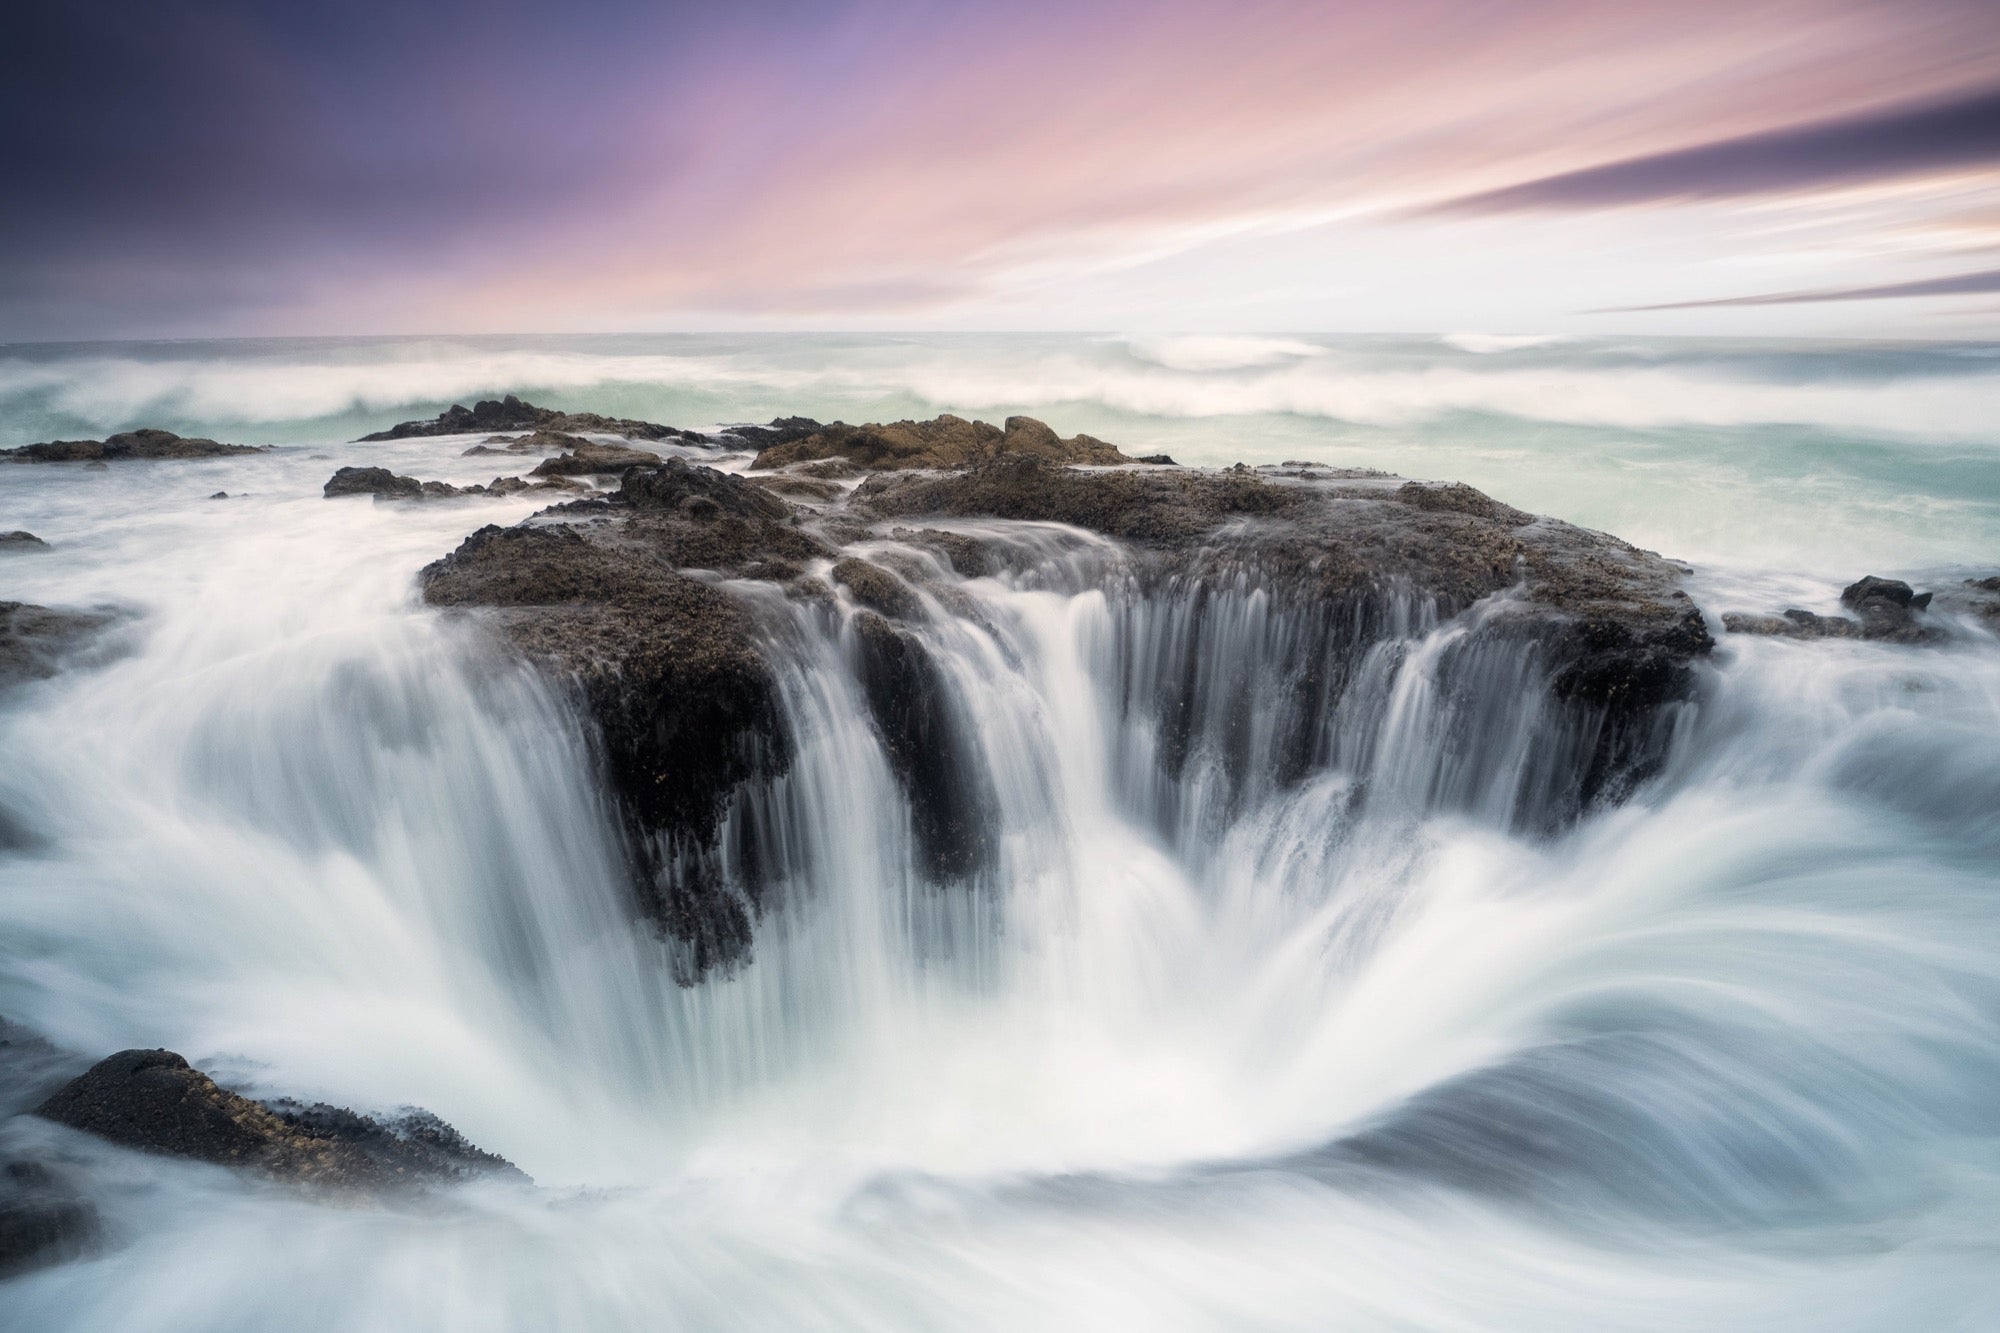
Sony α7R III. Sony 16-35mm f/4. 1 sec., f/11, ISO 100
Camera Settings For Waterfalls
How do you like your waterfall to look? Do you prefer crisp droplets or do you go gaga for that silky smooth, almost shaving-cream appearance? My taste is somewhere in the middle, usually obtained with shutter speeds between ½ and 2 seconds. I shoot waterfalls in aperture priority mode and prefer maximum depth of field, so I usually keep my aperture around f/8 or f/11. On most occasions, I try not to use f/16 or f/22 because such narrow apertures introduce diffraction associated softness to the overall image. One notable exception is if I have a point light source (such as the sun) in my frame which I want to render as a “starburst”. In that case, I do utilize f/22. However, I capture another image at a more reasonable aperture and later combine the images in post-processing, blending the sun from the f/22 image with the rest of the scene shot at a wider aperture.
I start with the lowest native ISO, which on most full frame cameras is 100. Remember, the lowest native ISO has the most dynamic range. For example, let’s say in aperture priority mode, I’ve chosen f/11 and ISO 100. When I half press the shutter button, the camera will let me know what it thinks the shutter speed should be to obtain the proper brightness (exposure) of the overall scene. If the shutter speed is outside my preferred range of ½ to 2 seconds, then I have some decisions to make. To continue this example, let’s suppose the overall shutter speed was determined to be 1/8 second. That’s 2 stops faster than my self-imposed minimum of ½ second. What to do? I refuse to narrow my aperture any further because I want to avoid diffraction associated softness. I also don’t want to lower my ISO to less than 100 because those lower ISO values are simply digital manipulations (what’s actually happening is the camera is taking an overexposed ISO 100 shot and lowering the brightness to simulate ISO 50 — this reduces the overall highlight dynamic range of the image). My only option is the put on a polarizer/ND filter. I have a 3 stop and a 6 stop. The 3 stop filter would lower my shutter speed to 1 second (perfect!). The 6 stop filter would lower my shutter speed to 8 seconds (way too long for my taste). Here’s another scenario. Let’s say the f/11 and ISO 100 combo yielded a shutter speed of 6 seconds. What should I do to get the shutter speed in my preferred range? In that situation, I’d boost the ISO, because noise in virtually a non-issue up to values of 1600 or 3200 on modern full-frame sensors. So, if I bump up the ISO to 400 (2 stops from ISO 100), the shutter speed will decrease to 1.5 seconds (2 stops faster than 6 seconds). Voila!
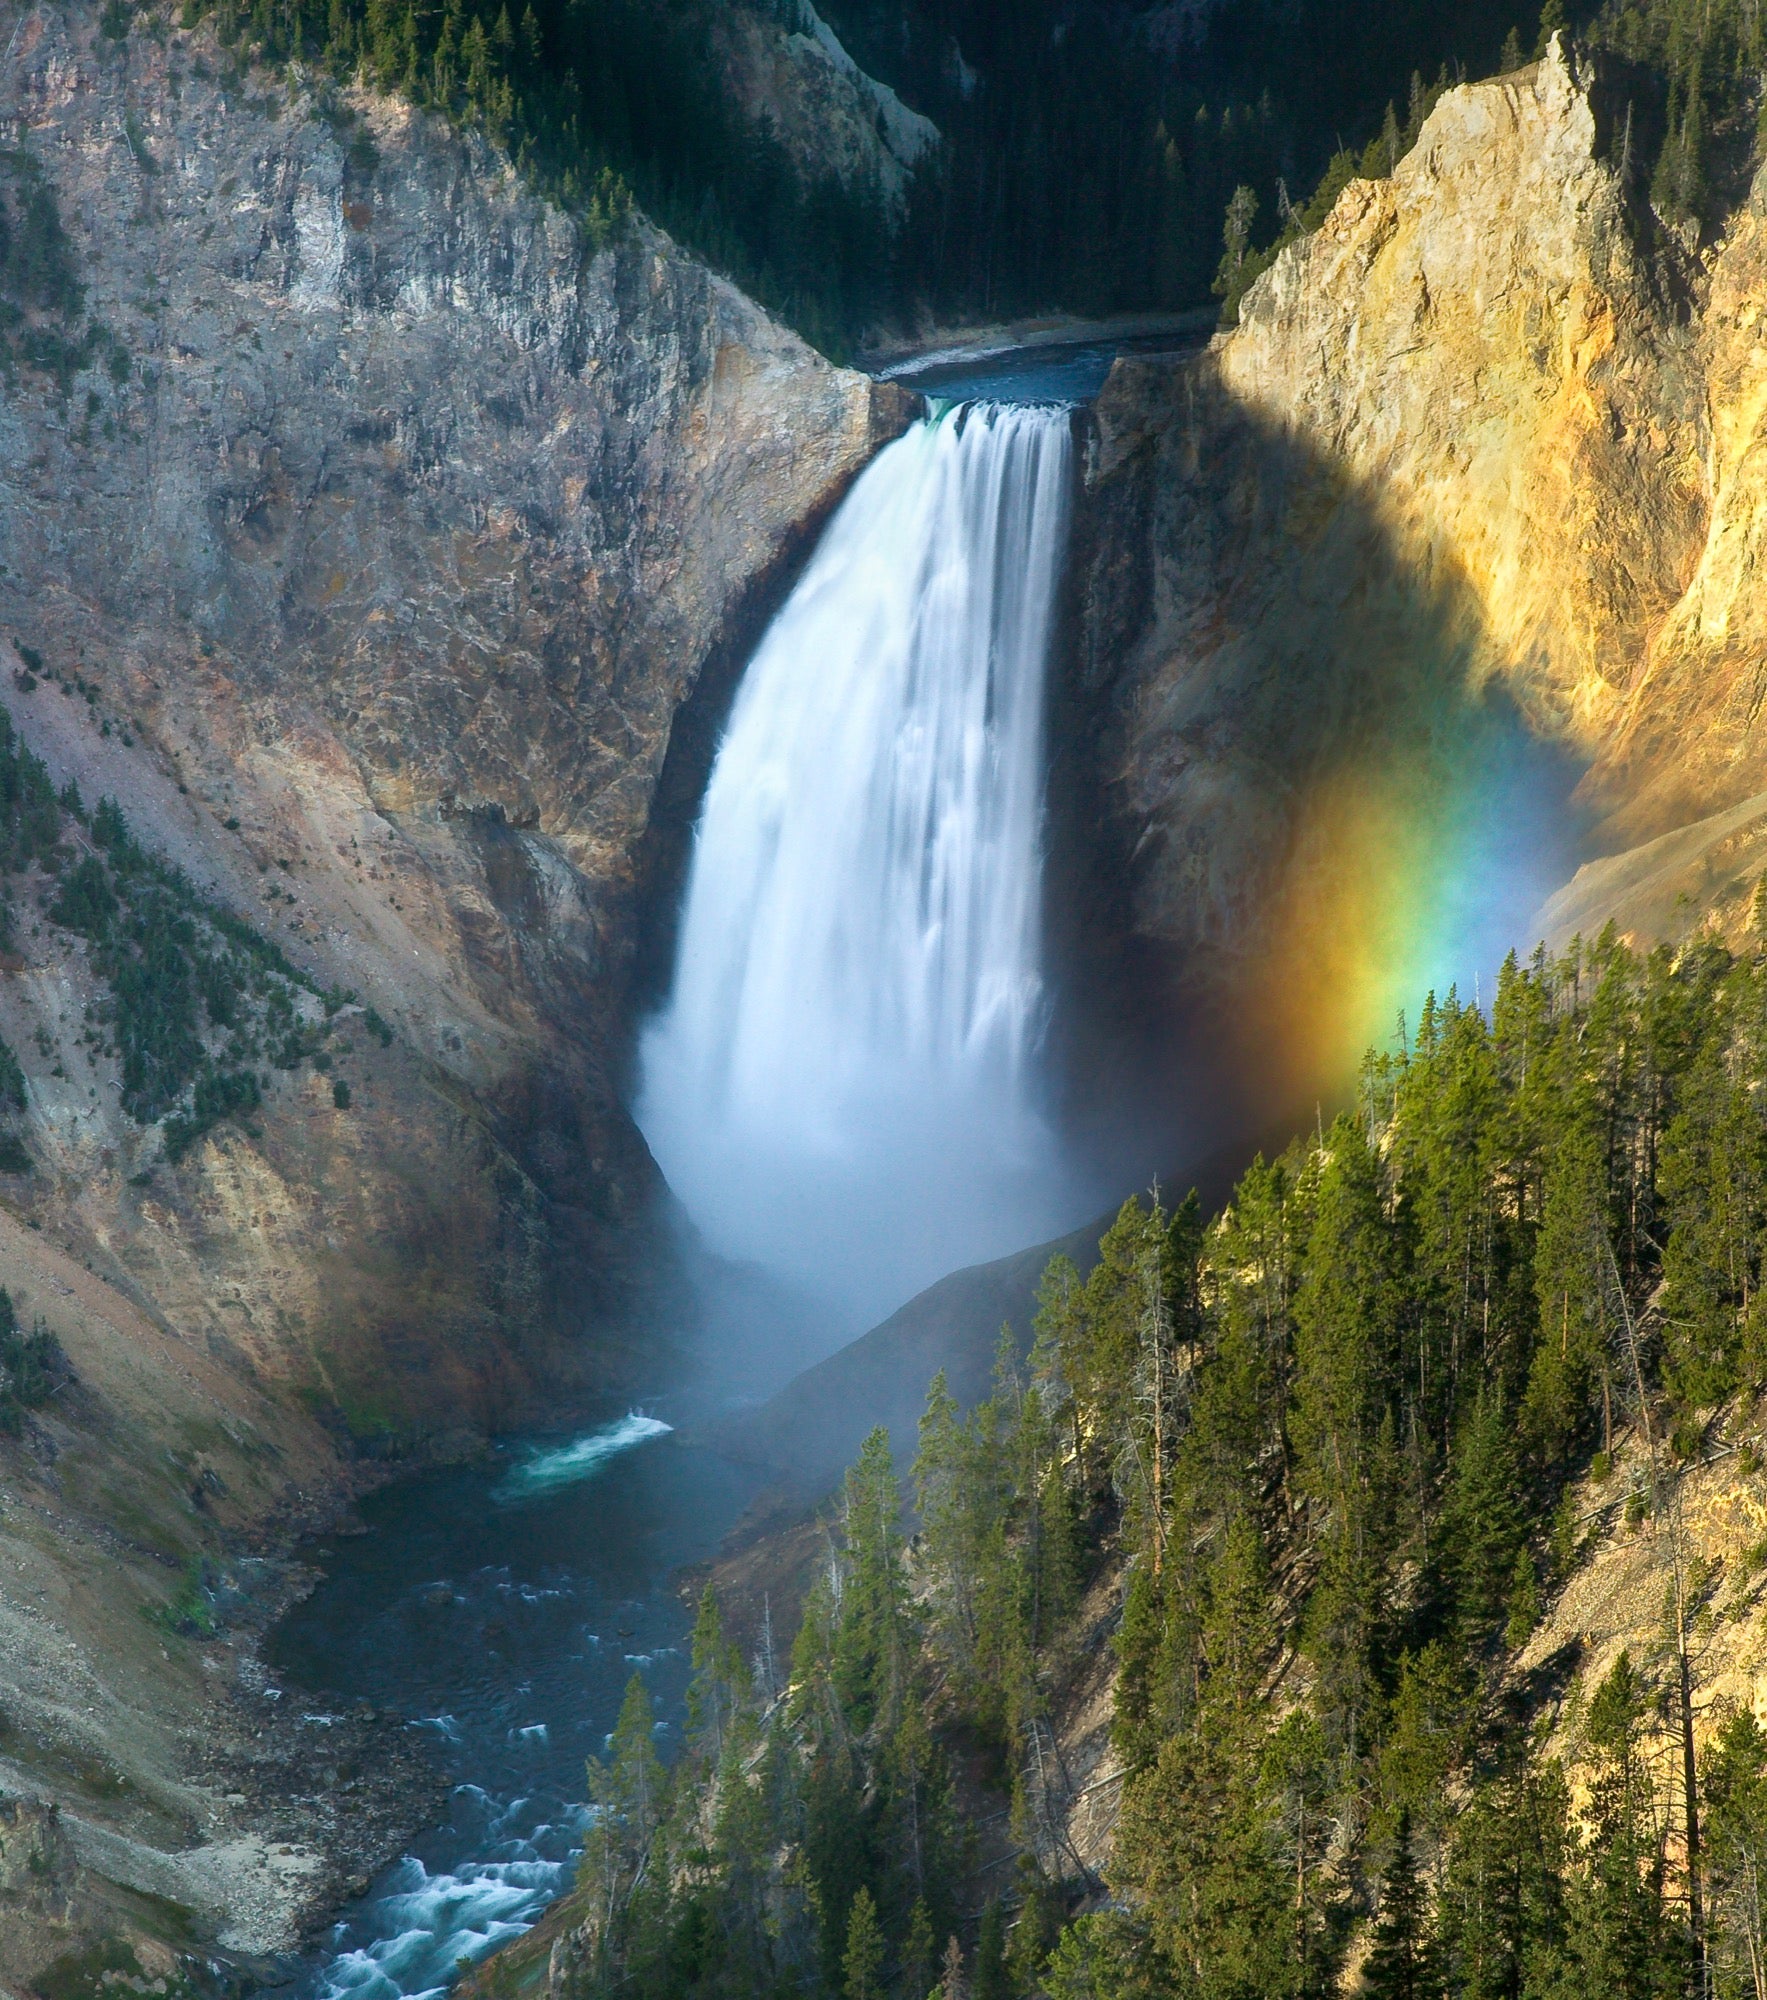
Sony α9000. Sony 70-200mm f/2.8. 1 sec., f/8, ISO 100
In The Field
A tripod is essential to obtaining a shake free shot. However, it is also an obstacle to creativity and your ability to “see” all the possible angles. How many times have done this: you arrive at a location, extend your tripod’s legs, and proceeded to take images of the scene? Once you place the camera on a tripod, you limit yourself to a certain vertical perspective and compromise your mobility. Here’s my advice. When you’re ready to shoot, set aside the tripod, put the camera up to your eye and simply walk around, remembering to examine the scene from both high and low perspectives. A few steps left or right or a few inches up or down can completely change your view point, especially if you’re shooting with an ultrawide angle lens. Once you’ve found that perfect position, then get your tripod.
When photographing flowing water, remember no two shots will look exactly the same as the pattern the water is constantly changing. Be sure the capture the scene multiple times, because you might like certain flow patterns over others. I also encourage you to experiment with various shutter speeds, depending on the velocity of the flowing water, presence of swirling foam or leaves, and the degree of turbulence. My advice above about ½ to 2 seconds is just a starting point and may not apply to every situation. You might never get another opportunity to come back to that location, so take as many shots as possible to cover all the possible angles and shutter speeds. “Film” is cheap! Often, what looks great on the camera’s small LCD might not look so wonderful on your bigger screen at home or on the laptop.
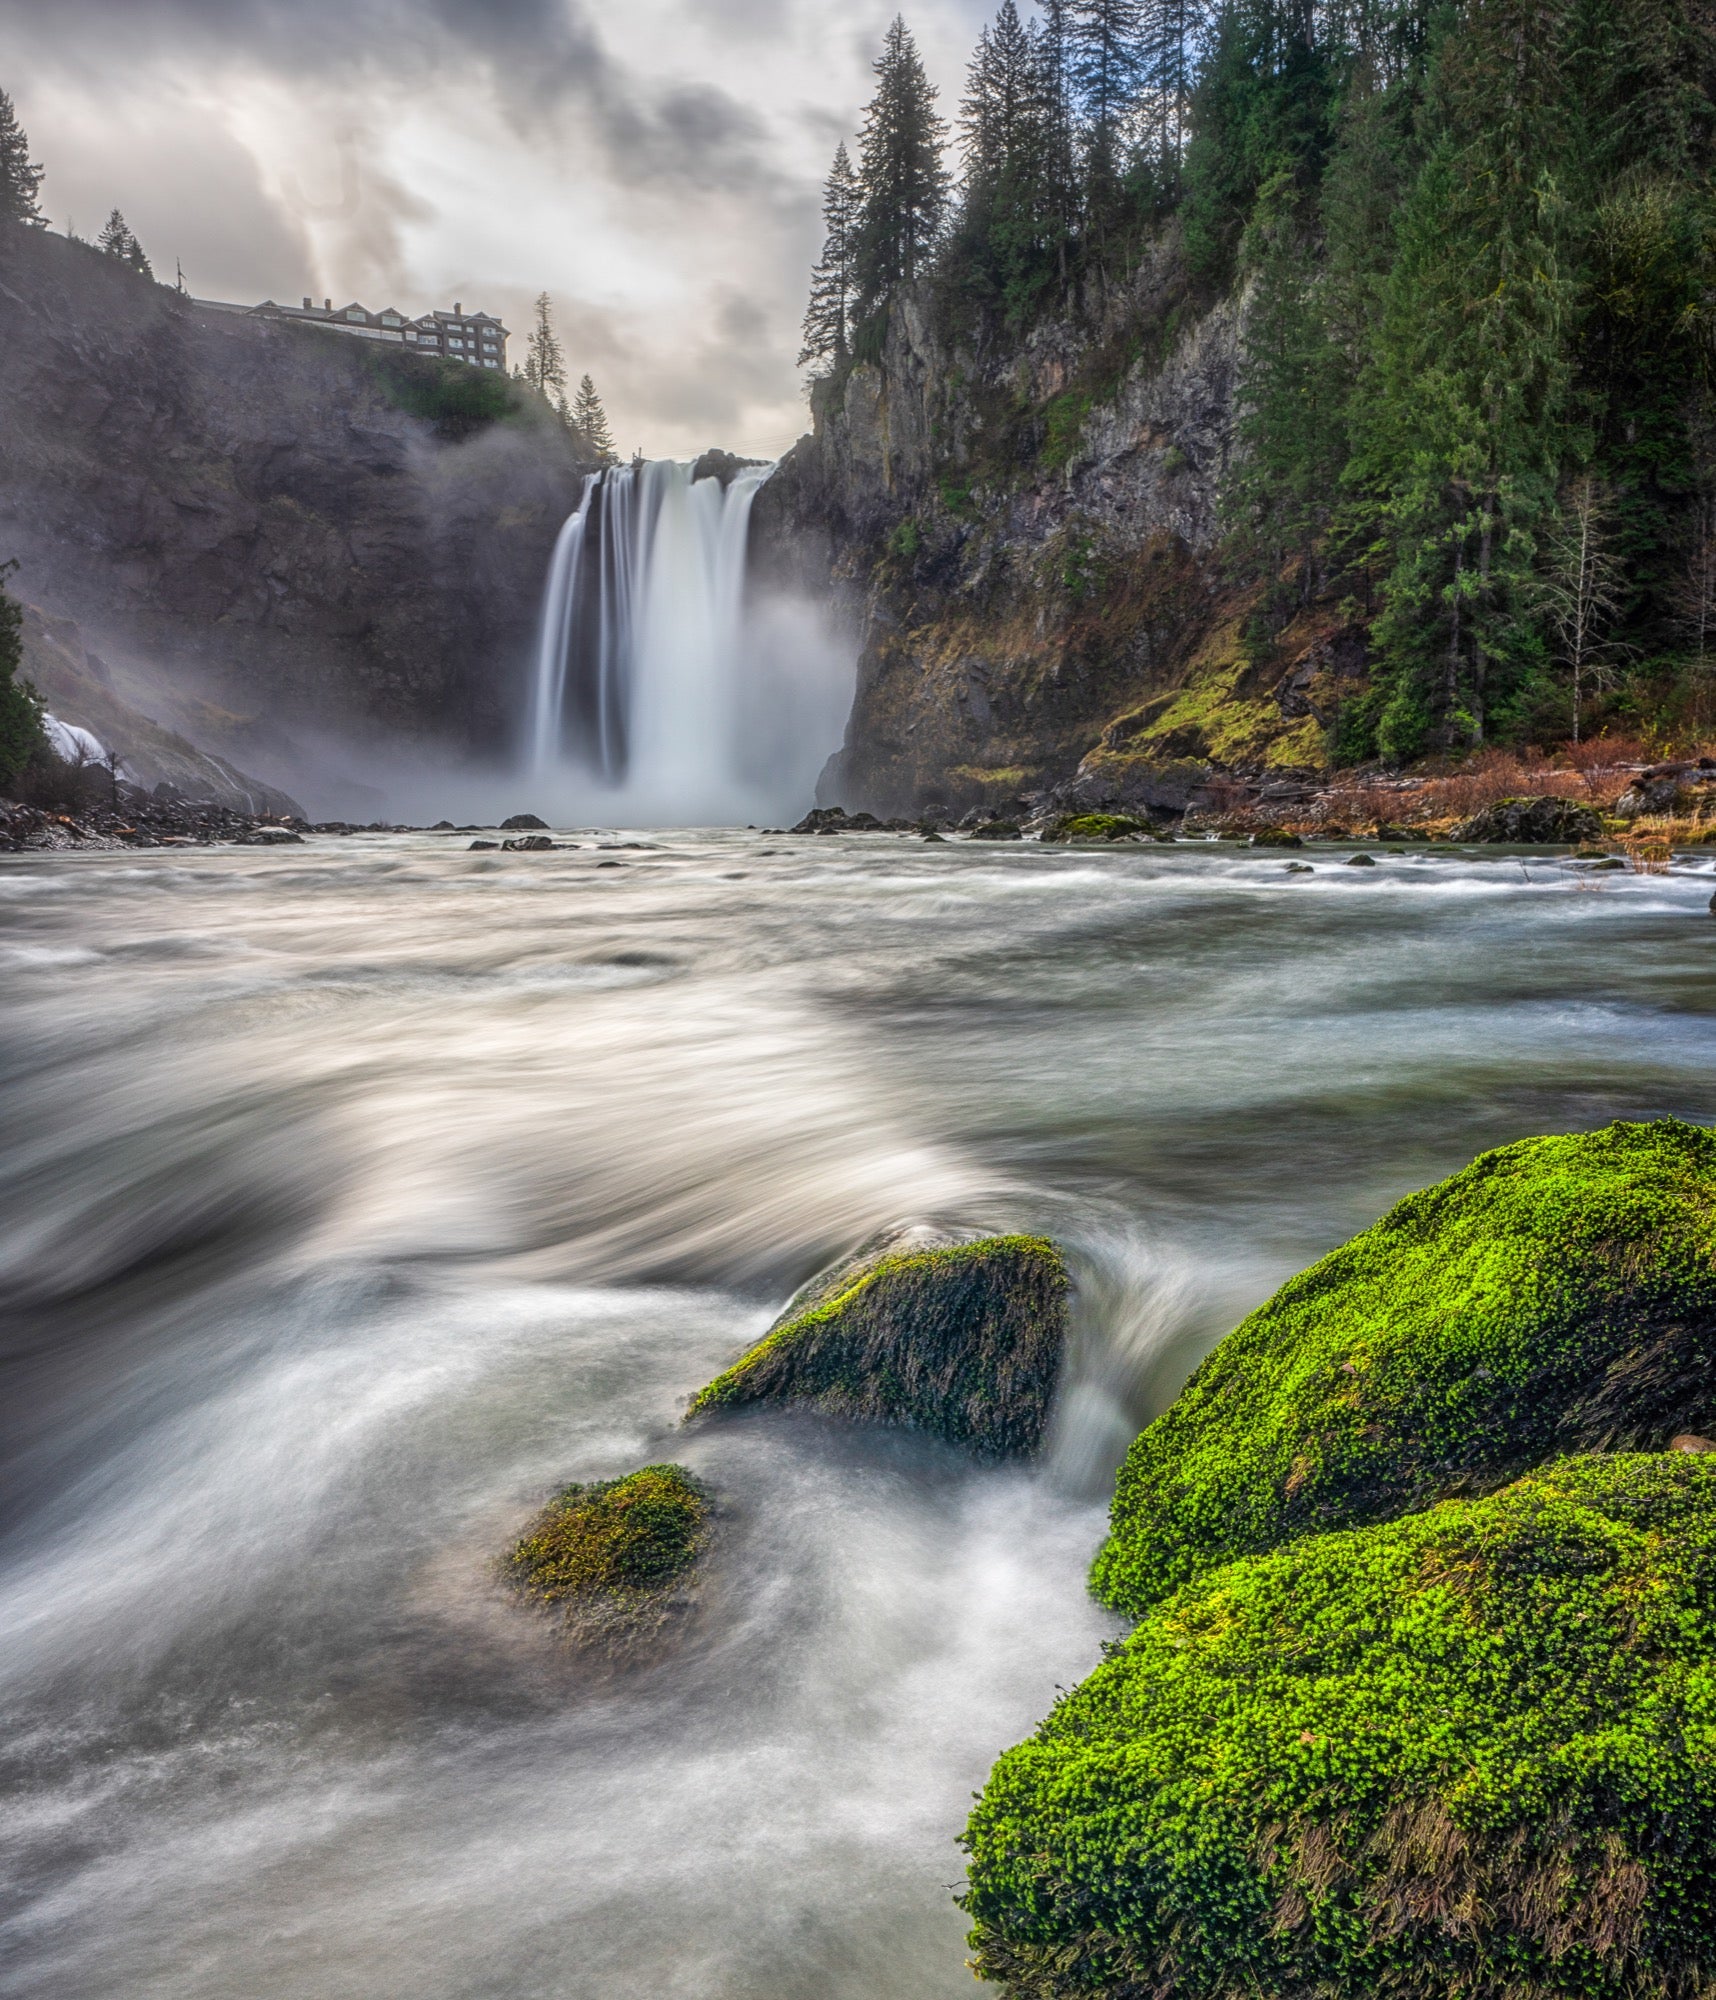
Sony α7R III. Sony 16-35mm f/4. 2 sec., f/11, ISO 100
More often than not, waterfalls are captured during overcast conditions and dim environments such as a forest. From the deep blacks of dark rocks to the bright whites of flowing water, the camera sensor is challenged with tremendous dynamic range. Therefore, I strongly encourage shooting in RAW and utilizing the histogram. I try to make sure the histogram curve is as centered as possible while minimizing the number of pixels that extend to the extreme right. I find it much easier to recover shadow detail than to bring information back from blow highlights. That’s why I would rather capture a scene that is slightly underexposed than one that sacrifices highlight detail.
Unless a large part of your scene includes the sky, use a polarizer. A polarizer will minimize glare from reflective surfaces such as water, foliage, and rocks to bring out more vibrant colors. This might seem like an obvious point to many, but is still worth stating: be sure to engage your polarizer! Just because you have a polarizer screwed on to the front of your lens does NOT mean it’s engaged. You need to twist the polarizer while looking through the viewfinder to appreciate the effect. Also, if you change the angle of our perspective, you might need to adjust the polarizer to a slightly different position. Two occasions where you shouldn’t use a polarizer or only partially engage it is if you want to capture rainbows or reflections on water.
Sony α9000. Sony 70-200mm f/2.8. 2 sec., f/8, ISO 100
Conclusion
I hope this article has been helpful. I think you can appreciate that planning and preparation are essential to making compelling long essential images. The advice I’ve offered extends to other facets of long-exposure photography, including but not limited to astroscapes, beachscapes, and cloudscapes. Proper gear and technique are crucial ingredients for success. Protect yourself and your gear, and be cognizant of your environment. Take lots of images and vary your perspectives. Most of all, have fun!
